
We've long been fans of putting a pom-pom on pretty much everything, so it's no surprise that we love this easy technique. All you have to do is wrap that gift in simple paper, then pom it up and — poof! — it's the best-looking present under the tree. If you've got a pom-pom maker, get ready to bust it out — or just use your fingers!
Pom-Pom Gift Wrap
Level: Easy
What You Need
Instructions
1. Make Your First Cut
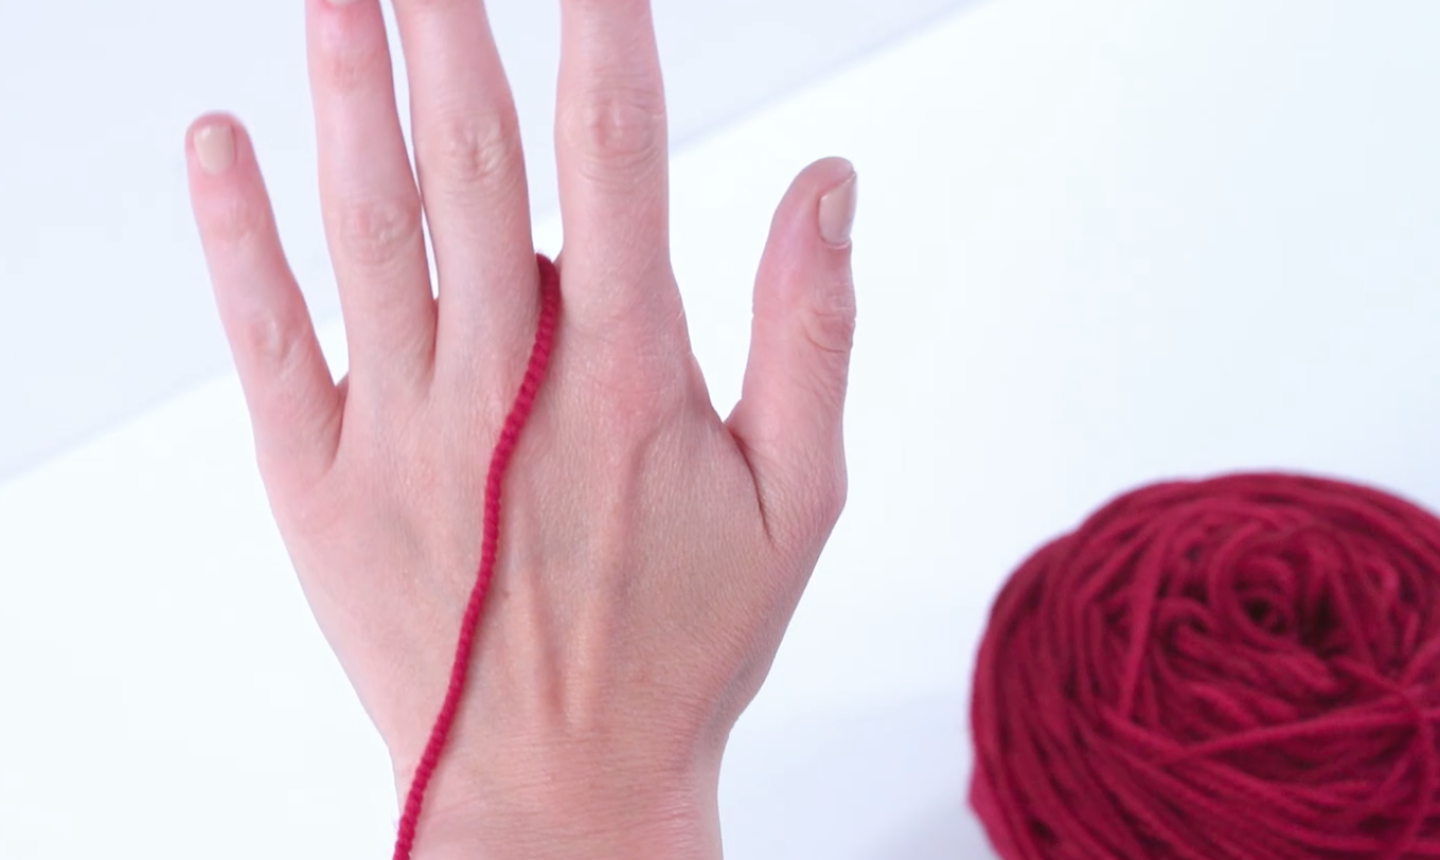
Cut a length of yarn and drape it through your index and middle fingers so it rests across your palm. This will be what ties your pom-pom together, so be sure not to snip it too short.
2. Wrap, Wrap, Wrap!
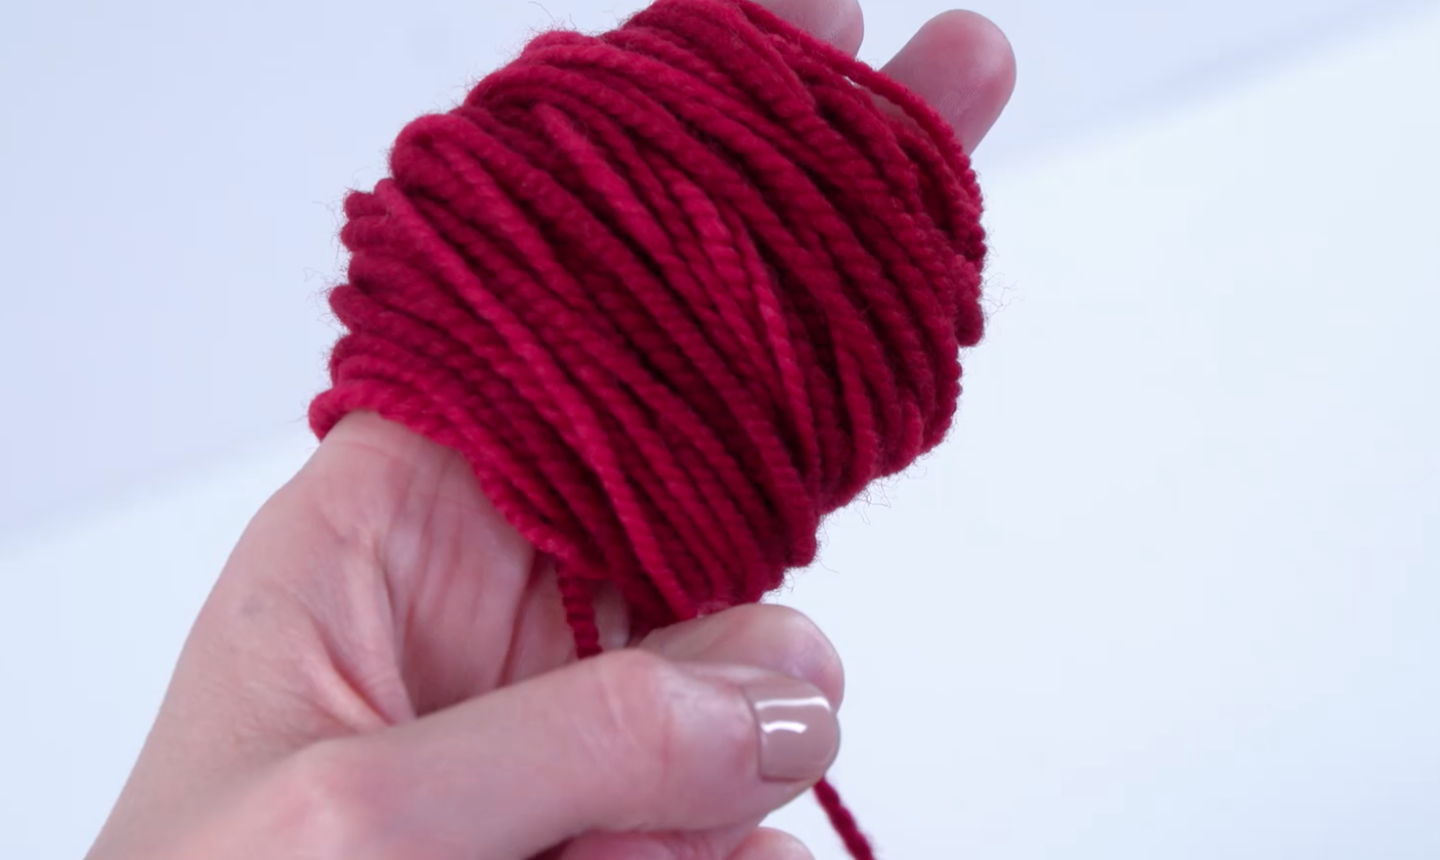
With your first piece of yarn still between your fingers, begin wrapping yarn around your index and middle fingers. And wrap. And wrap. Wrap about 75 times (you'll probably lose count, but that's okay. Precision isn't important here.) Now snip the yarn free from the ball or skein.
3. Tie It Together
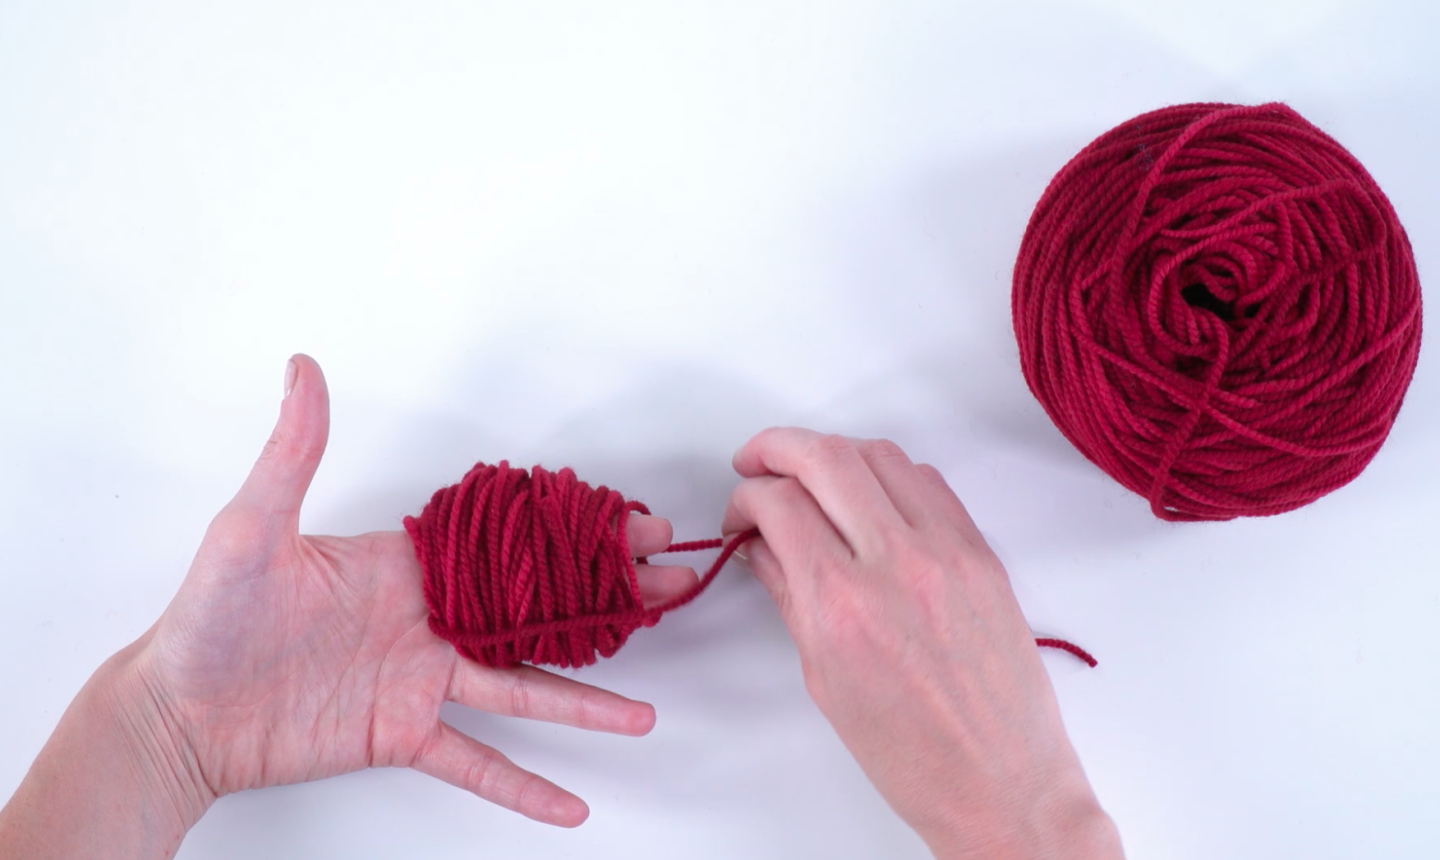
Bring together the two ends of your first piece of yarn and carefully slide your fingers out of the wraps. Loop the ends together (doing this twice will work best) and pull tight so the wrap of yarn is bunched together. Tie off your knot.
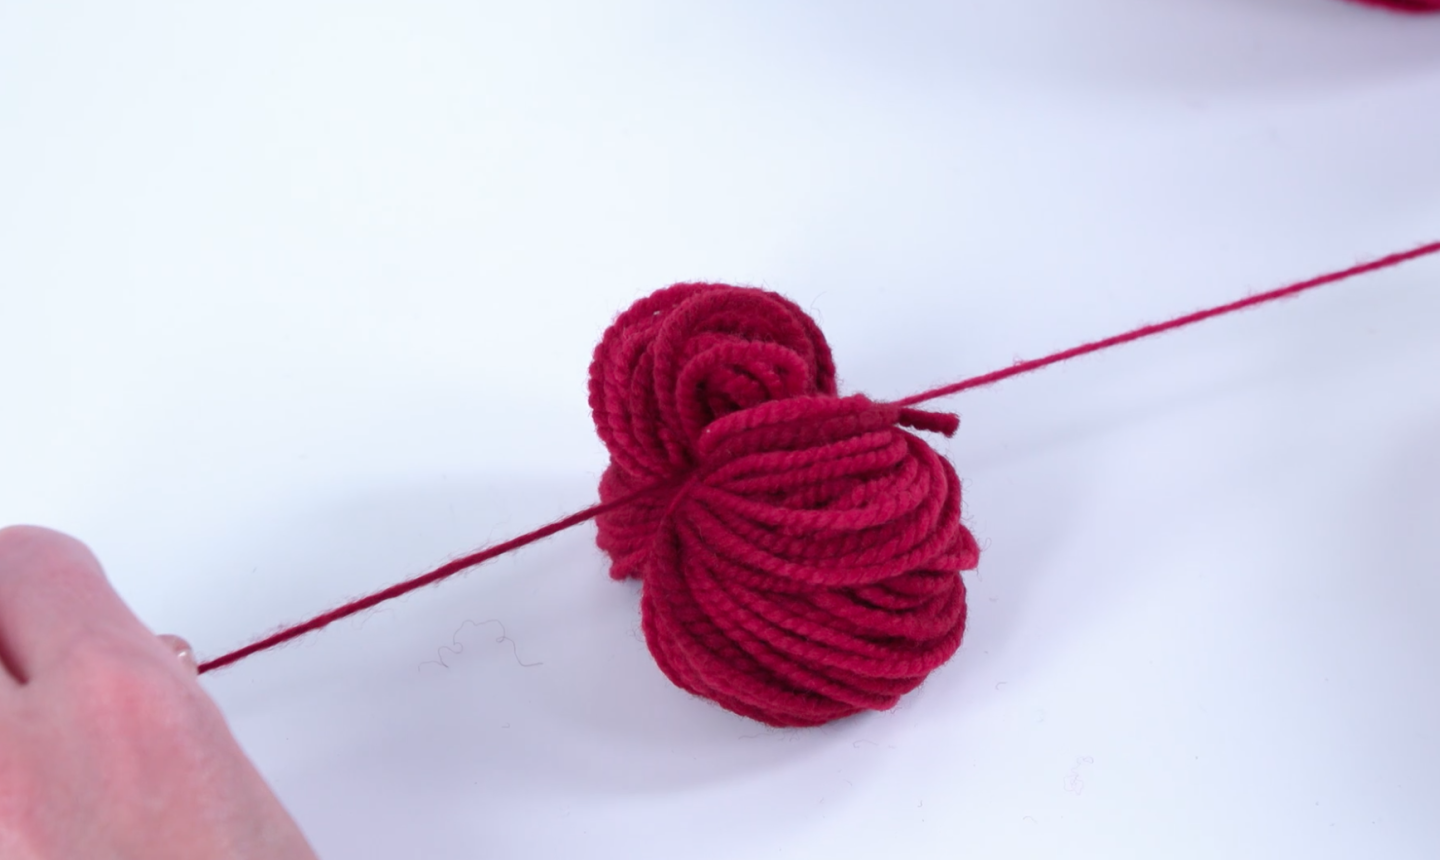
Your yarn should now look like a pouf. Can you see the pom-pom forming?
4. Cut and Fluff
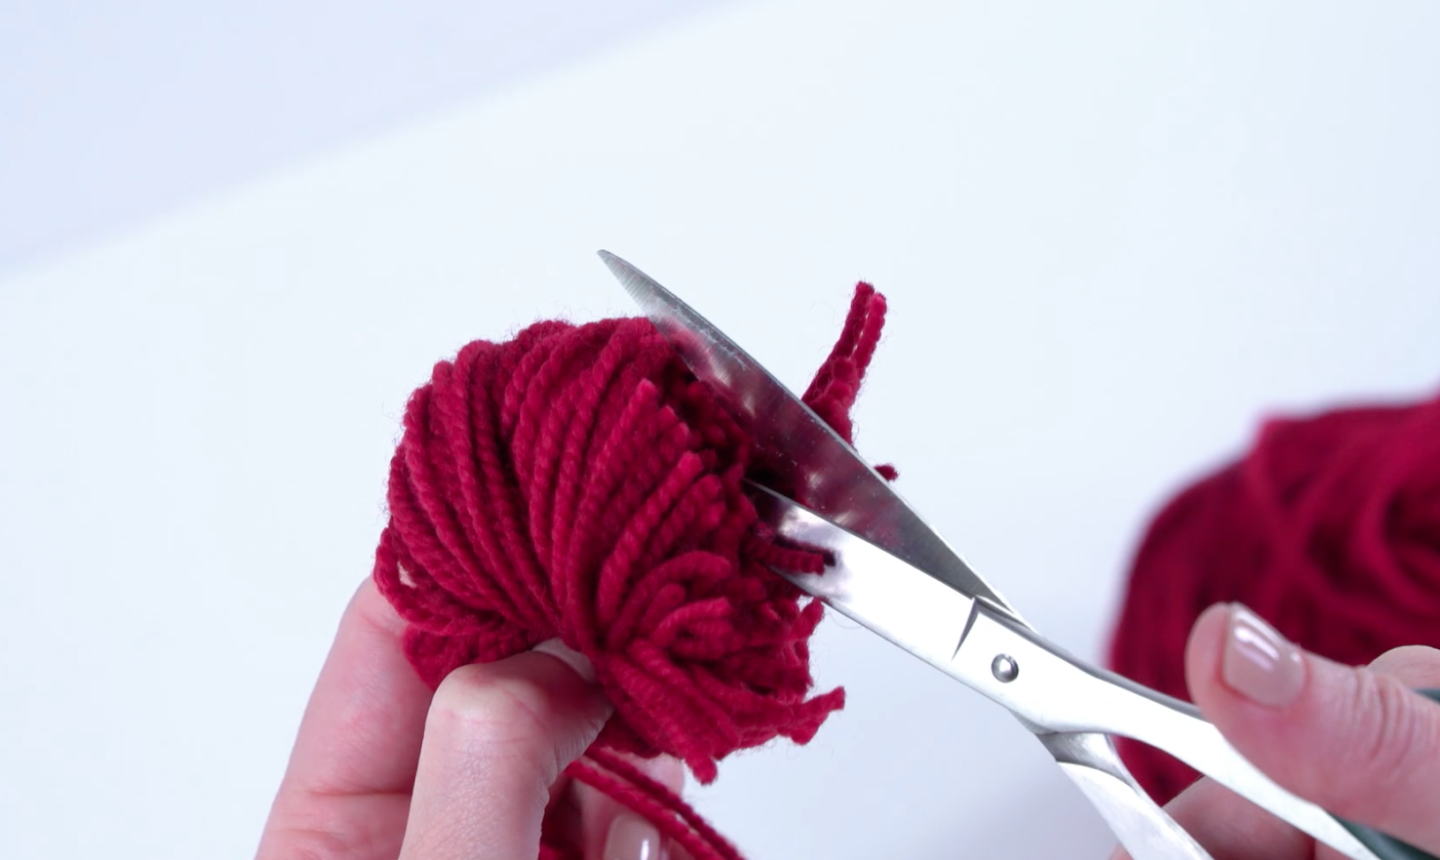
Use your scissors to snip around the center of your yarn pouf. Be careful to only cut around the outside — if you accidentally snip the center tie, your whole pom-pom will unravel!
Pro Tip: Make sure to leave the strands holding your pom-pom together nice and long. You'll need them later to tie your pom onto your gift.
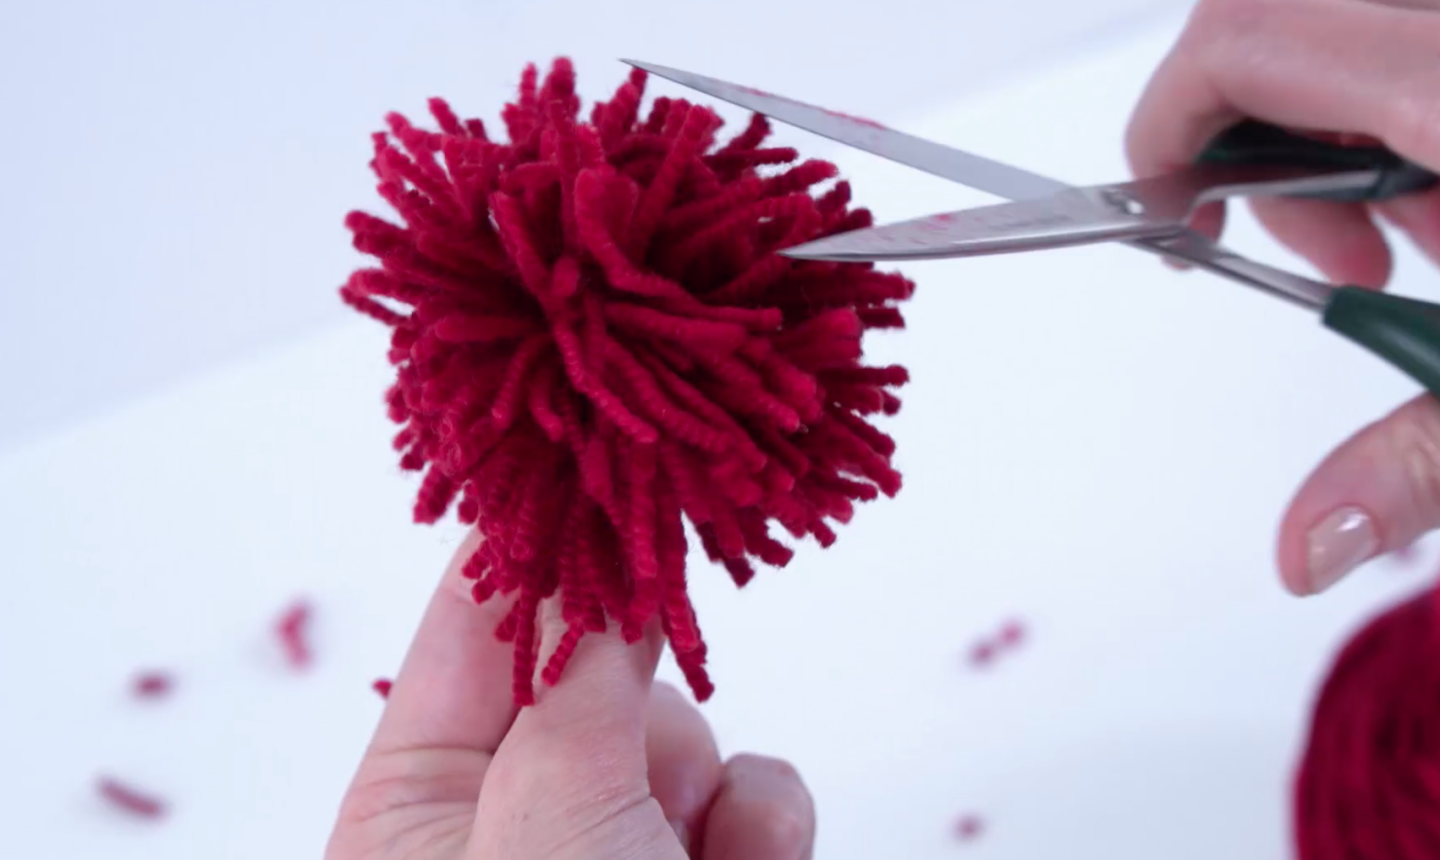
Once you’ve finished cutting, fluff out the strands of yarn with your fingers. Use your scissors to trim up the edges so that the strands of your pom-pom are all the same size.
Repeat this process and make as many pom-poms as you like!

Share tips, start a discussion or ask other students a question. If you have a question for an expert, please click here.
Already a member?
No Responses to “Give Your Gifts a DIY Pom-Pom Punch”