Paper quilling is an enjoyable way to create whimsical novelties or masterful works of art. You can quickly roll up a greeting card or spend hundreds of hours manipulating pieces of paper into intricate paper mosaics or sculpture. How you use the craft and what you make is really up to you and how much time you want to spend (and perhaps how much patience you have), but the overall concept always begins with the same thing: rolled paper shapes. Continue reading to learn more about how to make some simple quilling shapes.

Images via Little Circles
Let’s look at basic shapes in this paper quilling tutorial.
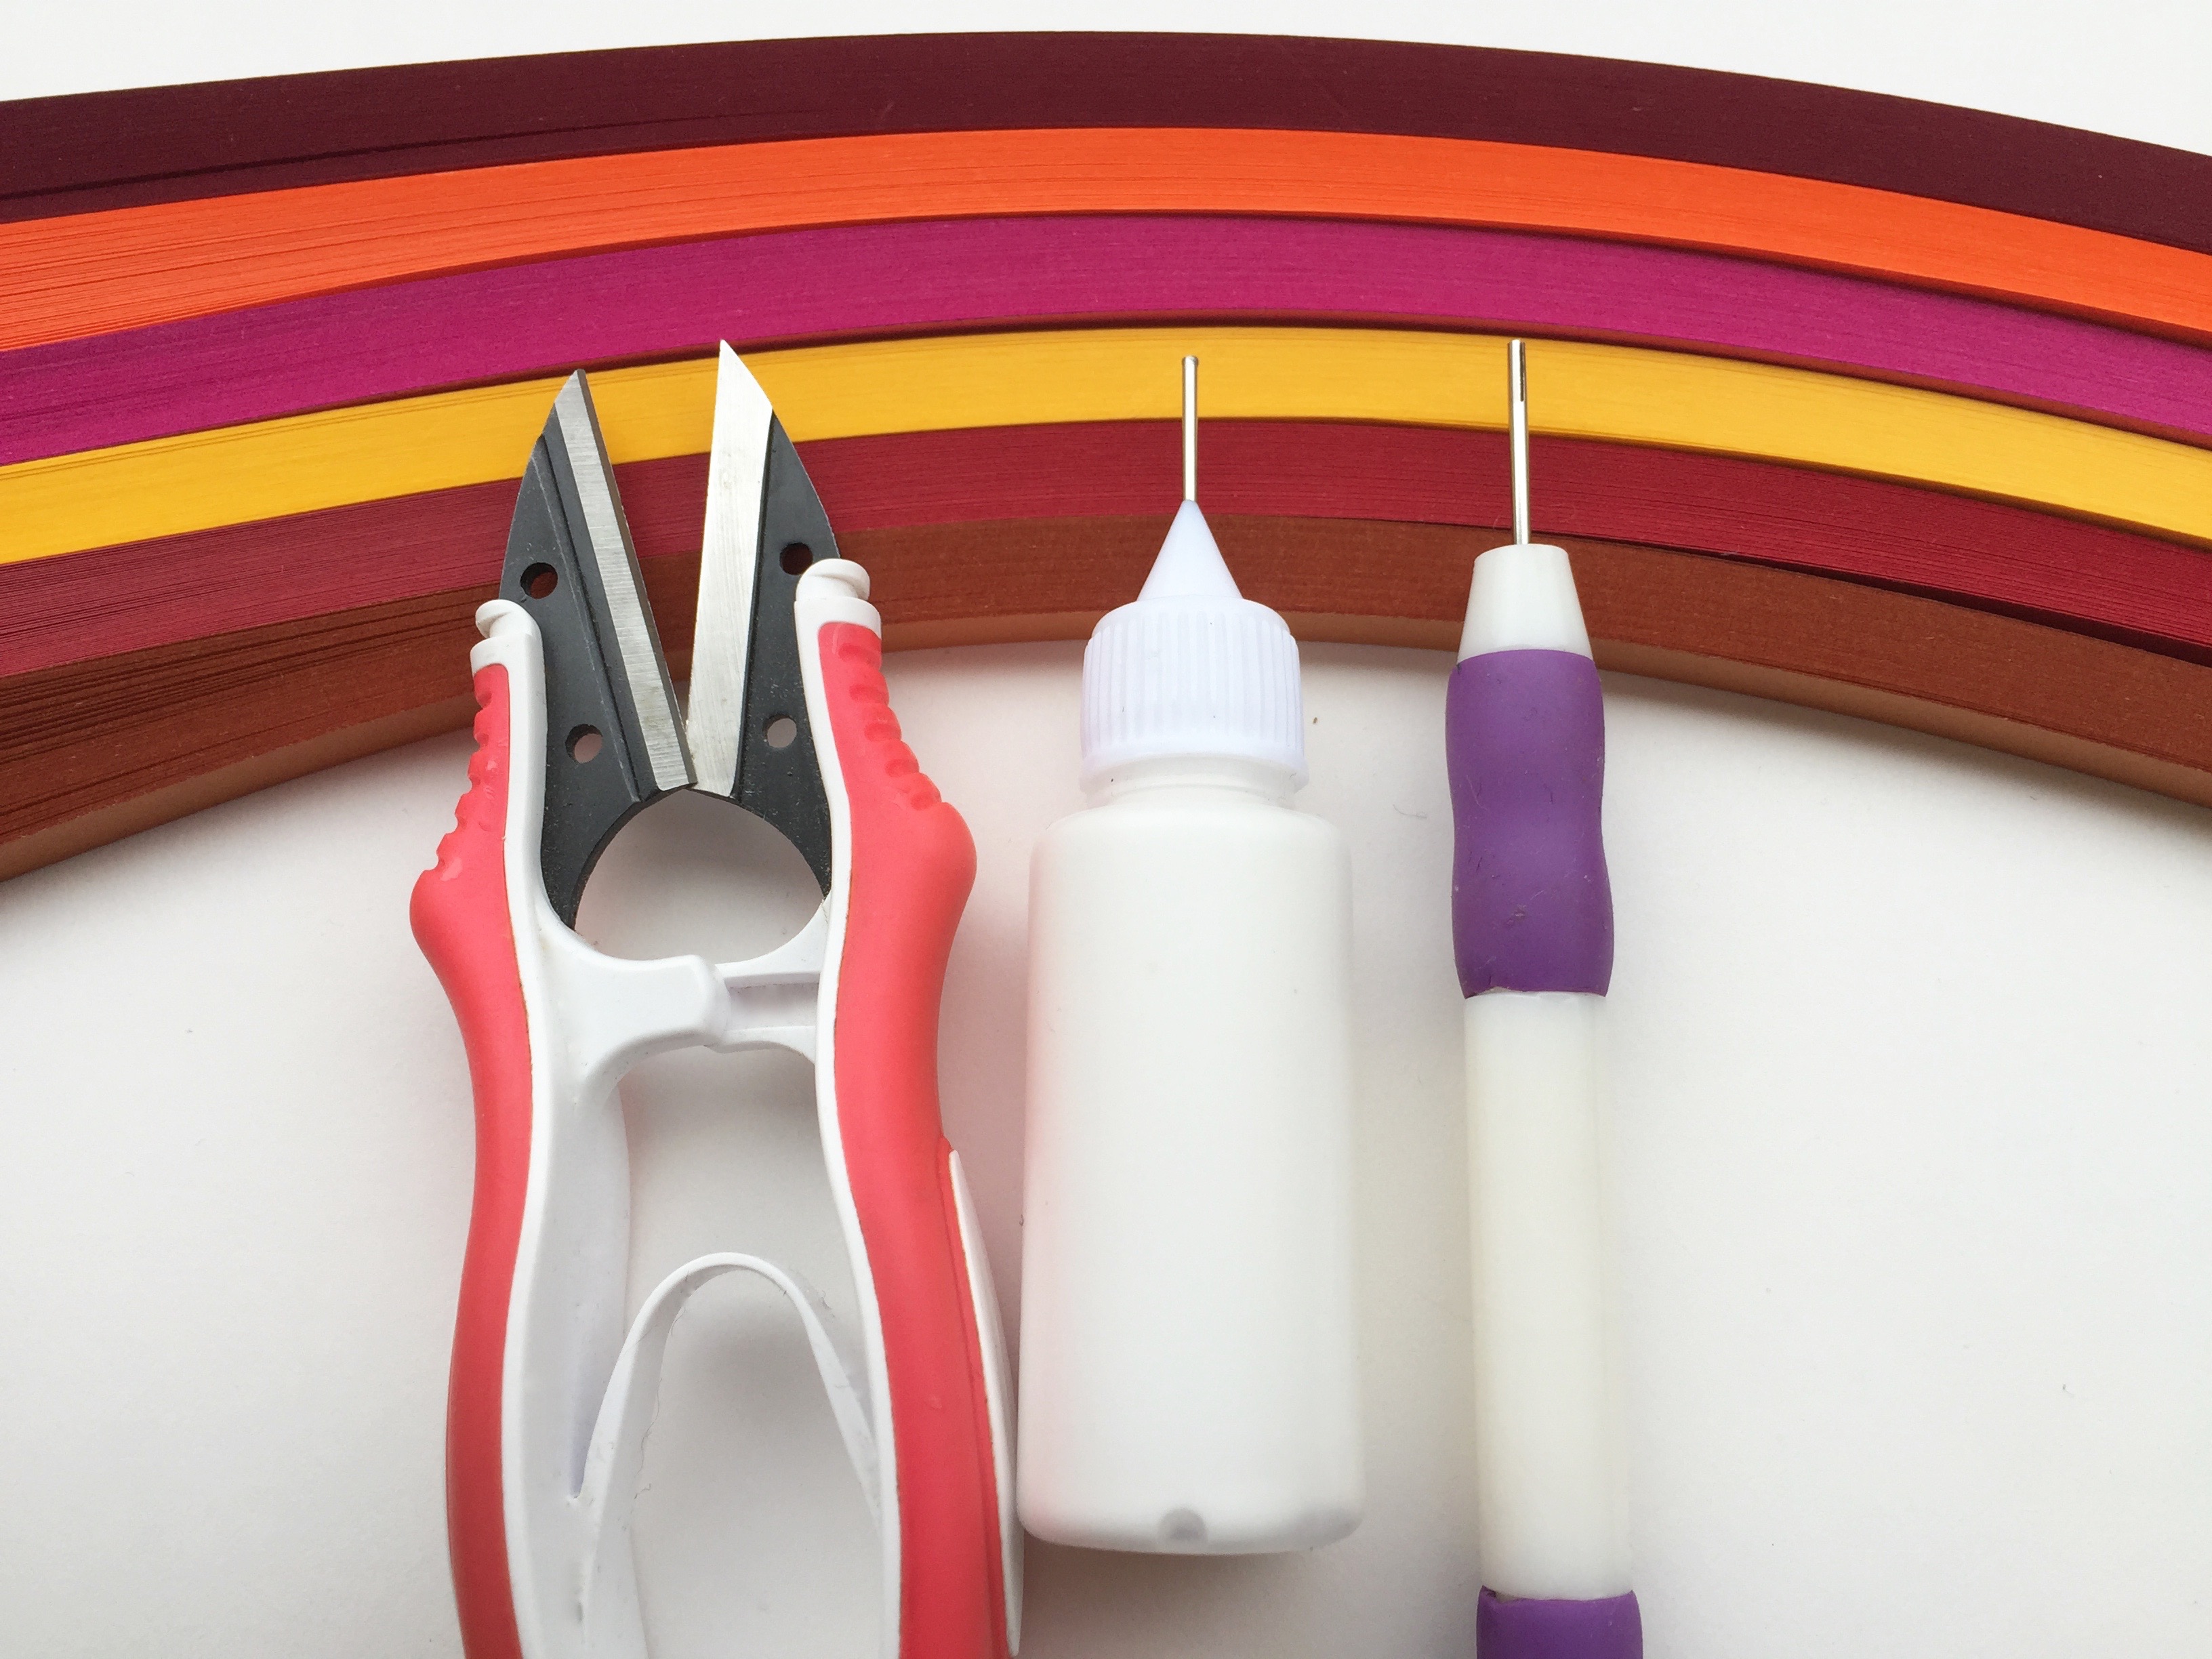
Supplies
Quilling is a very inexpensive craft to learn. For this paper quilling tutorial, you will need the following:
- A slotted quilling tool
- Quilling glue in a needle-tip bottle
- Scissors
- Package of quilling paper strips
- Tweezers
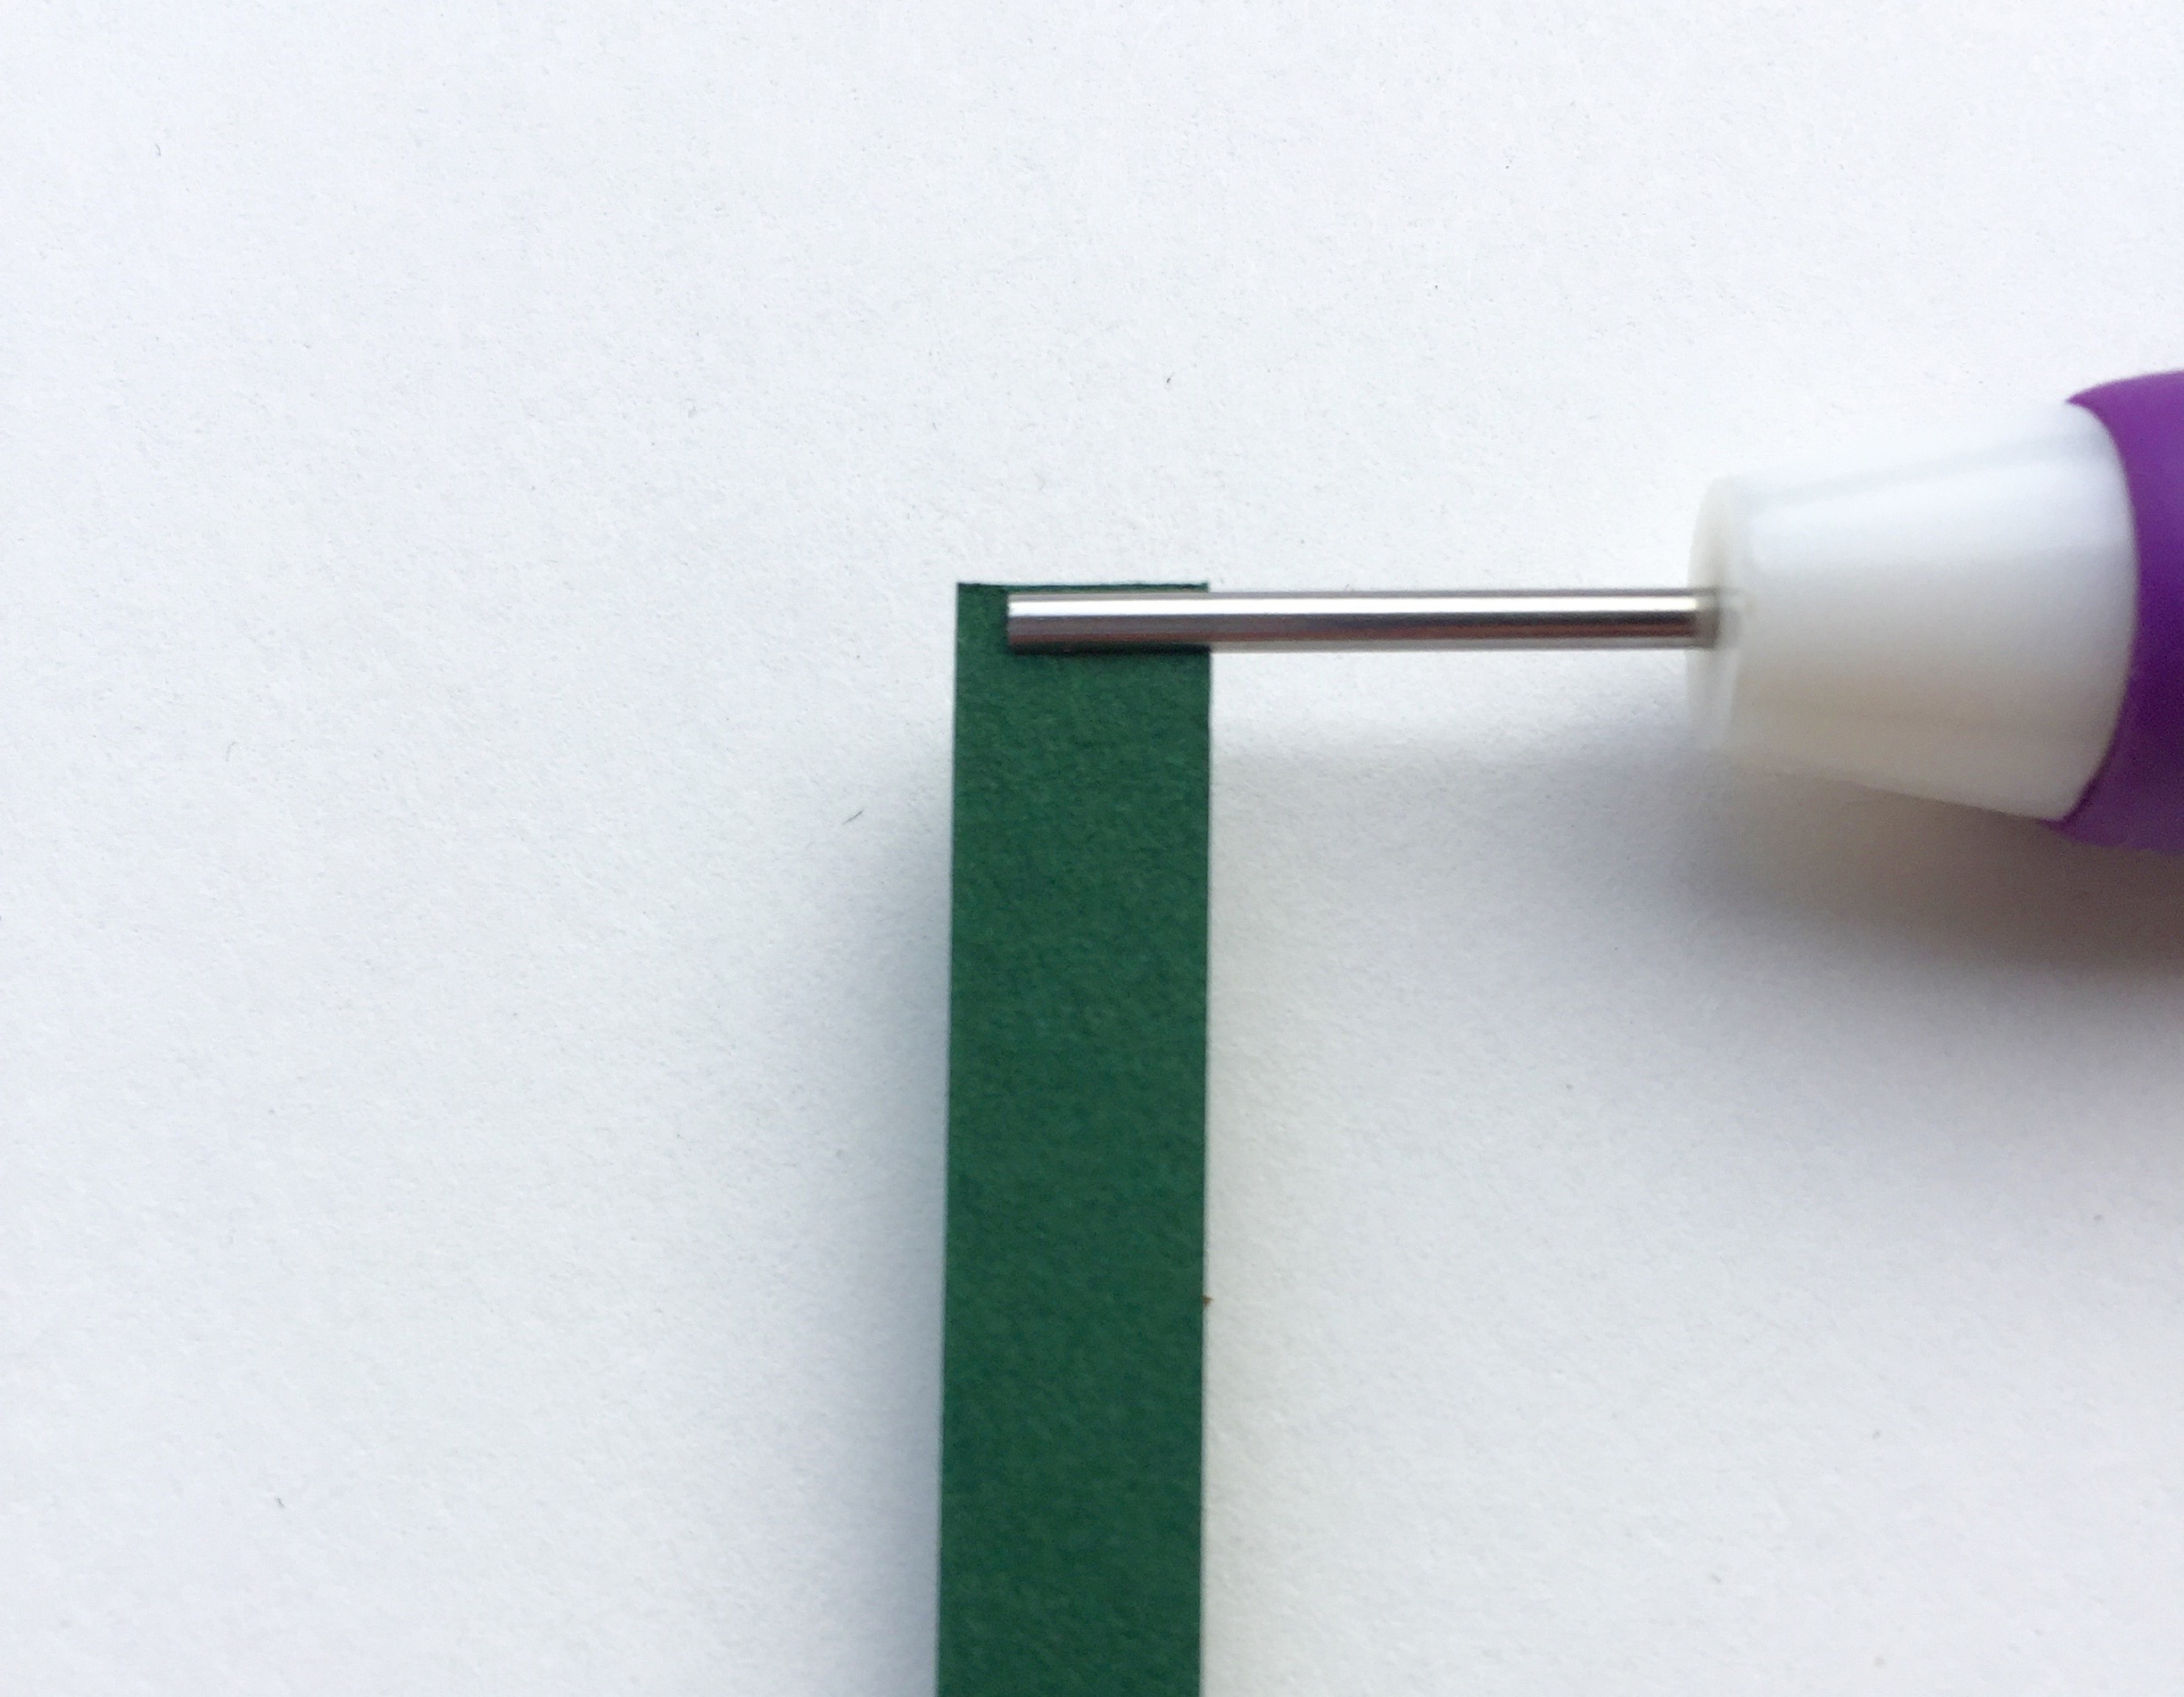
For beginners, I recommend using 1/4″ wide quilling paper. The wider width gives you more to grip and it is easier to manipulate. Once you have the shapes mastered, you will find it much easier to quill with narrower strips if you wish. Cut the strips 8.5″ long for the purposes of this tutorial.
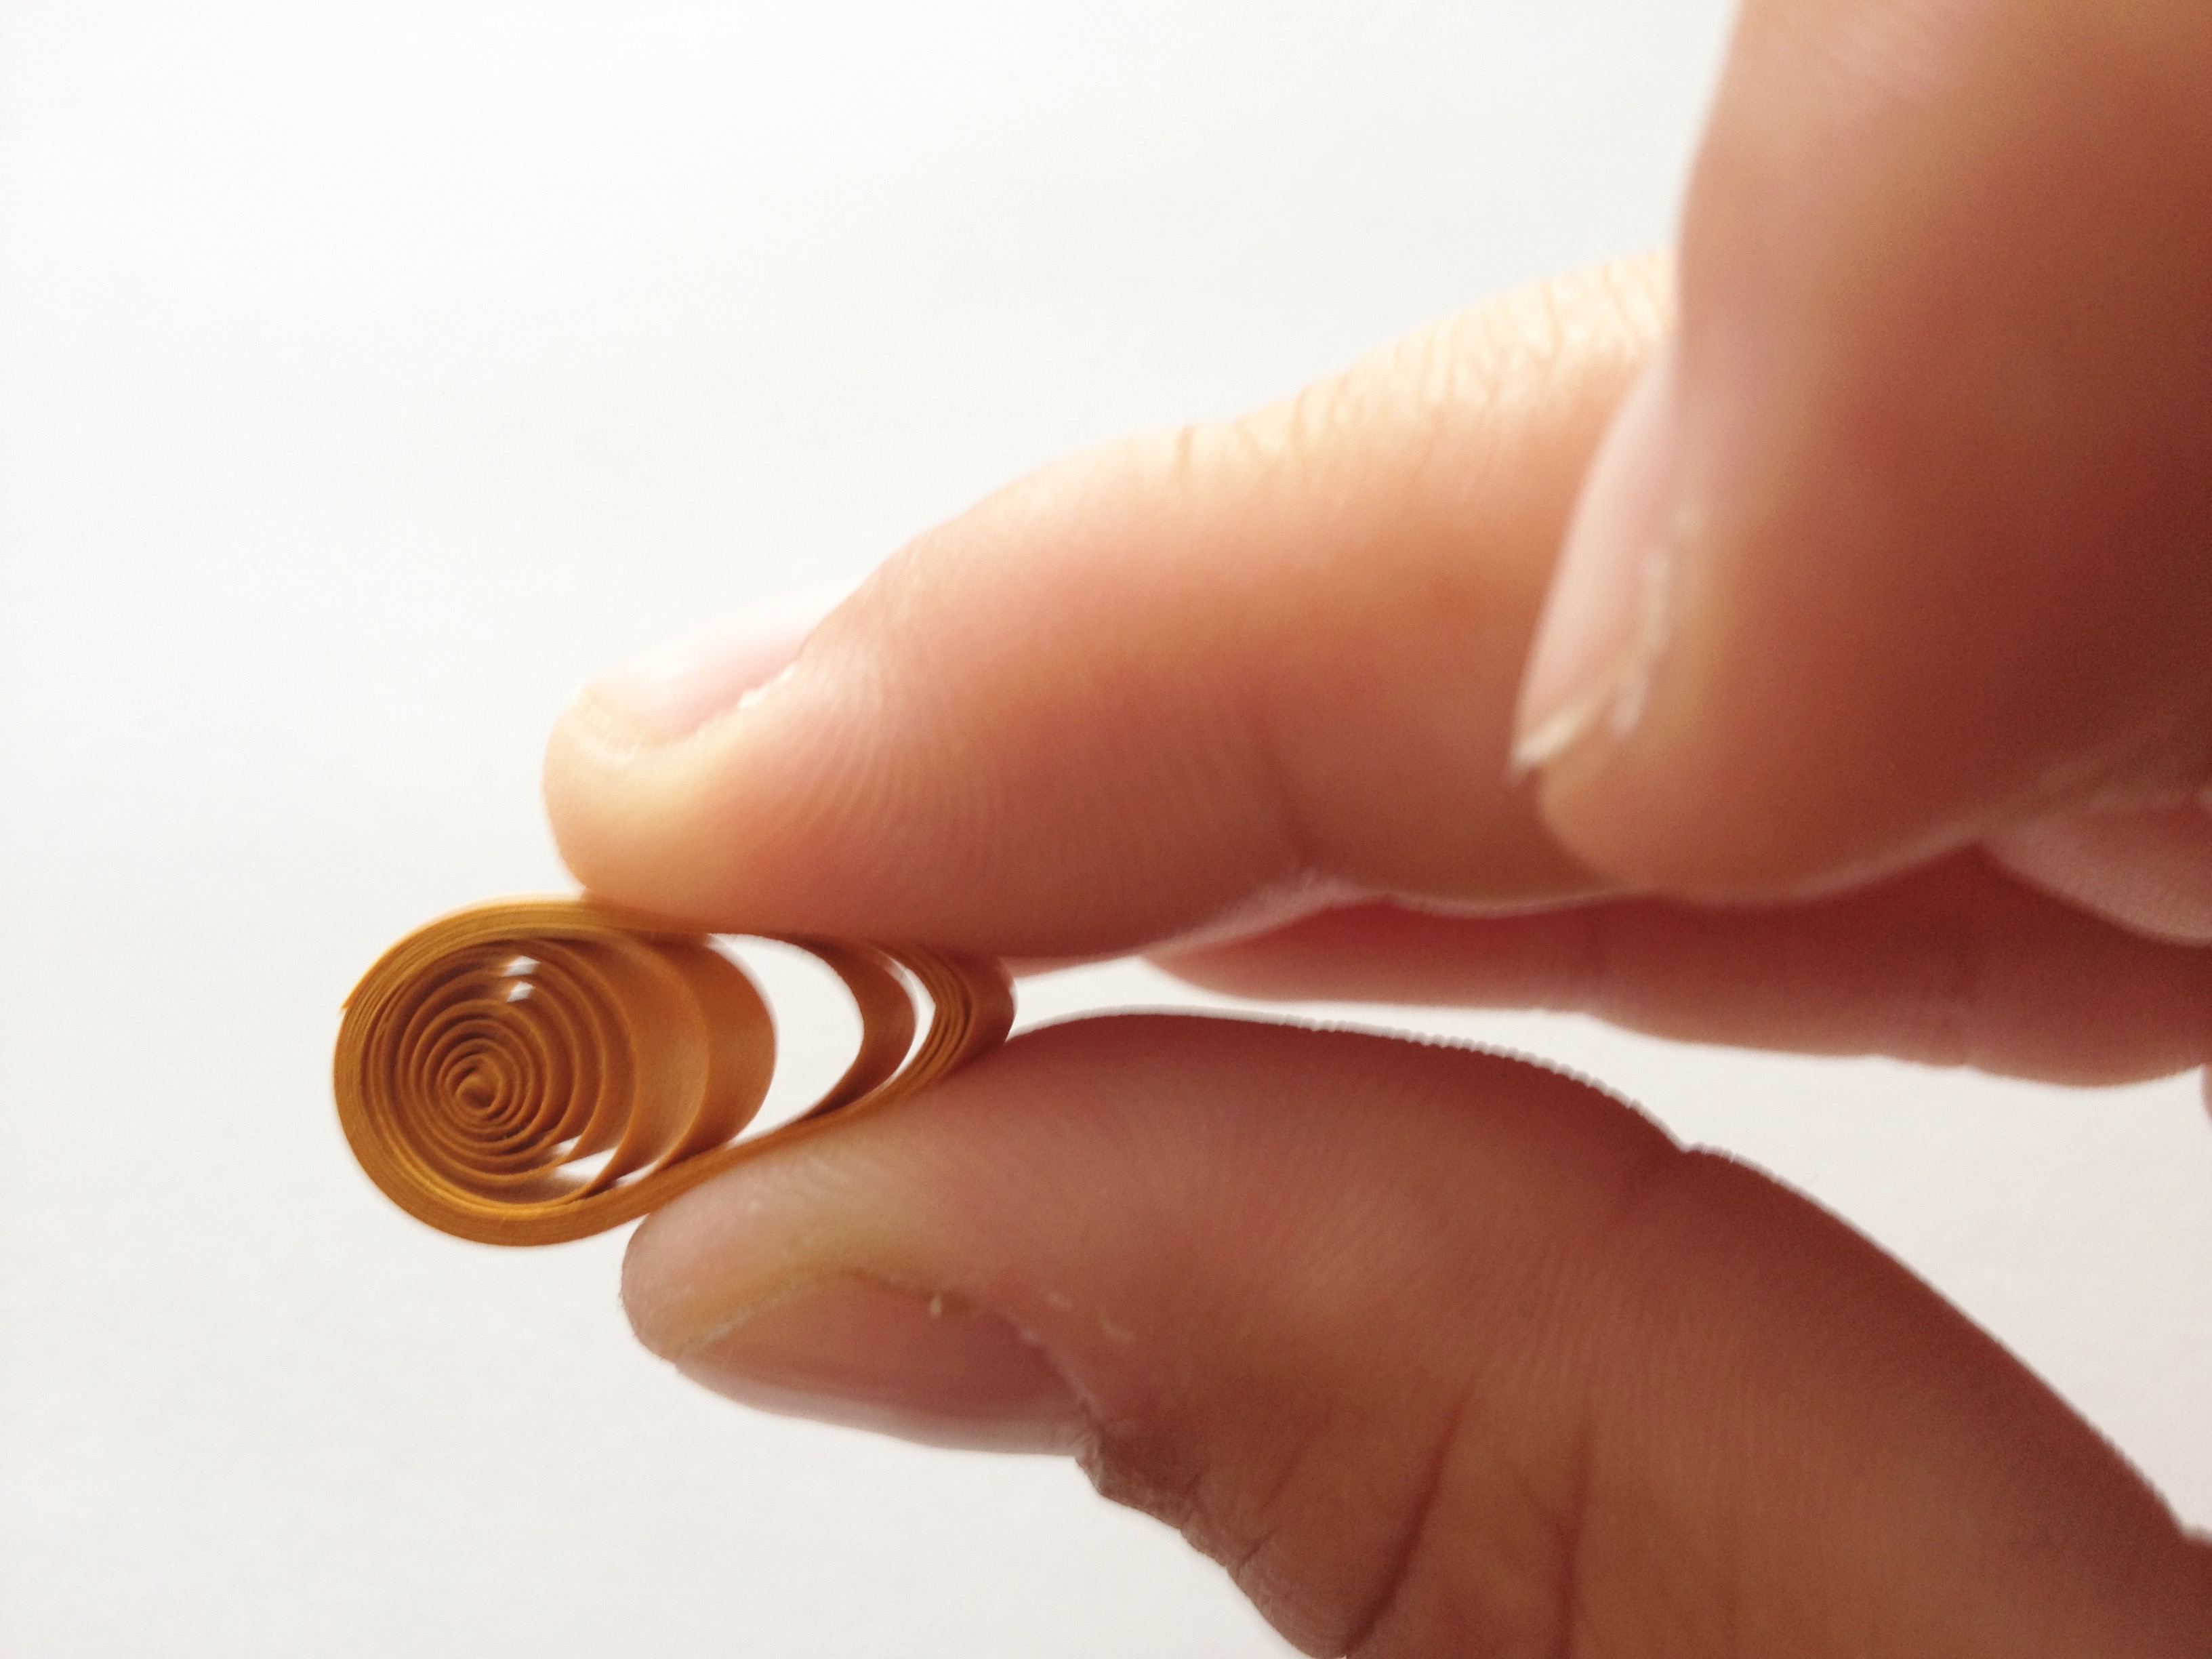
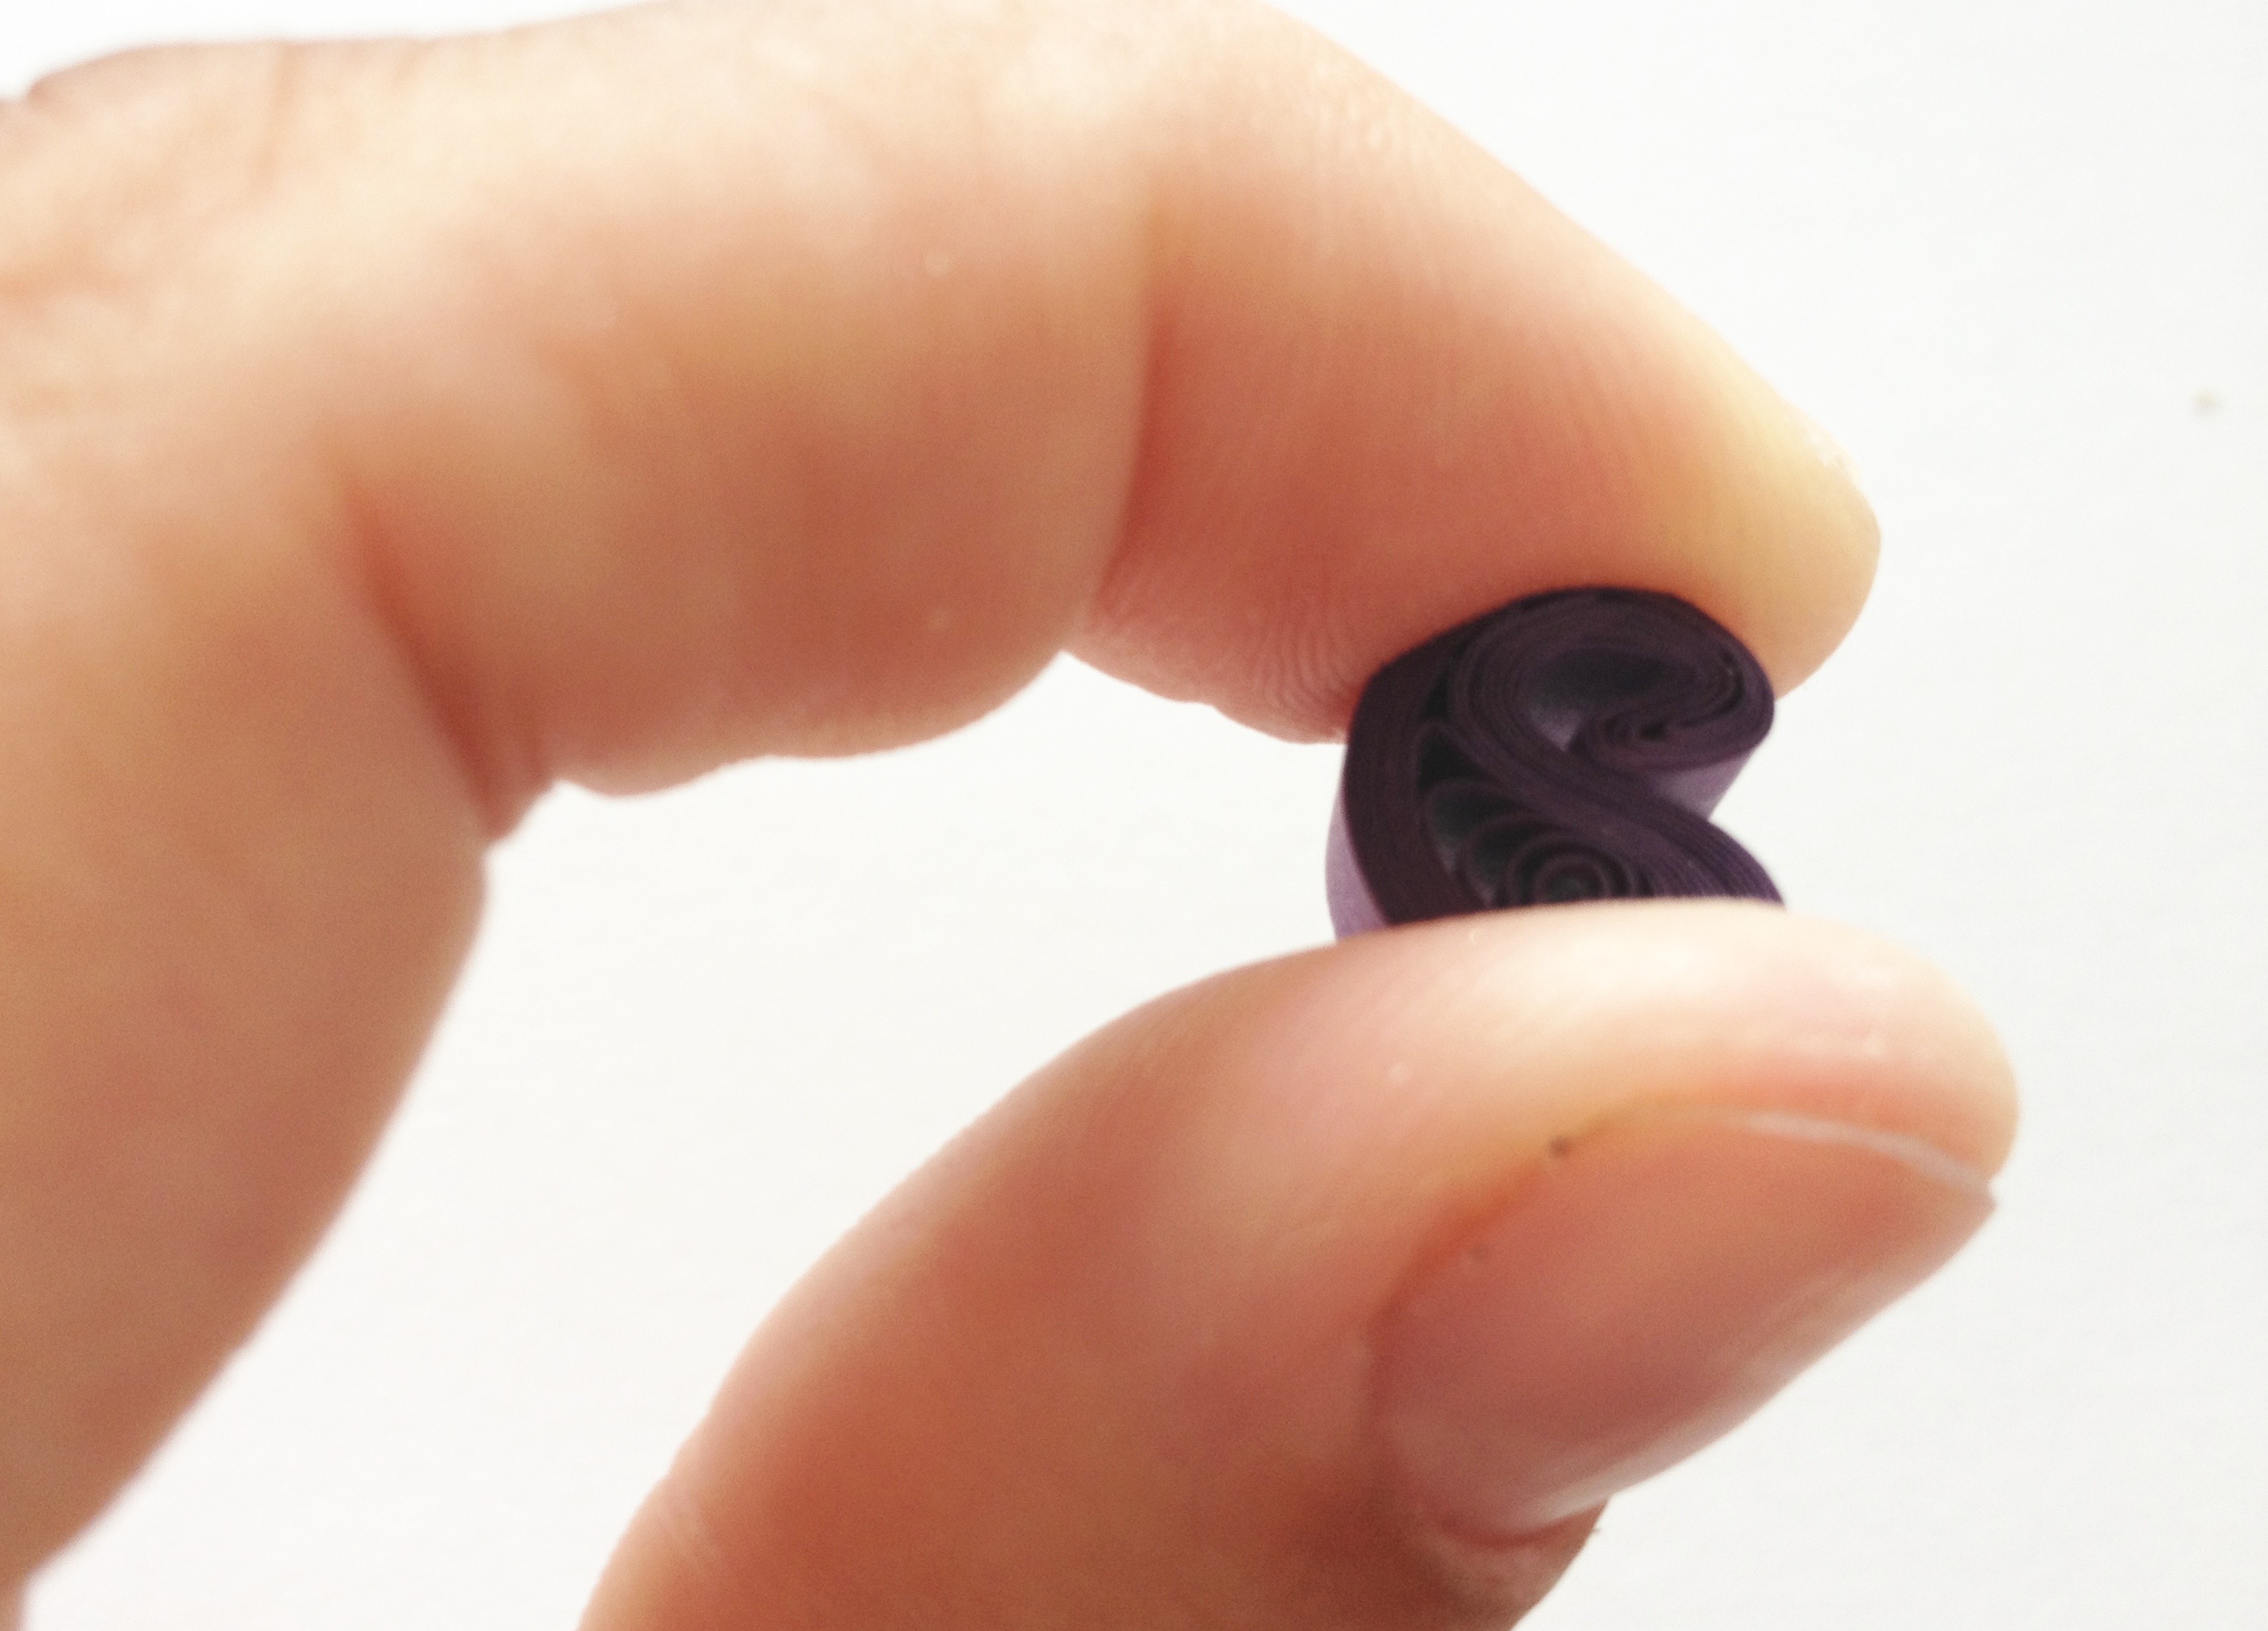
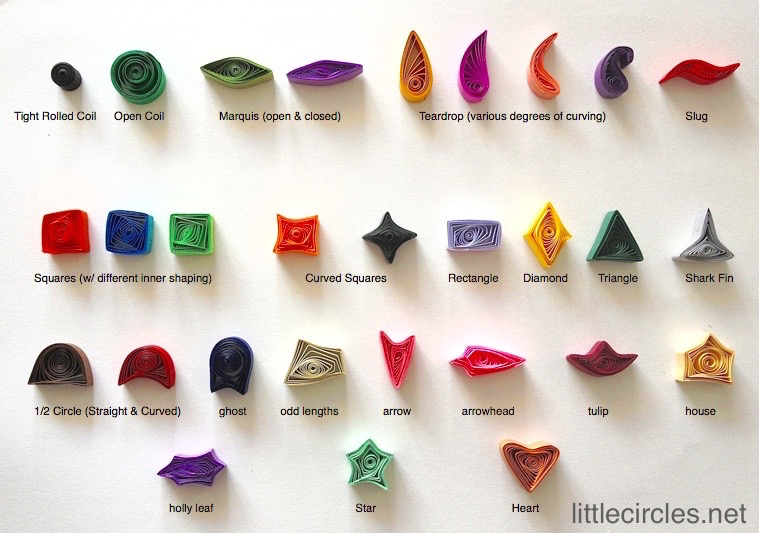
How to make open and closed coils
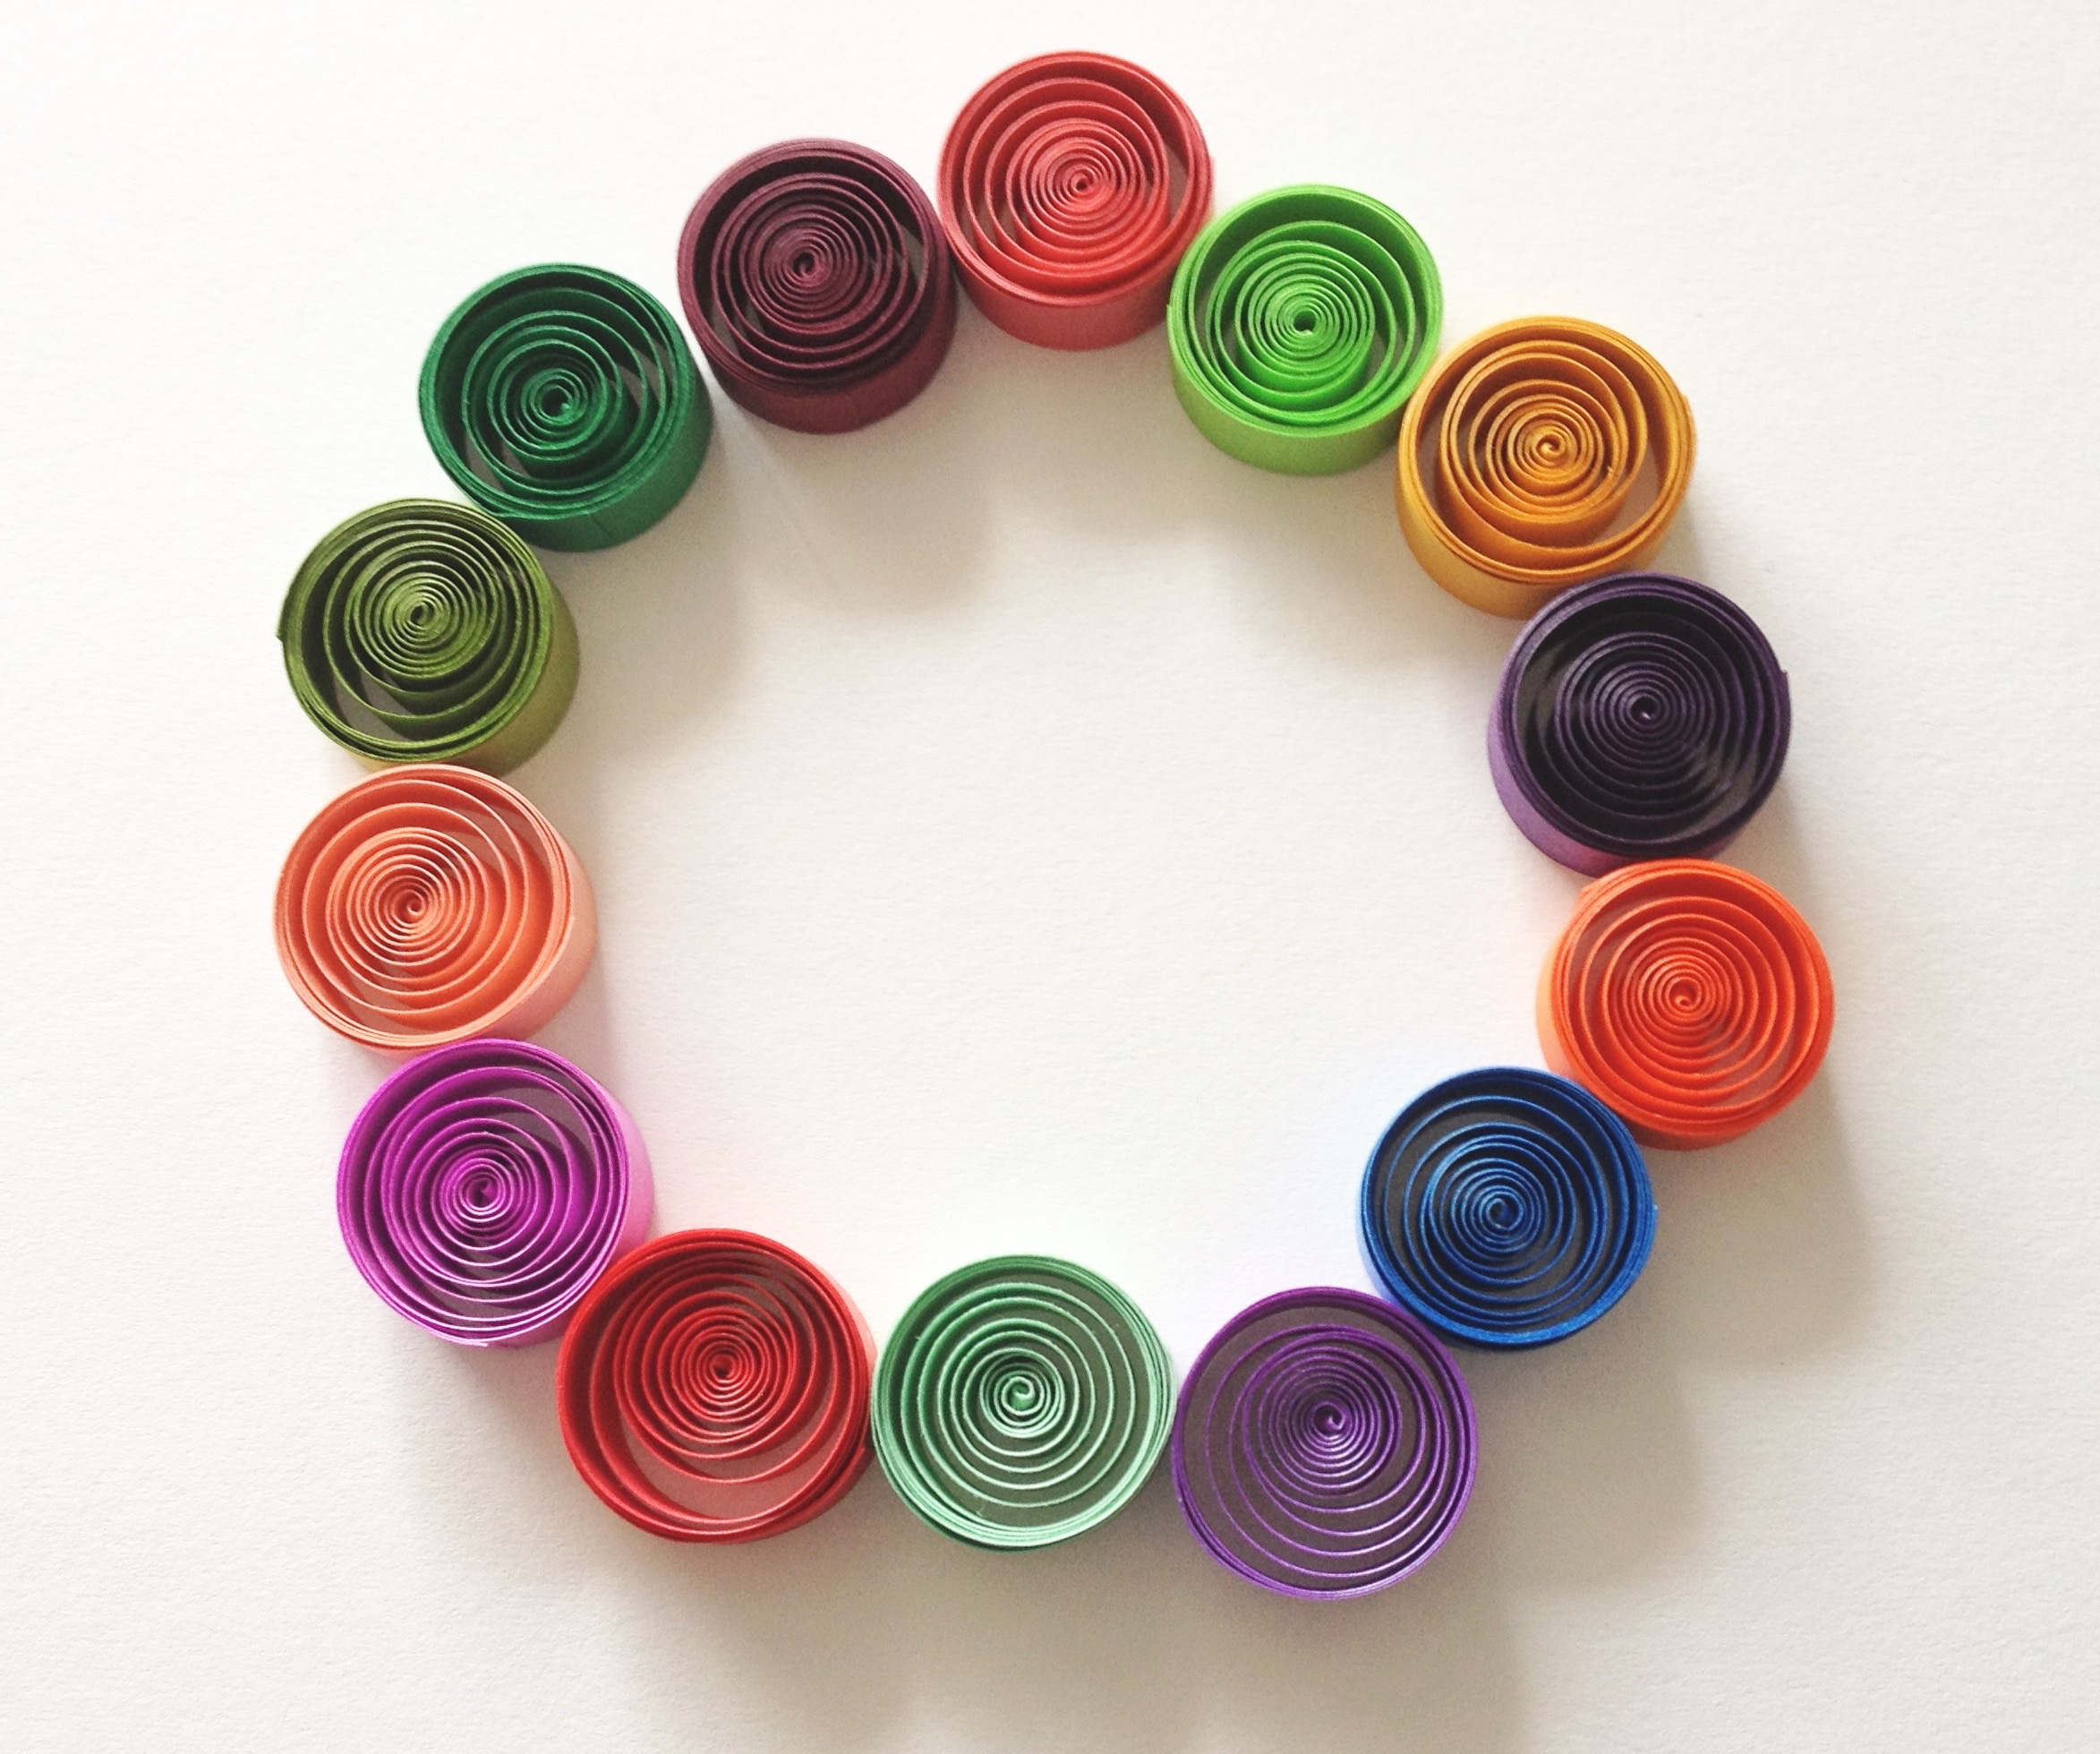
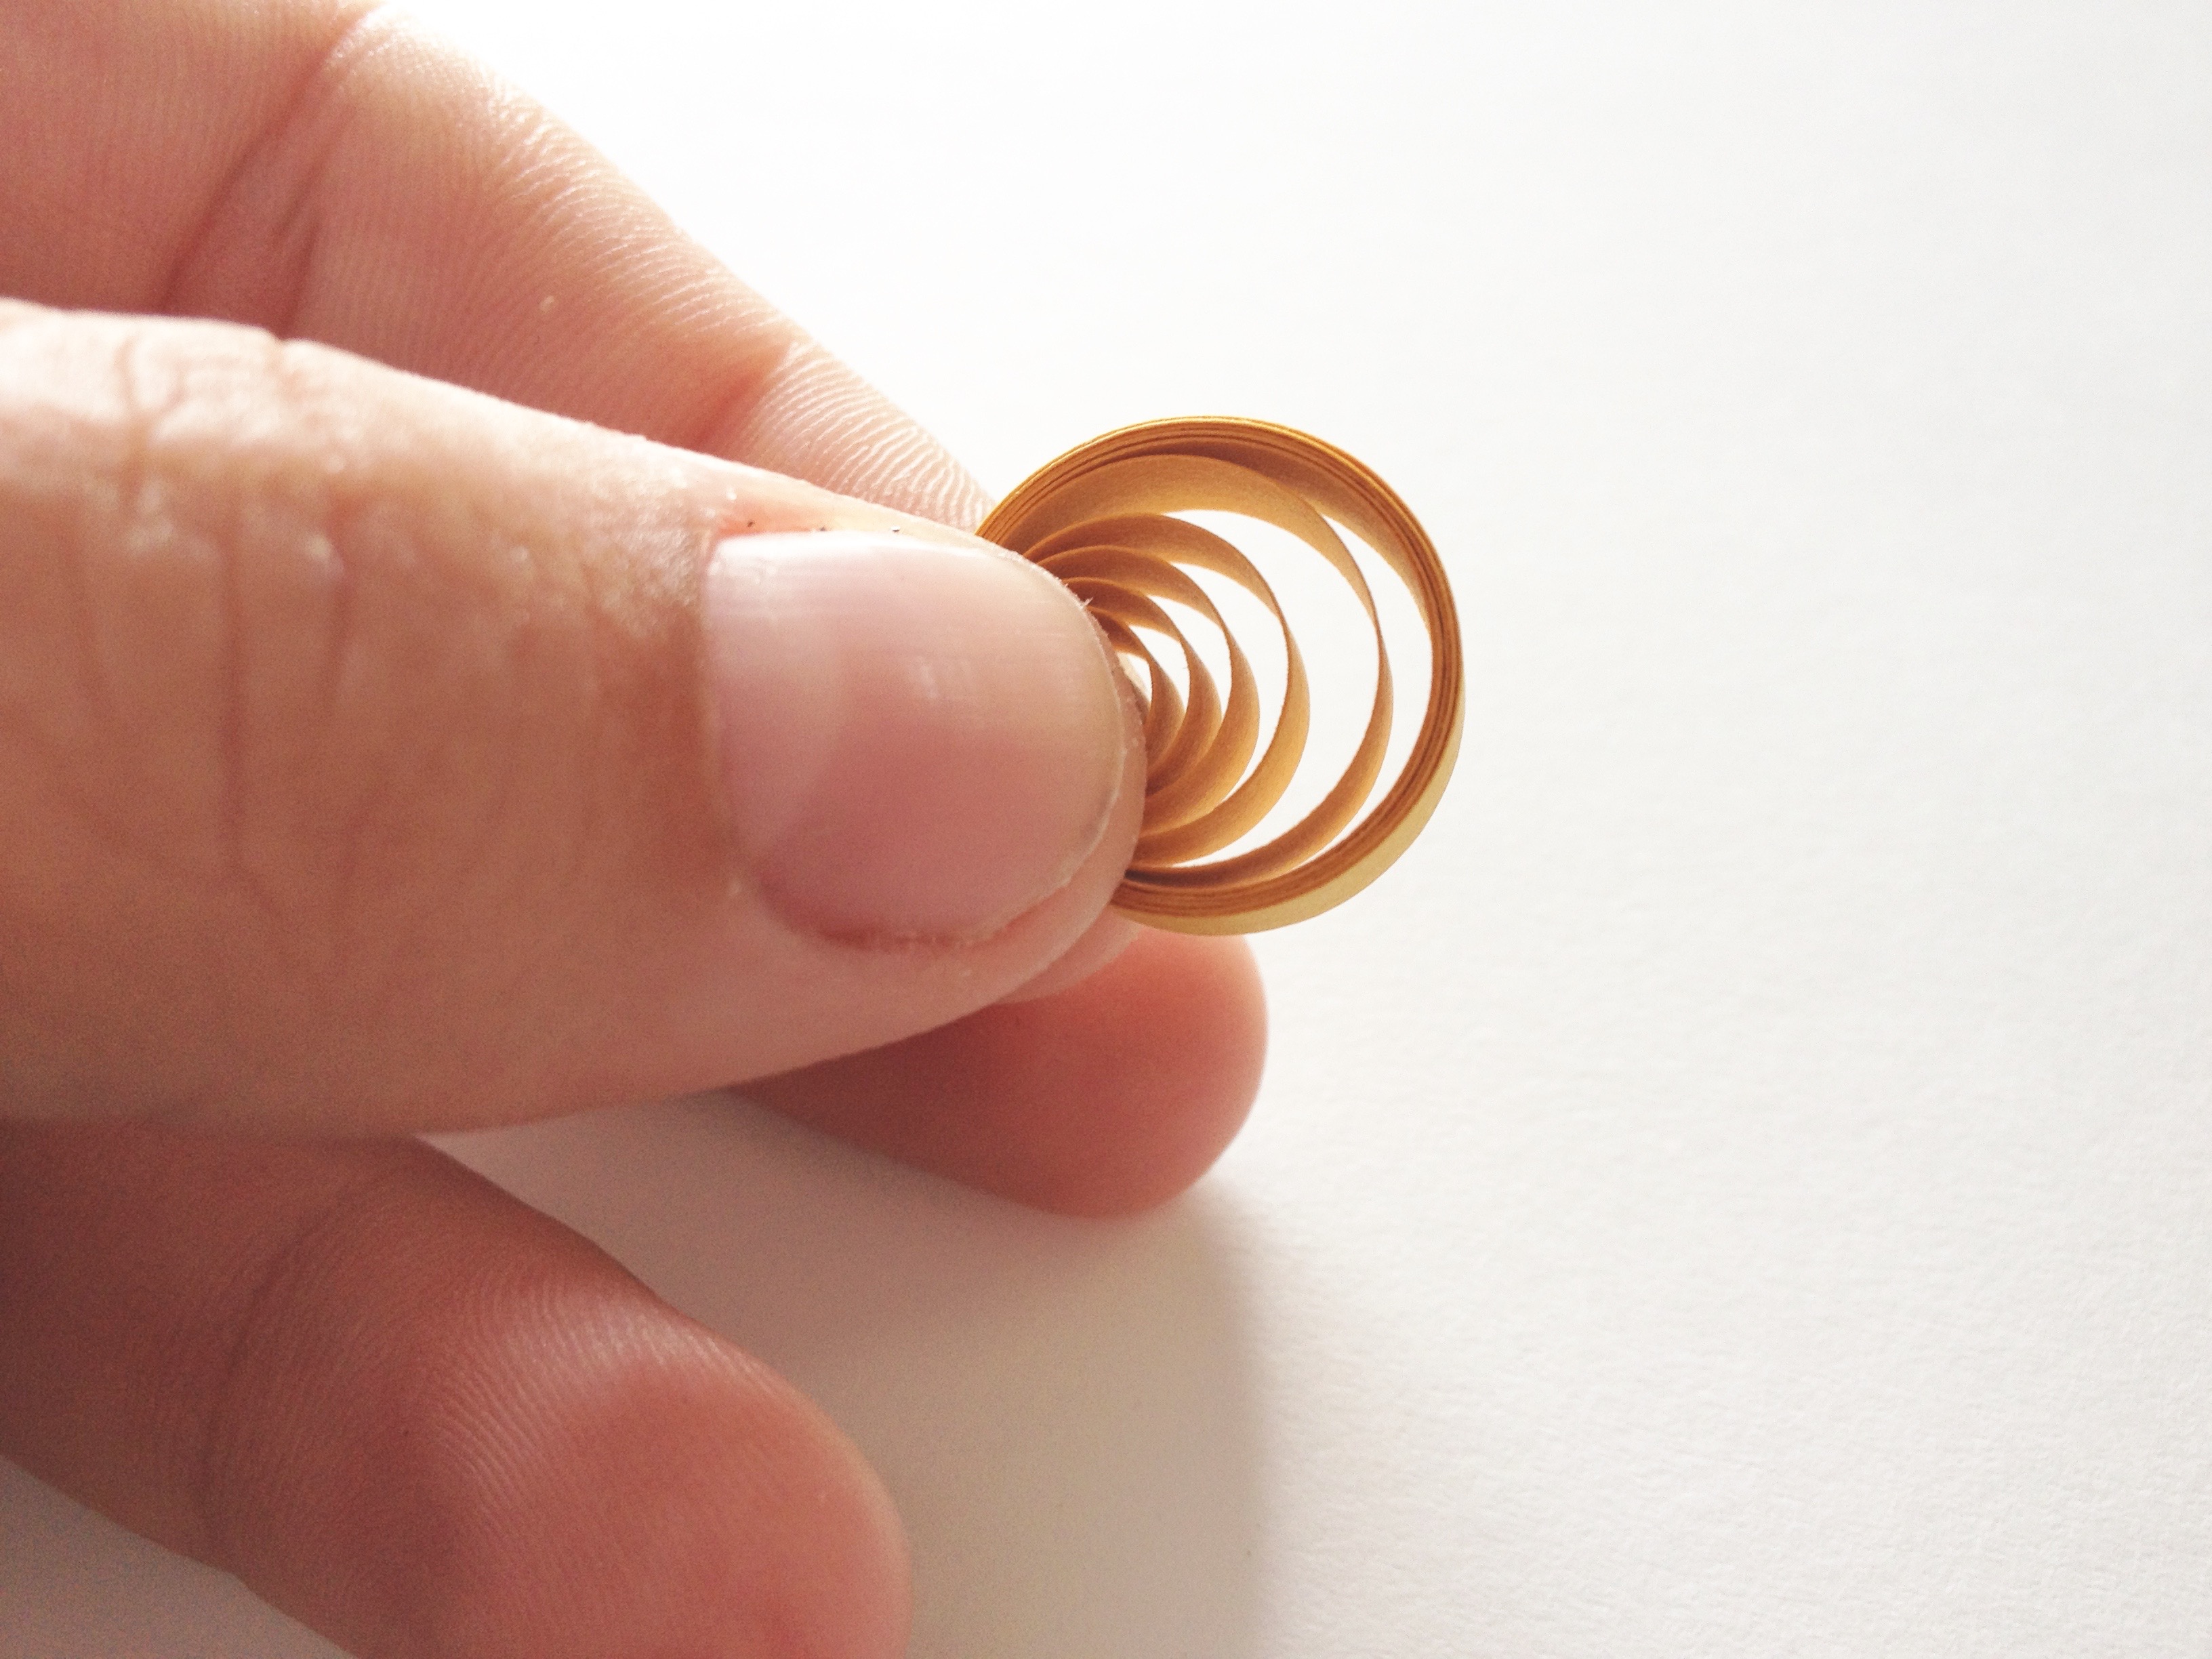
Simple circles are the first shapes you’ll learn, as they are the base for most other shapes you’ll create.
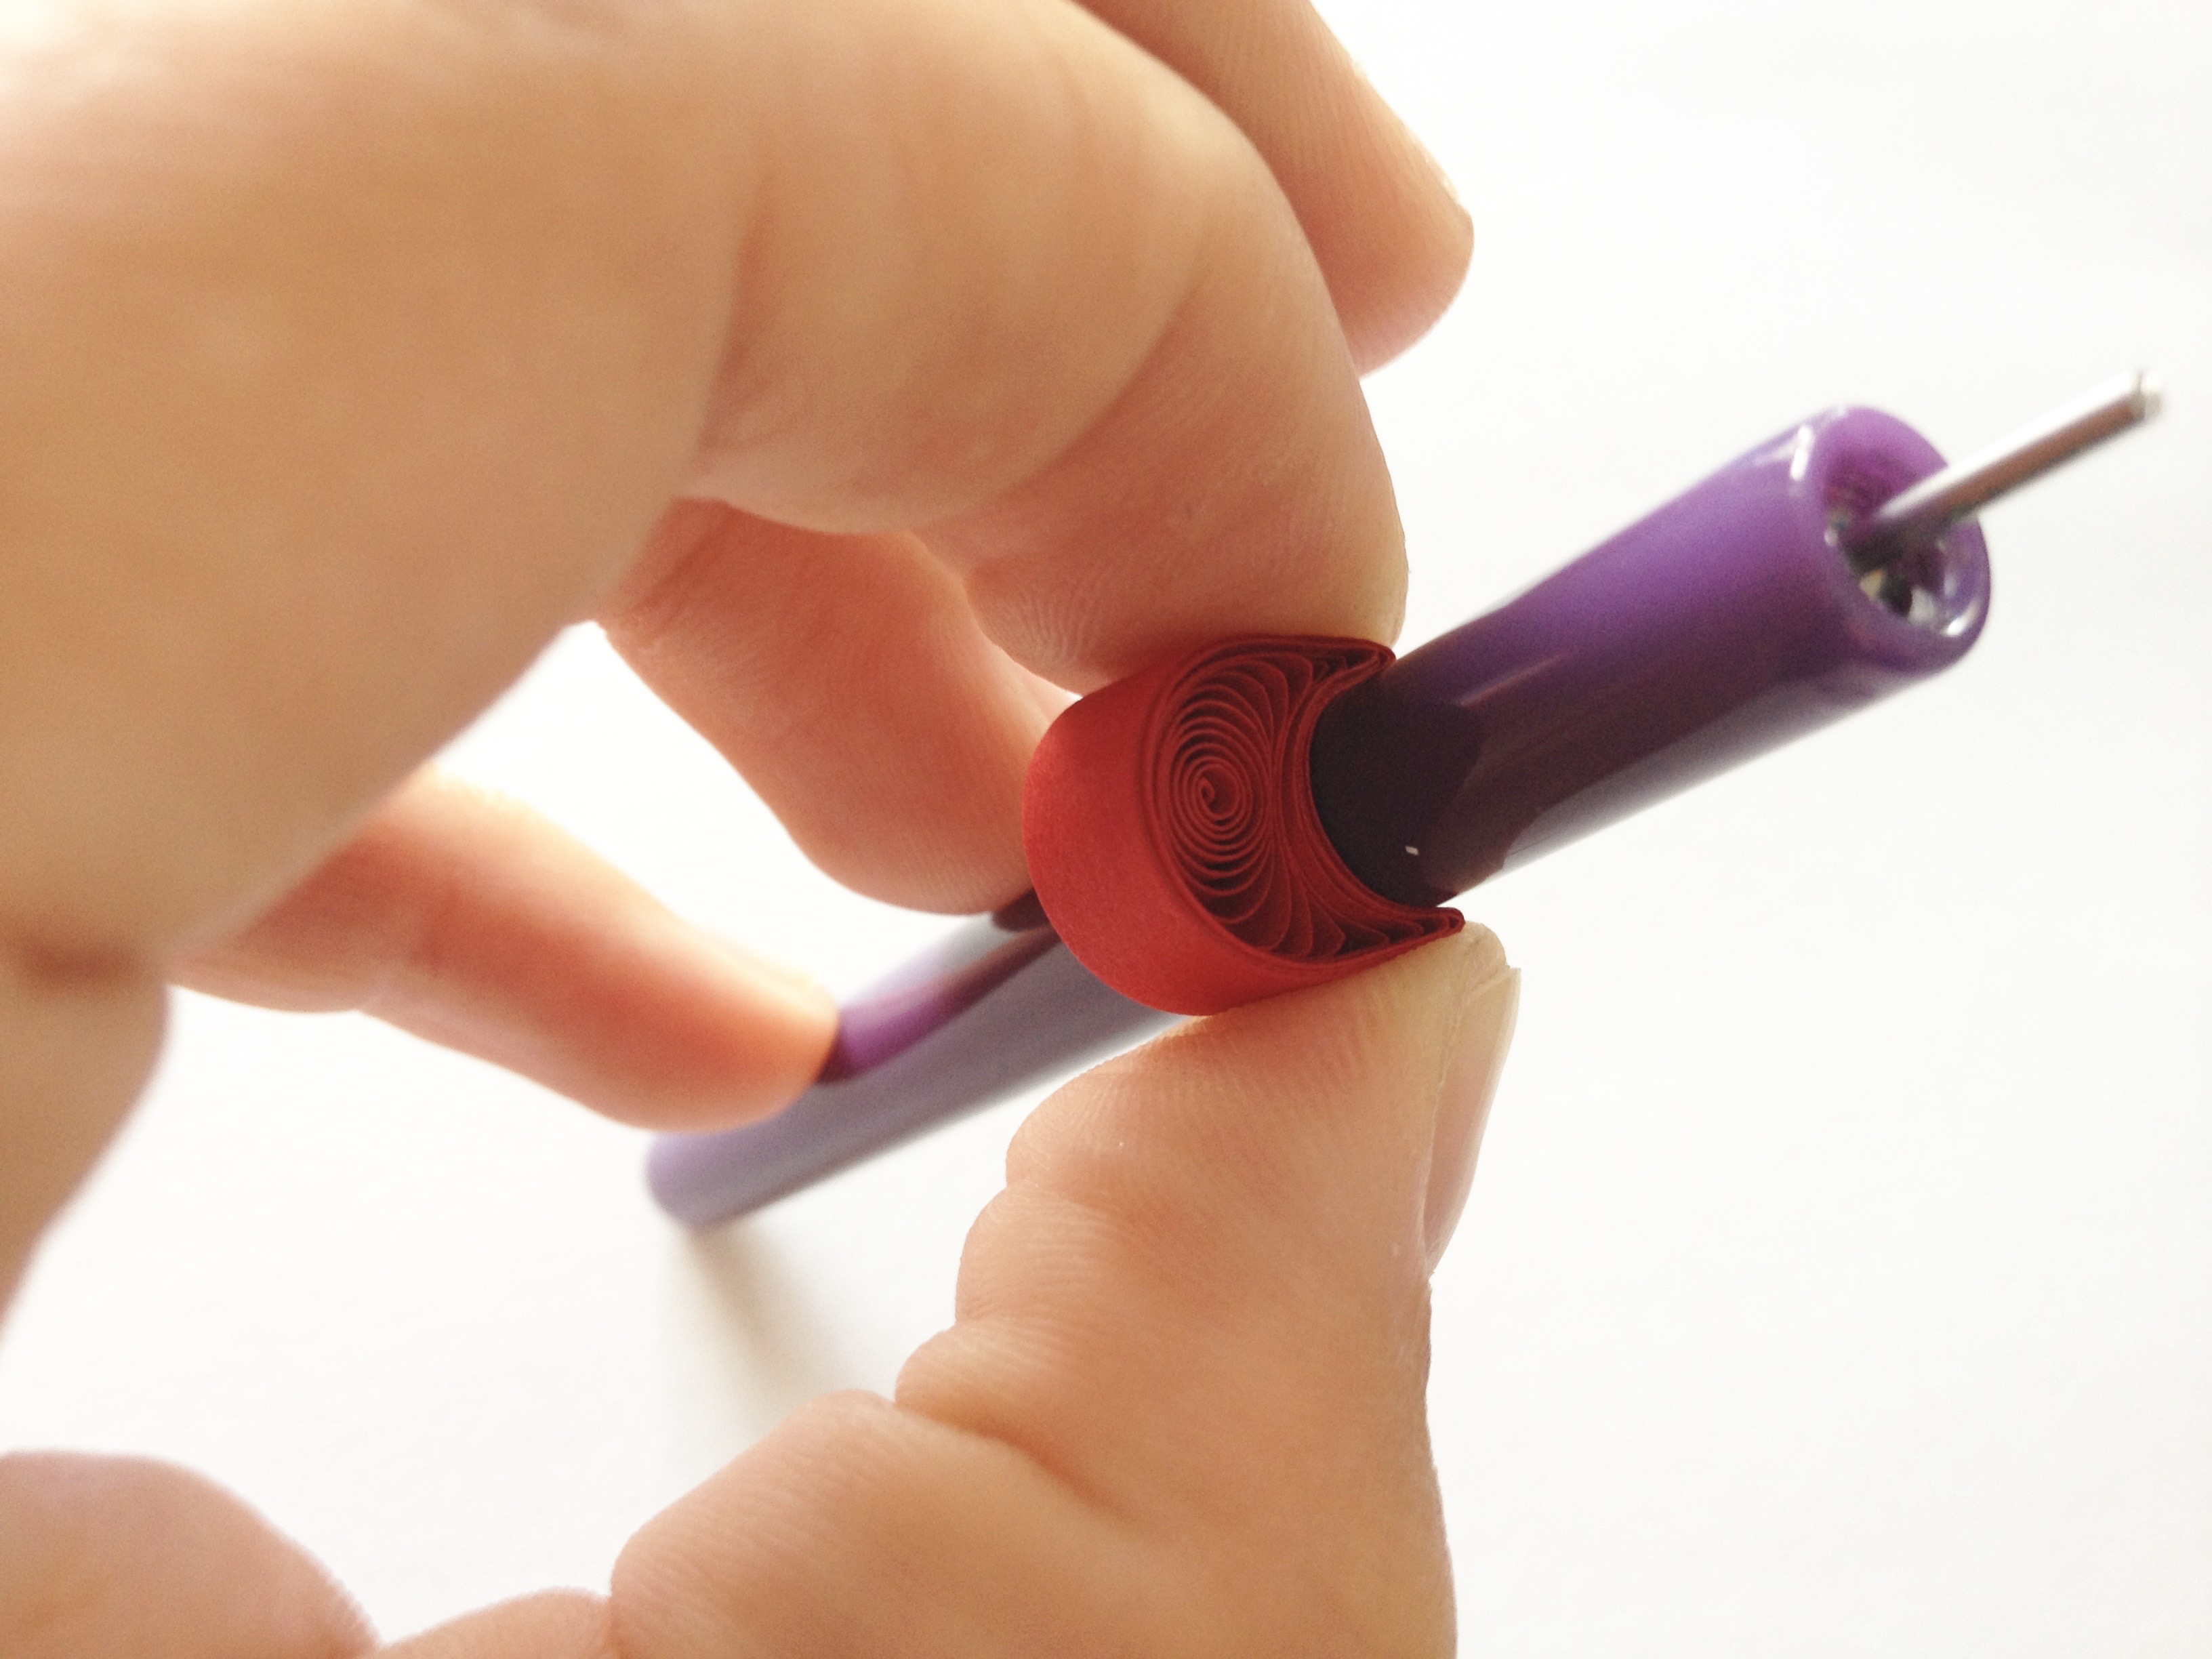
Step 1:
To begin, insert a piece of quilling paper into the slot of your quilling tool. Try to get the edge of the paper and the edge of the slot to line up as perfectly as you can. Using a slotted tool will naturally leave a small crimp in the center of your coil, but if you allow the paper to hang over the edge of the tool, the crimp will be much more visible.
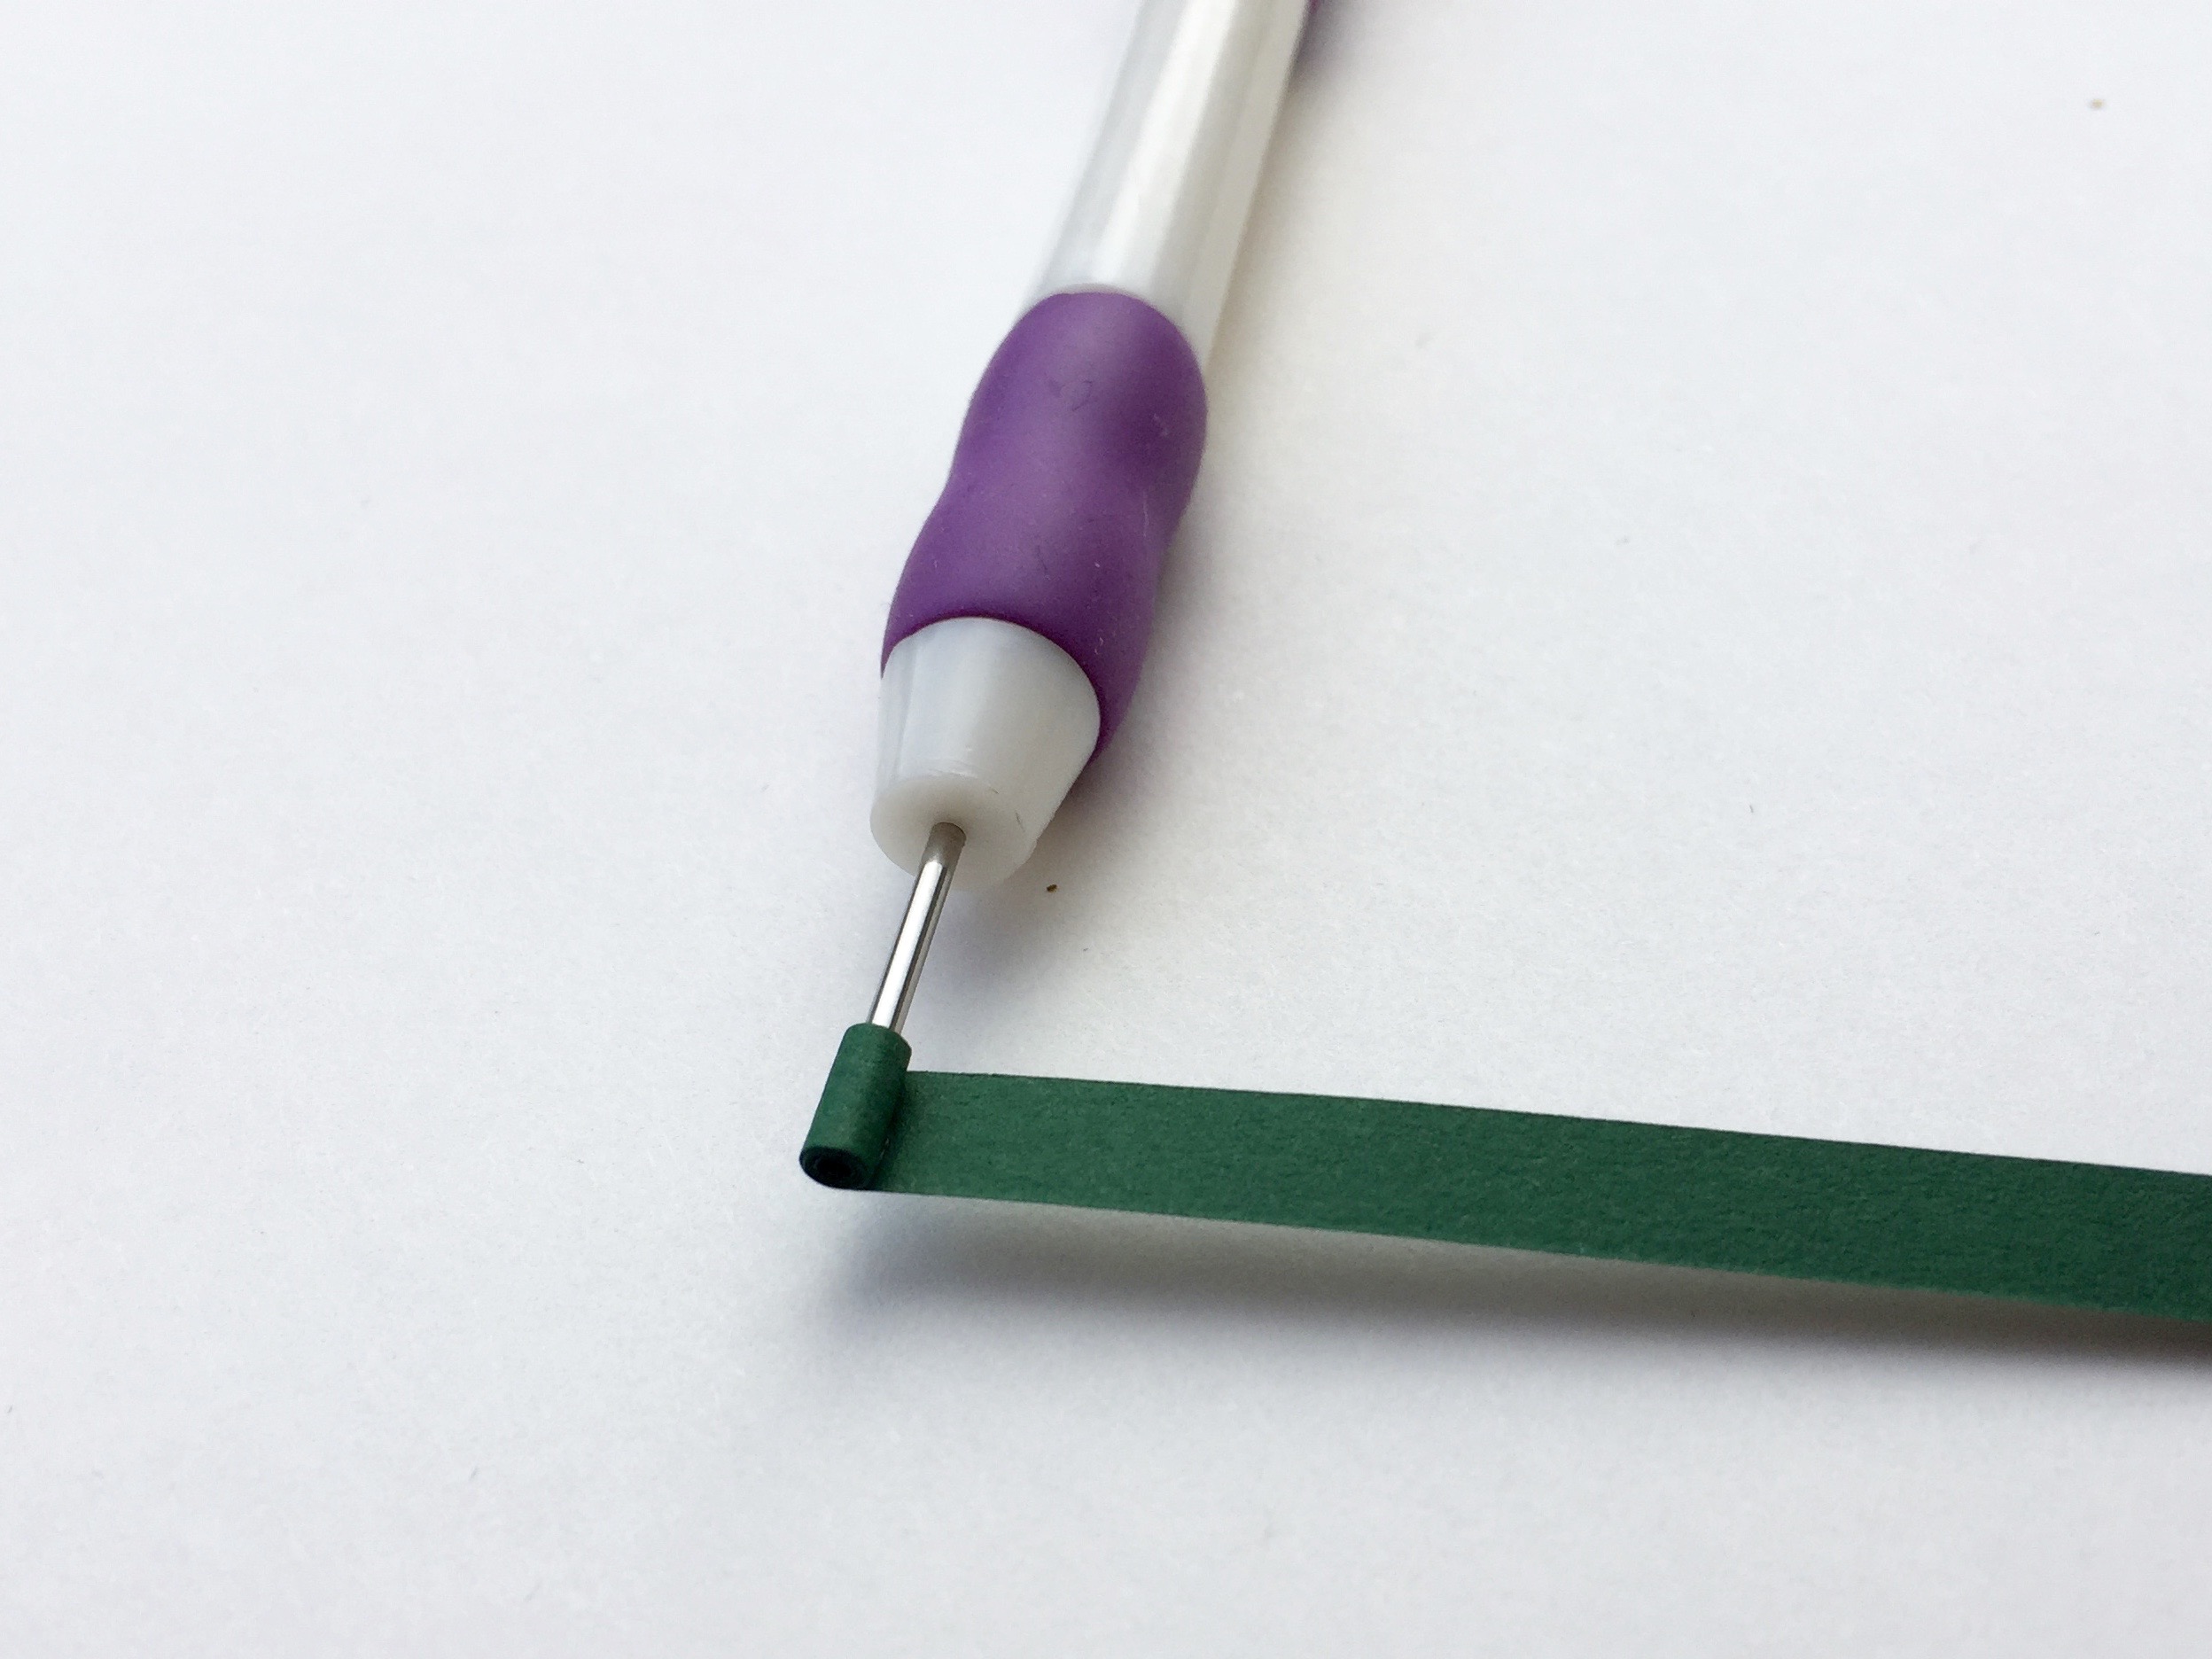
Step 2:
Roll the tool with your dominant hand either towards your body or away from it; whichever feels most comfortable to you. Hold the strip taught with your other hand.
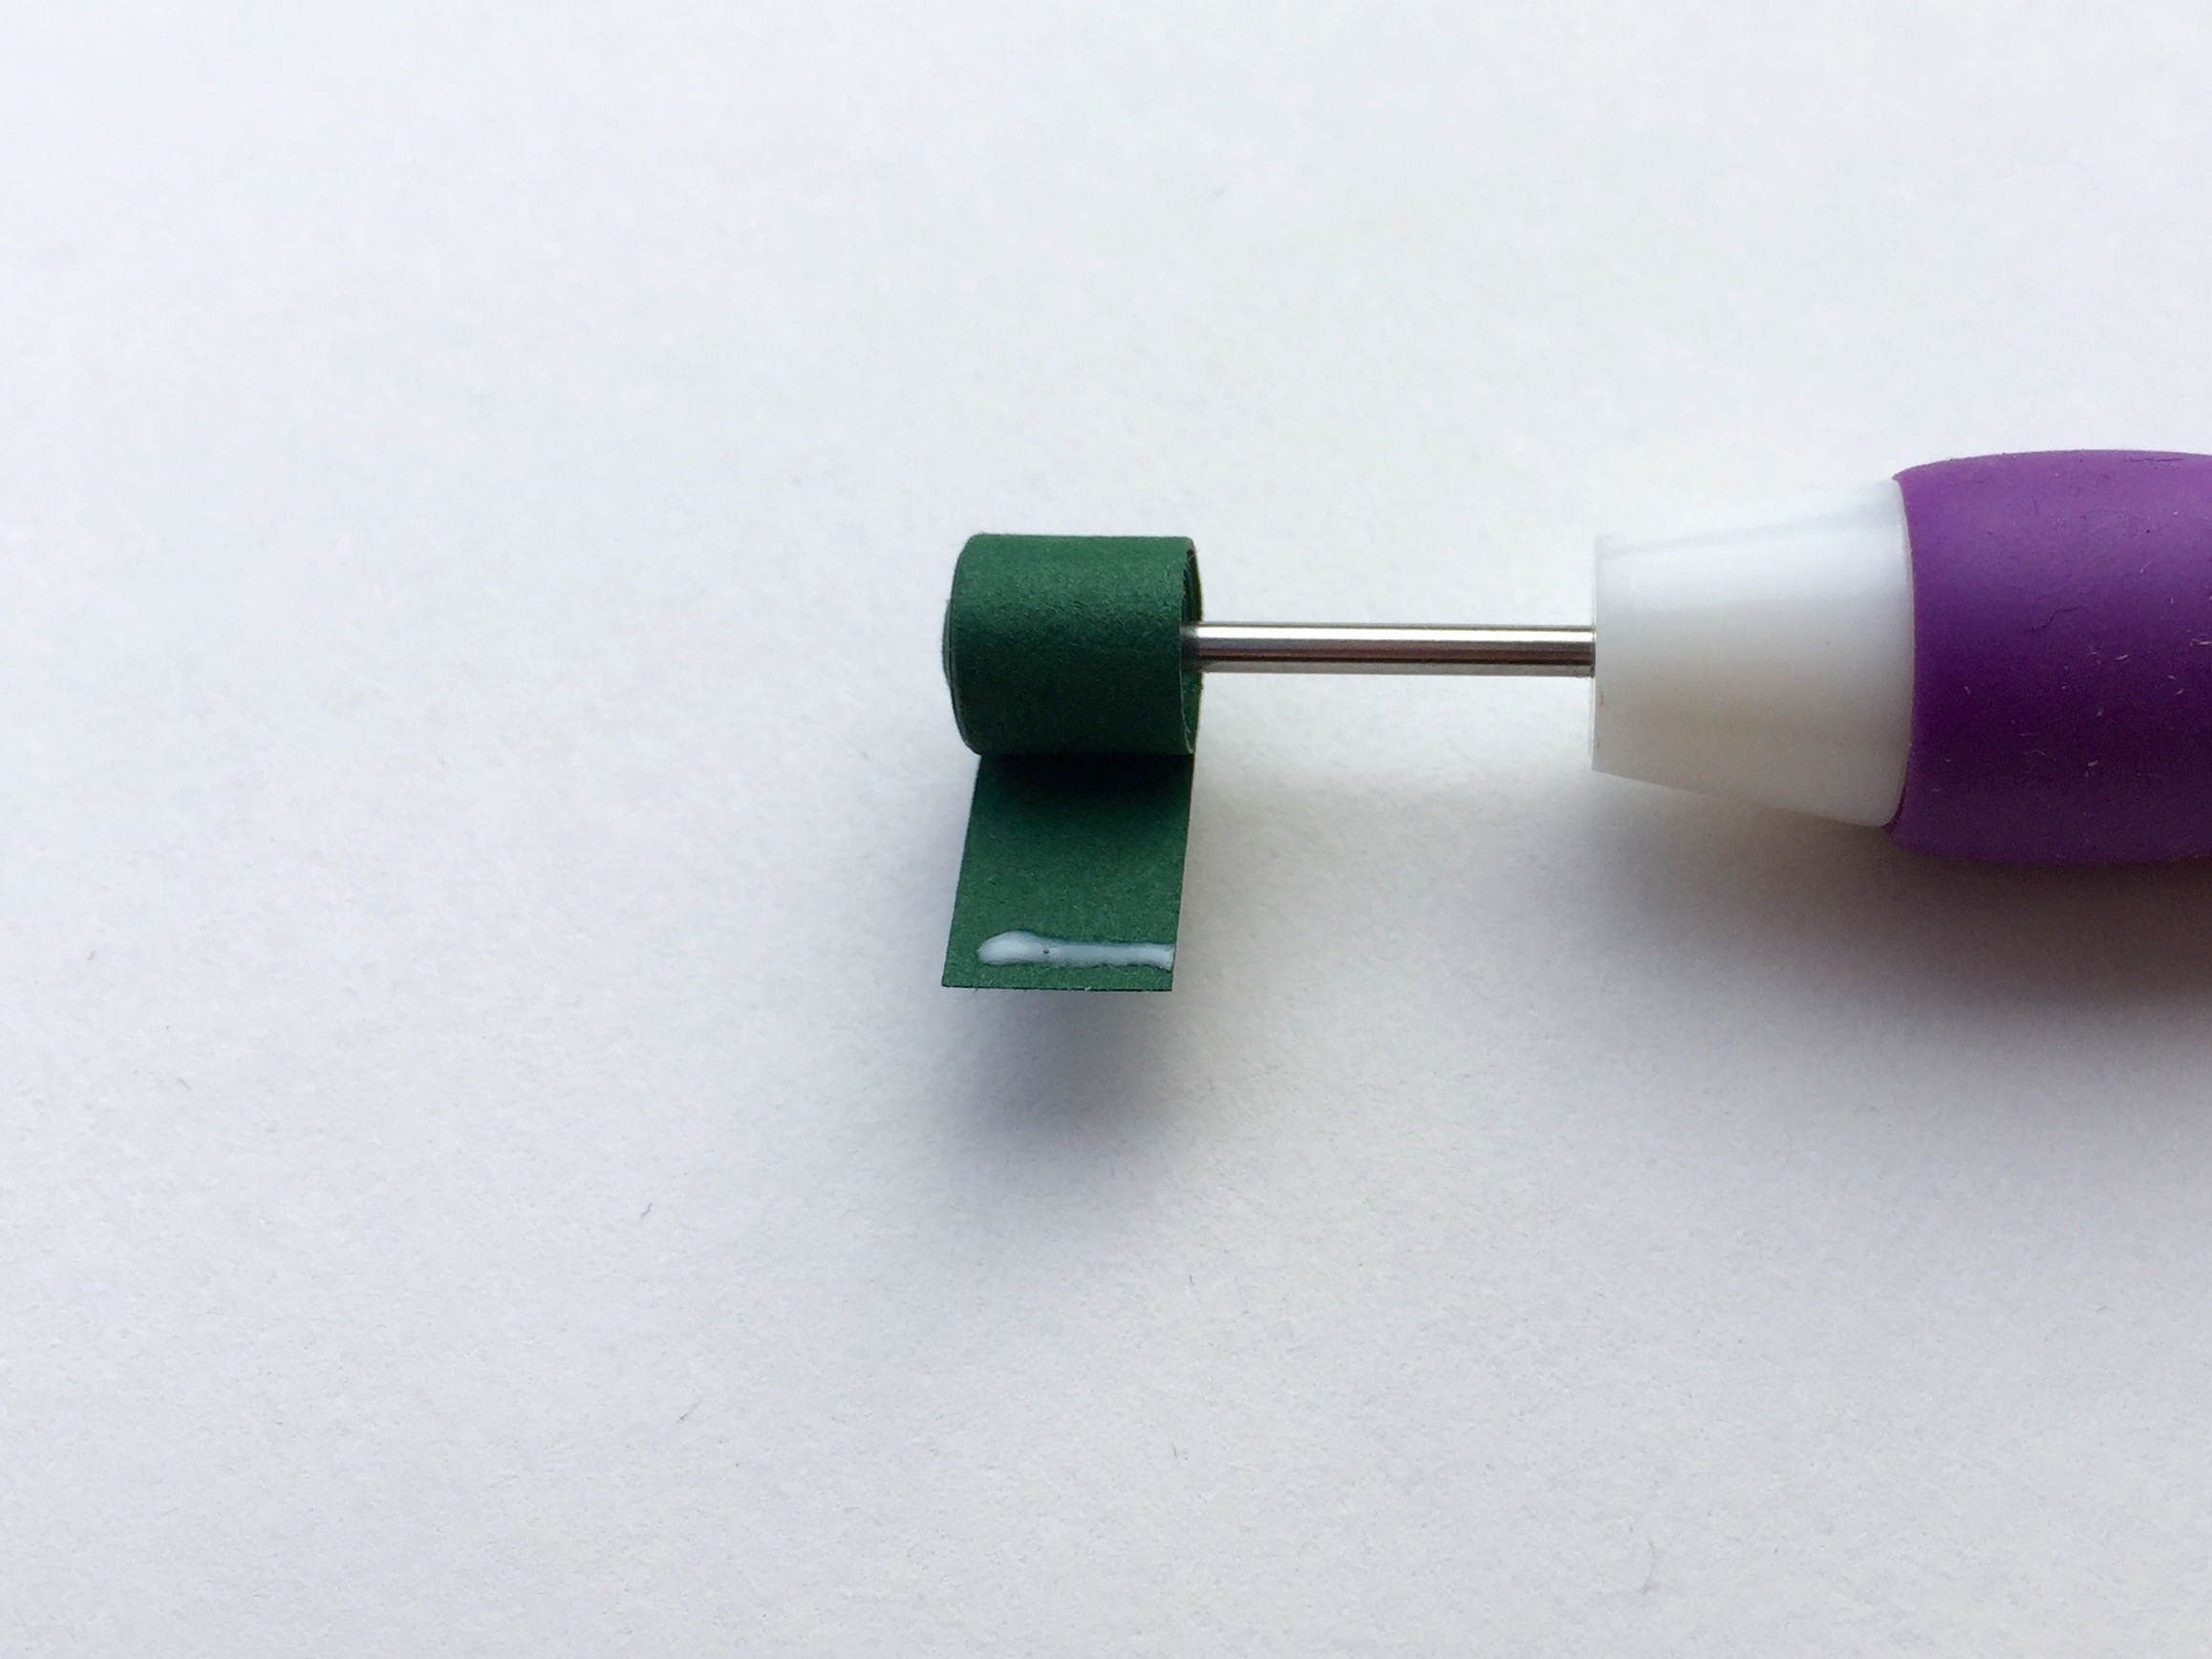
Step 3:
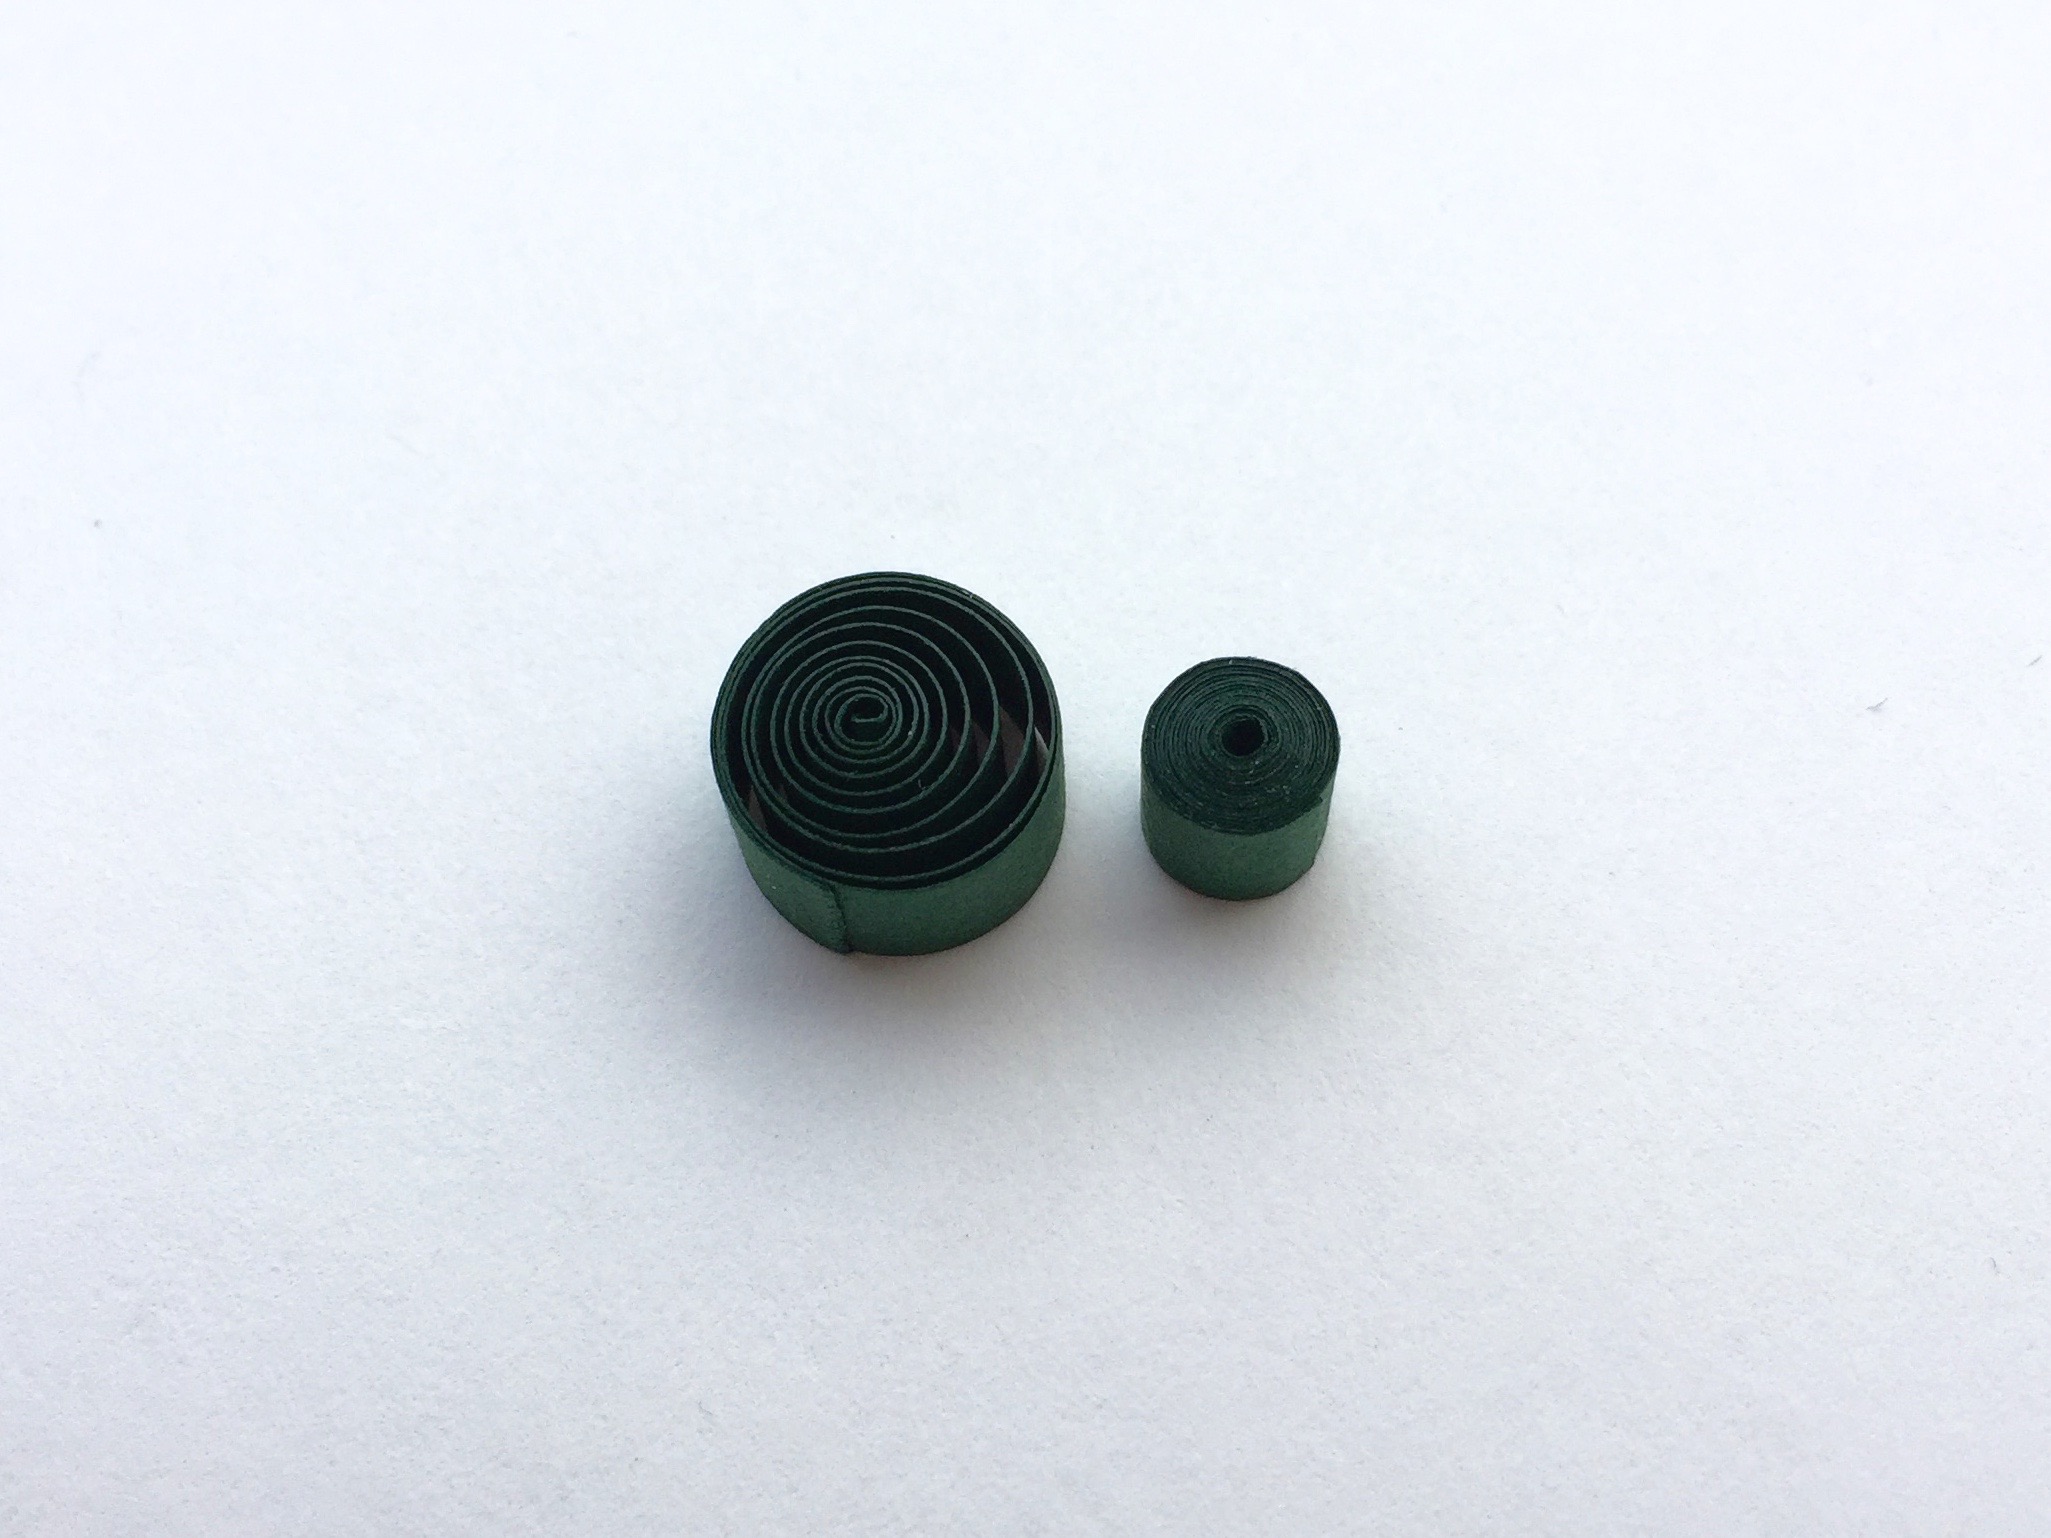
To make a closed coil, as you near the end of the strip, place a small amount of glue near the end of the strip and roll to complete. When you remove it from the tool, do not allow it to expand — that’s what keeps it tight.
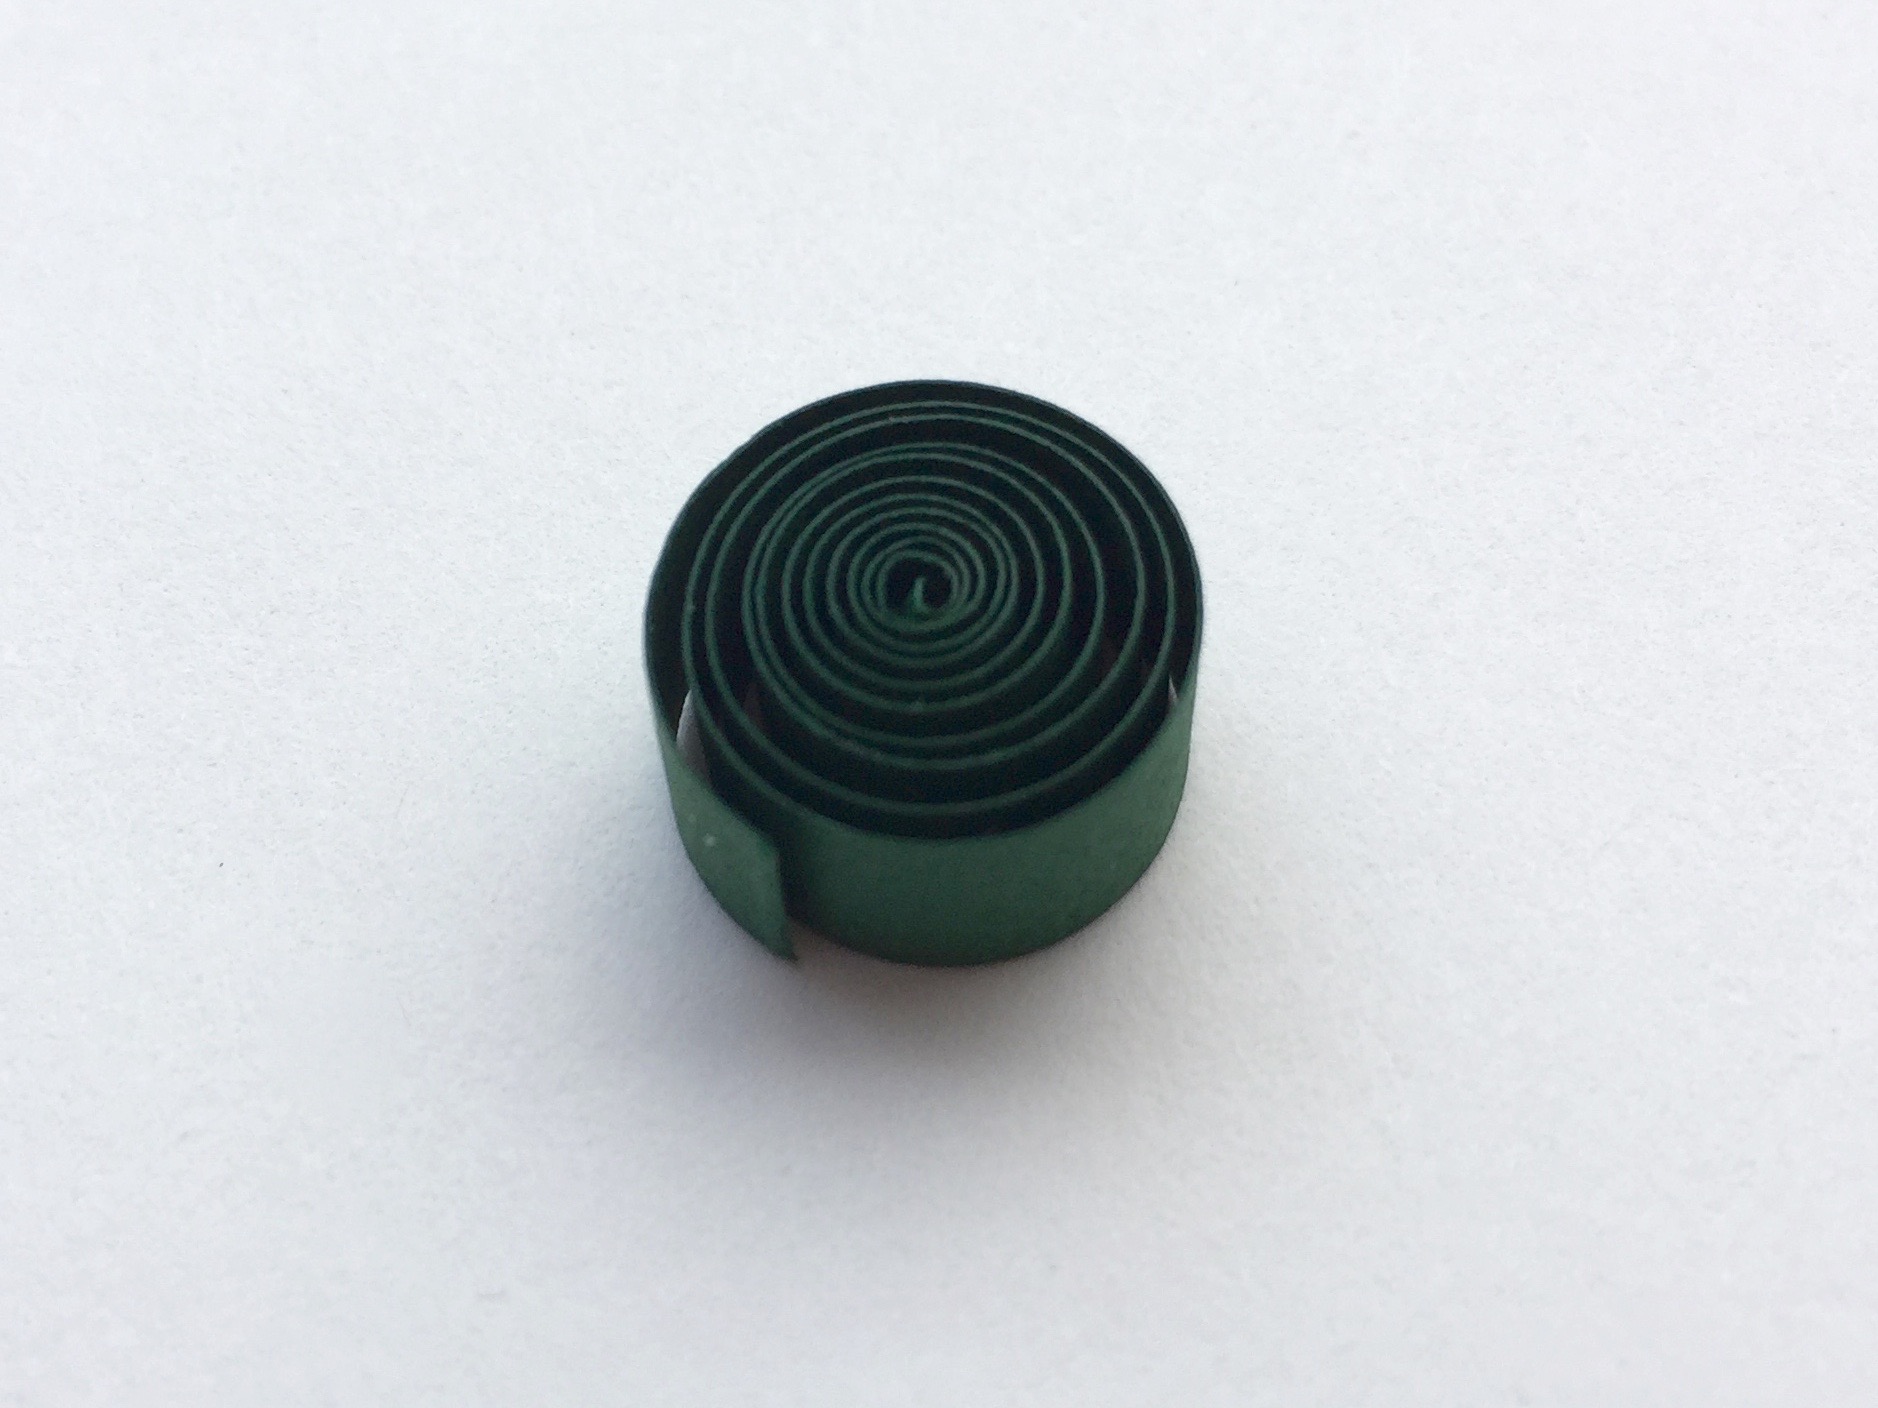
To make an open coil, remove the coil from the tool and allow the coil to expand. Once it has fully expanded, add the dab of glue and press the strip down carefully to secure.
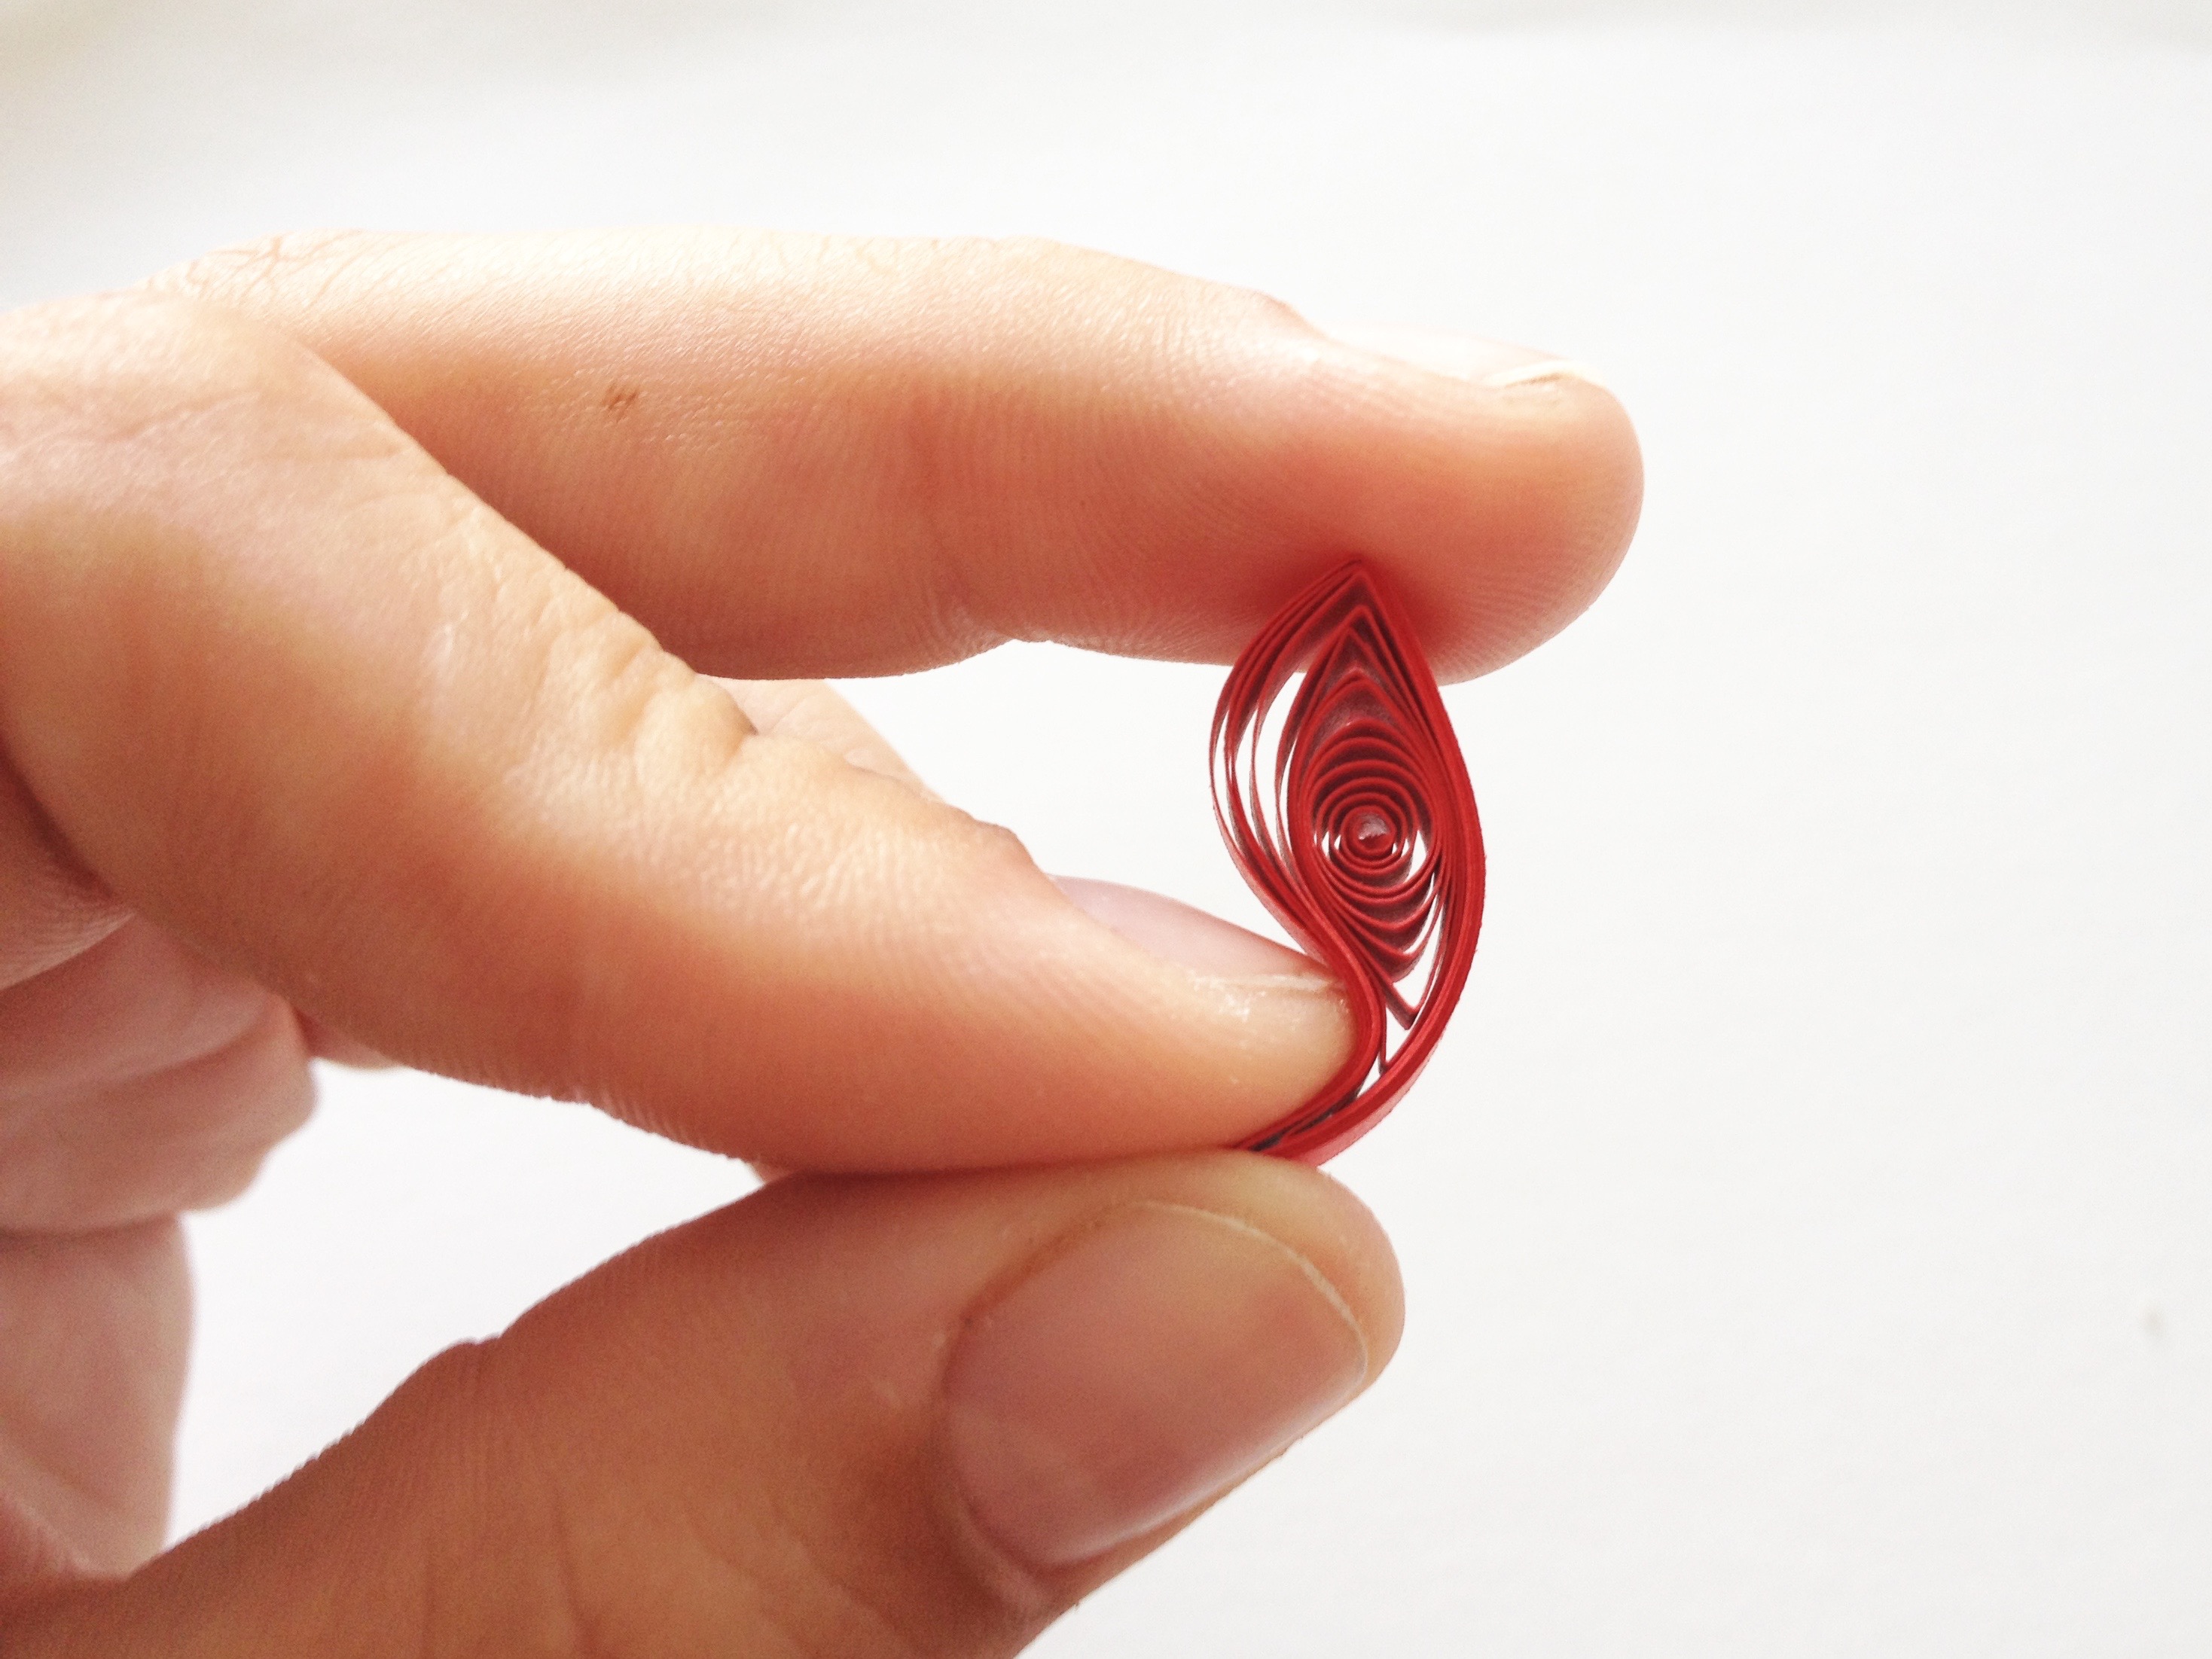
How to make a quilled teardrop
Place an open coil between your thumb and forefinger of your non-dominant hand. Arrange the inside coils evenly or as you wish them to appear in the finished shape.
With your dominant hand, pinch the paper where you want the point to be to create a teardrop shape.

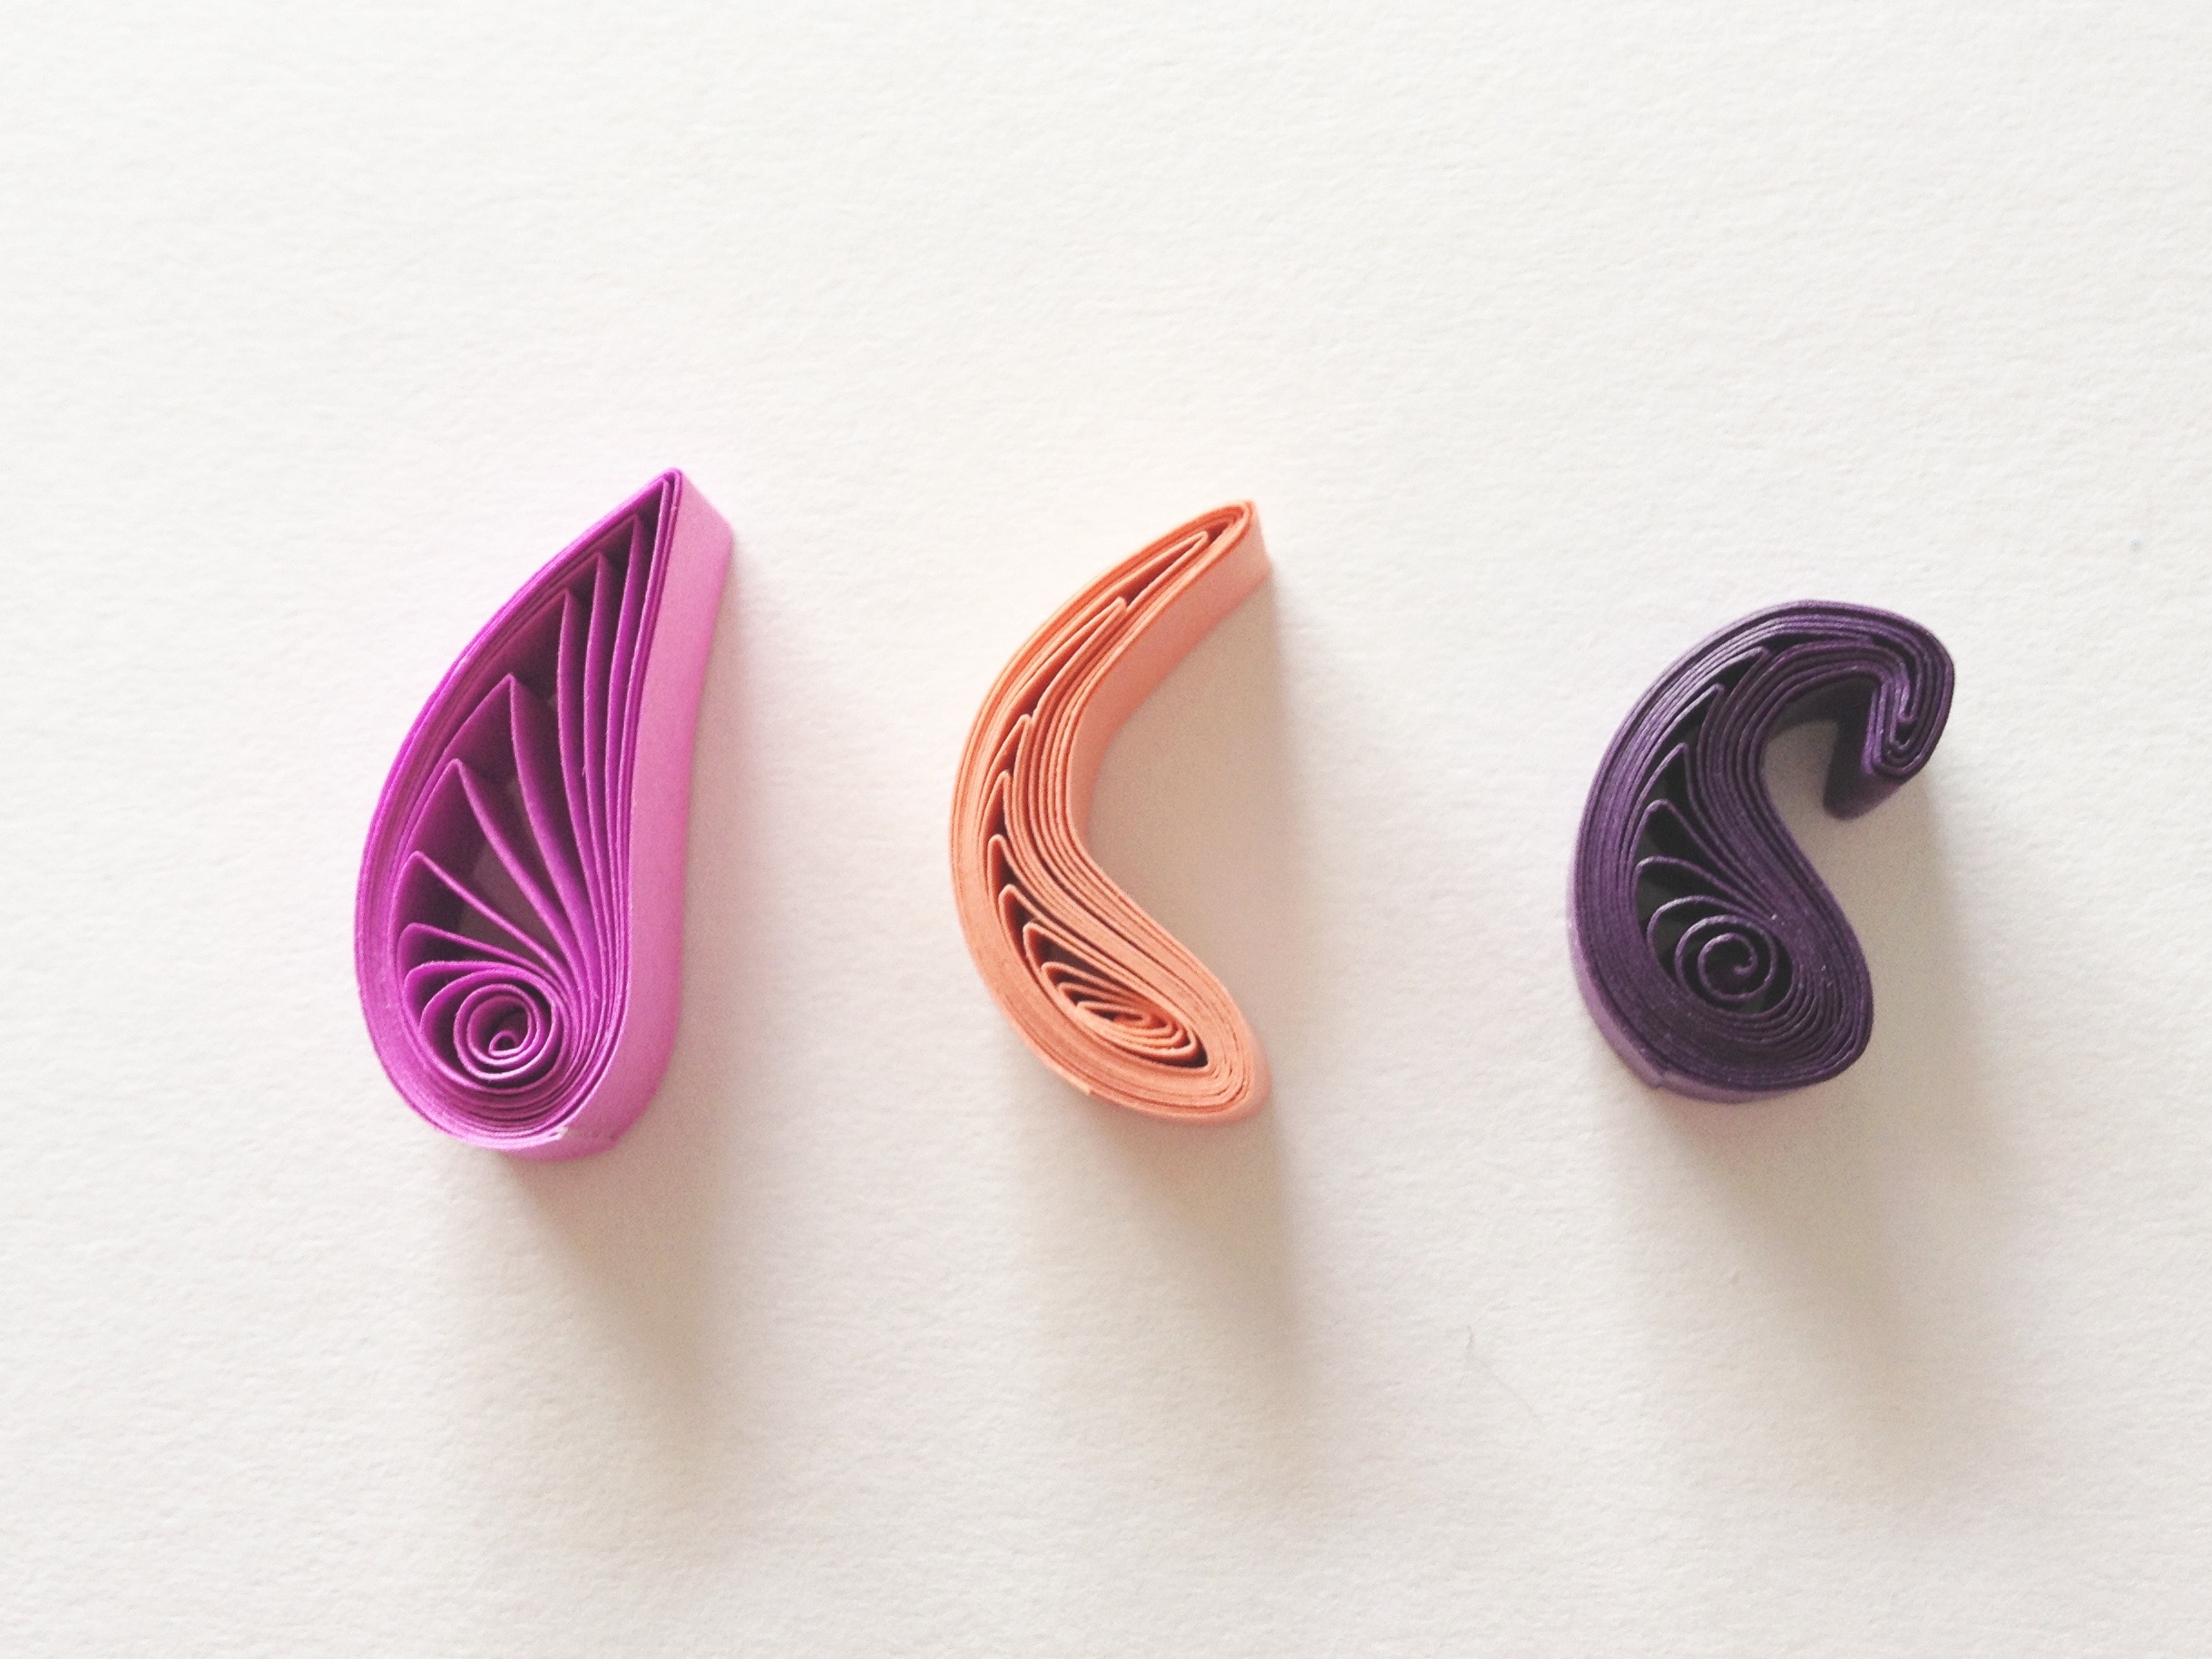
Teardrop variations
In addition to creating basic shapes, there are often more ways you can manipulate your paper to create secondary shapes. The teardrop is an excellent example of this.
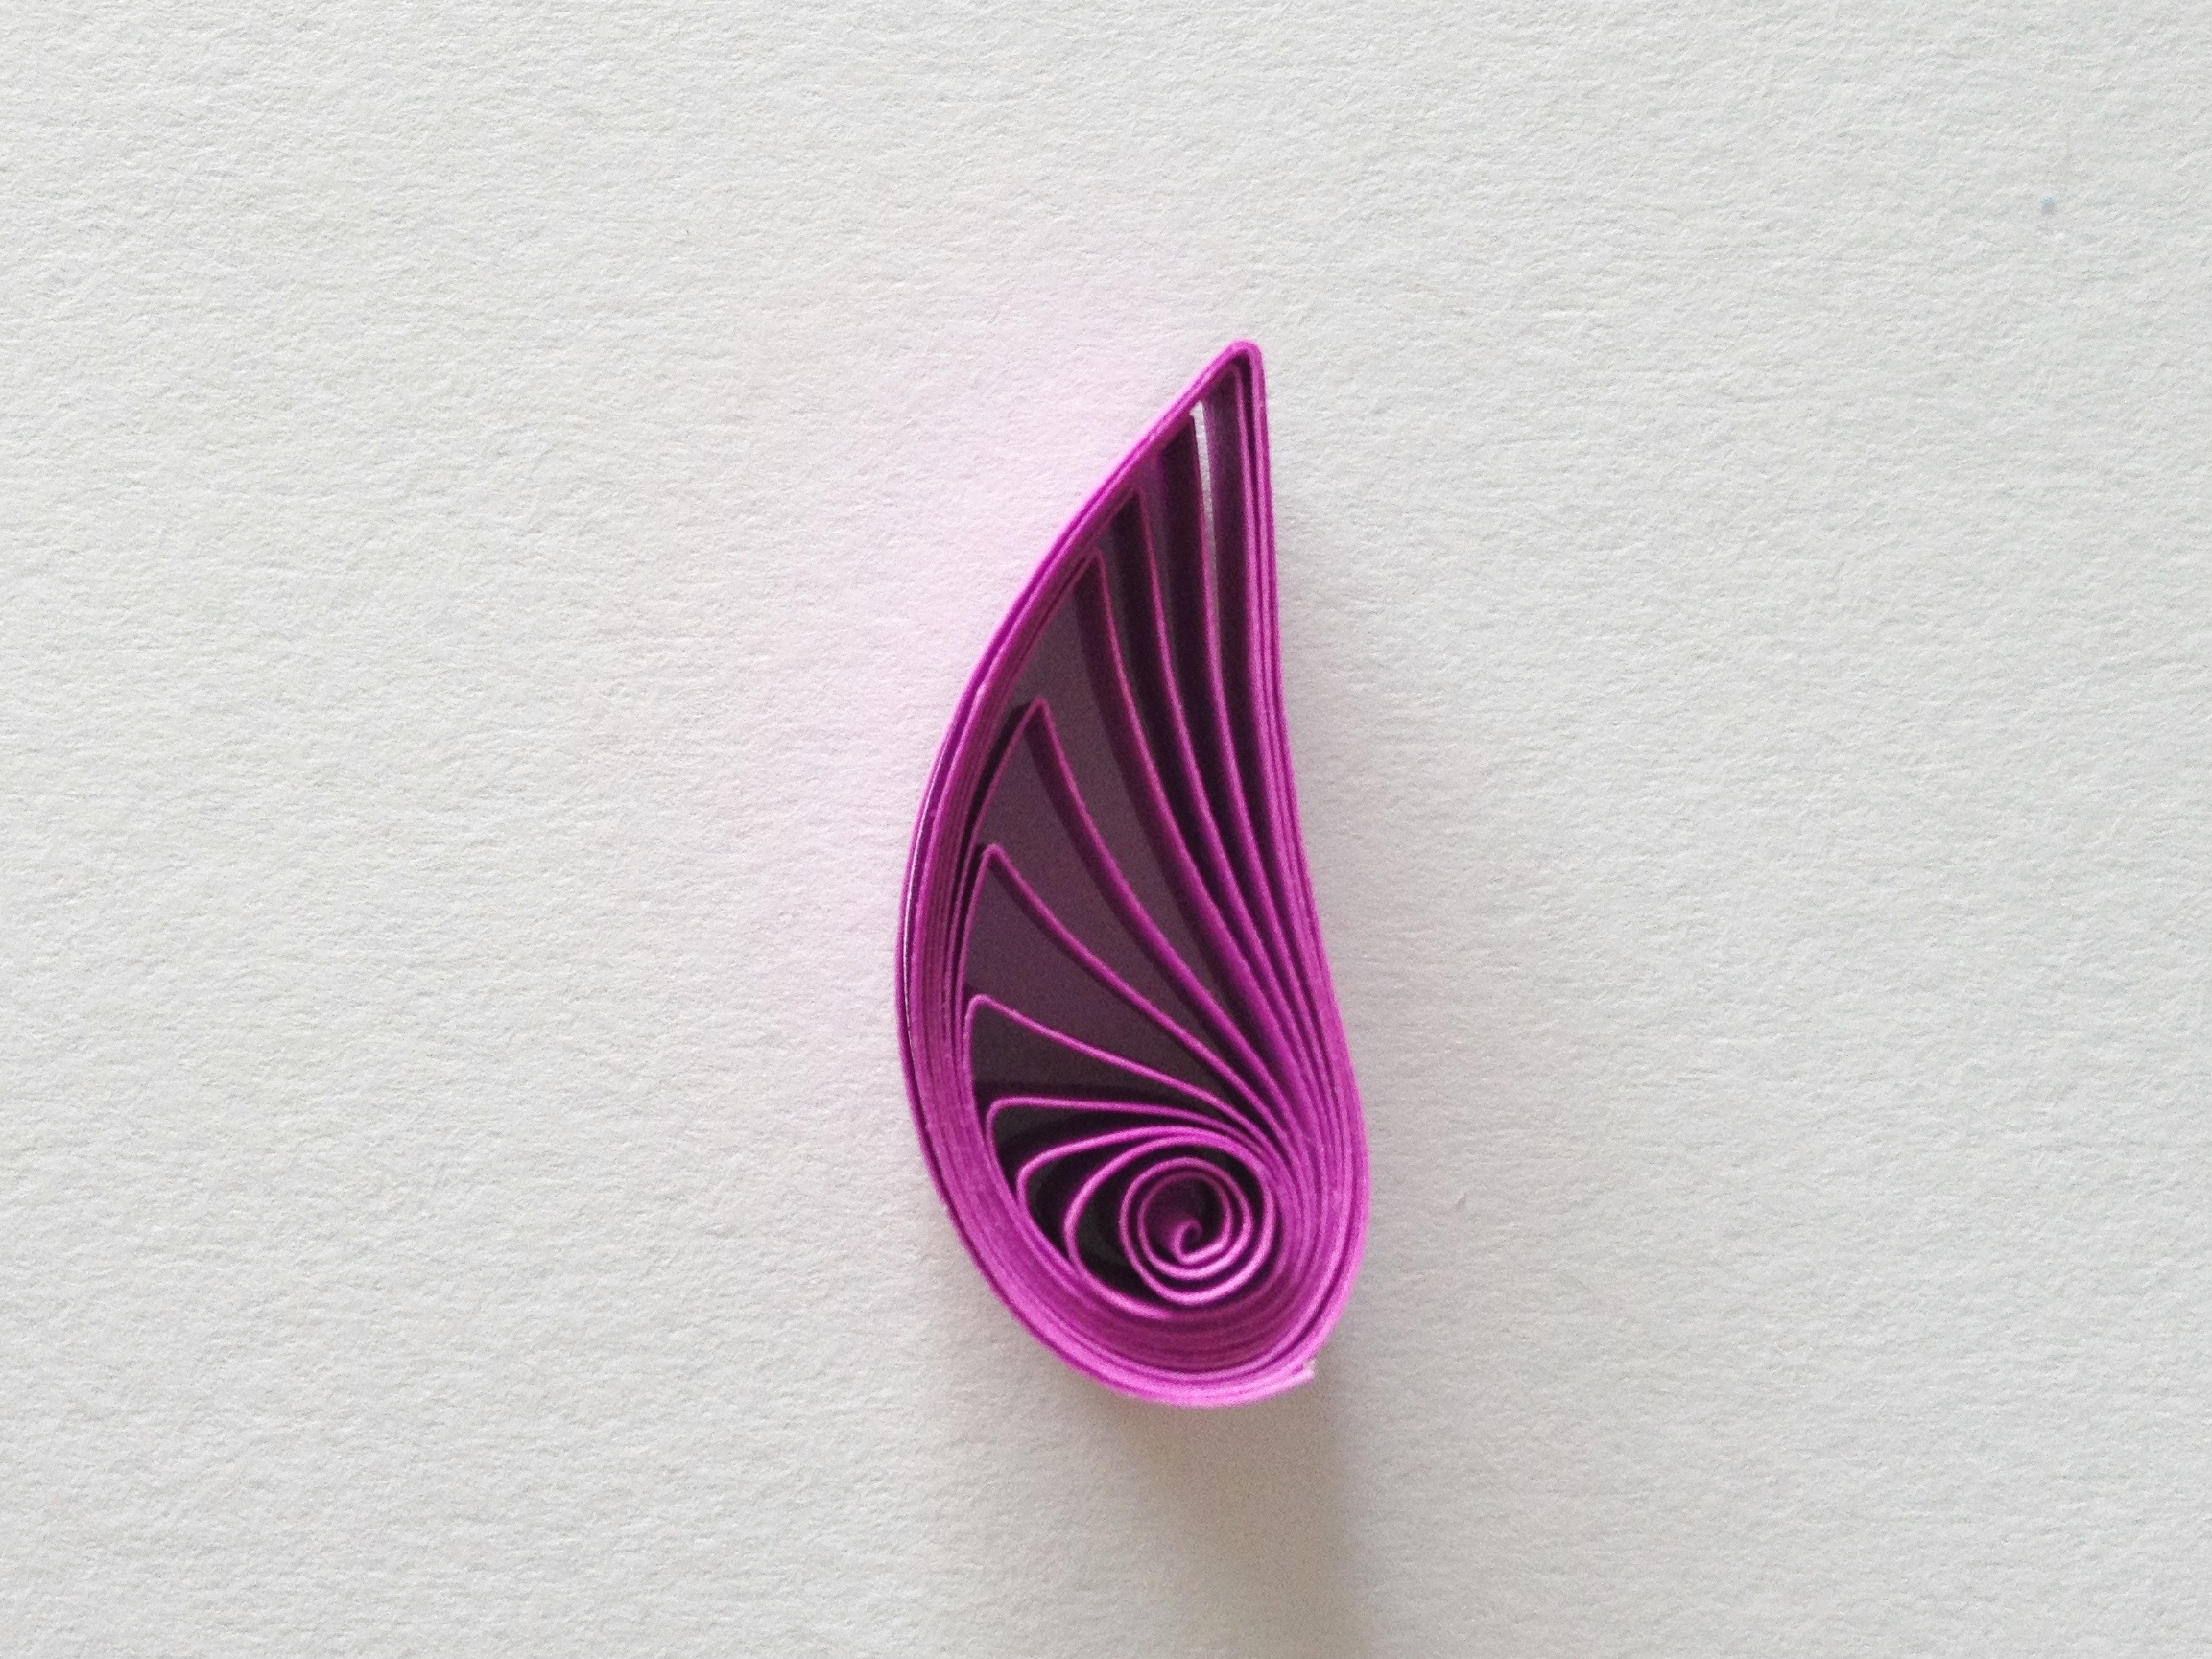
By slightly curving the teardrop around your thumb as you shape it, you can create a subtle shift in shape without compromising the center coils. To further this effect, you can wrap the teardrop around your quilling tool or another cylindrical object.
Pressing the shape around your quilling tool allows for a more obvious curved shape throughout. From here, you can easily create a paisley shape.
You can curl the shape from the point to the base by simply rolling it between your fingers. Simple changes bring a lot of varied effects.
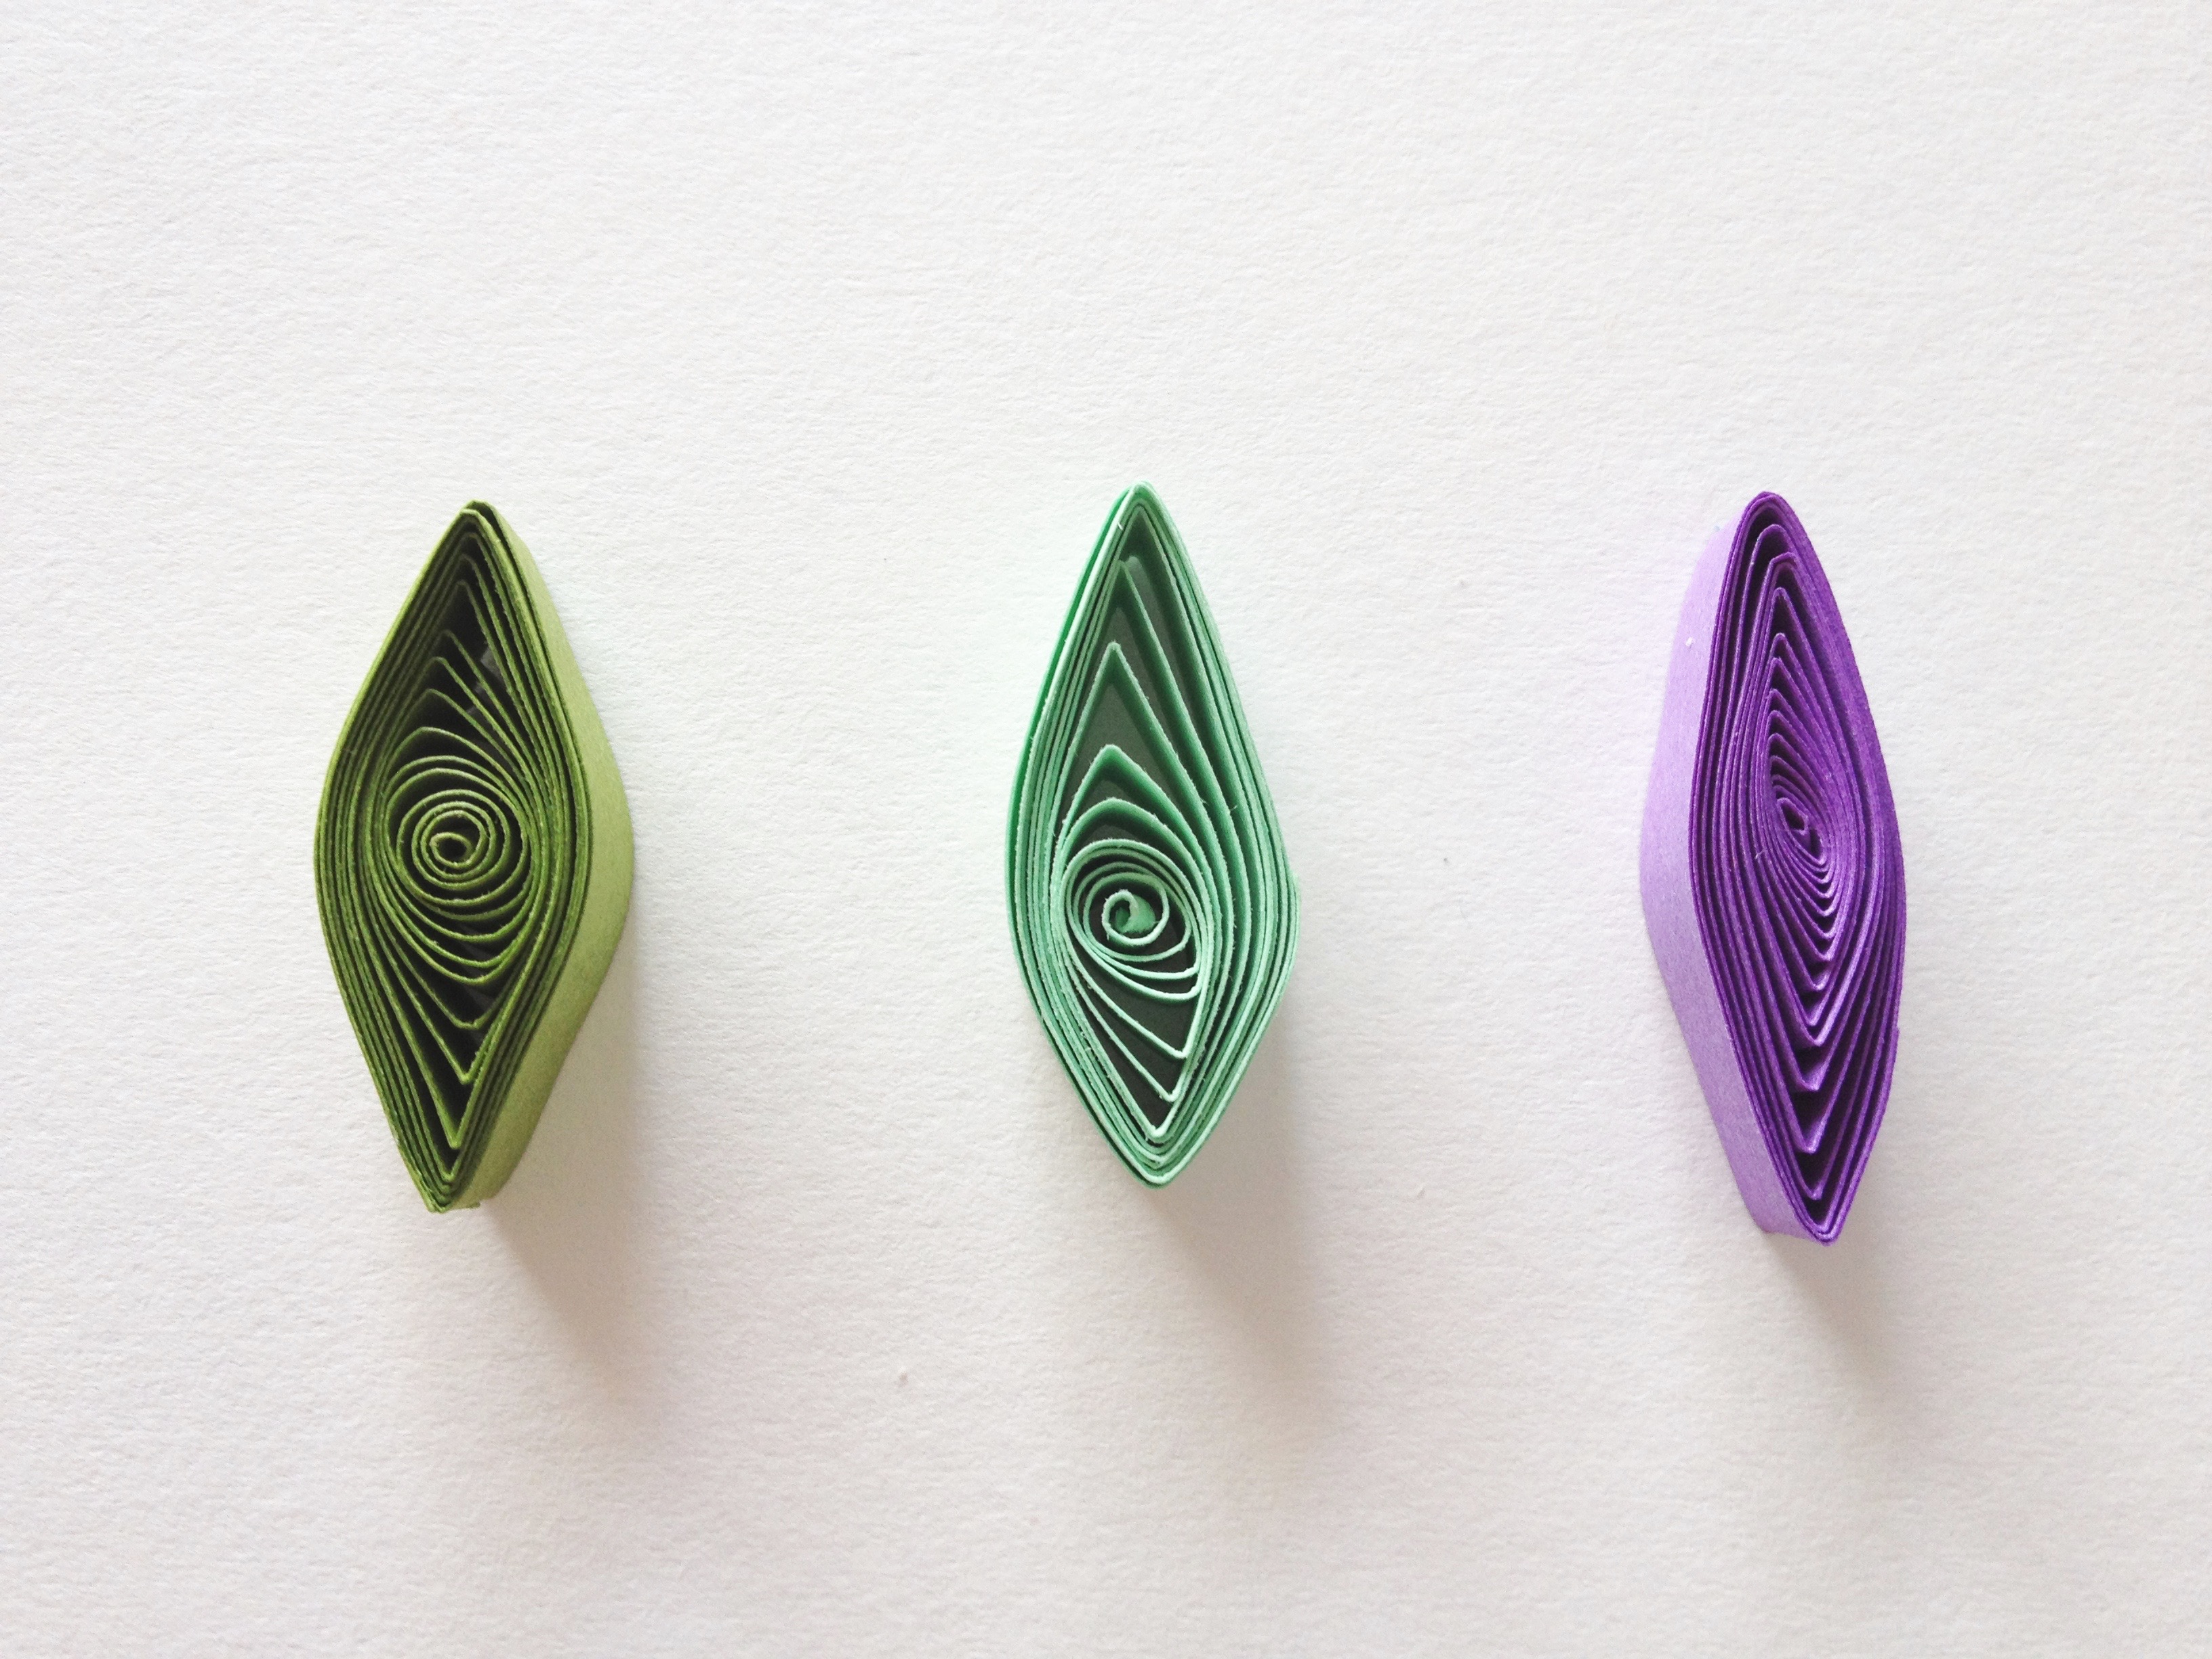
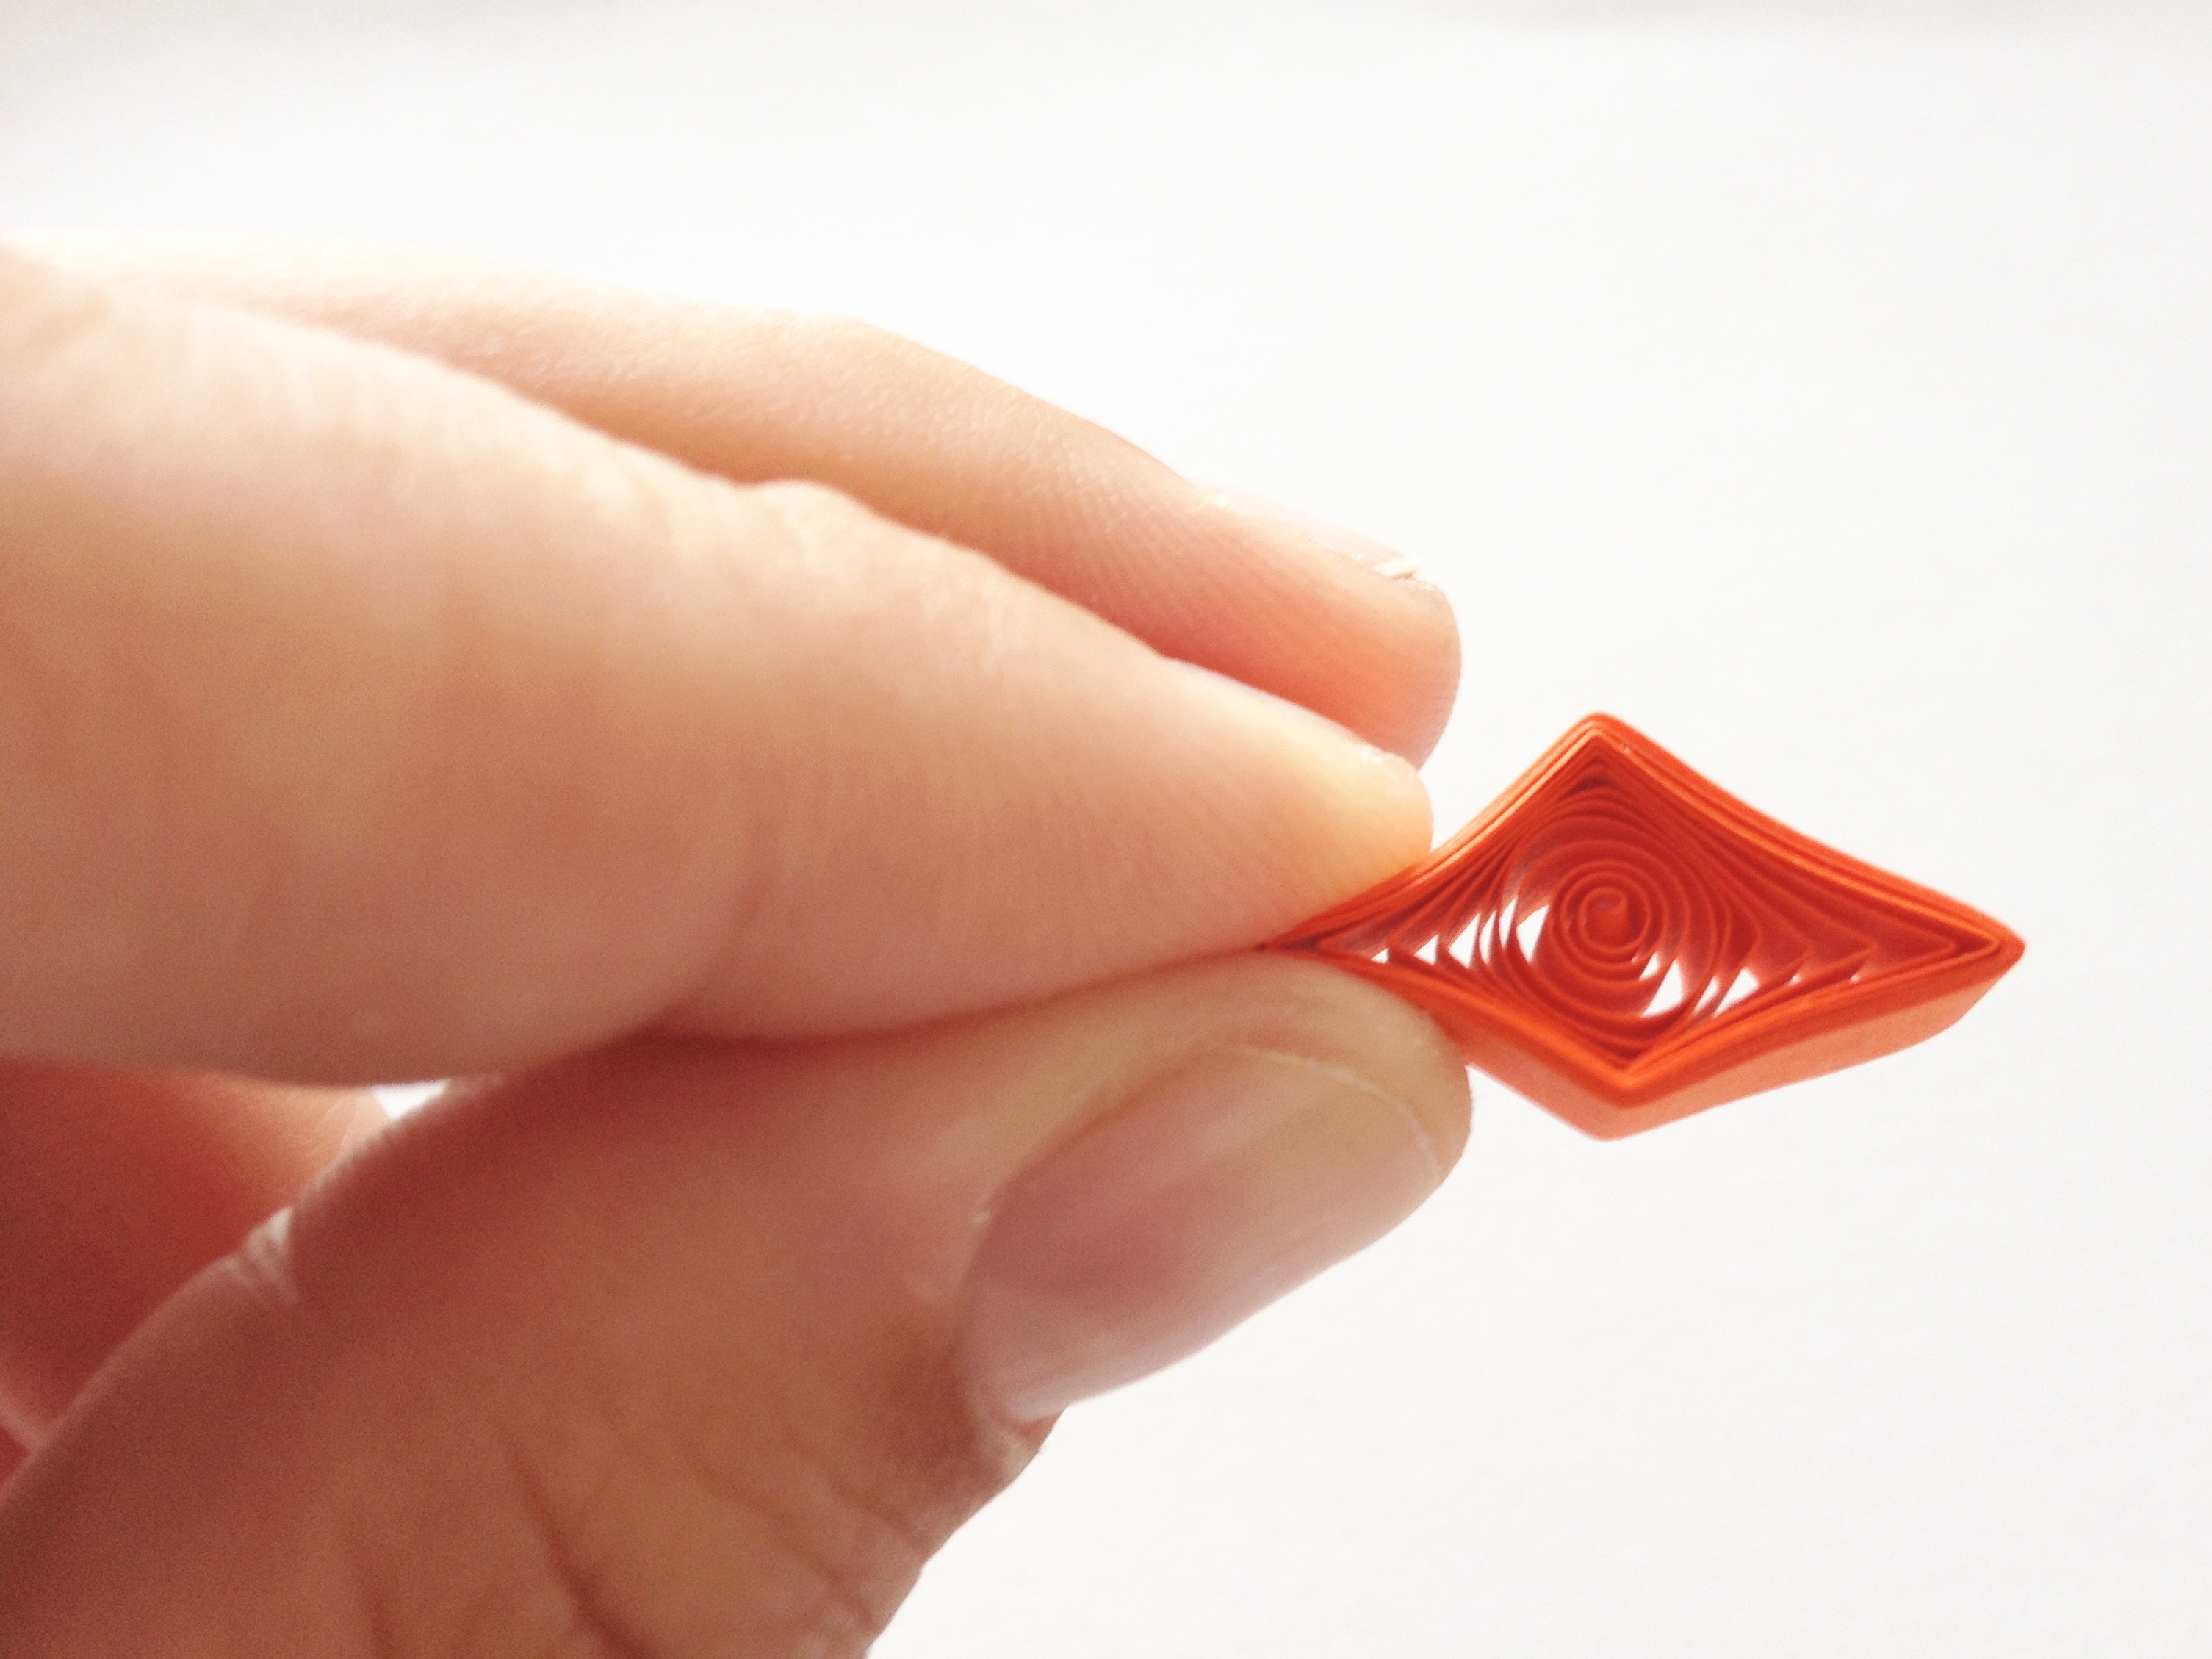
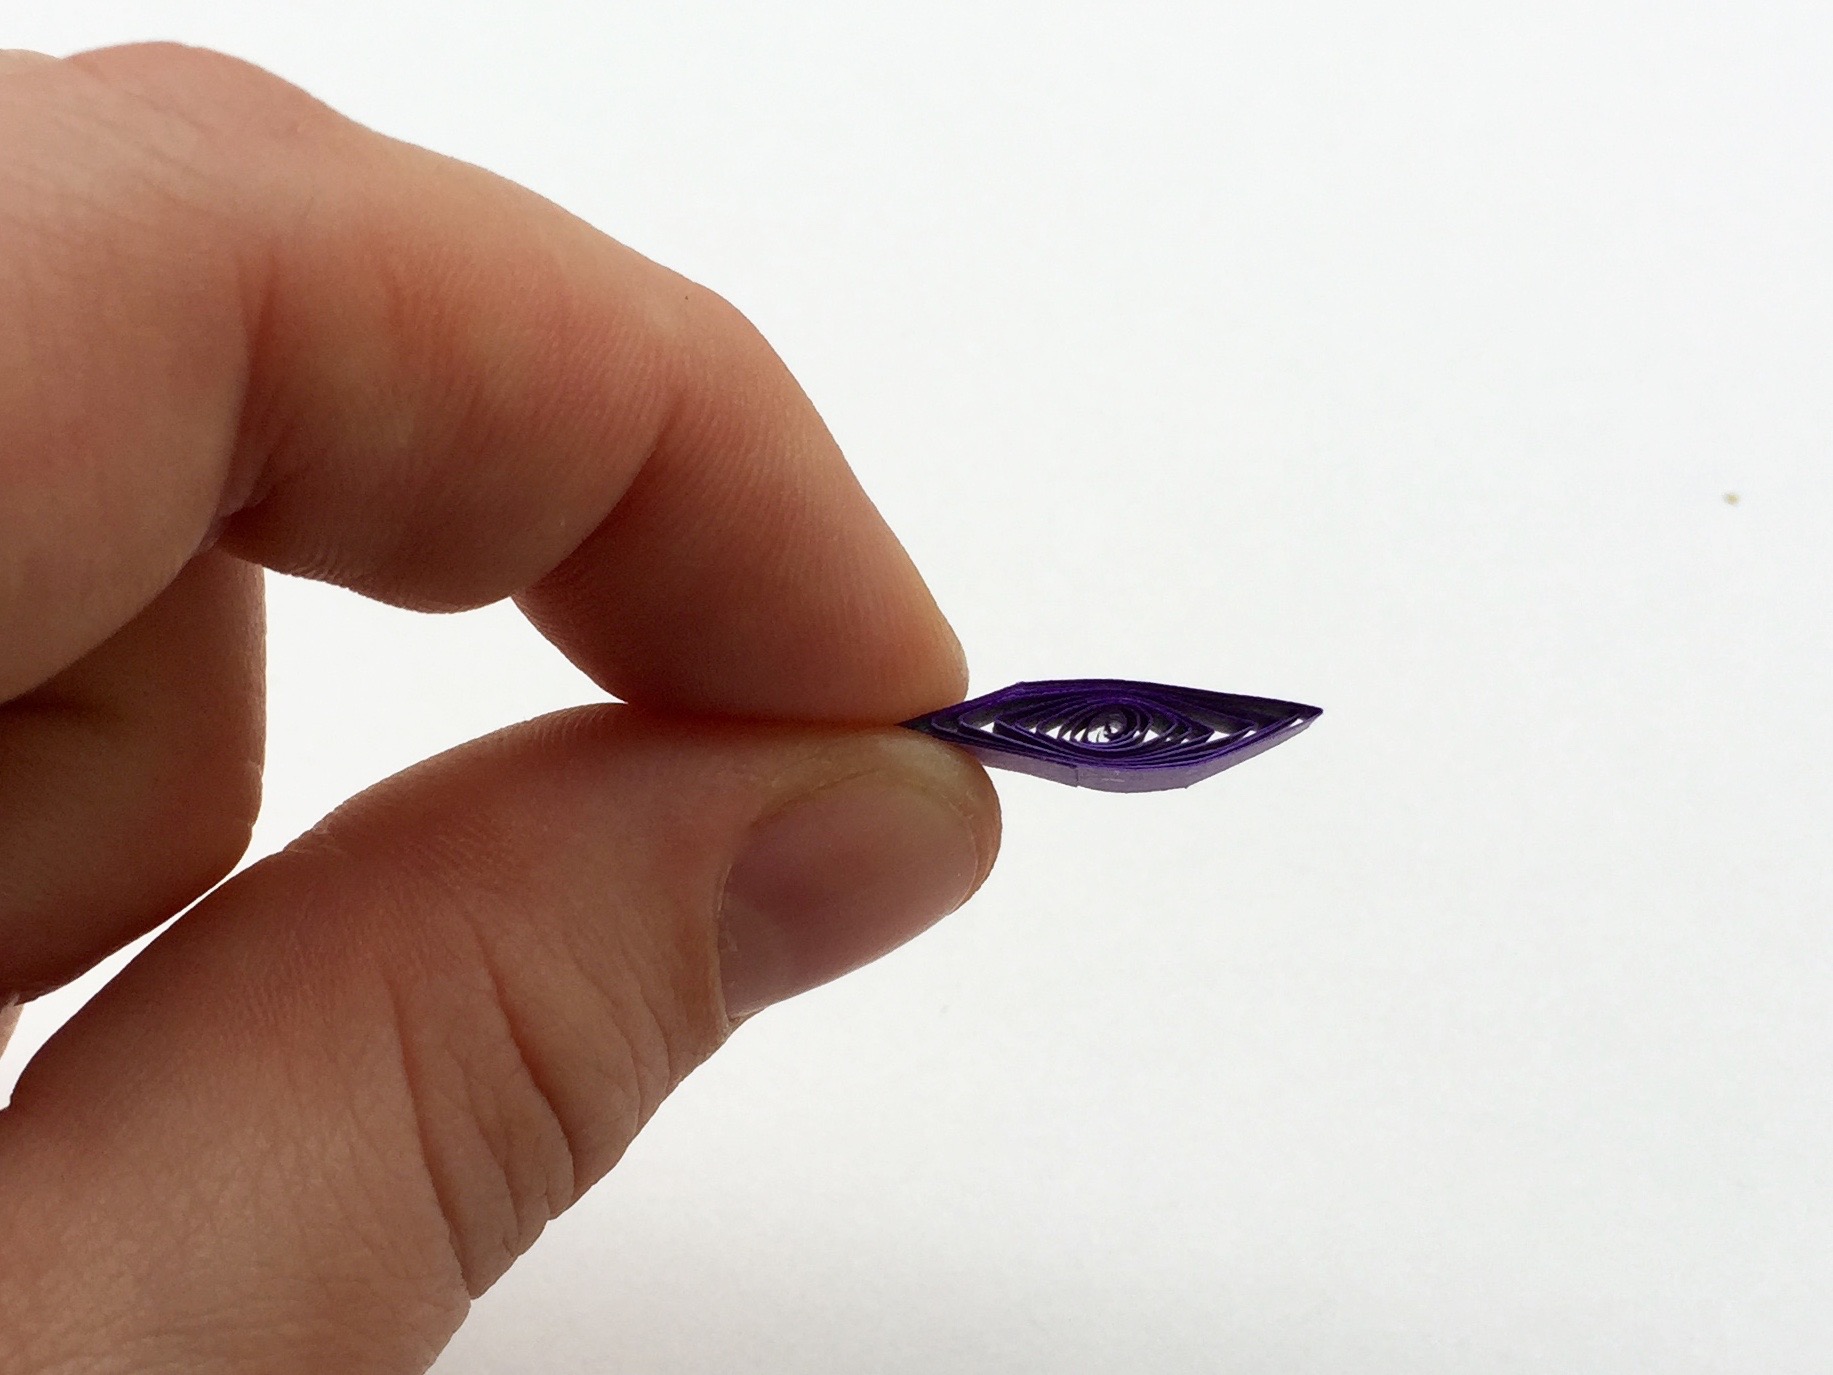
How to make a quilled marquis
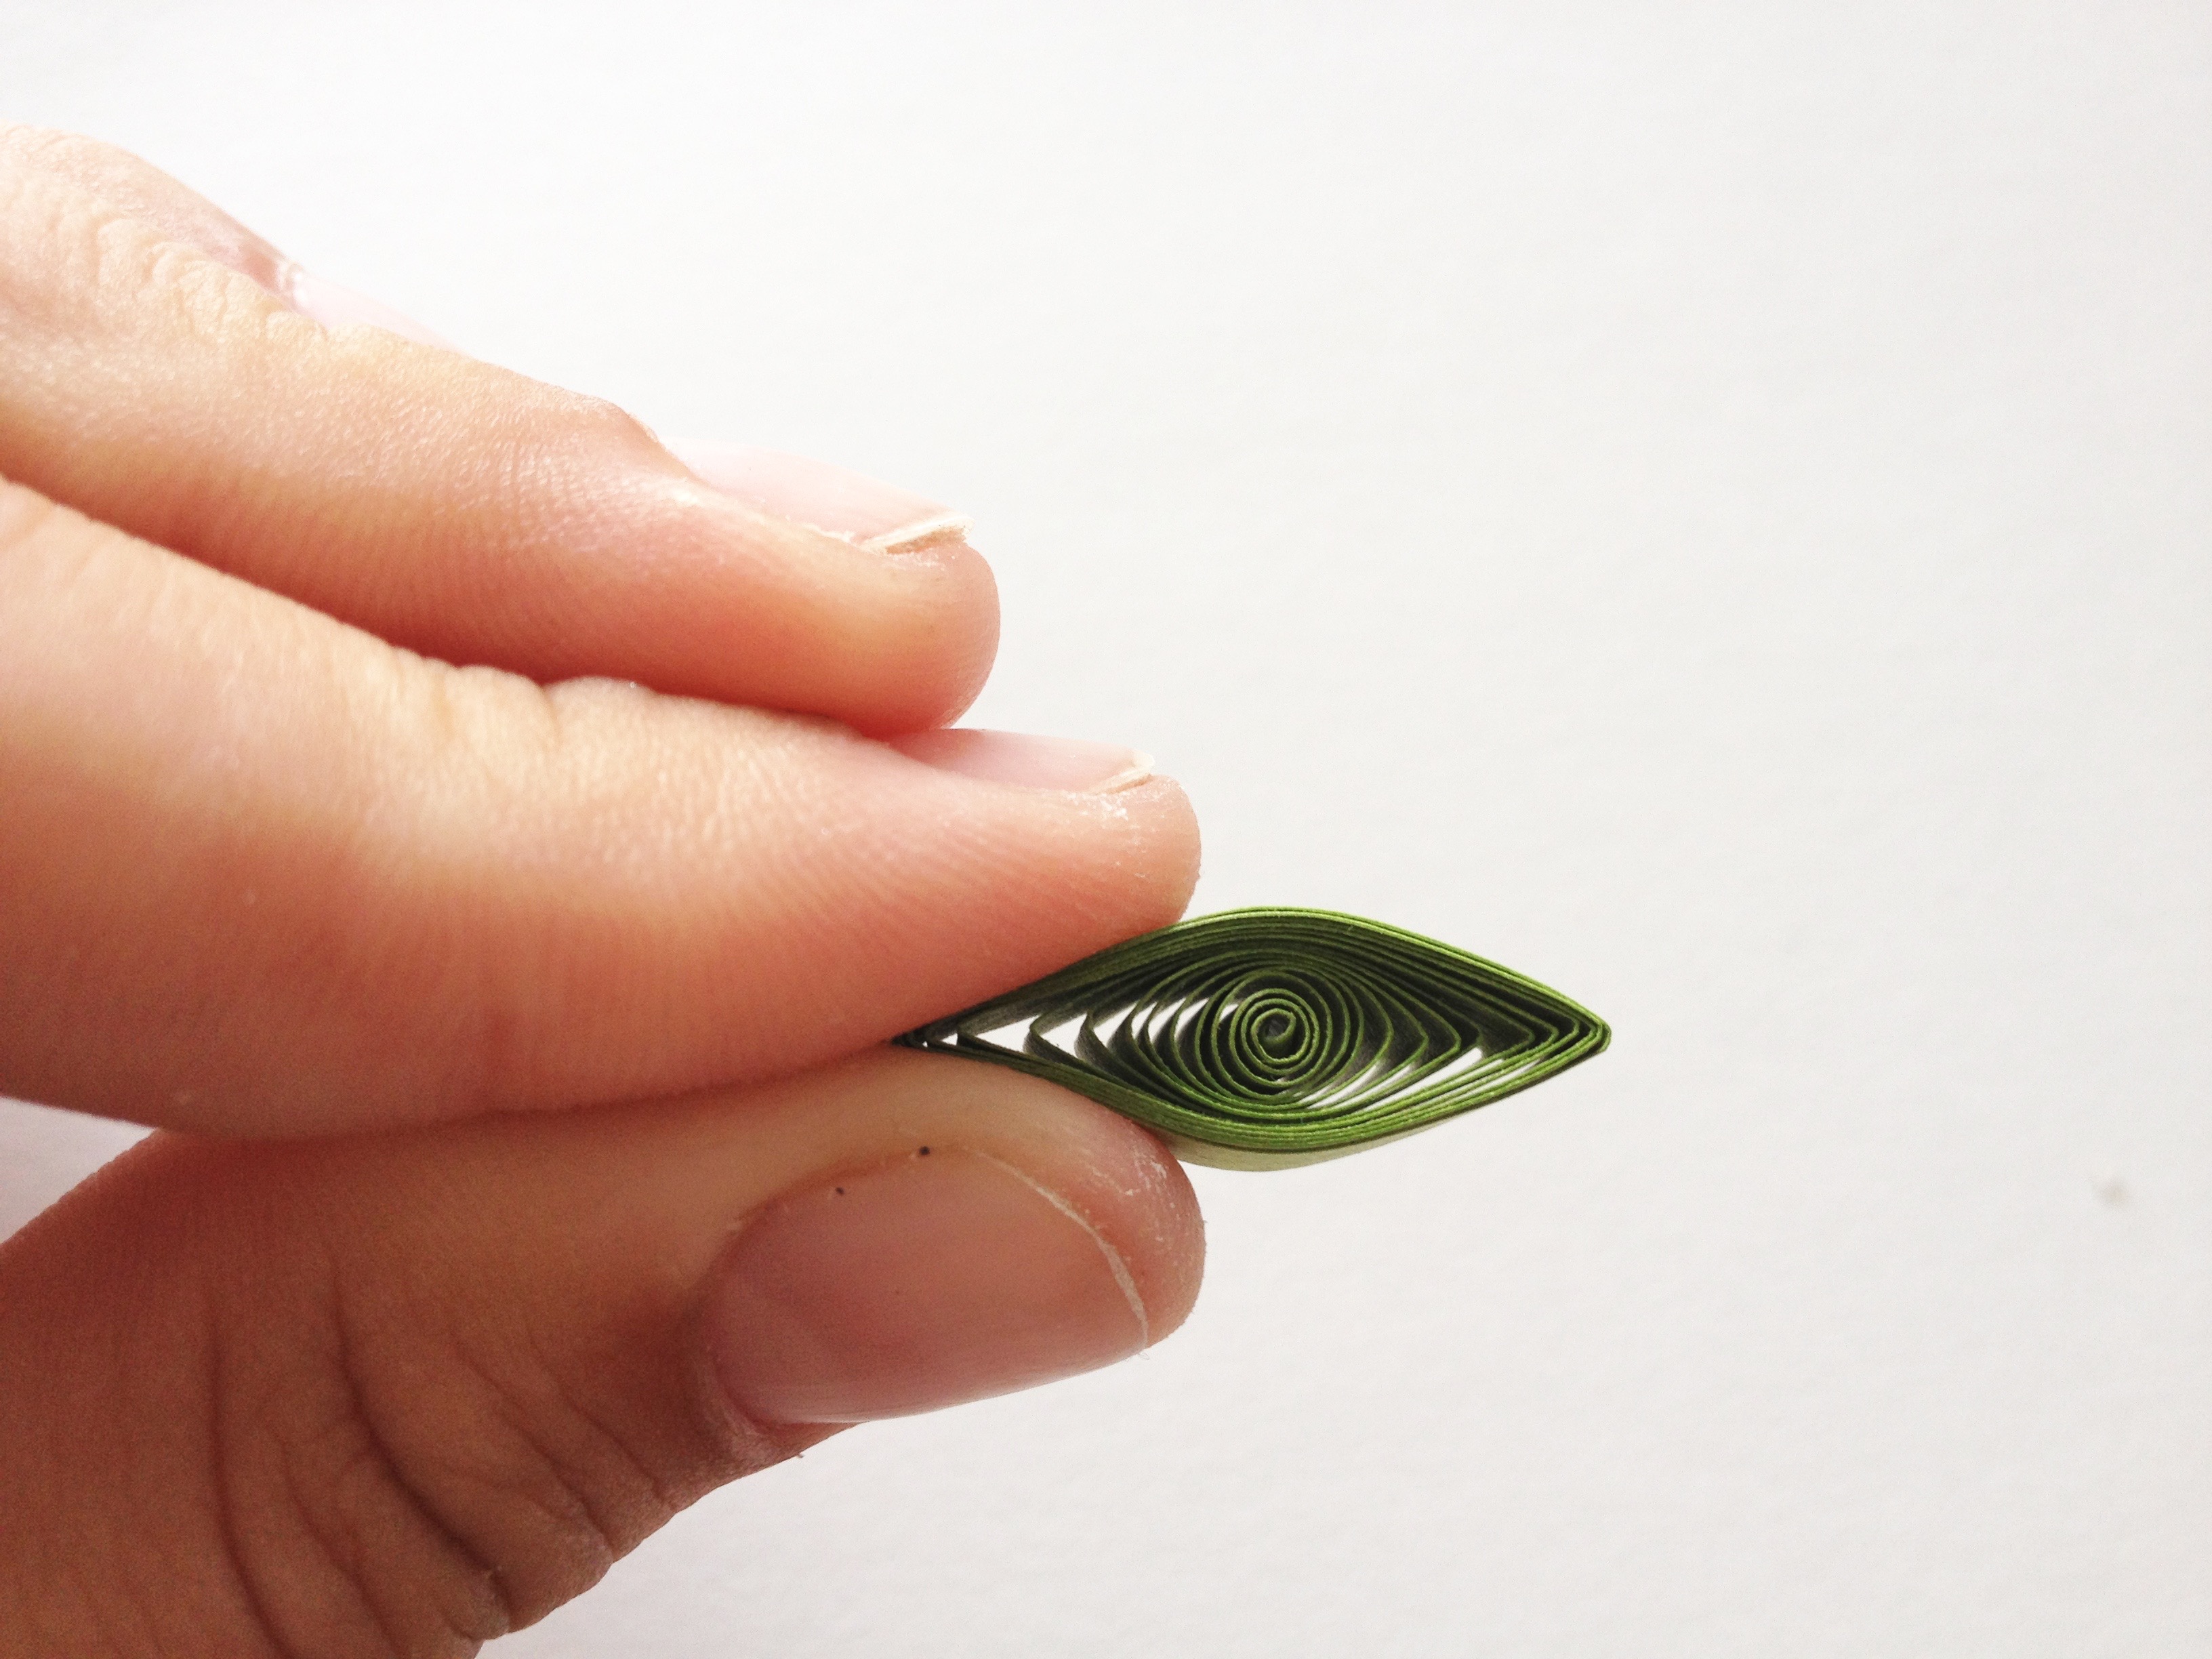
You can create a marquis shape by first making a teardrop shape and then pinching the opposite end as well.

The marquis’ final shape is determined by how much the coil is pinched or pressed together and where you place the center of the coil. Play around with various placements and pressure to create multiple versions of this basic quilled shape.
How to quill a tulip shape
To create a tulip shape, begin by first rolling a marquis. Turn the shape on its side and pinch a center peak with your fingers.
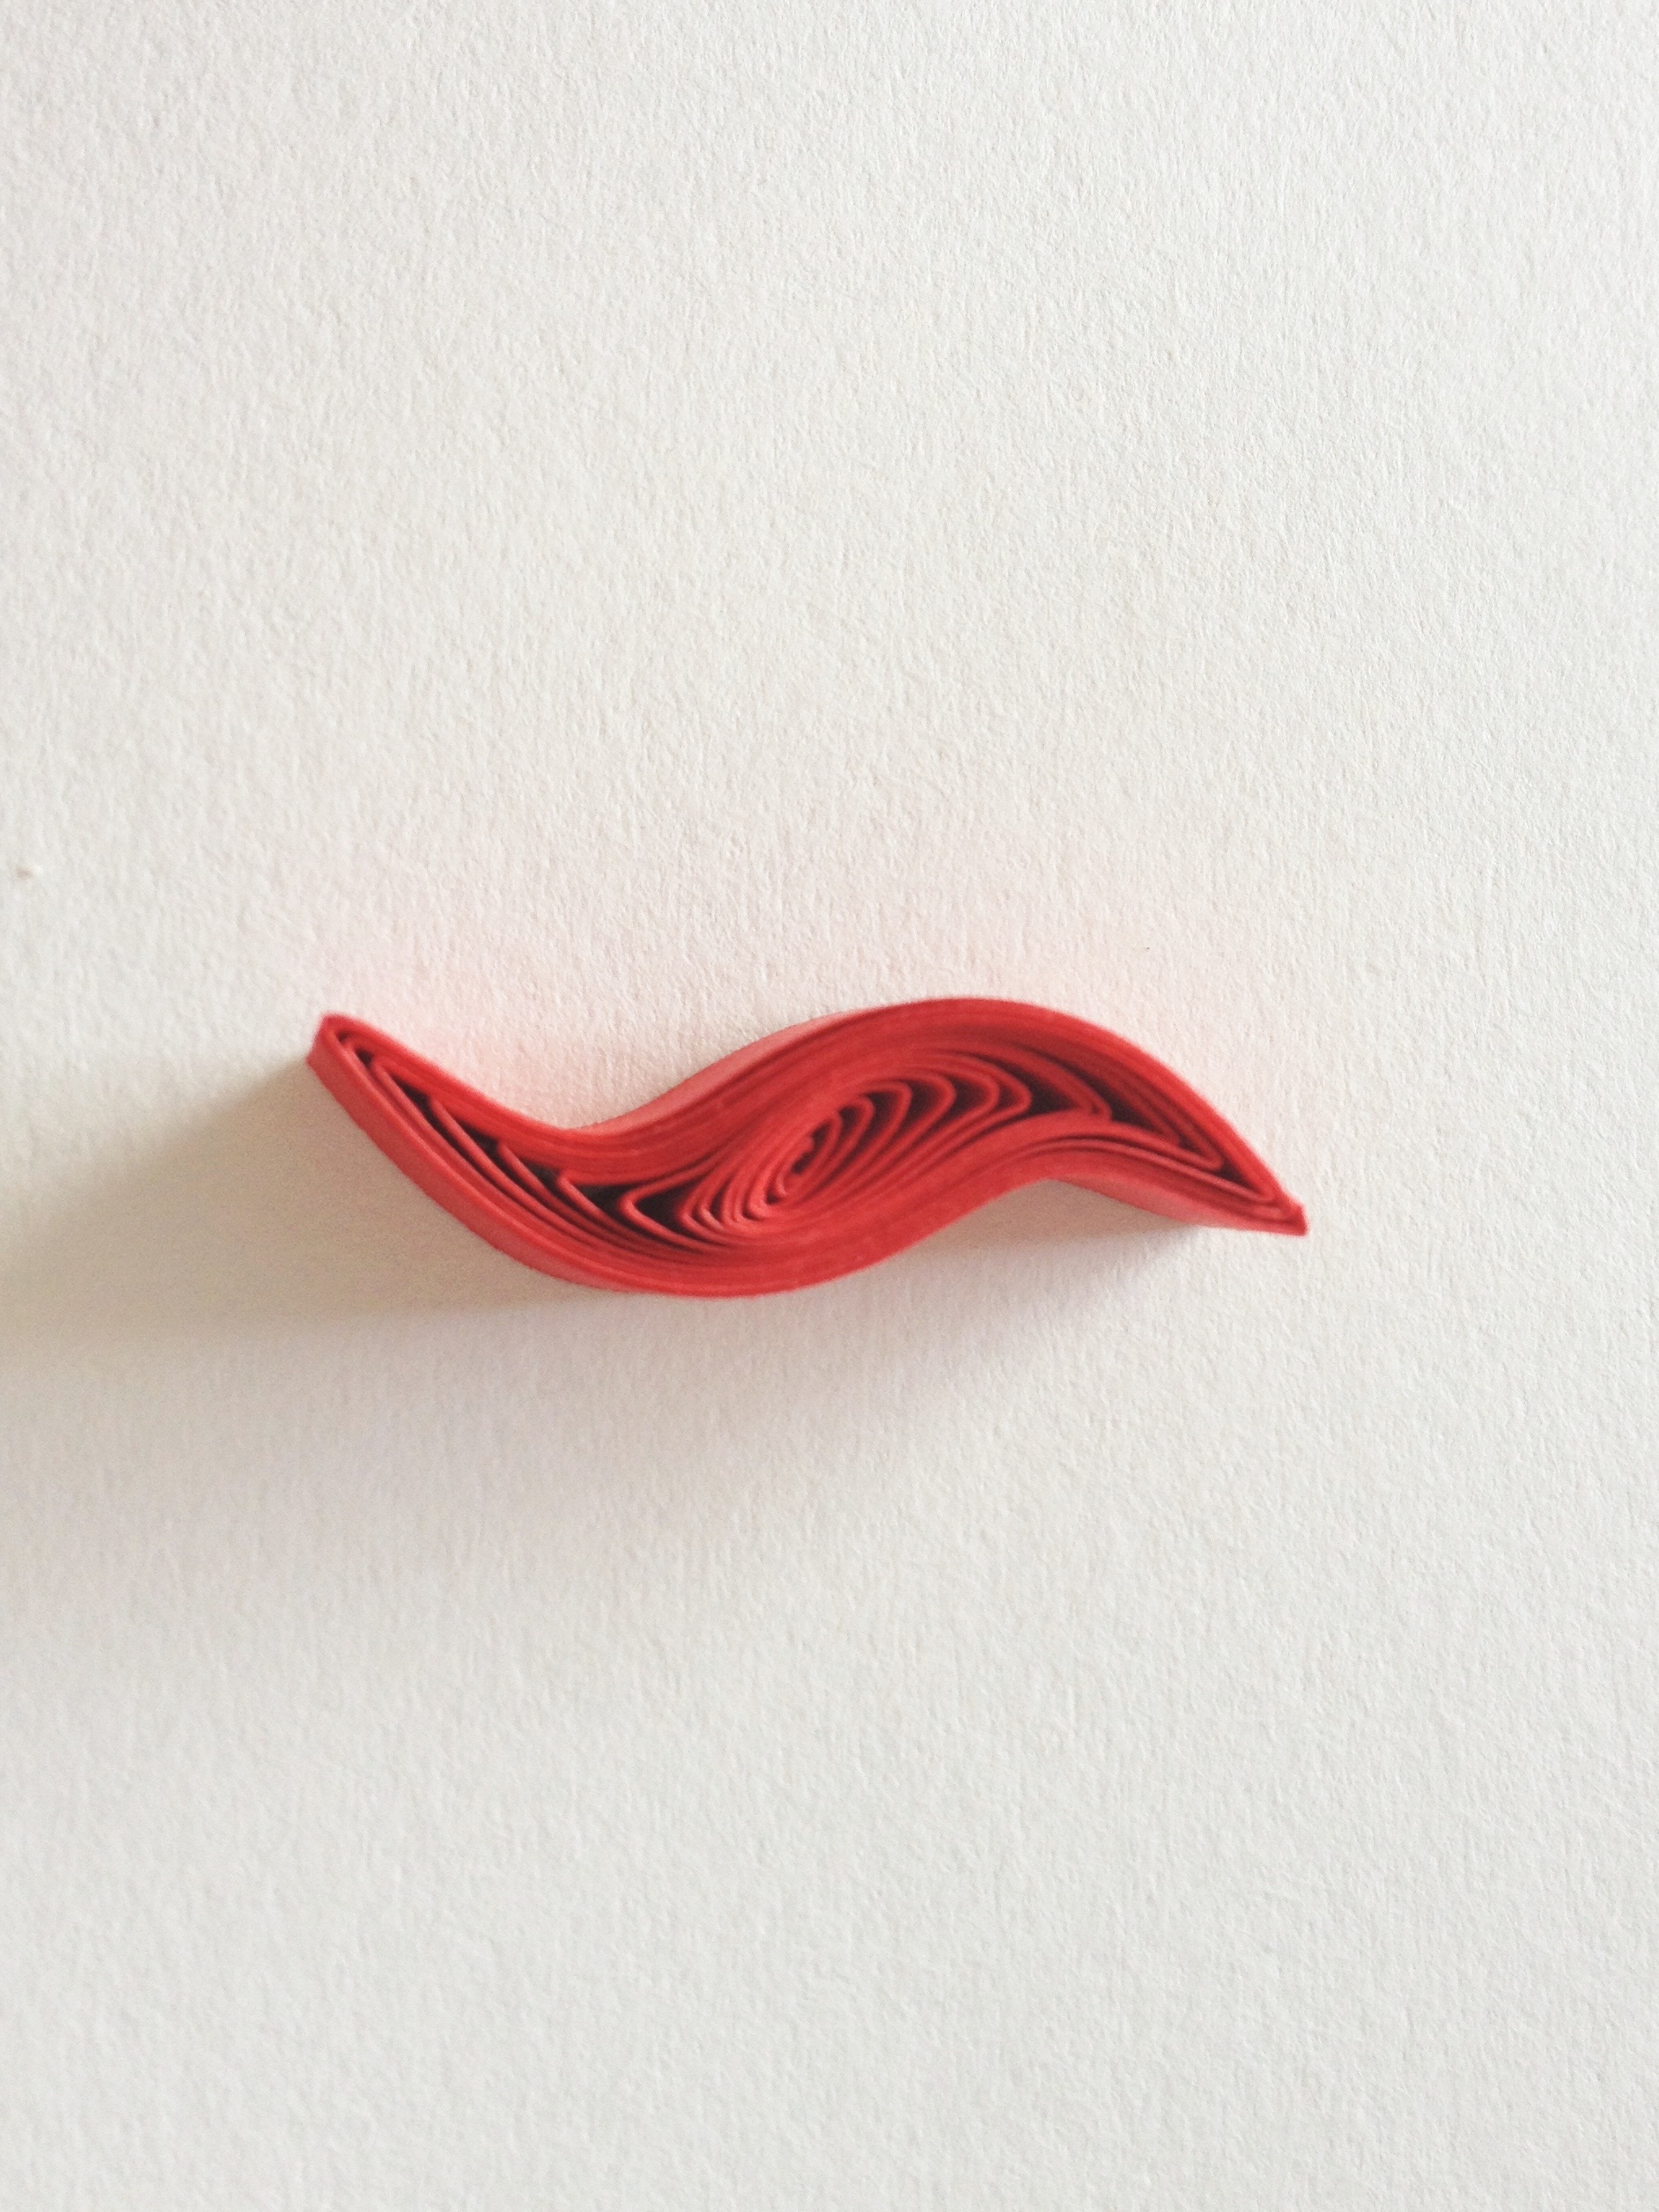
How to quill a slug shape
This slug shape is another shape that begins with a marquis. It can be created by either wrapping one end around the tip of your finger or a quilling tool and then doing the same to the other end but in the opposite direction.
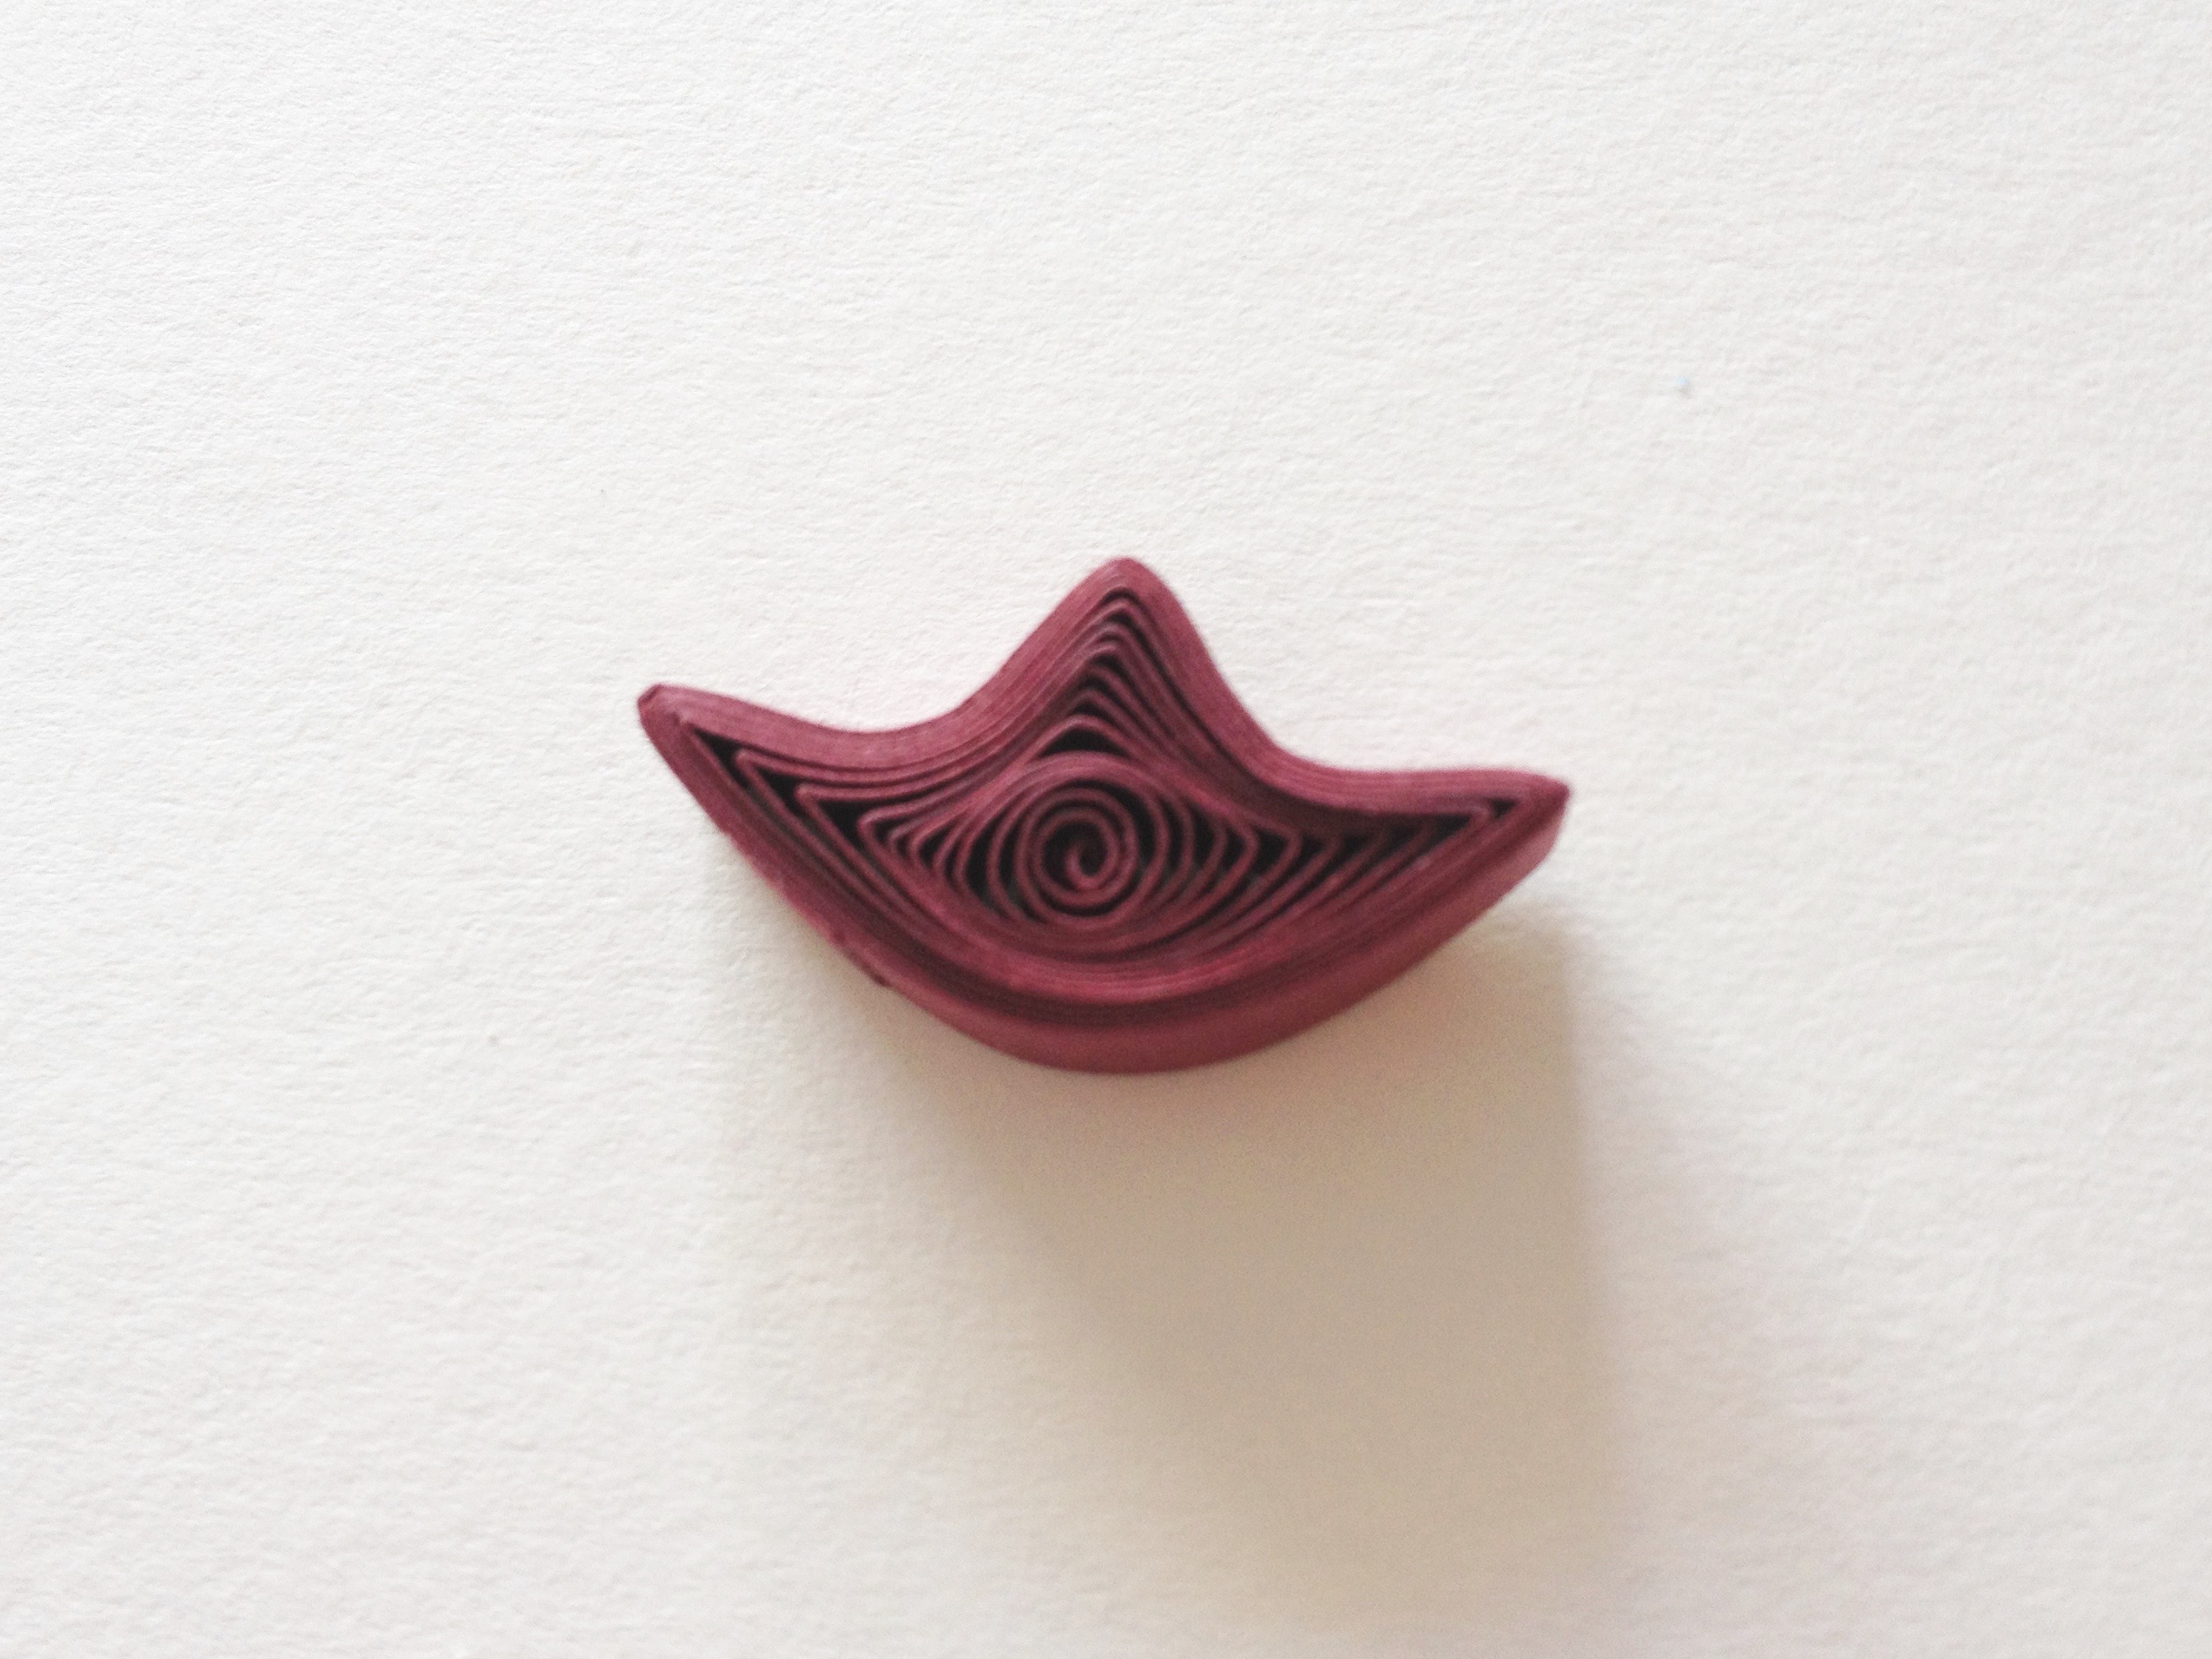
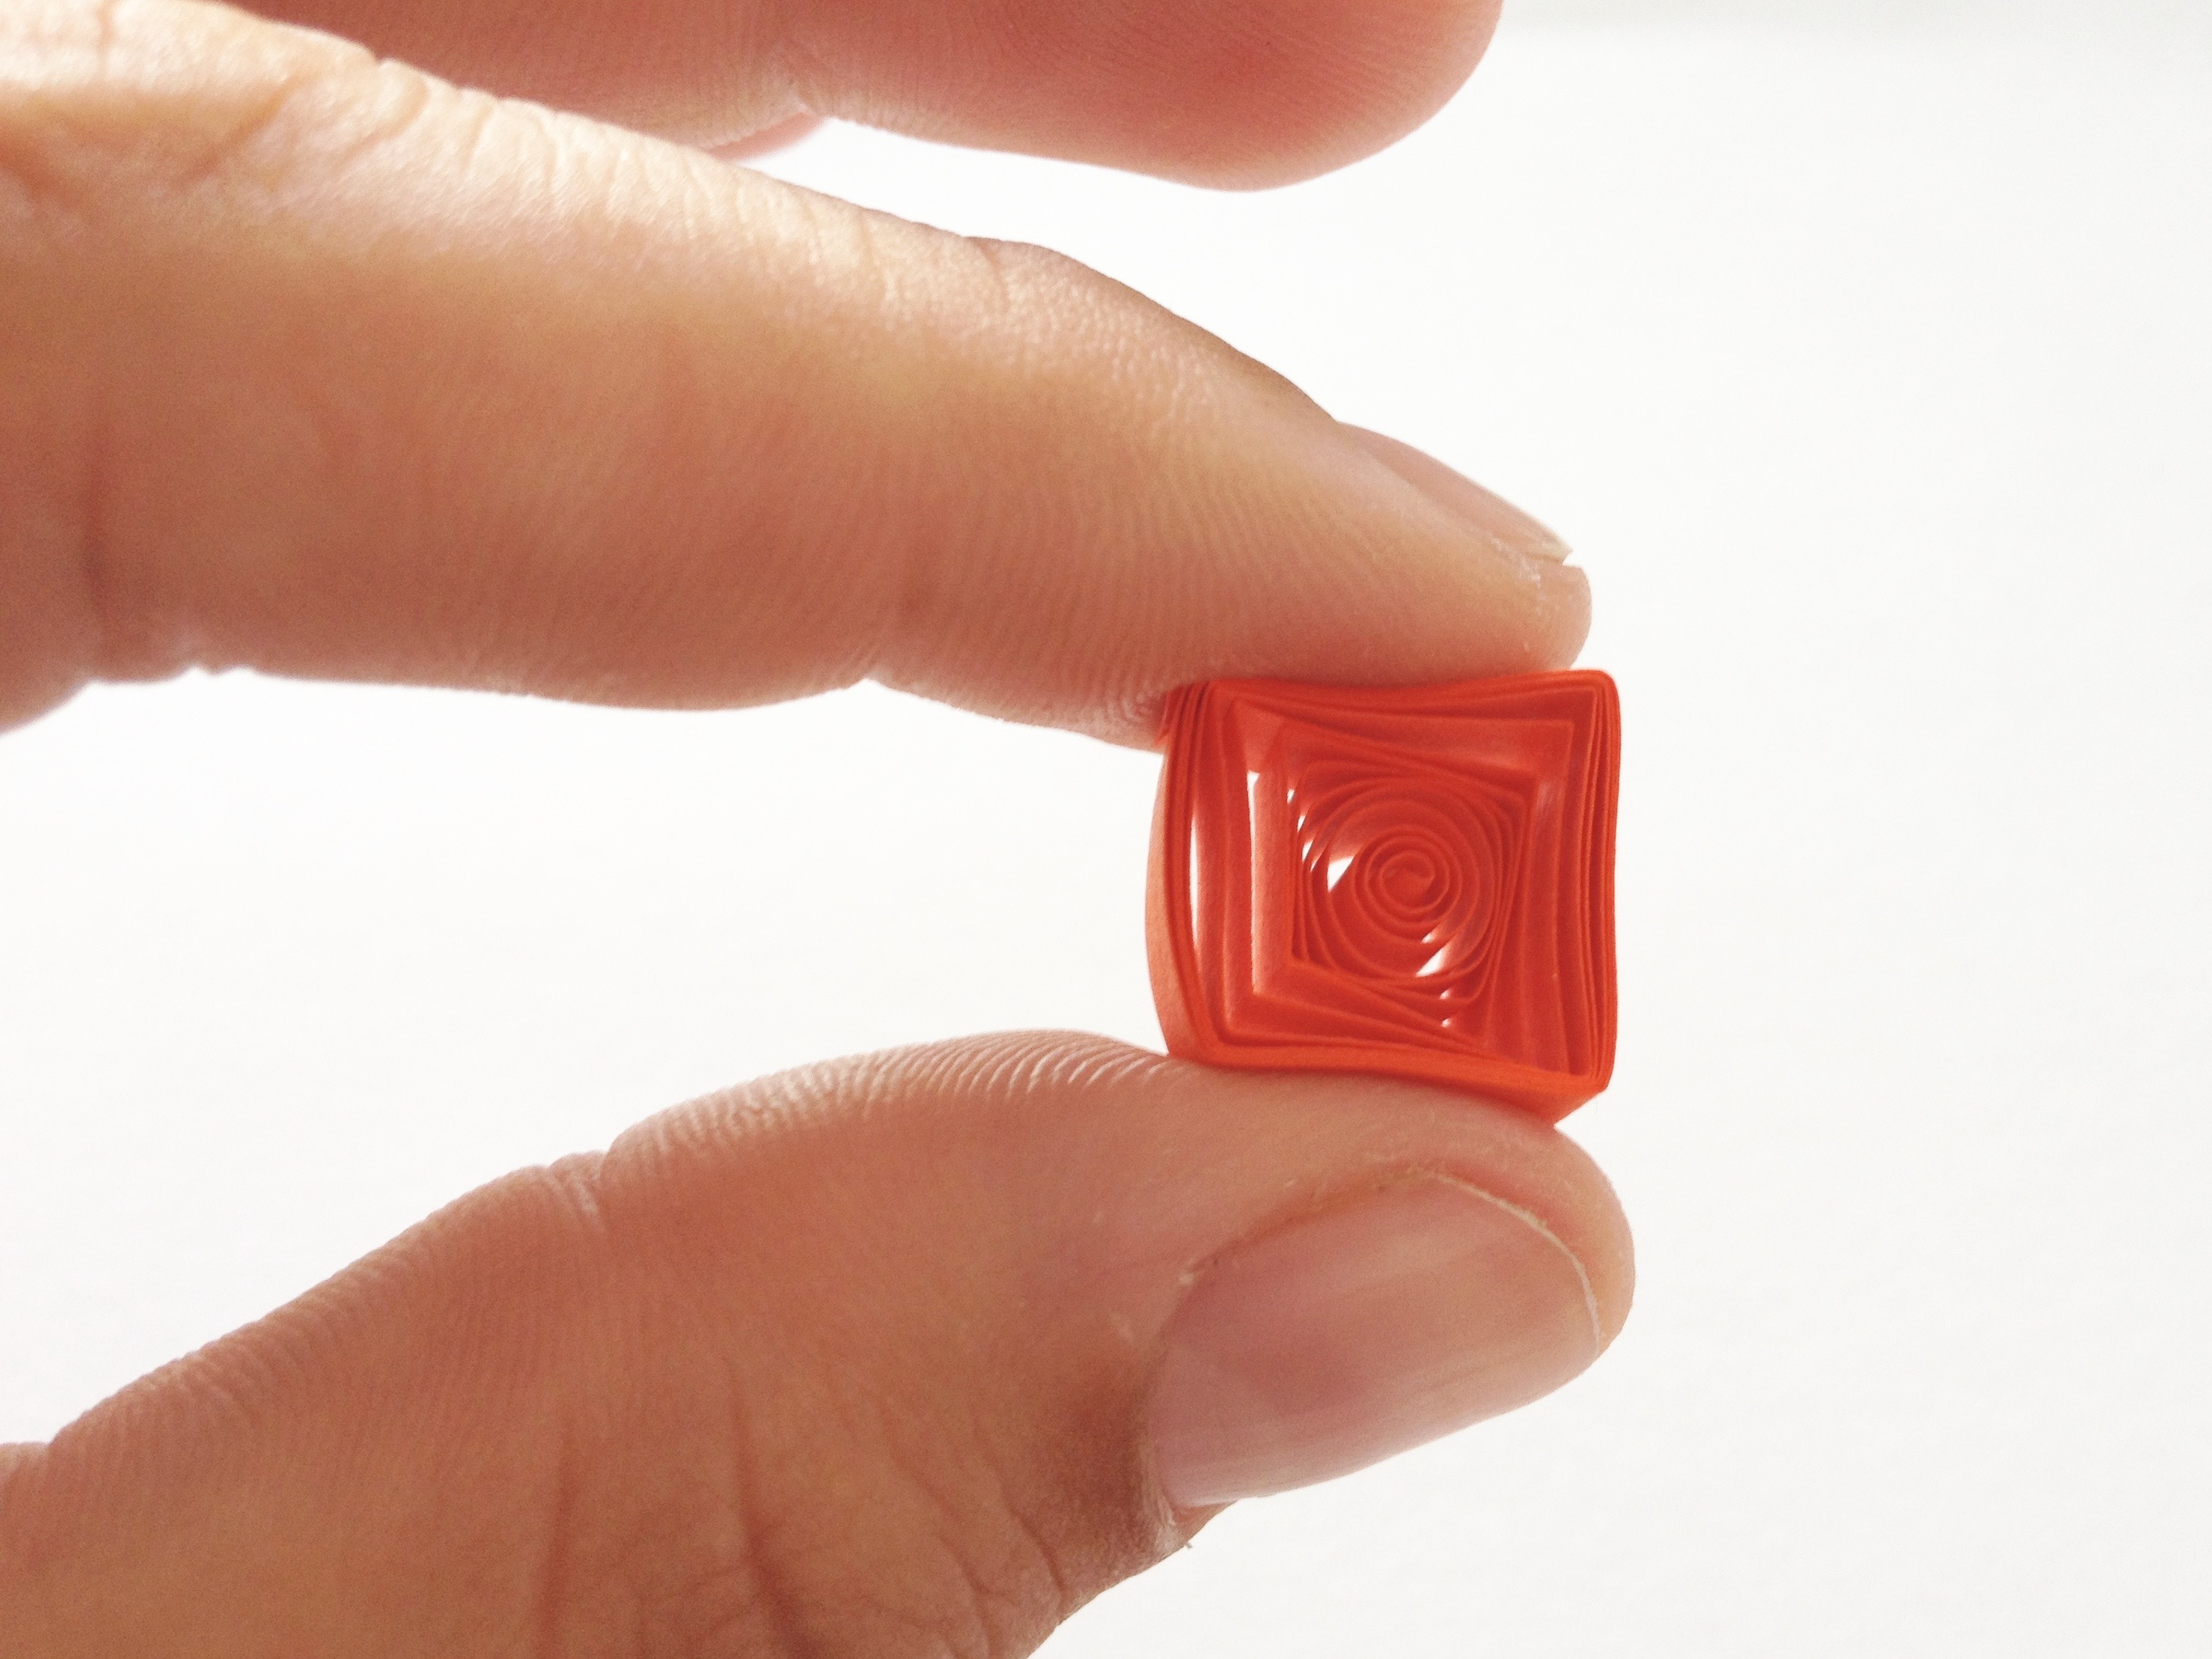
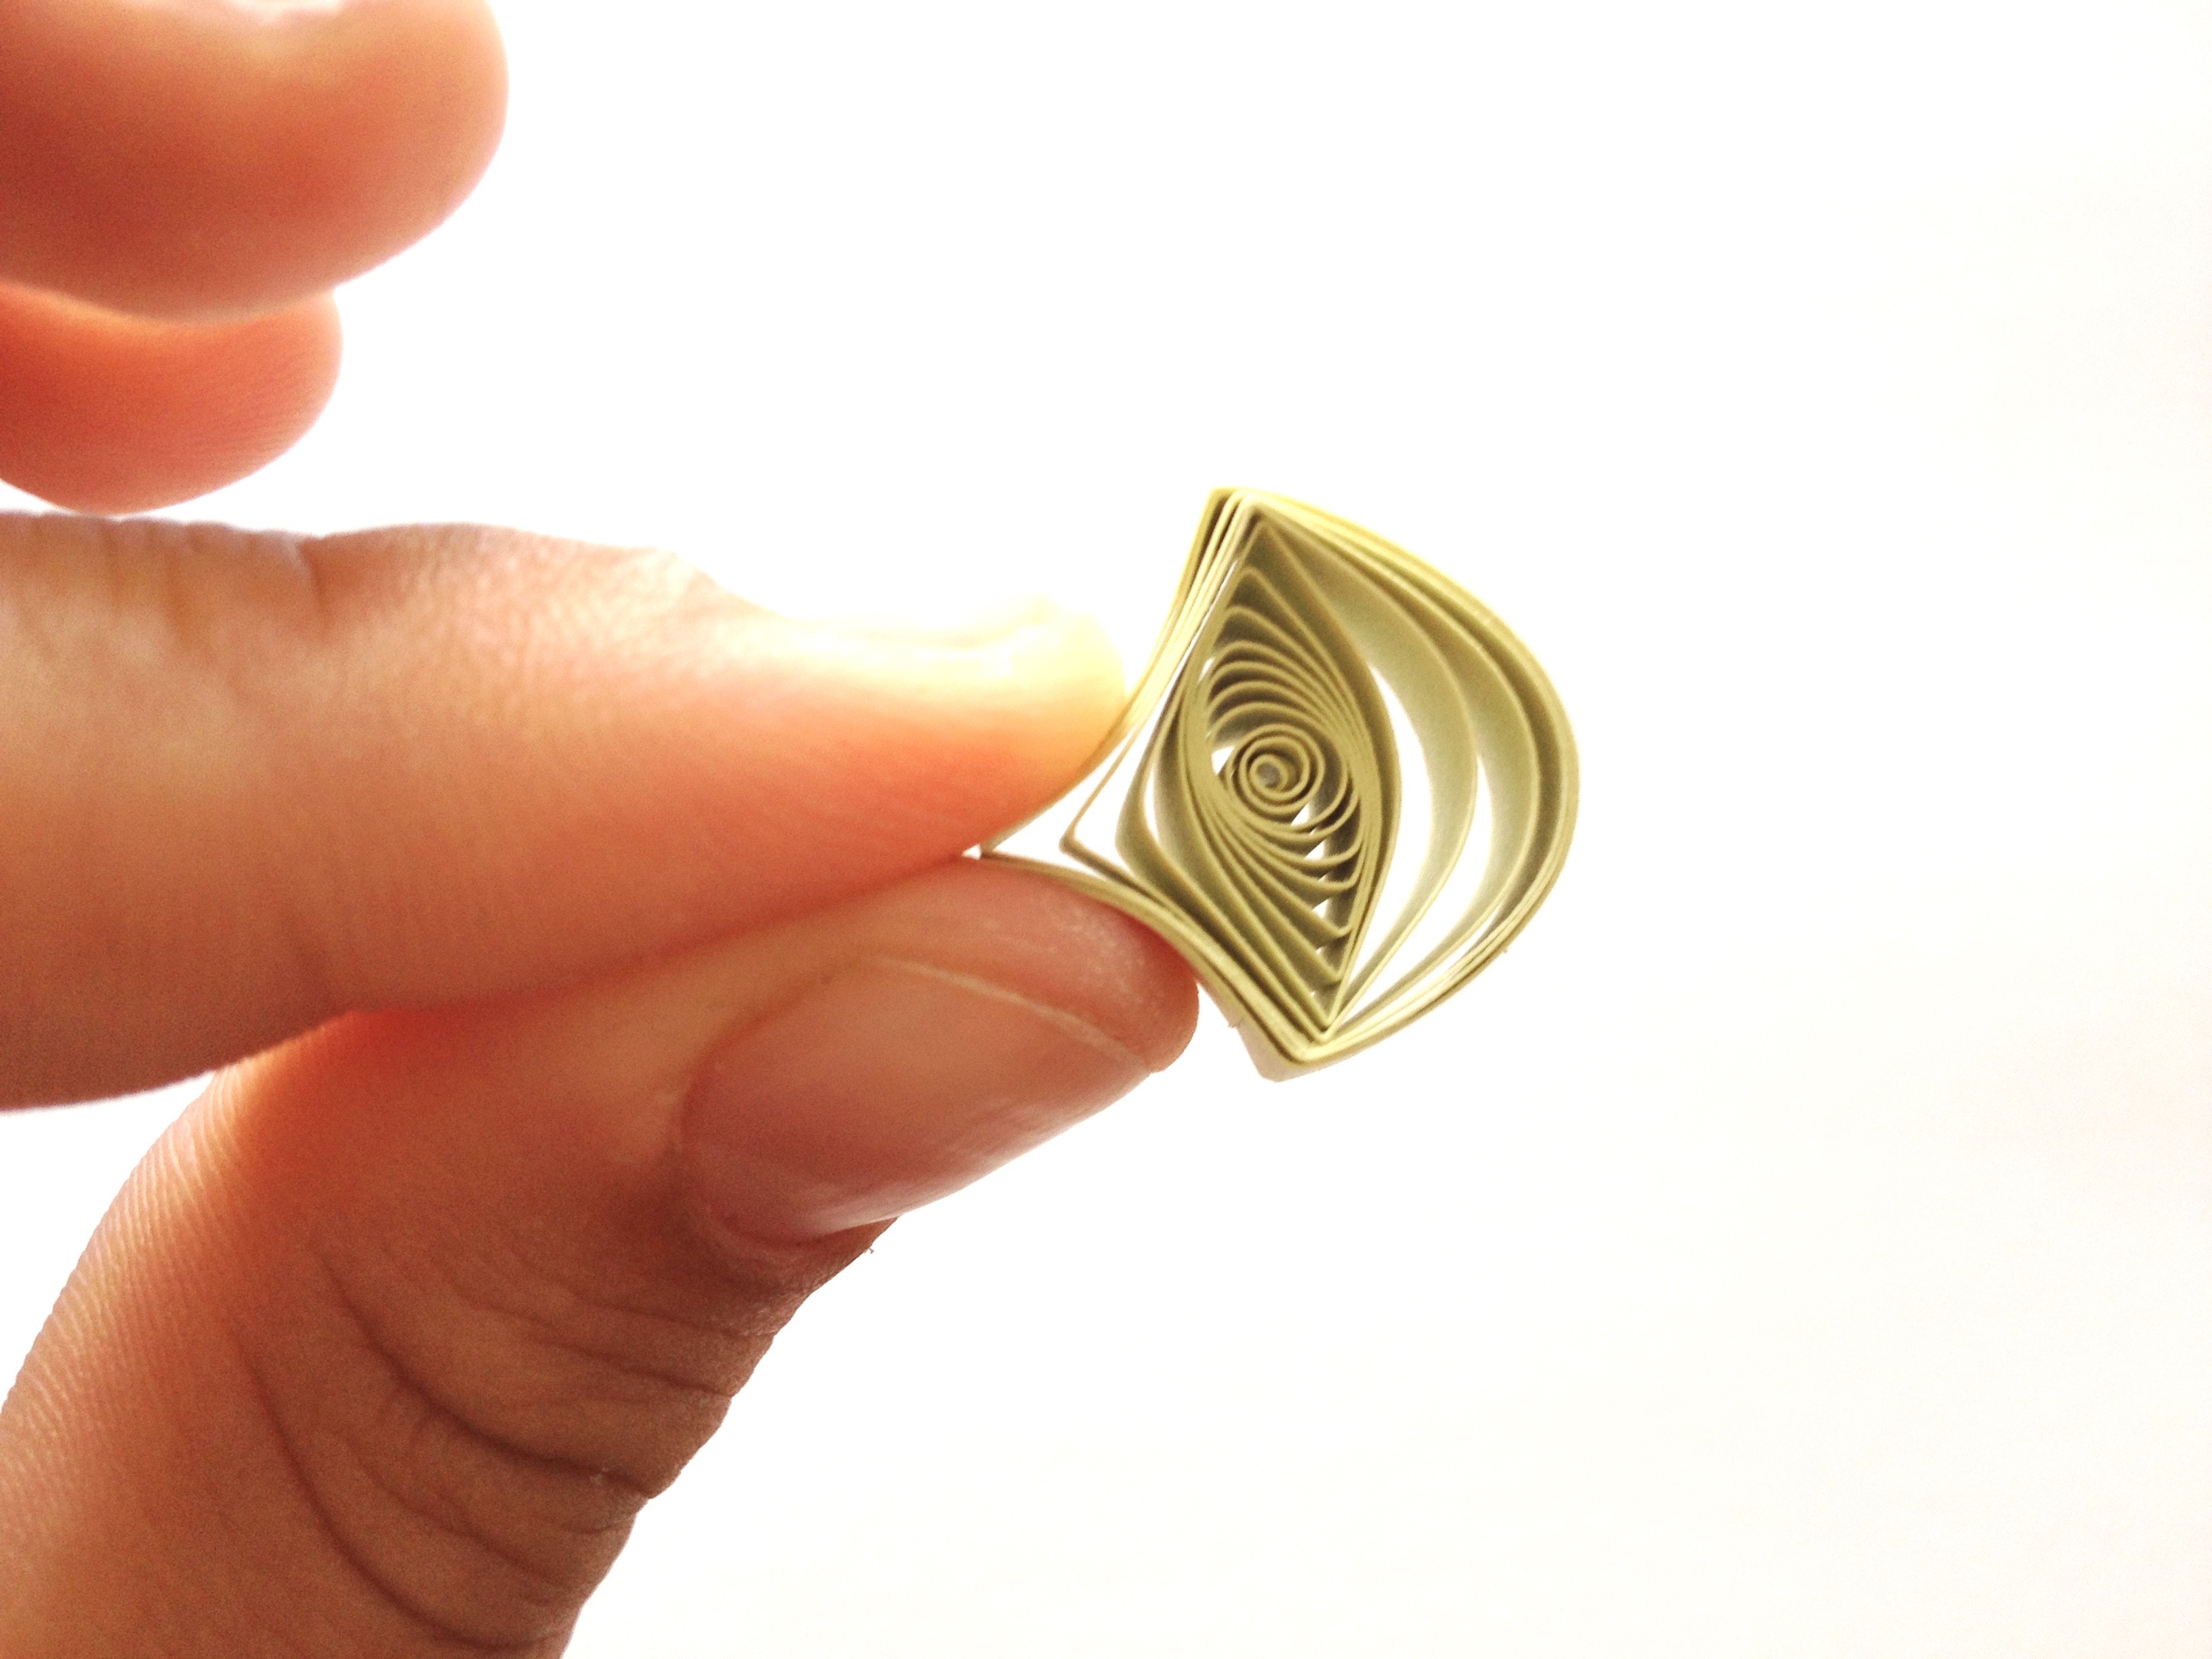
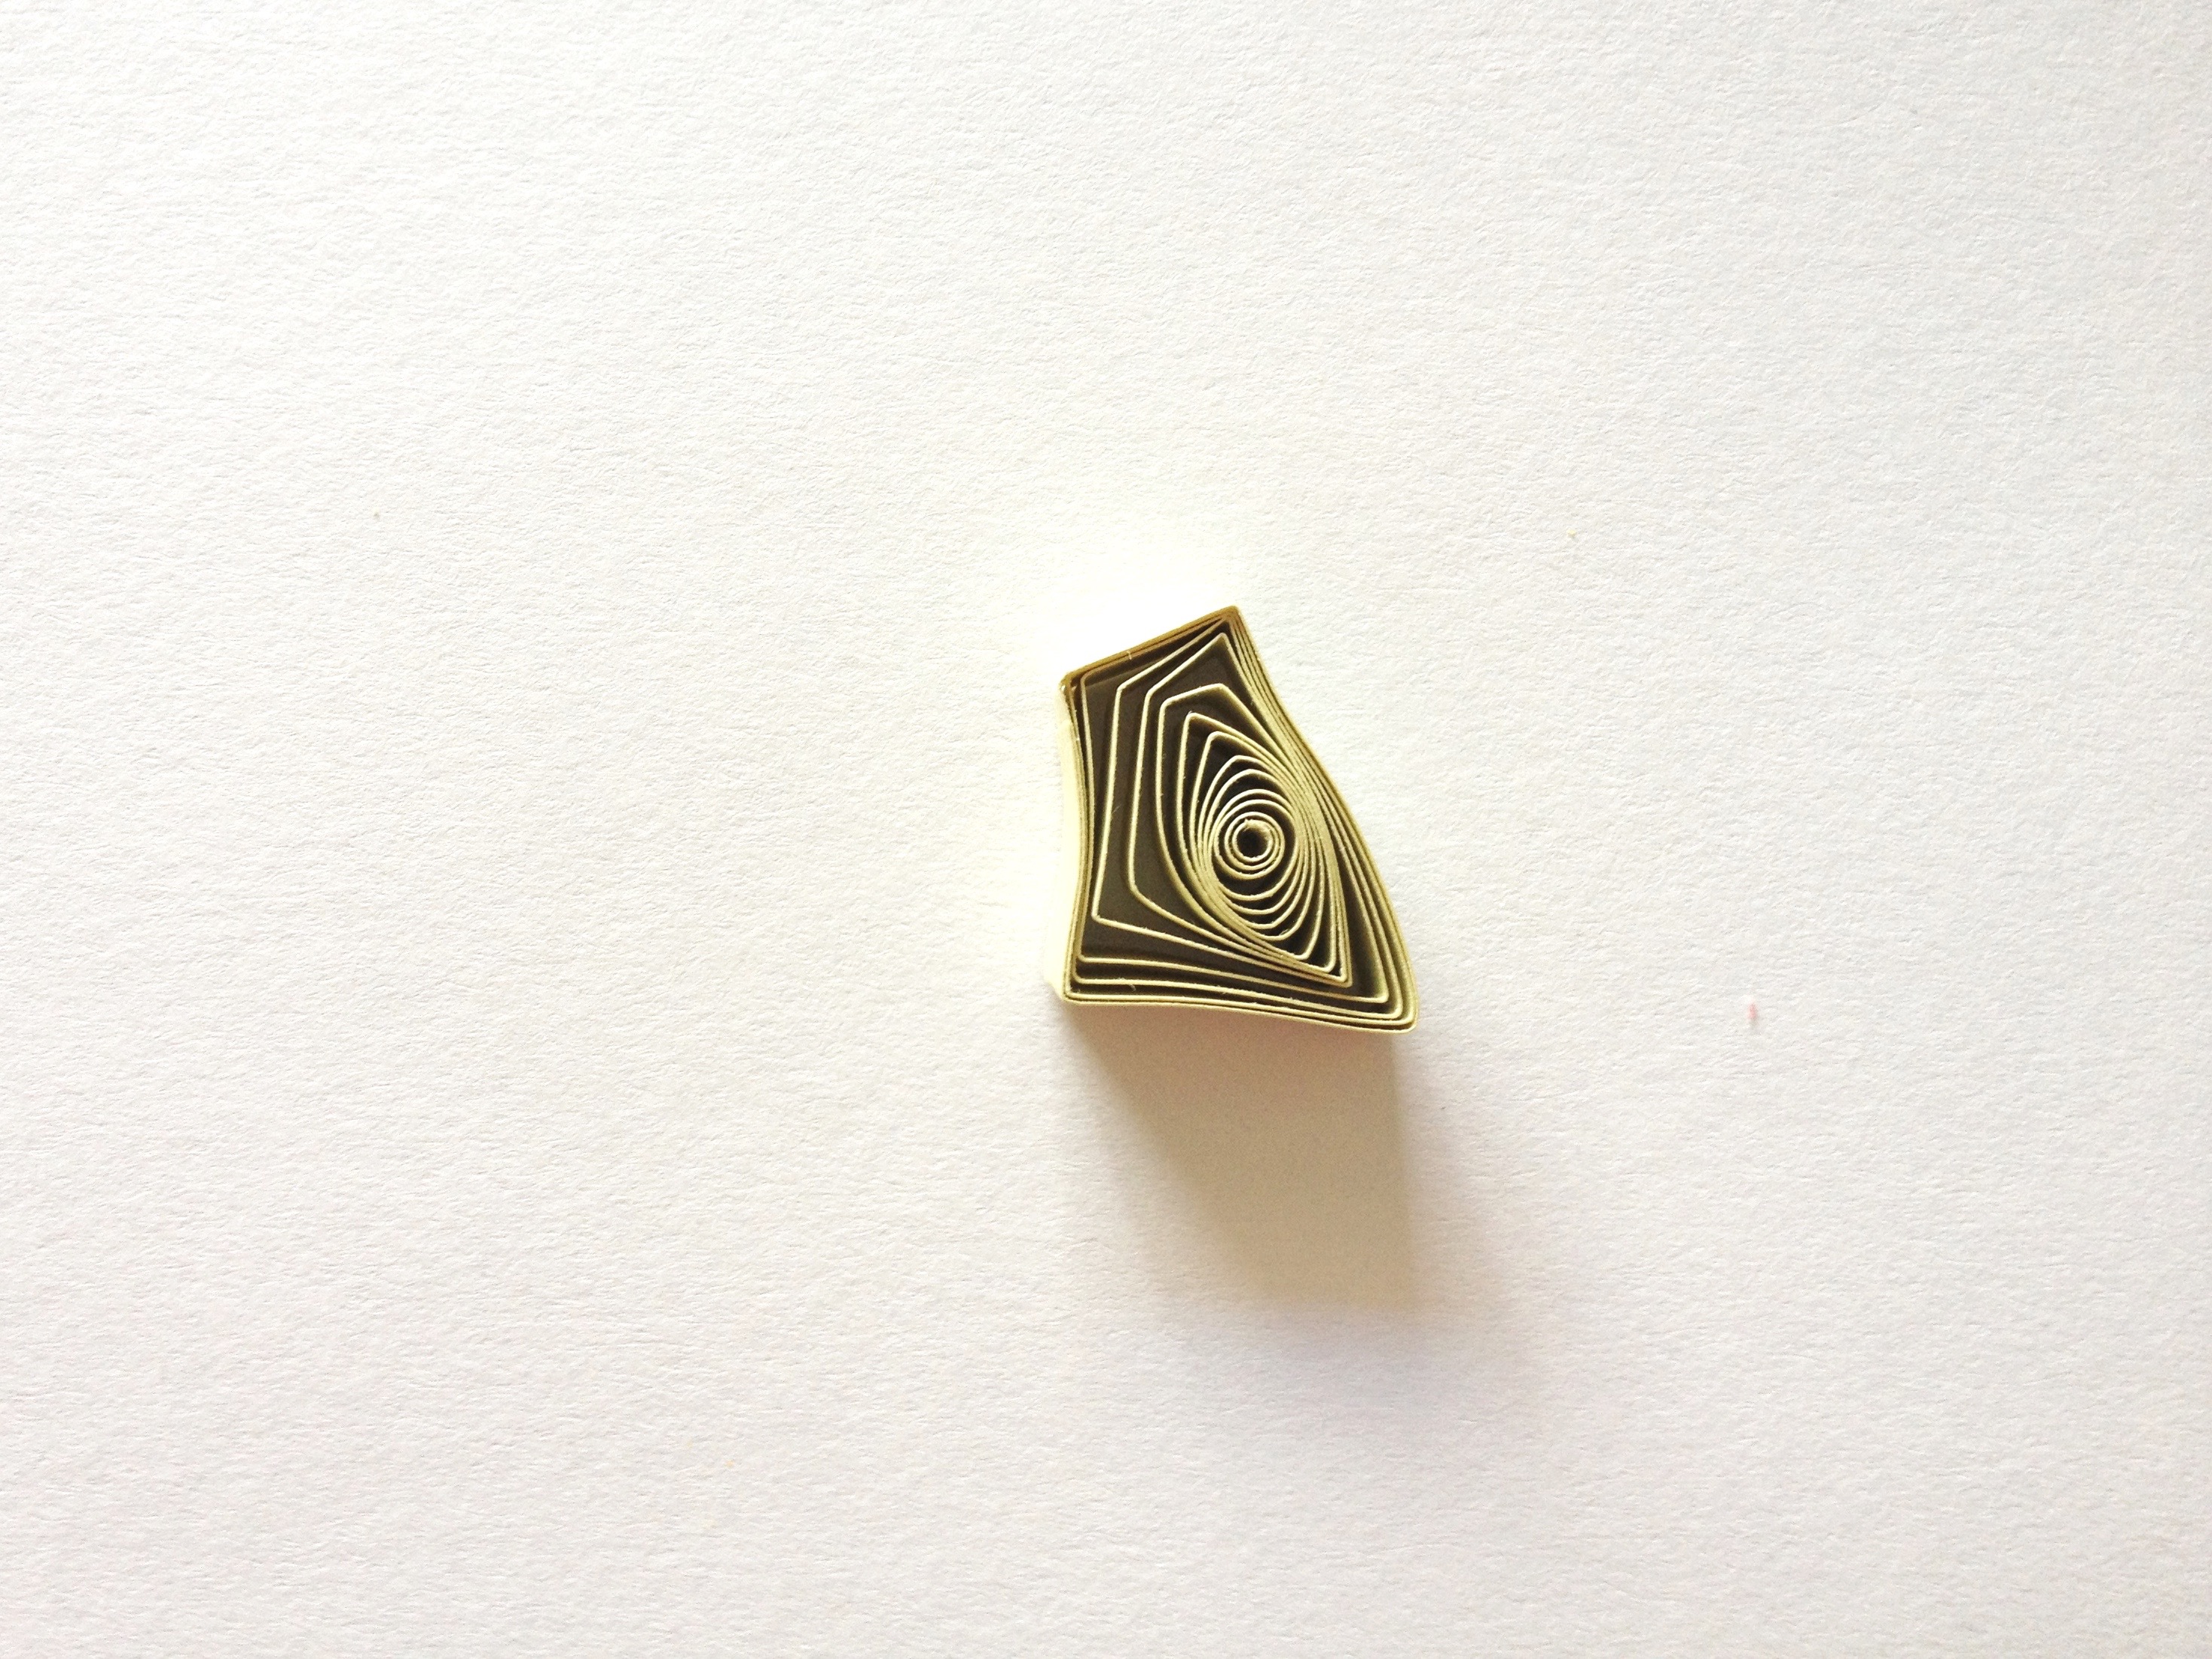
How to make a quilled square or diamond
To make a diamond or a square, first need to create a basic marquis shape. After shaping, rotate the marquis 90 degrees and then pinch both sides again. This will create a diamond shape. If you want to continue on to making a square, gently open up the shape between your fingers to complete.
Square variations
Playing around with how much of each corner you chose to pinch when creating your square can give you very different results.
- The example on the left side of the picture below shows how only applying pressure to the outside corners will give you a square with a rounded center.
- The center square was made by completely pressing the open coil together on one side, opening it up and then pinching just the corners on the opposite side.
- The final square on the right got its unique center by completely pressing down the coil on both turns.
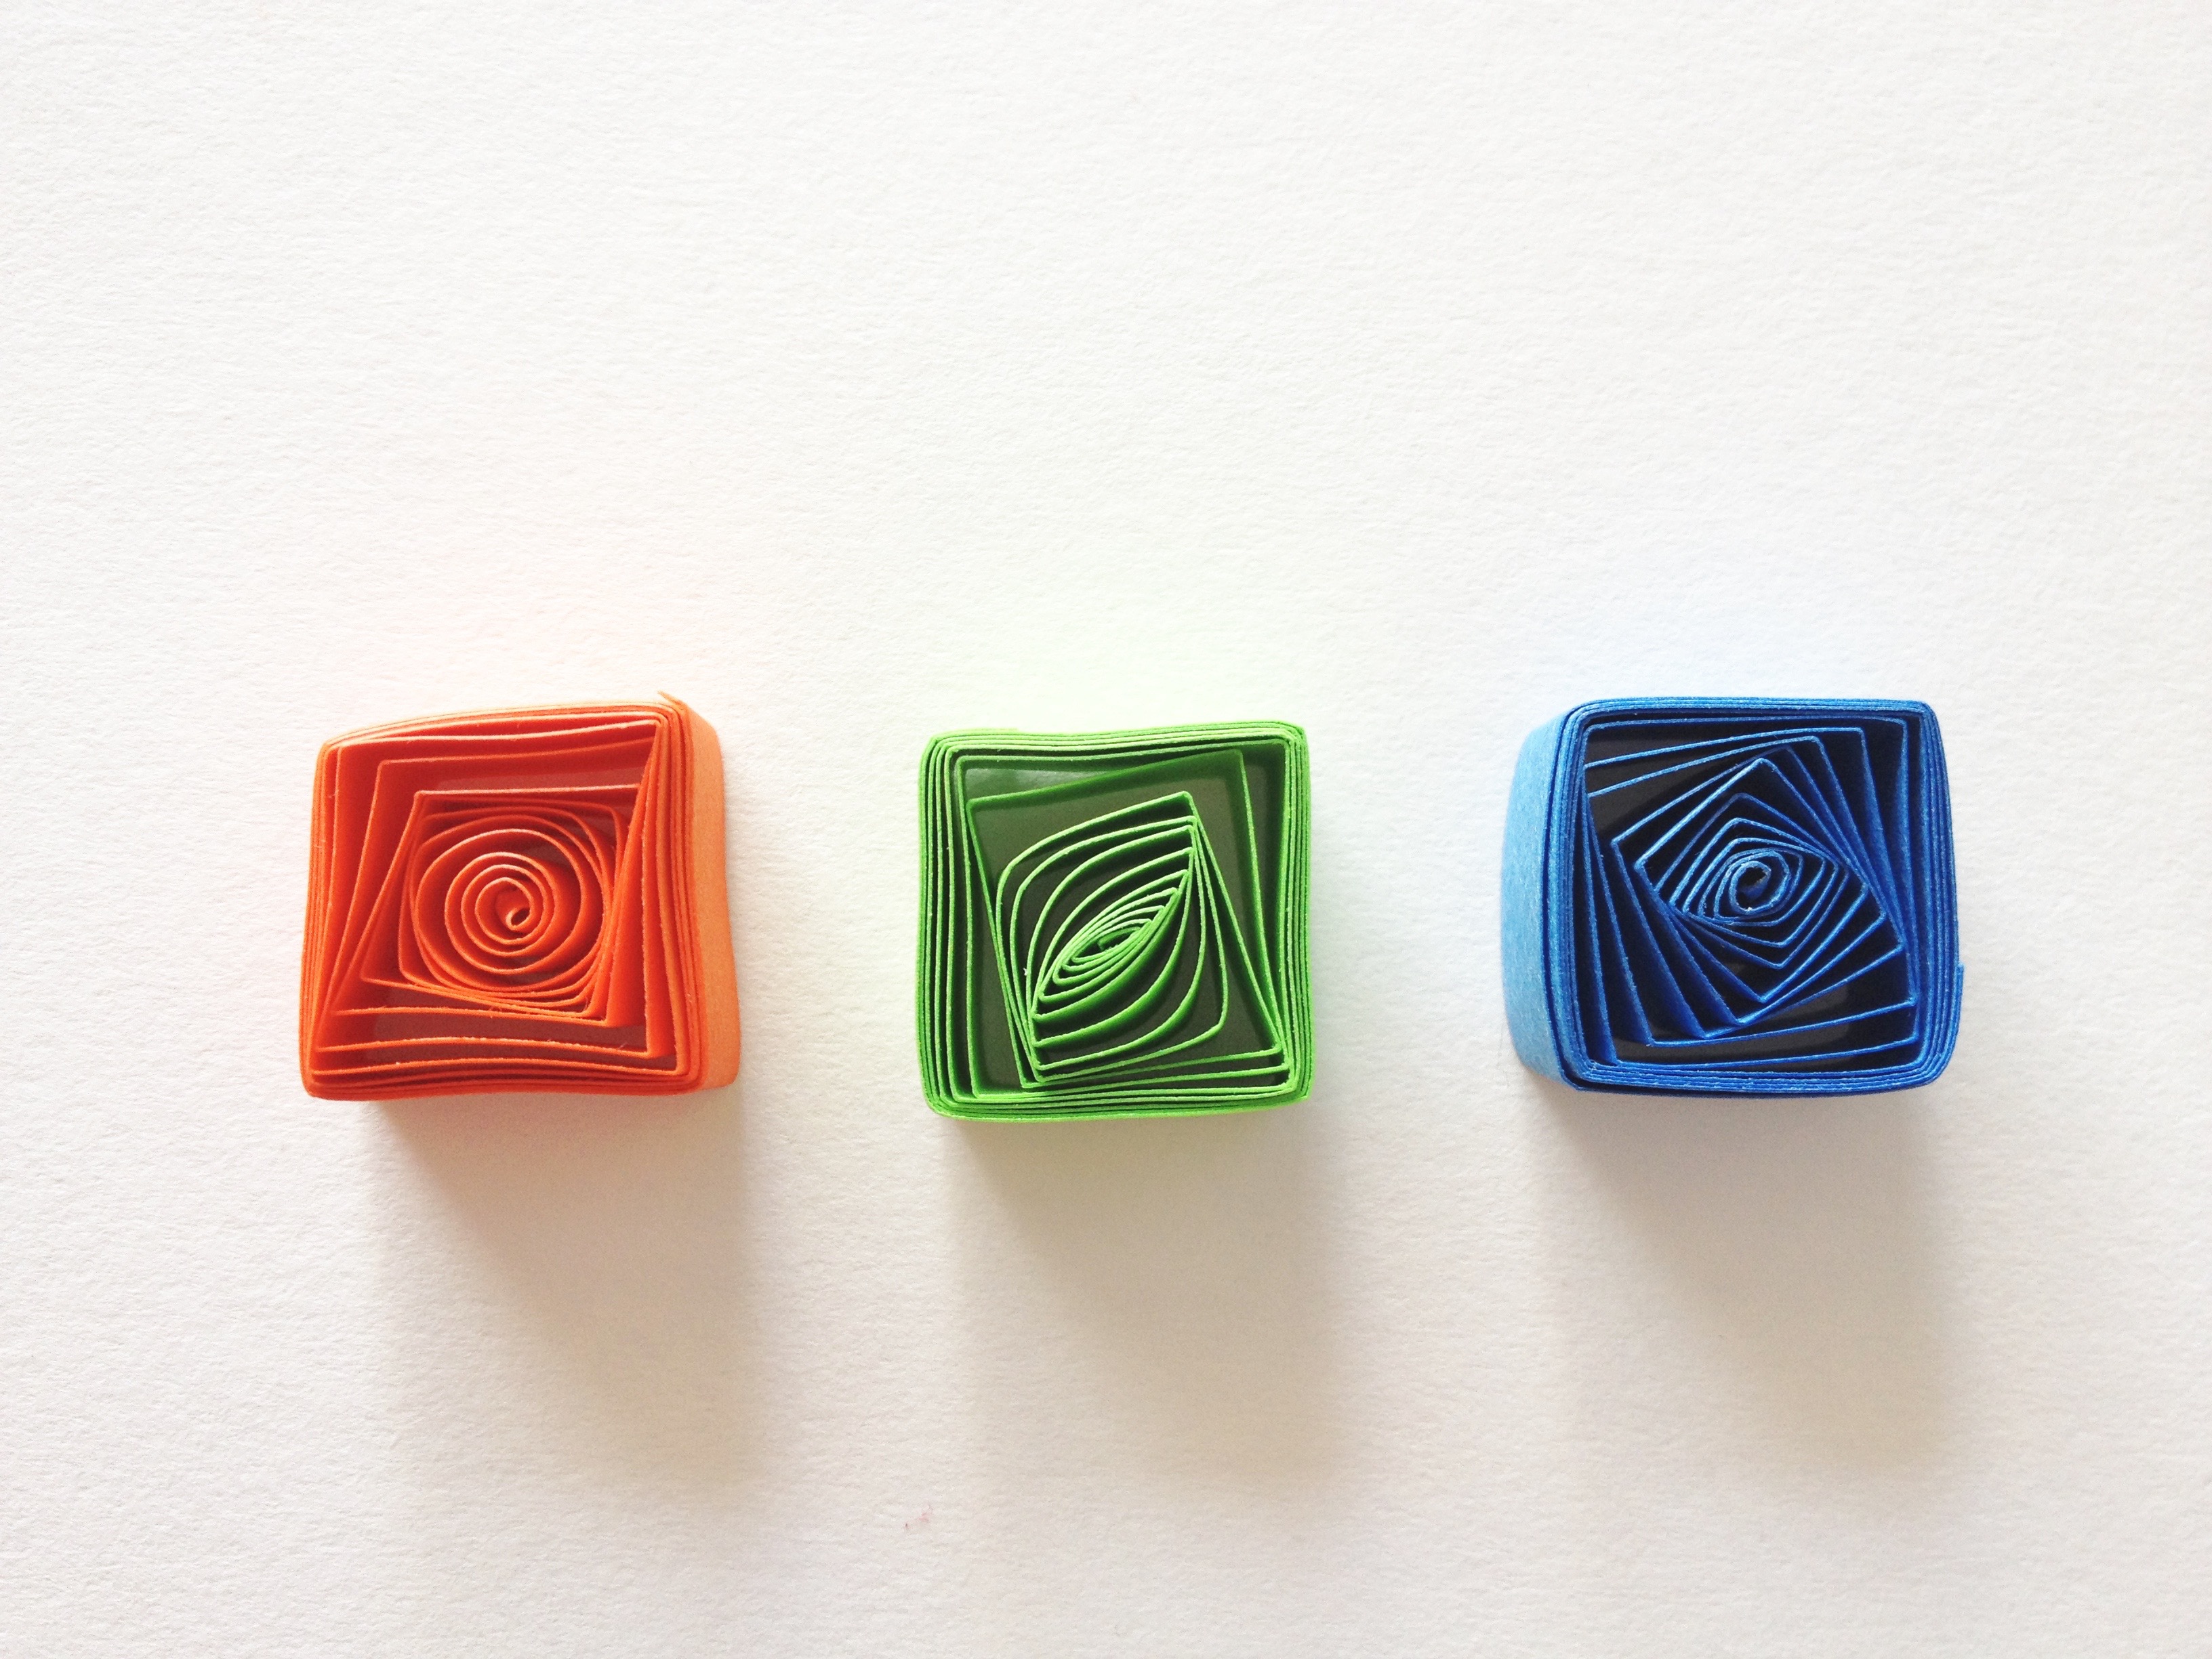
Yet another variation can be made to the square shape by applying pressure to the outside structure with the use of your fingers or the stem of your quilling tool.
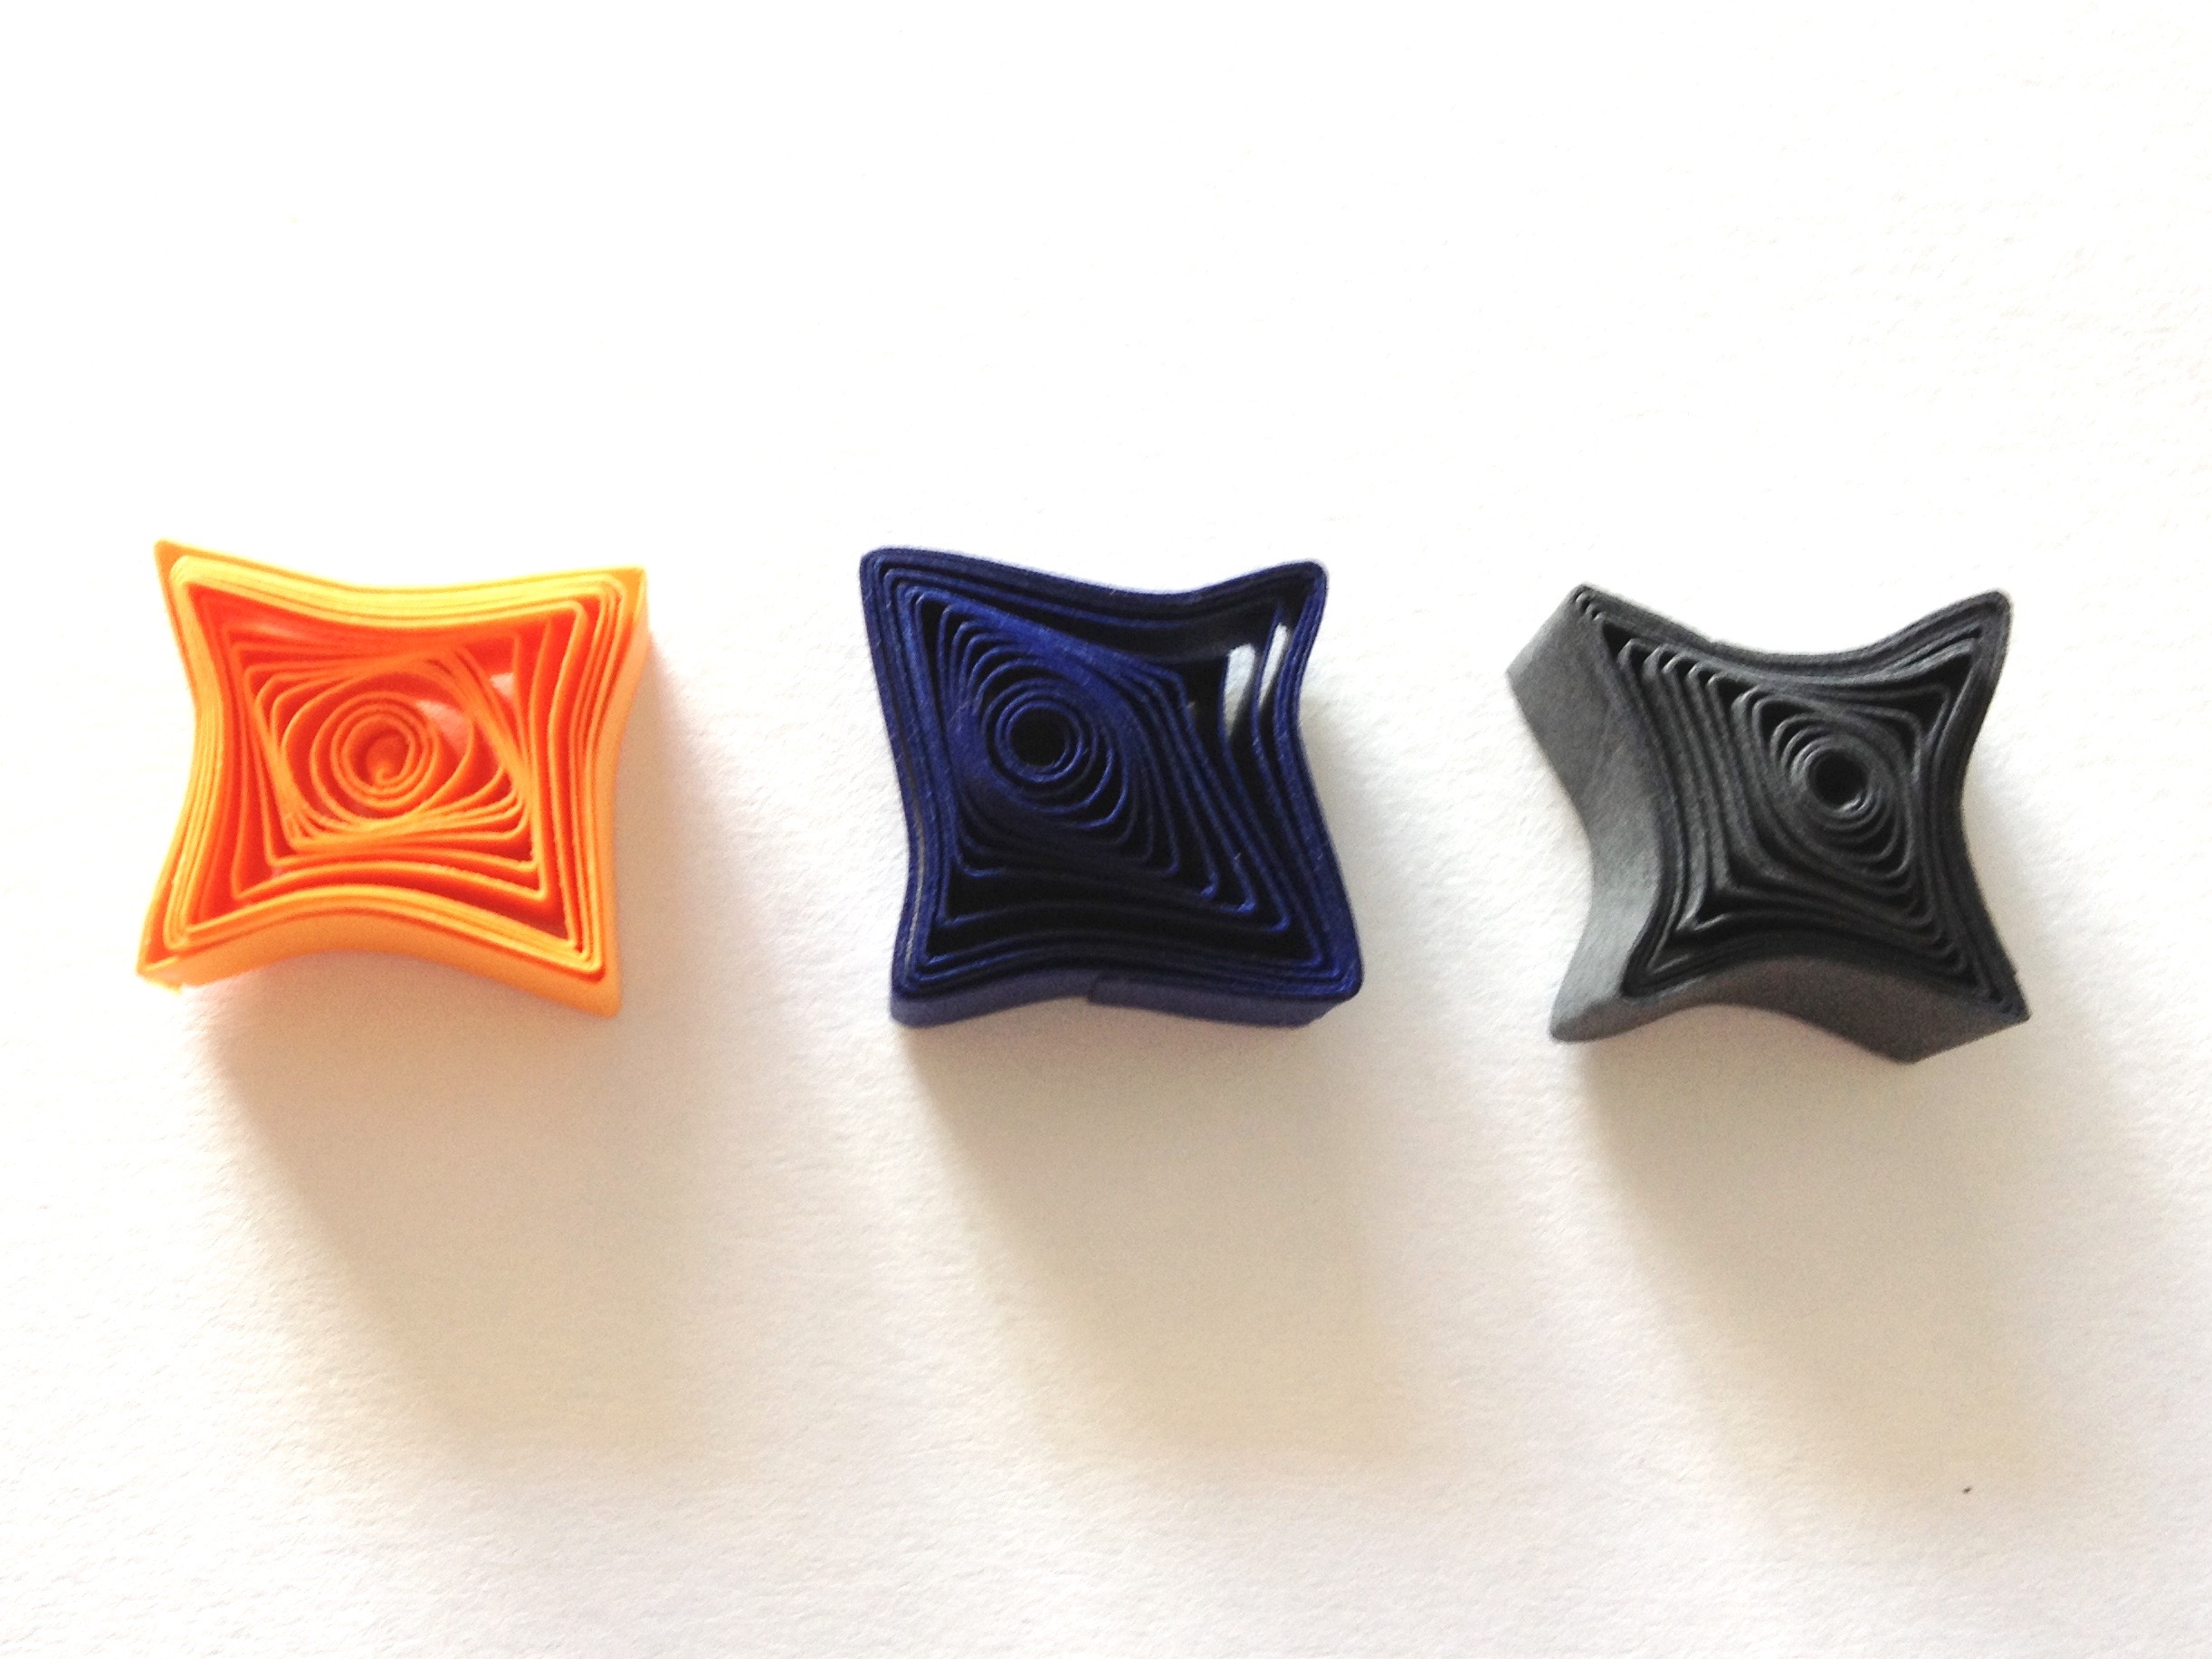
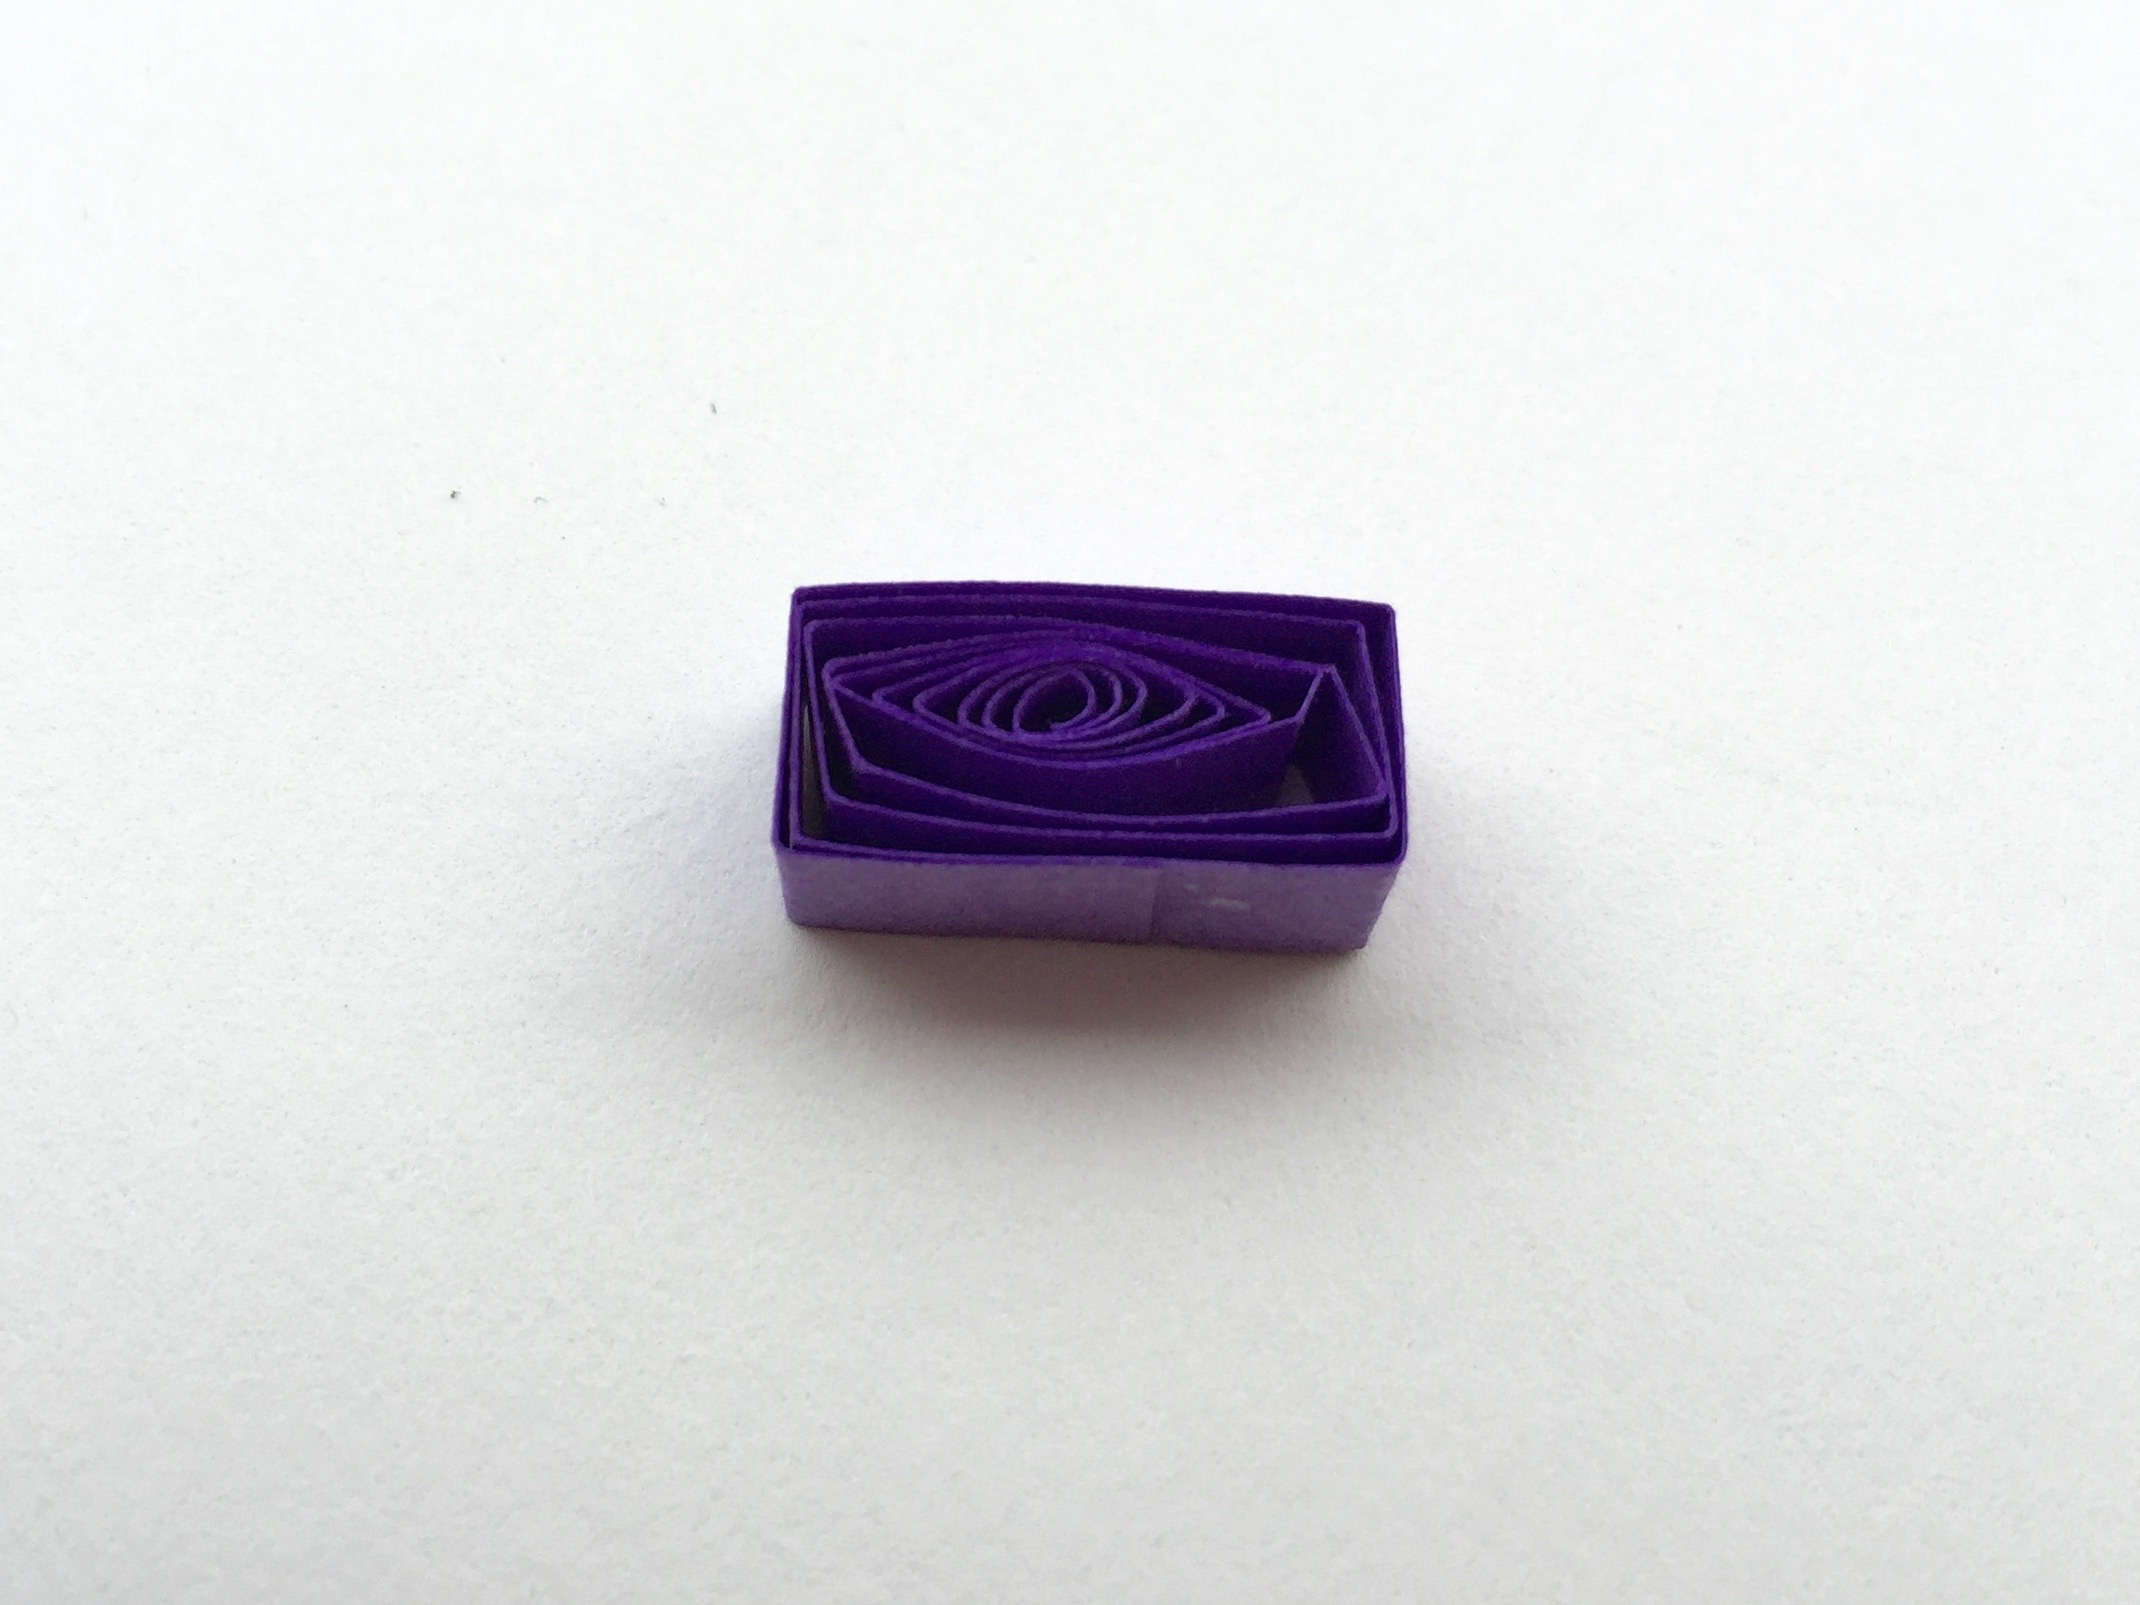
How to make a quilled rectangle
Rectangles and squares are made very similarly. The difference is in how much you rotate the marquis shape before pinching additional angles. Rotate it only slightly before pinching and then open the shape to reveal the perfect rectangle.
Rectangle variations
Alternately, you can create a quadrilateral shape by making your four corners at uneven intervals. This shape is especially useful when making quilled paper mosaics and you find yourself needing to fill in an odd space.
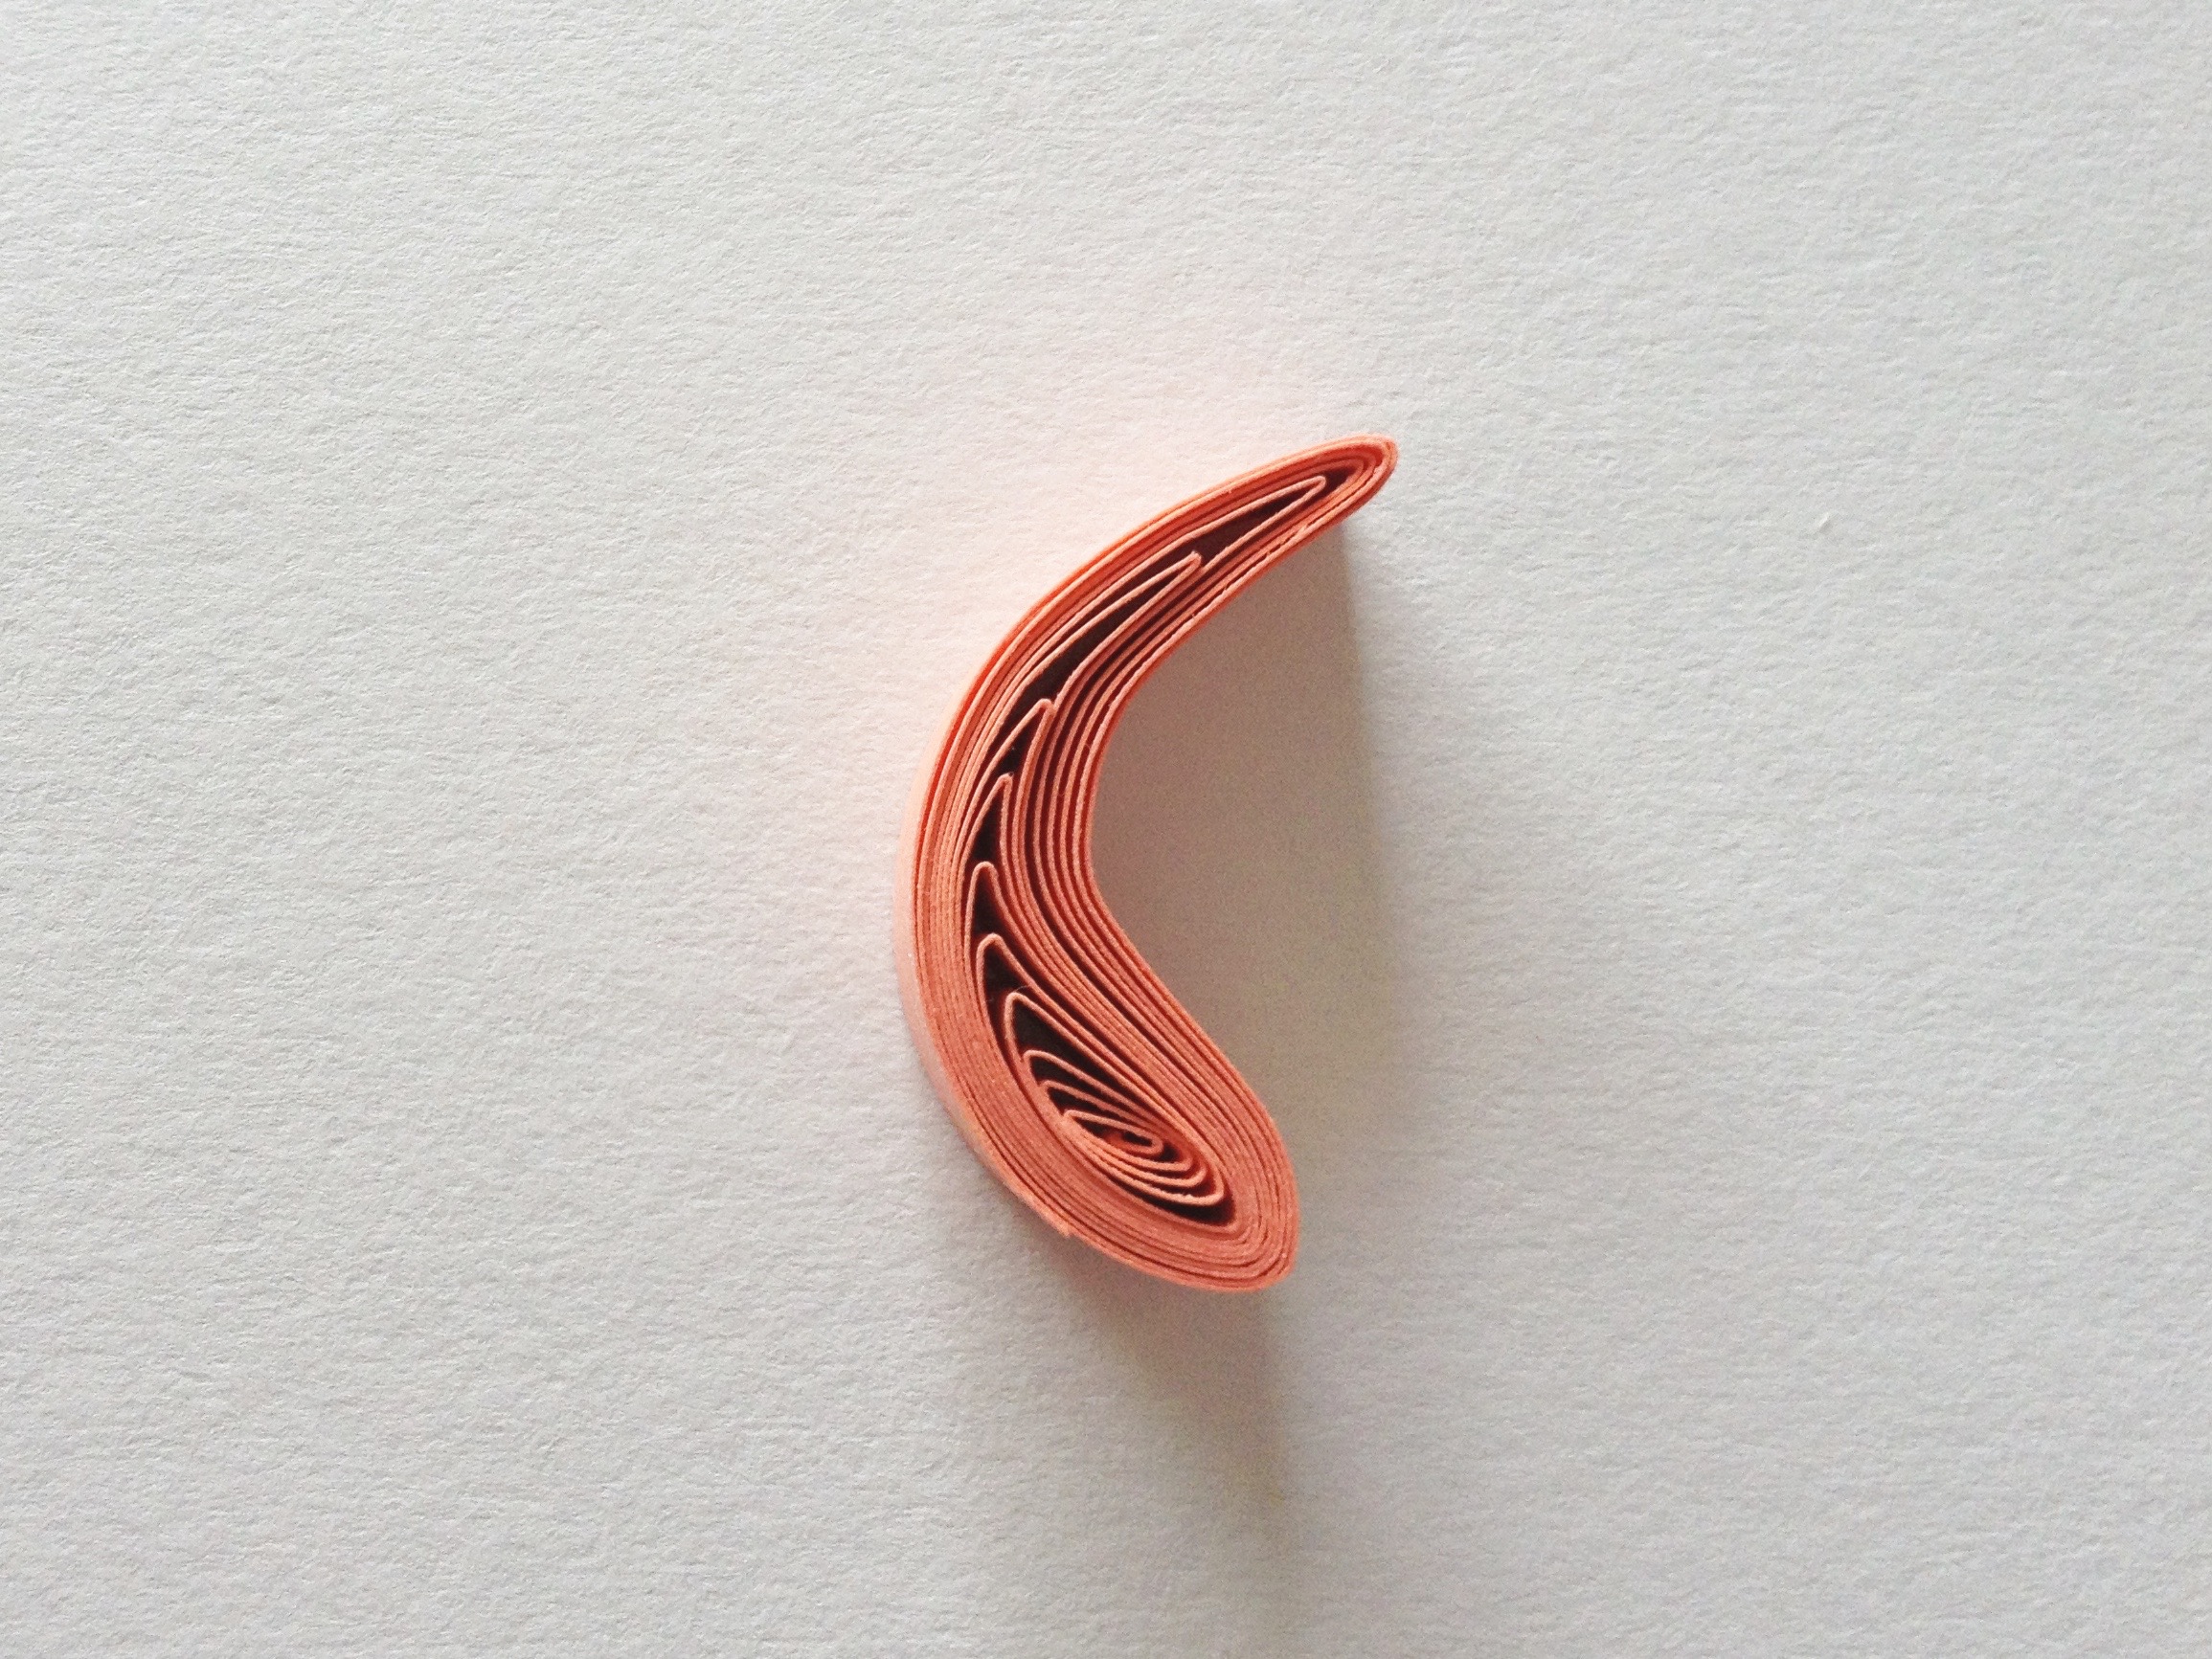
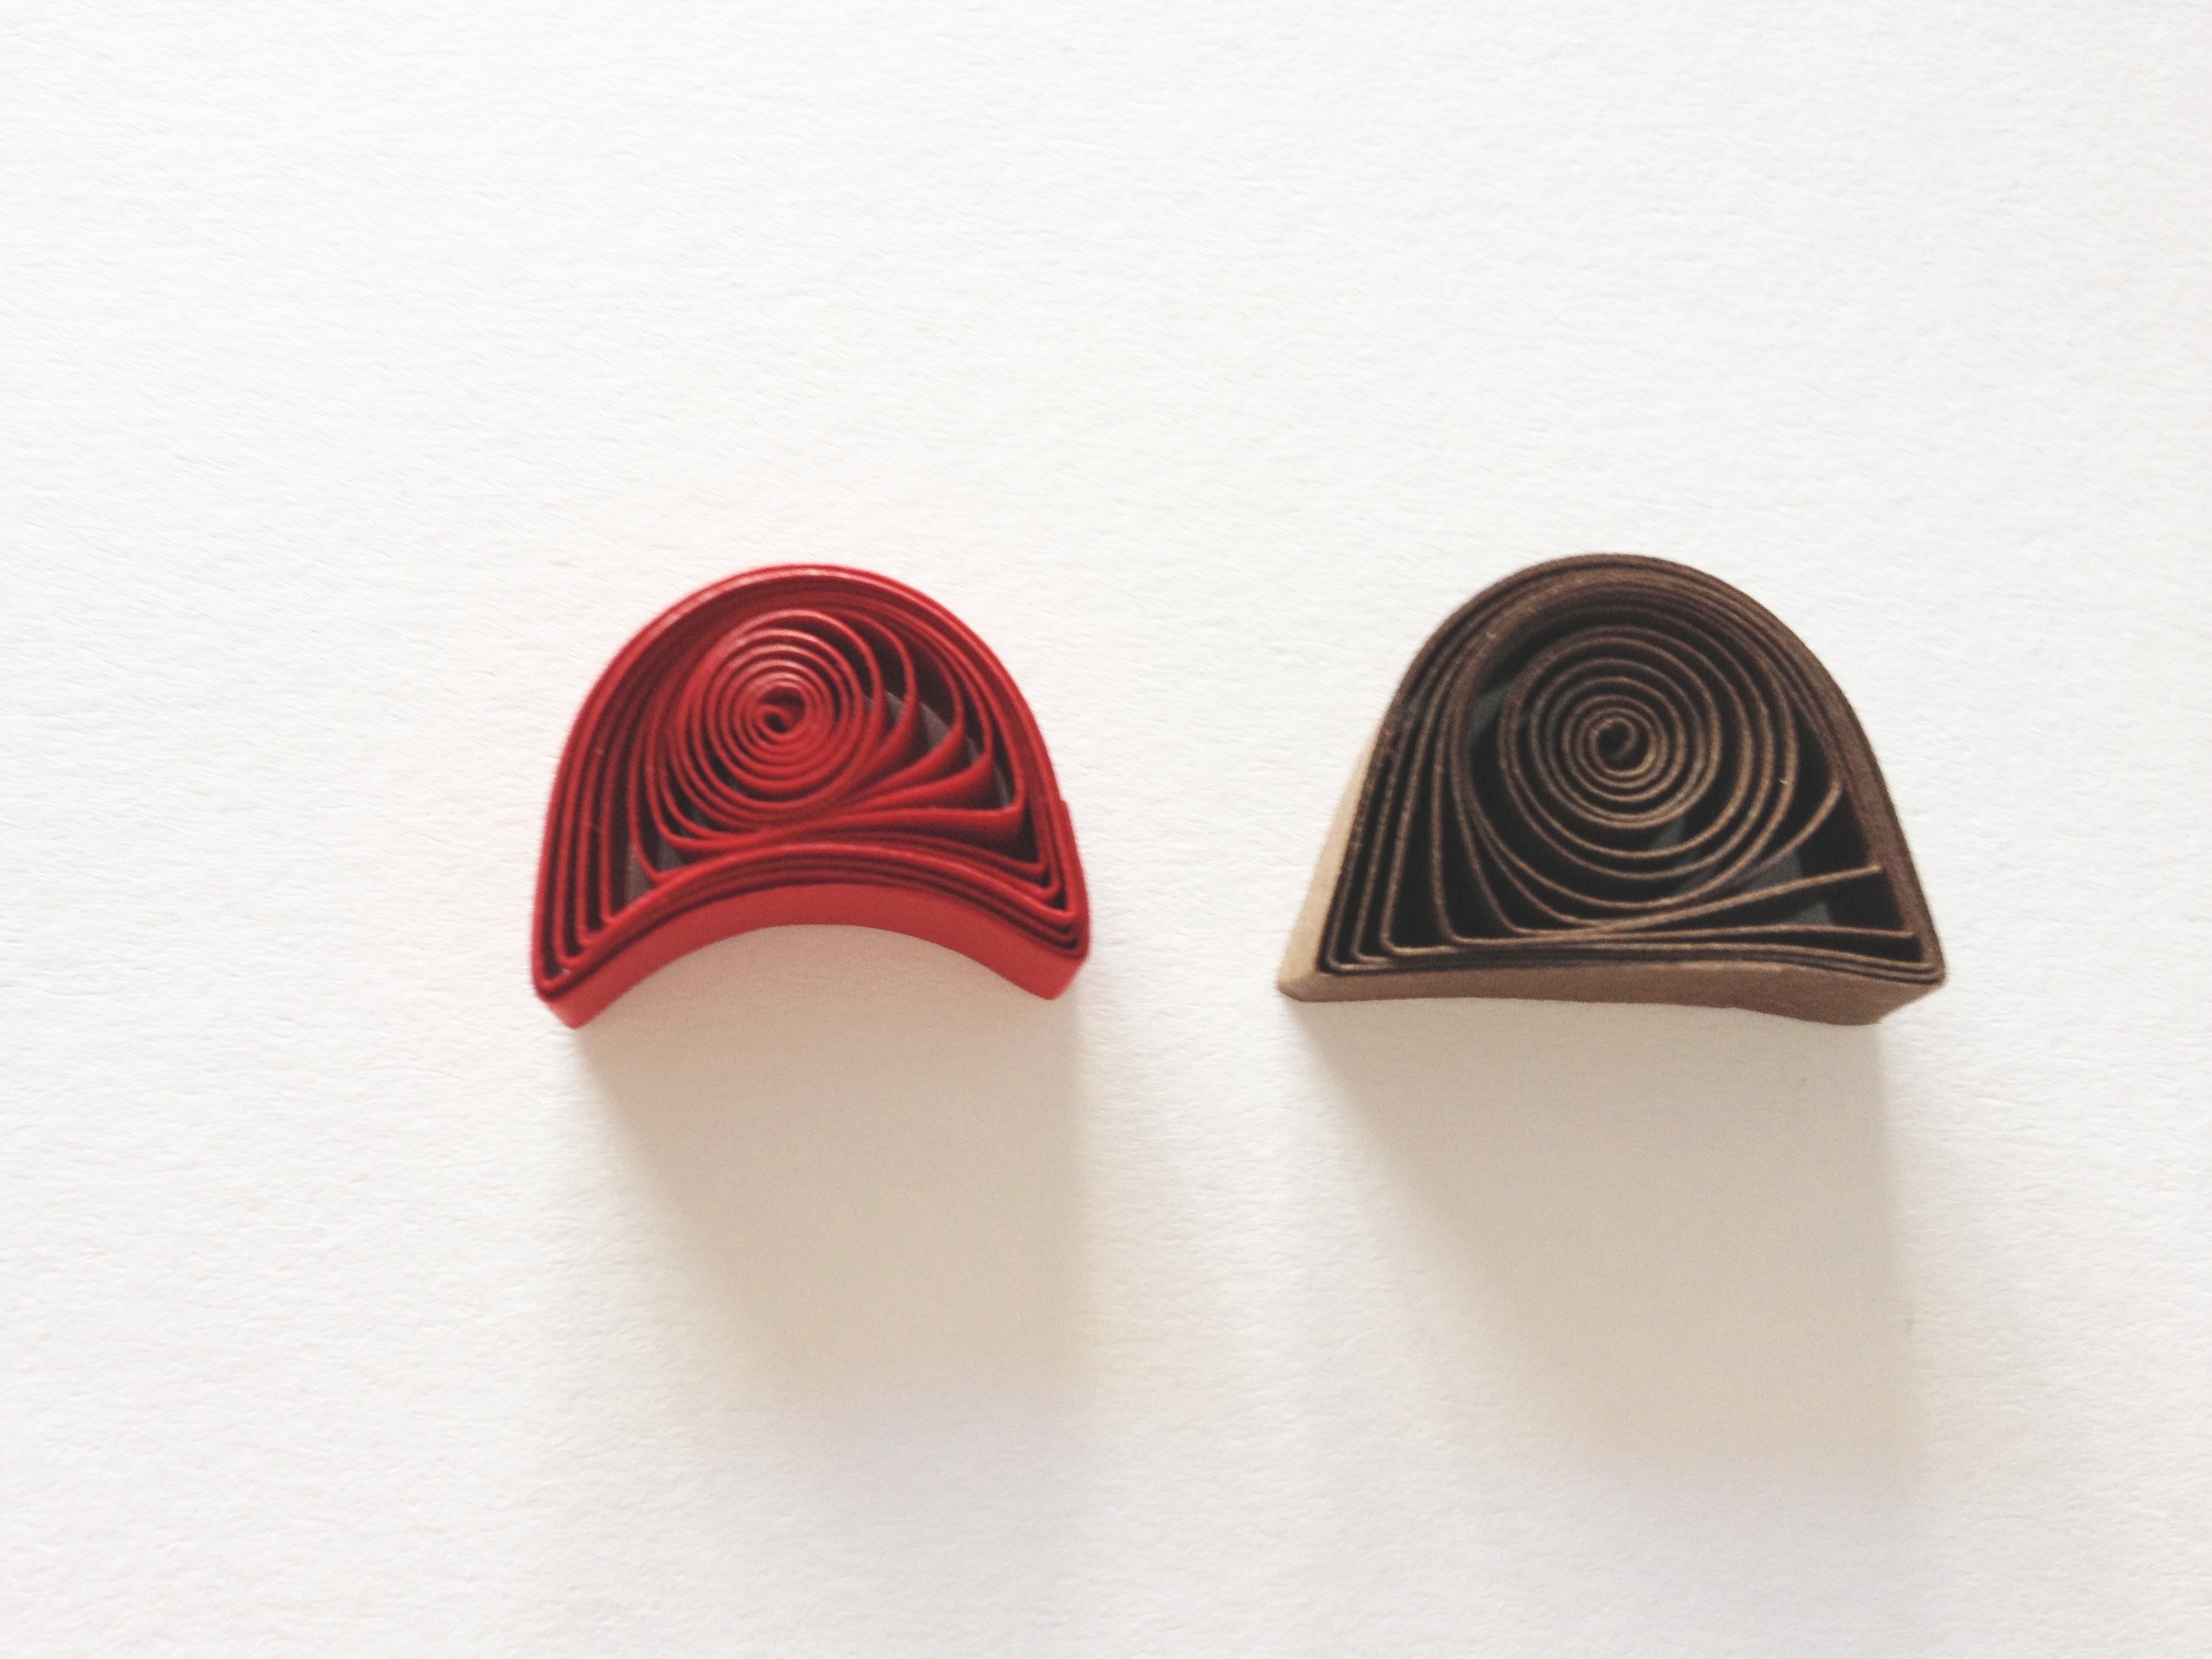
How to quill a semi-circle
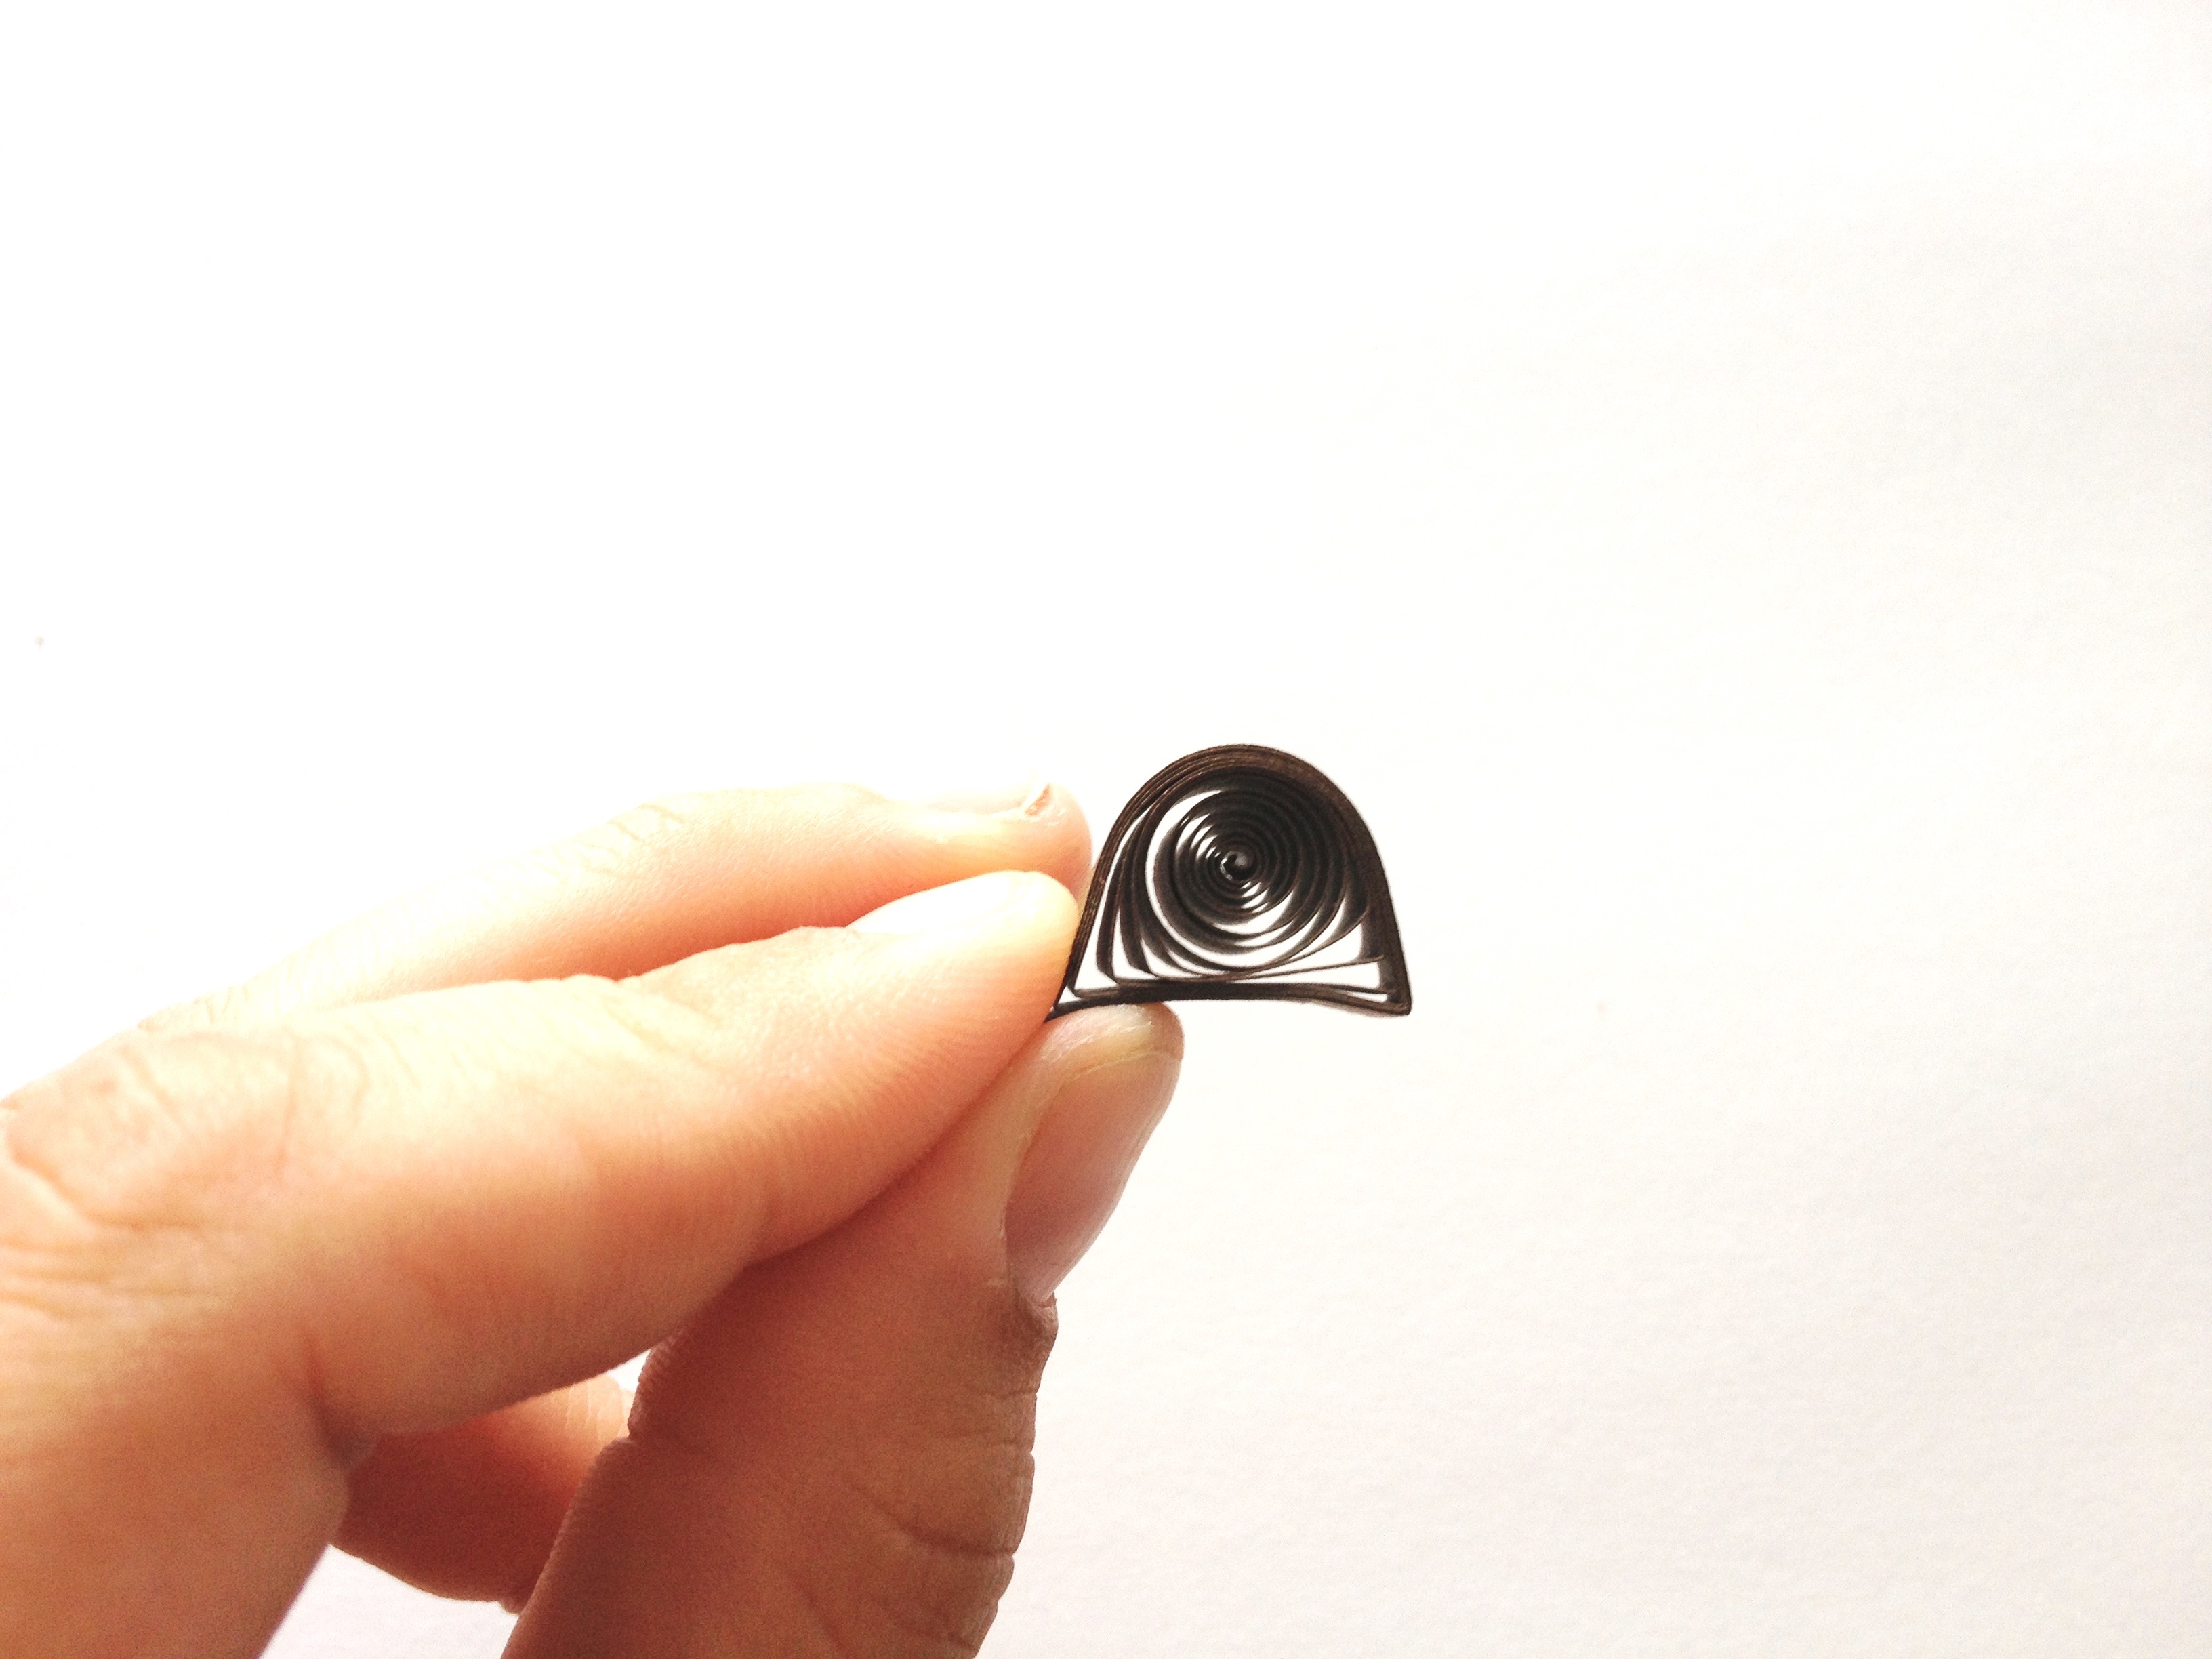
A semi-circle is created by taking an open coil and pinching two corners while leaving the paper above them round. This shape can alternatively be made by pressing an open coil onto a hard surface like a table top and sliding your fingers down the sides carefully. Try both methods to find which suits you best.
Curving the straight edge of the shape will allow you to turn the semi-circle into more of a crescent moon shape.
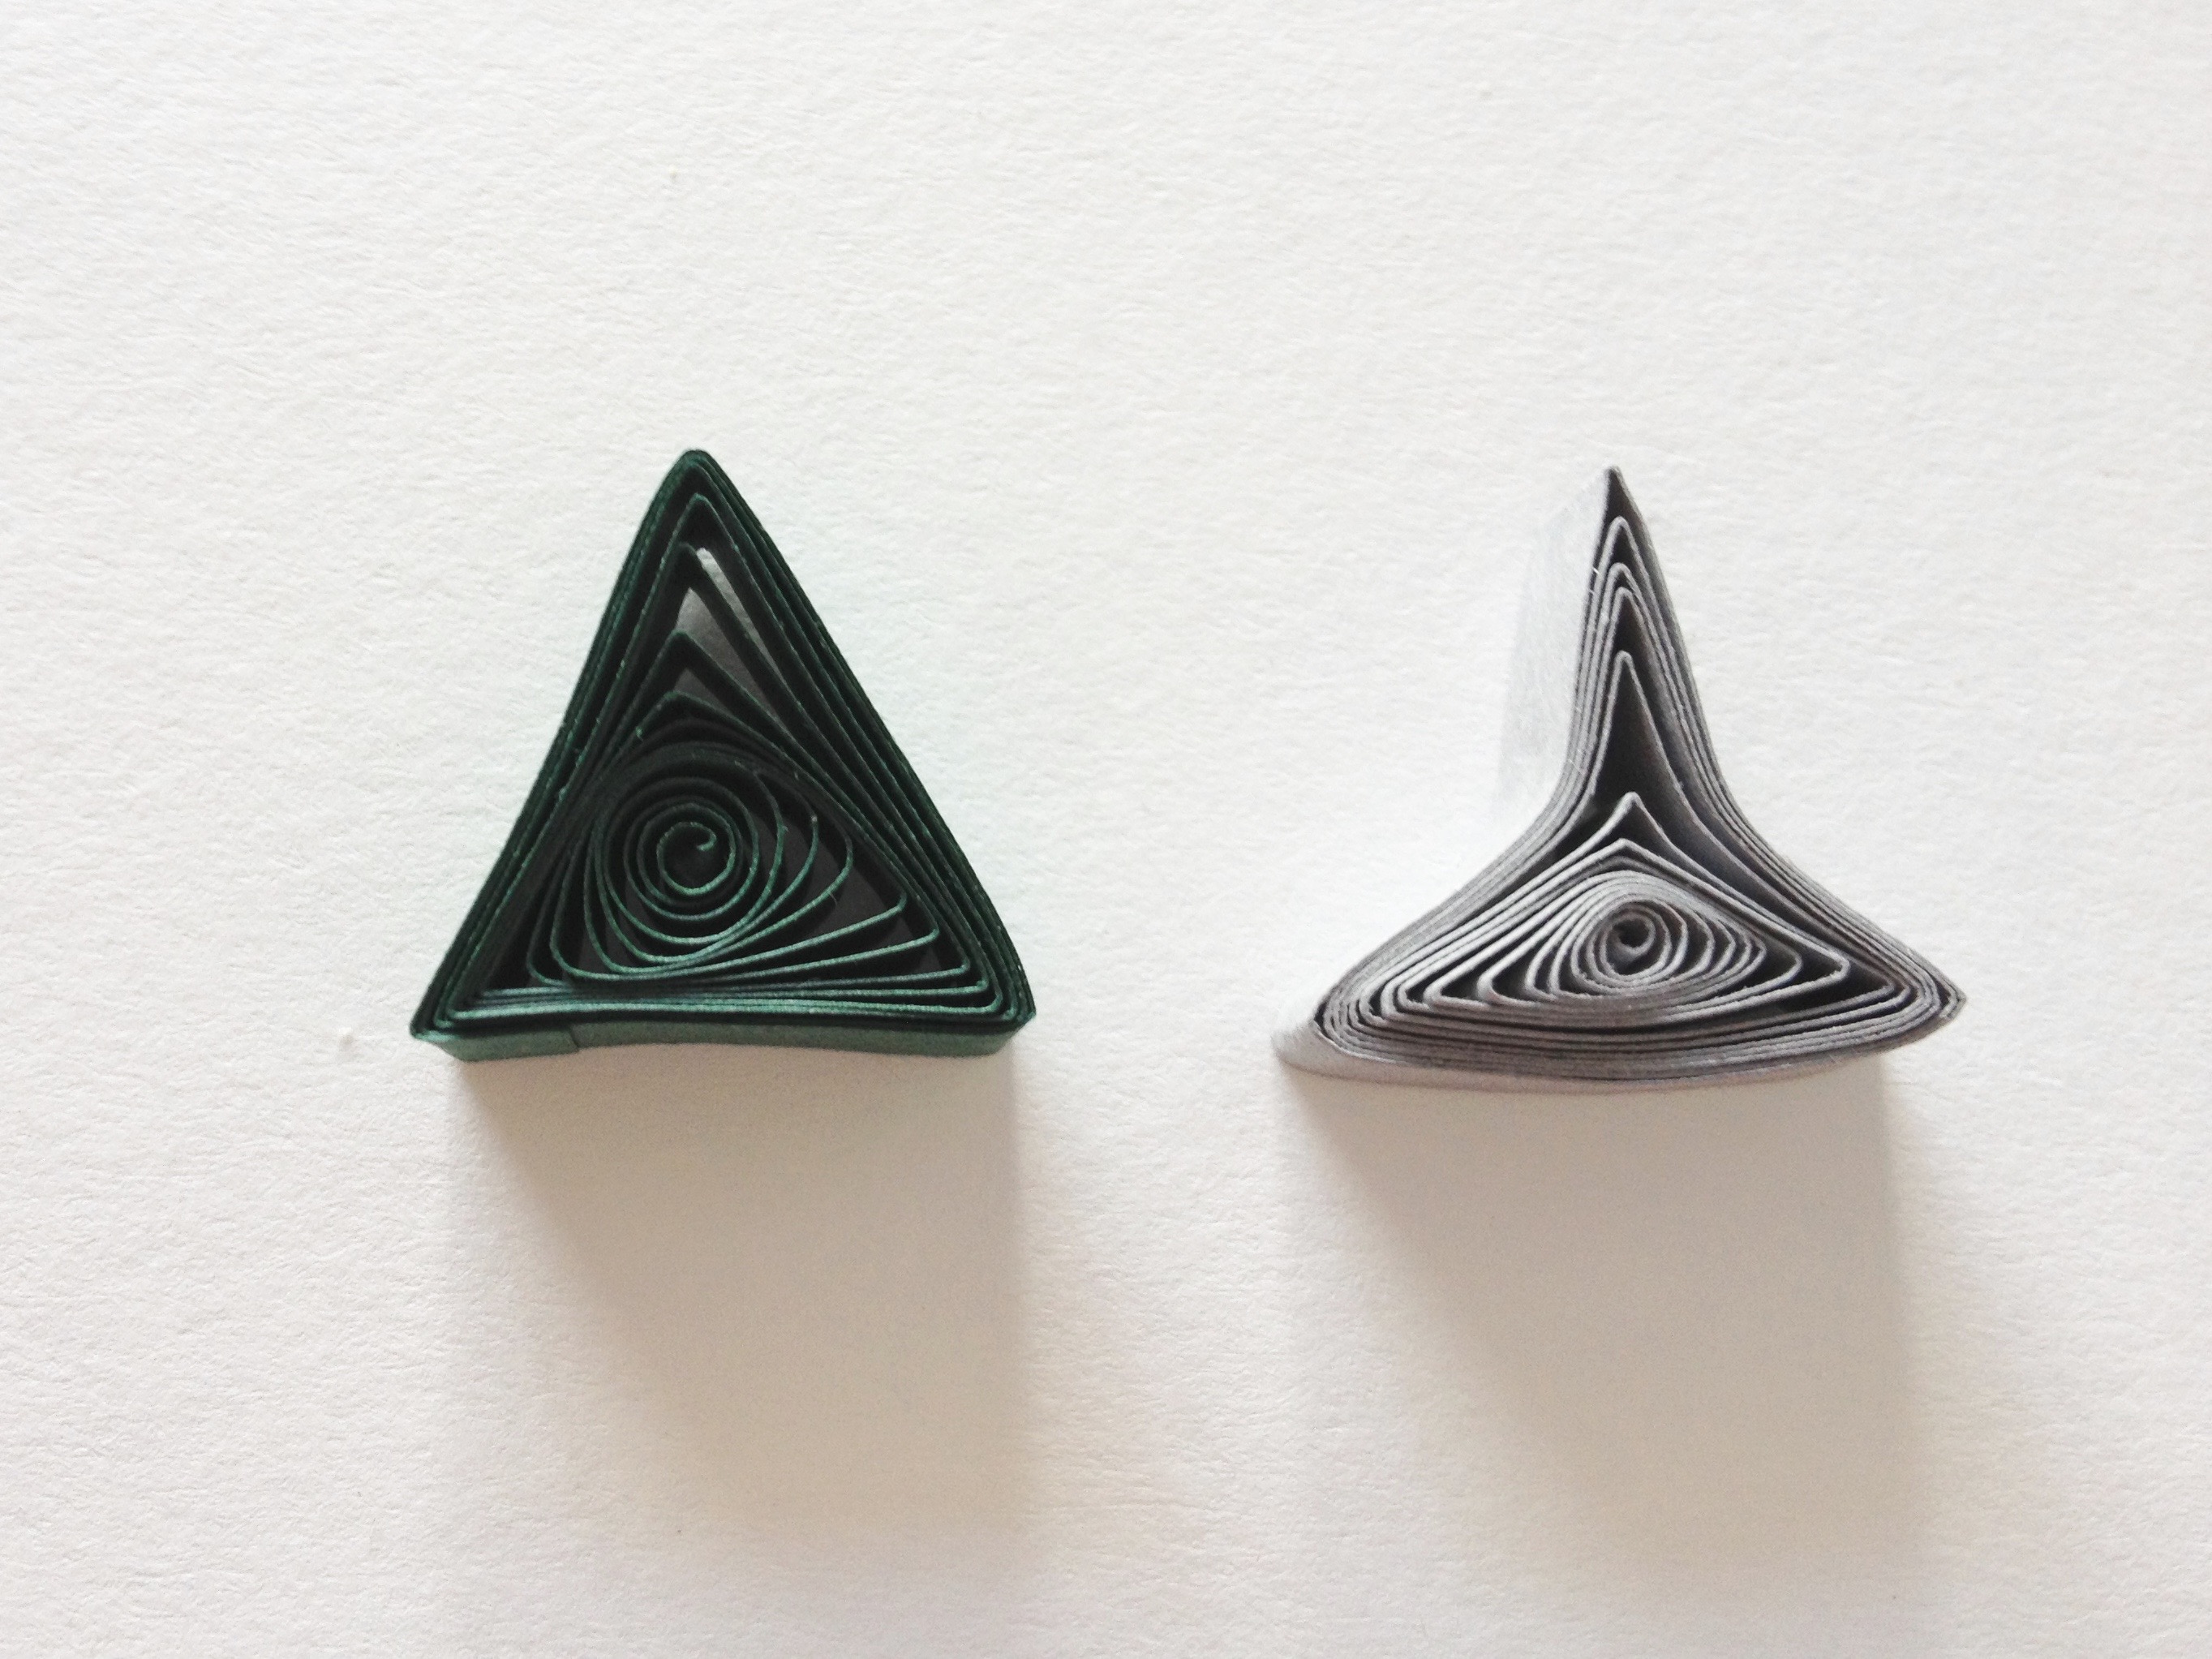
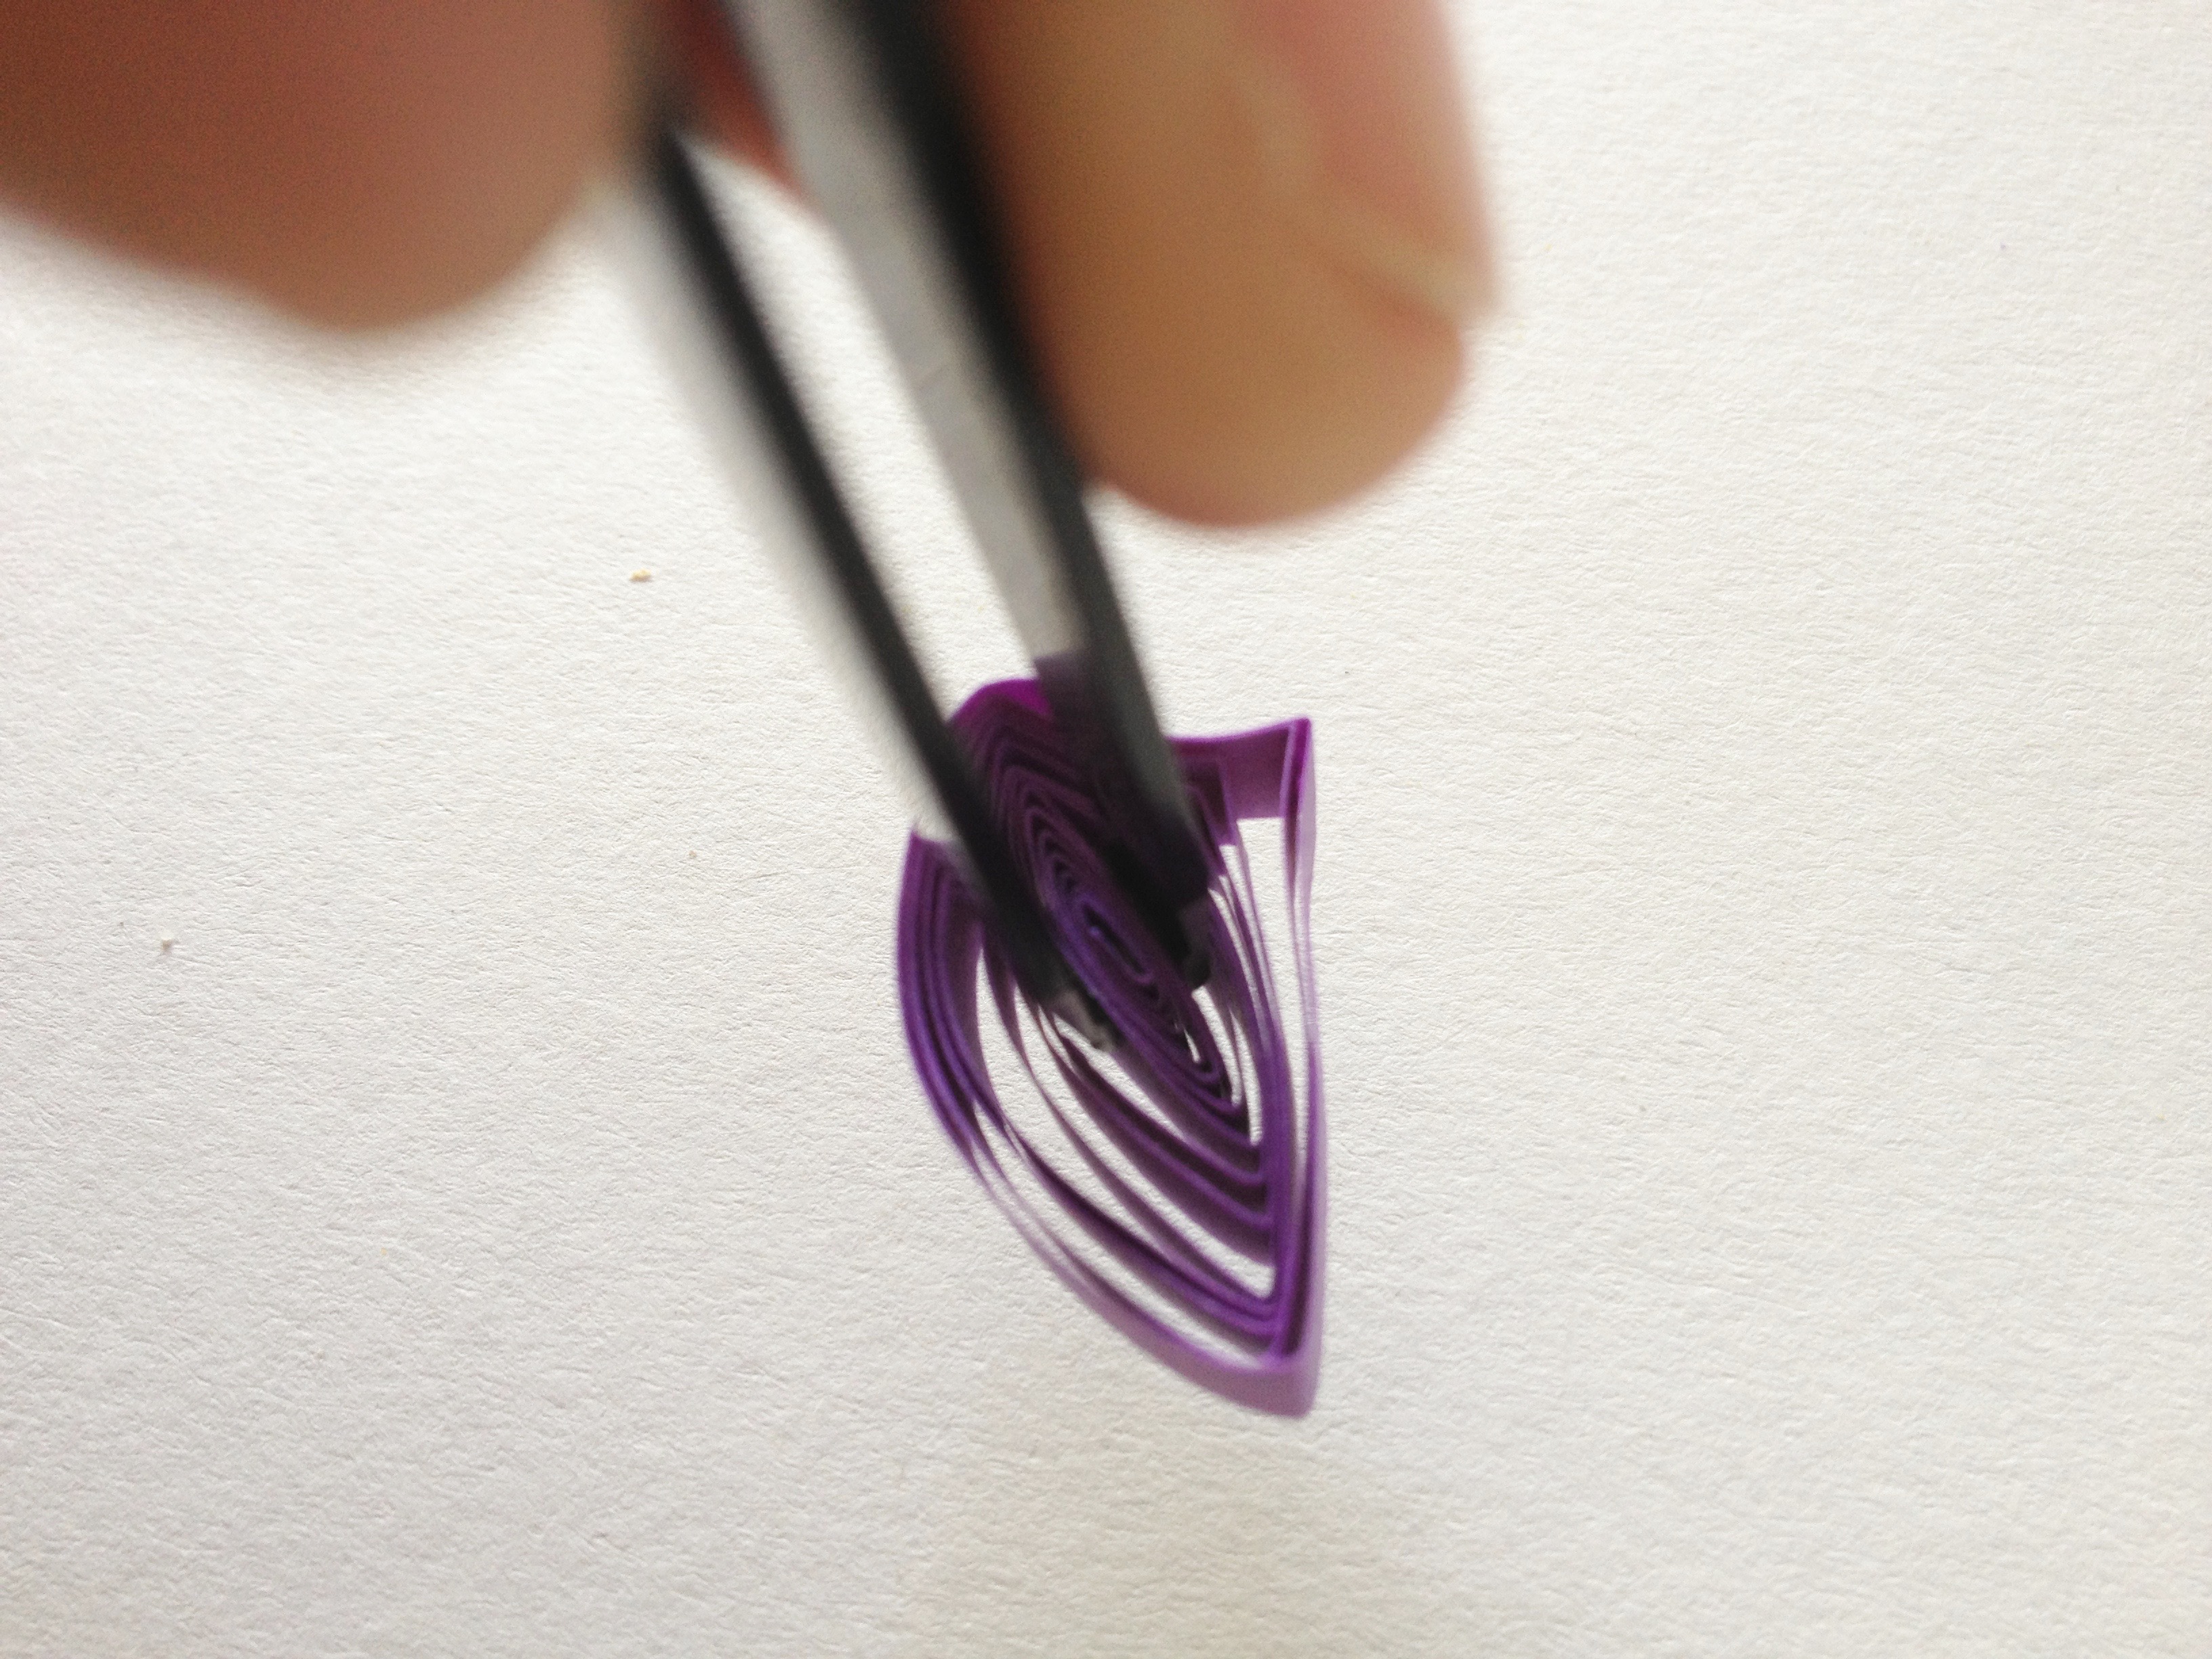
How to quill a triangle
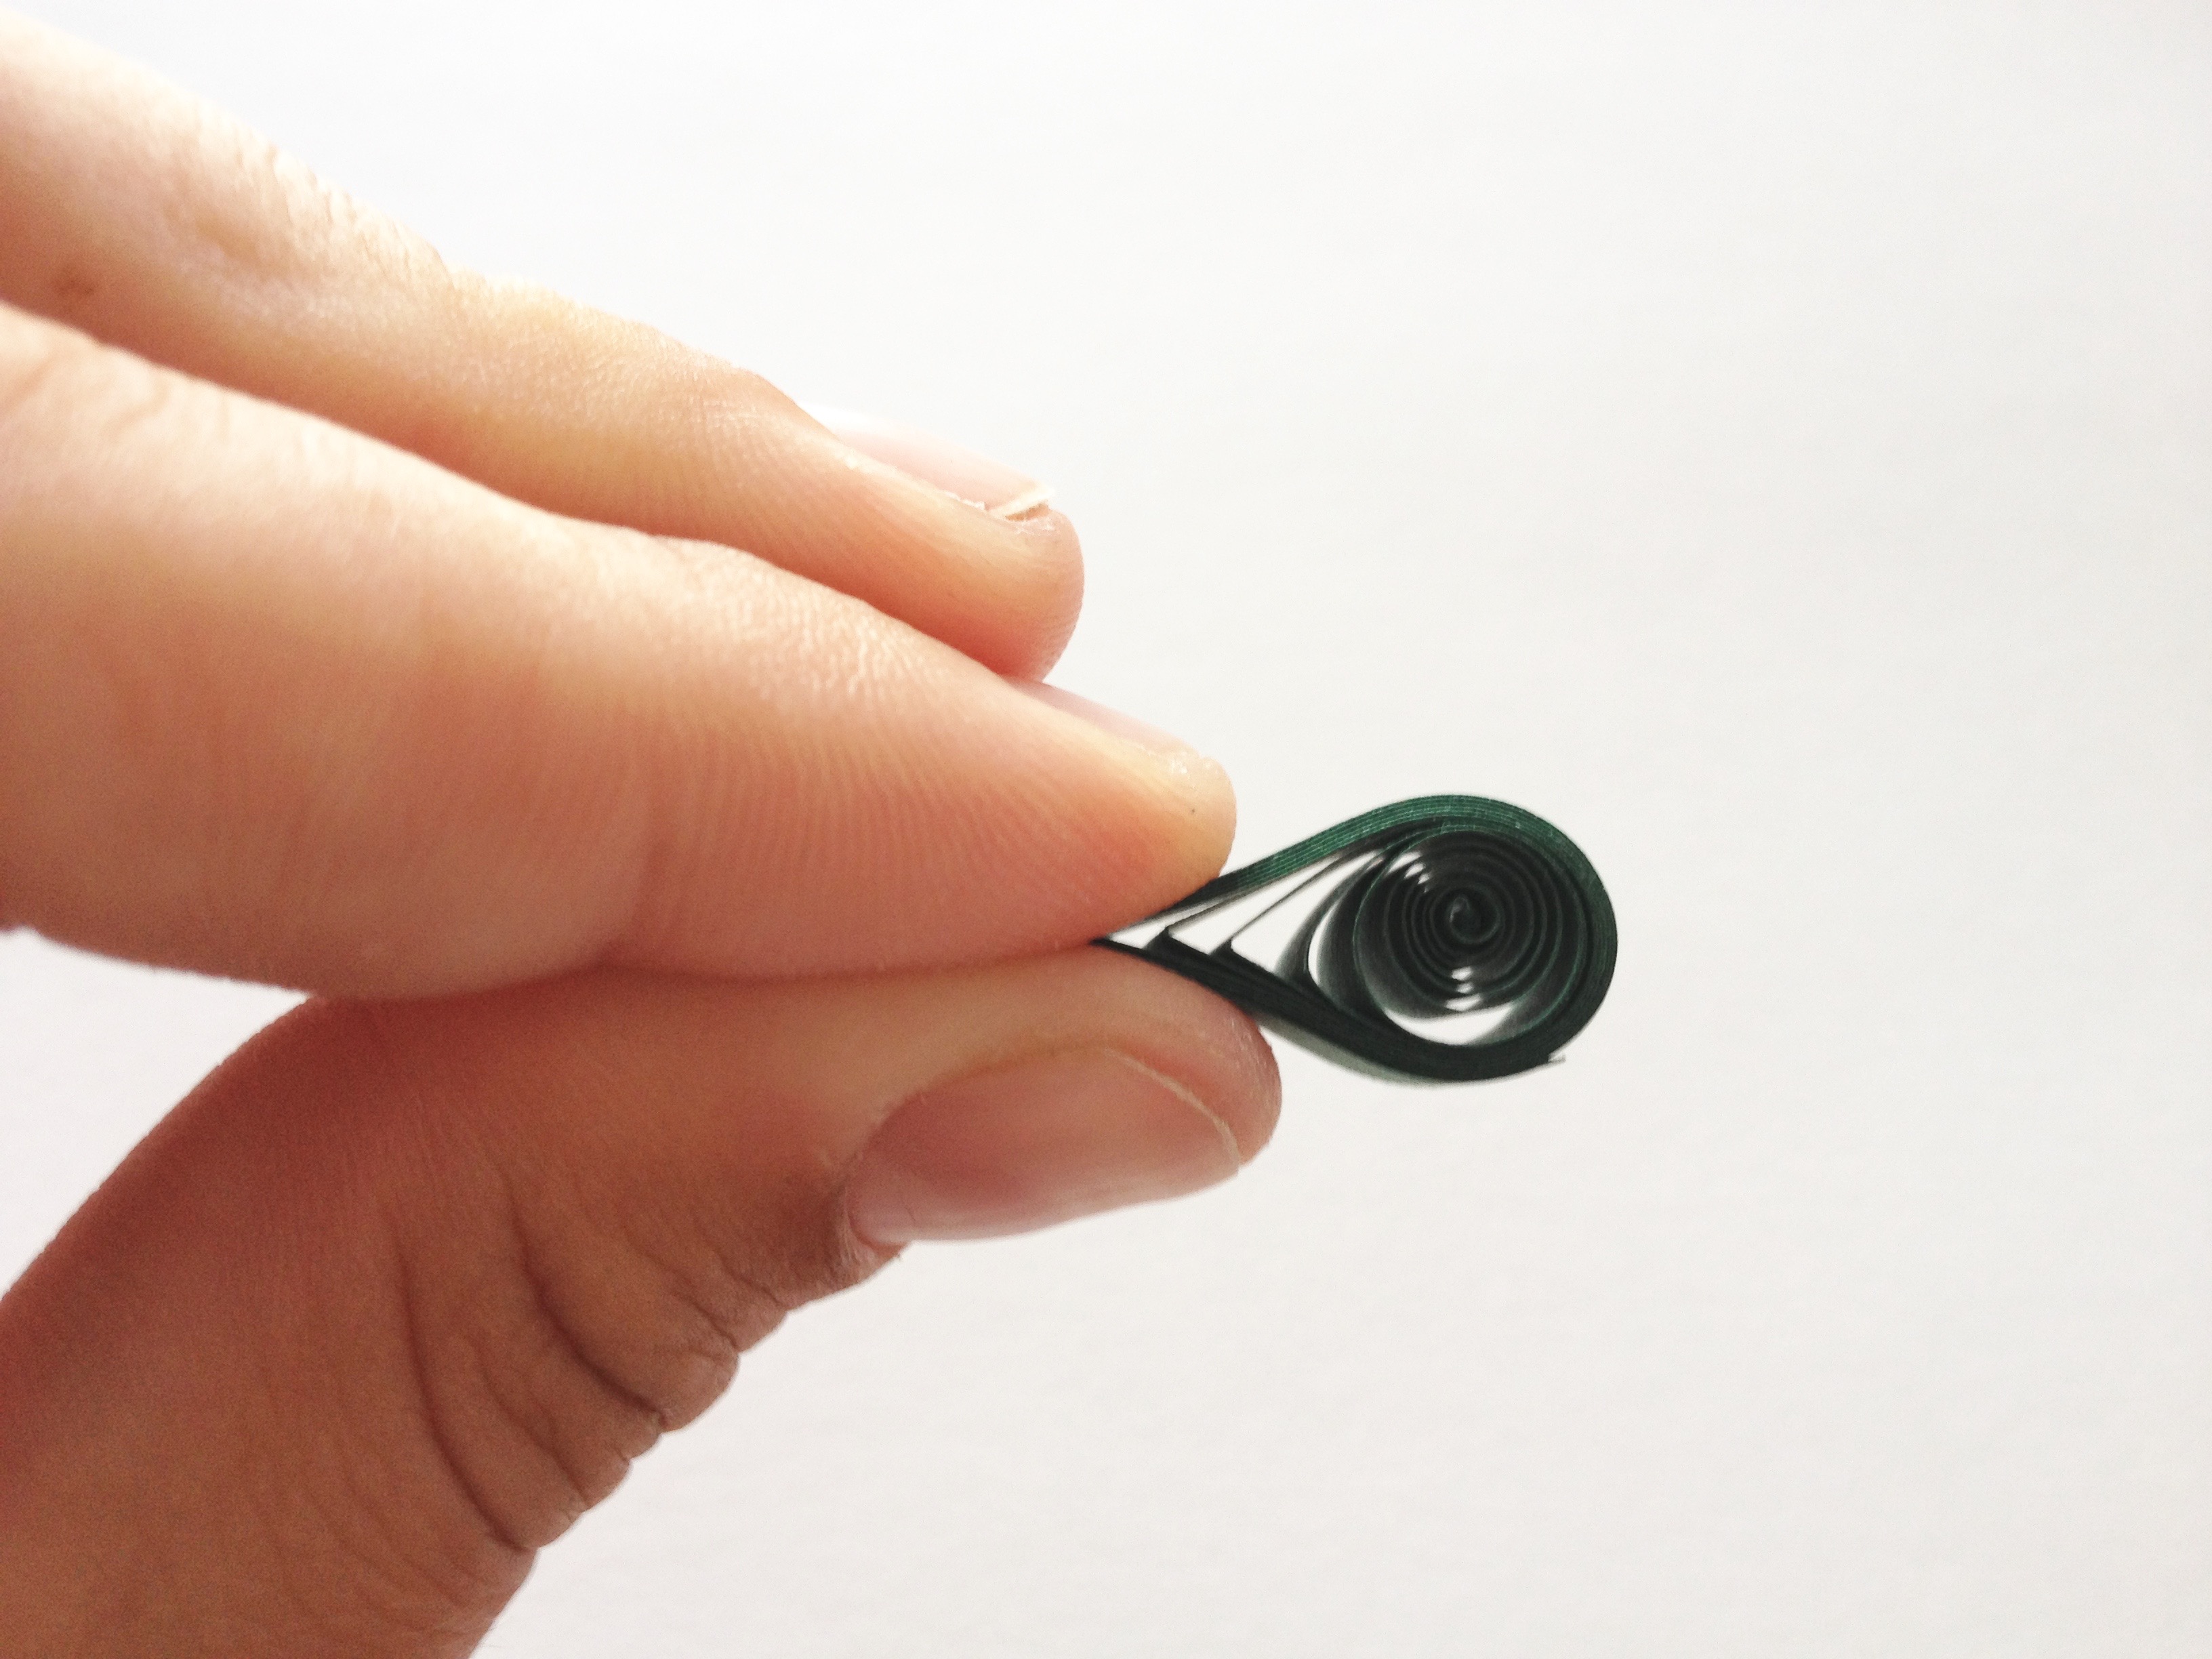
Make a quilled triangle by first creating a teardrop shape. From this position, you can either pinch two additional angles using your fingers or use the table top method. Once again, try both to see what works best for you.

Triangle variation
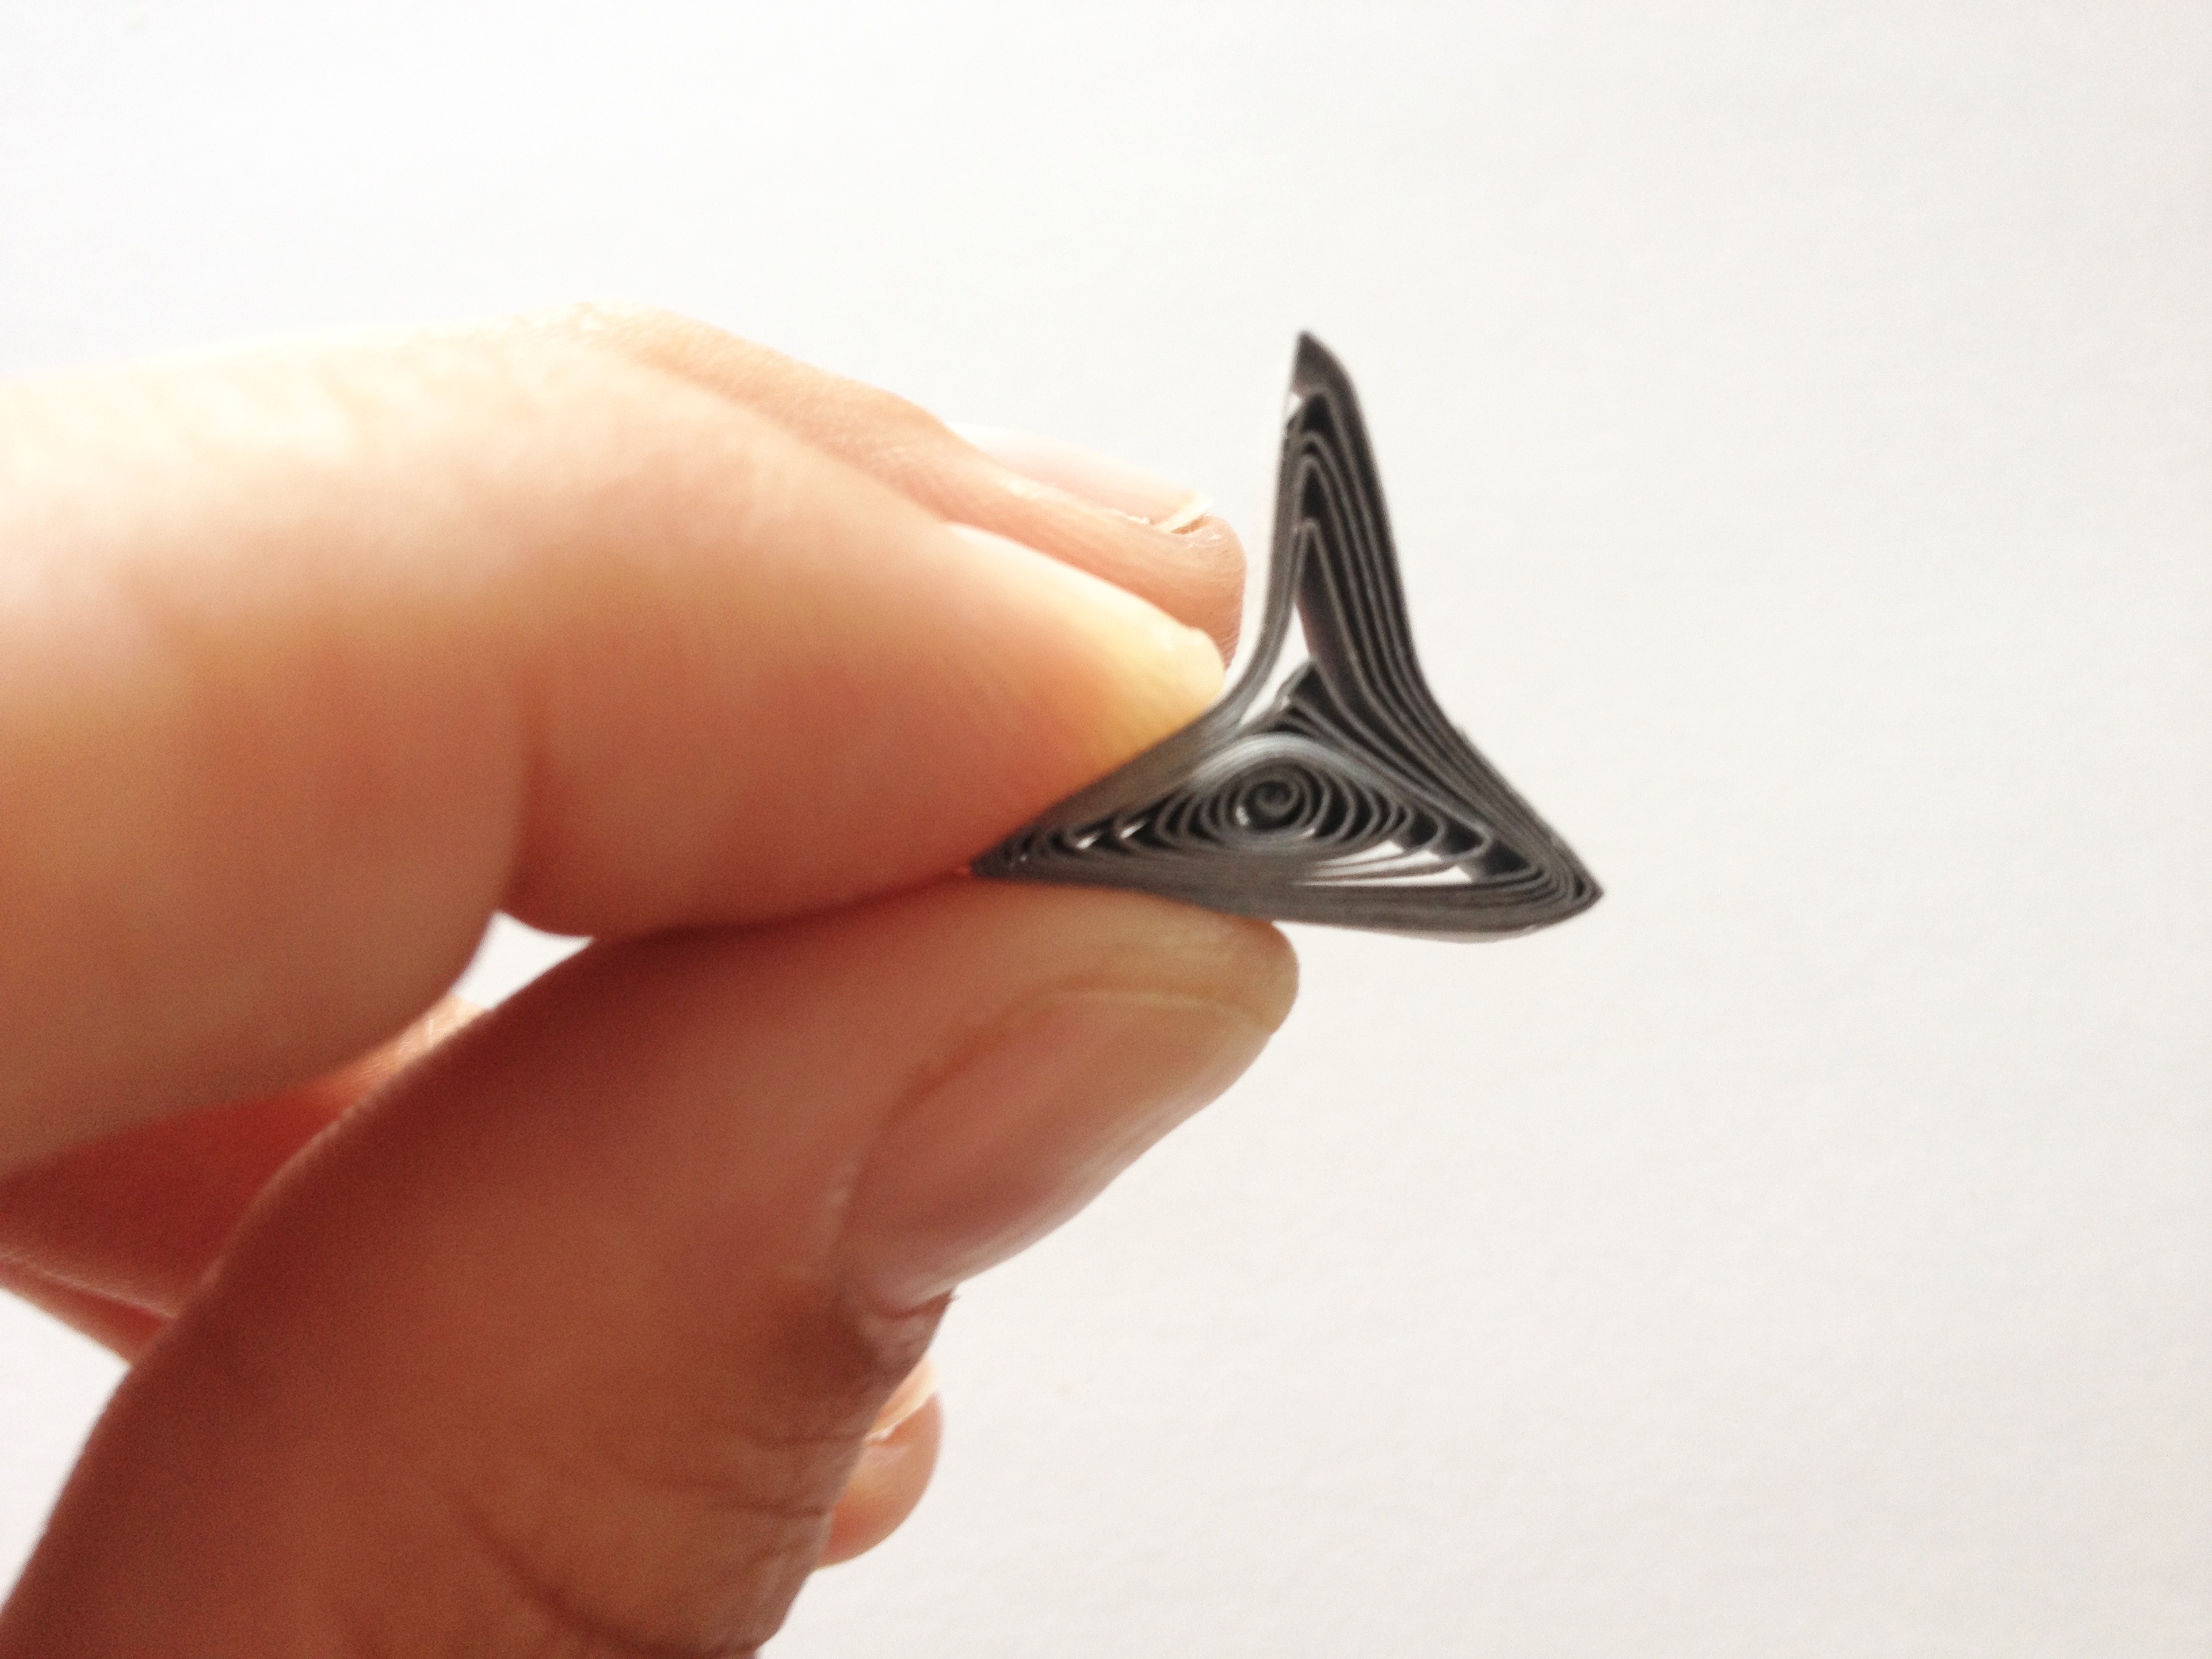
You can create a shape that resembles a shark fin by pressing in two sides of your triangle and leaving the third side flat.
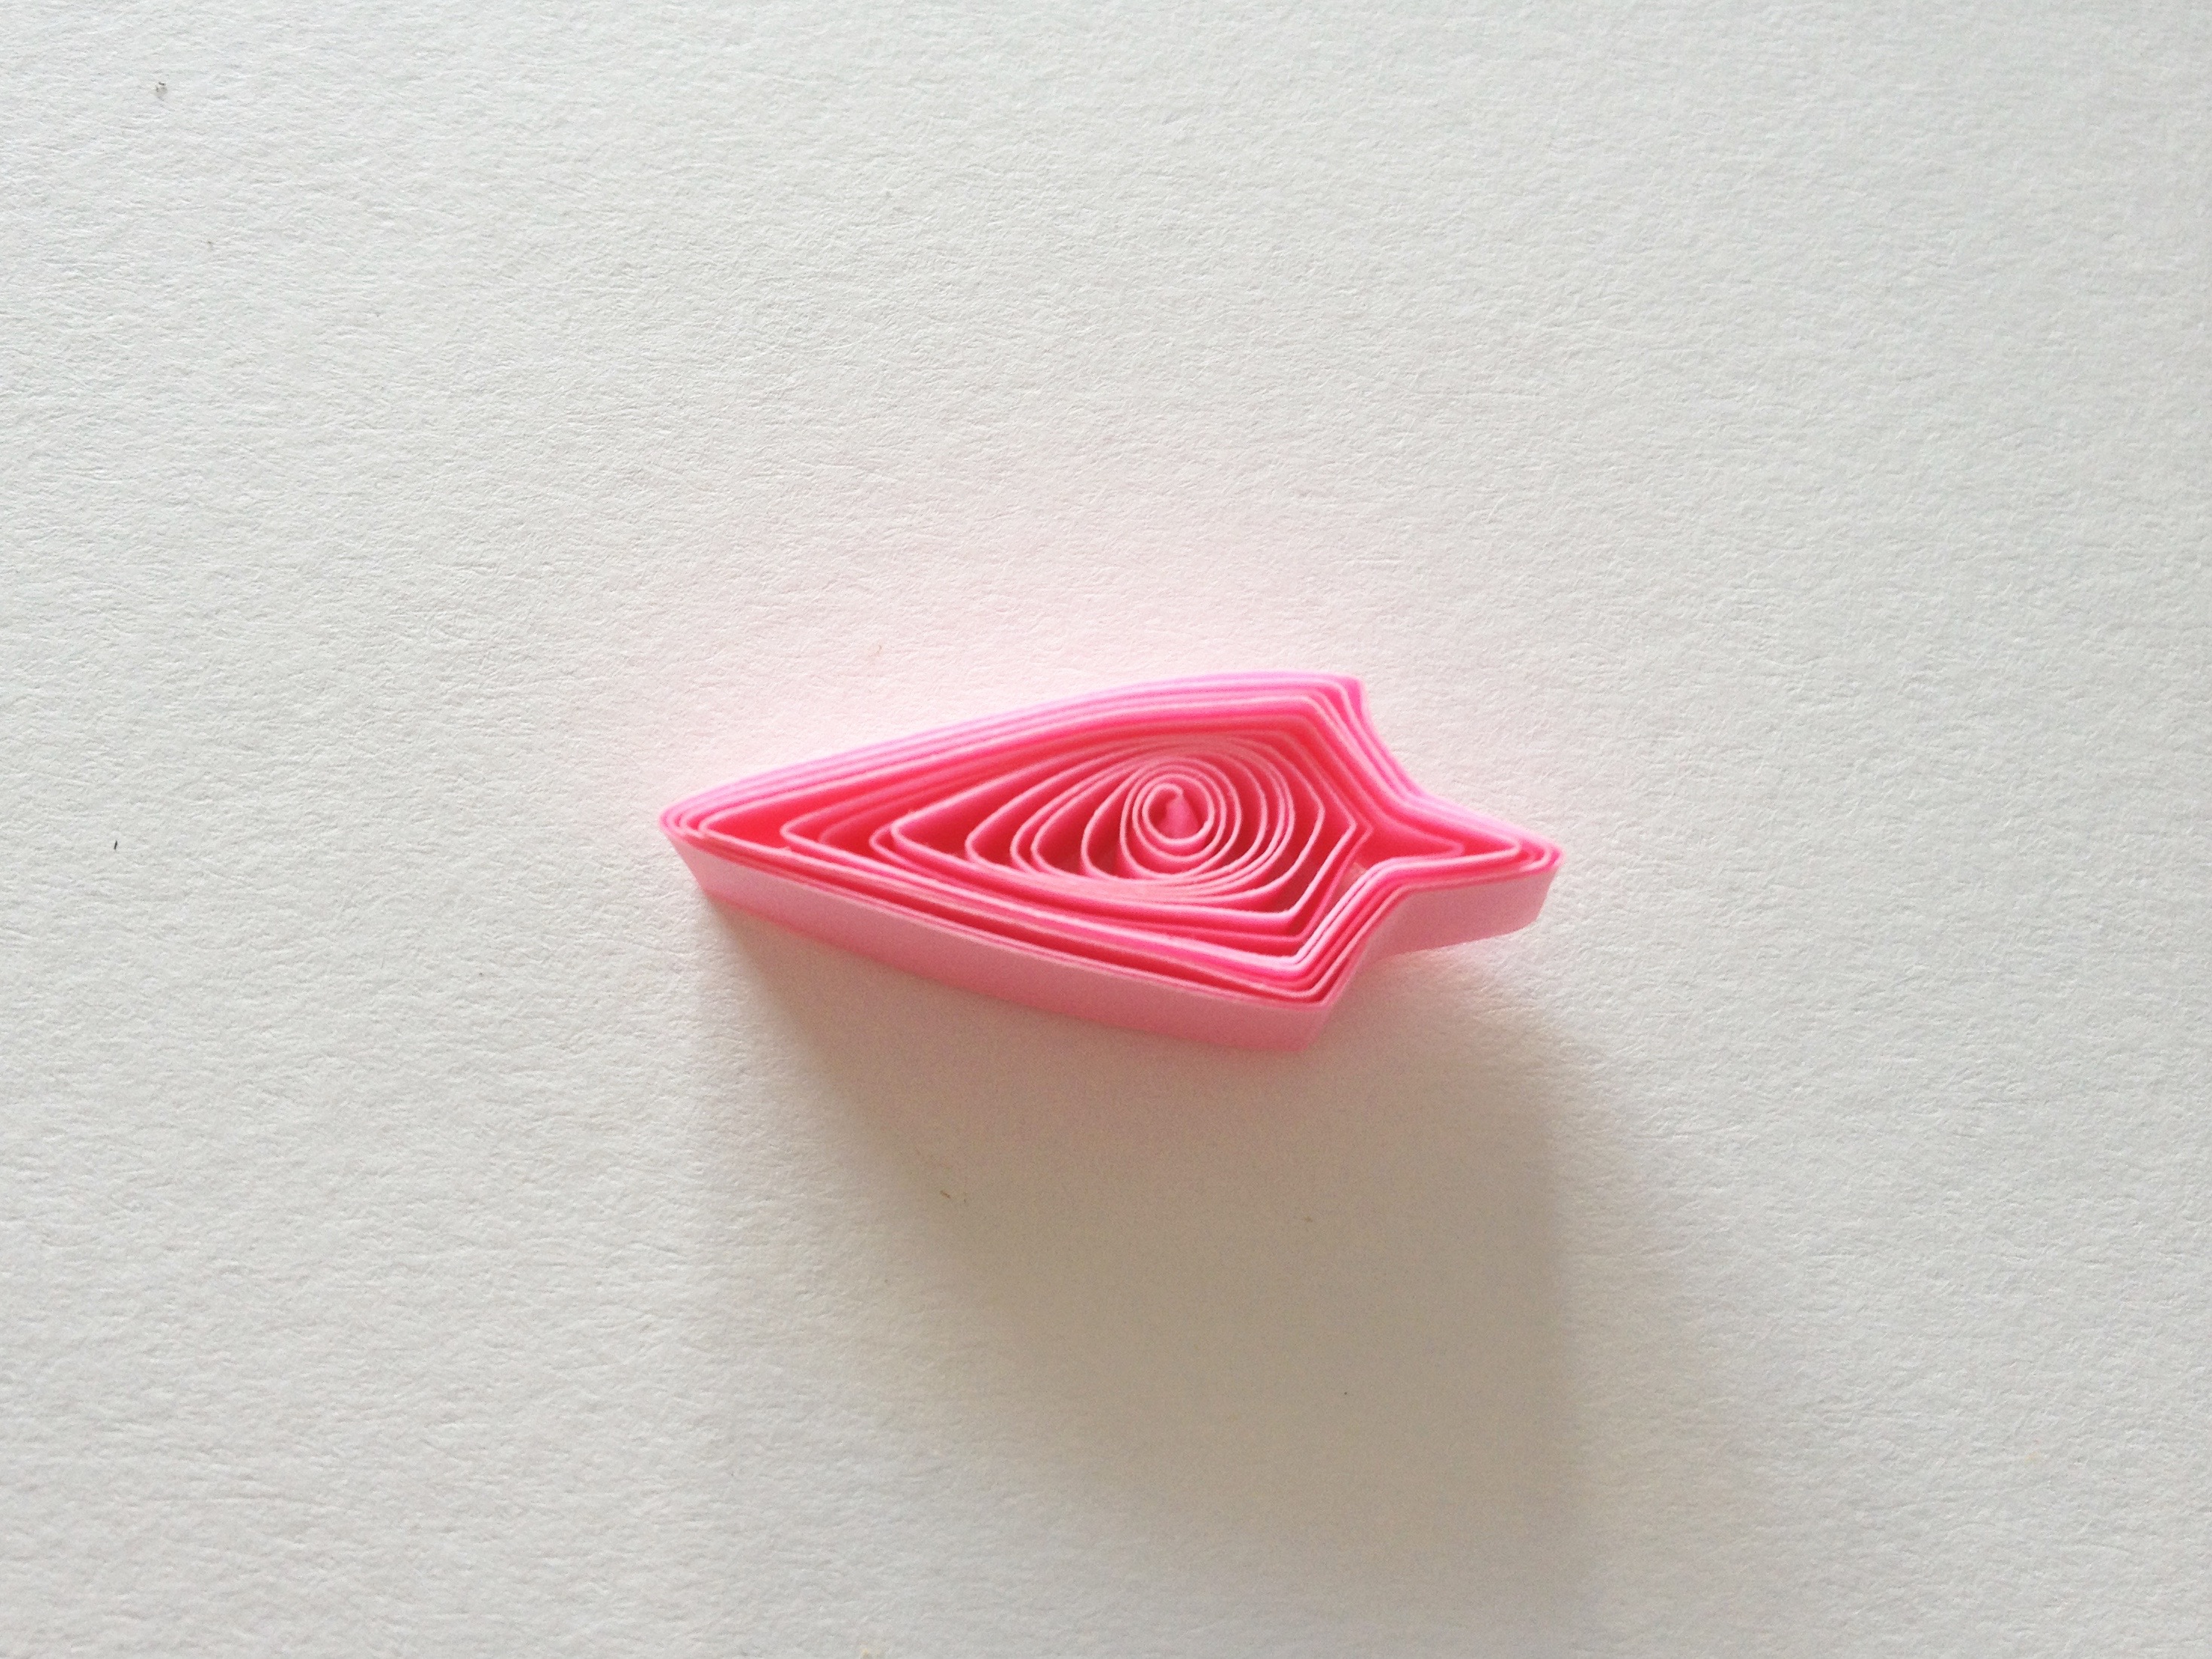
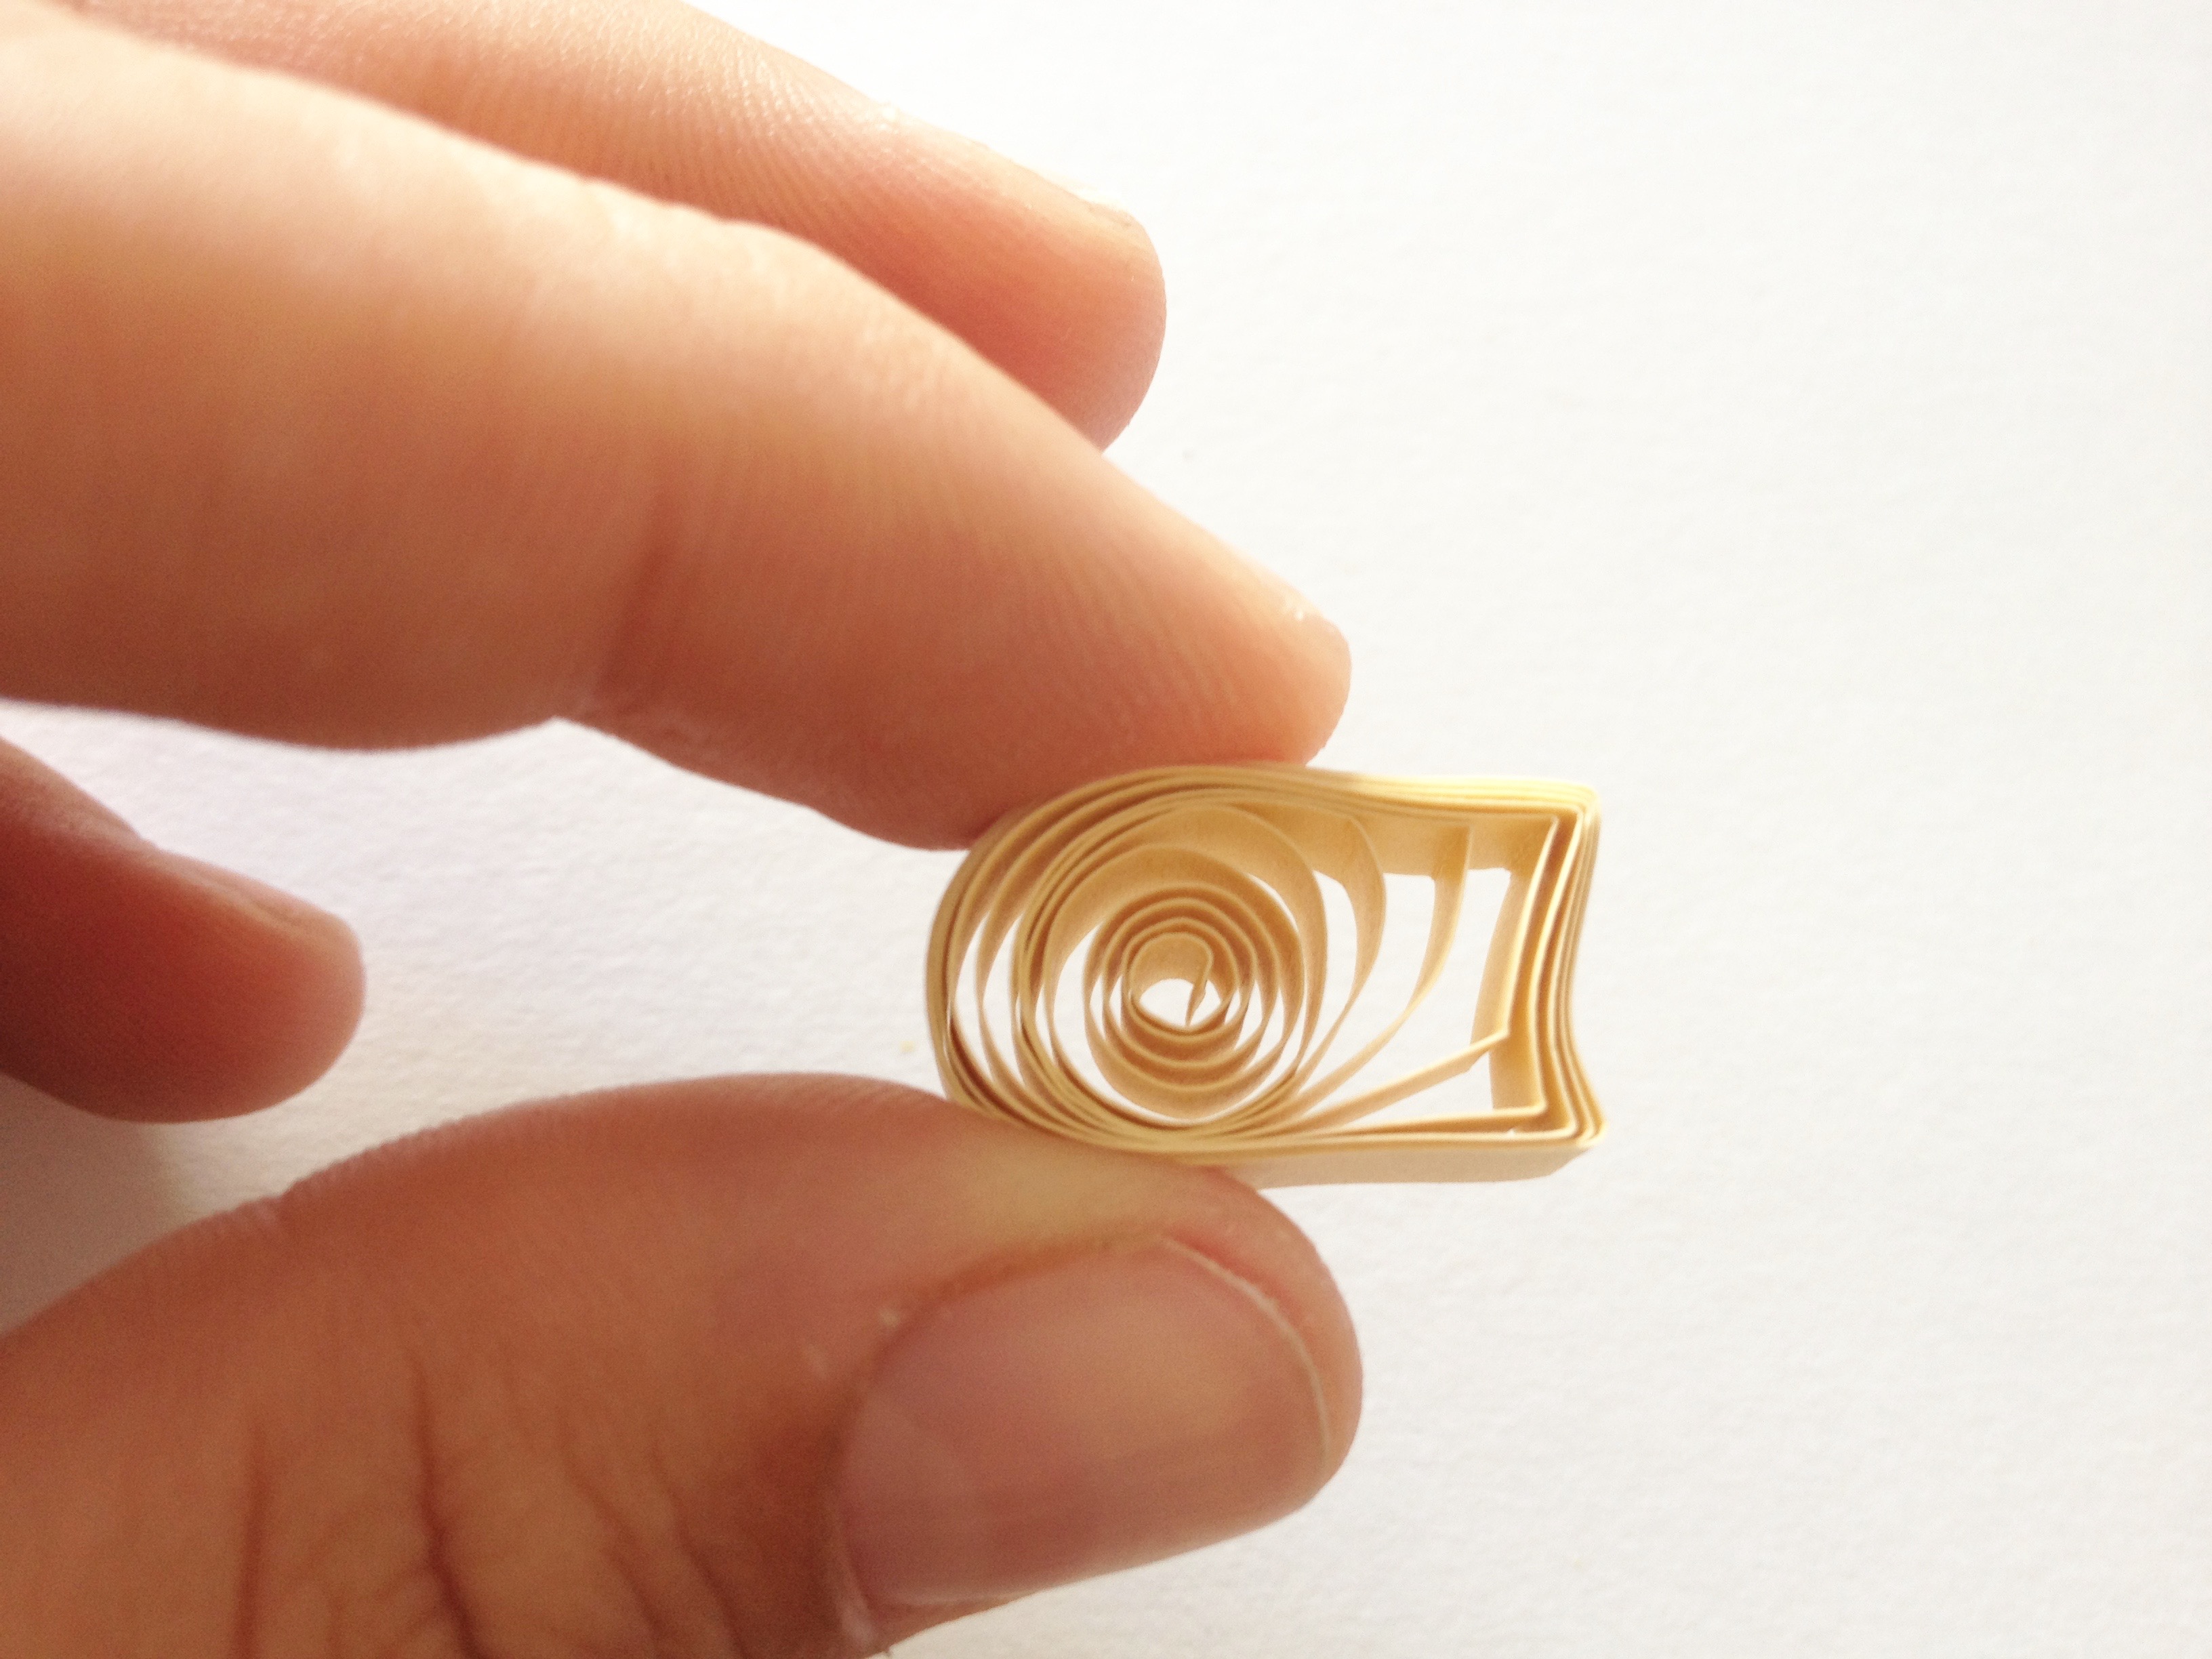
How to quill an arrow
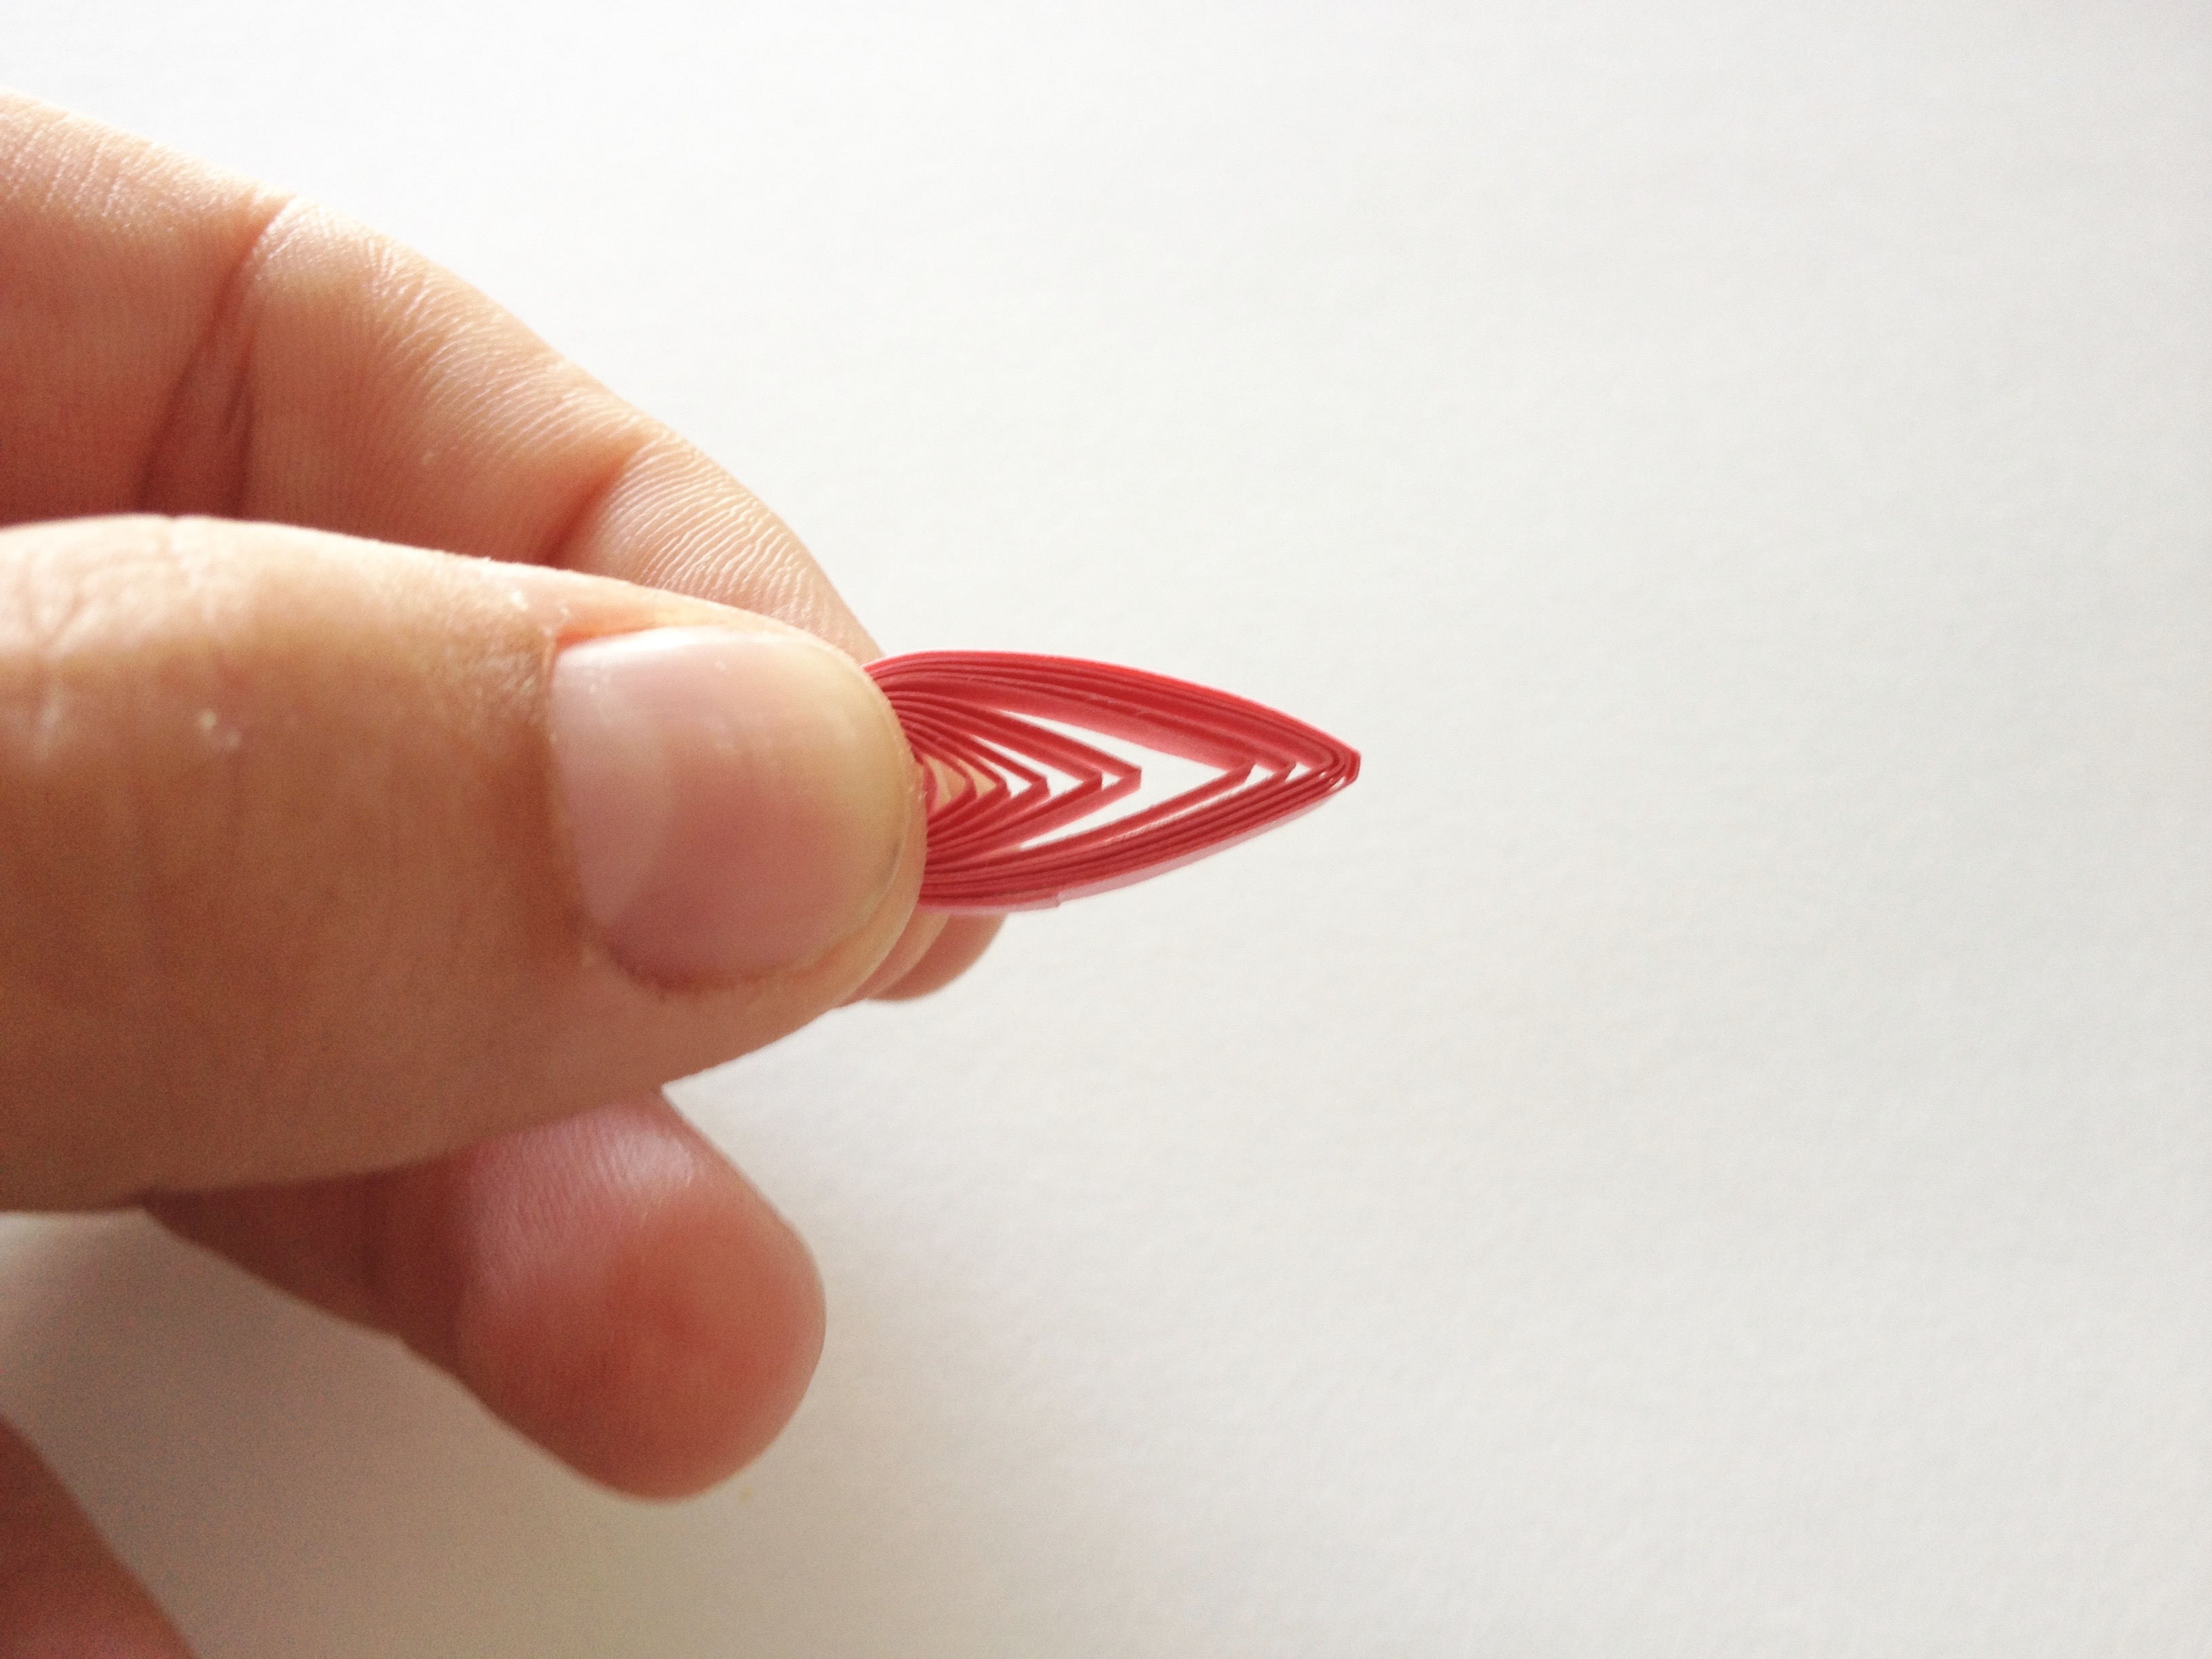
Create this shape by first making a teardrop. Pull the center down towards the base and hold in place with your fingers.
Using the long side of the slotted needle, press down deeply into the base. Release the tool and smooth the curve out with your fingers to shape.
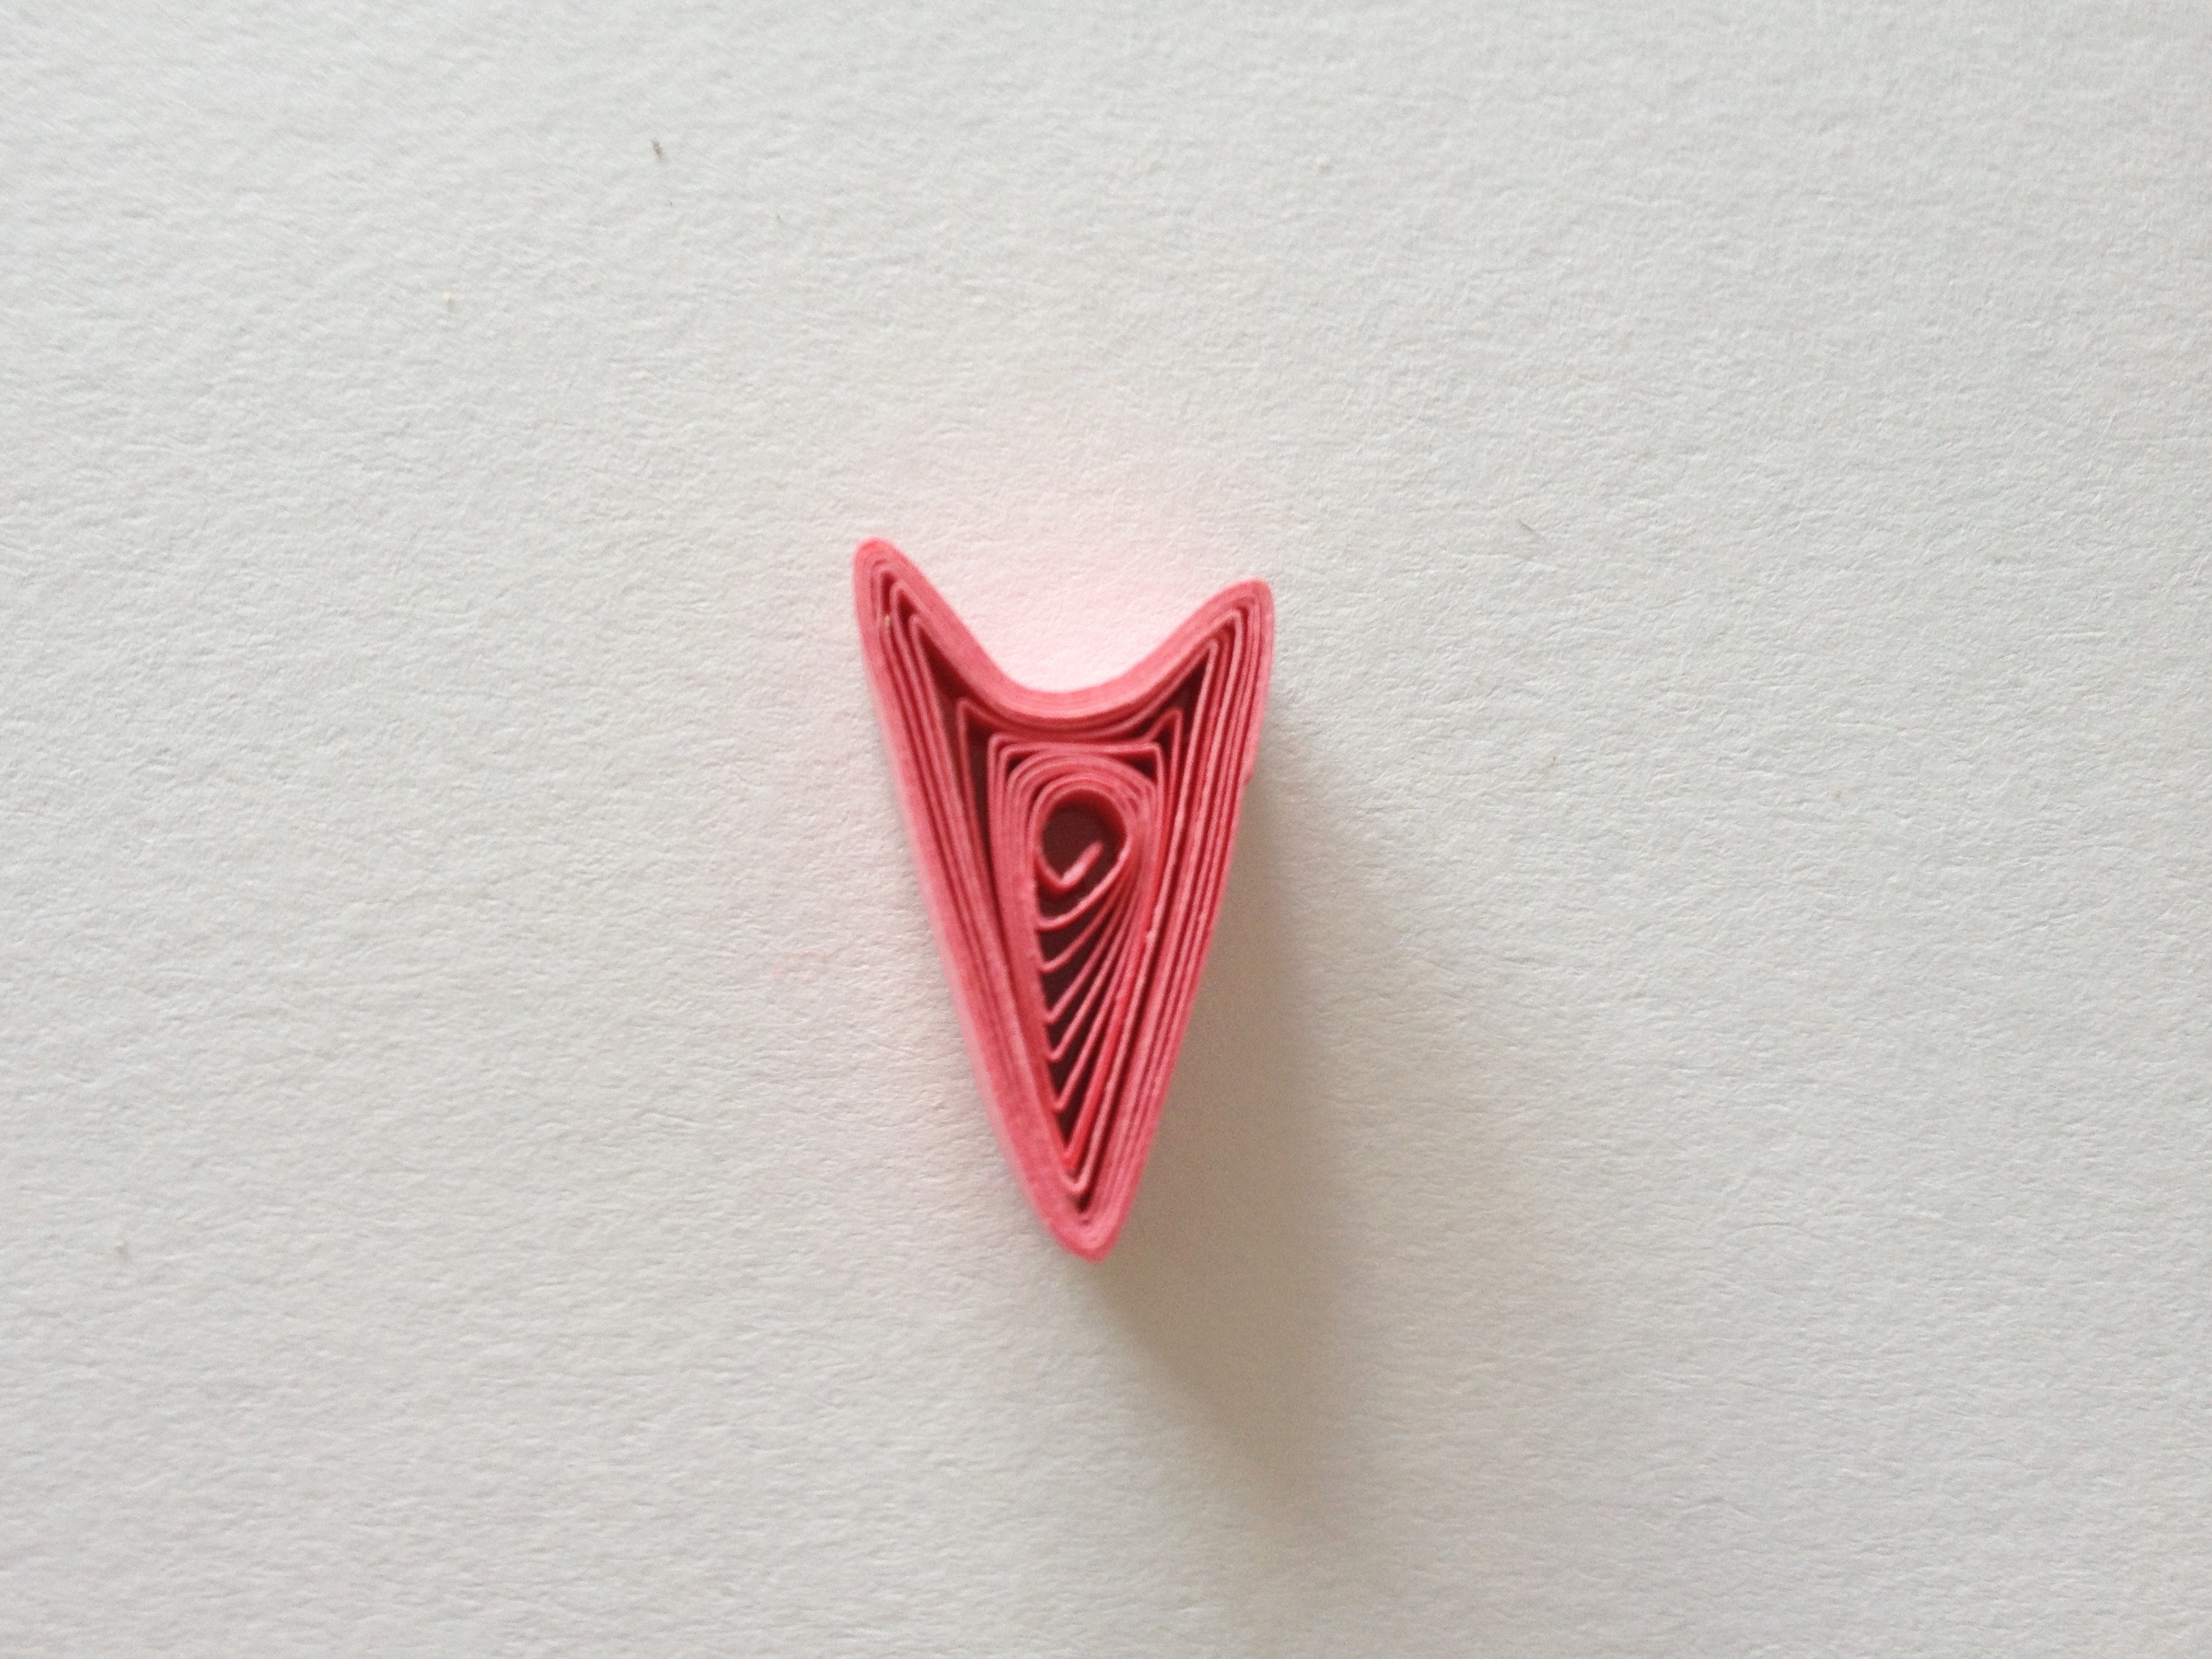
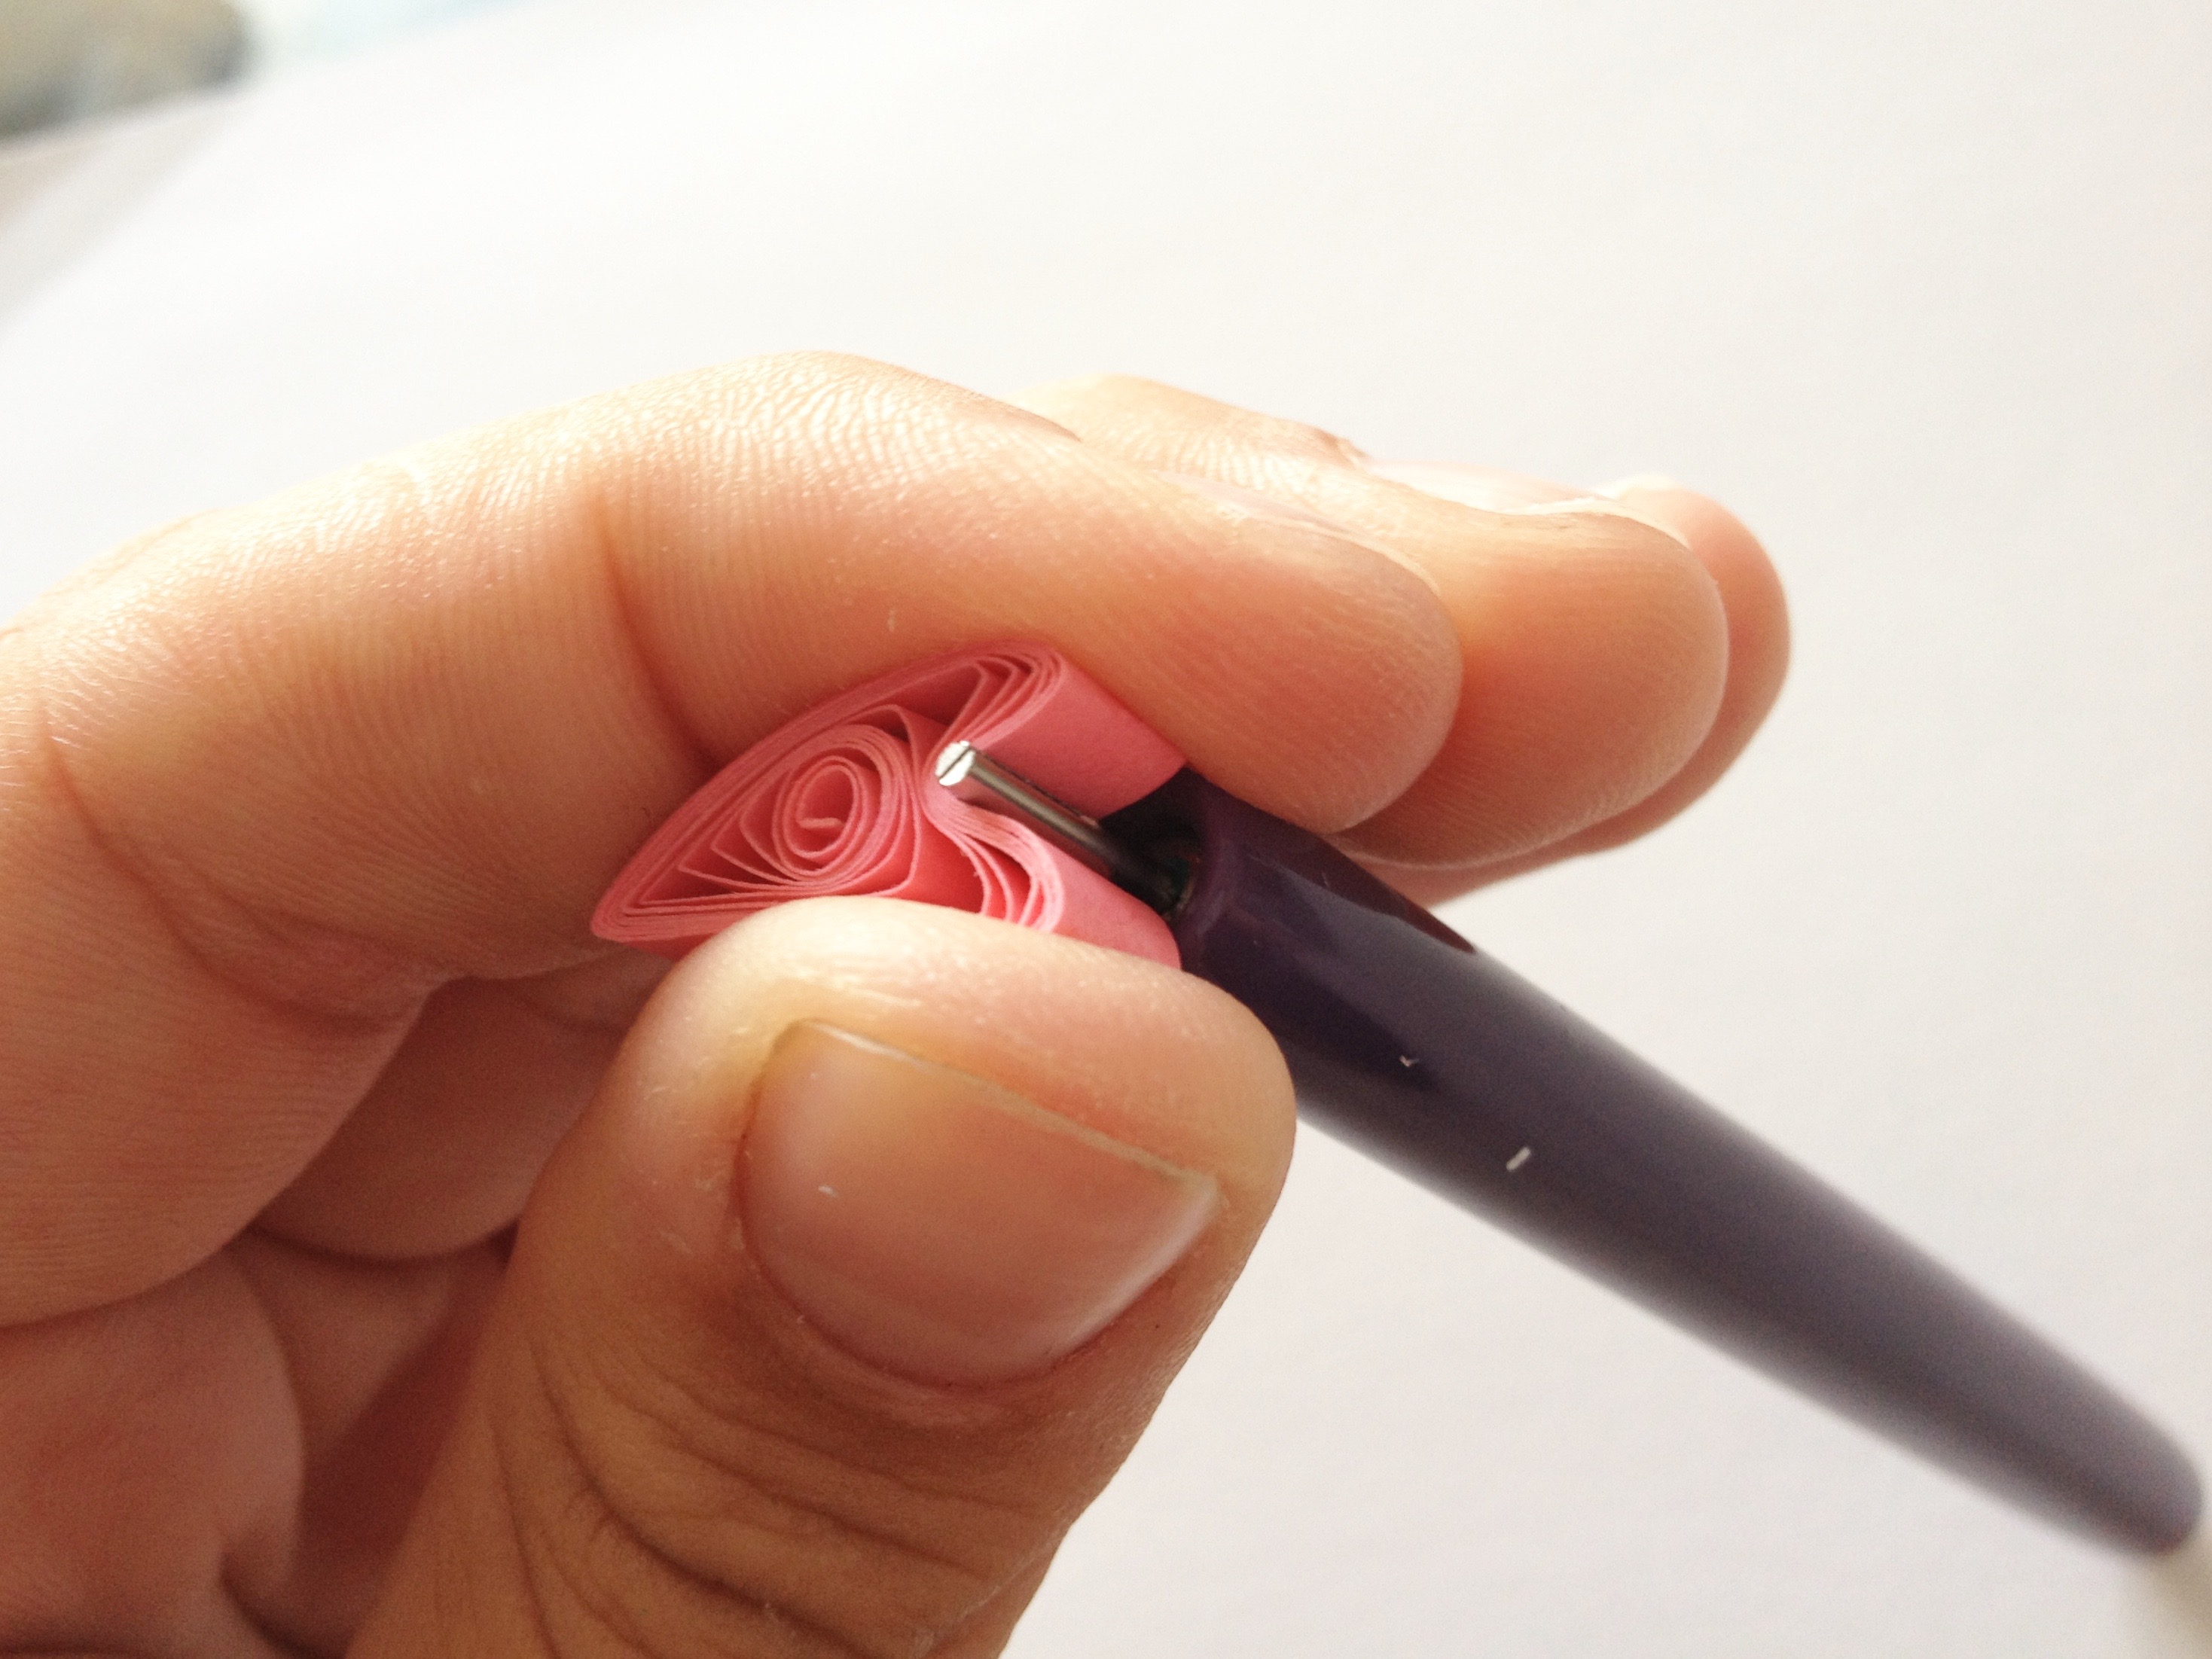
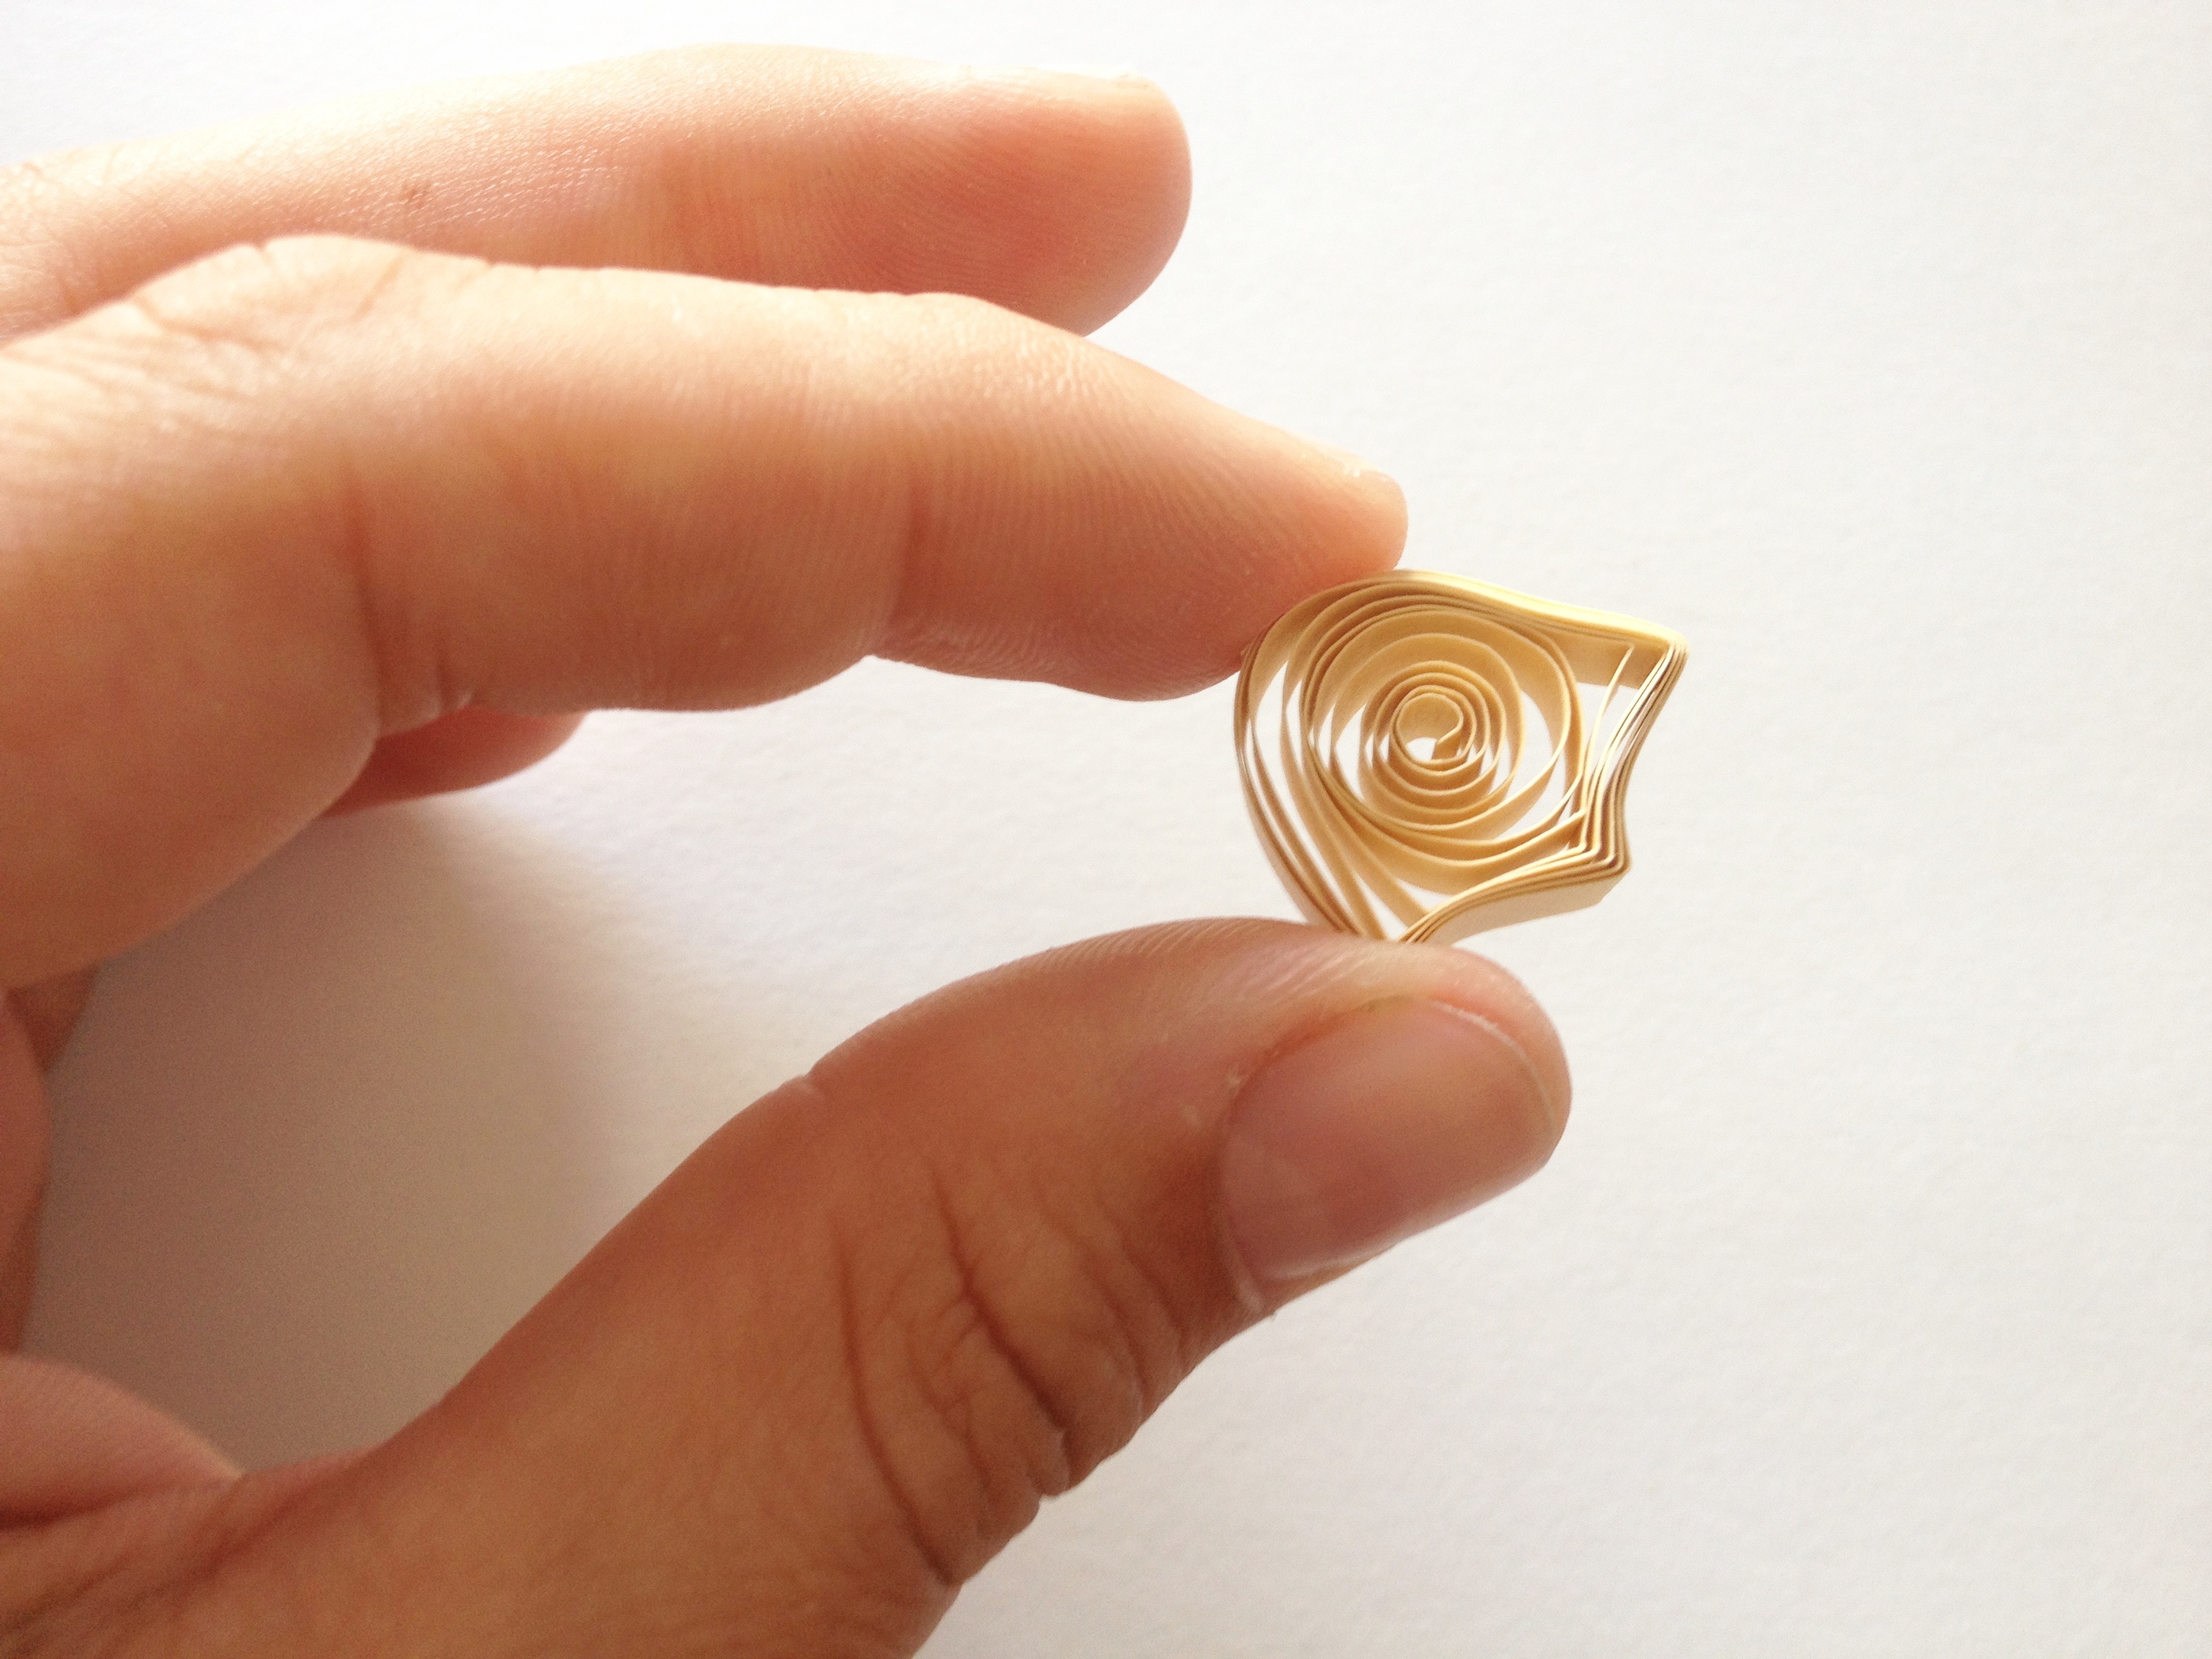
How to quill an arrowhead

This shape also begins with a teardrop shape. Hold the pointed end in your non-dominant hand and pinch the base end into a tight point. Without letting go, slide your fingers down to meet the fingers of your opposite hand to create the side angles.
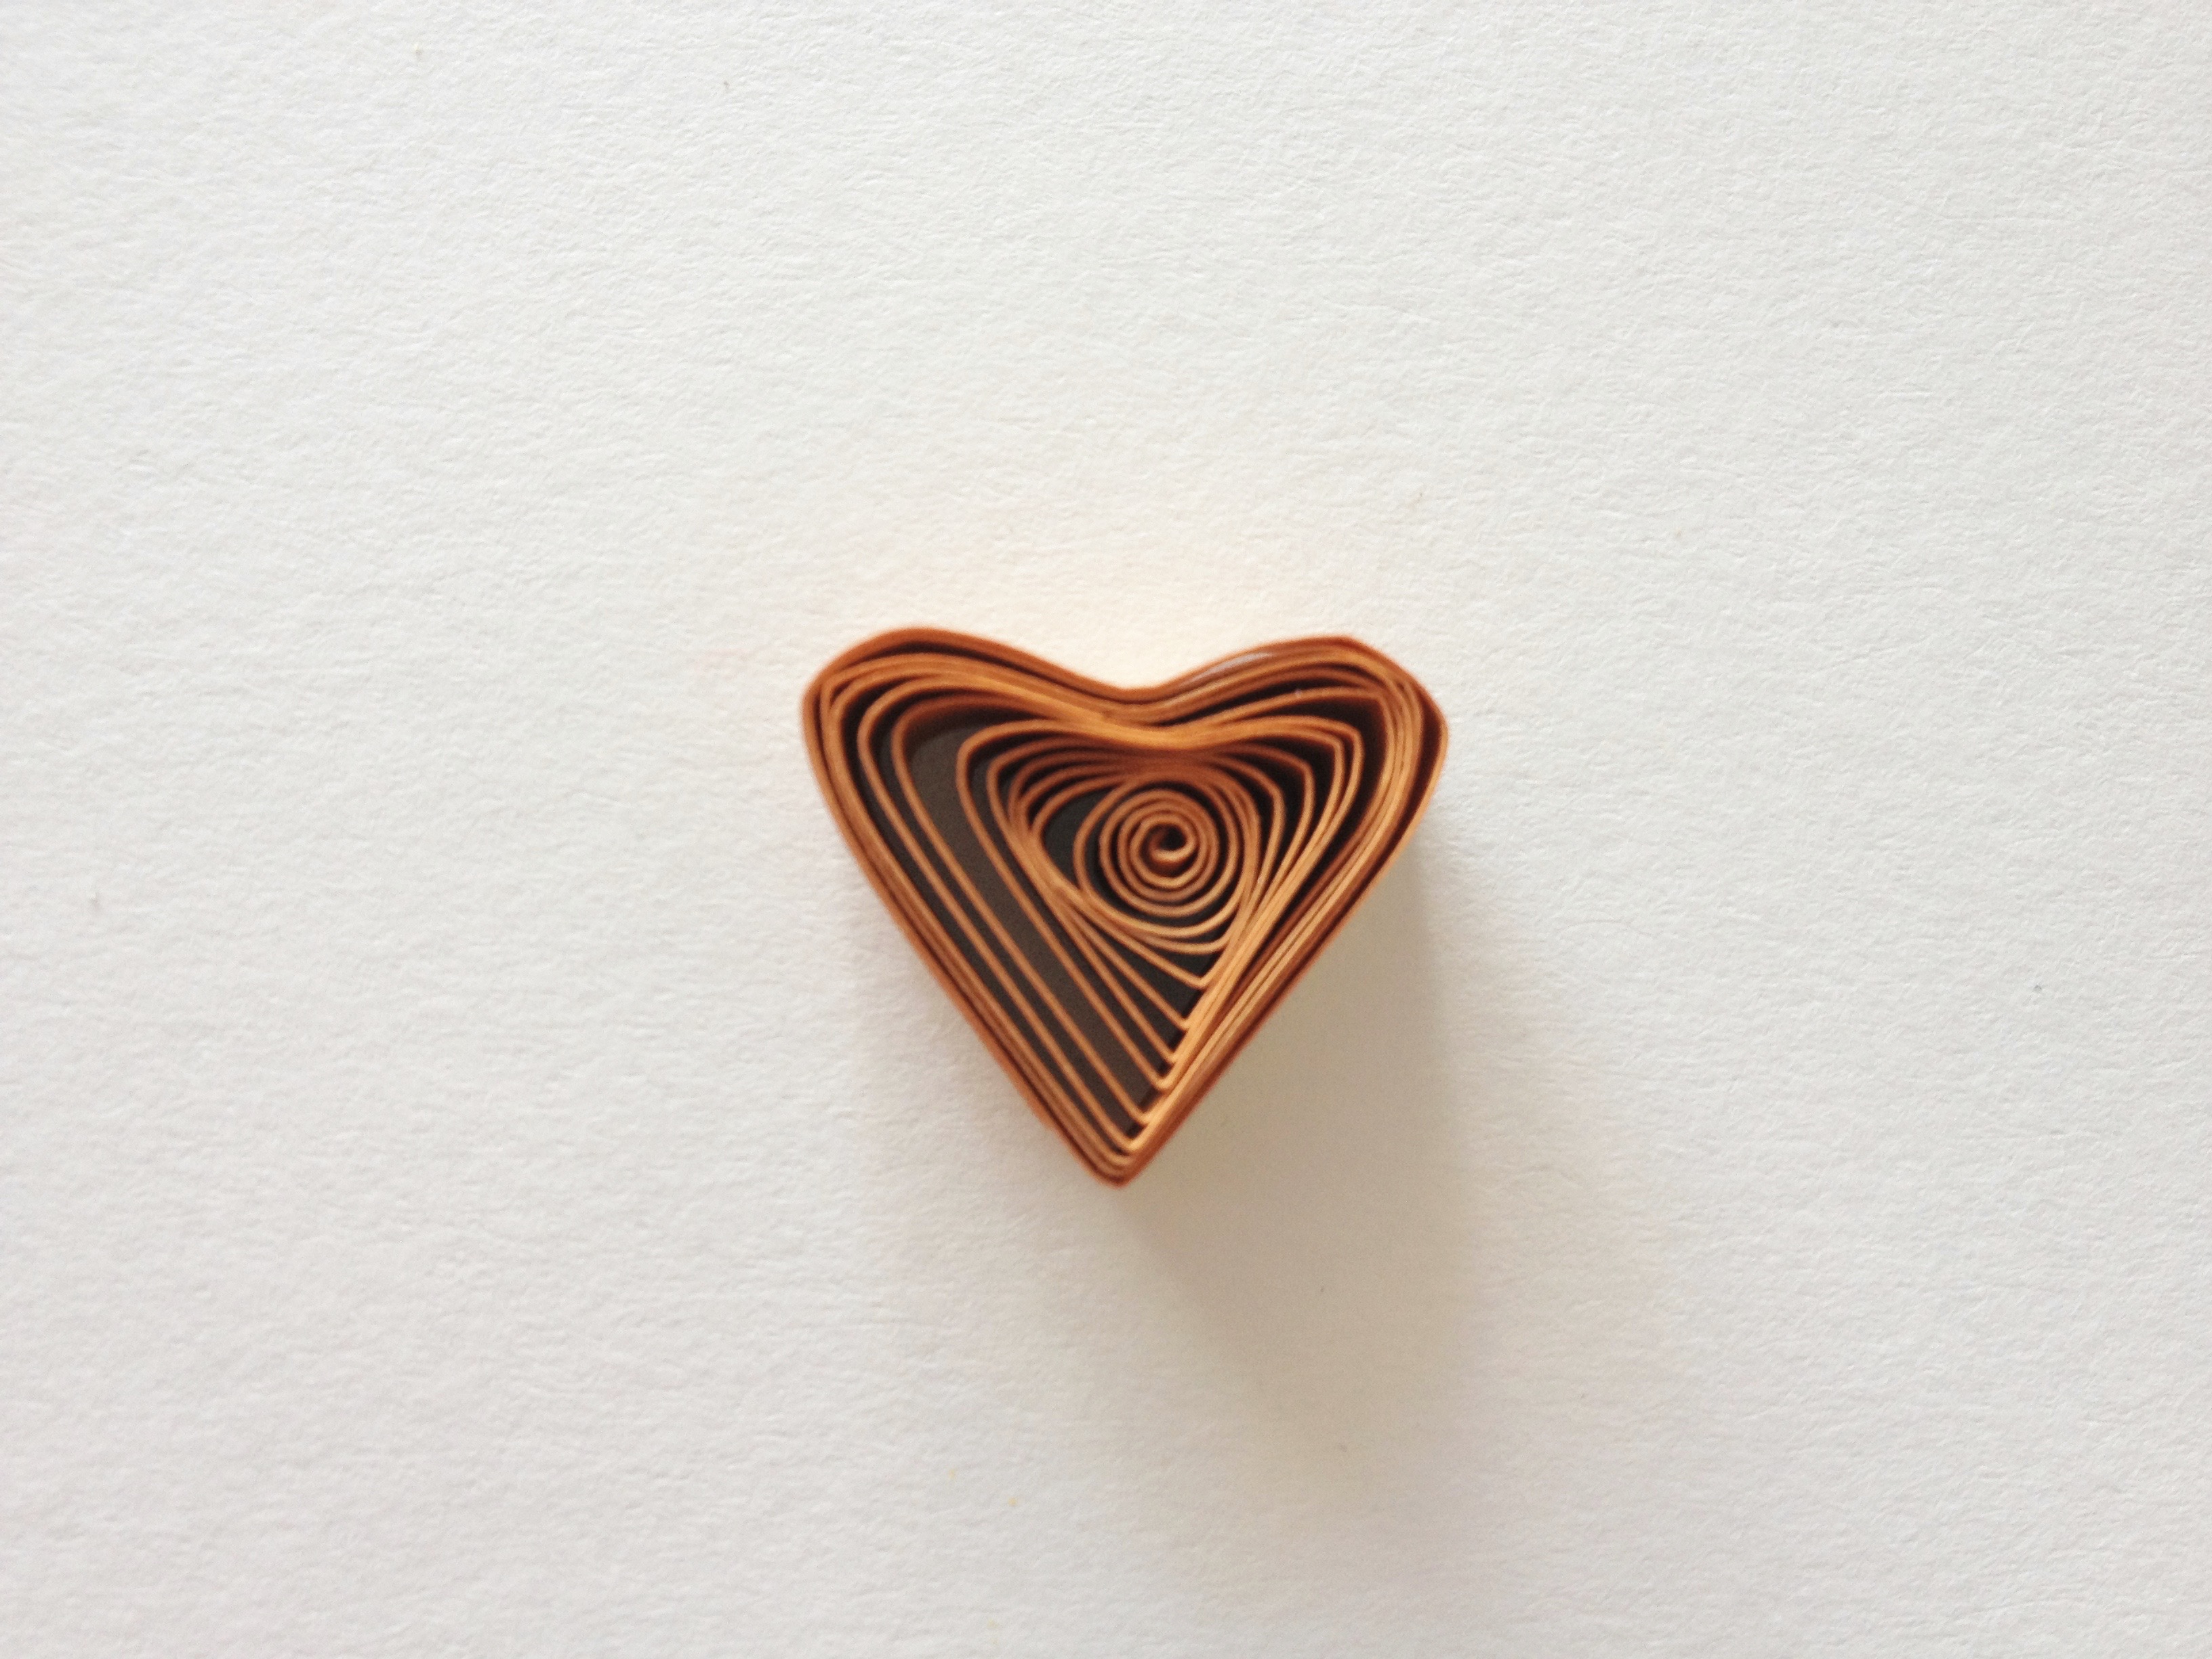
Heart quilling instructions
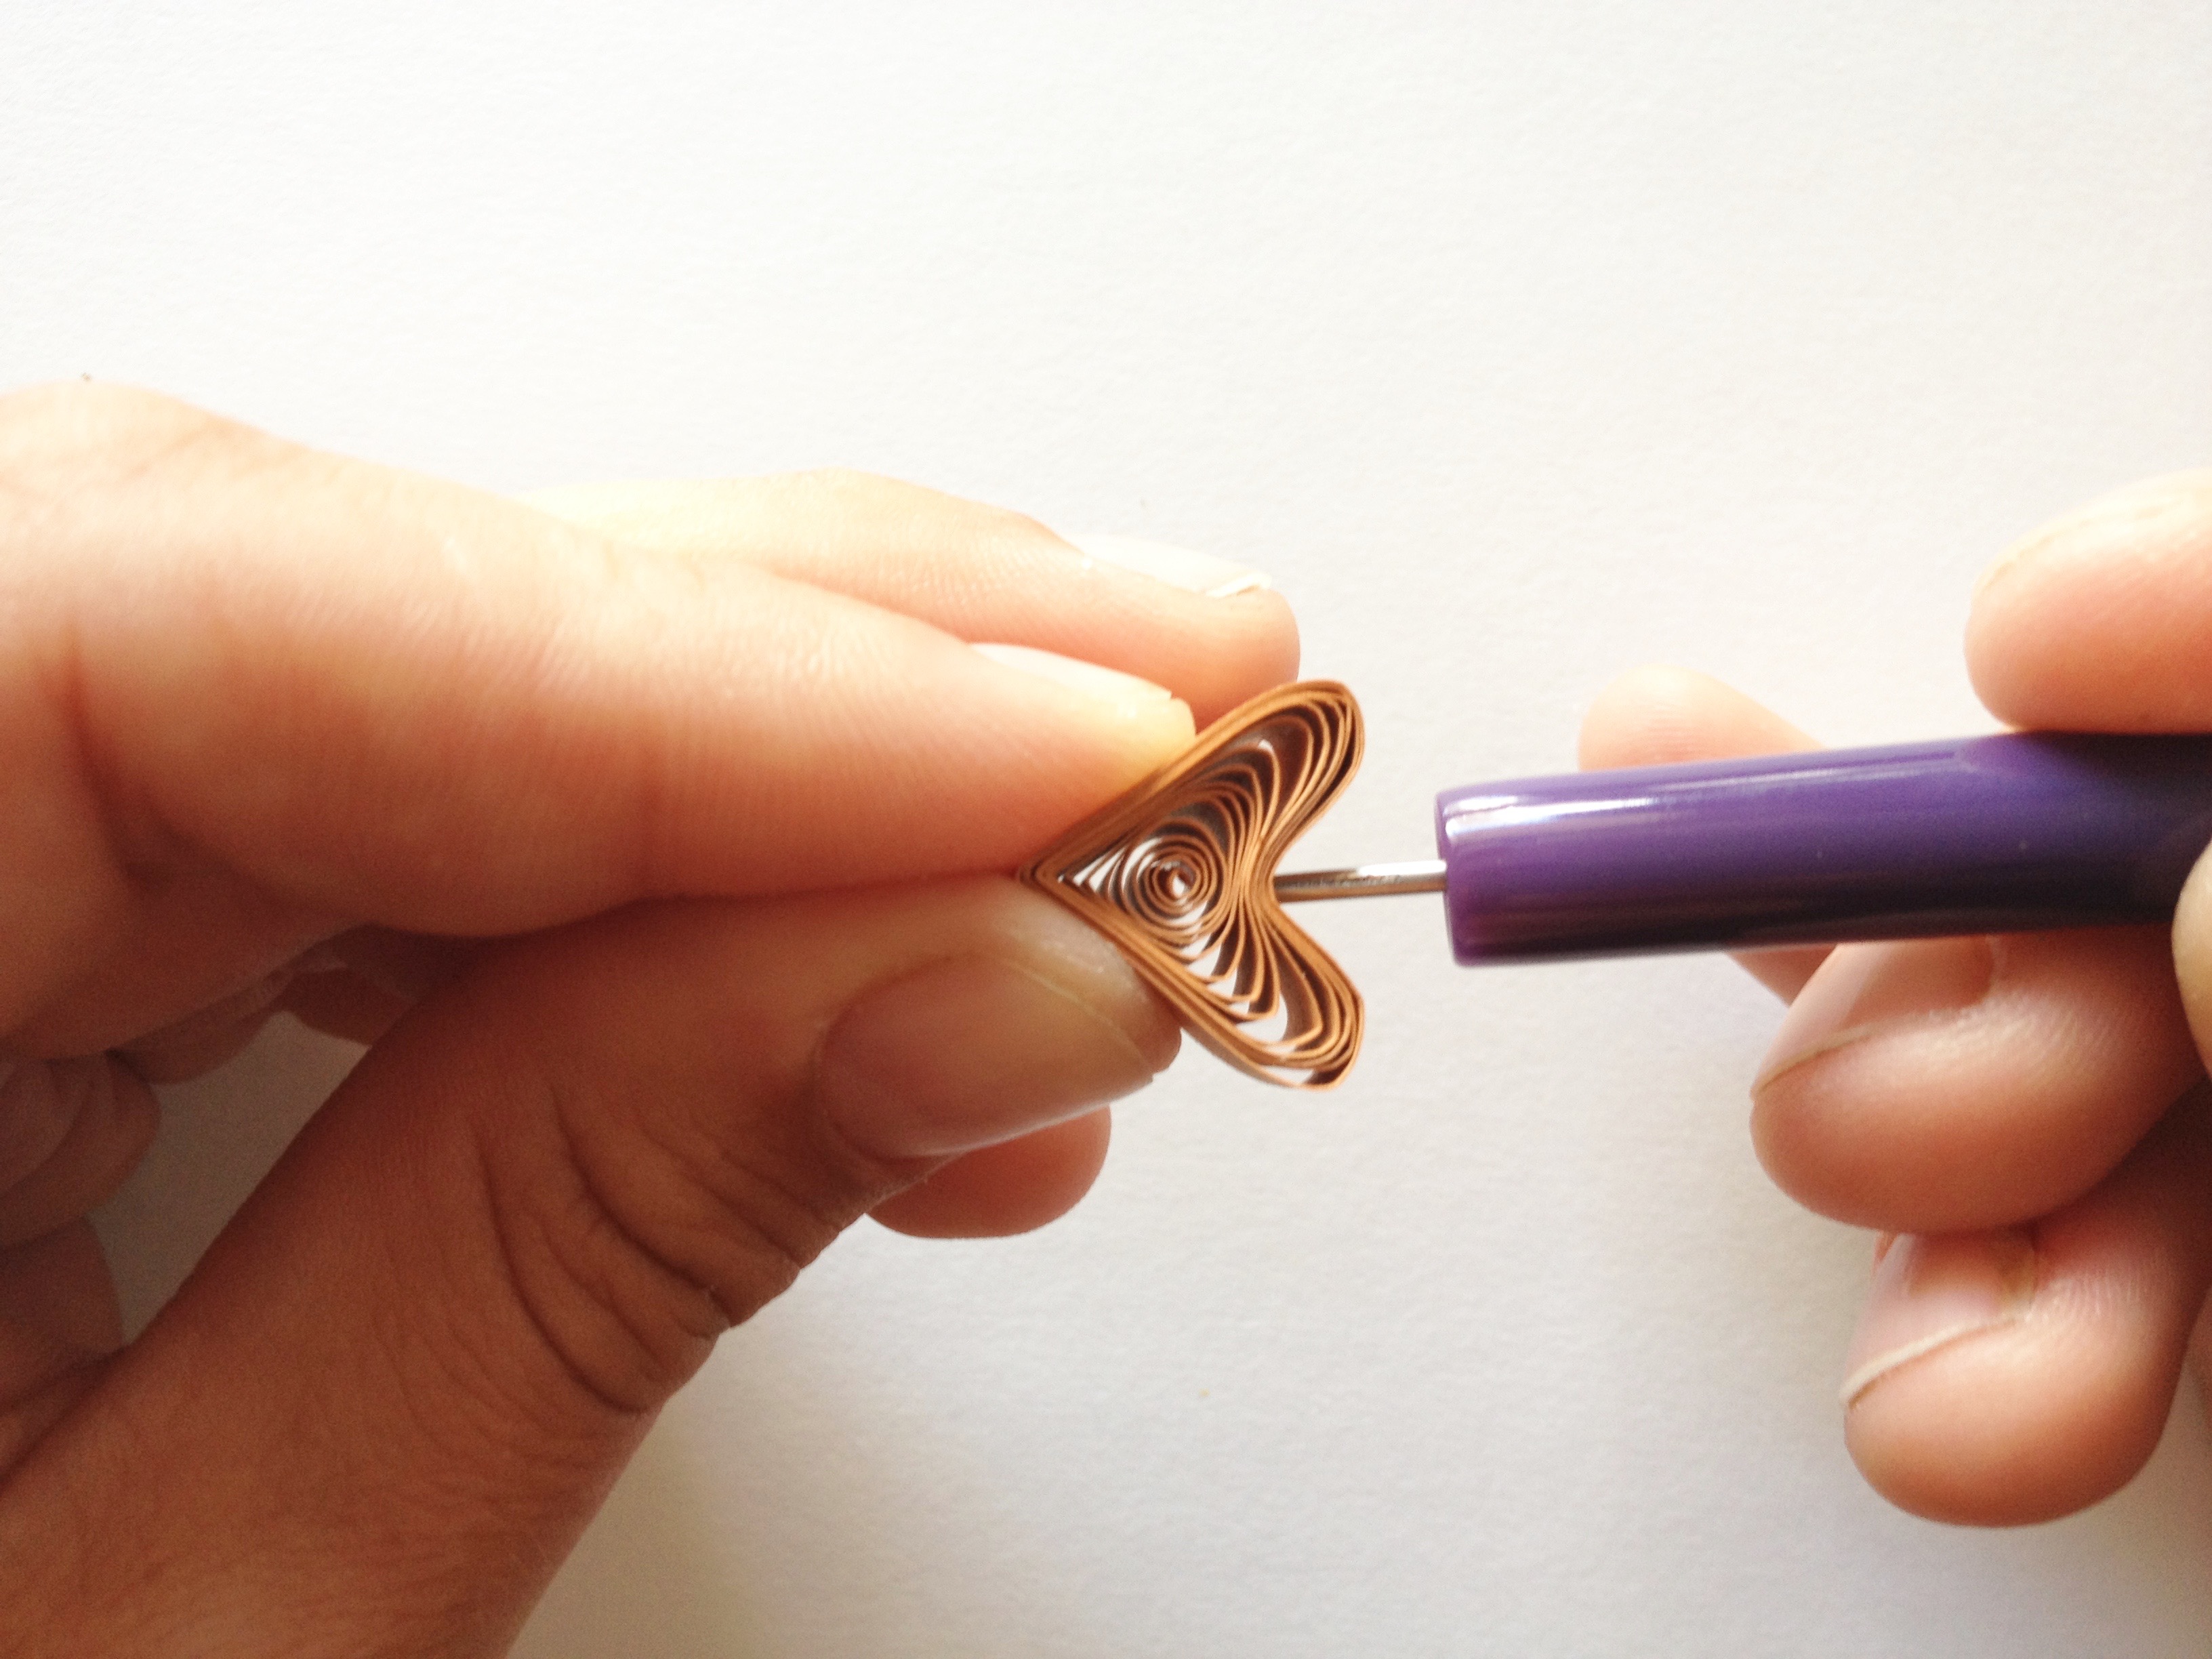
Once again, begin with a teardrop. Press in the base of the shape by using the point of your quilling tool to make a small indentation. Release the tool and carefully press in each side of the heart to complete the center crease.
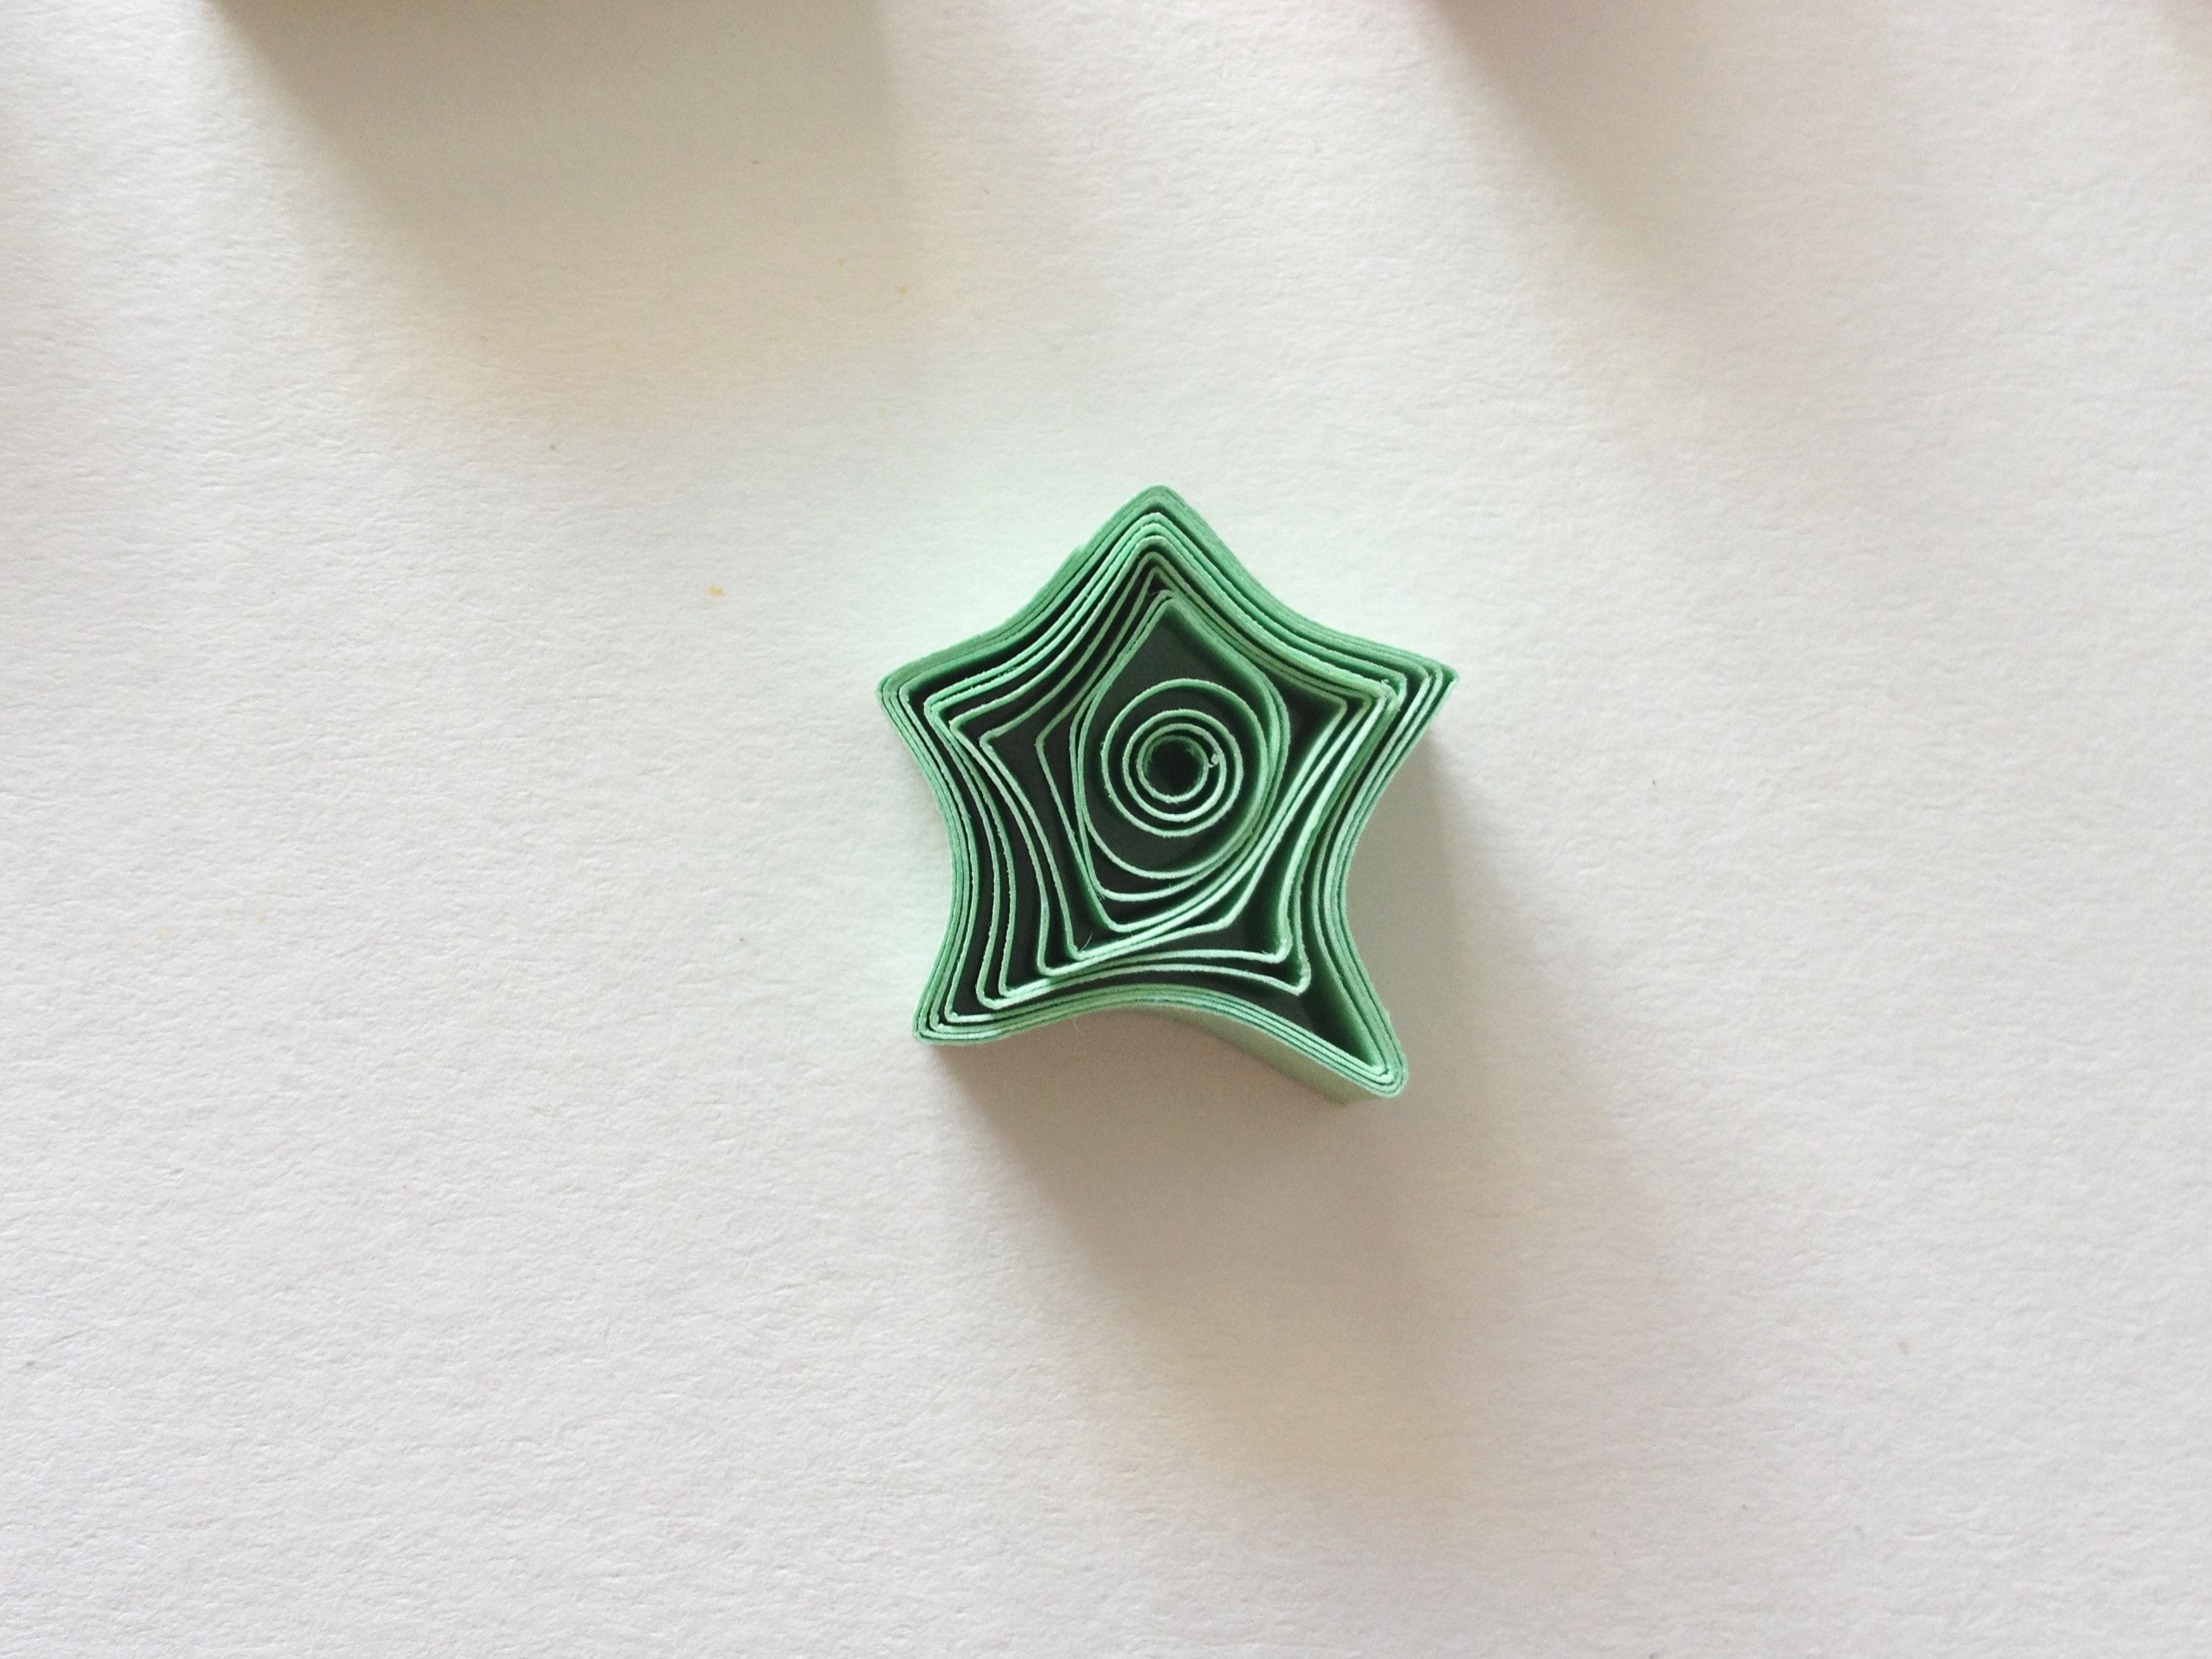
Pentagon and star quilling tutorial
To make a pentagon, first create an elongated semi-circle as shown.
Pinch the center of the flat side in the same method used when making the tulip shape; this is the peak of your pentagon. Keeping the peak in the center, square off the bottom with two equal pinches on either side.
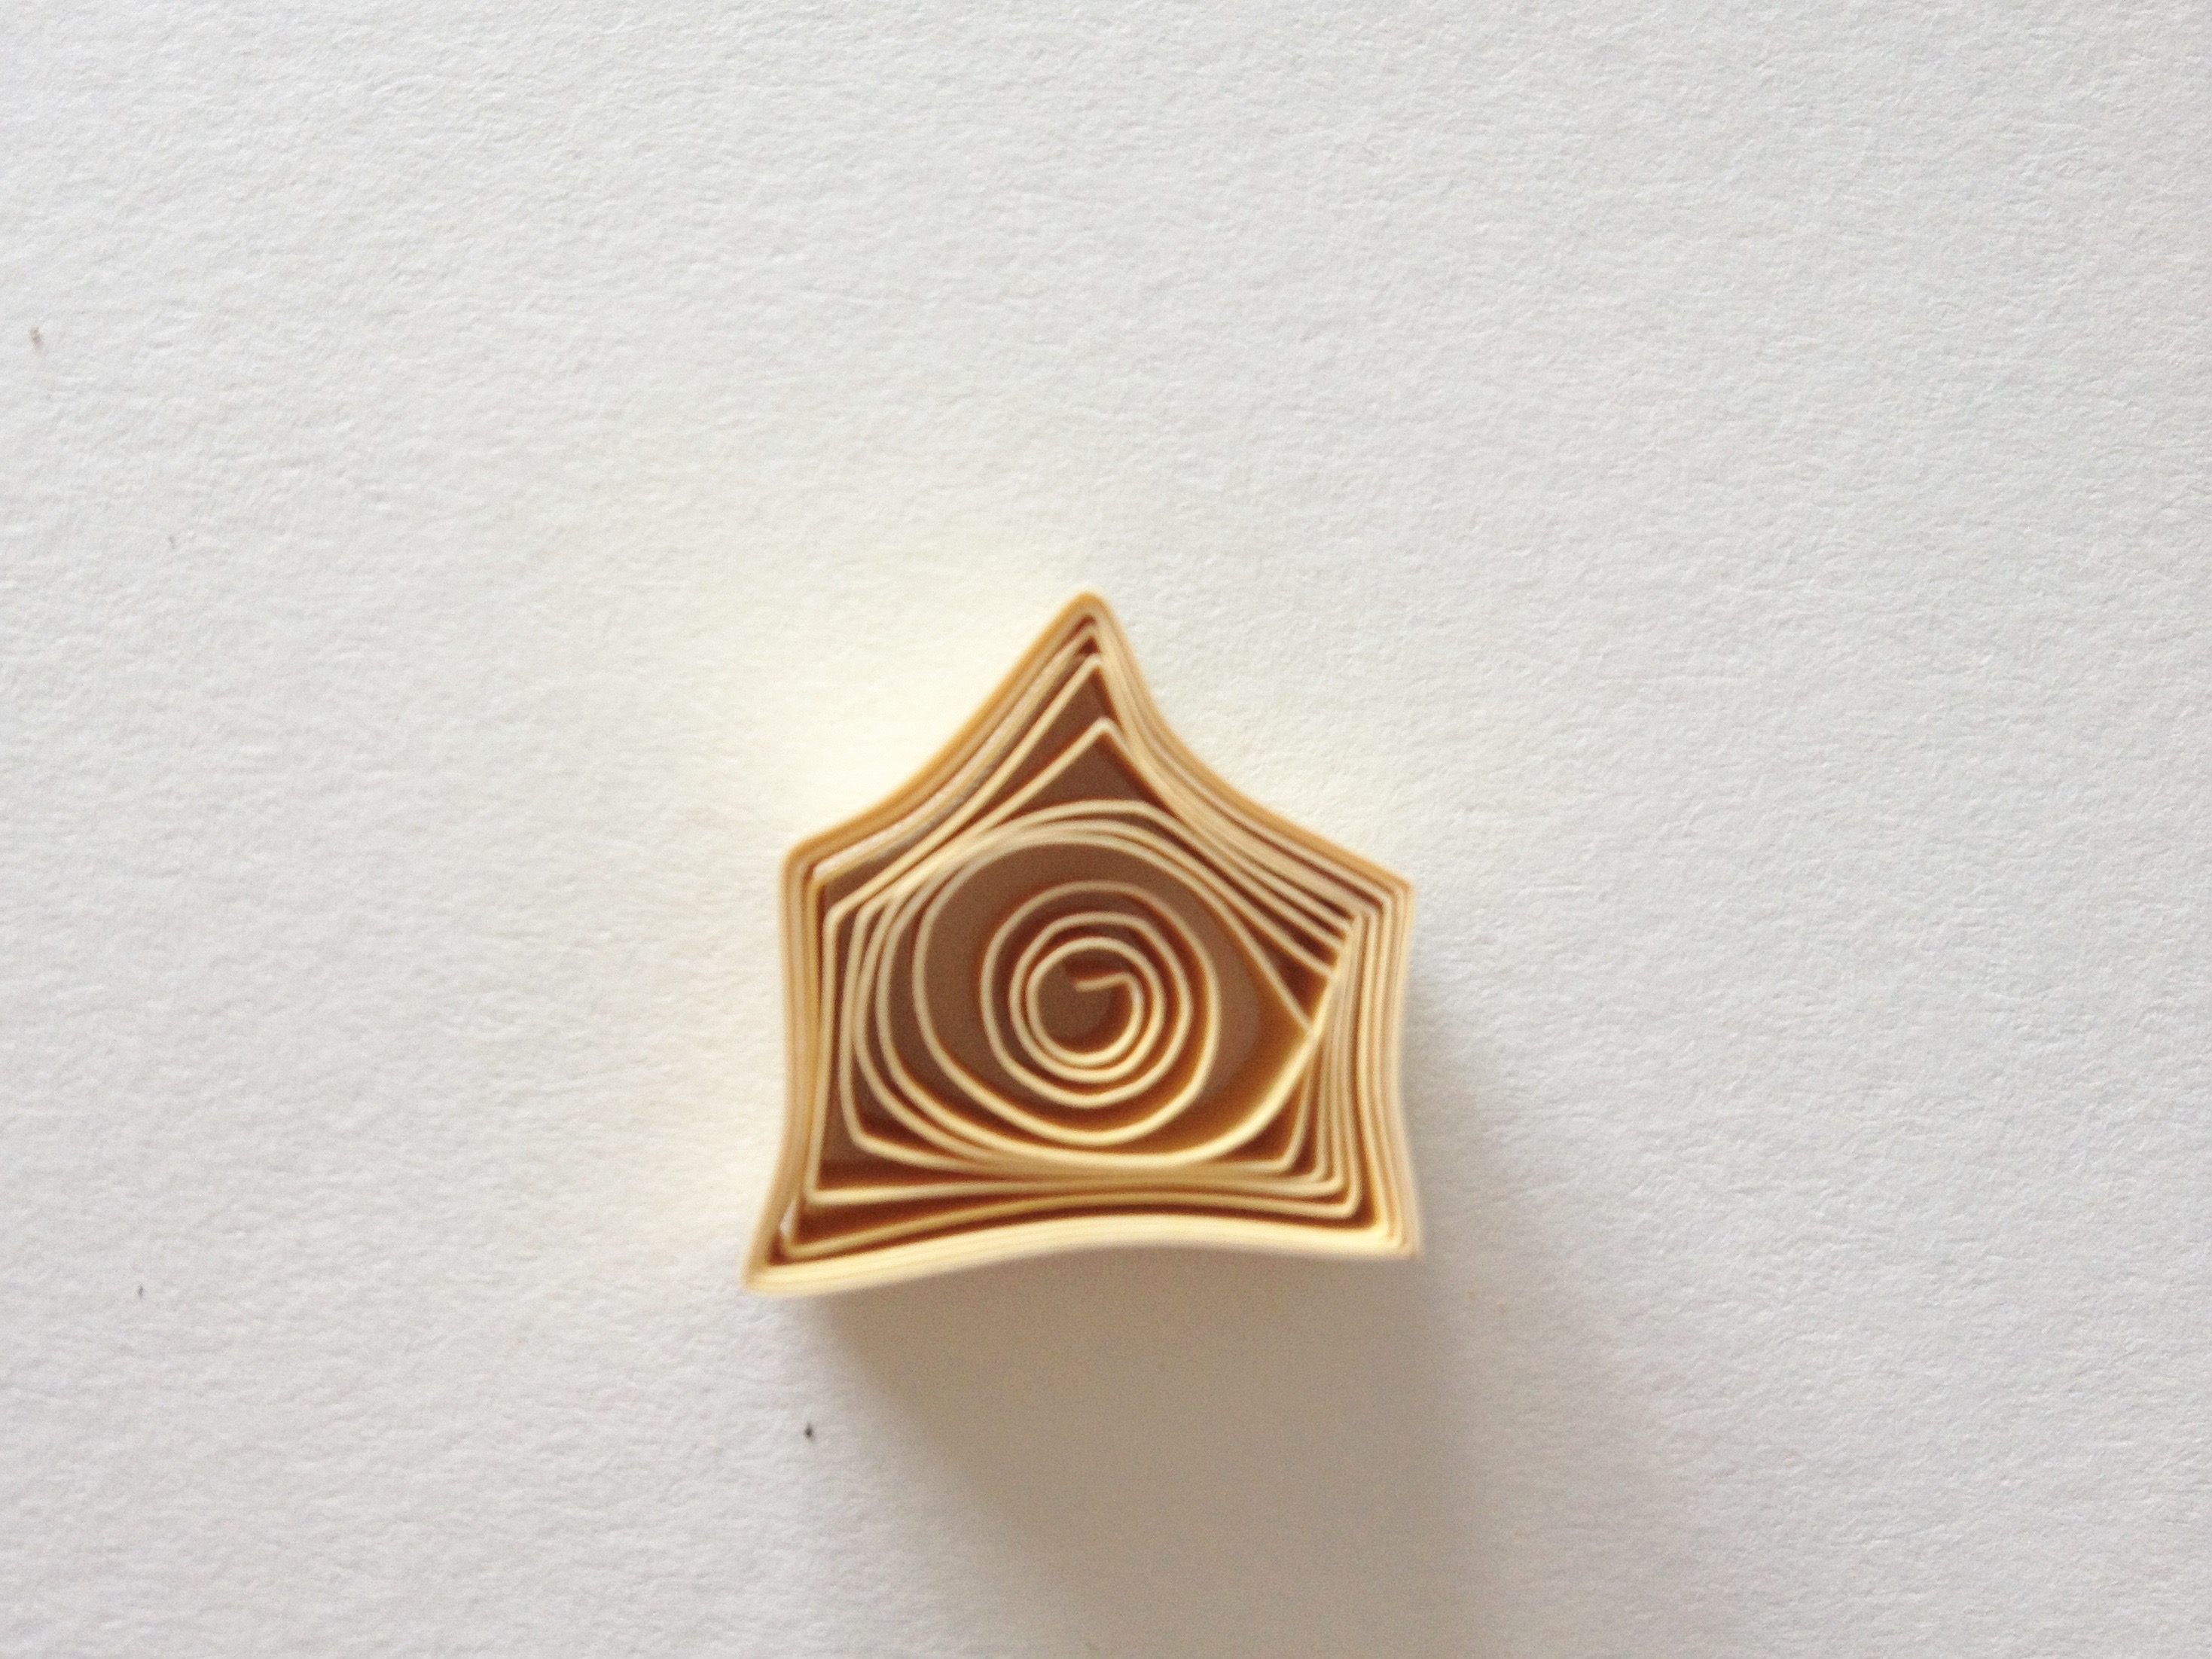
To turn the pentagon into a star, simply press in on each flat surface with your fingers or a quilling tool and then further refine each angle into peaks.
Quilling a holly leaf
This shape is far and away the most difficult to create and has rightfully been saved for last. I suggest getting very comfortable with the making of all of the other shapes before attempting this one for sanity’s sake.

Begin by making a marquis. Insert a set of tweezers into the shape; try to grip only about a third of the inside coil.
Keeping the grip with your tweezers, turn the marquis as needed and pinch a small point on either side of each peak.
Alternatively, the holly leaf can be made by first making a square, adding a point to each end and then shaping all of the angles into peaks. I personally have found the tweezer method to be easier, but be sure to try both ways to find which gives you better results.

With a bit of patience and a little practice, you will soon have all these basic quilling shapes mastered. Once comfortable, you will easily be able to take on any quilling project your creative heart desires to make. Happy rolling!
Excellent tutorial! Clear instructions accompanied by photos. Can’t wait to get started!
Thanks for the chance to learn more about with your quilling instructions. happy to have discovered them.
I’m not clear about one point in this fabulous tutorial. One the coil is quilled, loosened then shaped, is that when glue is added to end, or before shaping?
I've just begun quilling and I absolutely love it!
Thanks! This was helpful!
Just learning
this tutorial is very helpful
Question: Is there a way you can make a PDF of this tutorial? I really like it and you make it really easy to follow along with each shape. Thanks
Great tutorial. I have always admired the art of quilling and I have a lot of quilling supplies and tools but haven't tried it yet. You've given be a great way to start my journey. Thank you.
thanks for the tips