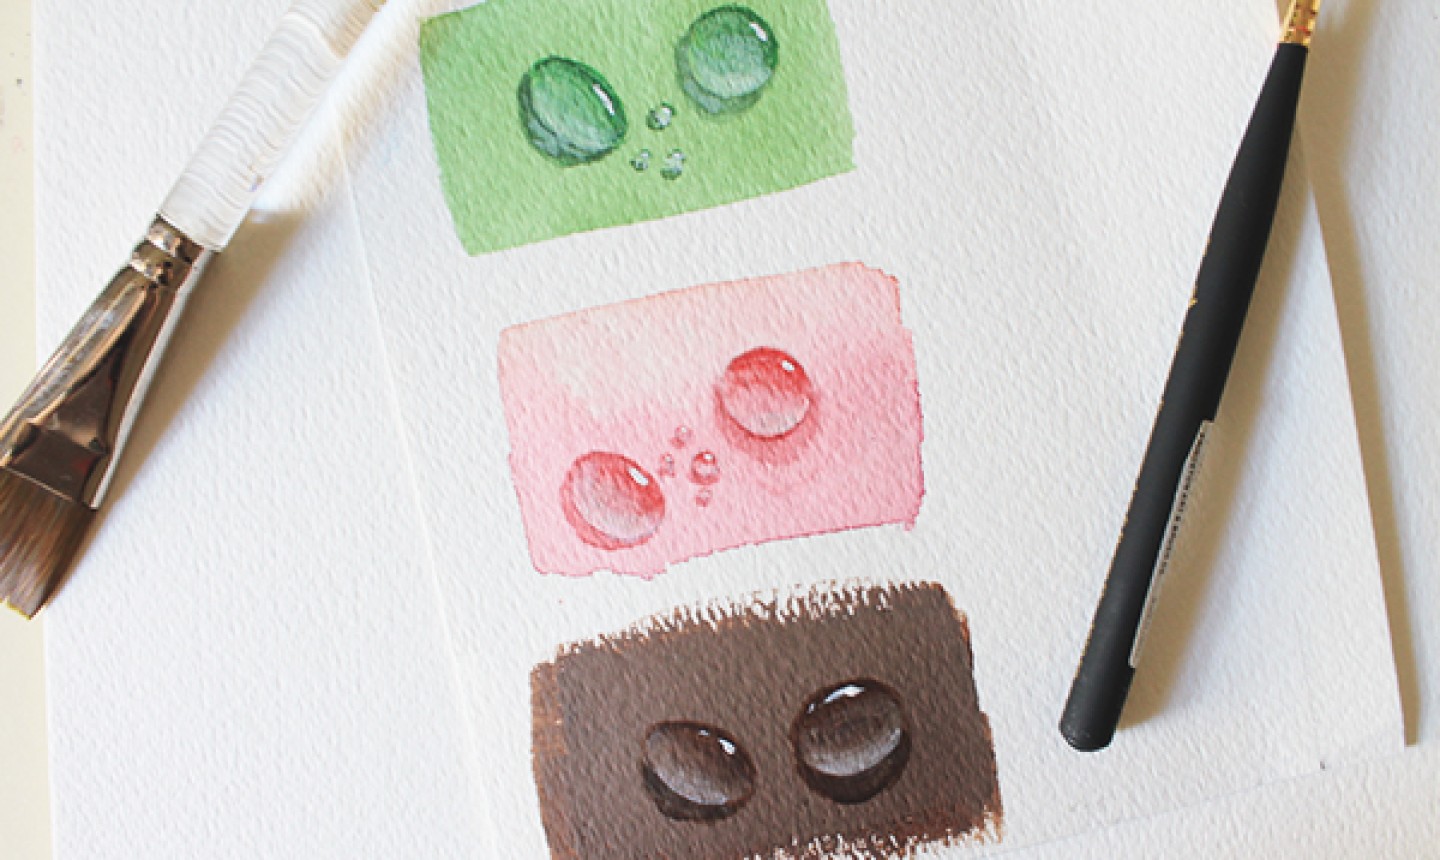
Even experienced artists can get intimidated by water droplets — with their rounded shape, translucent property and nuances of highlights and shadows, they just seem so difficult. But there’s a simple way to approach water drops and break ’em down so they’re totally doable.
Mixed media is the secret here. The same basic ideas apply whether you’re working in watercolor, gouache or acrylic as your primary medium, but certain details — like highlights — require an opacity you can’t achieve with layered watercolor. So even if you’re making a watercolor piece, you’ll end up reaching for your gouache and gel pens to put the finishing touches on your drops. Round up all these materials before you get started so you don’t get stuck!
Realistic Water Drop
Level: Easy
What You Need
Instructions
1. Know the Anatomy
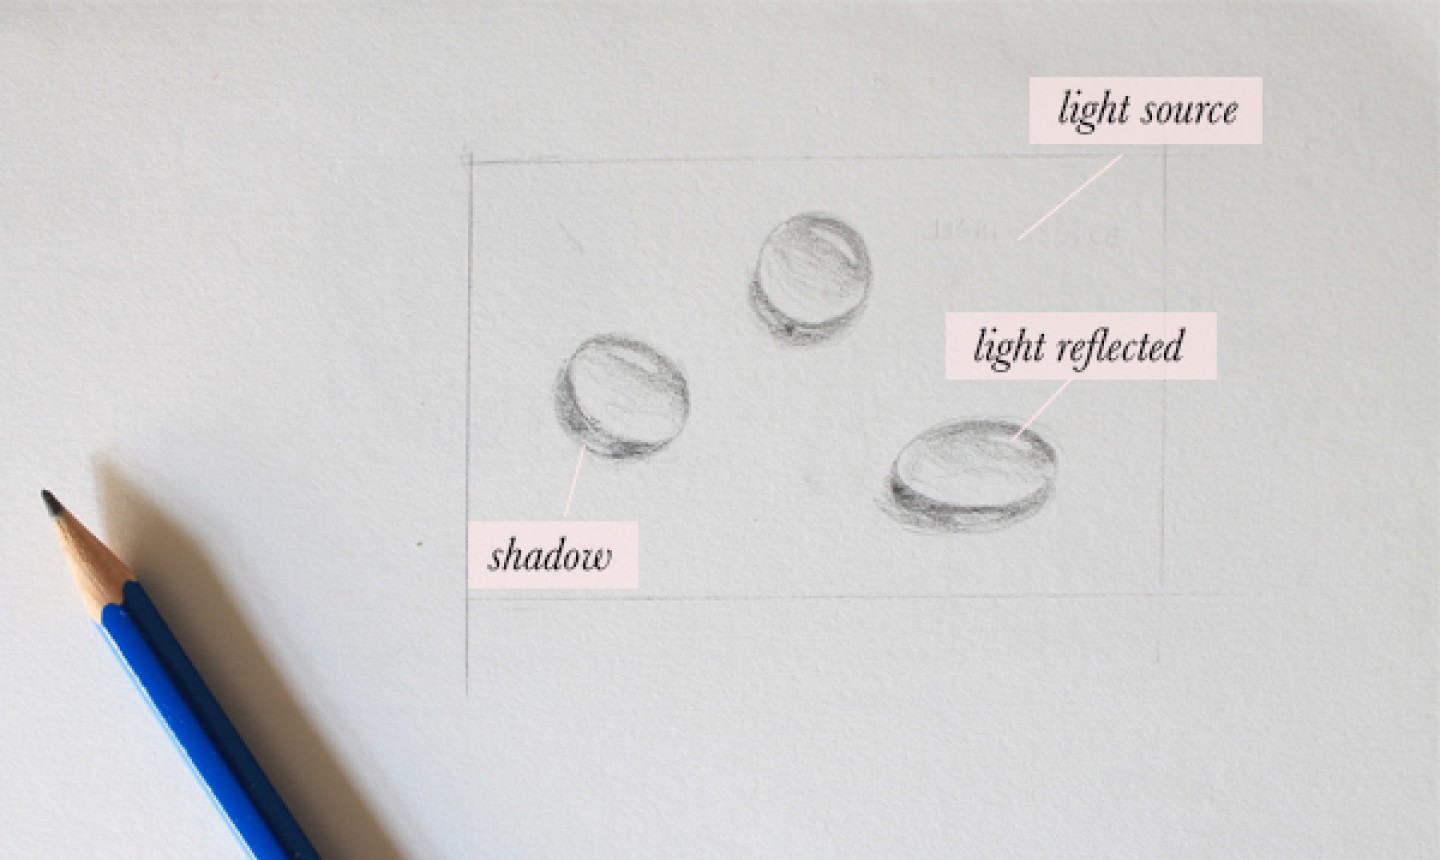
Before you start painting, you’ve gotta know the anatomy of a water drop.
With any drawing, a 3D effect is created using light and shadows — and a water drop is no different. Take note of where each shadow and highlight falls. It helps to look at reference photos and do a few sketches in graphite before you pick up your paint brush.2. Paint the Background
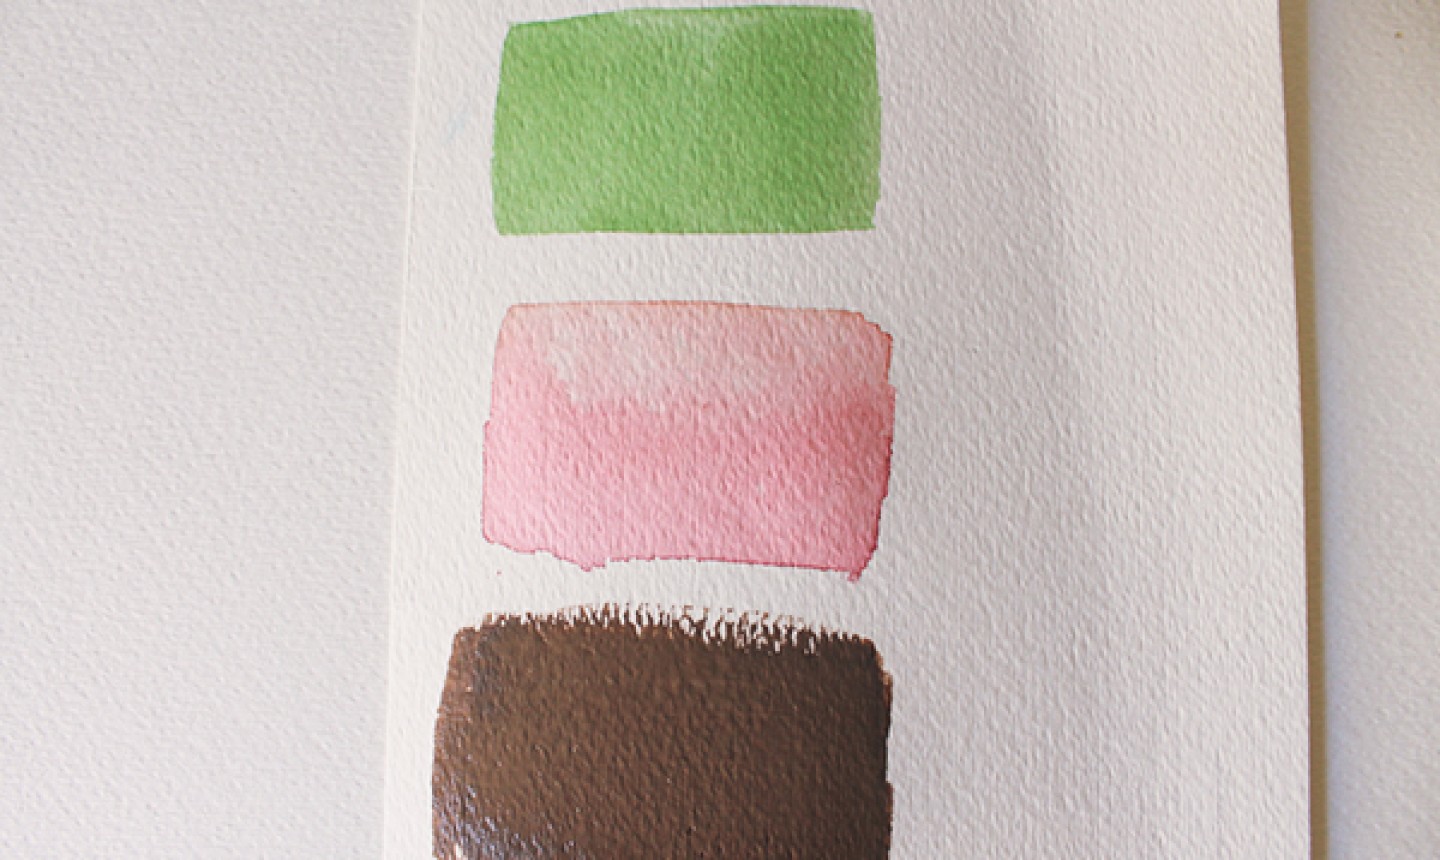
Now pick up your paint brush and flesh out your background. This can be a flower petal, tree trunk, leaf, blade of grass, or anywhere else your water drop might fall. For the simplicity of the tutorial, we’re sticking with swatches of solid color.
In the image above, the first two swatches are watercolor and the brown is acrylic.
3. Shape the Water Drop
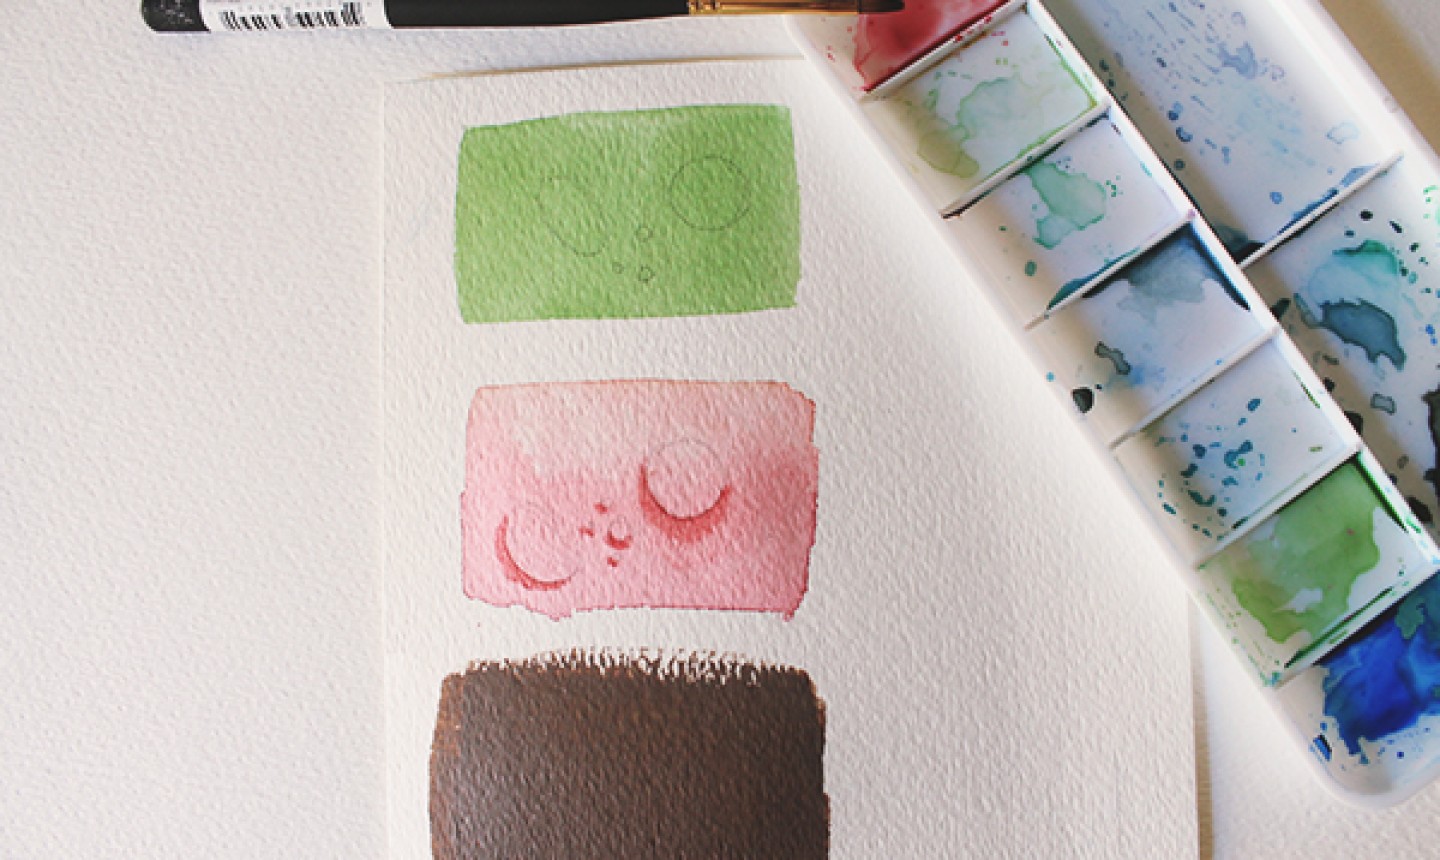
Use a pencil to lightly draw the shape of the water drops over your background. Mix a darker shade of your background color and paint the bottom cast shadow.
4. Shade the Top
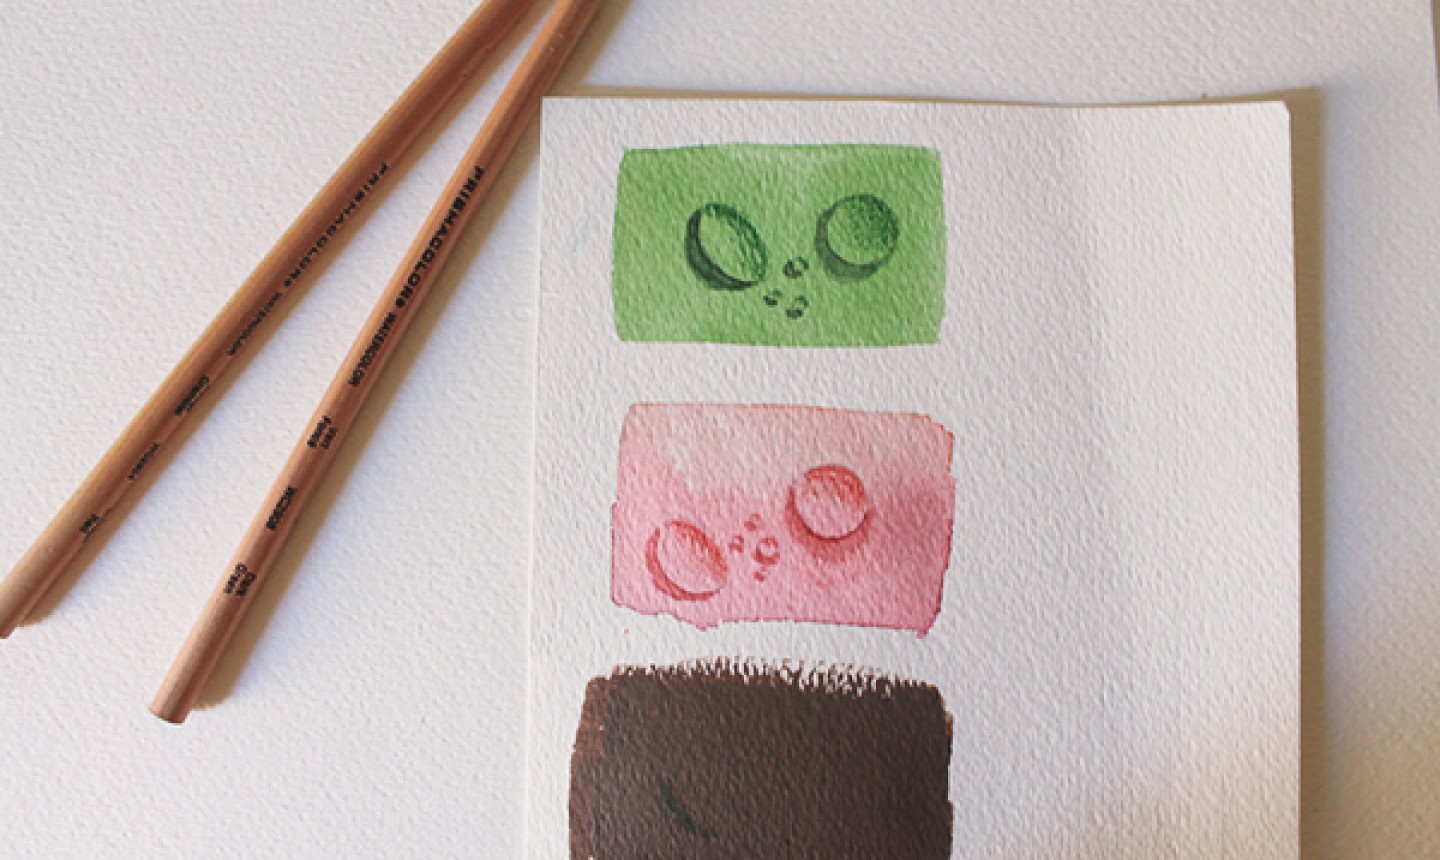
Use a small brush to paint the shadow on the drop that’s opposite the cast shadow. If you’re using watercolors, watercolor pencils will be handy for this step — just paint over your marks with water, making sure the edge of the water drop is darker than the inside.
5. Add a Lighter Color
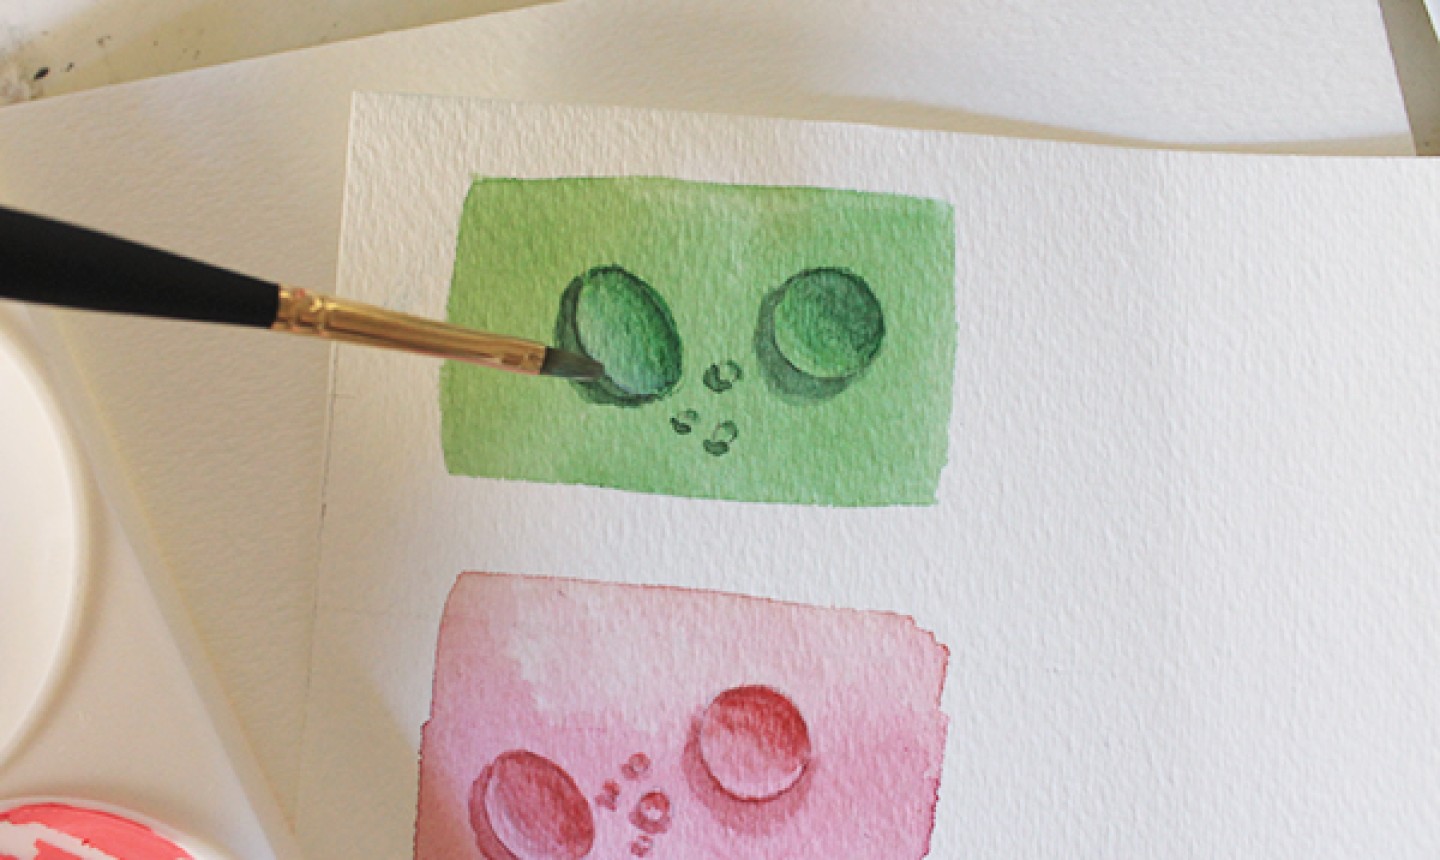
To make your water drop more defined, mix a lighter version of your background color (we used gouache paint on top of the dried watercolor base here). With a small brush, paint the inside bottom edge of your water drop, as shown above. This should contrast pretty significantly with your cast shadow.
6. Add the Highlight
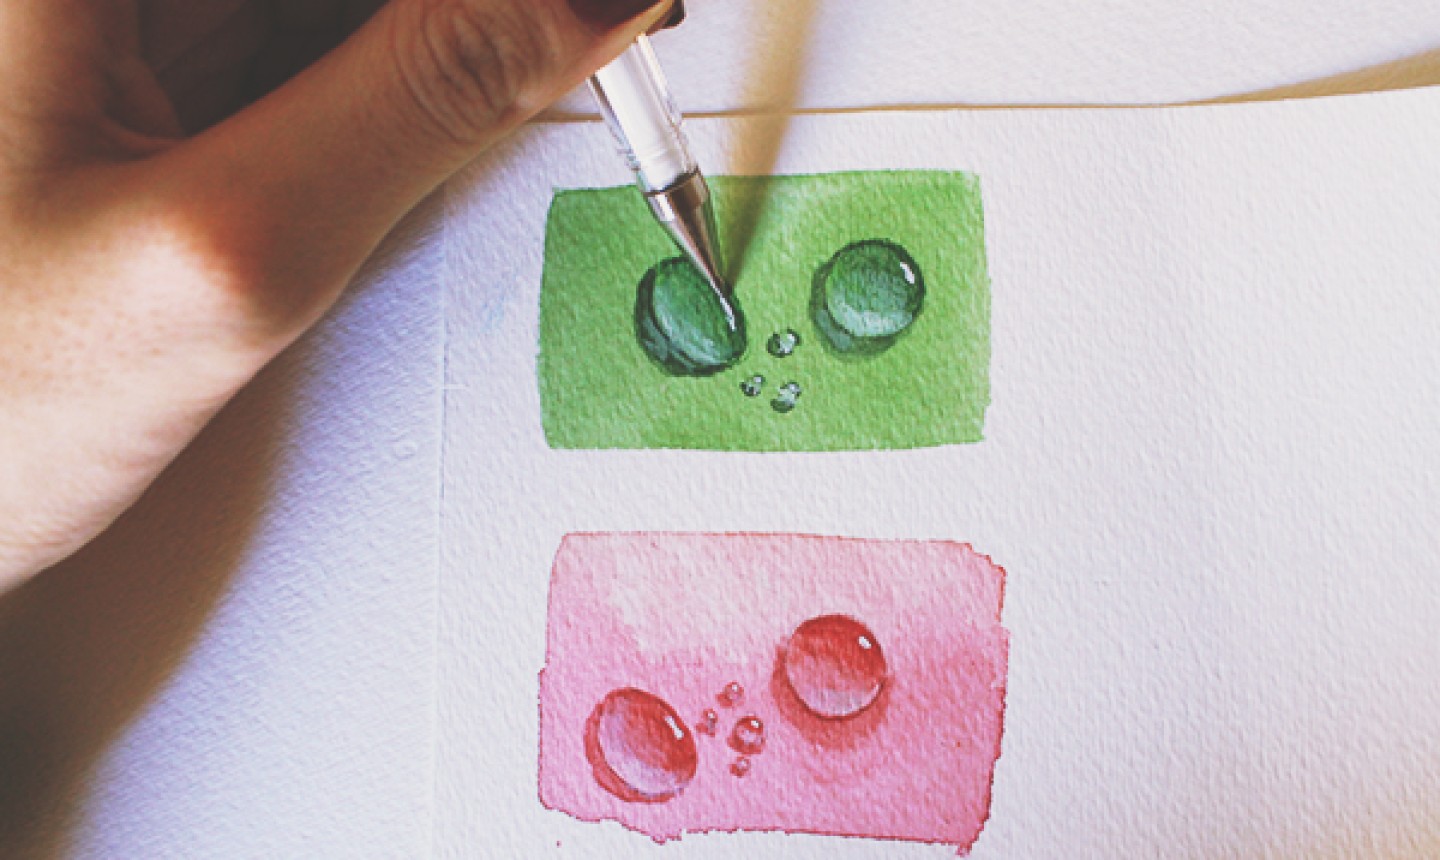
Using a white gel pen to add the spots of reflected light. You can also use white acrylic with a very fine brush. Pay close attention to where your light source is coming from!
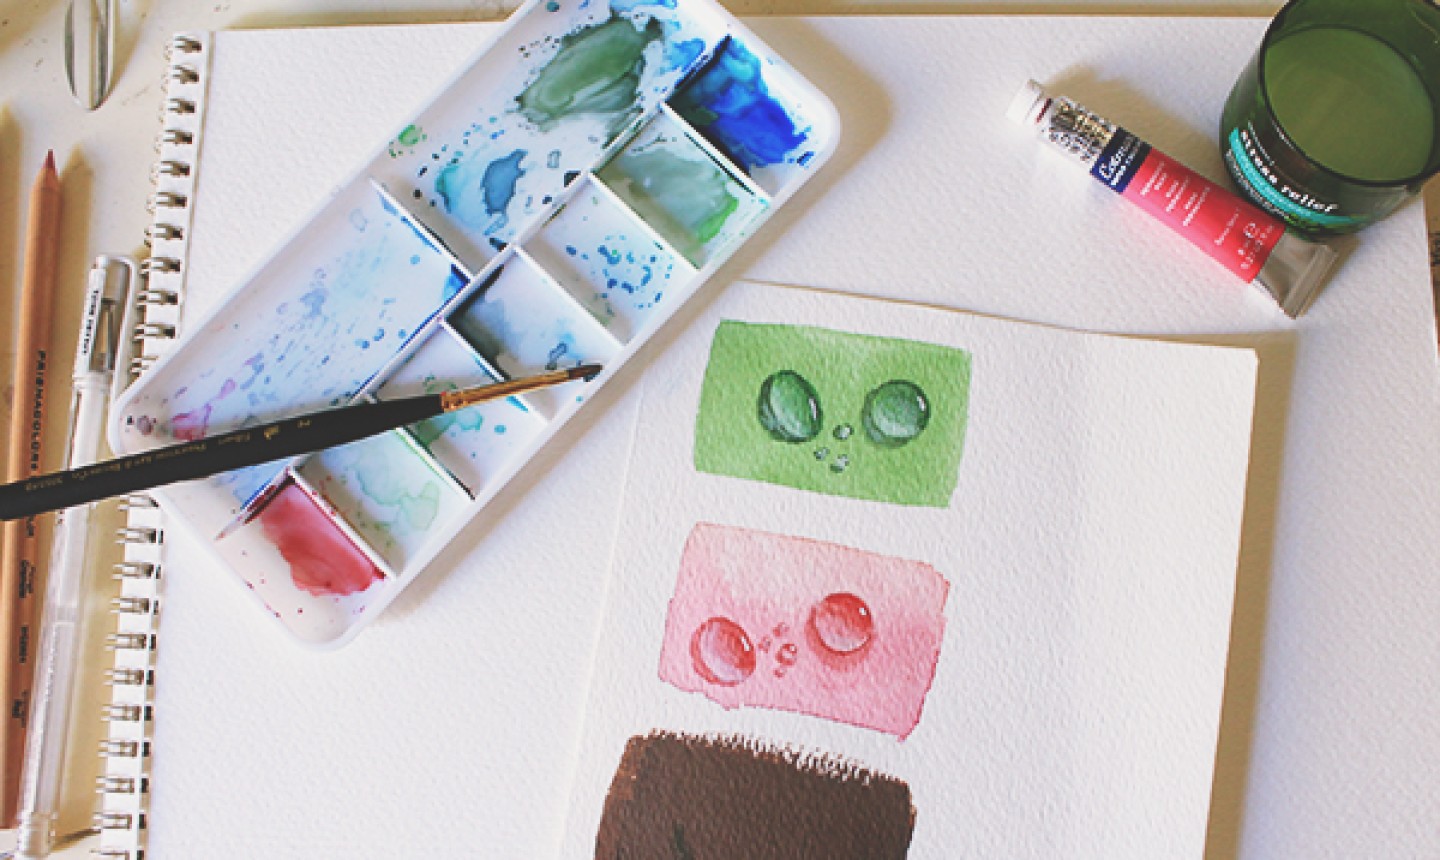
Let your droplets dry, and you’re done! Refer back to your reference photo or original sketches and make any necessary adjustments in color if anything looks wonky.
Again, this method works for any medium — the brown droplets above were created with acrylic, and you can even follow these same steps with colored pencils. With practice, your water drops will look totally realistic.
Oh, I loved this tutorial!! I am considering buying a subscription because I love every kind of art but I'm just beginning to learn how to do things. I really appreciate your article and I know I'll end up subscribing if this is the kind of content they have. Thank you very much n I'm going to go make myself a water droplet now 😊❤️
Thank you! It worked great
Thanks you so much, beauty!
This is very helpful. I painted a leaf with raindrops and it turned out really good!
Very helpful, as I am attempting to paint leaves with raindrops attached