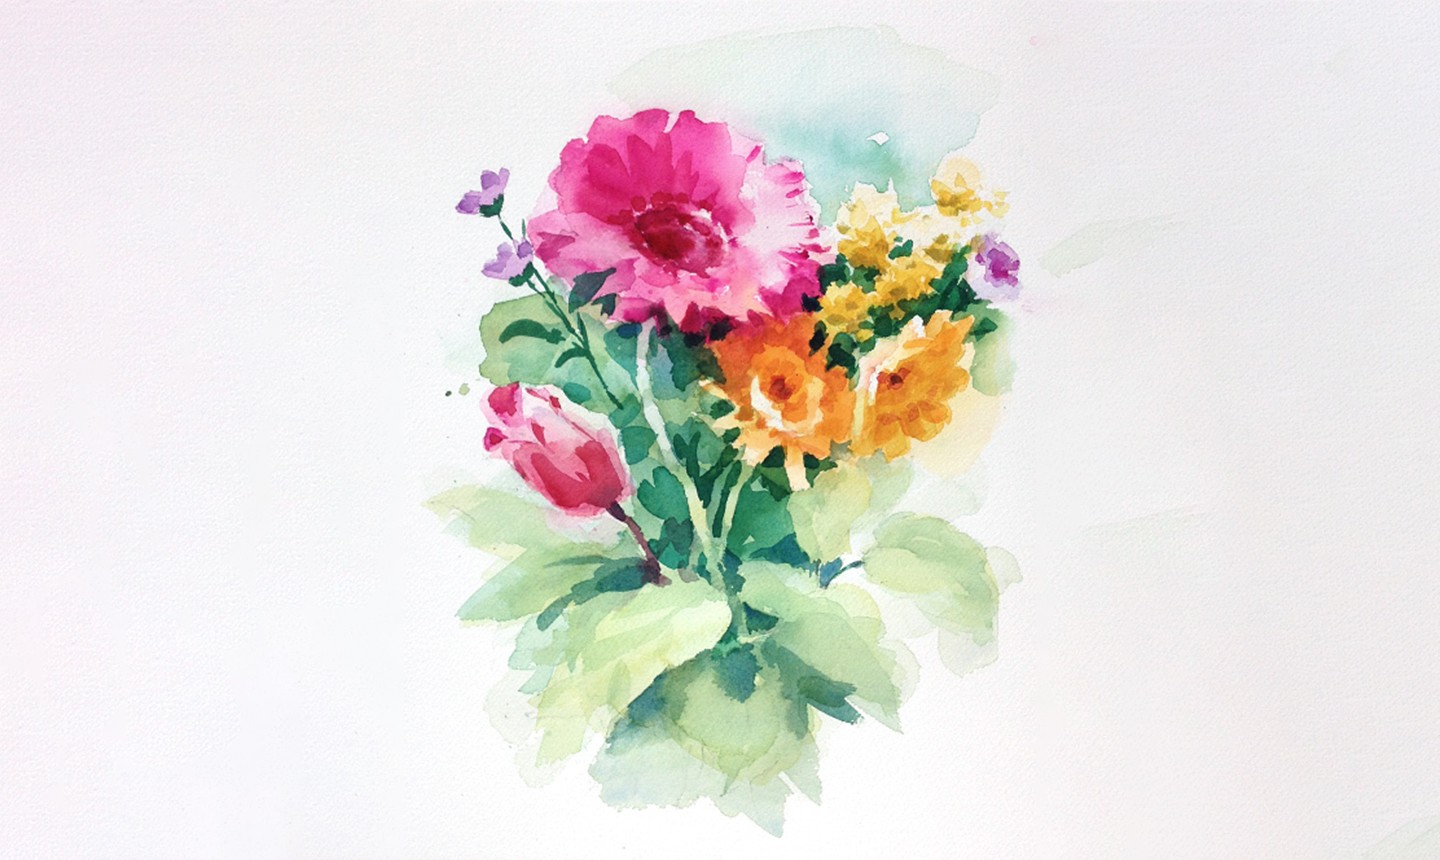
April showers bring... May watercolor flowers! This project is a win for any artist, no matter where you are on your watercolor journey. And it's a great way to build your skills in manipulating tints and shades. (Believe it or not, this gorgeous composition only requires four basic colors!)
Watercolor Bouquet
Level: Easy
What You Need
Instructions
1. Sketch the Flowers

Whether you're working from life or painting from a reference photo, the first step is the same: you have to determine your composition. Observe your flowers and study how they're shaped and how they're angled. Make a light sketch of what you see, but dont' be afraid to take some creative liberties.
Pro Tip: When drawing the flowers, look at them as simple geometric forms, then refine from there. Keep it simple at first, and don't get too caught up in the details!
2. Lay the First Wash
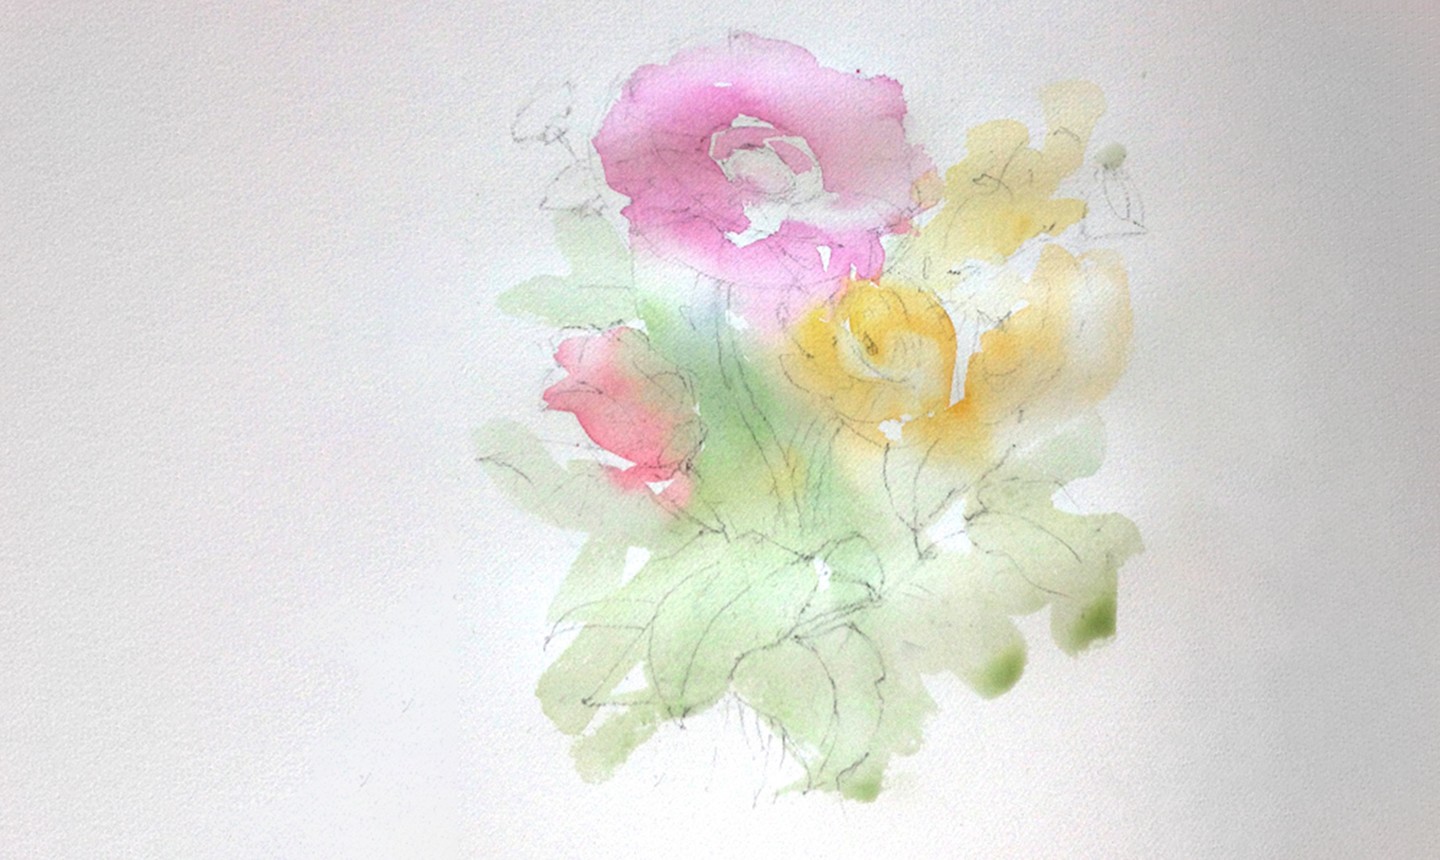
Now it's time to put paint to paper! Lay a light first wash of the main colors — yellow, pink and mix a shade of green. You can use a few different watercolor techniques: apply the paint directly to the paper or add a water glaze to drop in the color. It's important to use the right water-to-paint ratio to get a very light value (you should have lots of water and a small amount of pigment on your brush).
If your composition has a strong light source, like our reference photo, note that some parts of the flower and leaves seem almost white from the brightness. Make sure to paint around these areas, or use masking fluid to protect them from the paint.
Pro Tip: Don't focus on the detailed petals and leaves yet — right now, you should just be capturing the basic shapes, color and overall character of your subject.
3. Add the Midtones
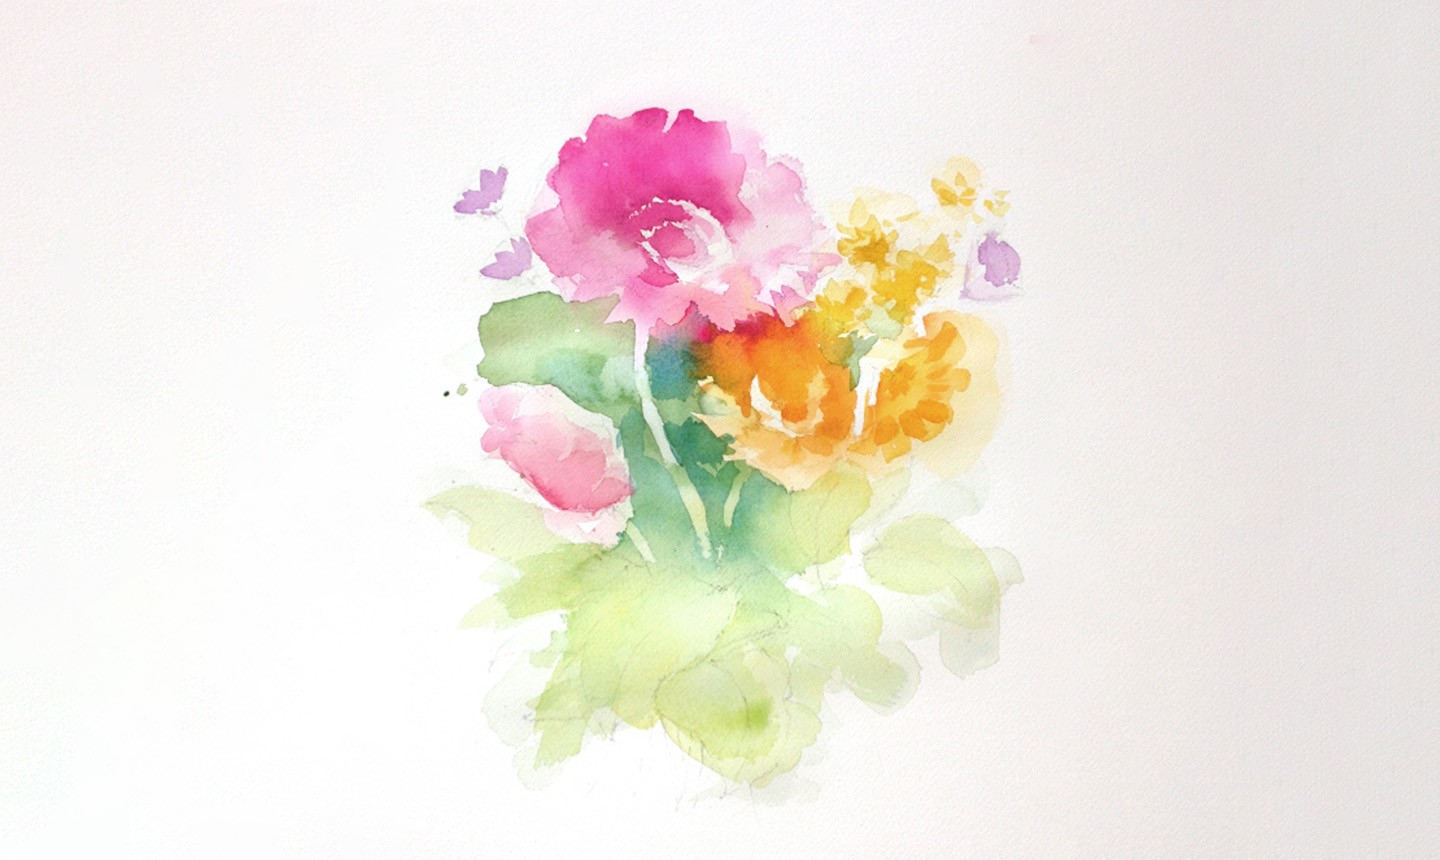
Once the first wash is dry, mix together some darker values and add them to your painting. We used a mixture of perylene maroon and opera rose to add definition to the pink gerbera daisy. For the orange flowers, we just added a dab of perylene maroon to yellow.
When you're done with your petals, define the stems with a negative painting technique (fill in the space around the stems with color, instead of painting the stems themselves). Again, let your painting dry before moving on to the next step.
4. Create Depth
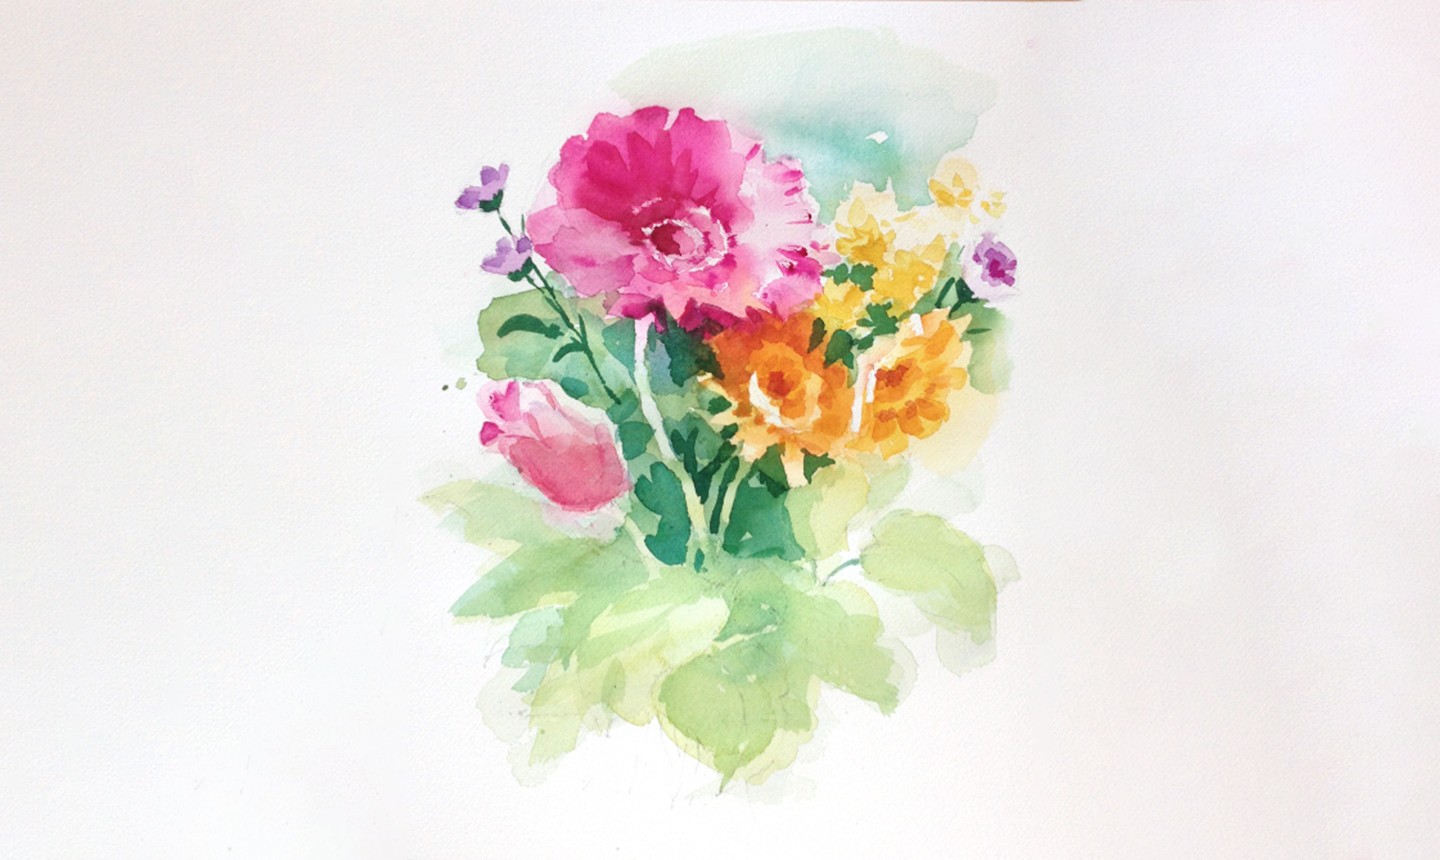
Add even bolder colors to your petals and leaves to create depth in your painting. Vary the direction and intensity of your brush strokes, and avoid outlining the flowers and stems, which can make your bouquet look cartoonish.
Pro Tip: It might seem tricky to add depth to the yellow petals, but there's an easy method — paint dark stems and leaves around them to make 'em pop.
5. Add the Final Details
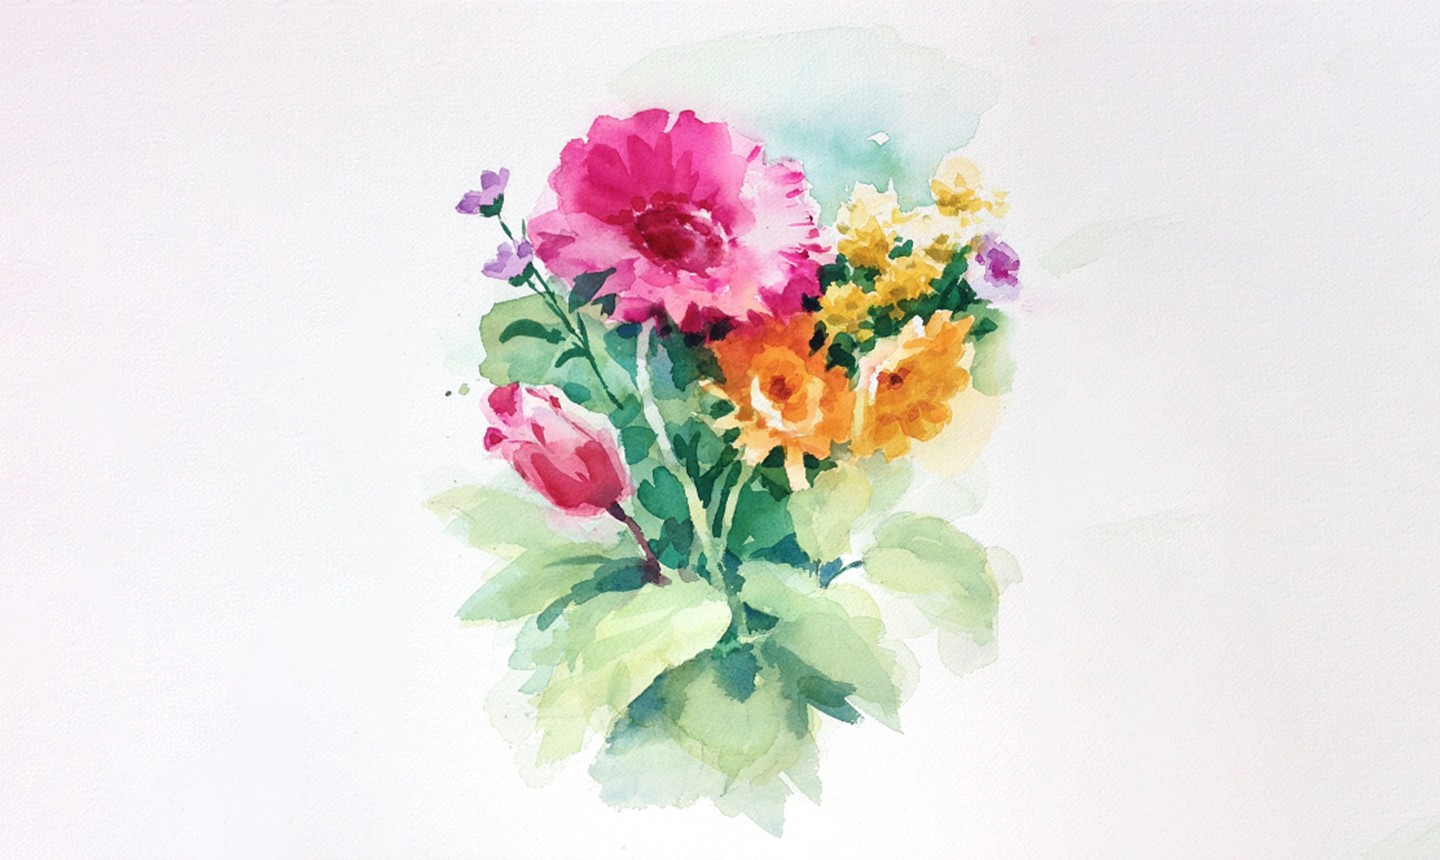
Assess your painting for any areas that seem incomplete and make any necessary final adjustments. You can add deeper colors to further define your bouquet, or lift color from areas that are too dark. Use a small brush to touch up any details, and you're done!
Looking to get started with watercolors? Check out the class Startup Library: Watercolors below!


Share tips, start a discussion or ask other students a question. If you have a question for an expert, please click here.
Already a member?
No Responses to “Paint a Gorgeous Watercolor Bouquet”