
When you think of origami, your mind might go straight to complex cranes and other intricate designs. But origami doesn’t have to be difficult. This DIY is super easy and a fun way to bring color and texture to a bland wall. Consider it the ideal origami project for beginners.
Origami Wall
Level: Easy
What You Need
Instructions
1. Make Your Folds
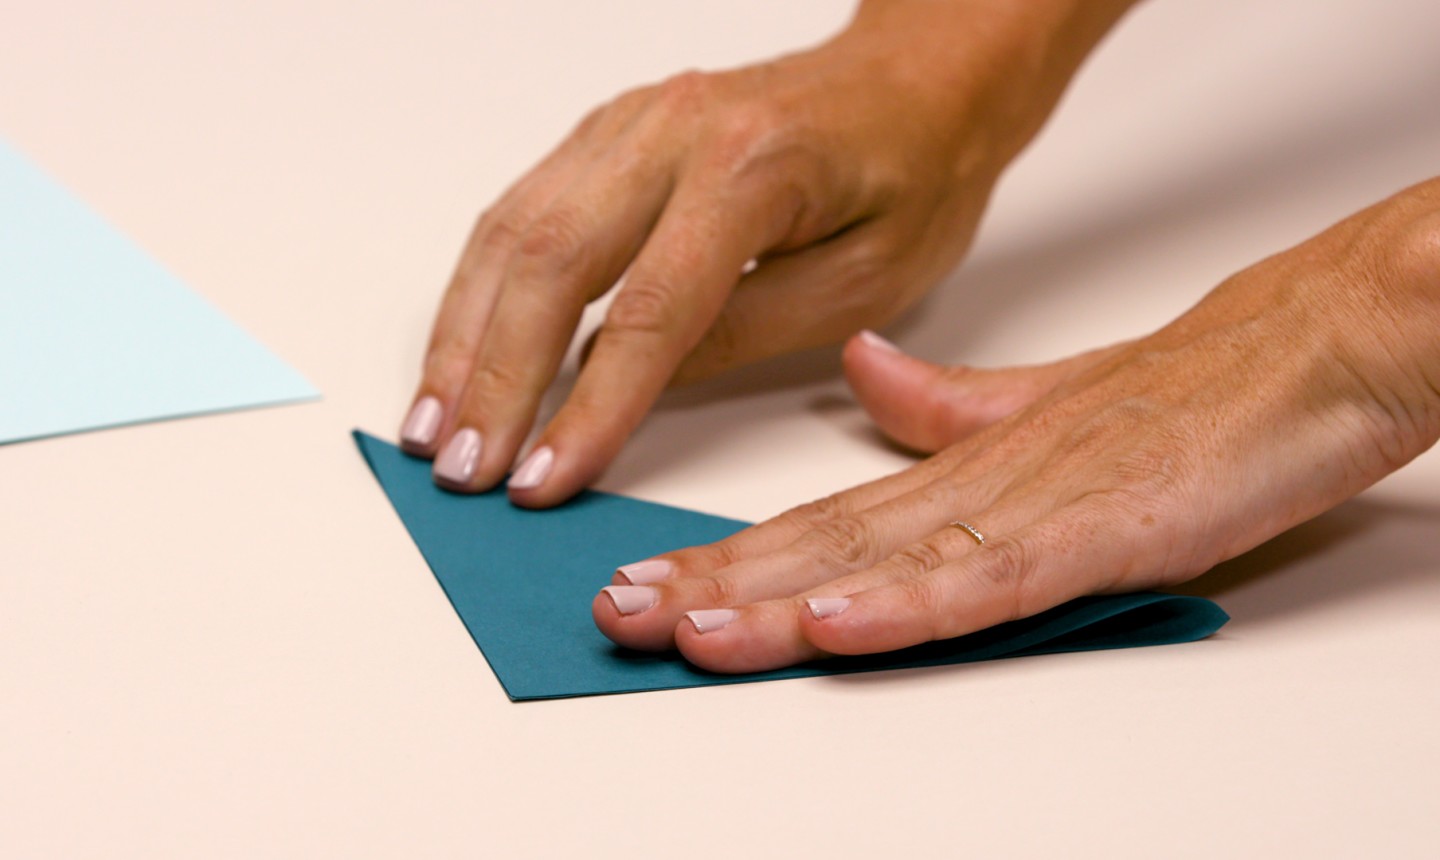
Fold your origami paper in half diagonally, bringing opposite ends together so the square forms a triangle shape. When you unfold the paper, there should be a crease running from one corner to the other.
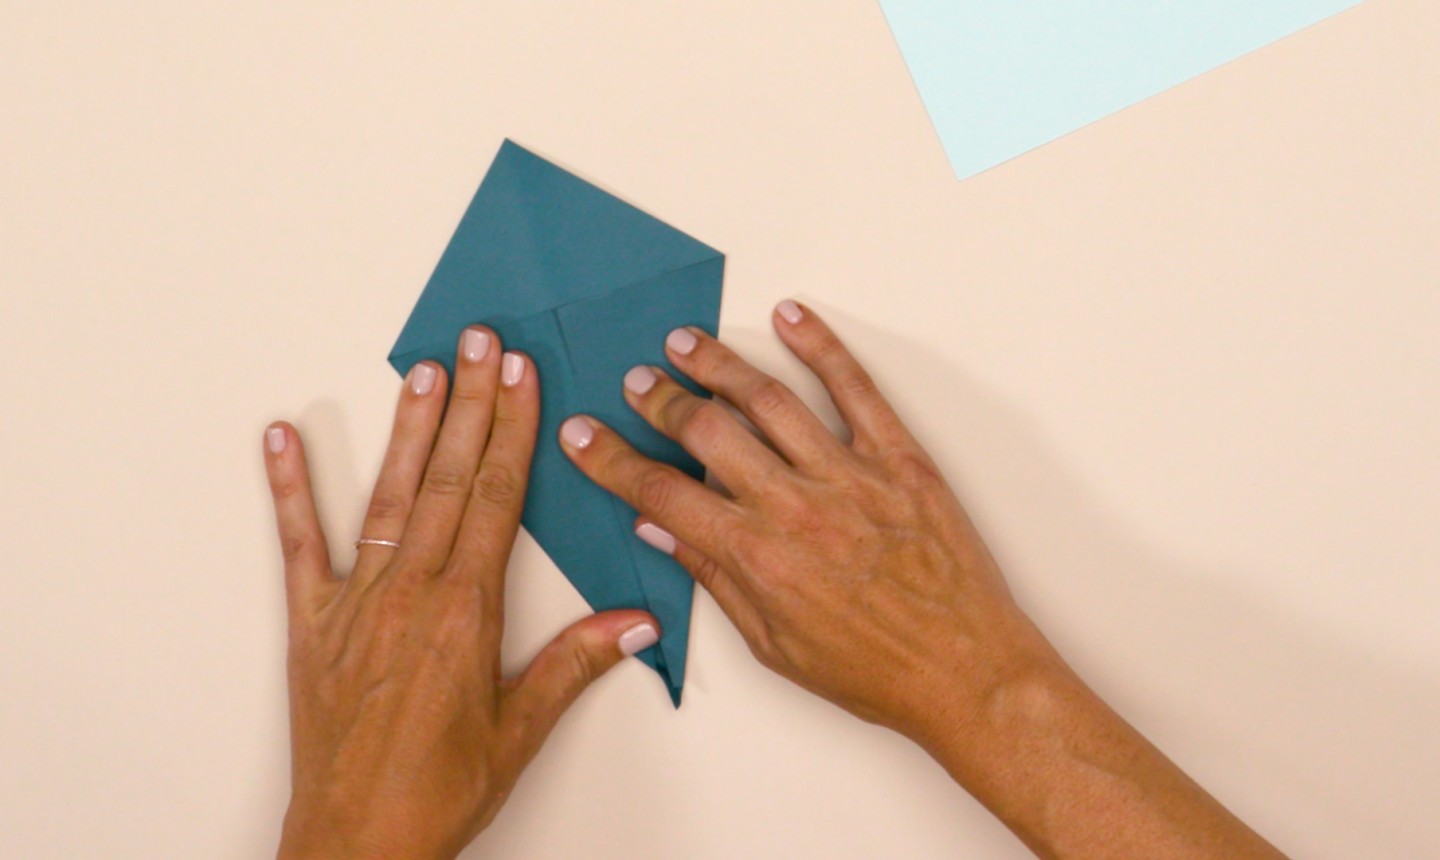
With your paper unfolded, bring the two uncreased corners to the center line and fold. Your paper should now have a kite-like shape to it.
2. Snip the End
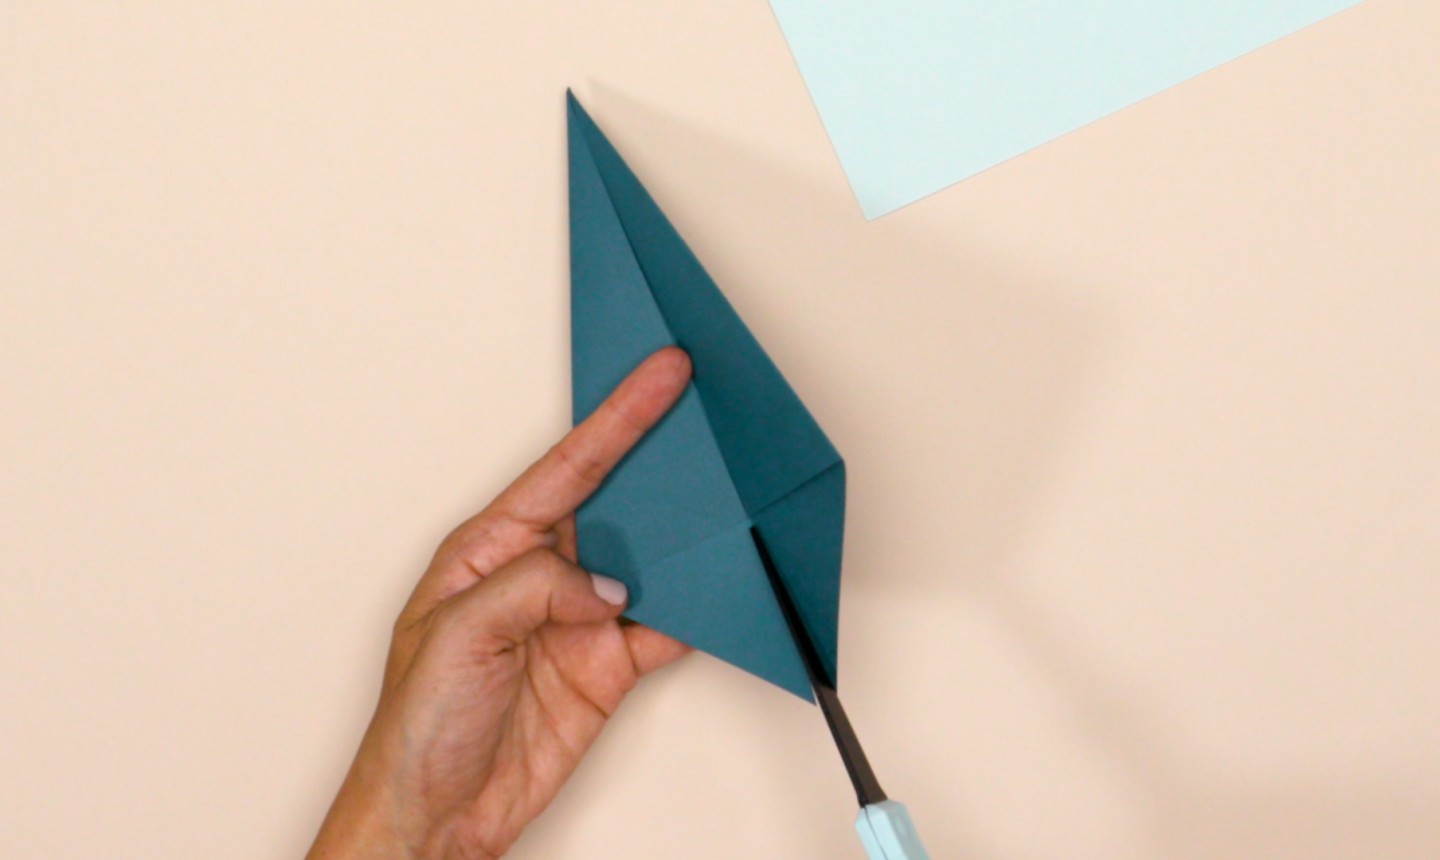
Cut along the center crease on the wide end of your shape until you reach your long folds. This will create two triangle-shaped flaps. (Yes, we know you technically aren’t supposed to make cuts to an origami piece. But we won’t tell if you won’t).
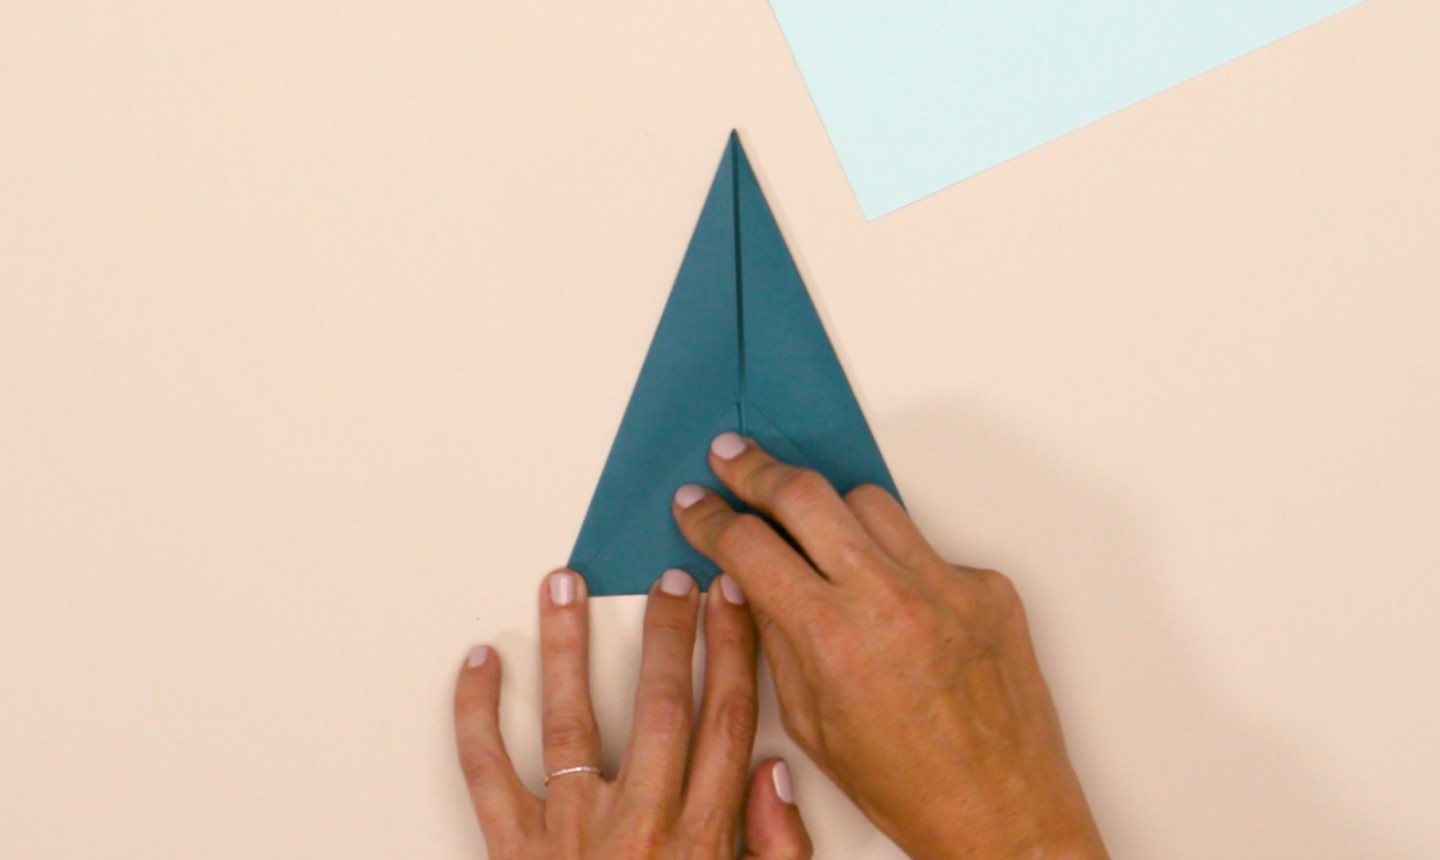
Fold the two flaps up so you have one large triangle. Repeat this process and make as many pieces as you like. Pro tip: be sure to use different sizes of origami paper — this will give you both large and small planes, and create depth in your wall design.
3. Flat to Fab
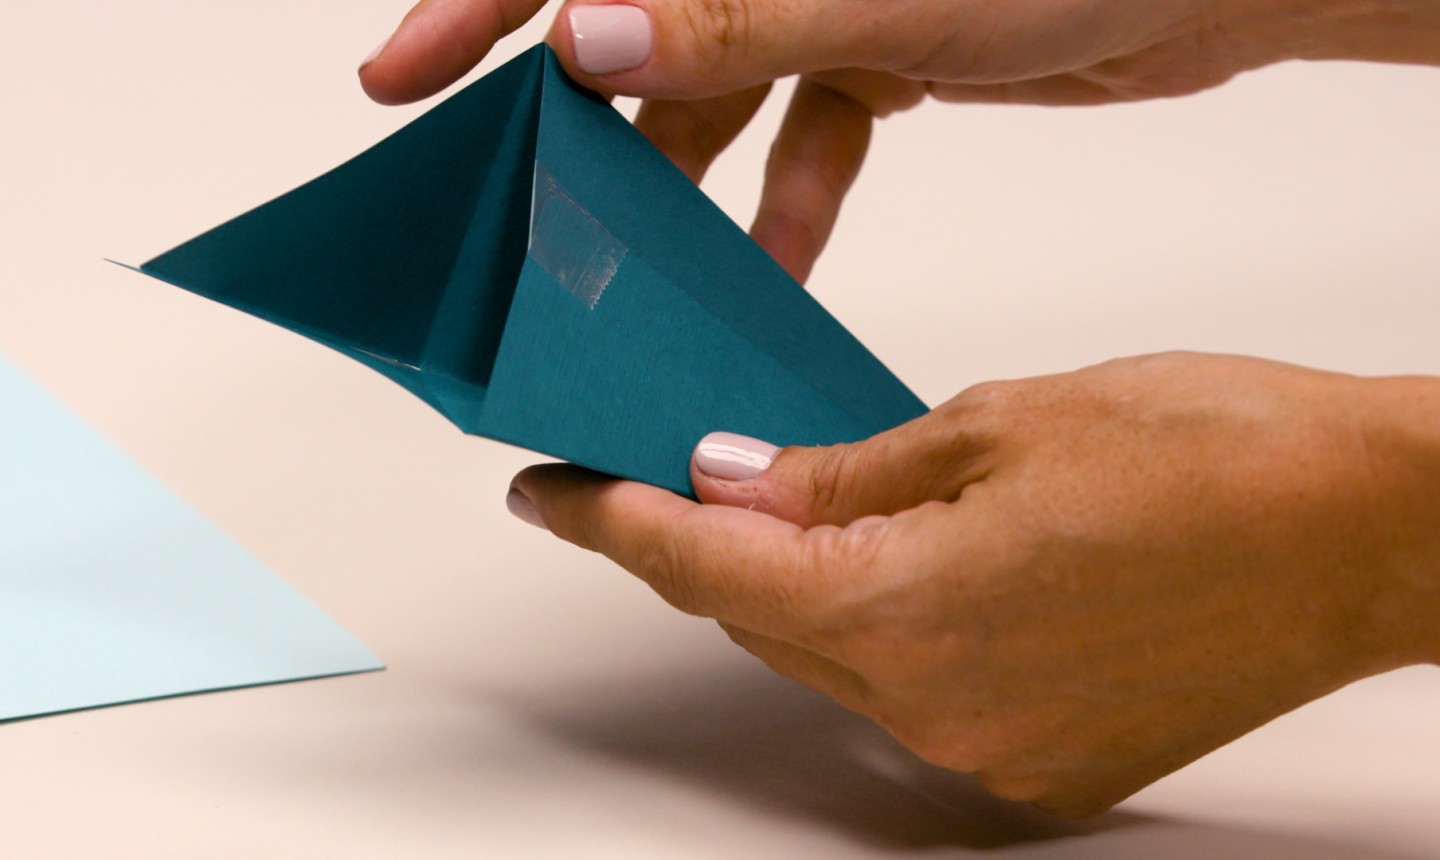
Now that we’ve got our basic shape formed, it’s time to make that plane pop — literally. To make these designs 3D, unfold the short flaps made in the previous step. Then, lift the longer flaps so they are no longer resting flat. Hold the long flaps together so they are overlapping and use tape (yep, we’re breaking another origami rule) to fasten them together at the base.
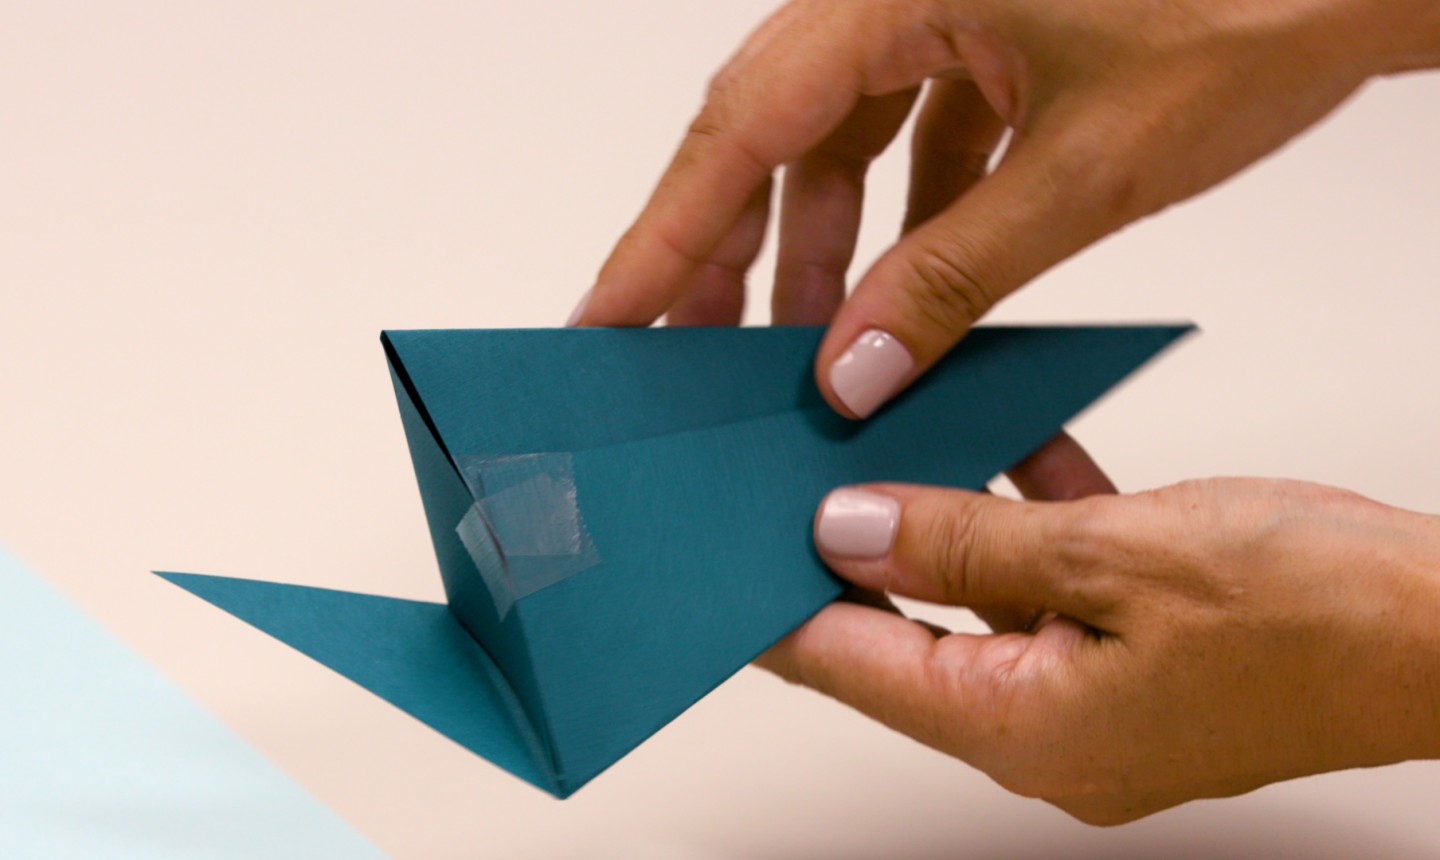
Bring one of the short flaps back down. But this time, instead of resting flat against the rest of the paper, it should fold across the open end. Tape this flap down to close the base, and then glue the second flap down right on top.
4. Deck Out Your Wall!
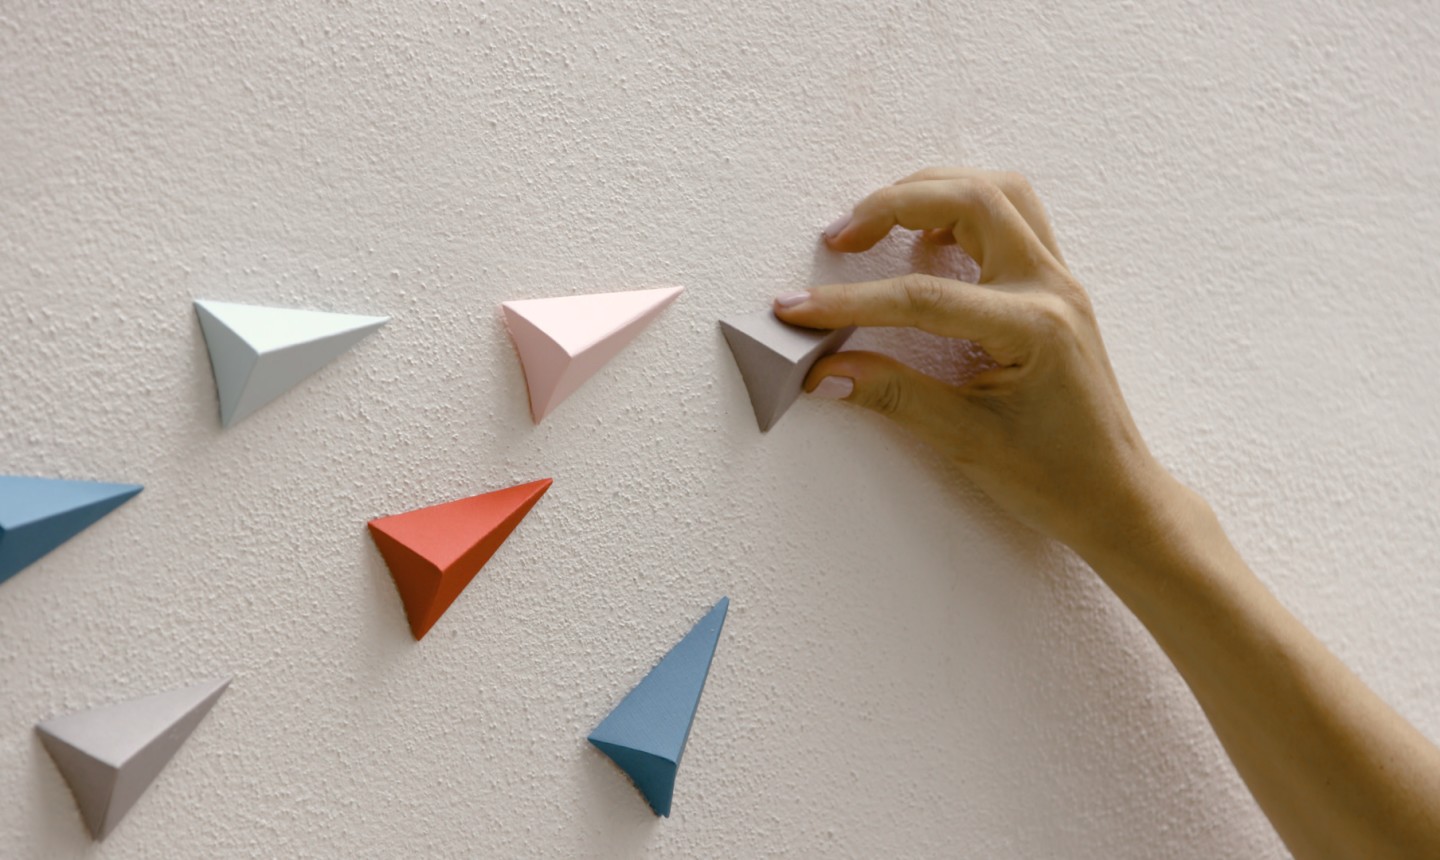
Now that you have your origami planes made, it’s time to transform your wall! Using glue dots, carefully attach each shape to your wall, flap-side down. And voila — with just a few simple folds, you have the coolest wall on the block!
Brilliant.
interested in instructions for usable origami products; boxesetc