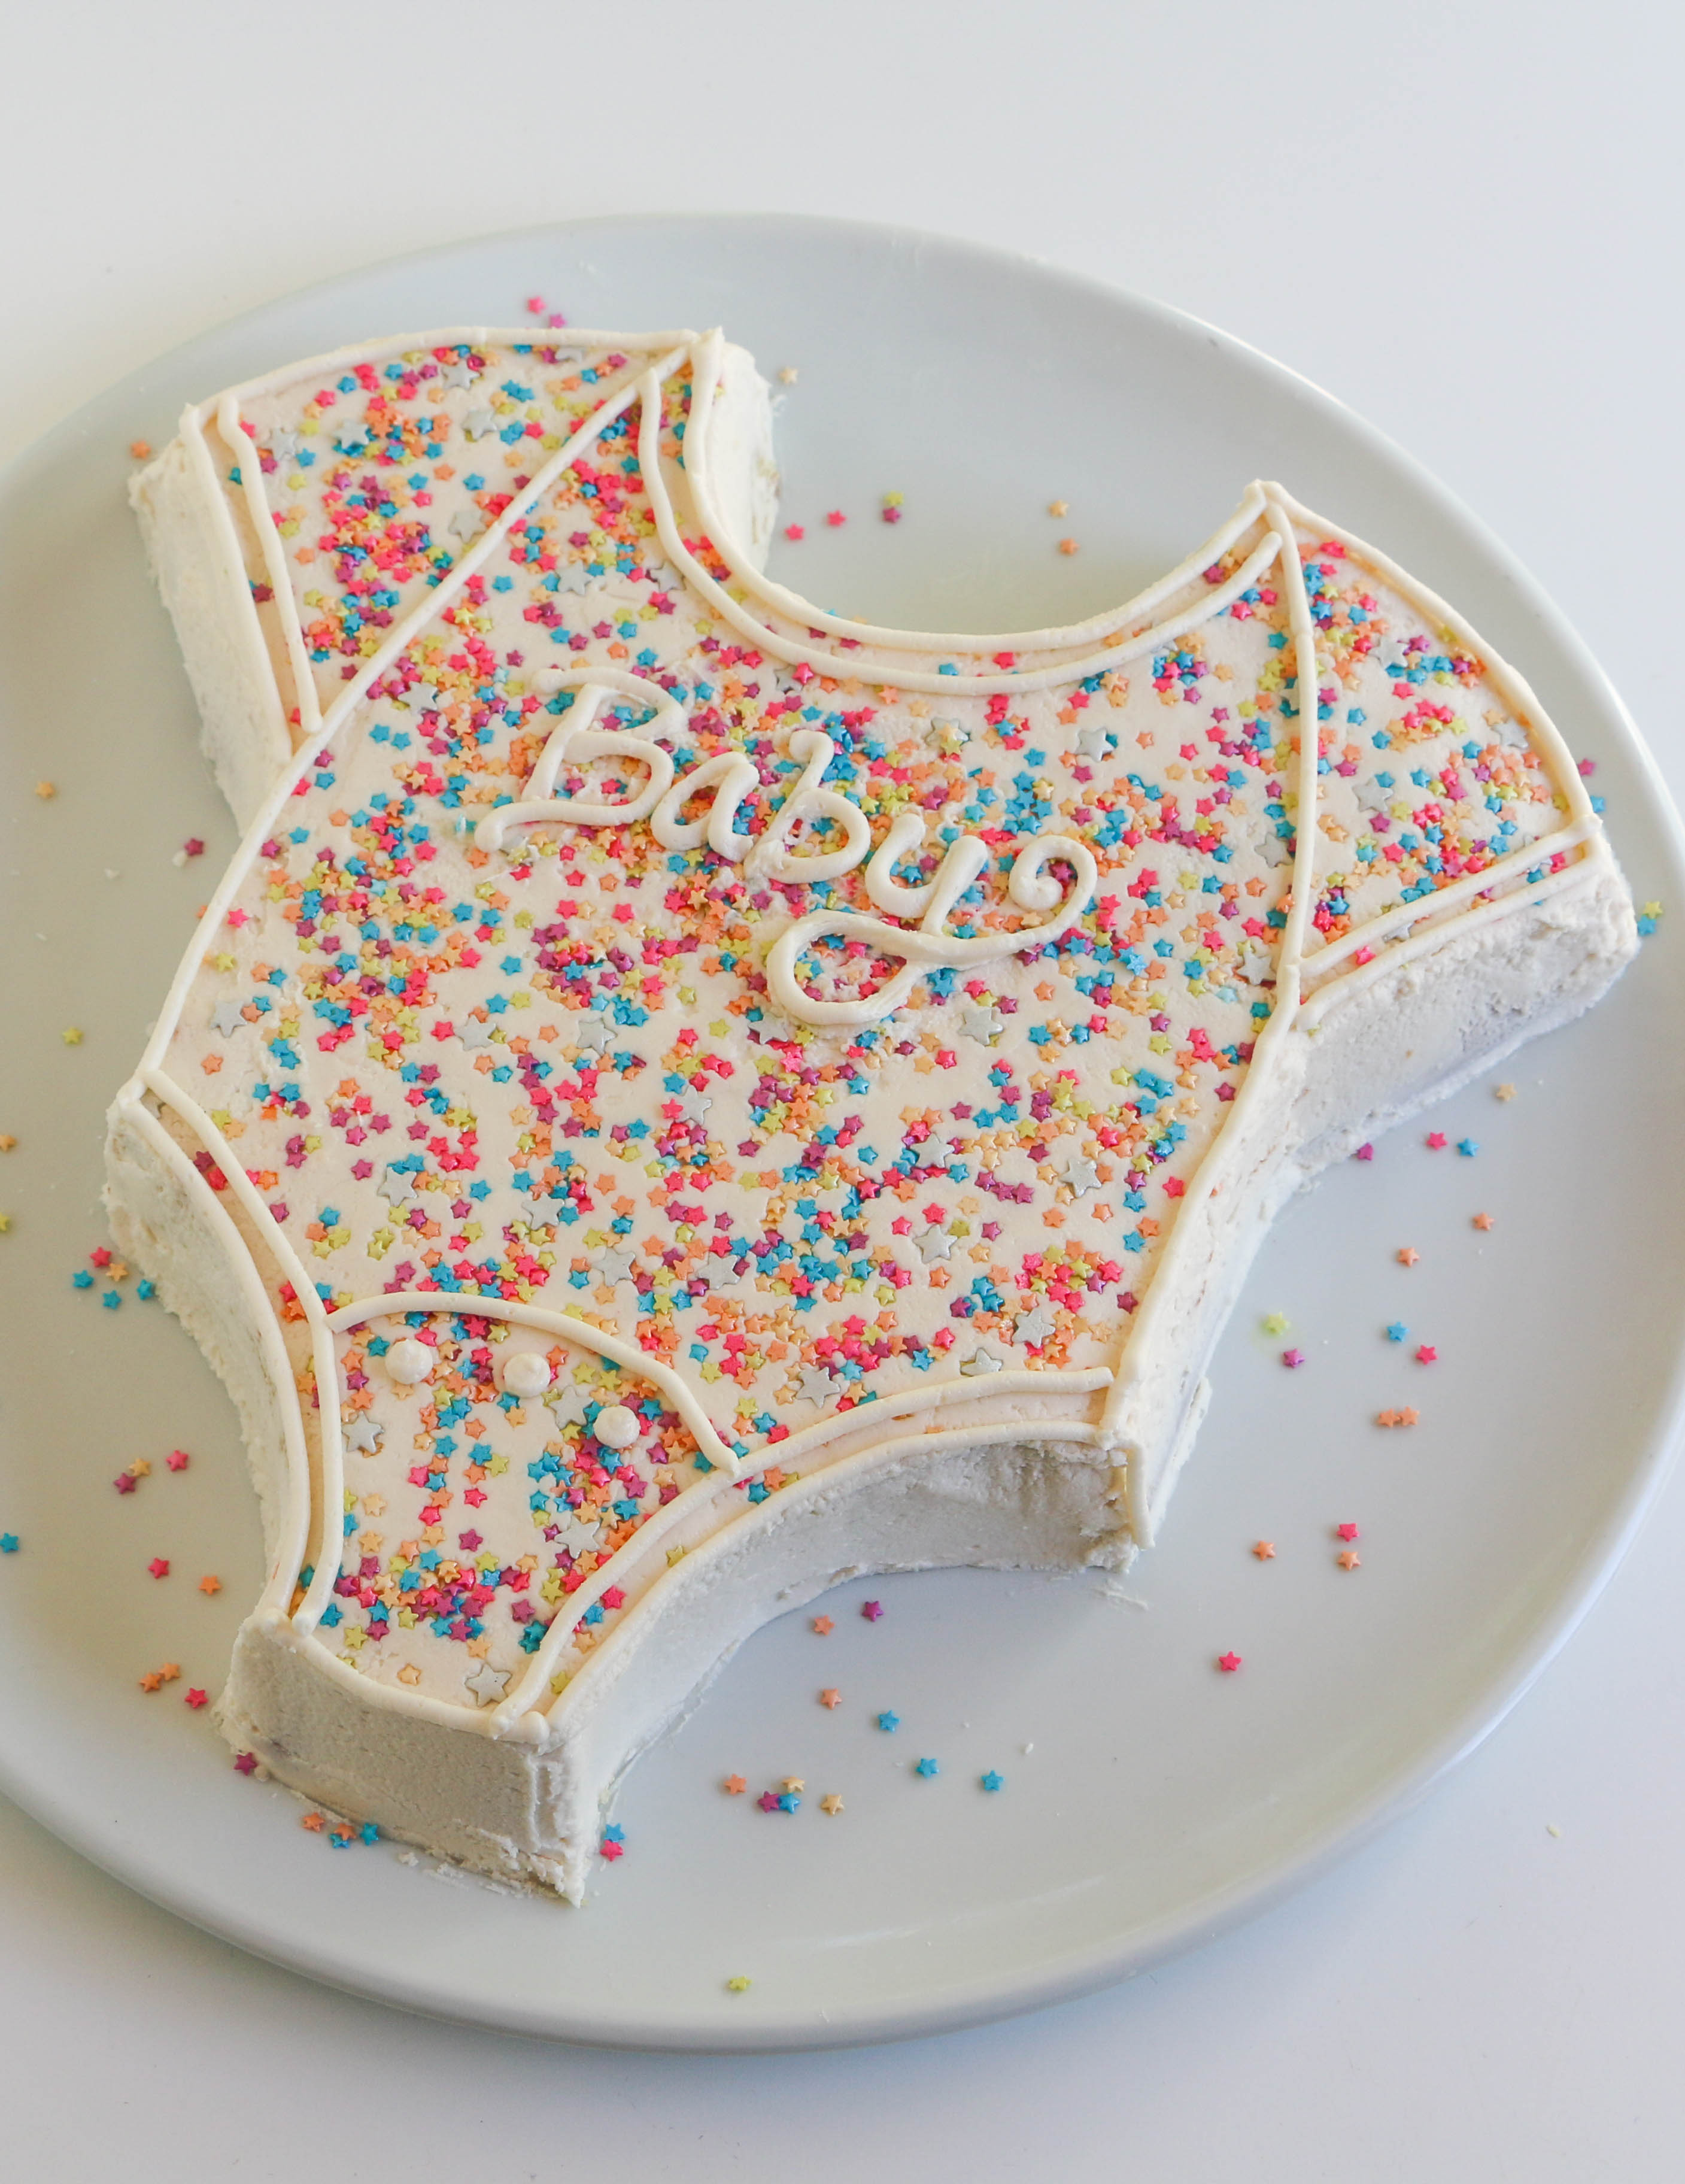
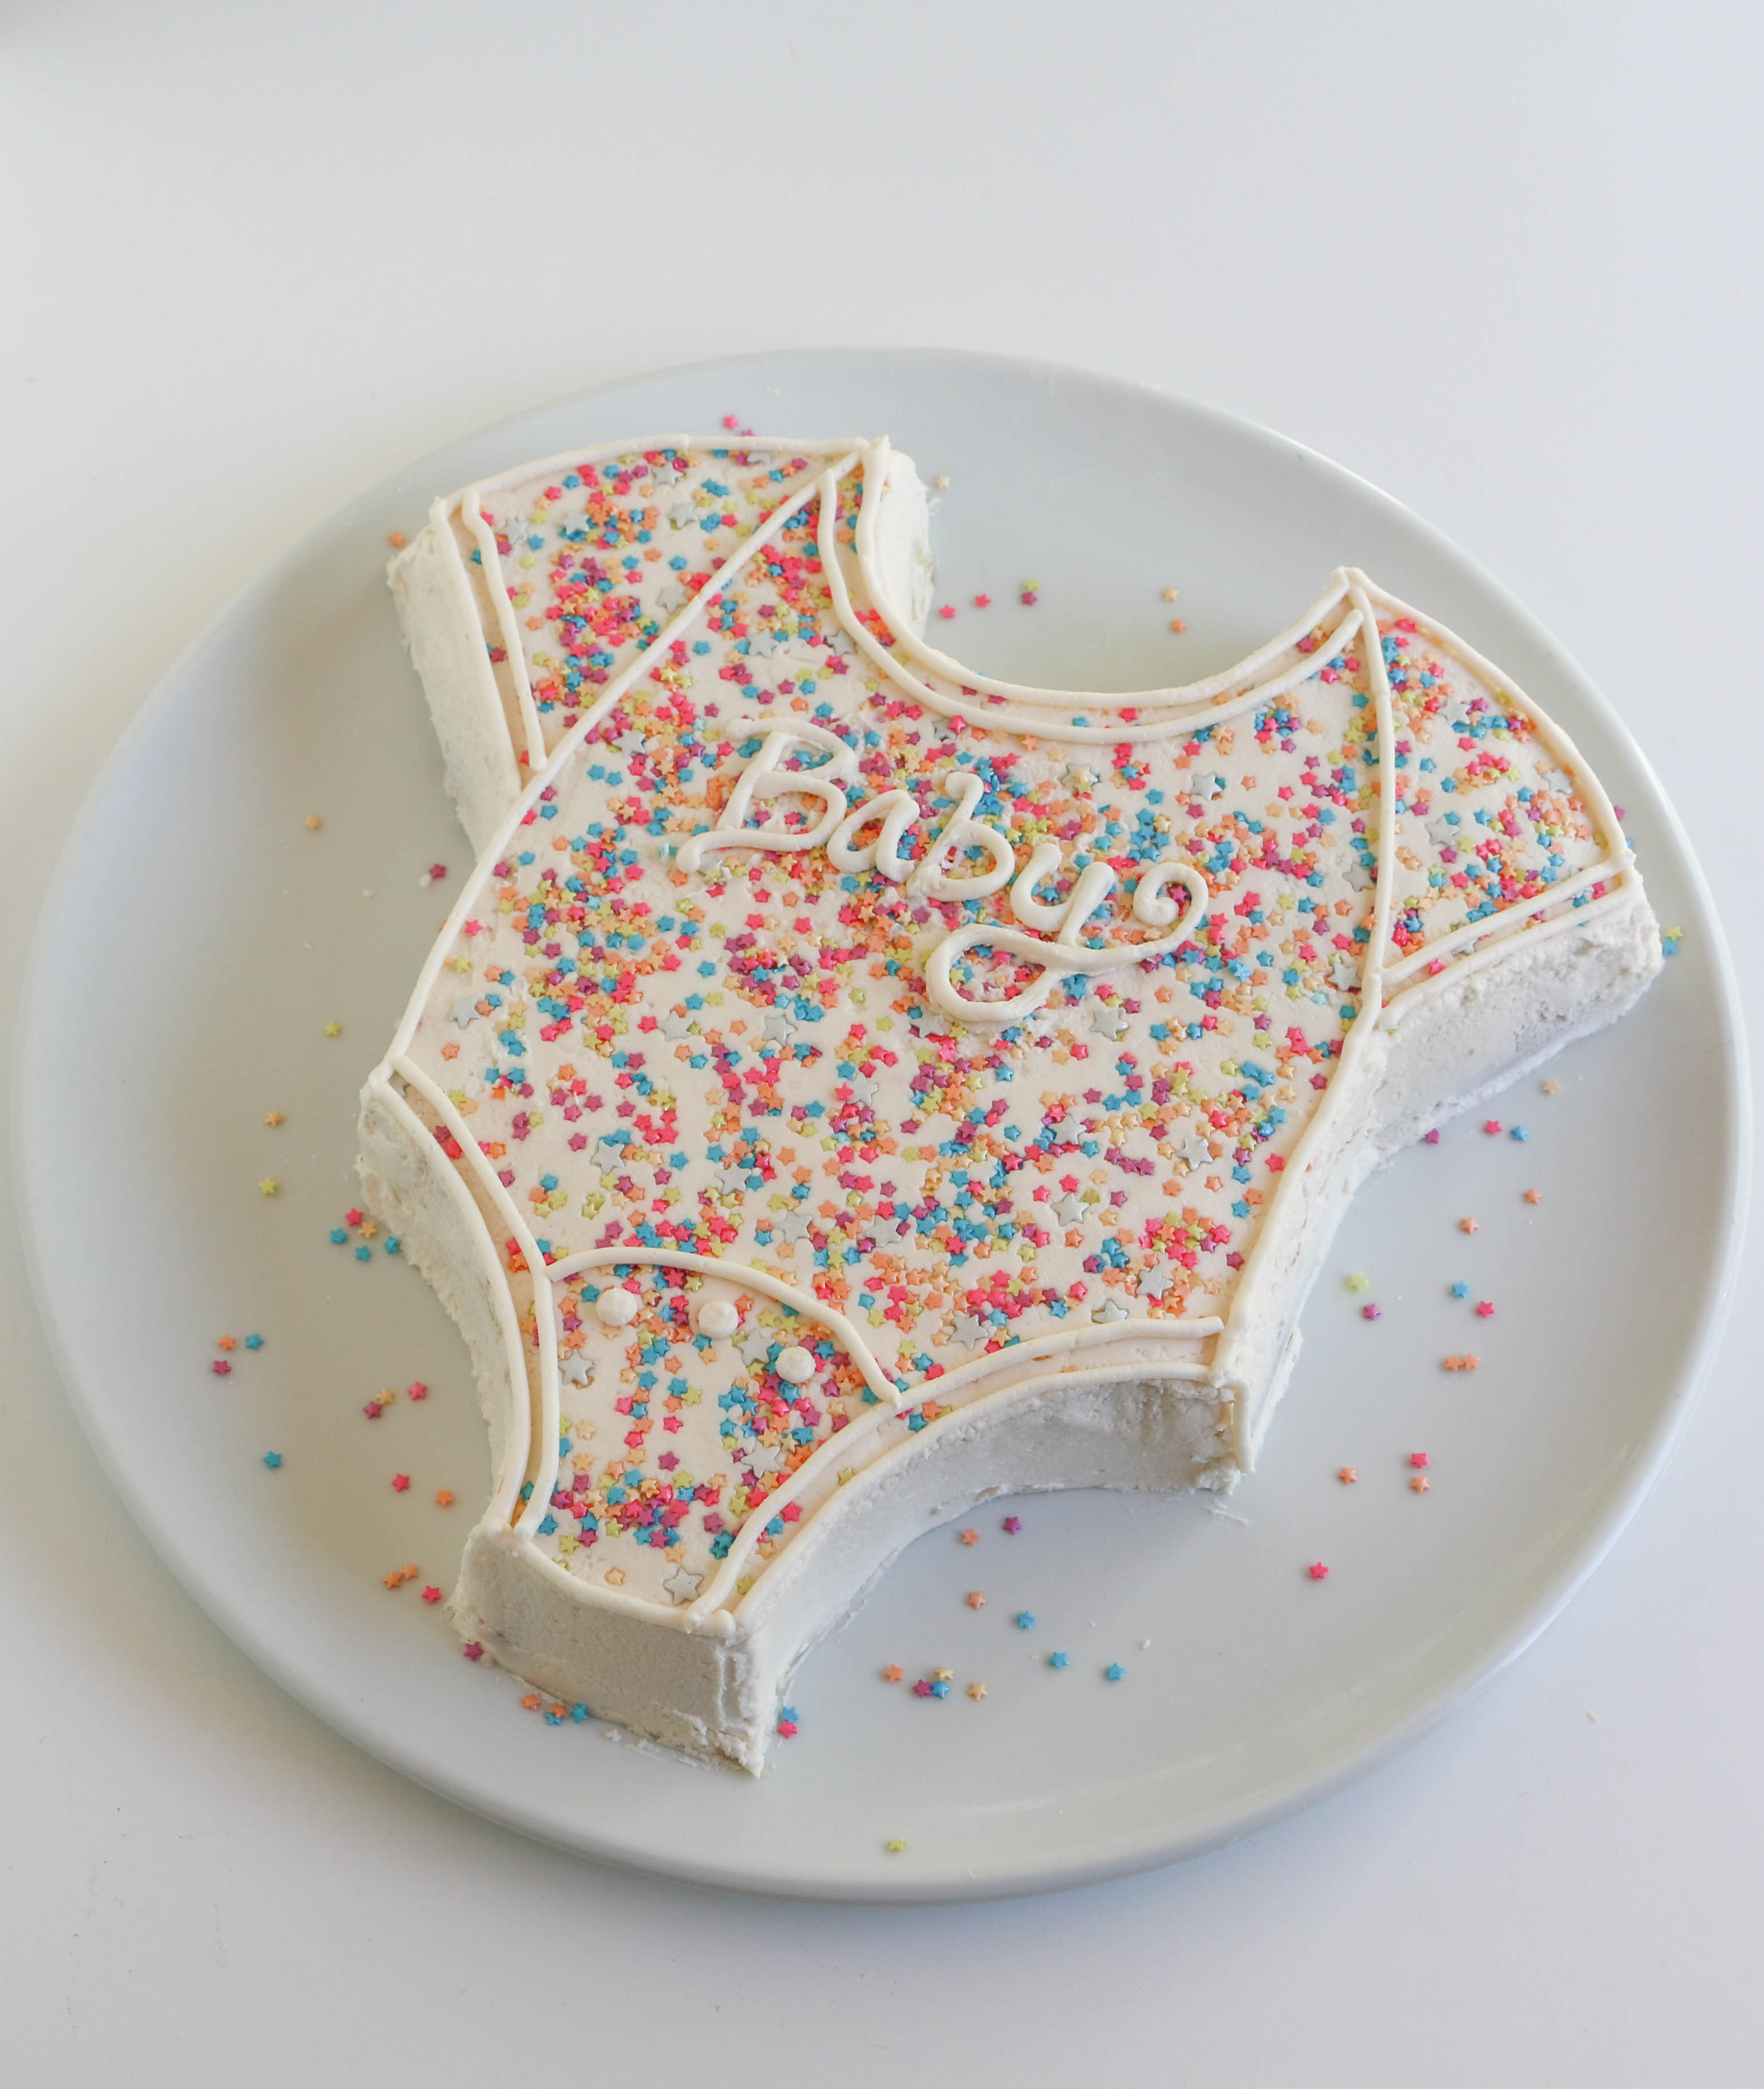
You'd never believe how easy this adorable onesie cake is. No special pans. No carving skills required. Just a classic, rectangular baking dish and a few simple tools are all you'll need to create this cake cutie.
Make a sweet and simple onesie cake!
Bonus tip: Looking for a creative take on a gender reveal cake? Tint the cake batter the correct color before baking and finish the cake in gender-neutral tones.
Supplies:
- Rectangular cake
- Small knife
- Buttercream
- Star sprinkles (or ones that match your event)
- Parchment paper
- Small round piping tip
- Piping bag
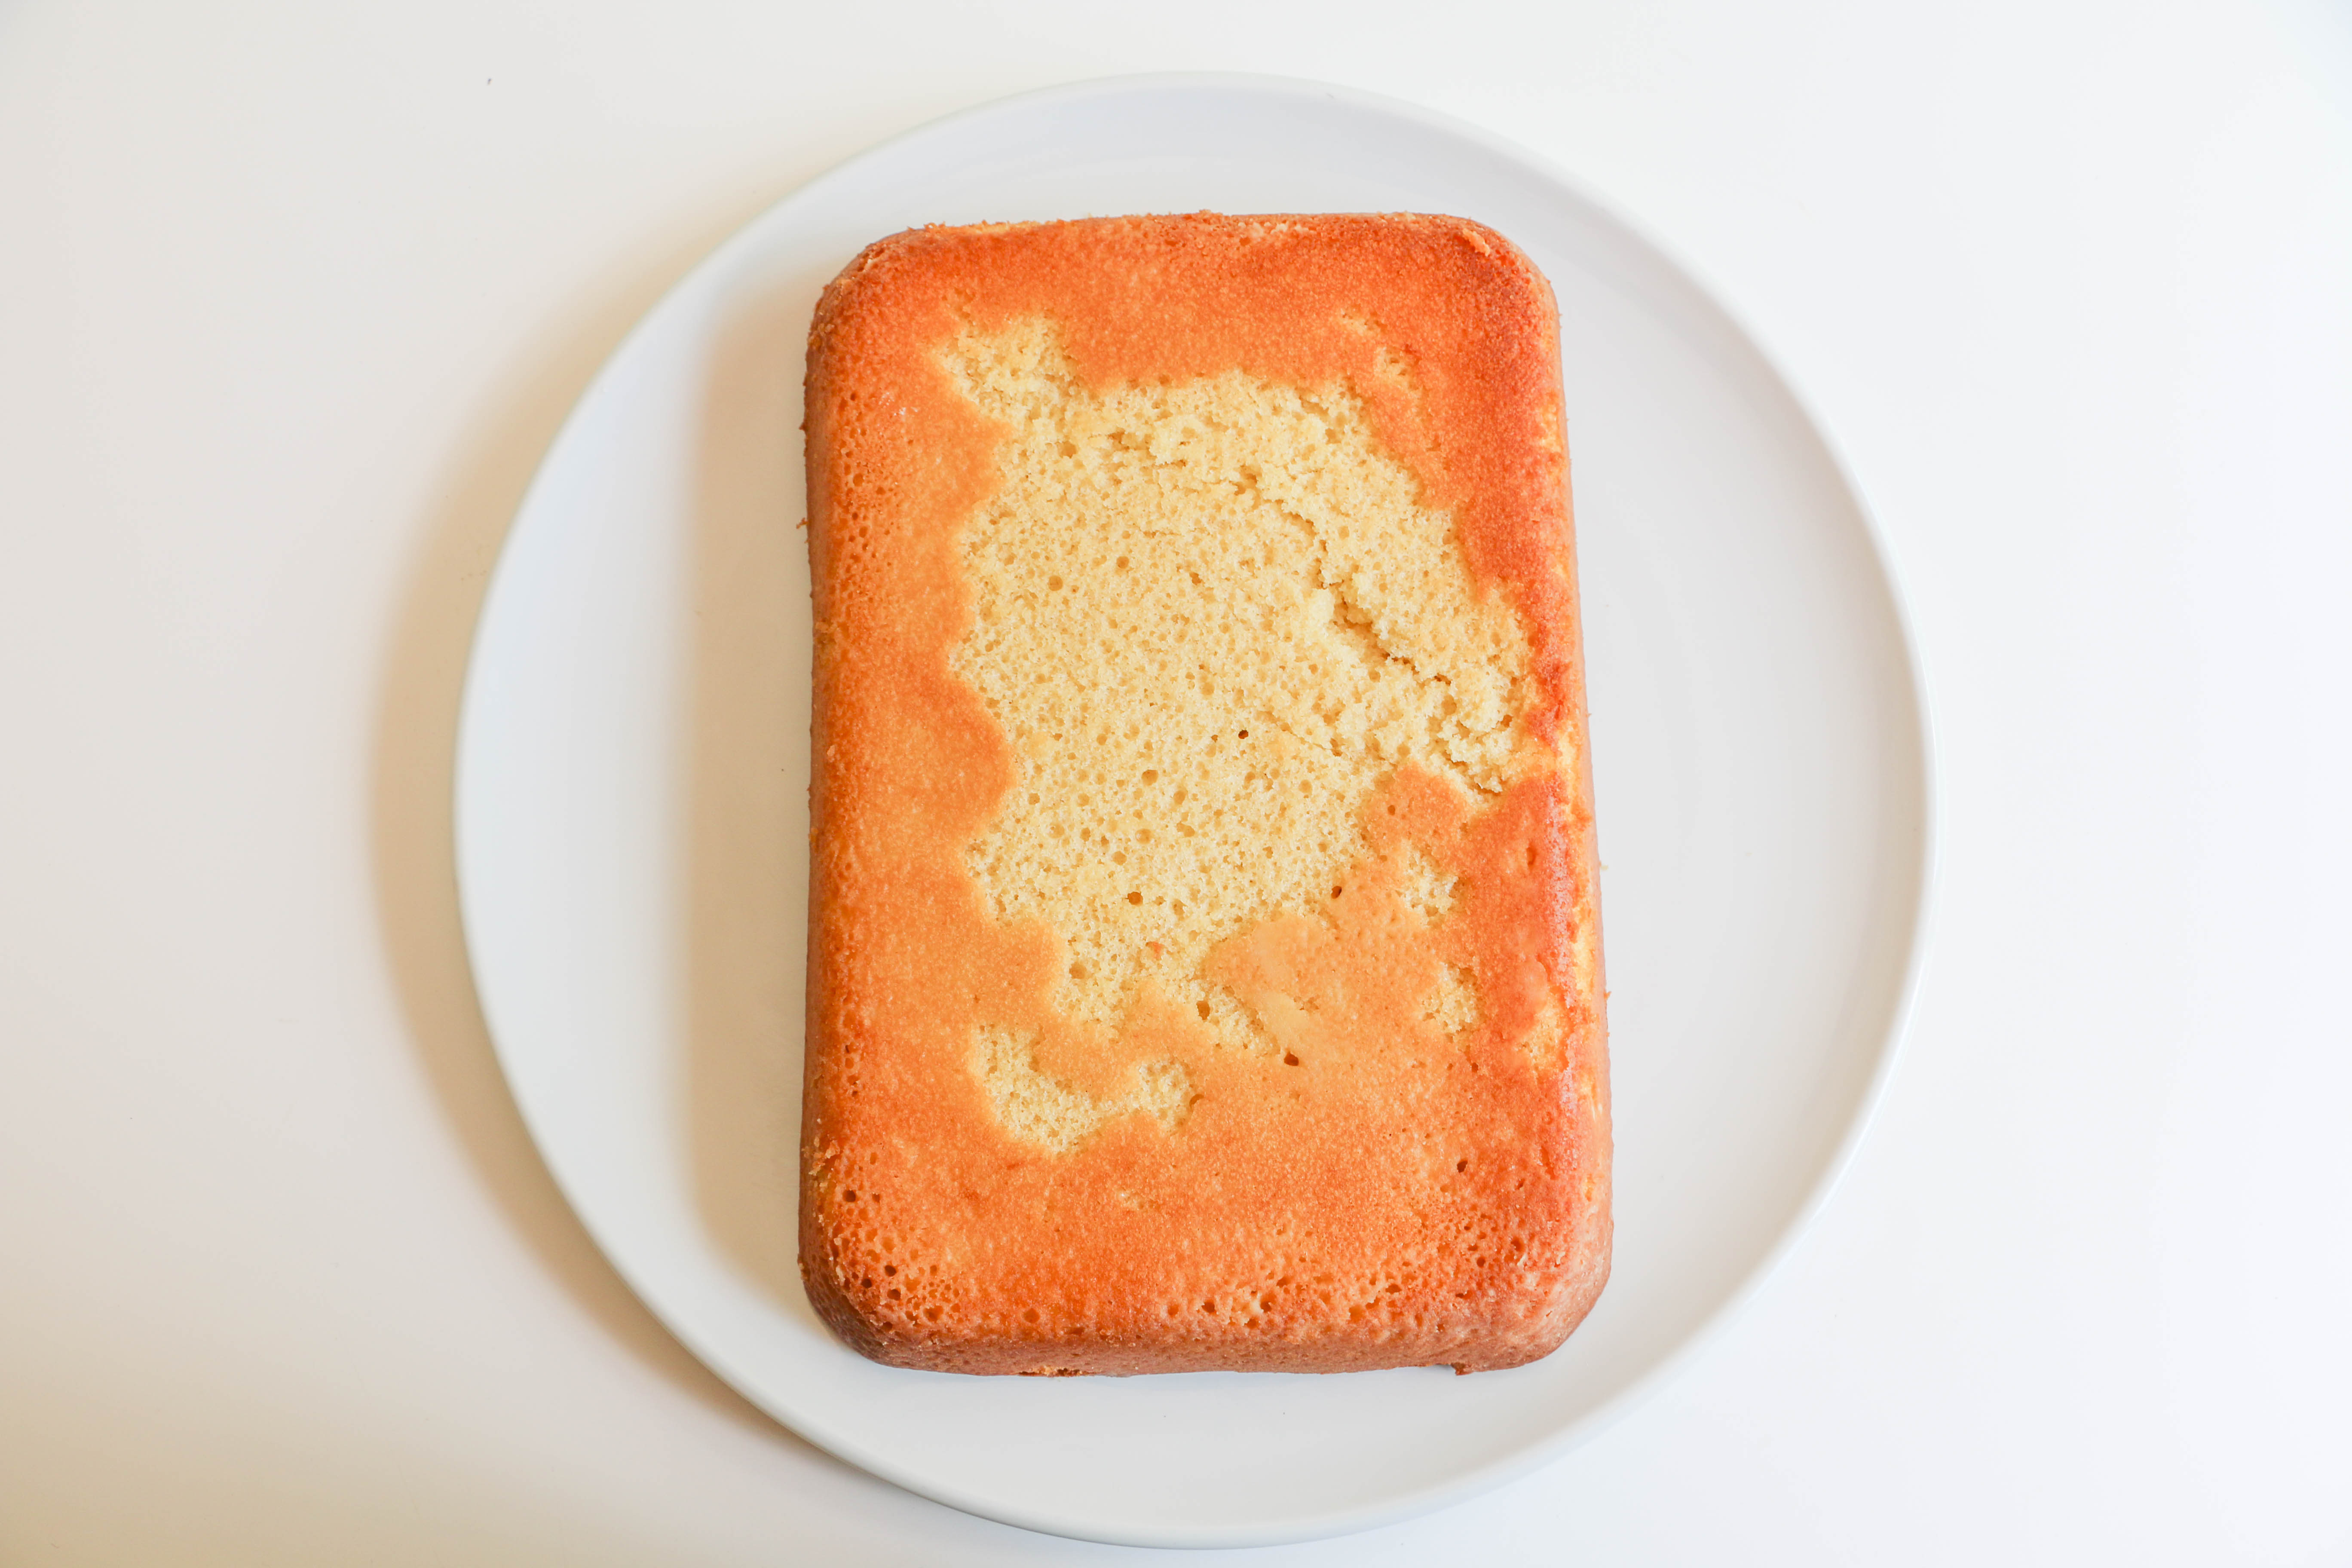
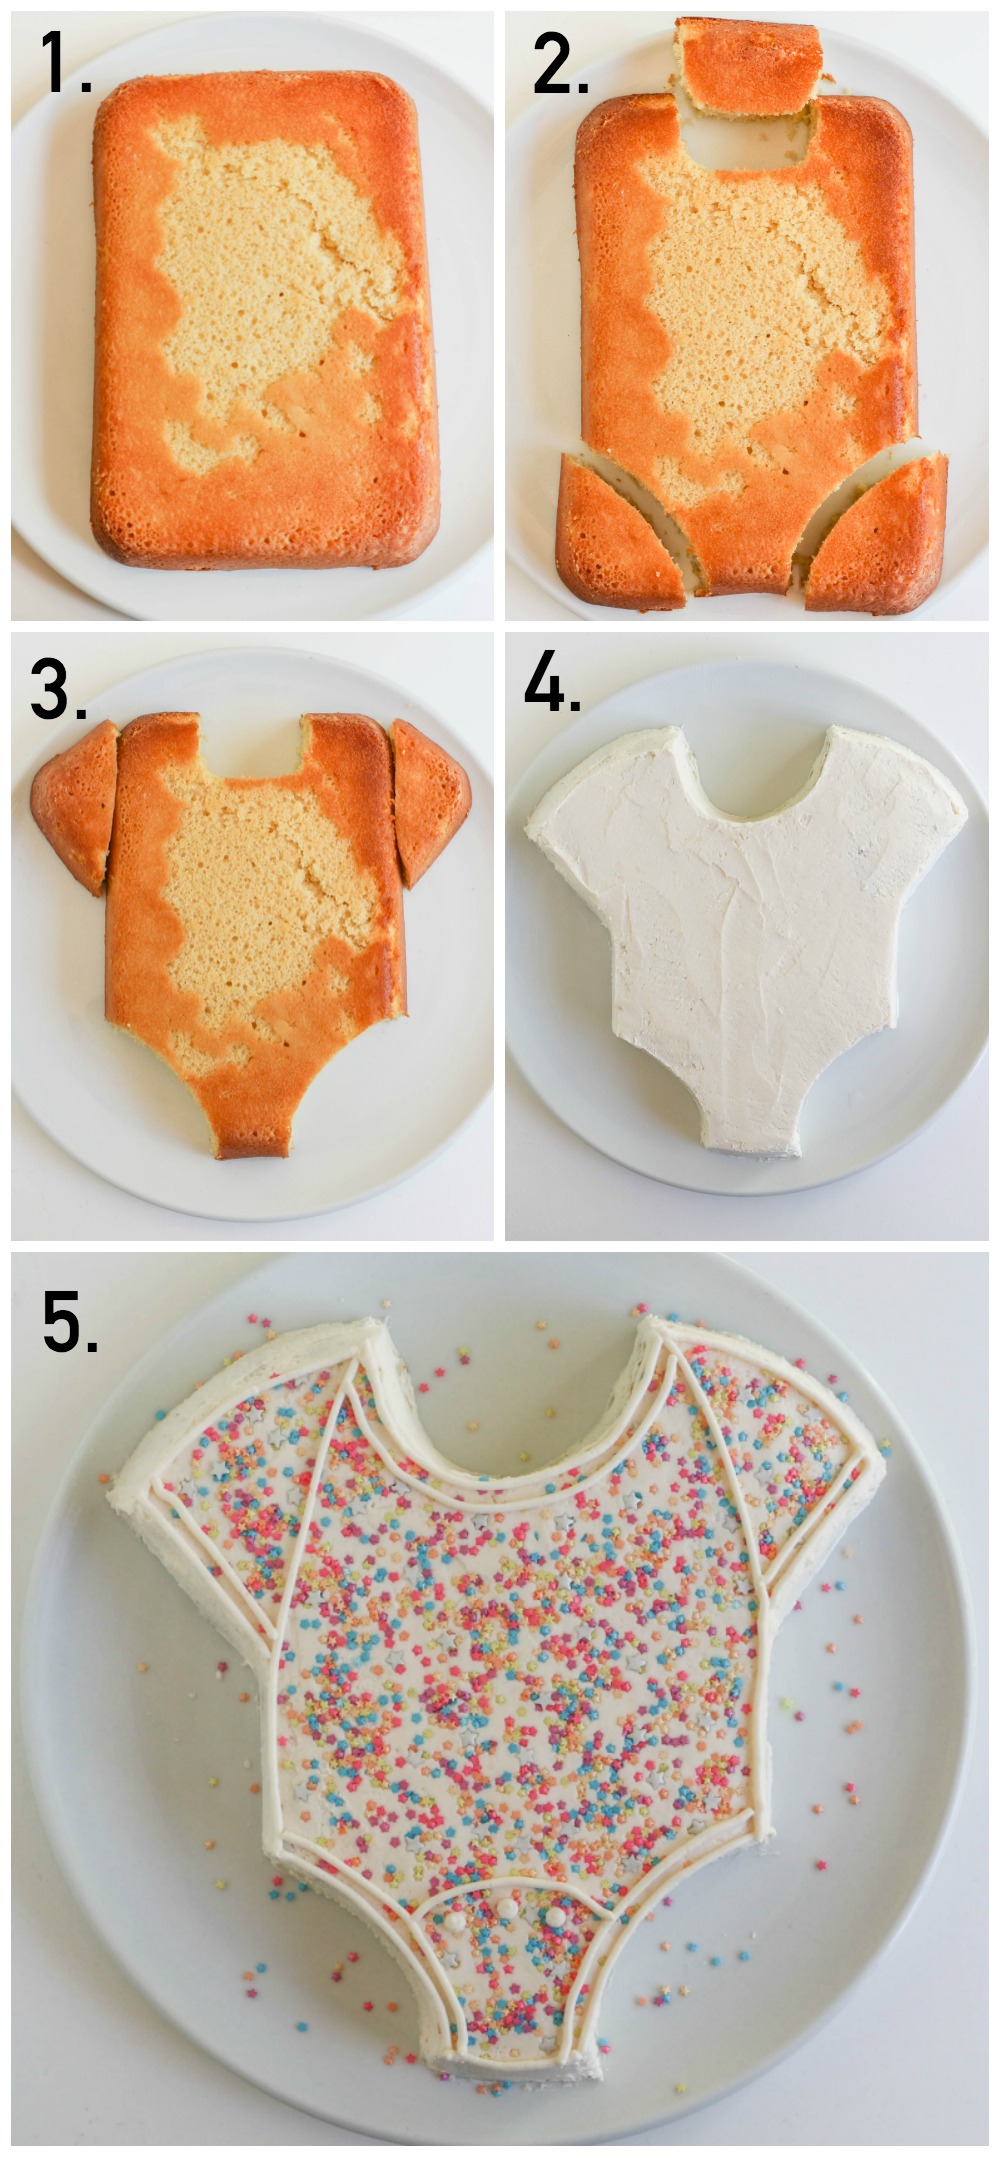
Step 1:
Trim the top of your cake flat and flip it onto a platter. I baked my cake in a 15" x 10" glass baking dish, but the technique will work with any rectangular cake. A tiny bit of my cake stuck to the bottom of the pan and I have a little crack from flipping it out. Not to worry! Buttercream will come to the rescue!
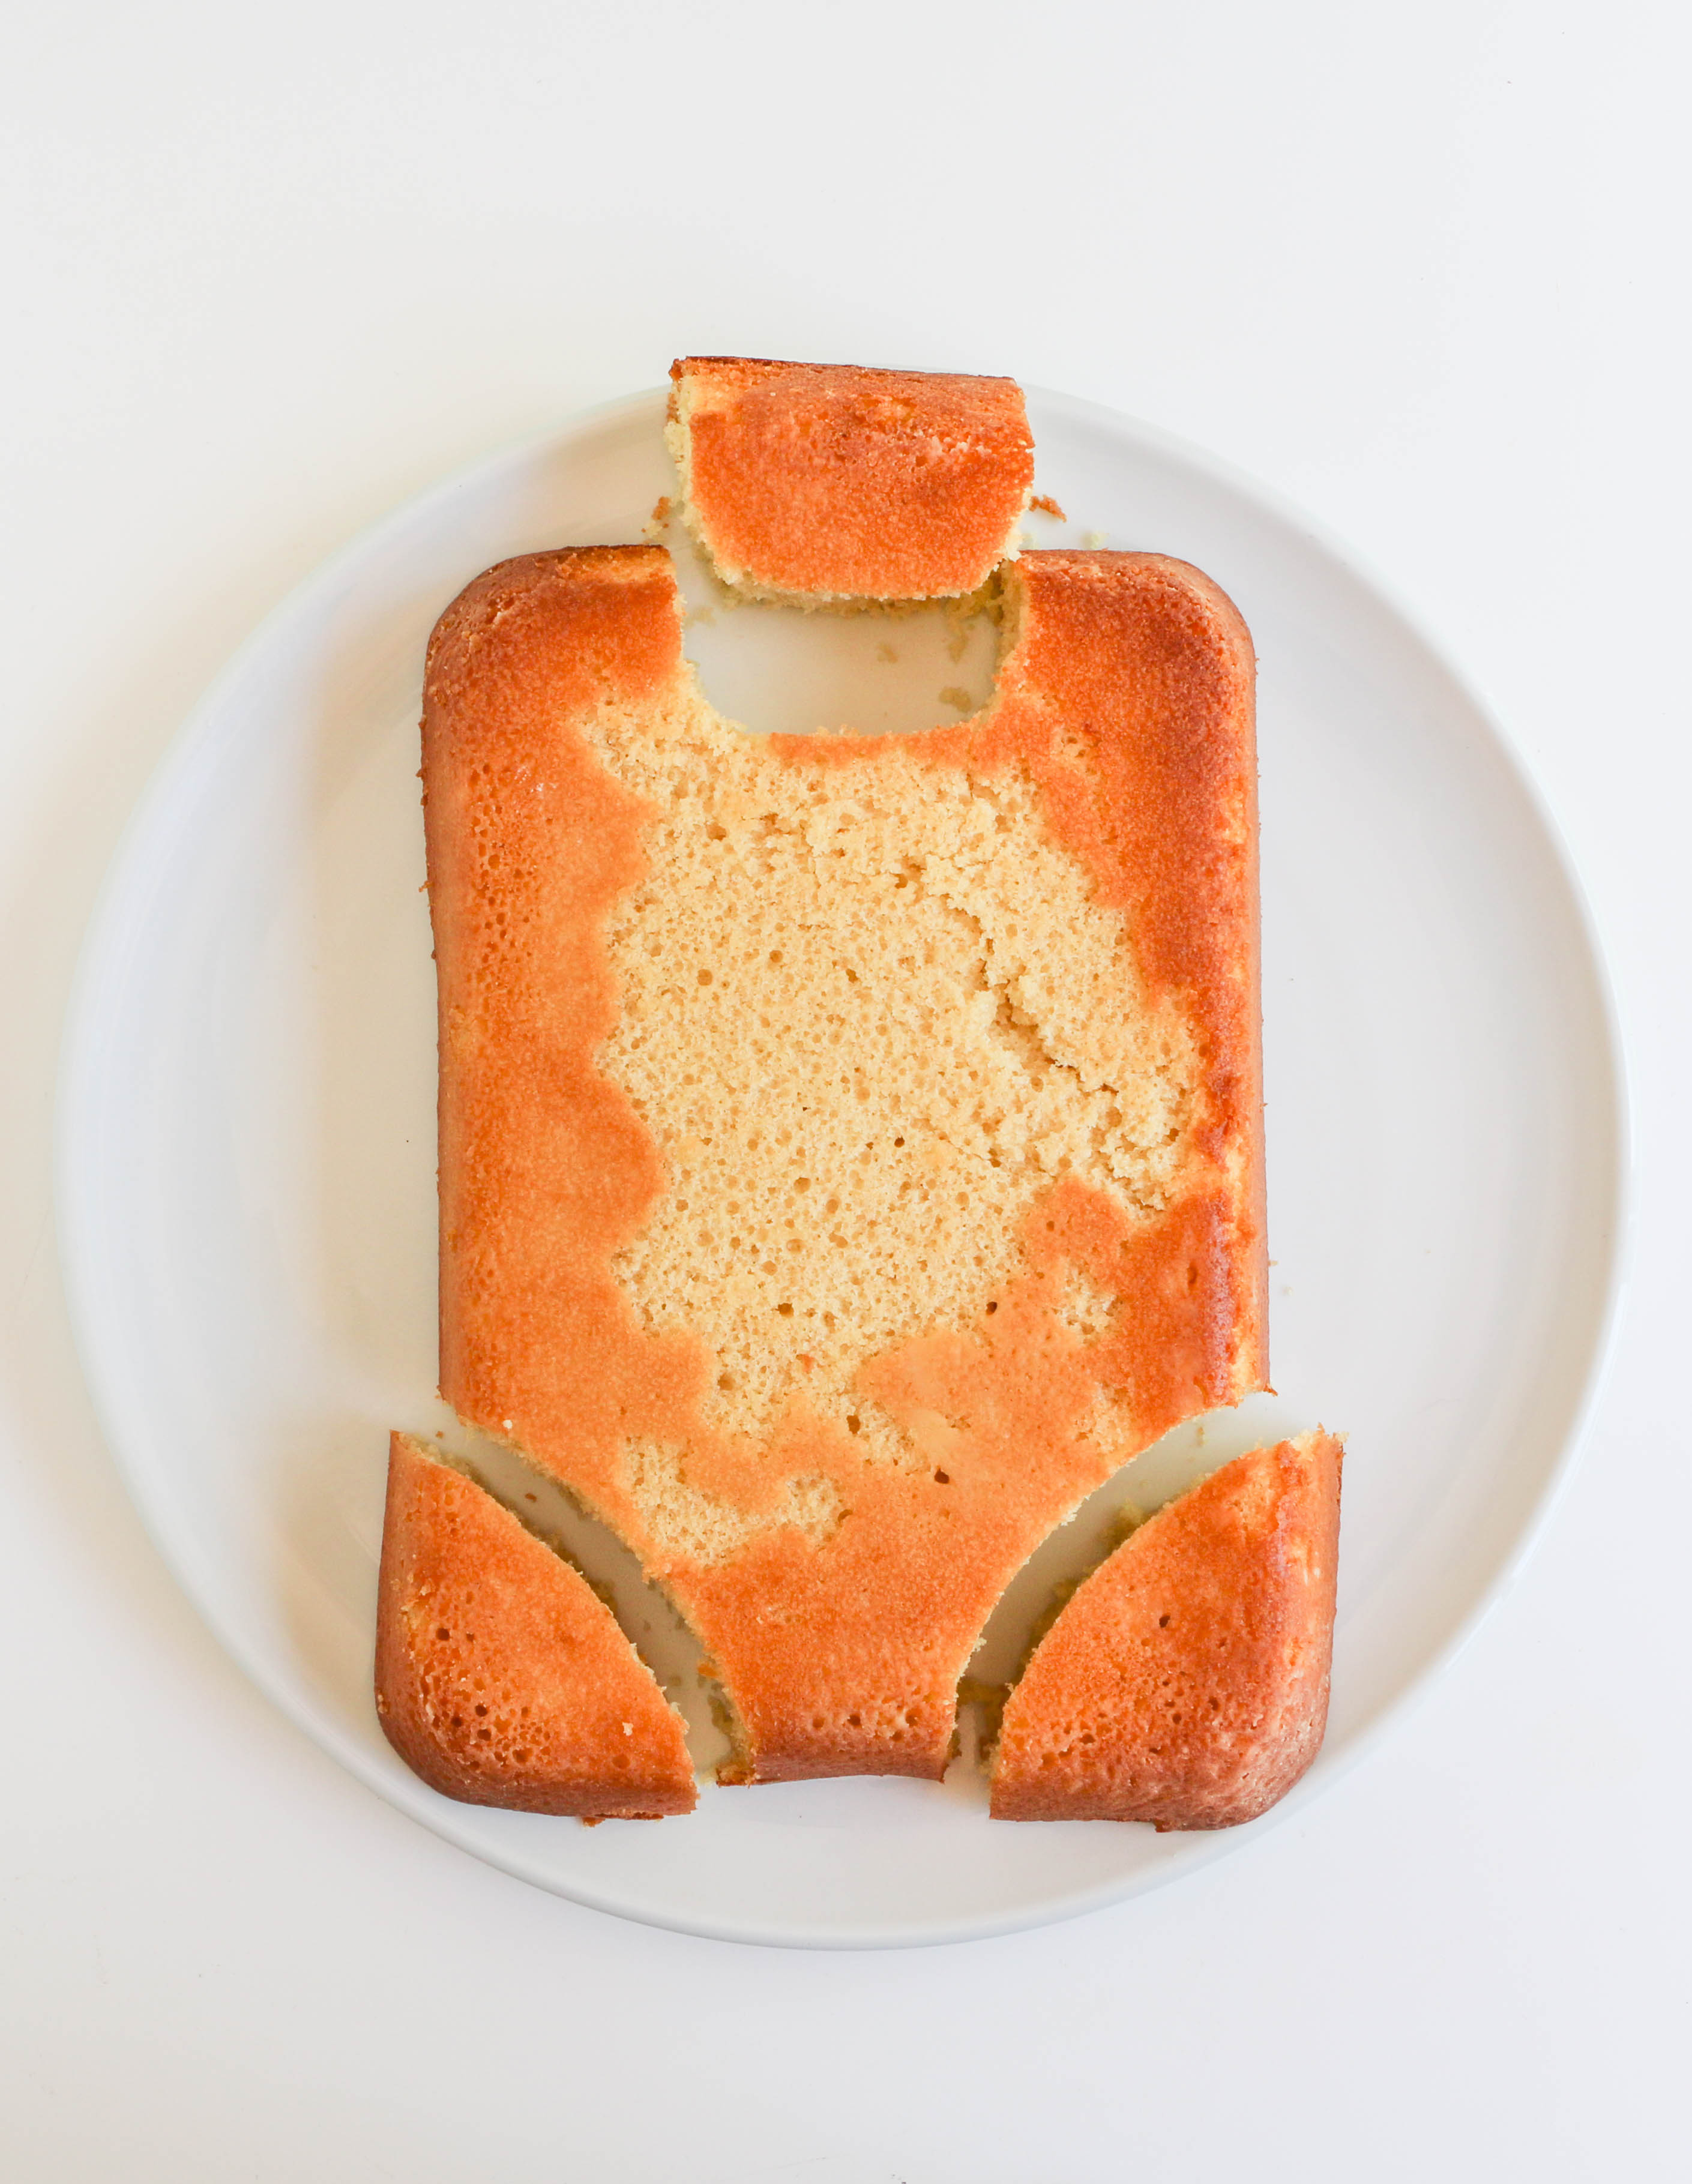
Step 2:
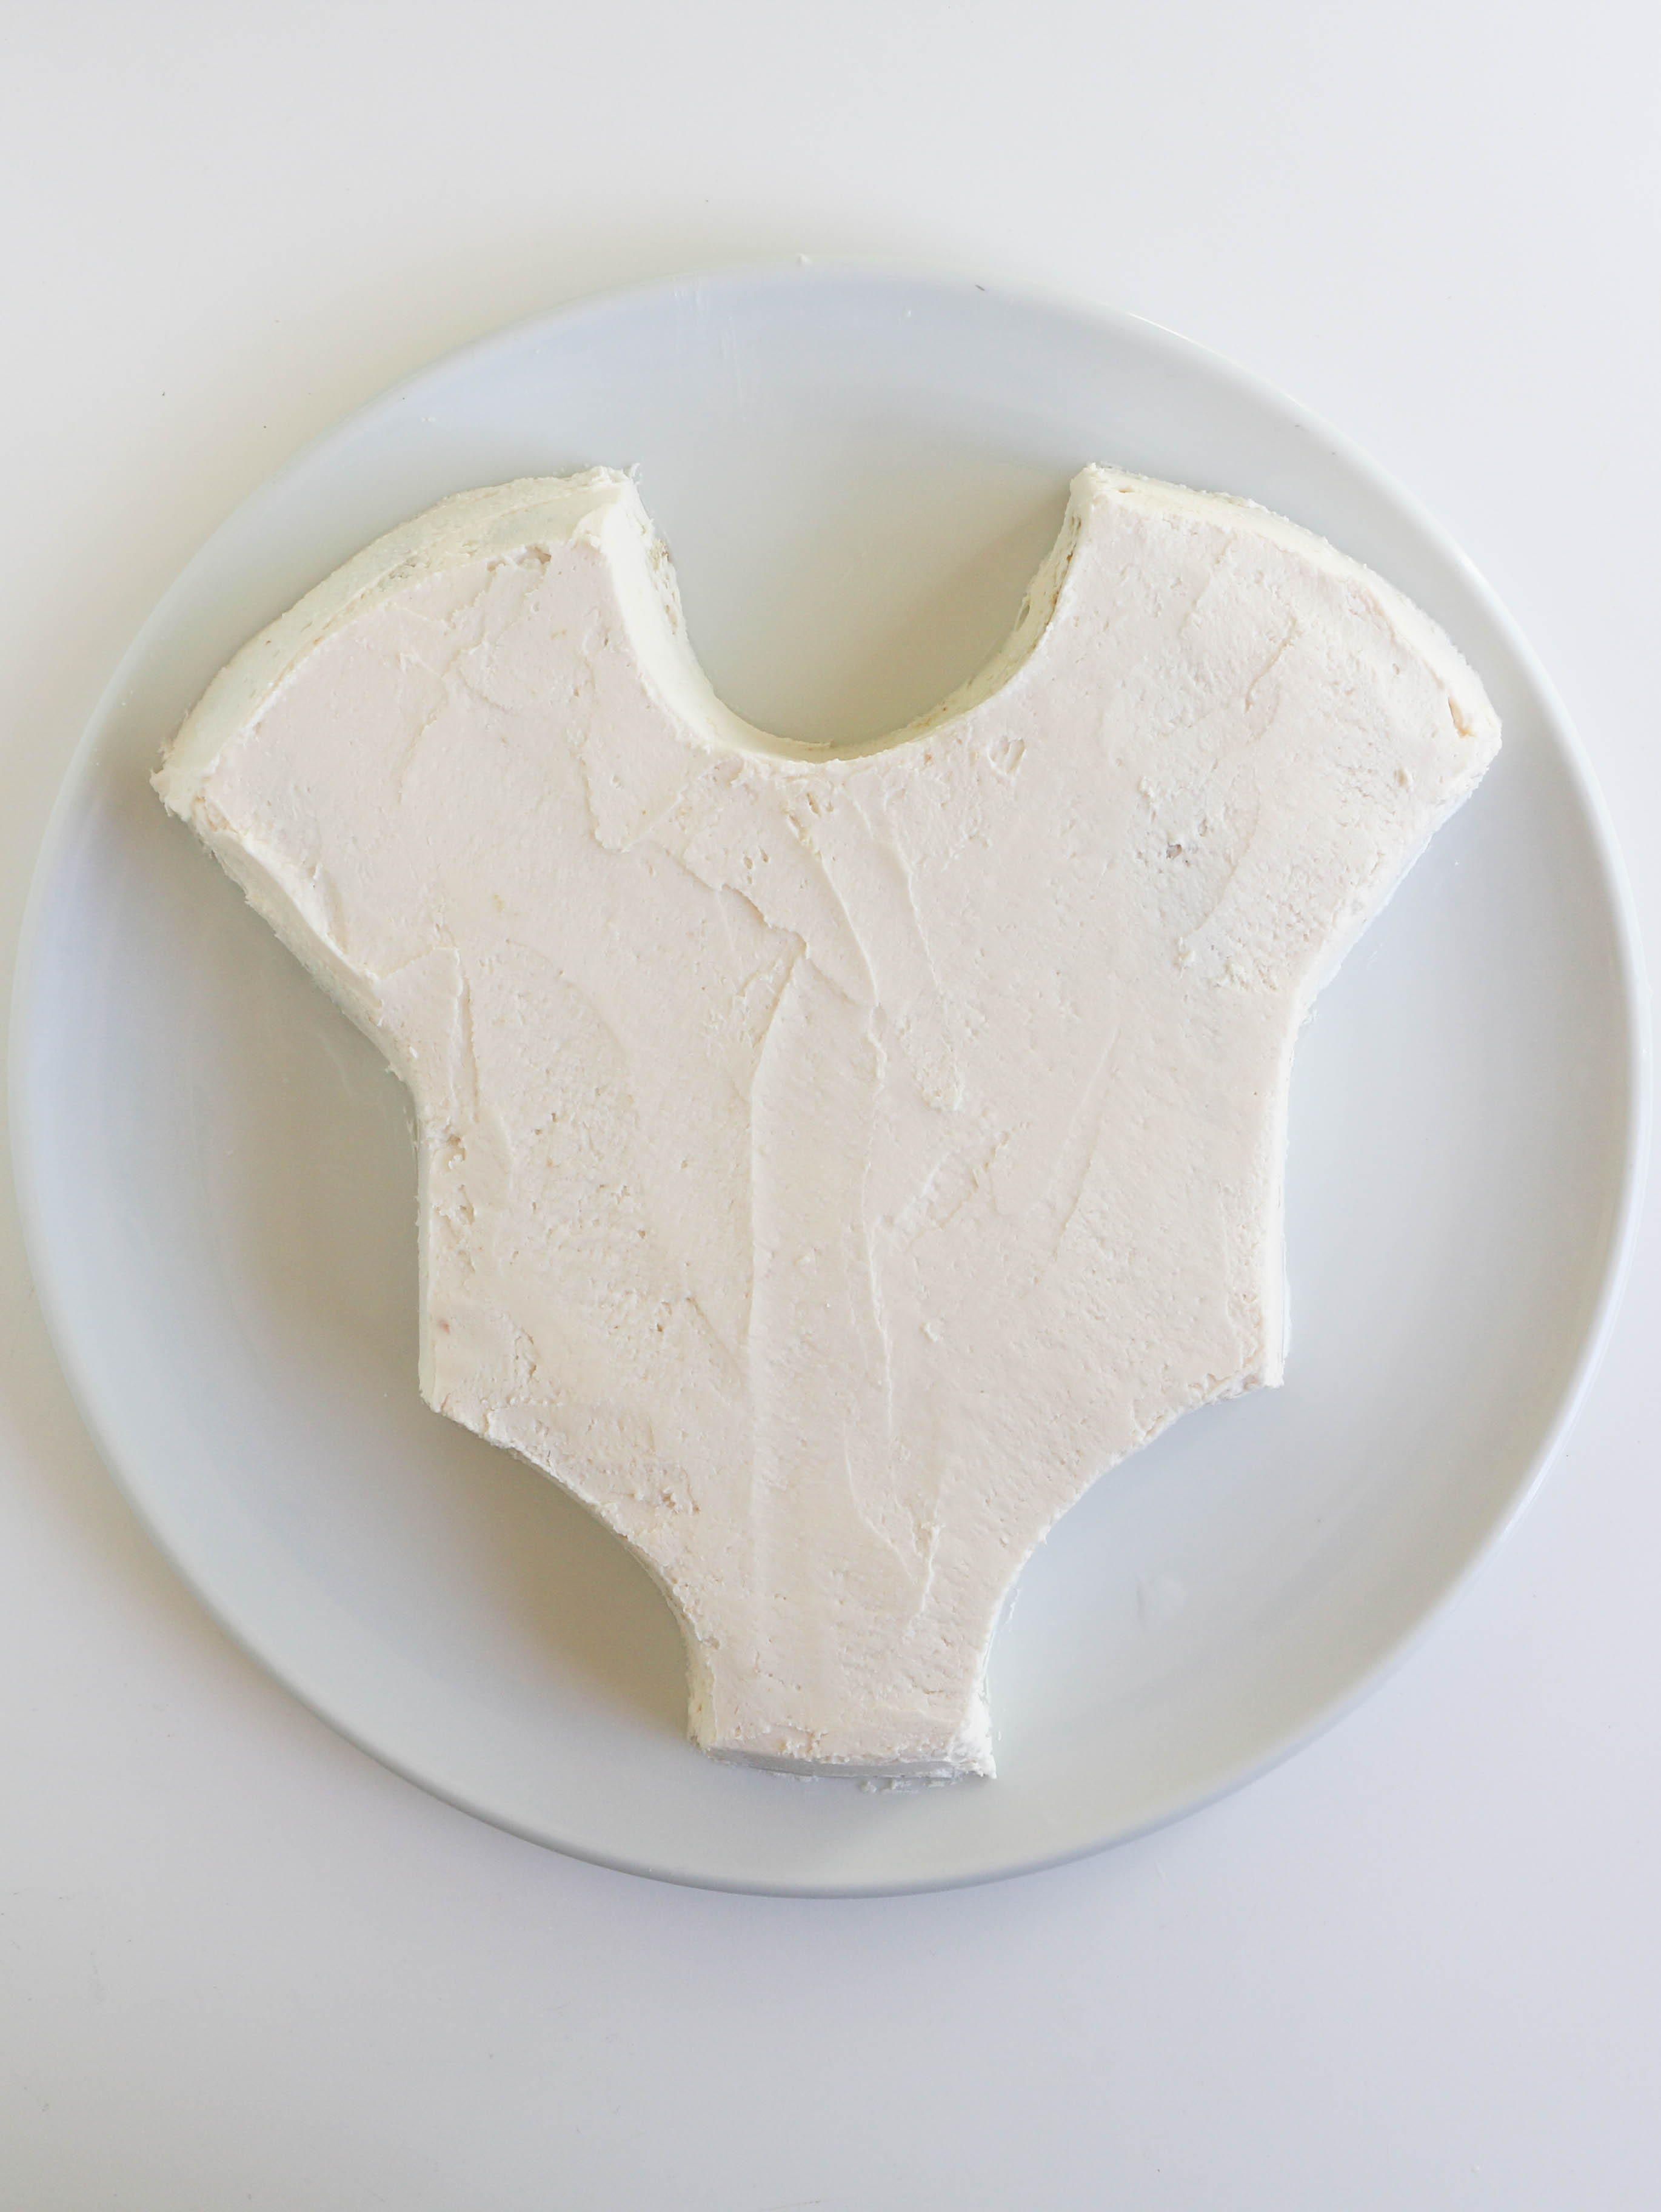
Cut a half circle from the middle of one of the short ends of the cake. This will be the onesie's neck hole.
Then, cut the corners off the opposite end of the cake to make the onesie's leg holes. Make your cuts slightly arched, not straight across.
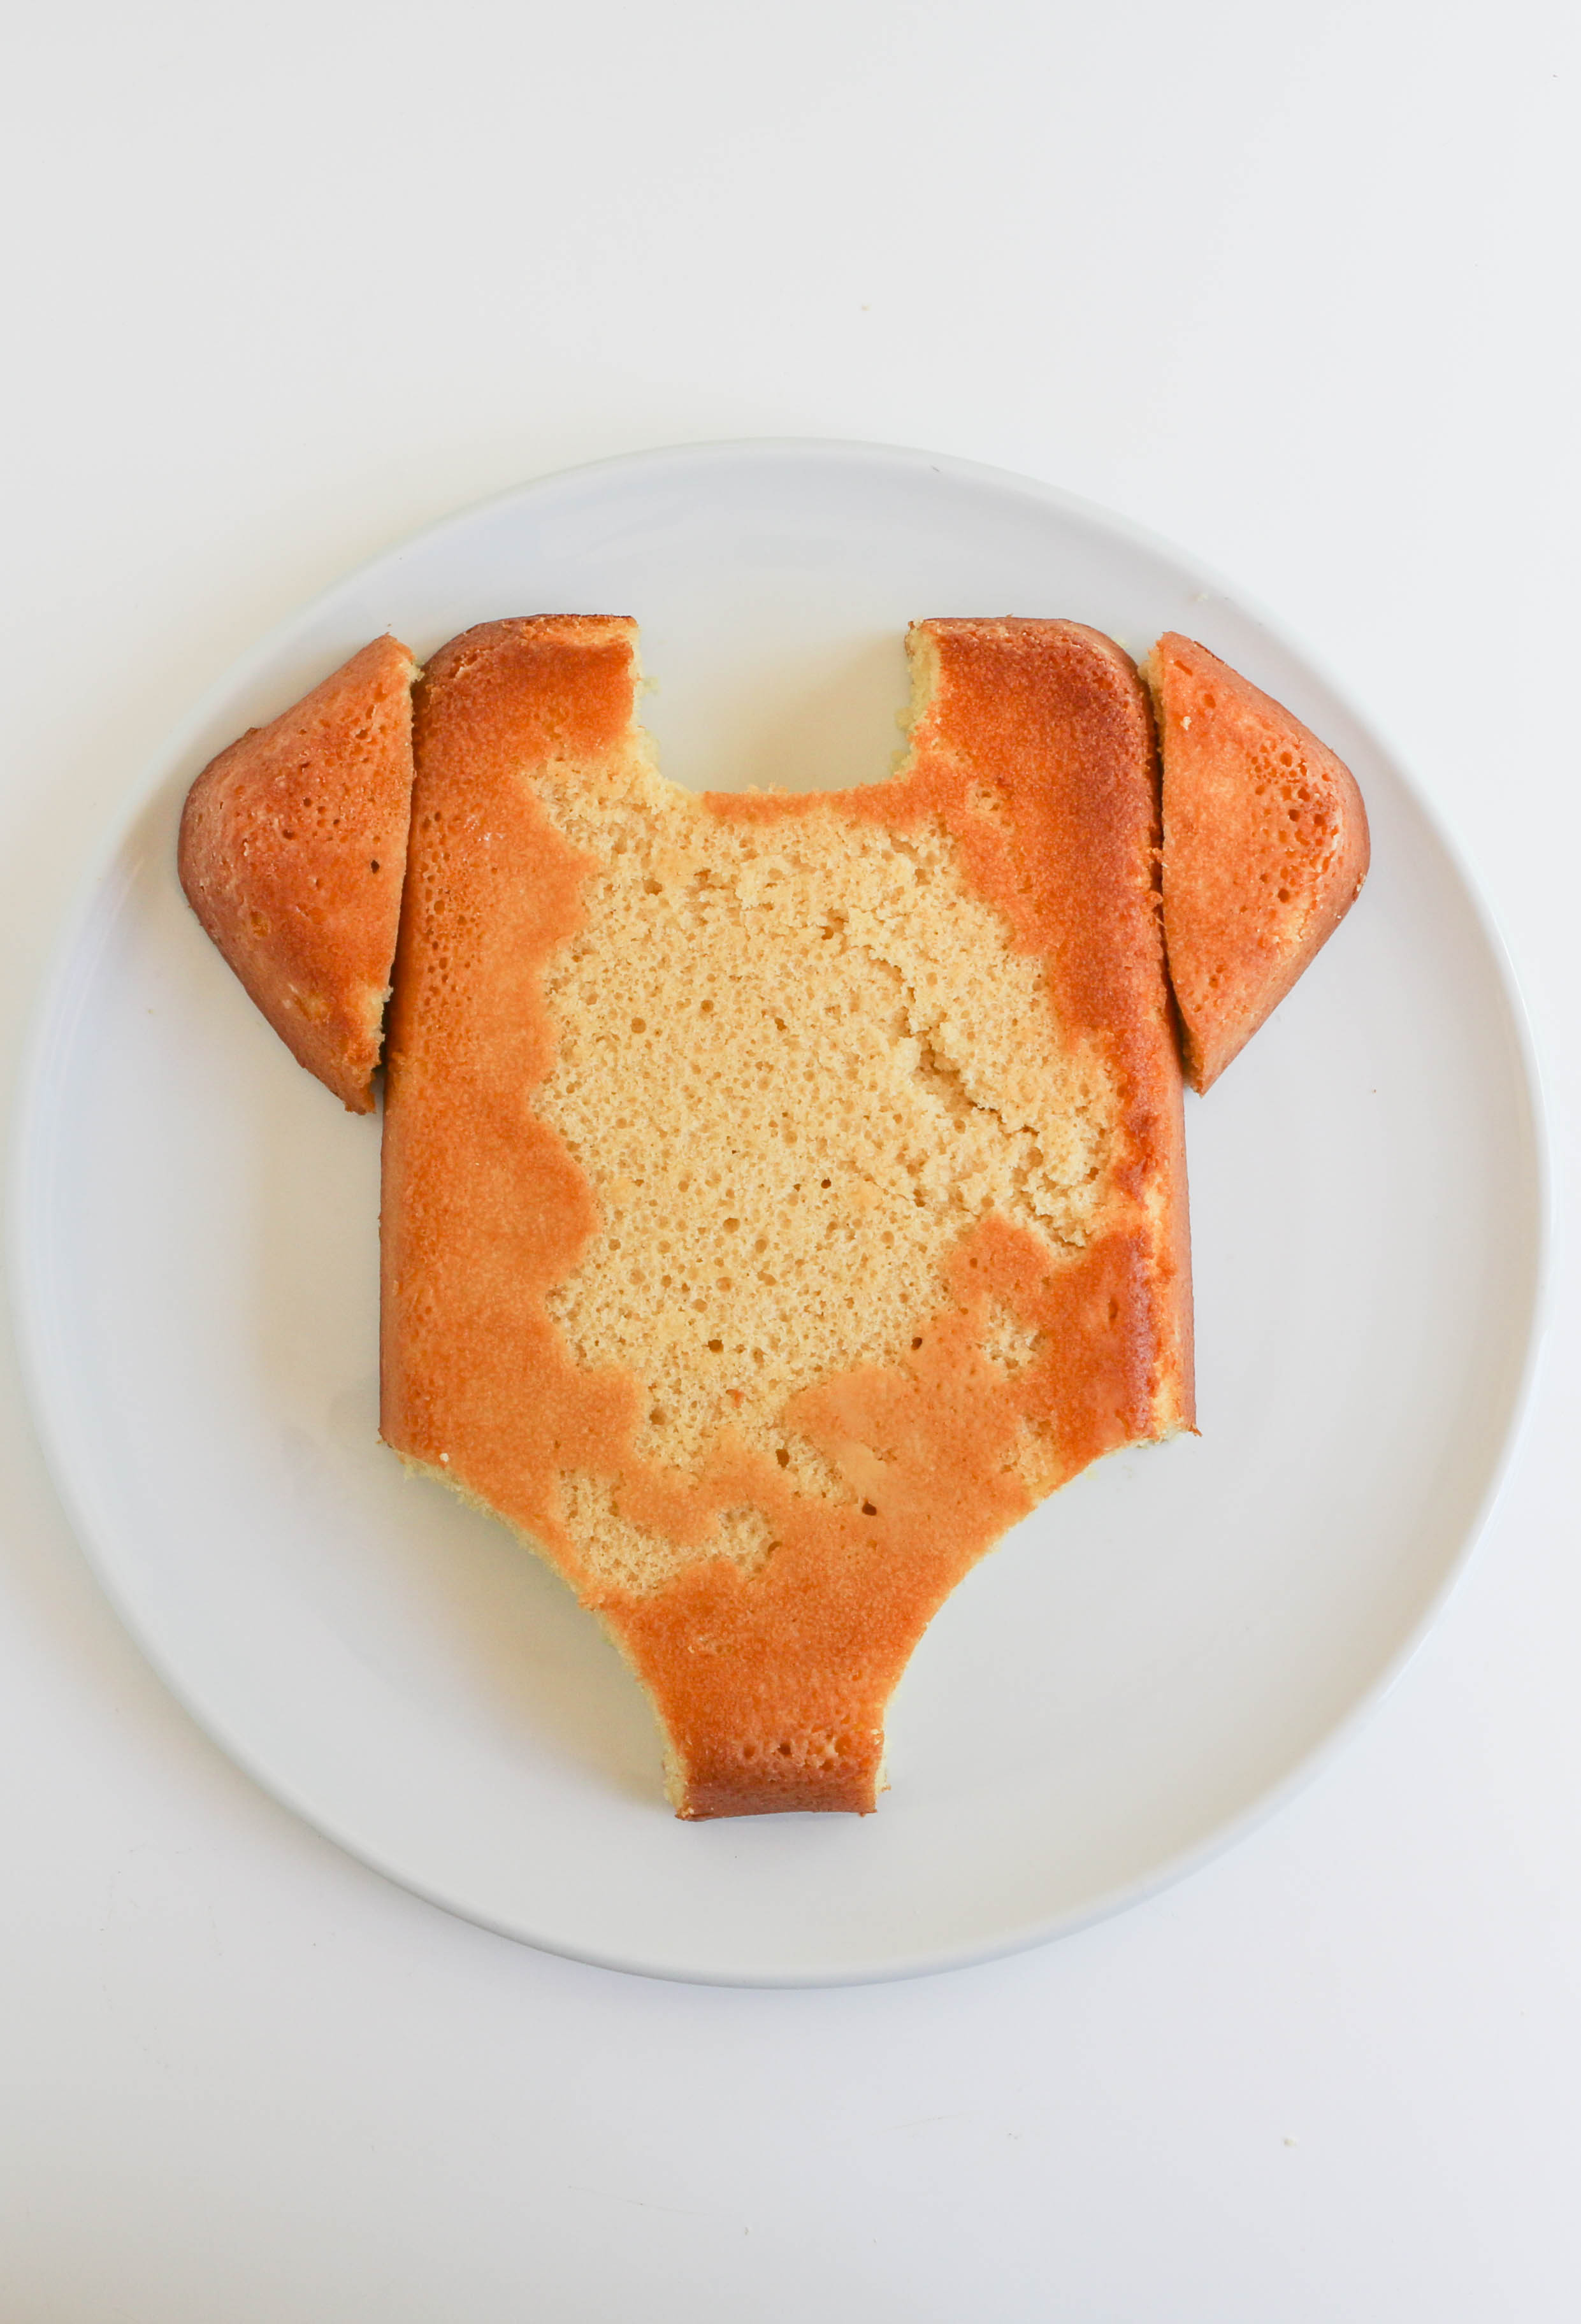
Step 3:
Discard (or nibble on) the neck cut-out, but save the leg cut-outs to make the onesie's sleeves. Trim the arched sides of the corners so they're flat. Place the cut edges against the sides of the cake, lining the corners up with the top edge of the cake. You now have your onesie's shape!
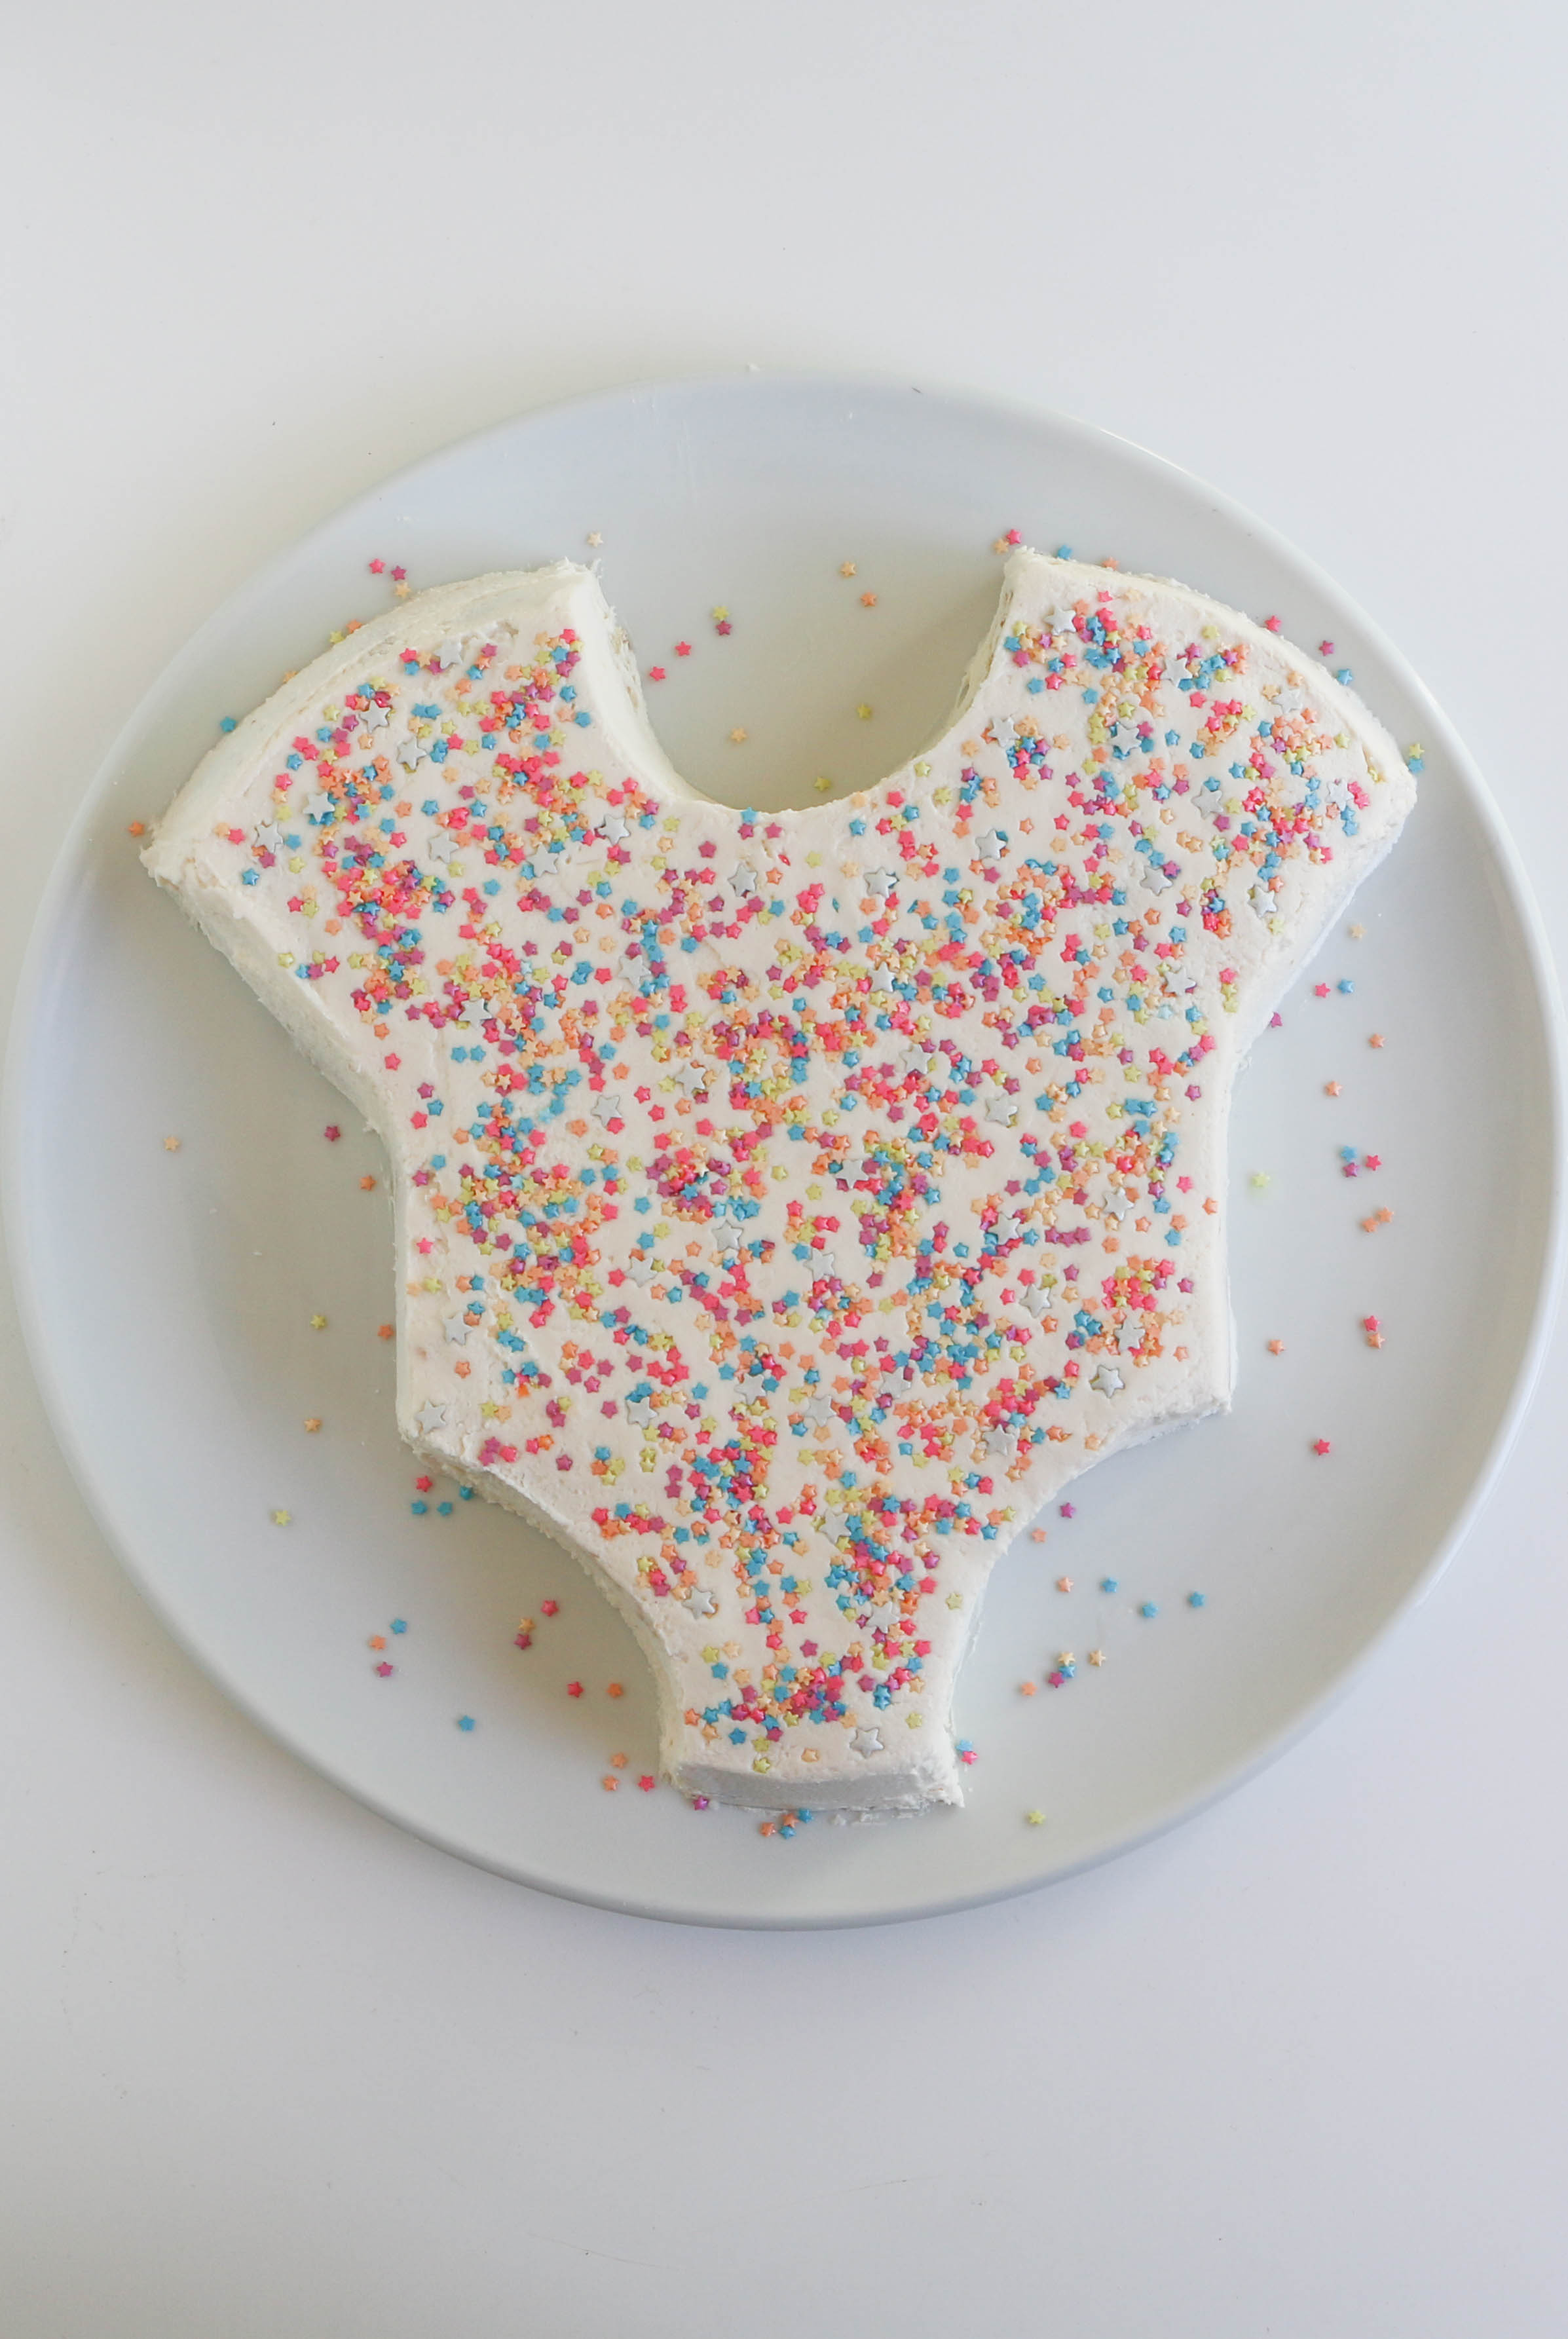
Step 4:
Ice the cake with buttercream frosting and coat the freshly iced surface with a layer of sprinkles. I used bright star sprinkles, but you can use any color or shape of sprinkles you like.
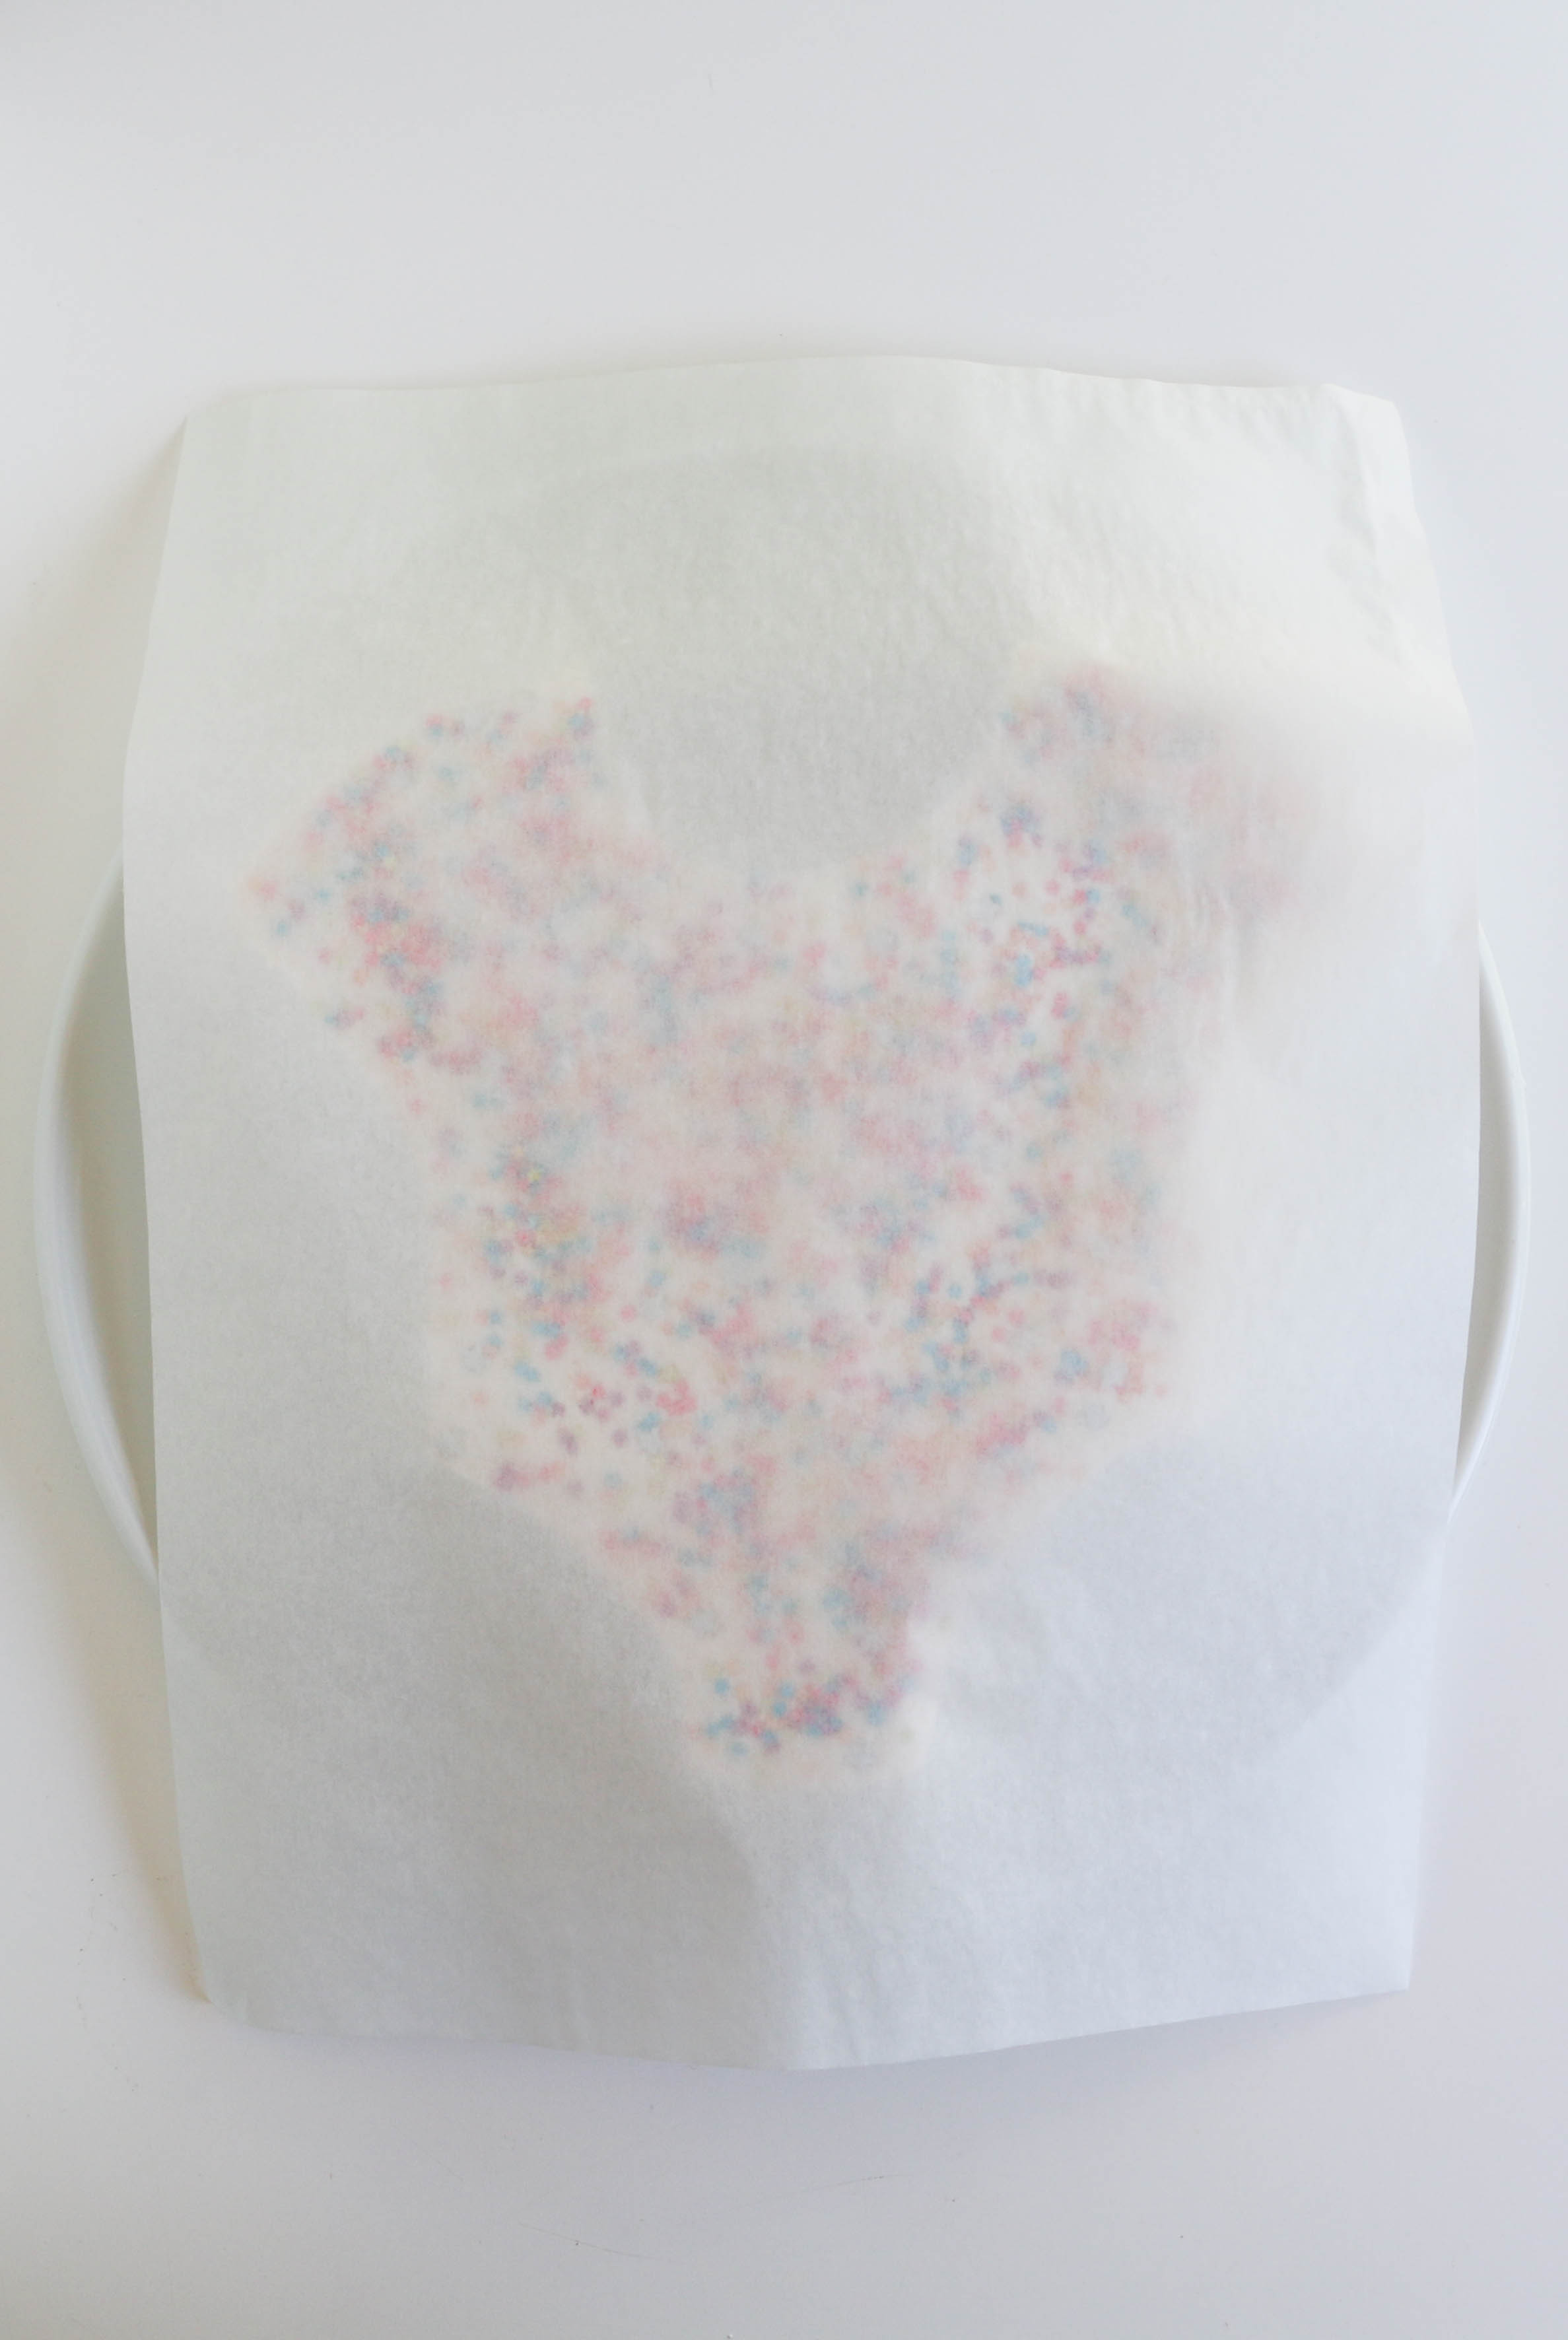
Then, place a piece of parchment paper on top of the cake. Run your hands over the paper, gently pressing the sprinkles into the buttercream. Doing this will give you a smooth, even surface to pipe the onesie's details.
Step 5:
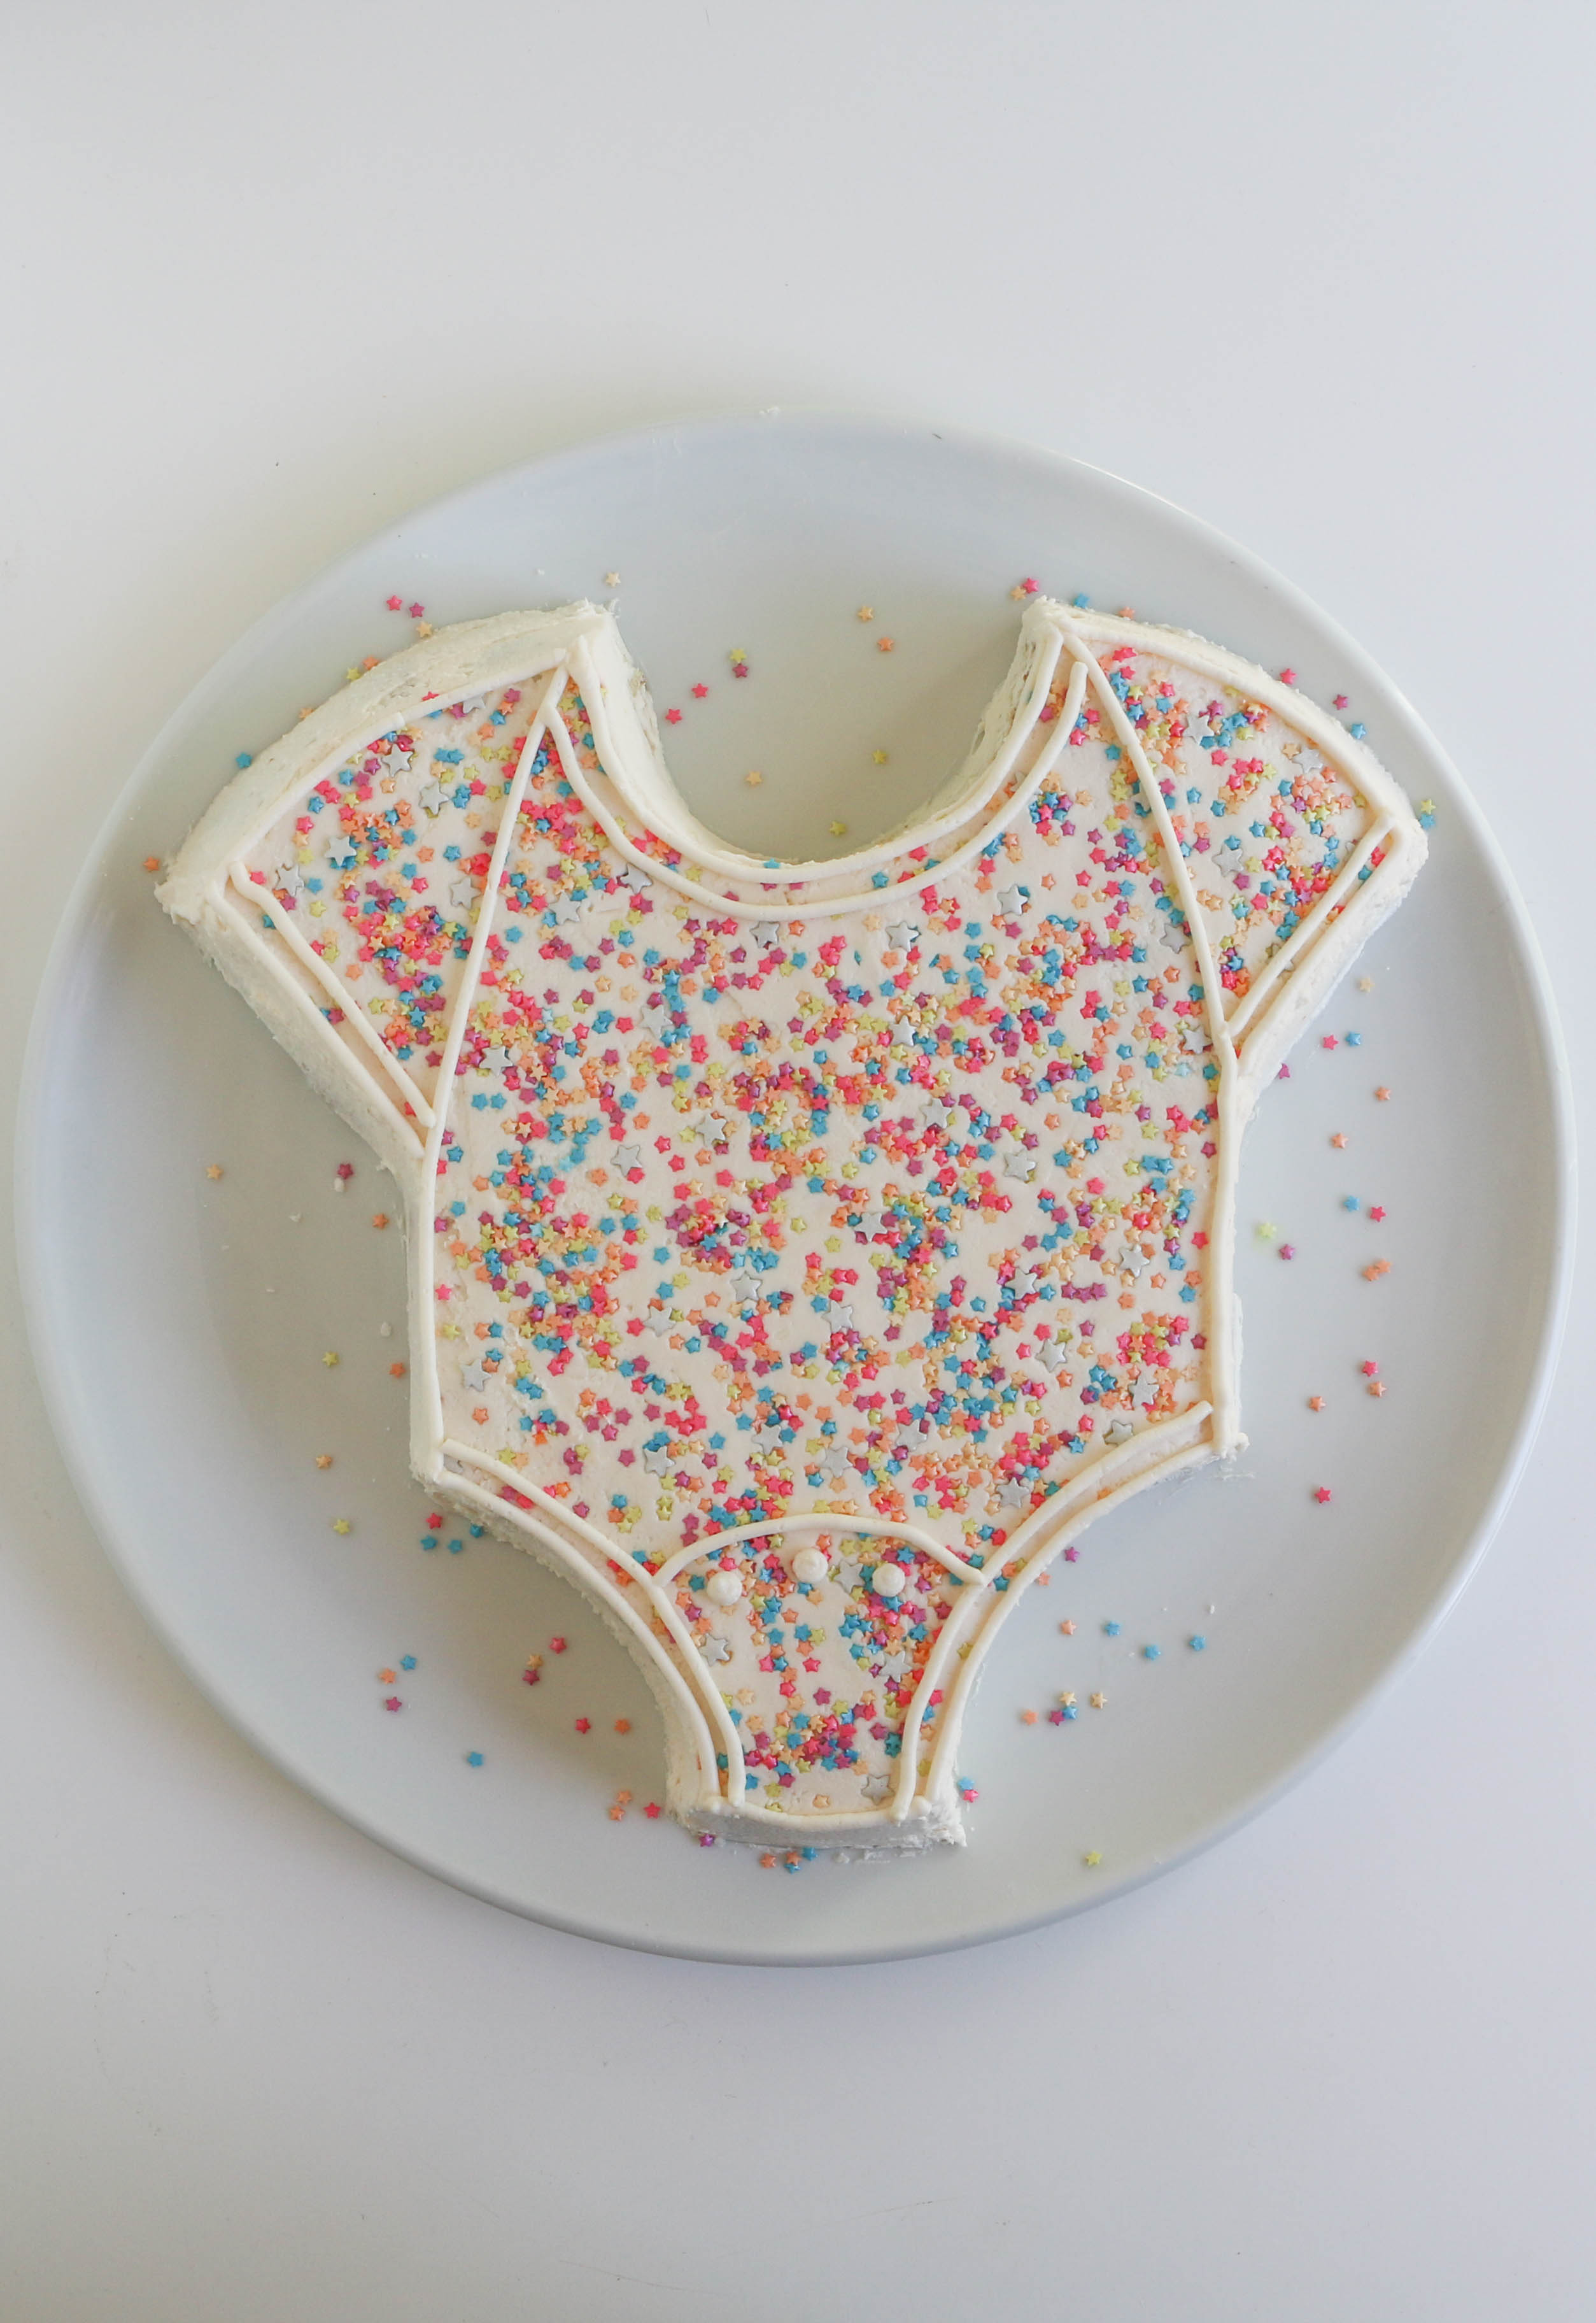
Fill a piping bag fitted with a small round tip with buttercream. Pipe a few details onto the surface of your cake:
- Outline the onesie
- Embellish the neck and sleeves with additional lines
- Add a curved line and dots for snaps at the bottom of the onesie
Step 6:
Personalize your onesie by adding a name or special message.
How easy was that? You'll definitely want to keep this idea on hand. Save this tutorial to Pinterest so you can find it later!
Check out this post to see even more baby cake ideas
7 Adorable Baby Shower Cakes (And the Best Sayings to Write on 'Em!)

Going to try this , what a great idea
The directions were simple and the cake was the cutest!
Beautiful
Onesie cake