From basic plastic to ergonomically designed wood palettes (works of art themselves), there are many styles of palettes available for oil painting. Many artists, myself included, started with a repurposed plastic plate! You don’t have to go that basic — there are plenty of inexpensive palettes that will make your painting process more comfortable and allow you to work more efficiently.
What to look for in a palette
First, you don’t want a palette with cups or indentations for the paint. Oil paint has body and can hold its ground on your palette without mingling with other colors (until it’s invited). A smooth, flat palette allows room for that mixing and mingling to take place. And mixing color is where the magic begins, so be sure to have the space you need.
Selecting the right material
Glass
After the desperate plastic plate, my first “official” palette was a glass cutting board. Still a makeshift solution, but one that works very well. Glass is easy to clean, and a cutting board uses tempered glass, which is much stronger than picture glass. The only problem is that the “right” side is textured, and the back typically has little silicone feet. No problem: The feet can be easily removed with the blade of a glass scraper.
One advantage to a glass palette is that you can place it on a toned surface that matches whatever color you have toned your canvas. If you are working on a gray gessoed canvas, put gray paper under the glass palette for a more accurate idea of how light or dark your paint mixture is.
Wood
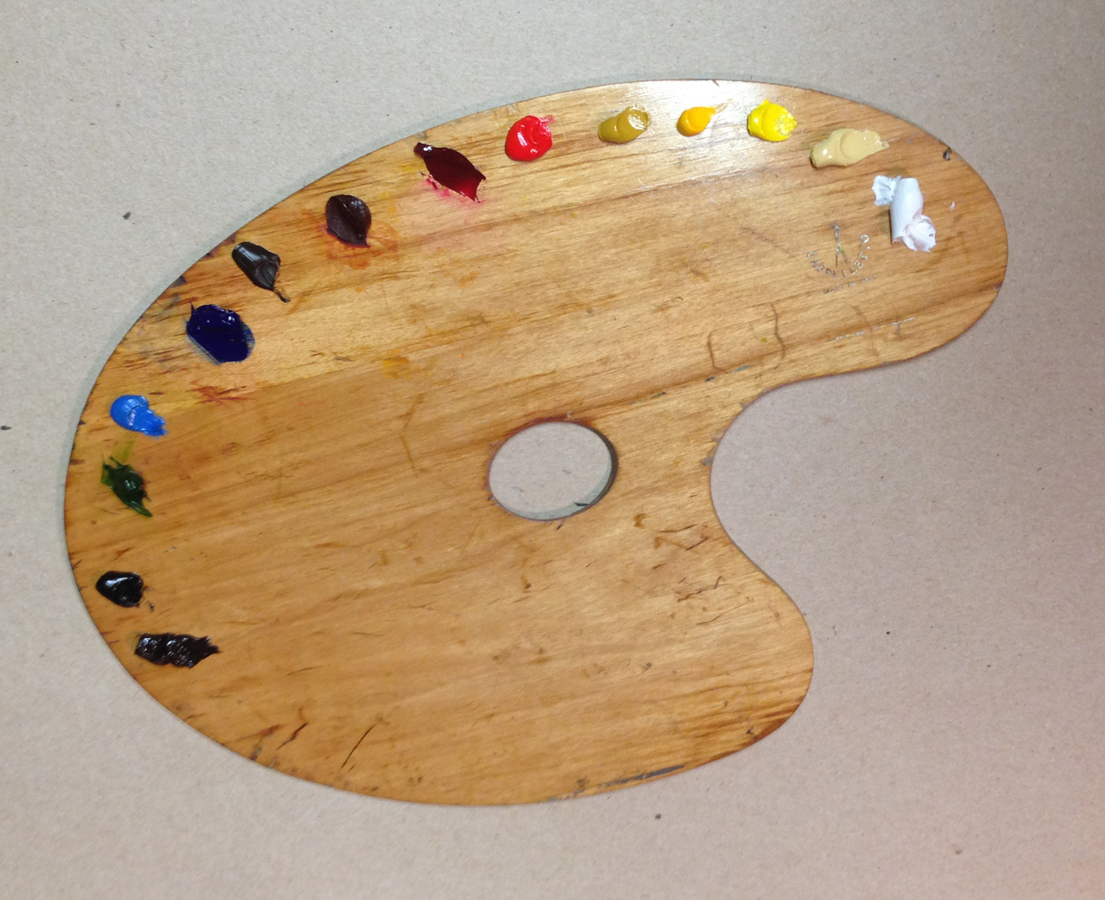
My favorite palette is an inexpensive, classic oval wooden palette. I’d suggest a fairly small one with sufficient mixing room for your painting style. The classic palette is meant to be held as you paint and larger ones get heavy fast!

What I like about a lightweight wood palette is that, as you are working, you can hold the palette in the same light as the painting, which allows easier color matching. Painting is hard, and anything that makes it fundamentally easier is a true bonus!
Feather’s Touch palette by Cappelleto is a great choice. It’s very lightweight with a fine-grained, smooth finish that comes lacquered and ready to use. Raw wood palettes will need to be seasoned with oil or finished with lacquer. Dry and uncoated wood absorbs more paint and it stains. Prepare a raw wood palette by sanding lightly and rubbing with a light coat of linseed oil. Wait a day and repeat, sanding lightly between coats. You can use lacquer instead of oil, but that seems messier to me since lacquer goes through a sticky phase when drying.
Setting up your palette
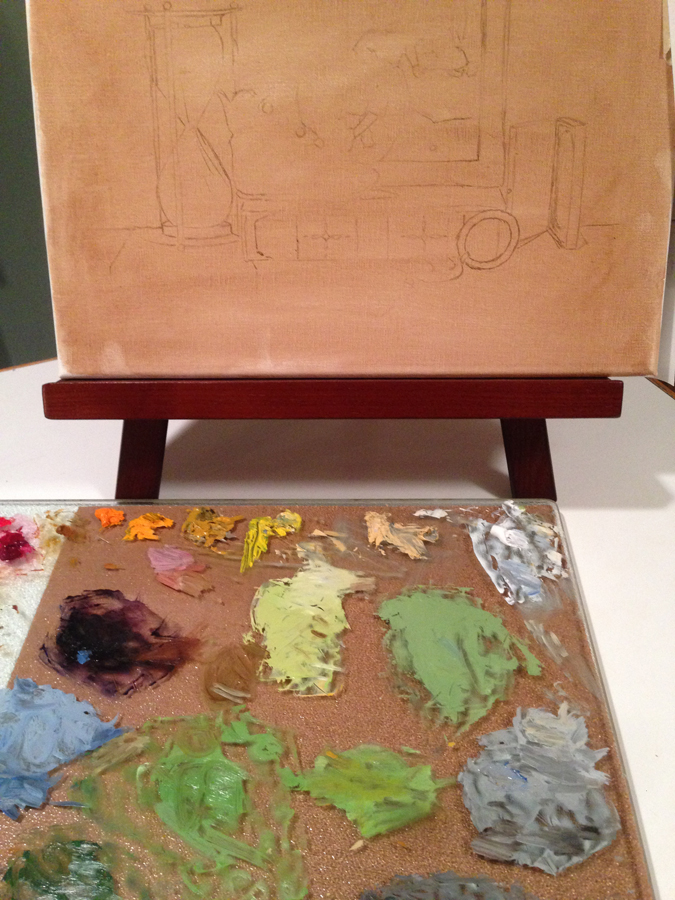
Squeeze your colors out around the perimeter of your palette in color-wheel order, with white set off a bit from the others to keep it clean. That way, you can easily find the next cooler or warmer hue to mix. Place warmer earth tones like Burnt Sienna near the reds, and cooler Raw Umber near the blues.
Be consistent each time you set up your palette so you can easily find what you need and your painting process will be more efficient.
Cleaning
Here’s the most important bit of information about cleaning your palette: Always do it after every painting session. The unused squeezed paint does not have to be removed, but all the mixed paint should be cleaned off.
Why is this so hard to do? Because you will be thinking, “But that’s the perfect color! I will never be able to mix it again!” Balderdash. Have faith. Or make a cheat sheet.
If it feels less risky, you can create a key by saving a smear of an important mixed color on a piece of paper, writing a note about where it was used. You can even note what the mixture’s recipe is, more or less. The more you paint, the less you will need specific color notes.
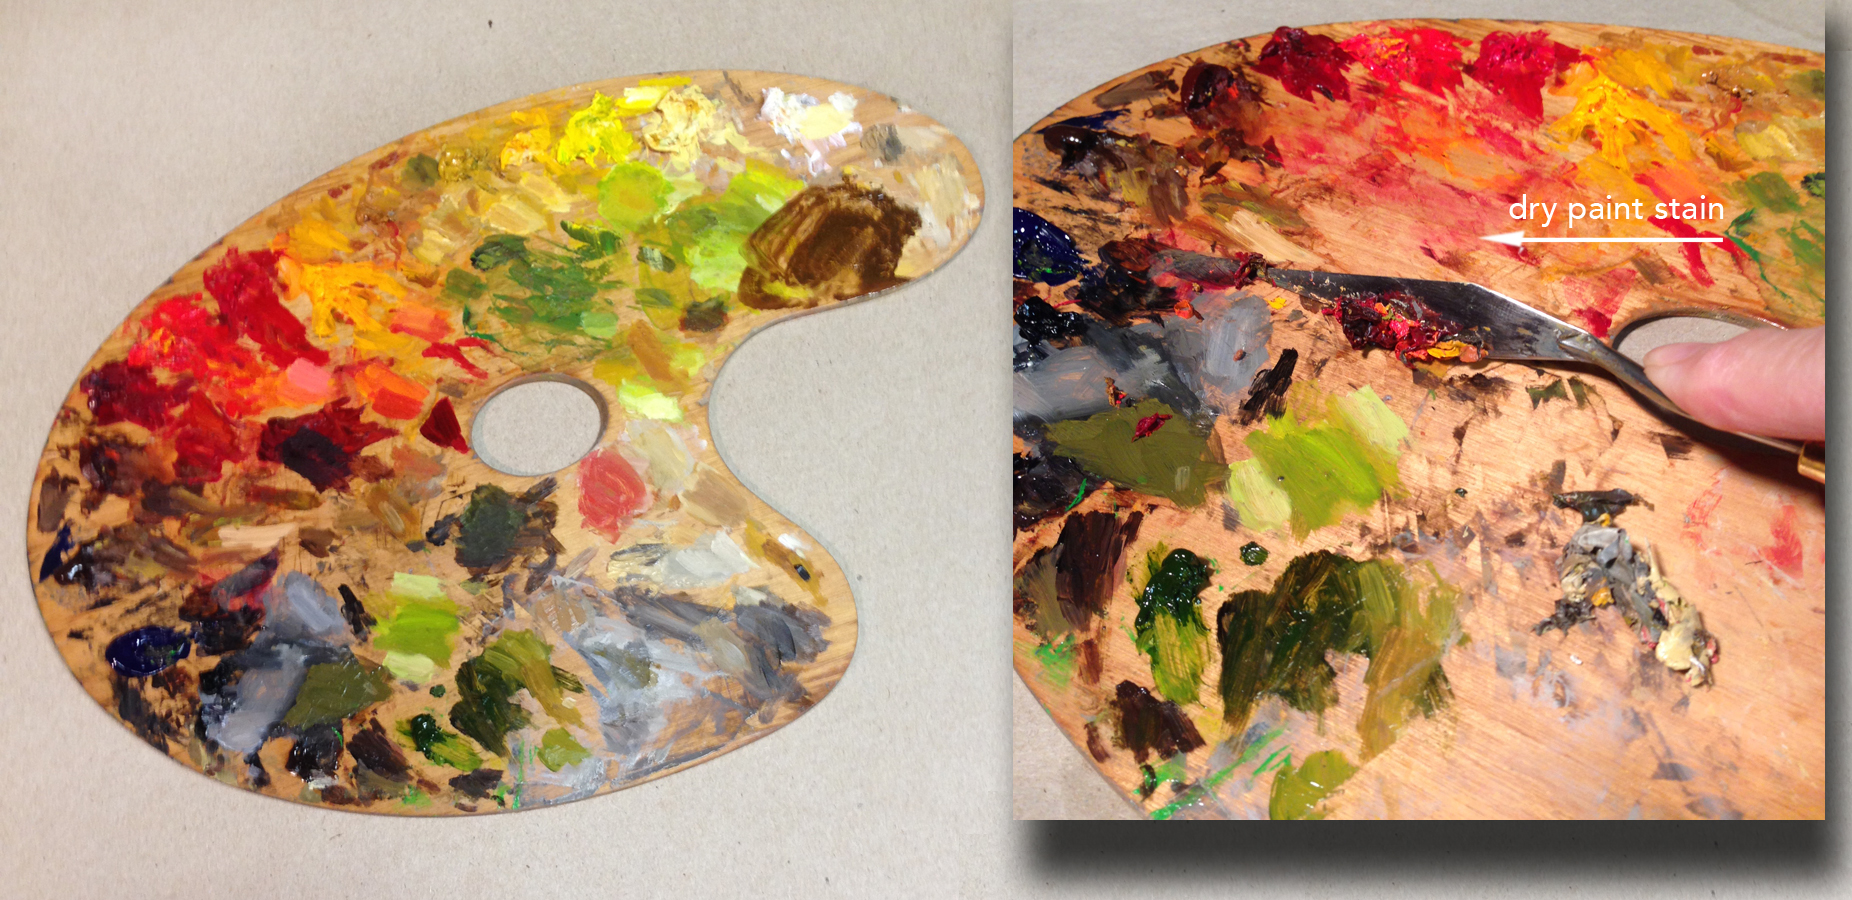
If you clean your palette when the paint is still wet, you will have so much more time to paint! Clean your palette at the end of each session and you won’t have to waste time and energy scraping dried paint before you can start again. Plus, you don’t want dried flakes to get into fresh mixes. They add an annoying, funky texture.
To clean either glass or wood, use your palette knife to lift mixed piles of paint from the mixing area. If the piles are large and you really don’t want to waste paint, mix these mixes to create a neutral gray, saving that as a new color. Be sure there is no dry, crusty paint in it.
If a thin layer of the old paint remains, apply a light coat of solvent (turpenoid, Gamsol, etc.) Give it a moment to soften the paint stain, then wipe vigorously with a paper towel (many artists swear by Viva).
Next, use a paper towel moistened with oil to wipe up any residue, steering clear of the squeezed paint on the perimeter. For a wood palette, this has the added benefit of reconditioning the wood.
Storing
If you don’t paint every day, it’s a good idea to store your palette and paint in a sealed palette box.If it’s going to be a week or so between painting, put the sealed palette box in the freezer. Yup, that will slow down oxidation. Masterson’s Sta-Wet Palette box works well if your palette fits. This box seals tightly.
Developing good habits as an oil painter will make the learning process easier, less frustrating and help you get painting sooner.
“If creativity is a habit, then the best creativity is the result of good work habits. They are the nuts and bolts of dreaming.” – Twyla Tharp
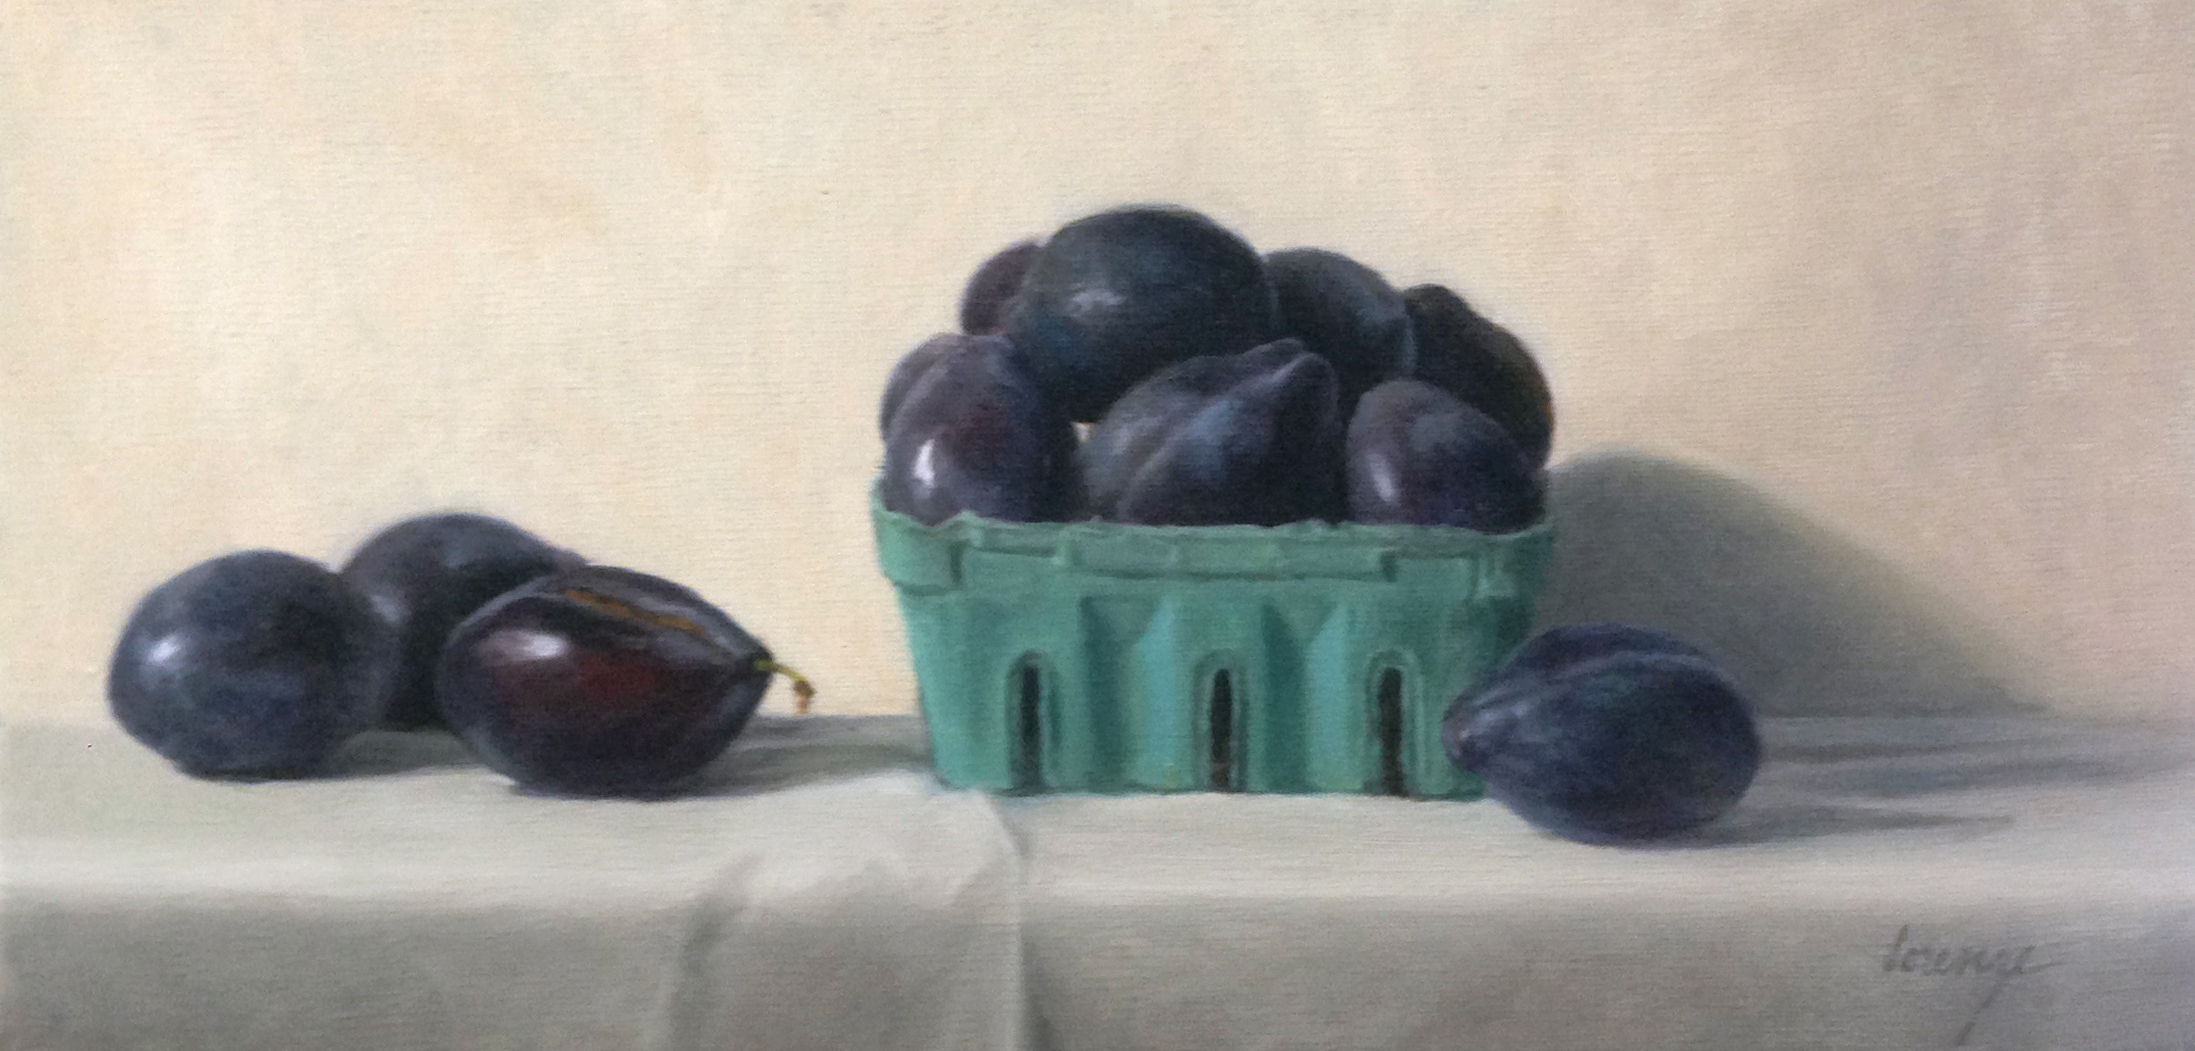
Less time spent cleaning leaves more time for oil painting: Plums in a Berry Basket

can i still get paper palette pads