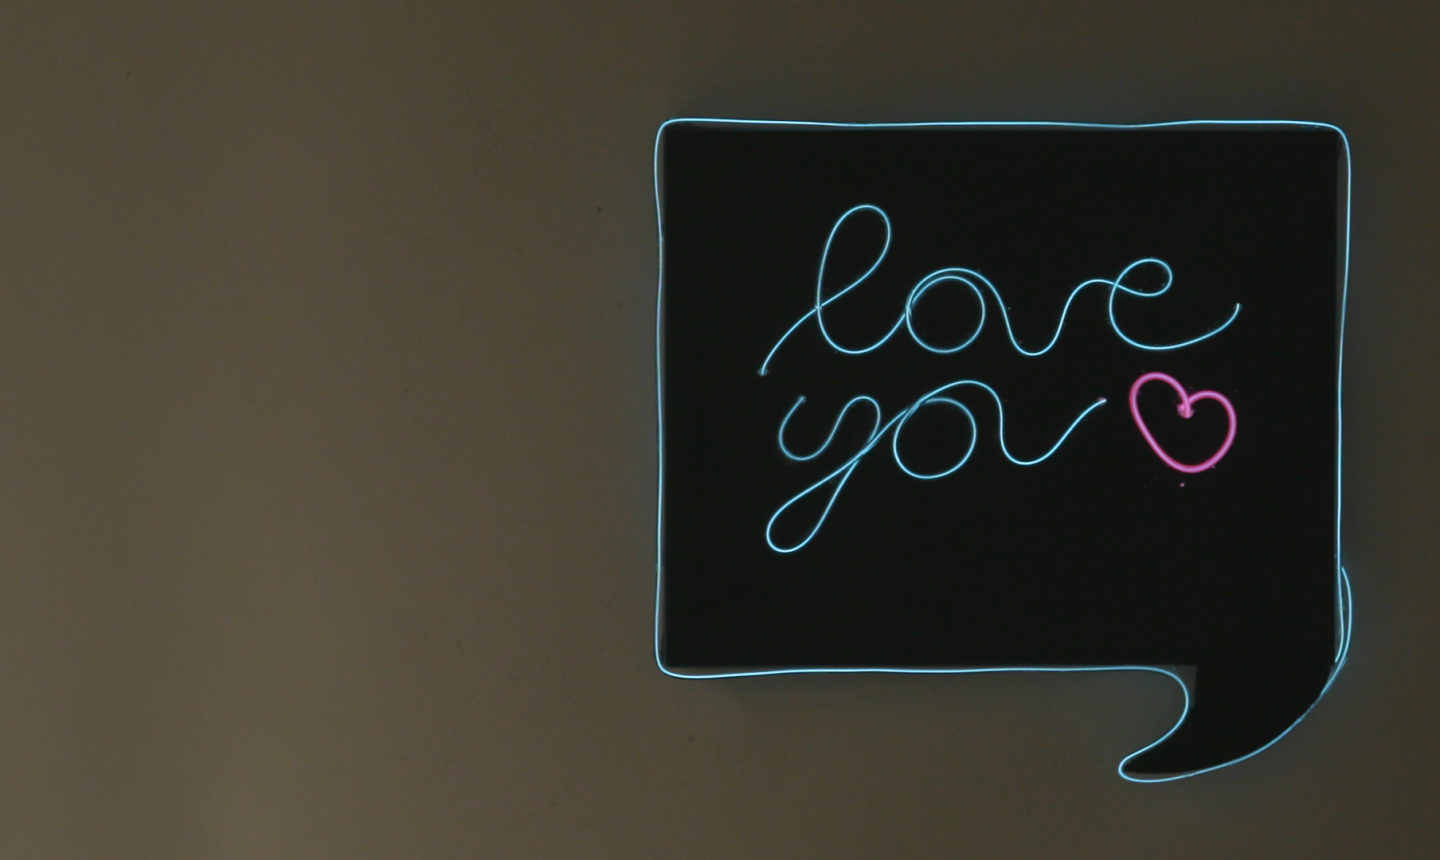
If you've got something to say, say it in neon! Making this DIY speech bubble sign is a fun way to spend an afternoon, and the good times keep going once it's hung on your wall.
Neon Light Sign
Level: Easy
What You Need
Instructions
1. Prep the Canvas
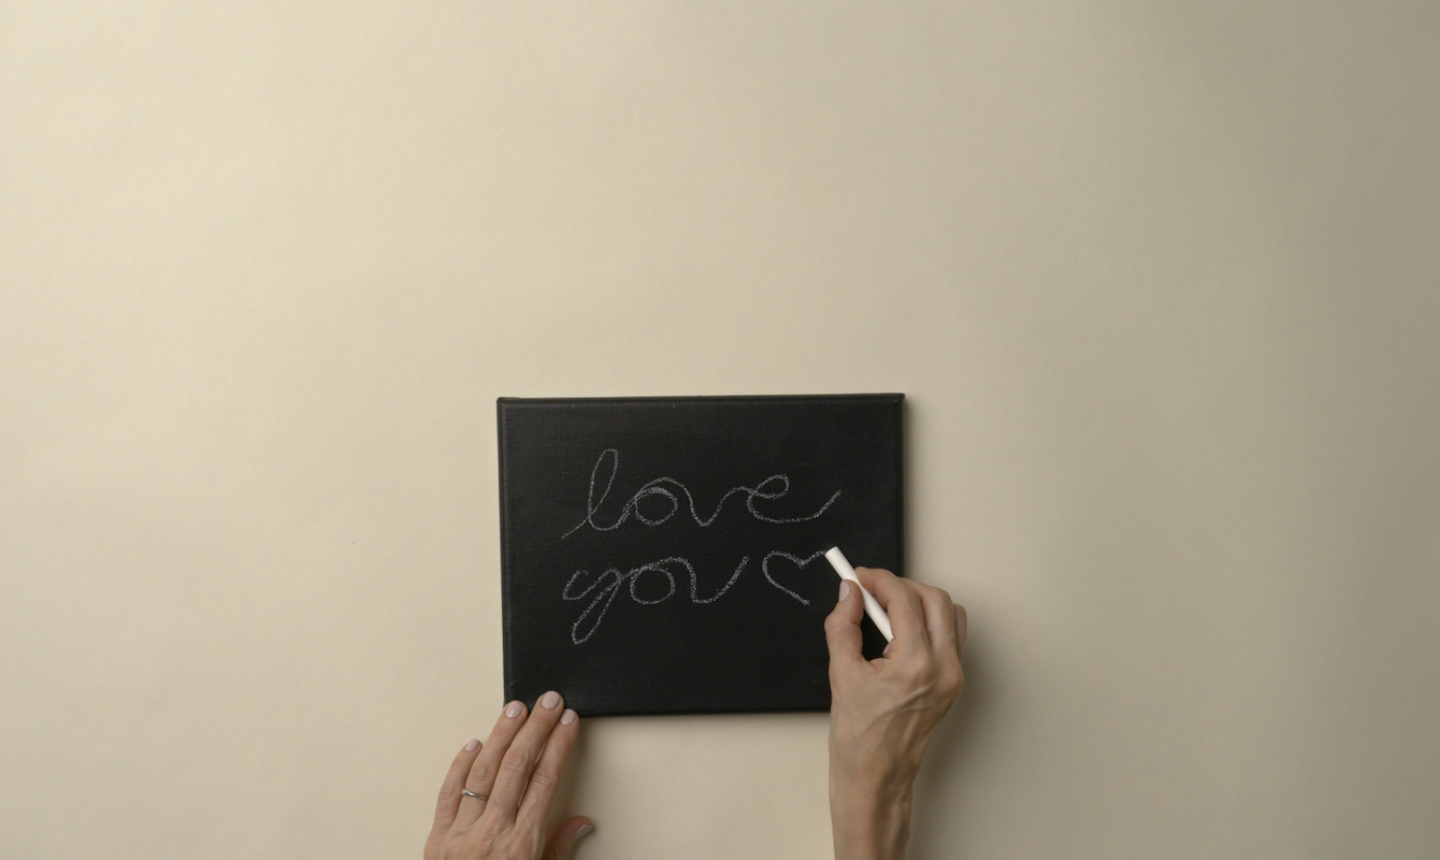
Paint your canvas black and set it aside to dry. Once it's ready, draw your letters onto the canvas with chalk. We wrote "love you," but you can design any phrase you want.
2. Poke Holes
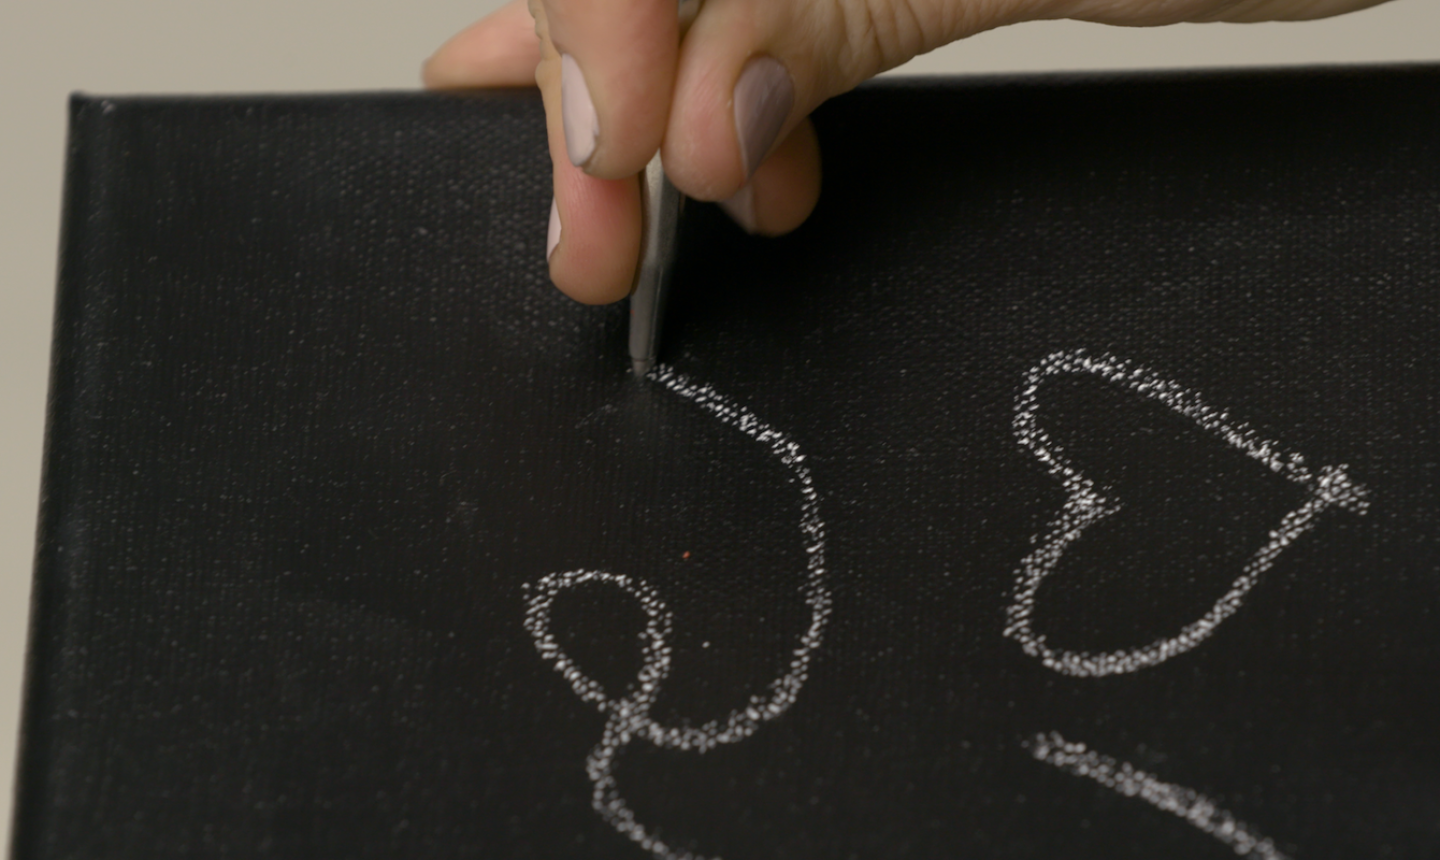
Punch a hole at the beginning and end of each word — this will be where you thread the neon wires. If you have shapes in your design, like a heart, only punch one hole — you can thread the lights in and out of the same point.
3. Add the Lights
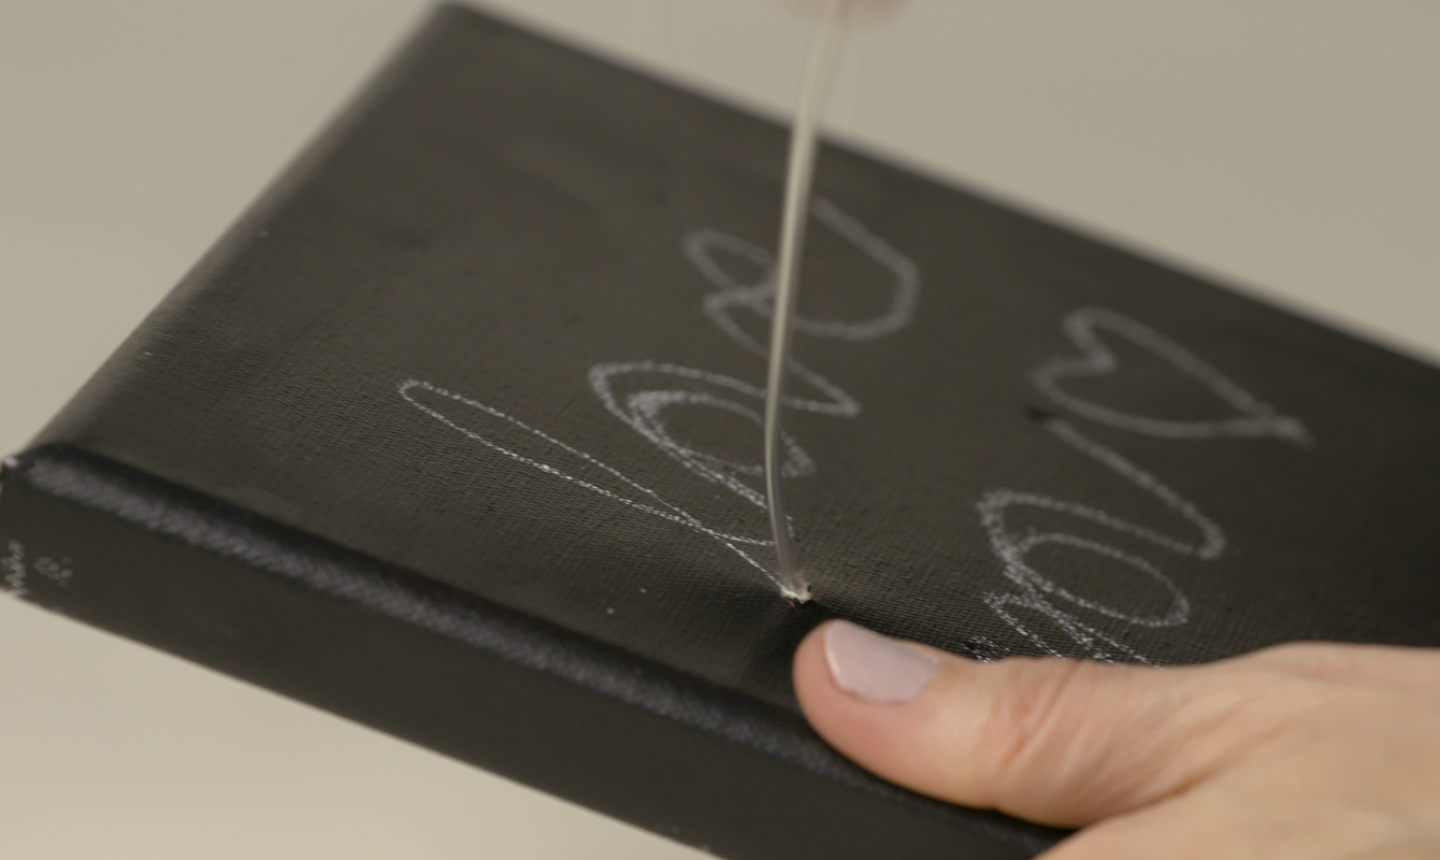
Pull an electroluminescent wire through the first hole of your word, from the back of the canvas to the front.
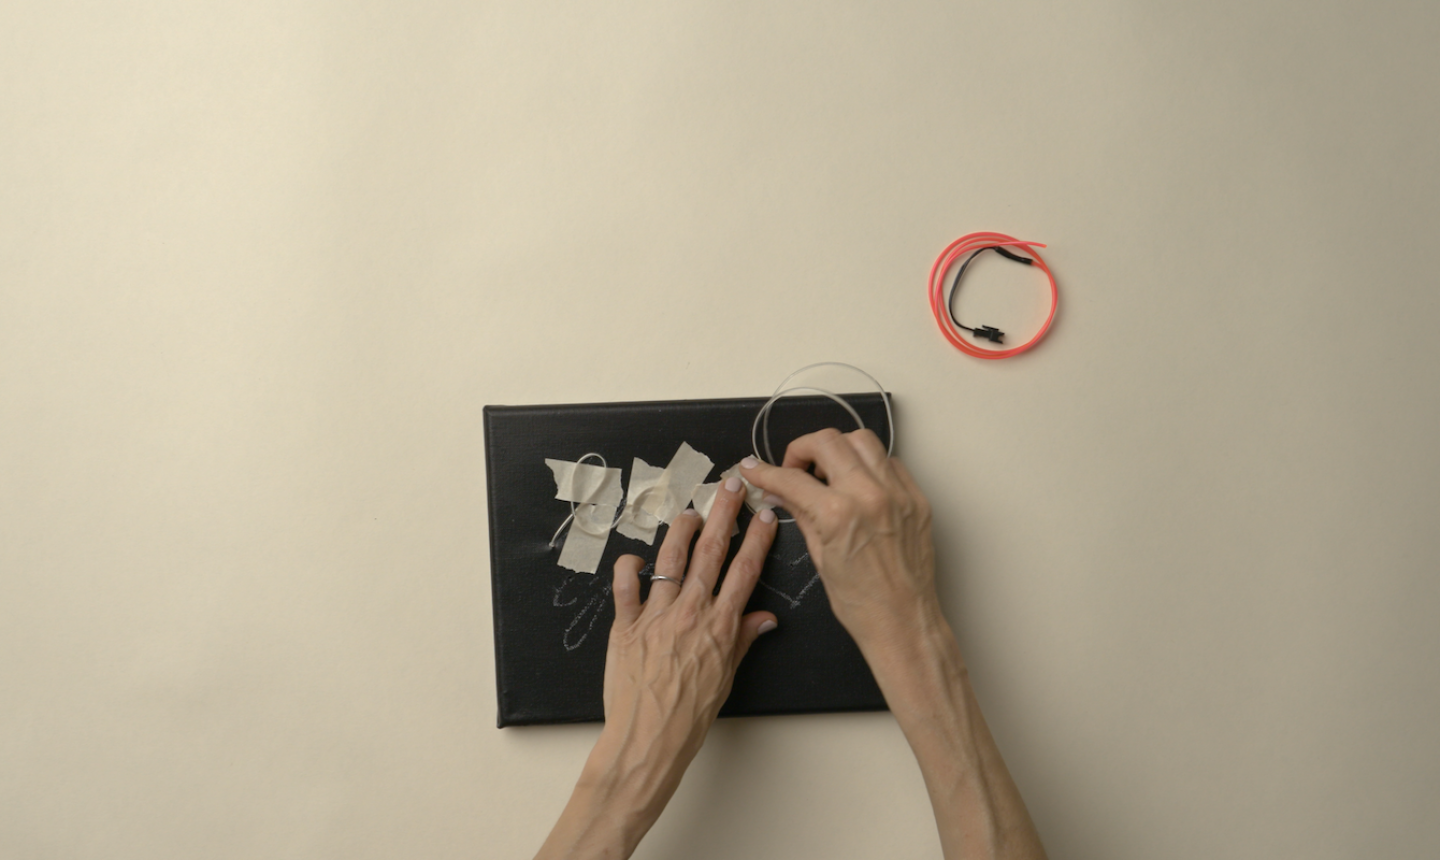
Work your way from left to right, laying down the wire on top of the chalk guides and taping it down to hold the shape. When you reach the end of the word, thread the wire through the end hole to the back of your canvas.
Repeat this step for all letters and designs on your sign.
4. Stitch
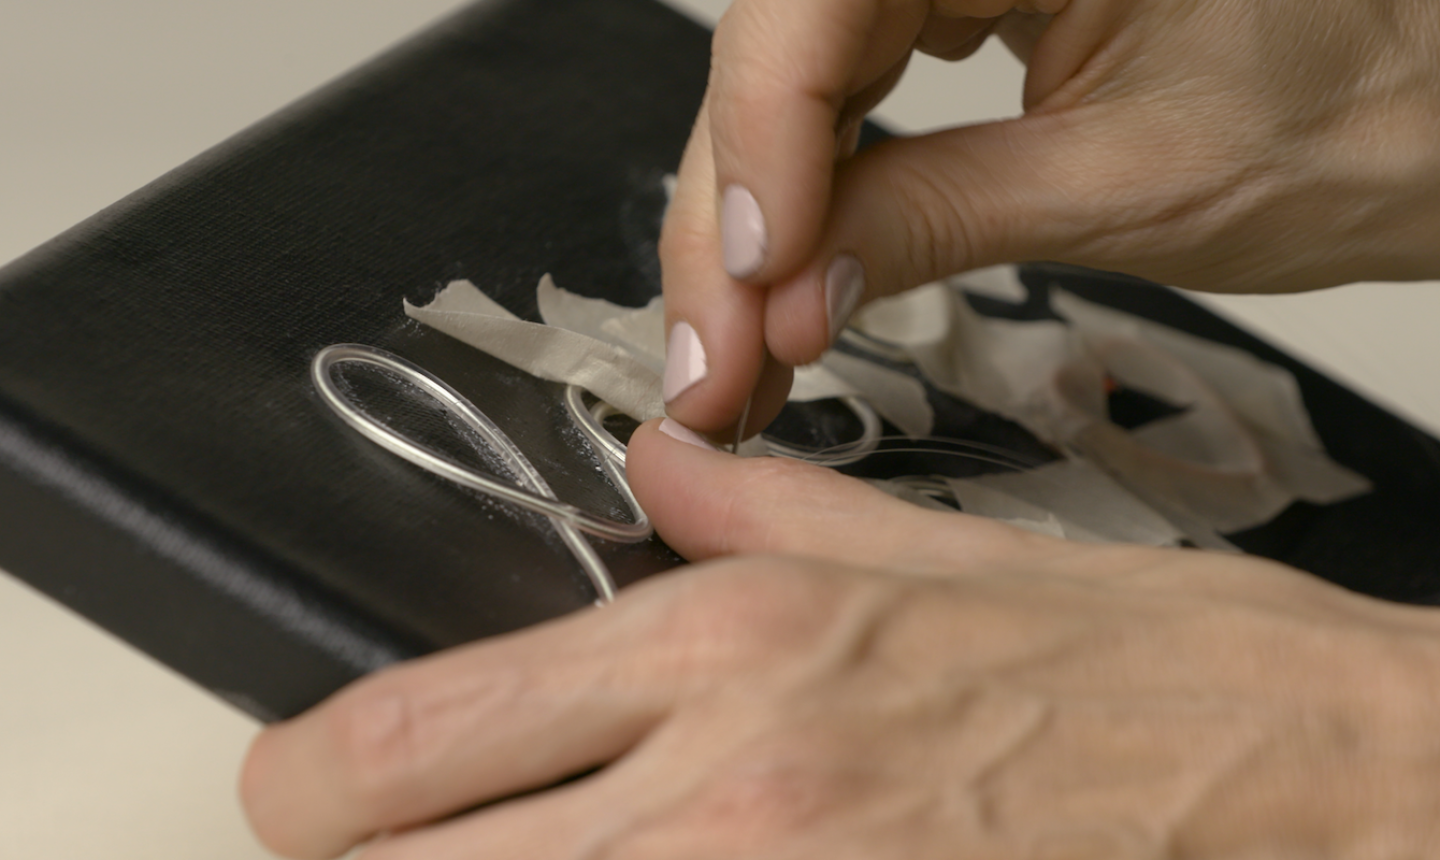
Thread a needle with transparent thread, tie a knot in the back and sew the wires into place. When secured, tie the thread off and cut away any excess.
5. Shape the Speech Bubble
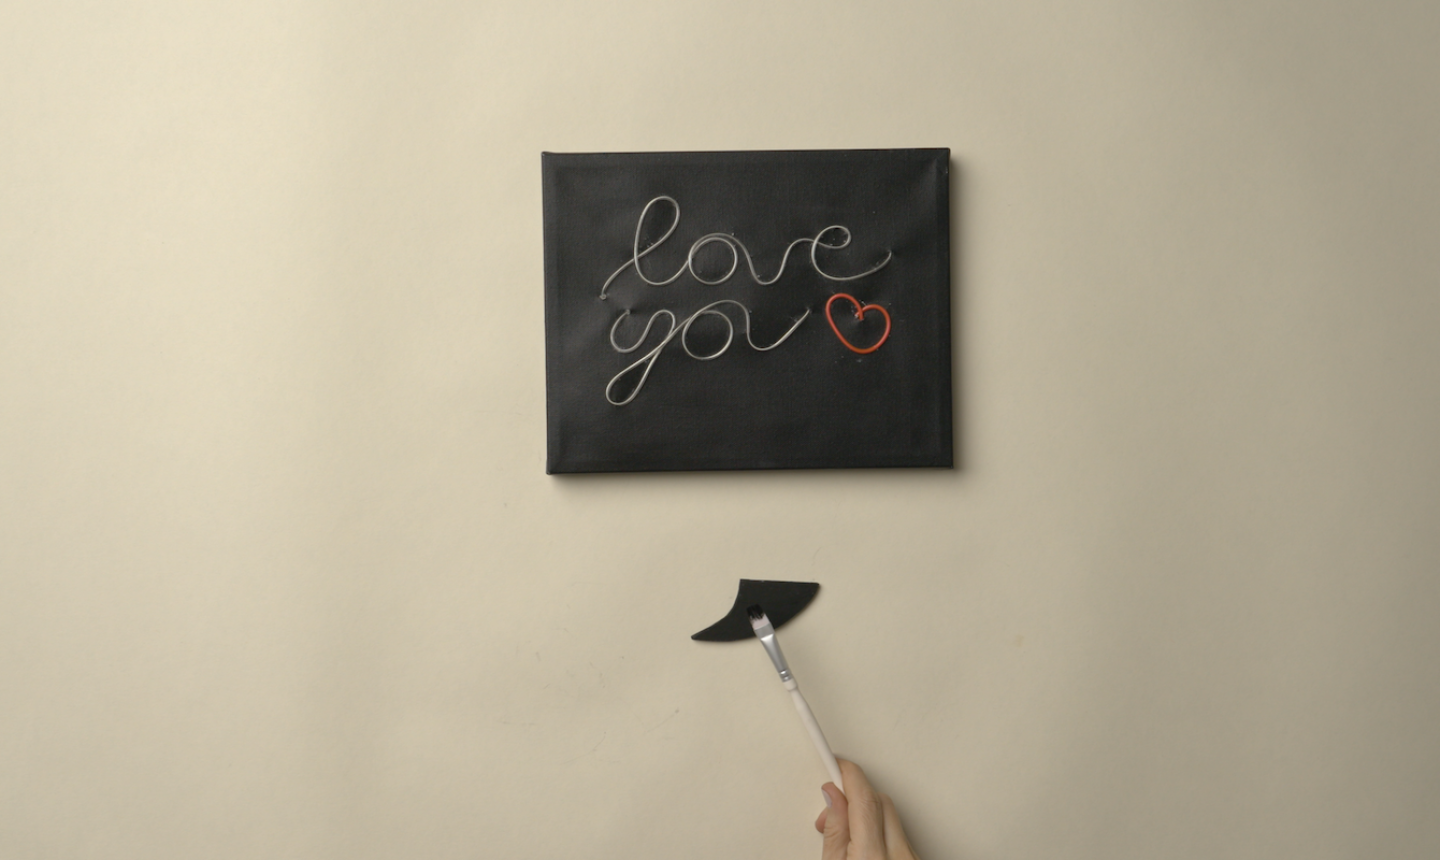
Cut a piece of foam core to look like the bottom tail of a speech bubble. Paint it black and let dry. Use hot glue to fasten it to the bottom of the canvas and let dry.
6. Add the Border
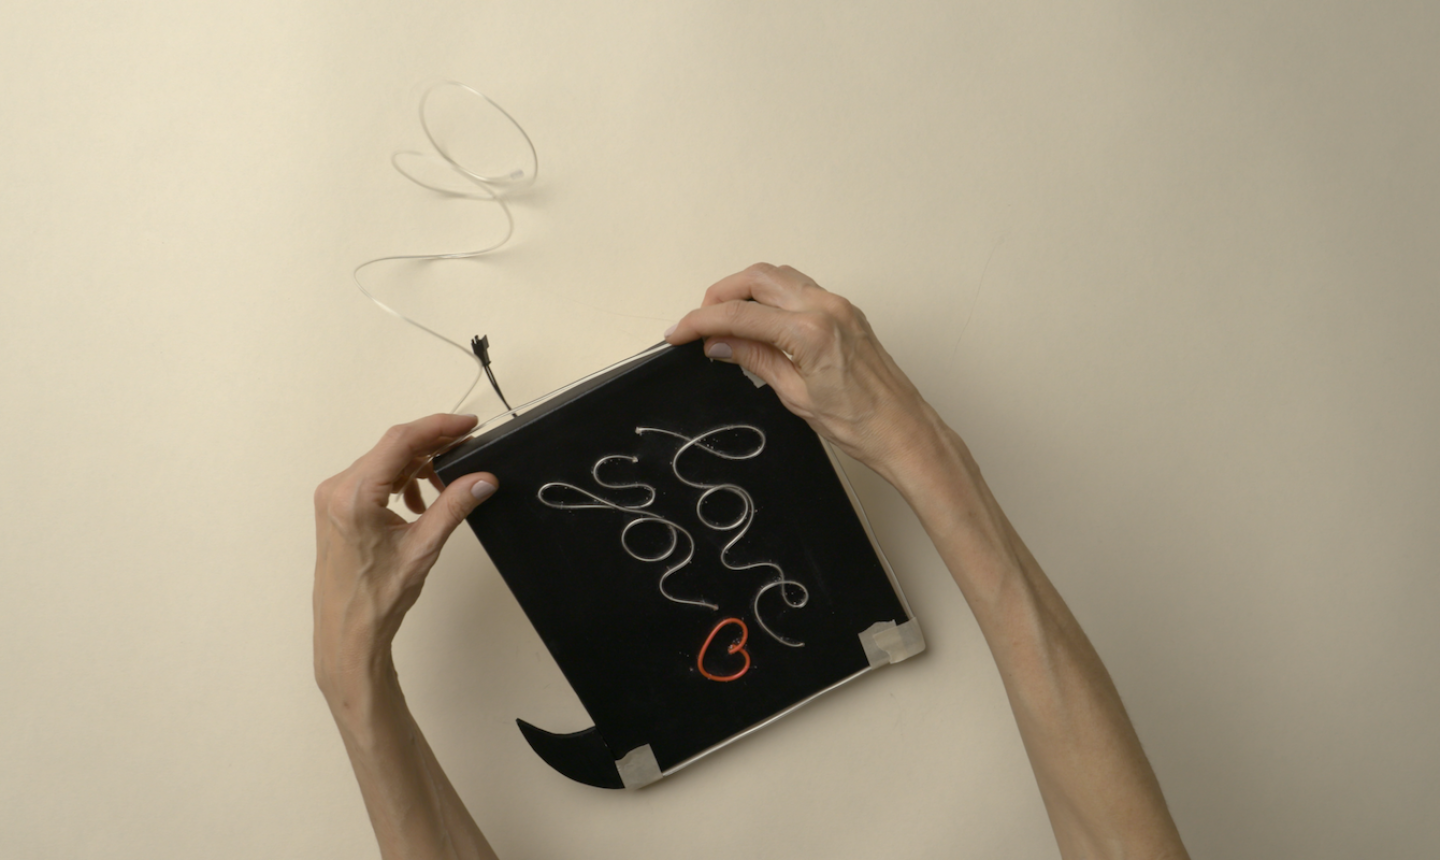
Take another electroluminescent wire and tape it around the canvas' perimeter. Use hot glue to secure and let dry.
7. Light It Up
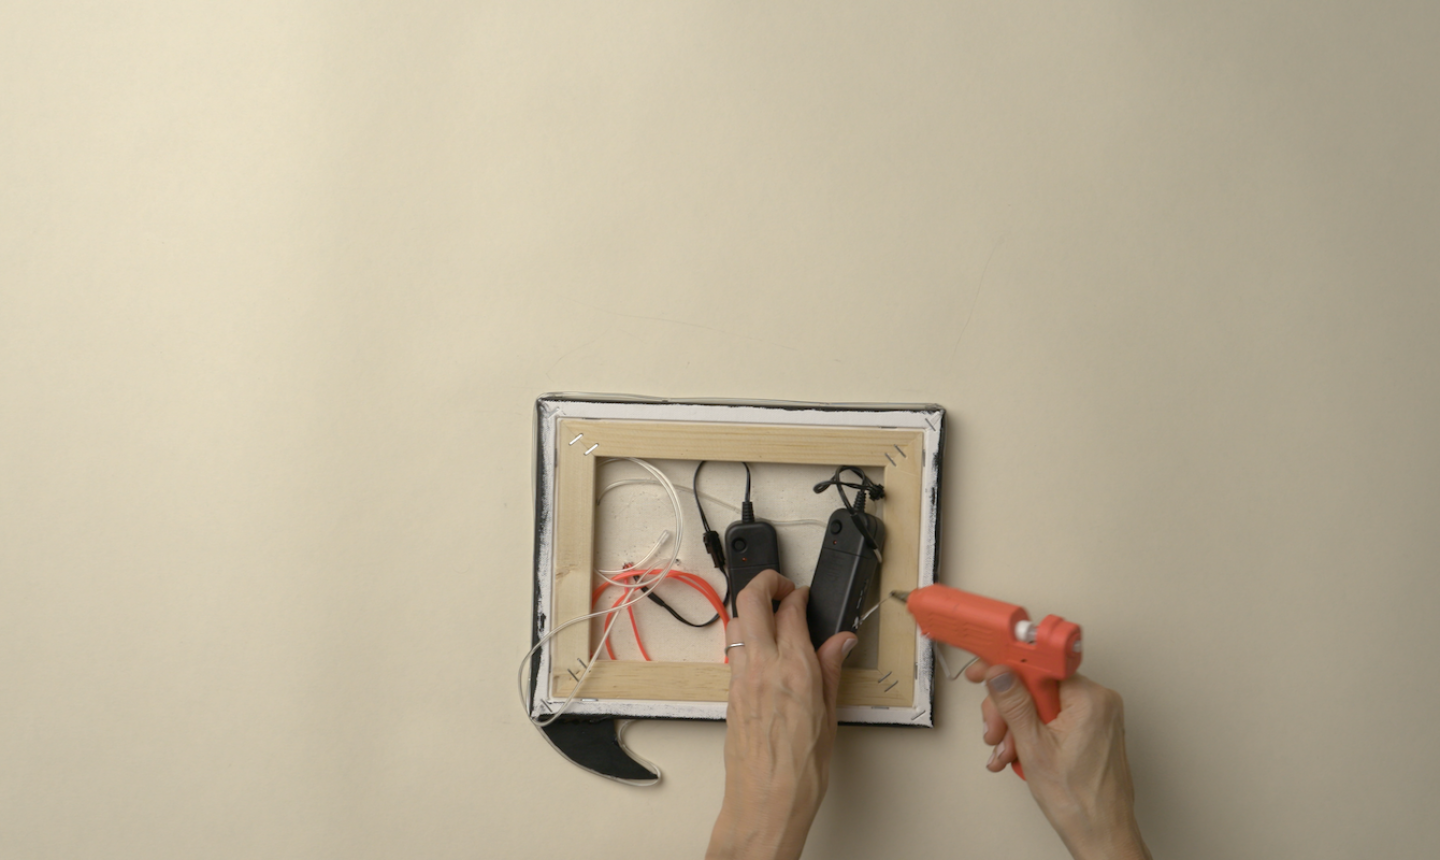
Add battery packs to power the wires and secure them to the canvas with hot glue. Tuck all the wires into the frame, flip it over and turn out the lights!
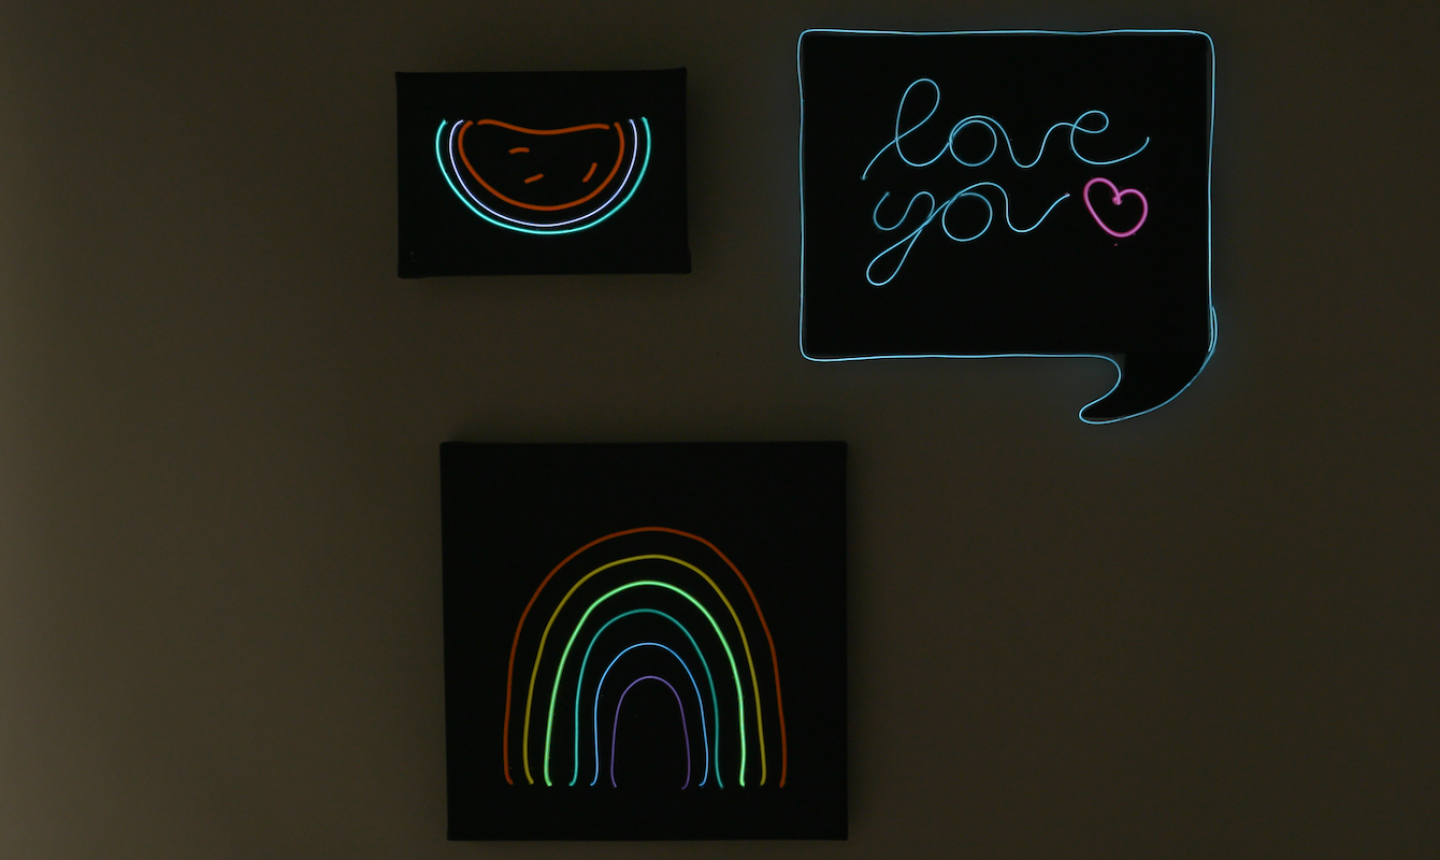
There are so many different avenues you can take with this project. Create a few different signs and make your space more funky!

Share tips, start a discussion or ask other students a question. If you have a question for an expert, please click here.
Already a member?
No Responses to “Light Up Your Space With a Neon Speech Bubble Sign”