Fitting can be a challenge for even the most seasoned garment sewers. But that's where a moulage, or "mold," fitting system comes in. It was developed and used in couture houses to reduce client fitting times, yet home sewers can use the technique to draft personal slopers for a blouse, dress, jacket or an overcoat.
Good to Know: A moulage is not a sloper. The moulage doesn't have any wearing ease added, so it's a reflection of an individual's actual body measurements. A sloper, however, includes minimal wearing ease and is used as the basis for creating new patterns with additional unique design lines.
How to Make a Moulage
Level: Advanced
What You Need
Good to Know: For a more detailed walk-through on making a moulage, check out Suzy Furrer's class Patternmaking Basics: The Bodice Sloper.
Instructions
1. Take Measurements
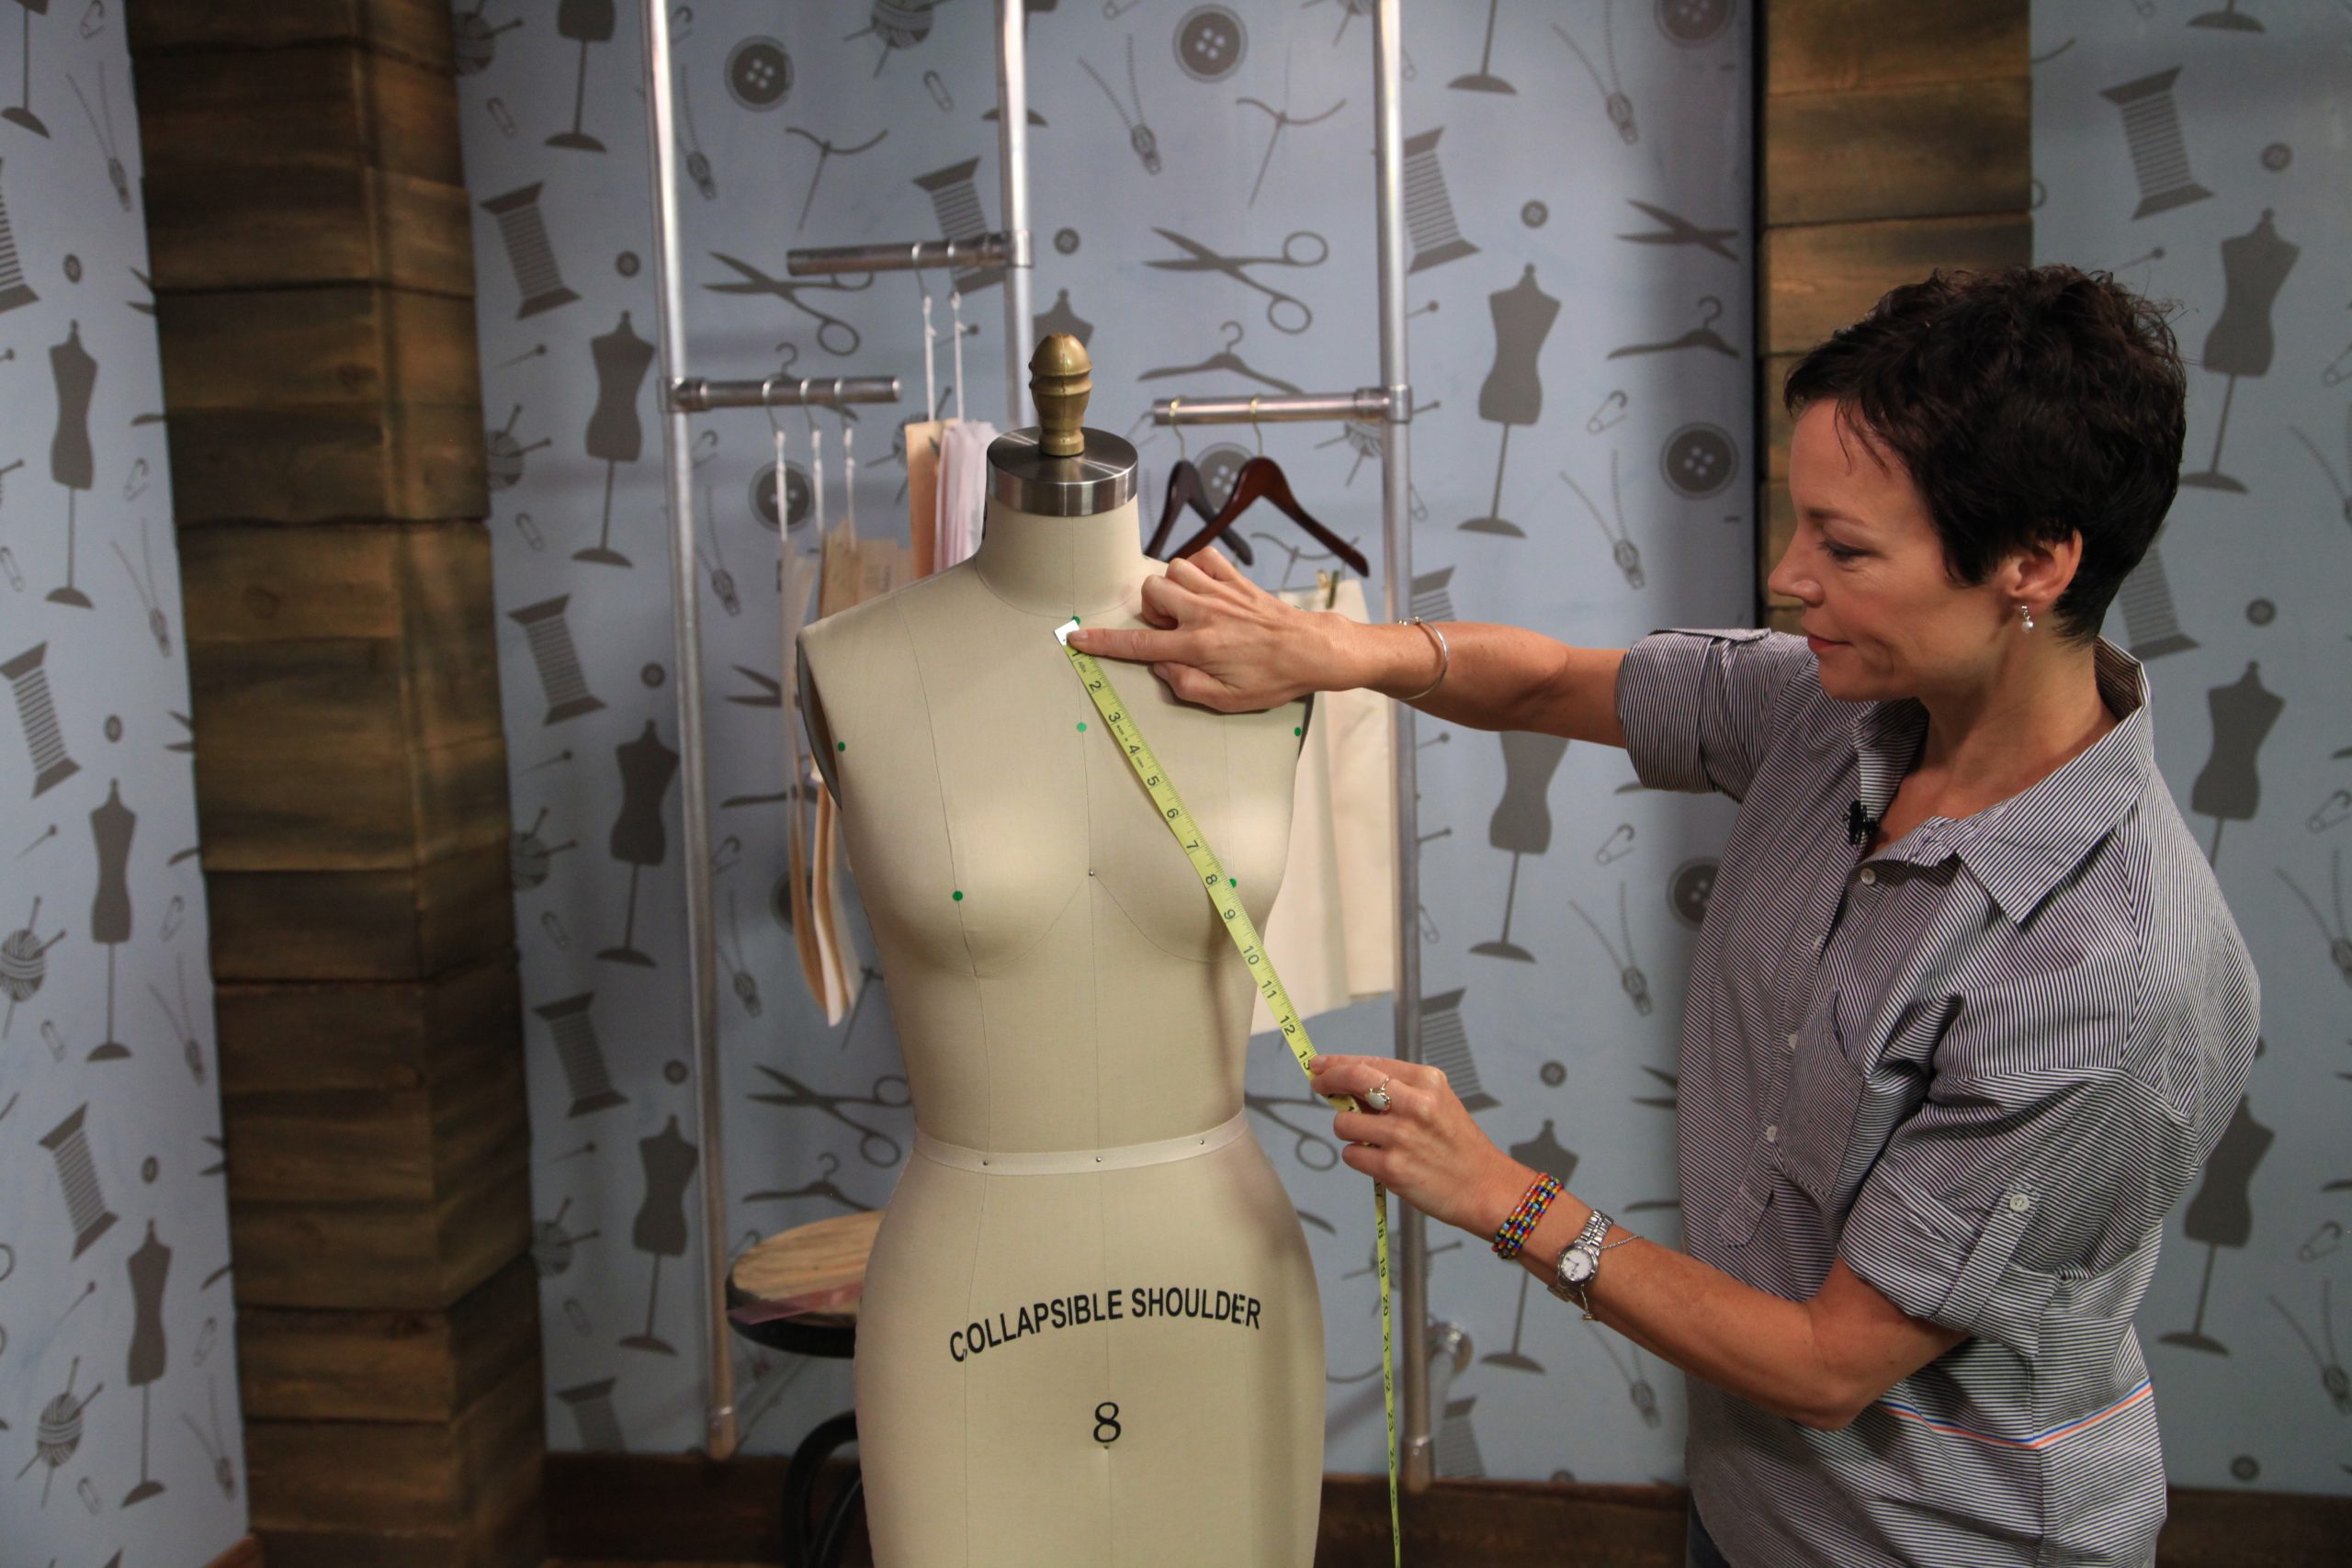
It's important to do two things while gathering your measurements: be "lightly dressed" — we're talking undergarments and nothing else — and find a fitting buddy, AKA someone you're comfortable being in front of in your underwear.
To begin, tie a piece of elastic around your waist. There are a number of measurements you need to take:
Record each measurement meticulously to the nearest half or full inch.
Pro Tip: The person taking your measurements should pull the measuring tape snugly around the body, keeping the forefinger underneath the tape and a thumb on top to hold the ends together. This helps increase accuracy and allows just a smidgen of ease for when you make the final muslin.
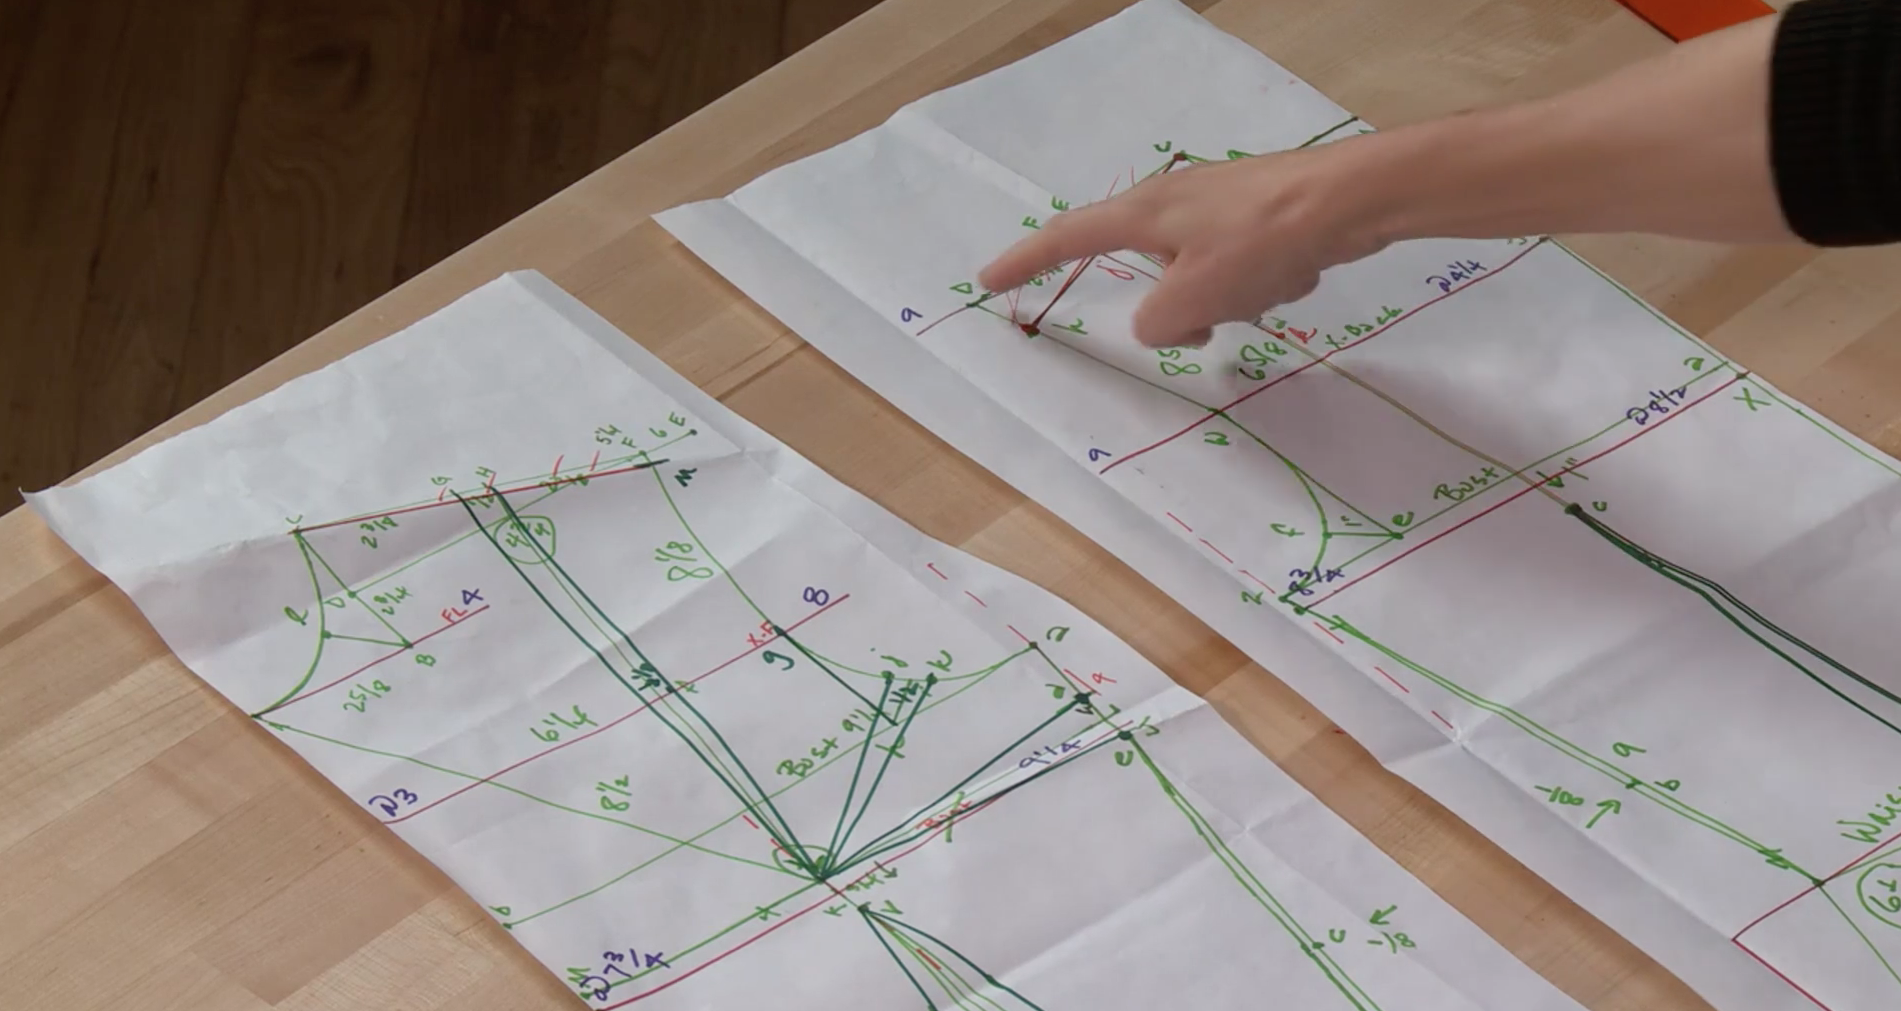
2. Make Your Calculations
Once all the moulage measurements are taken, it's time for some simple algebra. We have the detailed calculations you need to make, plus a worksheet to make it easy, in our class Patternmaking Basics: The Bodice Sloper.3. Draft the Moulage
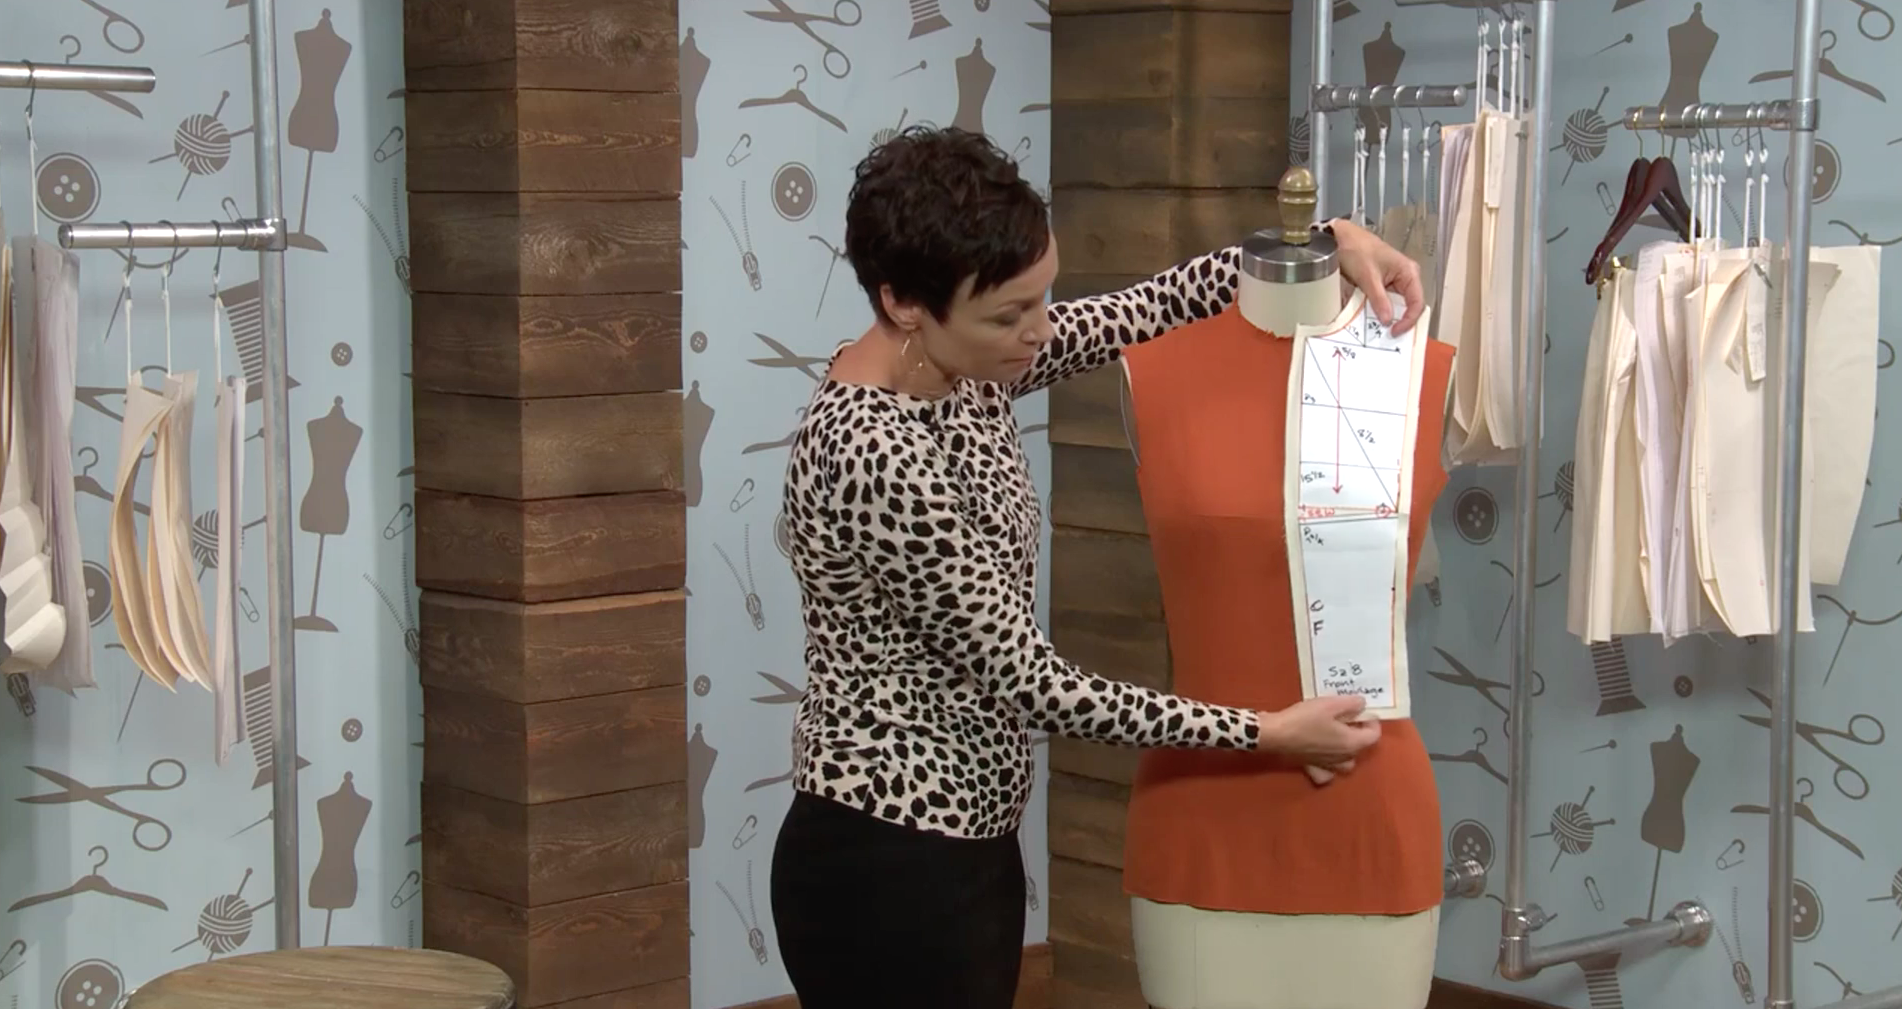
Draft a moulage back and front using your body measurements and calculations. You'll need the straight edge, square template and a pencil to draw reference lines on the large piece of paper to create your personalized pattern.
4. Construct a Muslin
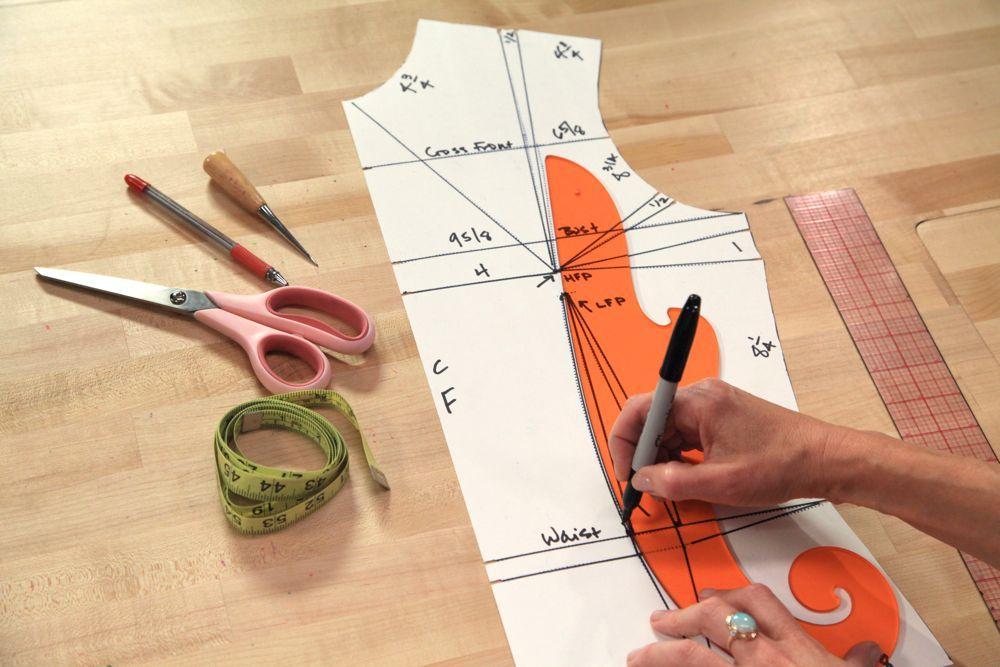
Once your moulage is drafted, use the paper pattern to trace cutting and stitching lines for your moulage muslin. Like with any garment, you'll need to staystitch curves, follow the correct construction order and insert a zipper in the back to allow the moulage to be easily put on and taken off.
5. Fit the Muslin
Try on the completed moulage muslin and check for the correct fit. Remember, this garment should have basically zero ease, no gaps and no wrinkles across your body. It should fit like a glove. Make any necessary adjustments to the muslin garment, then transfer those same adjustments to the paper pattern.
6. Draft a Bodice Sloper
Now that you have all the precise measurements for your moulage, create a sloper with minimal wearing ease added. You'll use this as your foundation piece to create unlimited designs with a personalized fit.

Hello. I'm a premium Craftsy member and have neen watching Suzy Furrer's excellent classes. What needs to be done differently to make men's moulages and slopers?
Send me a short video explanatory please.
In making the Back Bodice Moulage, do I measure down from the neckline (top line), 3 inches or is it 1/2 the distance between top line and bust line?
Draft bodic slipper
Could you please tell me how much do I need to measure for the Cross Back guide line down in the Moulage? In the Back? Thank you so much!