Miter joints produce a clean look, where the grain wraps around corners almost seamlessly with no end grain exposed. However, the neat look isn't easy to create.
For the purpose of this article, let's use a four-sided picture frame as an example. Before walking you through the process that I use to cut miter joints, I would like to discuss some factors that can affect the outcome of the frame.
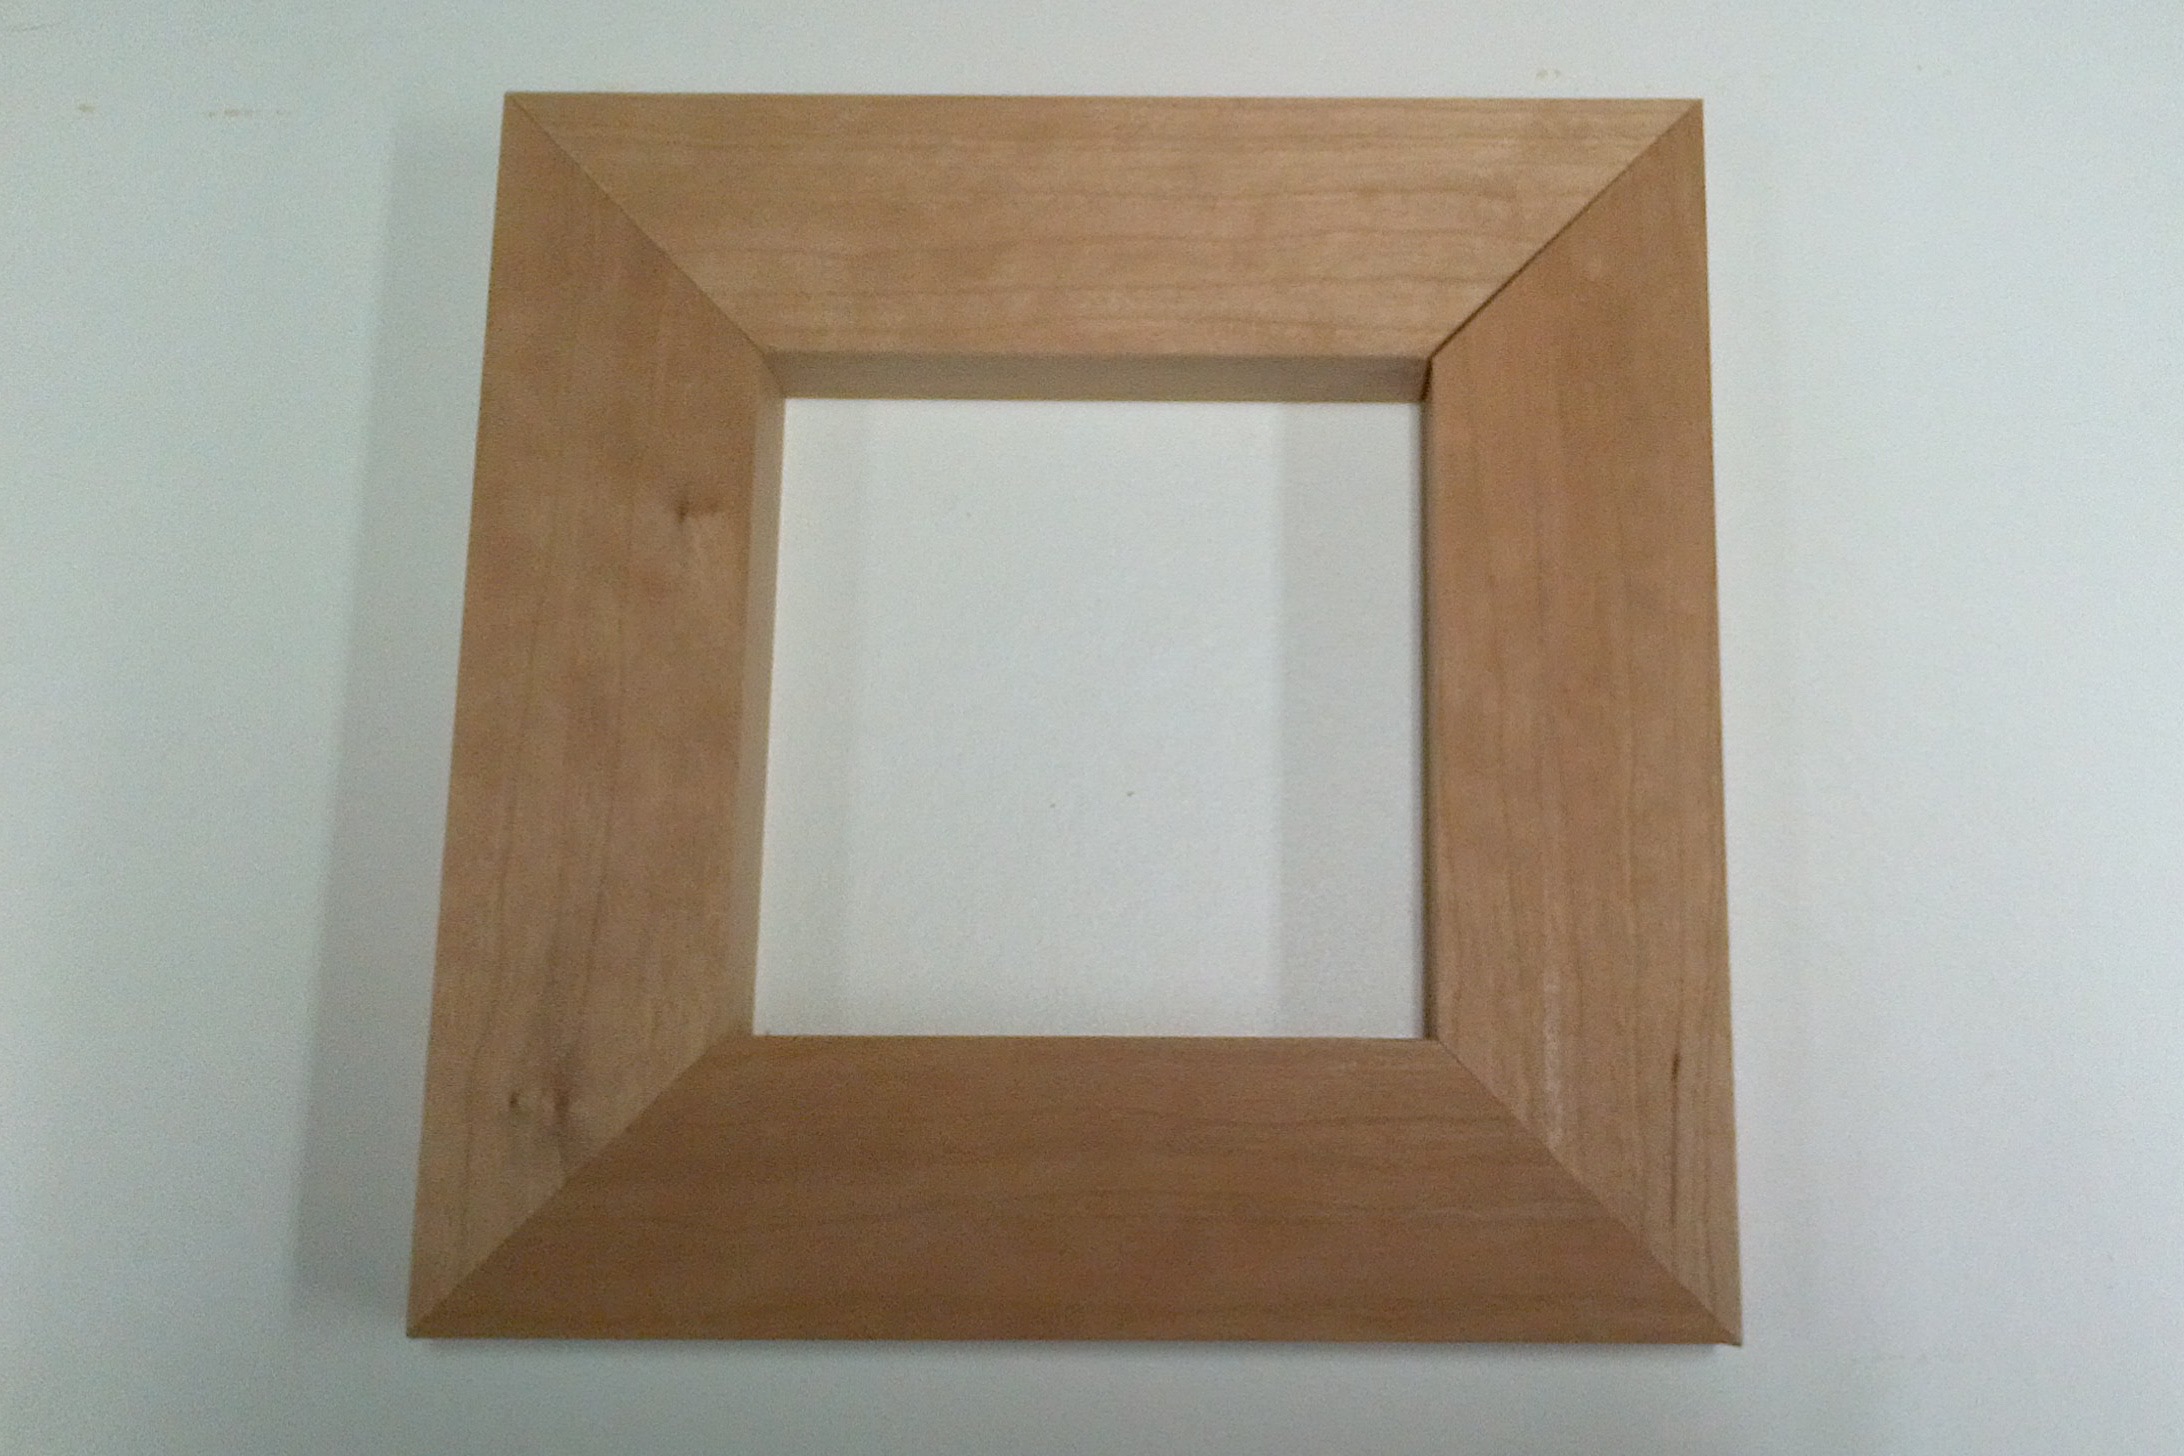
Notice the gap at the top right corner, cause by cutting the joints at too shallow of an angle.
Angle
This factor is most often blamed for poor miter joints. Four-sided mitered forms should have cuts at 45 degrees, and even a small degree of error can result in gaps at either the heel or toe of the joint when assembled. If each miter is at 45.2 degrees, the compounded error will result in a 1.6-degree error, which can be quite significant.
Although it is easy to check your mitering setup with a measuring tool such as a speed square or combination square, the truth is that regardless of the amount of care used, these methods aren't particularly accurate.

Setting up a saw this way is okay to get you into the ballpark, but not good for dialing in a high degree of accuracy.
A better way to verify the angle is to make enough test cuts to put together a closed shape and see how it fits.
While we're talking angles, we should examine the other angle direction — the bevel. If the cuts aren't perpendicular, this often causes problems as well. When two parts are put together on a flat surface, an even gap is visible across one surface. If the amount of error is not very much, clamps can usually close the gaps at the cost of pulling the frame out of flat.
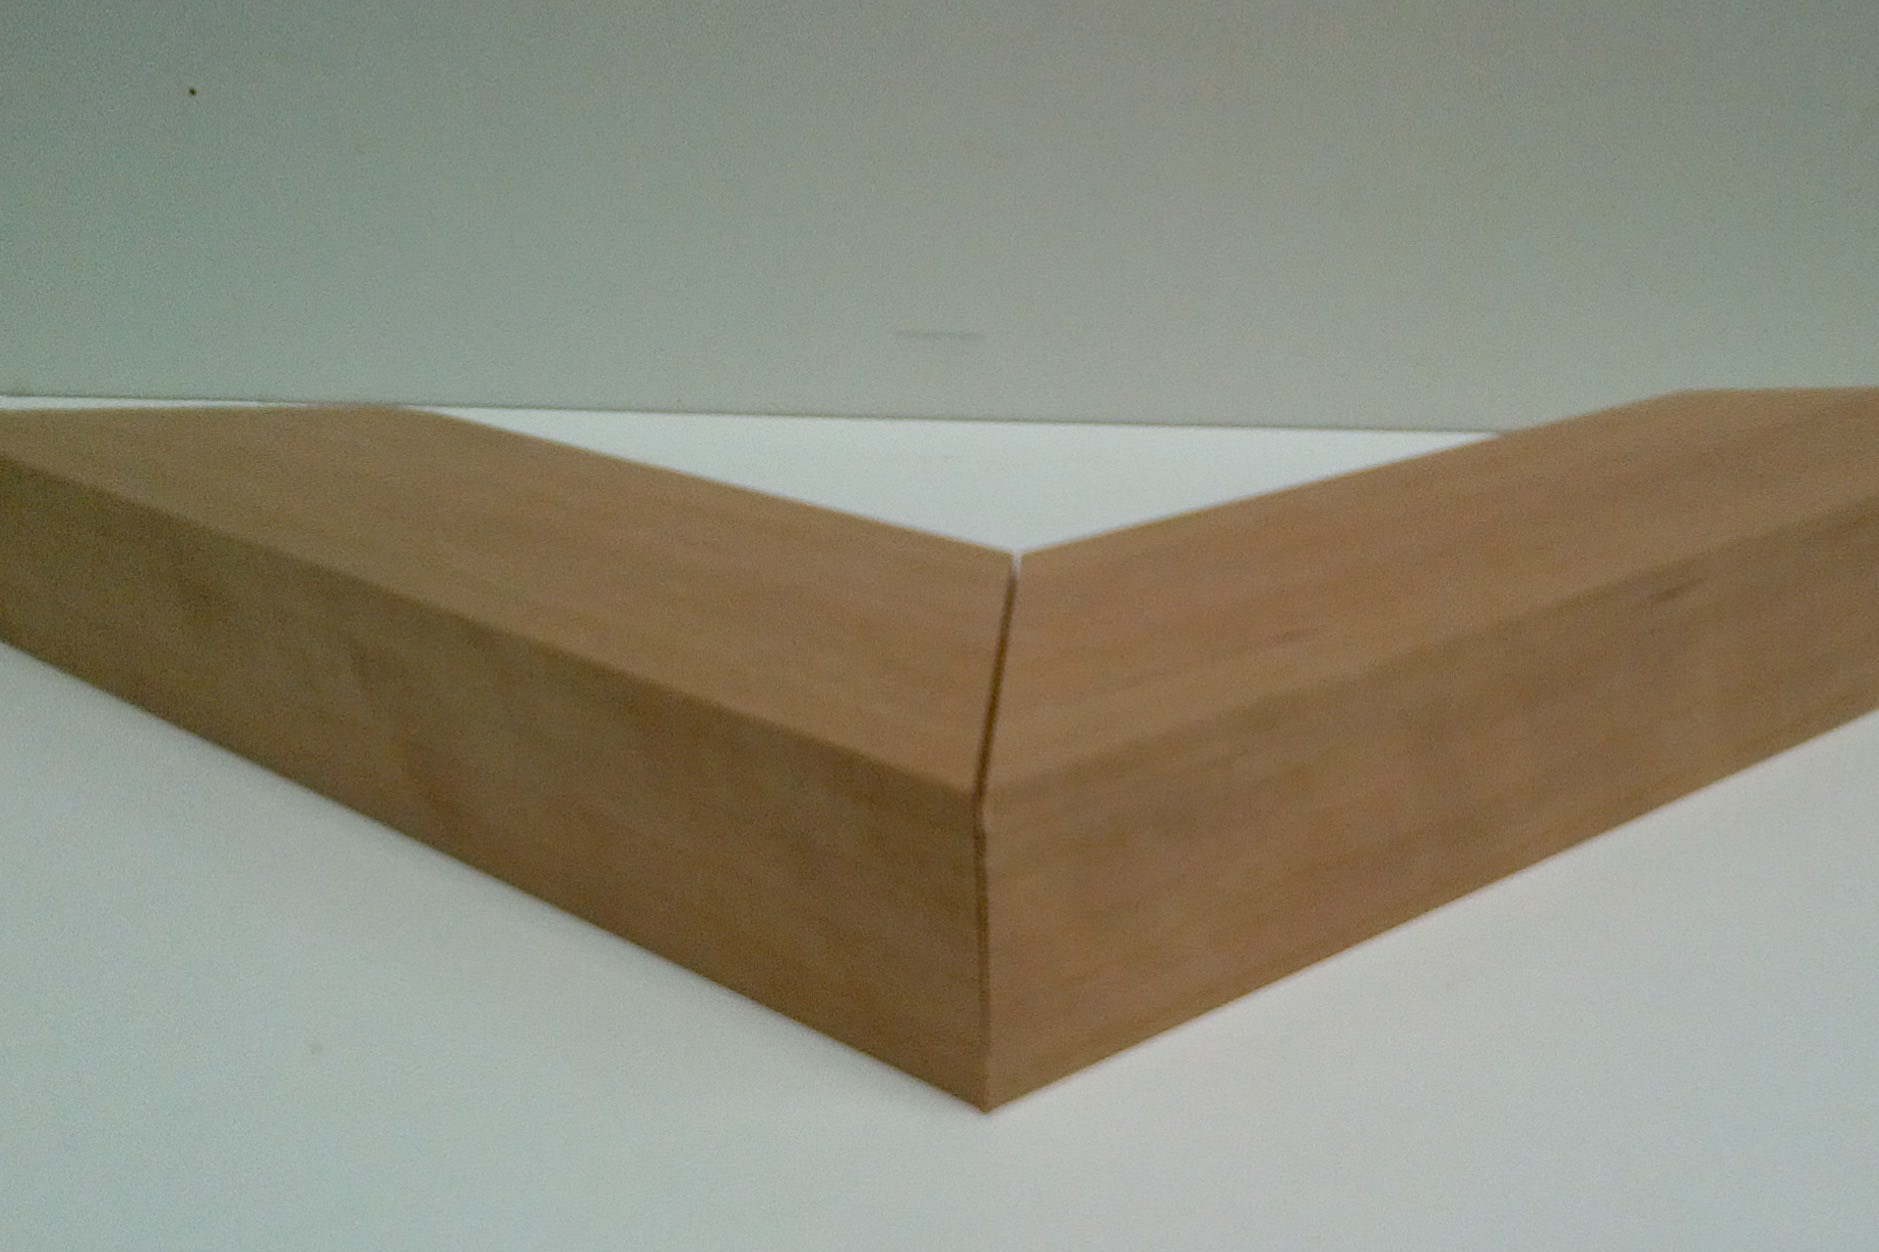
These cuts were made at a slight bevel (angle from top to bottom), so even though the joint forms a 90-degree corner and appears tight on one face, the joint gradually opens up towards the other face.
Length
Unfortunately, the angle isn't the only factor in creating good miter joints. Length is just as important. If parts are different in length, joints will not fit well even if the angles are perfect.
Fortunately, length is easy to regulate. Stop blocks allow accurate and repeatable positioning of material. Square frames require only one stop block to be set, while rectangular frames require two.
Straightness of cut
It's difficult to get two uneven cuts to meet perfectly, and for that reason, perfectly straight cuts are desired.
Most miter saws and table saws, if set up well and equipped with a good-quality blade are capable of making straight cuts. It is important that stock does not move during the cut, so it can help to clamp it in place.
If the tool that you are using does not cut straight enough cuts, the resulting surface can be cleaned up with a number of tools such as a disc sander, hand plane coupled with a shooting board, or even a dedicated miter trimmer. However, cleaning up the surface after cutting alters the length, so it is wise to check the fit afterwards and make adjustments if required.
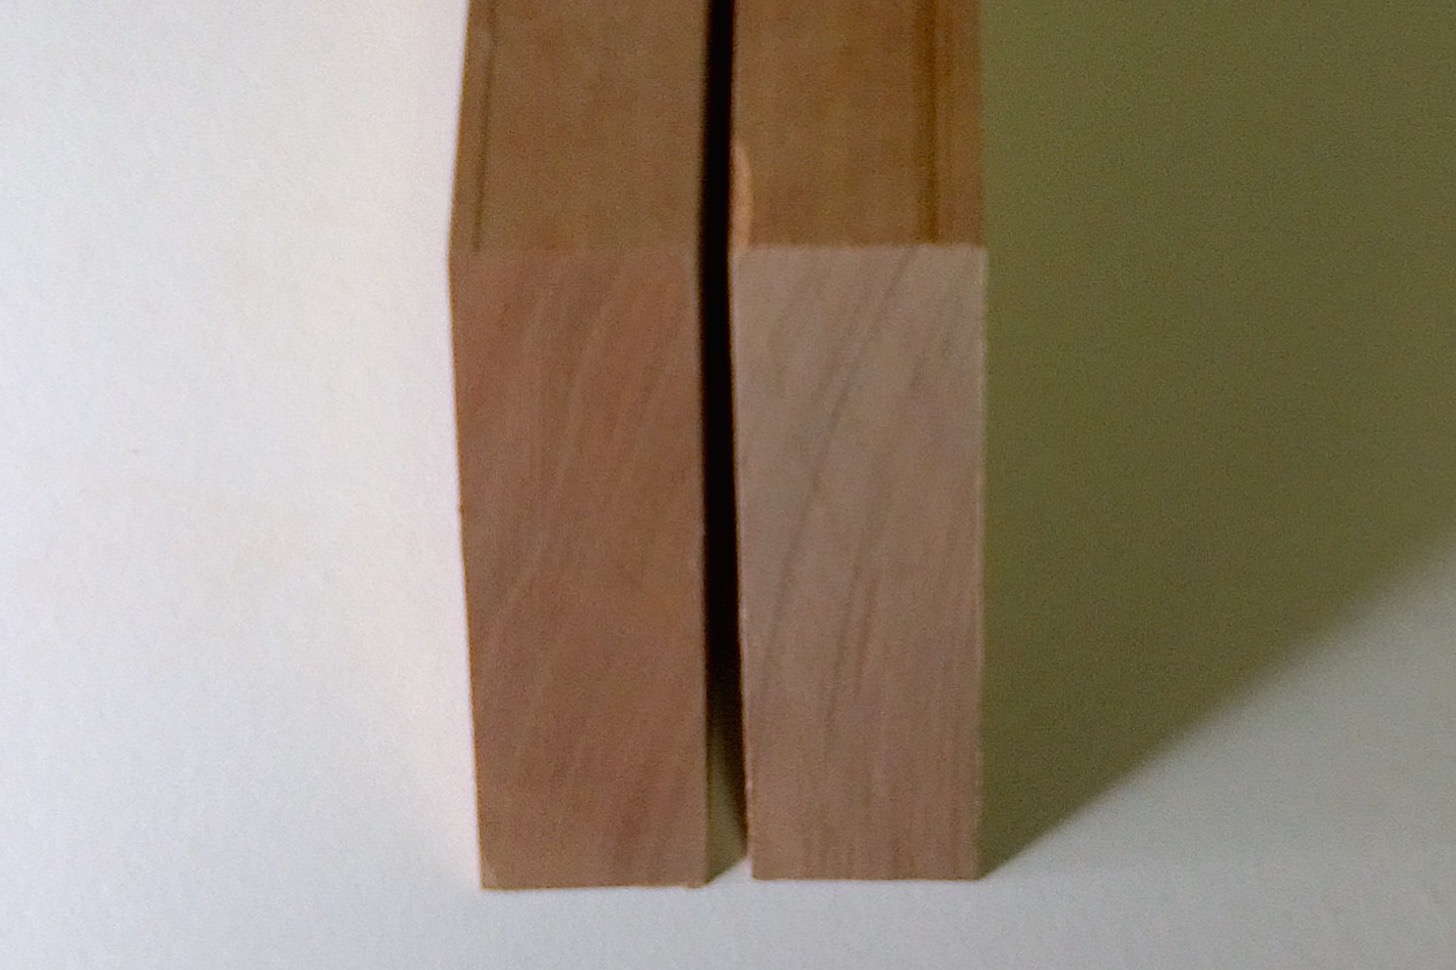
Even with a good quality miter saw and a quality, sharp blade, the quality of cuts that I was able to produce ranged significantly — the worst is shown on the right. If I were doing very fine work, I would clean up the cuts before assembling the miters, as illustrated by the sample on the left.
Let's cut some miters!
Before starting, ensure that your material is accurately milled. This is fundamental to accurate work. If you're not sure how to get flat, straight lumber, check out this Craftsy class on milling lumber.
Step 1.
I start by setting my saw to 45 degrees to make a four-sided frame, which I verify by making two test cuts and checking the resulting corner with a reliable square.

Use a reliable square to verify whether or not your test cuts meet at a right angle.
Step 2.
I make a single miter cut on one end of each of the four frame pieces, and reserve an offcut for use as a stop block.

The angled stop block provides greater registration for the workpiece and protects the fragile corner.
Step 3.
With the mitered offcut clamped in place, acting as a stop block, I cut the other four miters. Sometimes, it is difficult to position the stop block exactly where it is needed right away, so I often make a few test cuts, moving the stop block closer to the blade after each cut.
Although miters may seem complicated, once you break down what makes a successful joint, I think that you'll find cutting miters fun and easy.

I am trying to make mitered compound picture frames. How do I do this with one cut on the table saw: bevel cut (tilt of blade ang;e 41with the miter guage 29 degrees? Do I alternate sides of blade for the match up? How do you determine length?