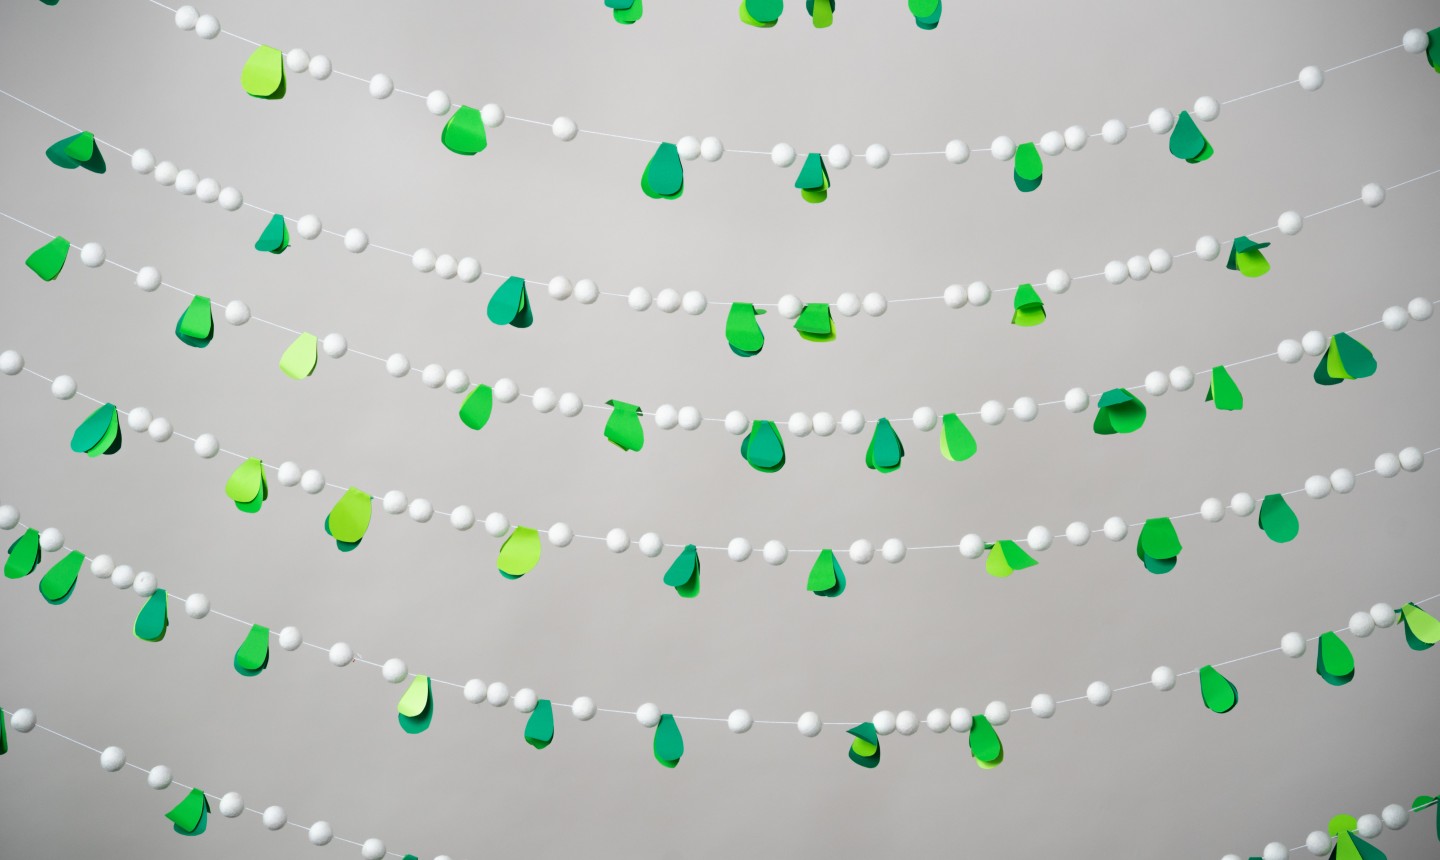
This DIY from Five Course Photo's Brooke Lark is a simple way to create a cute, fun focal point for your holiday party. String it up behind your buffet, or let it stand alone as an awesome backdrop for photos. Let the selfie-fest begin!
Mistletoe Backdrop
Level: Easy
What You Need
Instructions
1. Measure Your Space
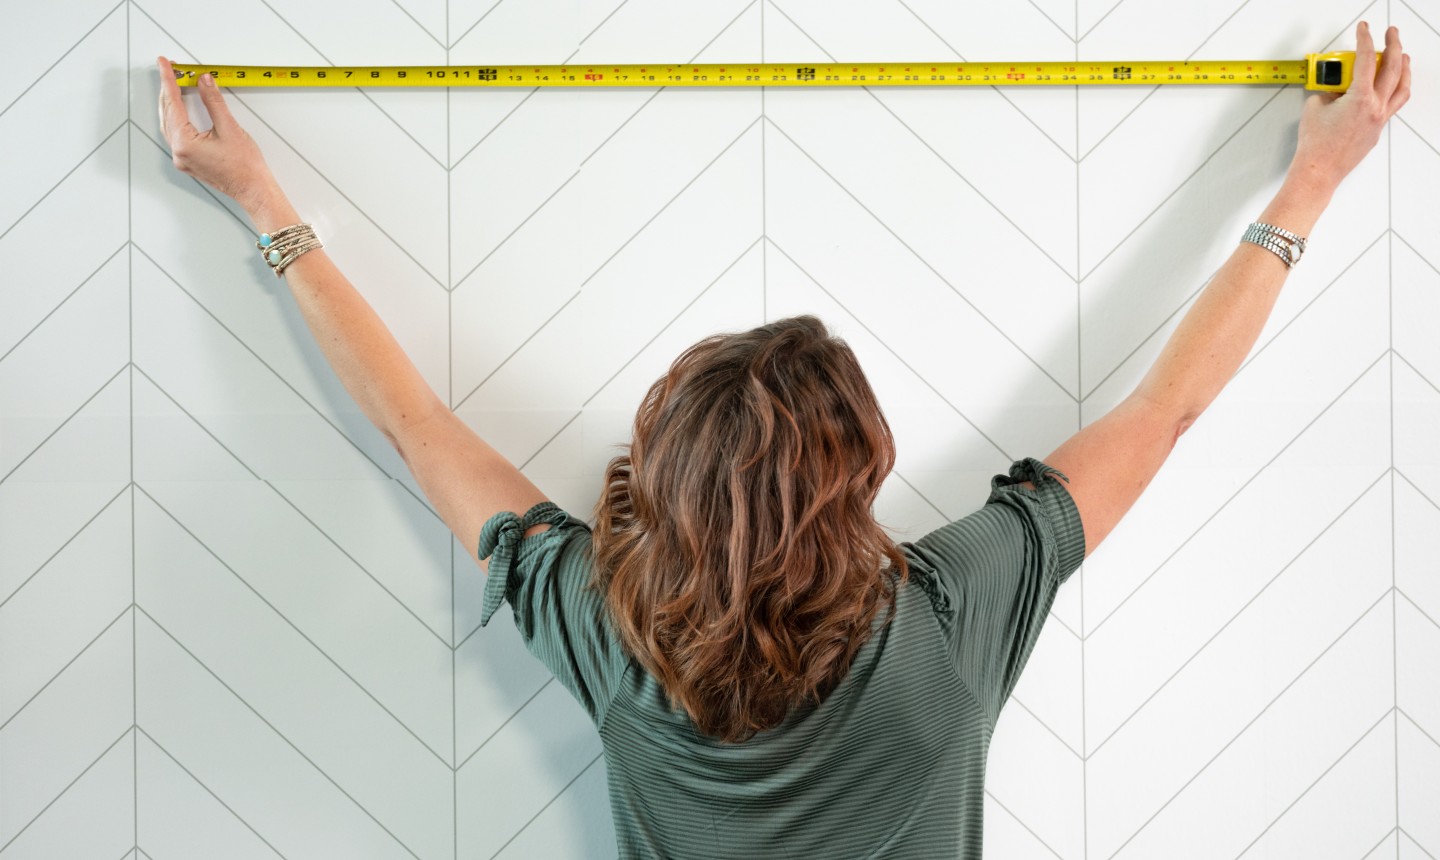
Pick the space where you’re planning to hang the backdrop (ideally someplace with enough room to stand back and take photos!) and measure the height and width. The height determines how many strands you’re going to be making, and the width tells you how long those strands will be.
Pro Tip: Once you measure the width, add two feet to your string so you have some extra slack for hanging.
2. Thread the Felt
Cut your needed length of string, tie a knot in one end, thread the needle and get to work. To string the thread balls, simply push right through them with your needle and arrange them sporadically on the string. There’s no right or wrong way to do this — just make sure there’s at least one ball every couple of inches. When you’re done adding the felt balls, tie your string off to keep everything from tumbling off.
3. Make the Mistletoe
Fold the two ends of your paper so they meet in the middle. Then, fold backwards to create accordion-like flaps.
From the paper’s folded edge, cut teardrop shapes. Because of the clever folding, you'll get a couple at a time. Make sure to cut out plenty of leaves in different shades of green, and a little size variety is good, too.
4. Attach the Leaves
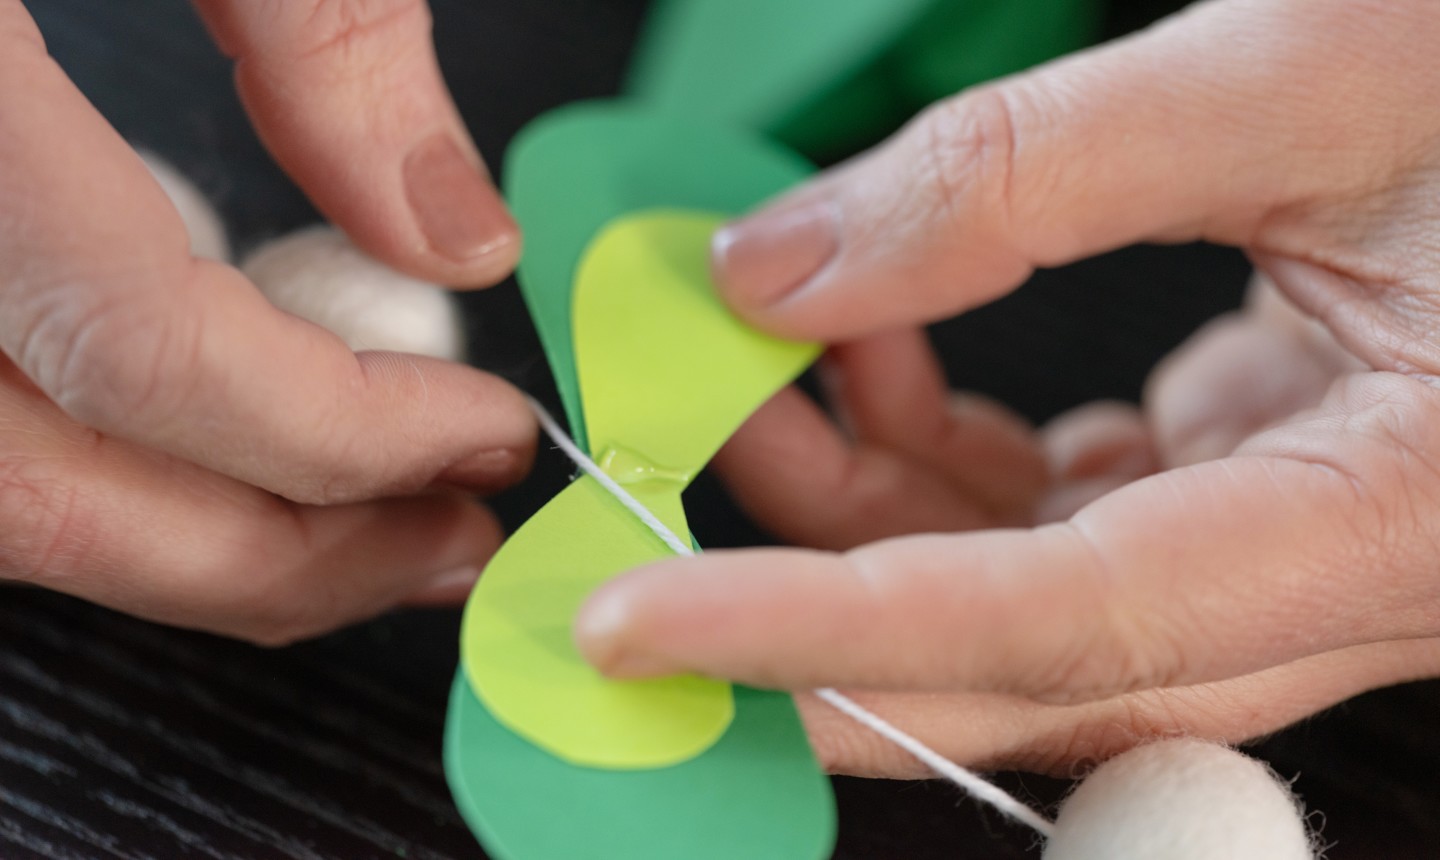
Grab two leaves (in different shades of green!) and your hot glue gun. Add a small amount of glue to the center fold of one leaf and glue the other right on top. Once your leaves are glued, place another dollop of hot glue in the center, drape the paper over your string and pinch it shut to secure it.
When the mistletoe is secured to the string, gently curl the leaves back to open them up a bit.
5. Repeat!

Keep working on threading felt balls, cutting out leaves and gluing on mistletoe until you have a bunch of decorated strands. When all your strands are finished, use tacks or pins to hang them up, placing them about a foot apart. Now say cheese! You're ready to party.

So much to learn on Craftsy's website so little time to explore the myriad of skilled artists practising their unique approach to crafting Always excited to explore unique artistic applications of those common conventional techniques we all learned from prior generations of excellent crafters