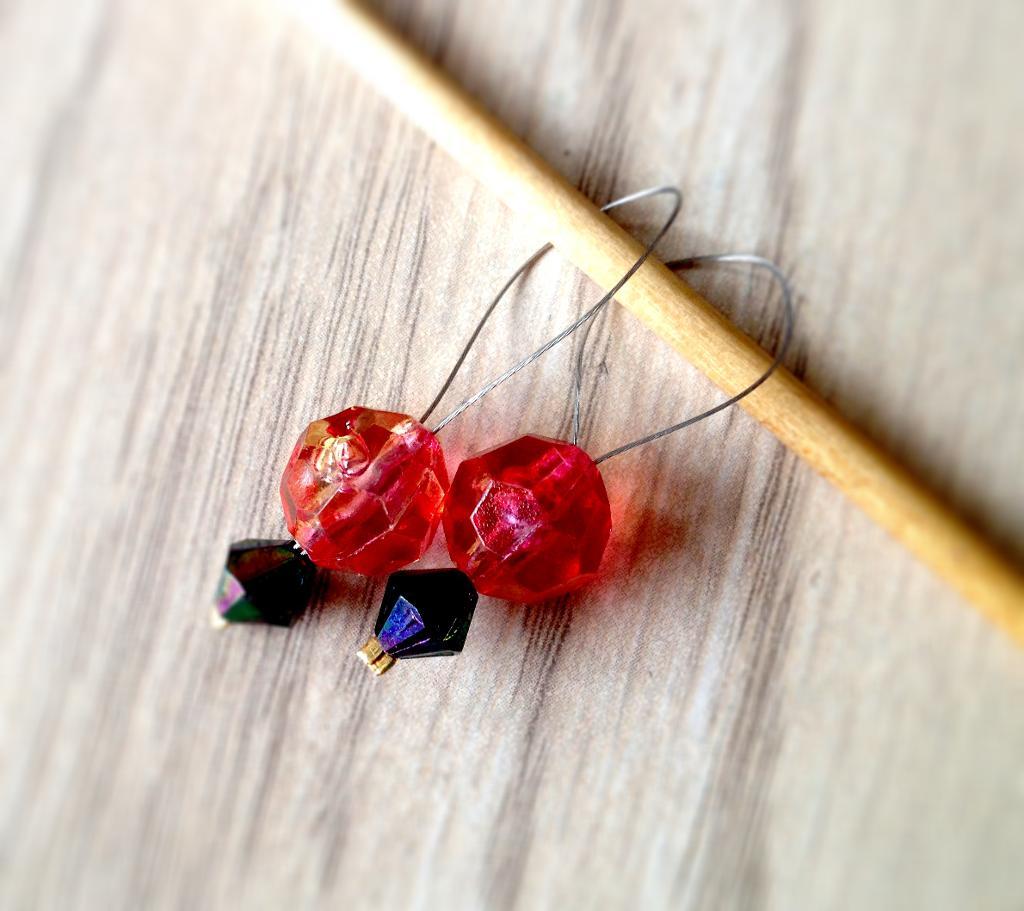
If you're an experienced knitter, you probably already have stitch markers in your knitting kit. But what if you're working on a huge project and you run out of knitting markers? What if you're traveling or knitting in public and suddenly need a knitting marker? It's time to get resourceful and learn how to make your own knitting stitch markers.
From markers that are as fancy as your favorite earrings to markers made from household items, there's a way to make a knitting marker in almost any situation.
Here a few ideas to help you out when you're stuck without a marker.

Photo via DesiLoopbySSK
Snag-free stitch markers
These snag-free stitch markers are so pretty that they look like jewelry. It's no surprise that they're actually made using jewelry supplies like beading wire, crimping beads, and a crimping tool.
Twisted stitch markers
This collection of knitting markers isn't just for marking your stitches. They also hold important information like directions (right, left, back, front) or specific instructions (slip, slip, knit) so that you can remember why you marked the stitch. Alphabet beads, sold in any craft store, help you out. You can customize the markers to say anything depending on the project you're working on. When you're finished, just untie the markers and reuse the beads for your next project.
Household items
You can grab a lot of items from around your home or even your local coffee house if you're knitting in public. Try a few of these as stitch markers.
1. Paper clips:
Bend and shape paper clips to slide over the needle. Try to choose smoother clips, as ridged clips can get stuck on your yarn.
2. Yarn:
Make a slip knot on a small piece of scrap yarn, leaving an opening big enough for your needle to slide through. This is especially handy if you knit while traveling. You can also cut this little piece from the opposite end of the skein you're working with.
3. Straws:
Cut up the straw into tiny fragments and slide them onto the needle as markers.
4. Floss:
Floss might be difficult to see depending on the color and type you use, but it still gets the job done.
5. Safety pins:
Most of us have safety pins hanging around. (I even keep them in my wallet for clothing emergencies.) Be careful when using them as a knitting marker, as yarn can sometimes get caught in the closure and snag.
6. Old jewelry:
Put old jewelry to use as the most beautiful knitting markers you'll ever see. Clip-on earrings and rings work especially well.
10. Embroidery floss:
This is already in most crafters' supply stashes. Choose a color that contrasts your yarn so the marker will be more visible.
11. Jewelry findings:
Closures like toggles and jump rings can be slid onto your work just like a store-bought stitch marker.
Caught in a bind and don't have anything on this list? Look around you for any object that's small and round. If that's not an option, just find some type of string or thread that will tie right onto your work.

Pipe cleaners, wrap around the stitch and you won't lose it.
Thanks for suggestions. I want to add another great idea for diy stitch markers. I'm using a type of pasta here in Italy, that is called "anellini" or "anelli siciliani". With this , I had many many stitches markers! Also, I'm thinking to add a painting or spray this type of pasta as well, so that it can be more resistent with time, and keep away any insect (you never knows, since it's commestibile, i prefer to add a spray and a color to protect them and also give a touch of color as well! PS: I also want to advise to not waste the pasta for nothing, but use just the quantity correct to make these rings as stitch markers, so it's a way to use pasta in useful thing, but never waste food for nothing, so , the rest of pasta have to be well close and keep it safe, for a good plate recipe! Thanks for reading!