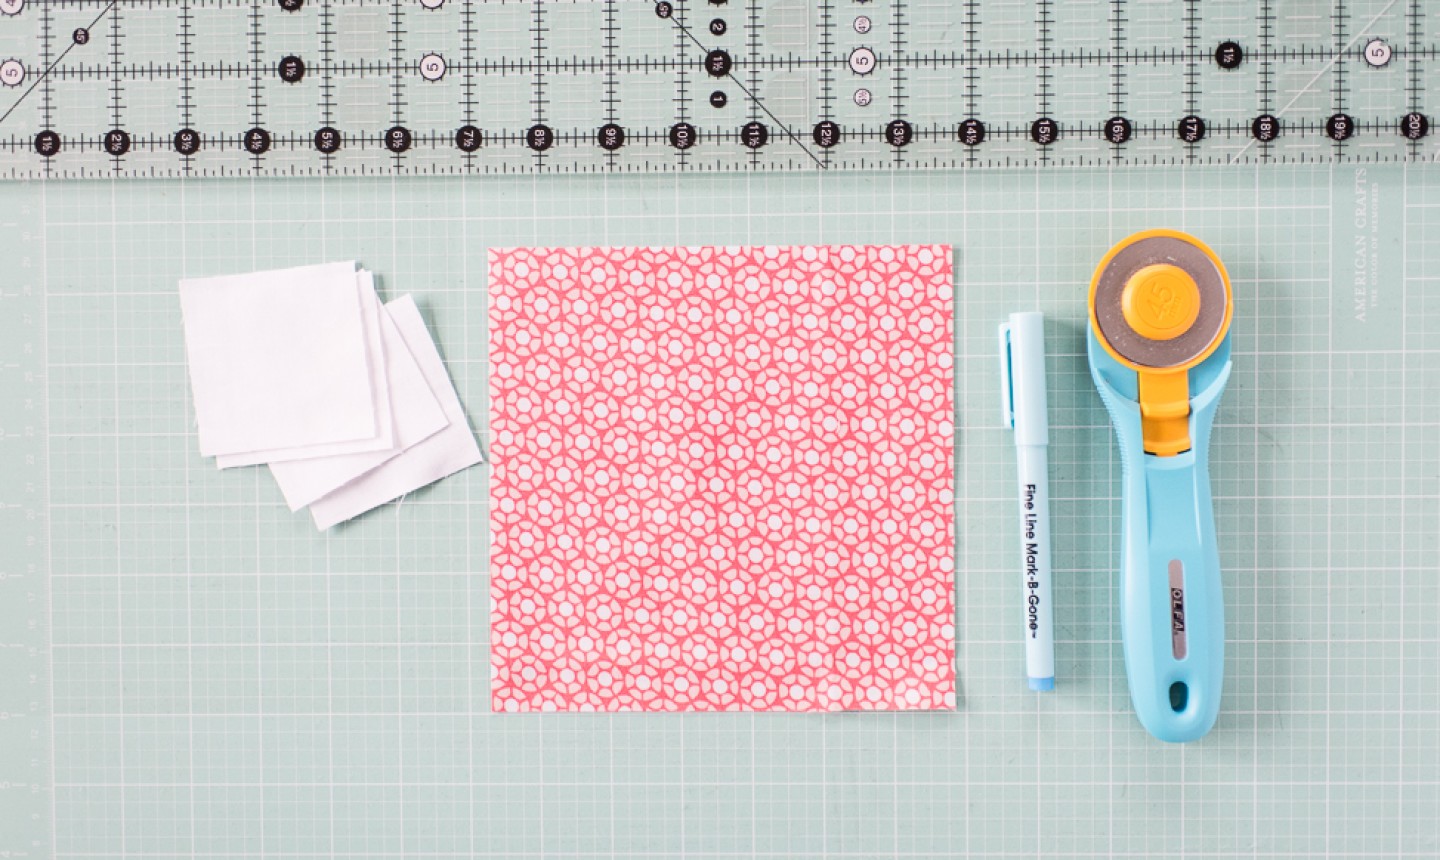
With their easy construction, simple piecing and minimal fabric requirements, snowball blocks are a solid choice for quilting newbs. They work well in a starring role, but also can do heavy lifting as filler blocks: definitely a quilt block you want in your arsenal. We’ll show you how to make them, step by step.
How to Calculate the Size of a Snowball Block
First things first: what size block should you make? The snowball quilt block can be any size, really, but it’s best when the finished size is divisible by three. So once you’ve decided on the finished size, do two quick calculations:
To make it easier, here are calculations for the most common snowball block sizes:
For the step-by-step tutorial below, we’re making a 6″ finished snowball block.
Snowball Quilt Block
Level: Easy
What You Need

Instructions
1. Start by marking a diagonal line on each of the 2½” corner squares
2. Arrange the corner squares to align with the corners of the center square, right sides together and with the diagonal lines you drew not pointing to the corner. Sew the corner to the larger square following the line you marked. Repeat for all four corners.
3. Trim ¼” past the sewn line, cutting off the corners of the square. Discard trimmed pieces.
4. Press all four corners open, pressing the seams toward the darker fabric.
That’s it! You’re done. A super-simple quilt block with endless design possibilities as well as size options.
Going to try it .
Thank you. I was having trouble trying to work out the size of the square to use in corners of snowball block as it had to match up with a nine-patch block on all four sides. :)
More sample please