Copic markers are well known for their vibrant colors on white, but have you tried using them on kraft? By including white embossed lines or adding white highlights or dots, Copics on kraft paper will really pop!
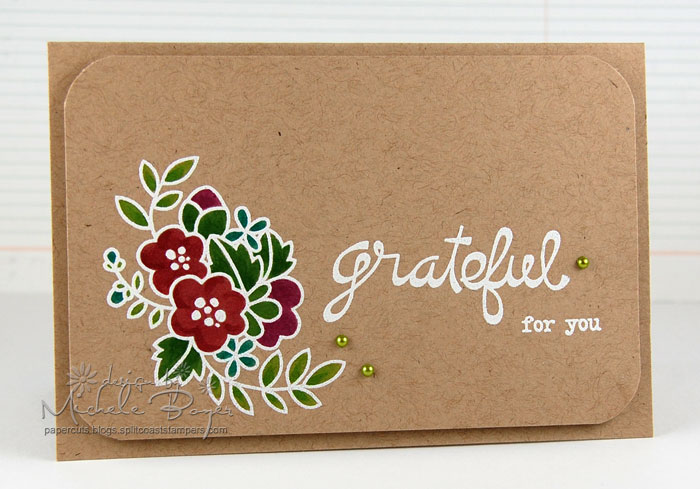
I've created a sample using an open image with white embossed lines. Making kraft cards with Copics is very easy and quite addictive. If you make a mistake and color onto the white lines, don't worry! I will show you how to easily erase the mistake, resulting in a beautifully colored image.
How to color a kraft card with Copic markers
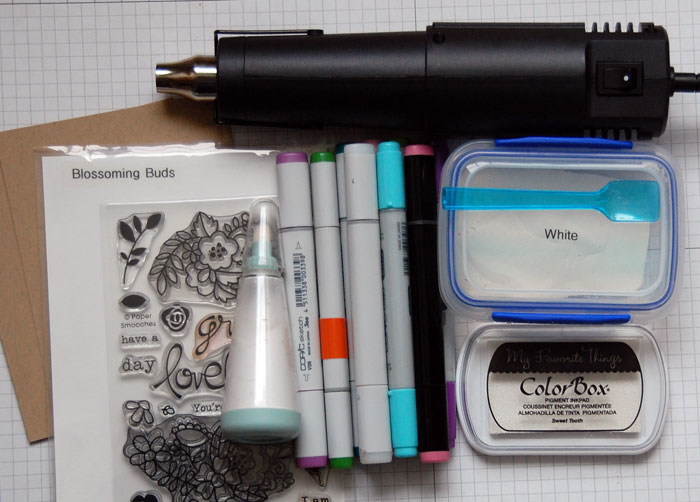
Supplies you'll need:
- Kraft card stock
- Powder tool
- White pigment ink
- White embossing powder
- Heat tool
- Stamp set with open images (I used Blossoming Buds by Paper Smooches)
- Copic markers (I used YG05, YG17, R85, BG15, V06)
- Copic colorless blender
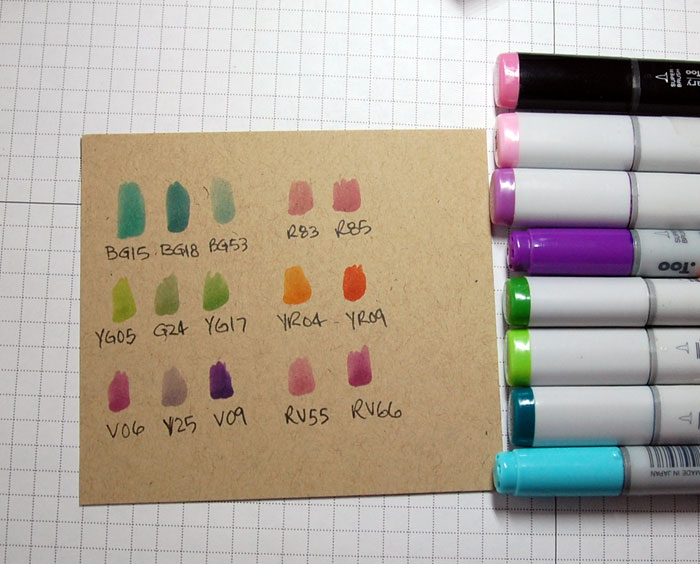
Since Copic ink is translucent, the color will not appear quite the same on Kraft as on white. Before putting marker to paper, create a quick sample chart. Choose two or three shades of each color you'd like to use in your design. Color a small section of each onto Kraft and indicate the marker number below. I keep a chart near my markers to use as a visual reference, adding colors as necessary. From this chart, I can more accurately choose which specific colors I'd like to use.
From the samples on my chart, I selected a green for each leaf type in my design plus three colors for the flowers.
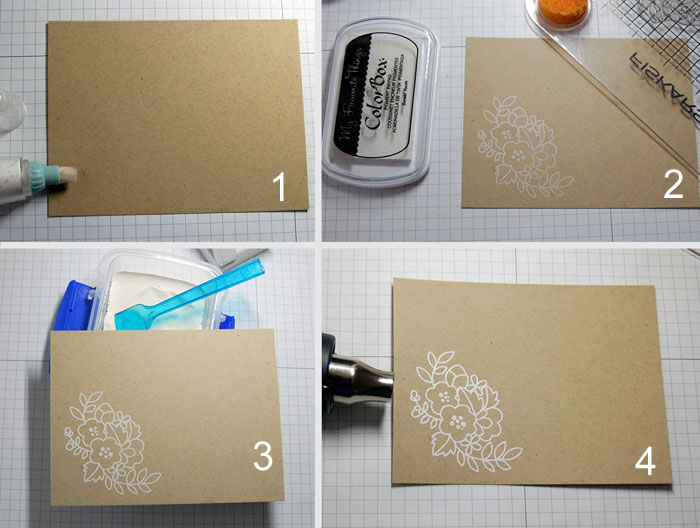
Step 1:
Apply powder to card stock block to help prevent stray embossing powder particles from sticking in areas other than the inked image. I apply the powder liberally as every stray speck of white powder will show once heat set.
Step 2:
Stamp image using white pigment ink.
Step 3:
Apply white embossing powder. Be certain all areas of ink are well covered then tap off excess powder.
Step 4:
Heat set image.
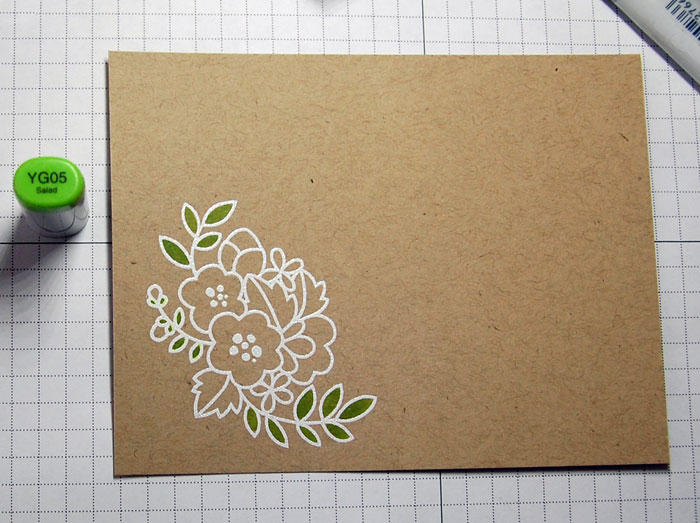
Step 5:
Color small pointed leaves with YG05. Use the very tip of the marker to apply color up to the edges of the white embossed lines. If desired, use a marker one shade darker to add a bit of shadow to base of leaves. (See finished sample.)
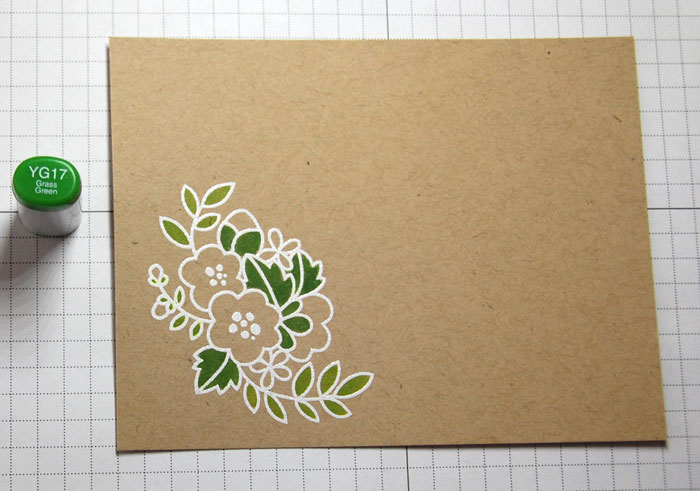
Step 6:
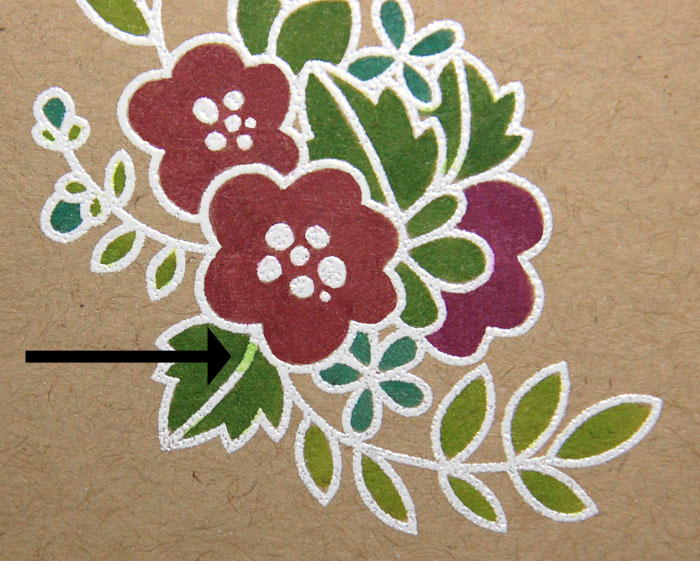
Color larger leaves with YG17.
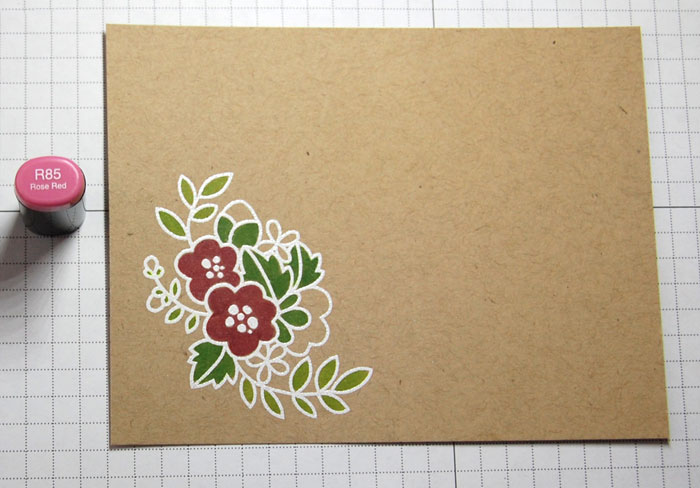
Step 7:
Color dotted flowers with R85.
Keep in mind that each time ink is added to one area, the resulting color will be darker than the sample created on the color chart above.

Step 8:
Color small flowers and buds with BG15.
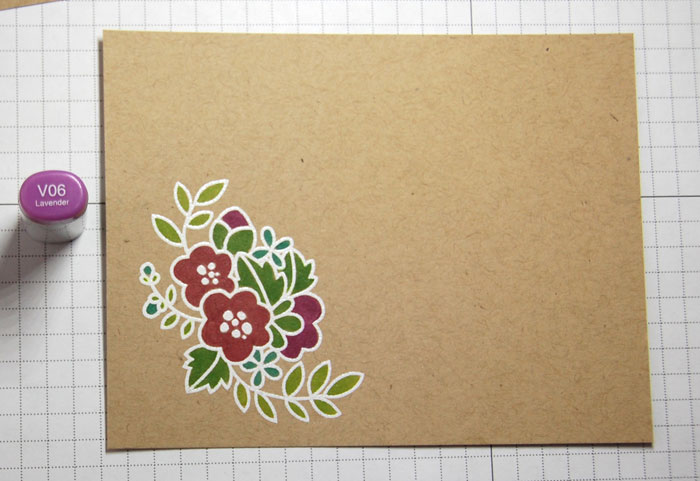
Step 9:
Color additional flowers with V06.
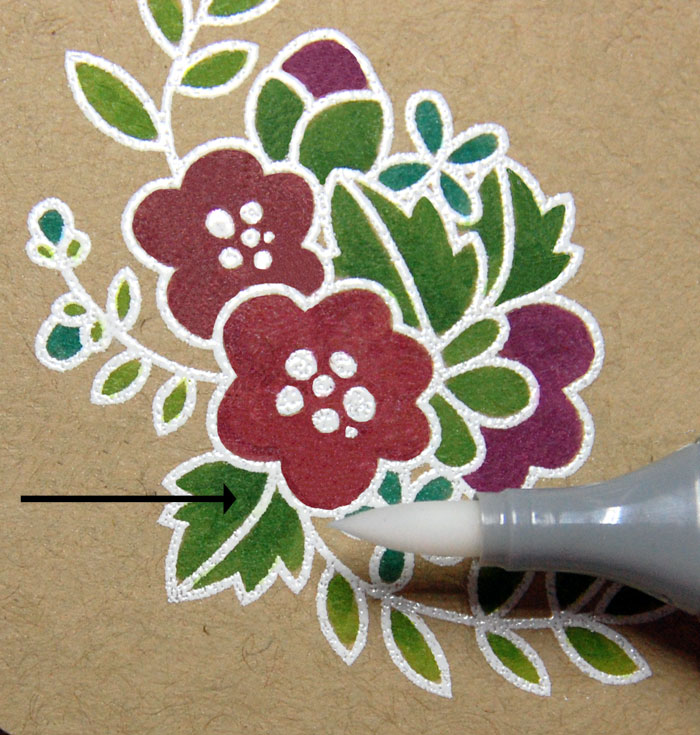
How to correct mistakes
Should you accidentally color over a section of the embossed image as shown above, use the Colorless Blender to remove the ink. Be careful to touch the blender pen only to the embossed line. If the Colorless Blender touches the colored portion of the image, a lighter spot of ink may result.
After removing ink from the embossed area, clean the Colorless Blender pen by wiping onto scrap paper. You will want to do this in between each "cleaning" of the embossed lines.

Share tips, start a discussion or ask other students a question. If you have a question for an expert, please click here.
Already a member?
No Responses to “Create Eye-Popping Cards With Copics on Kraft”