When it comes to black and white drawing, no other medium is as rich and satisfying as charcoal. The velvety darks and the ability to create loose, gestural marks are what make charcoal so unique.
Let's take a look at the basics of drawing with charcoal.

These are a few of the basic materials you need to get started with drawing in charcoal.
- Vine charcoal (center) — This is an actual piece of charred willow, and comes in several softness/darkness varieties. Easily erasable.
- Compressed charcoal — These usually come in bar form and are generally much darker than vine charcoal, though they also come in several varieties of softness/darkness. Not easily erased.
- Charcoal pencils — This is compressed charcoal in pencil form. It's a little less messy, and can be sharpened to a fine point.
- Erasers — While I prefer white vinyl erasers, others often choose kneaded erasers because of the lack of debris. I also like pen-shaped erasers for finer control.
- Pencils sharpener — A lot of charcoal pencils are wider than typical drawing pencils, so finding a sharpener with a wider hole is desirable.
- Paper stumps — These are great for softening and blending charcoal, and for evening out your values.
- Chamois — This soft leather square can also soften value fields, and is good for lightening areas of charcoal that have become too dark.
Now, follow this tutorial and try drawing with charcoal yourself!
Step 1:
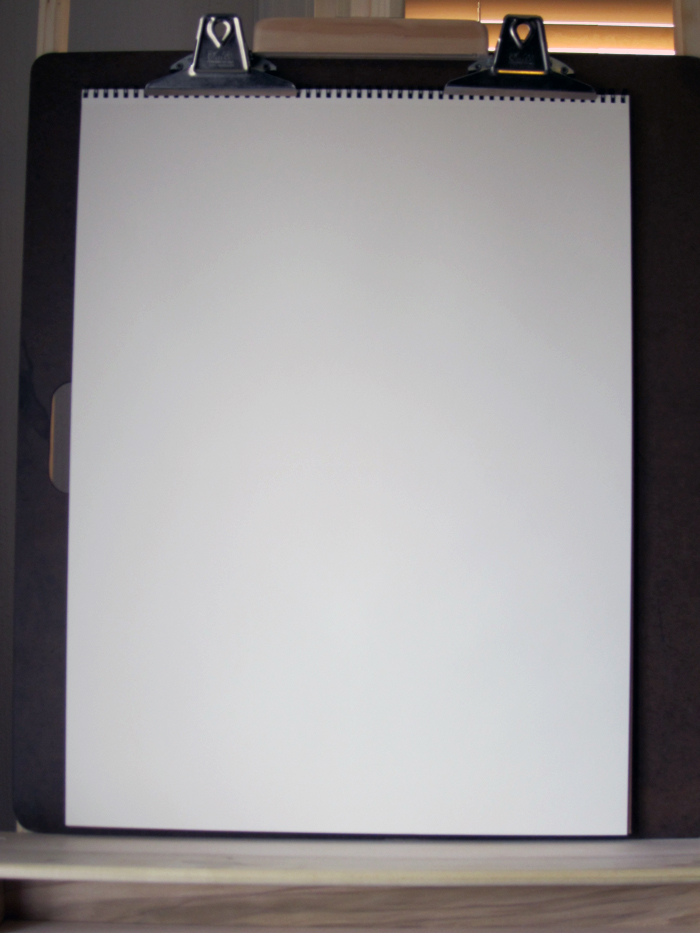
When you start a charcoal drawing, it's best to work vertically on an easel or drawing horse. This allows the charcoal dust to fall away, and lets you see the whole drawing without any distortion or foreshortening like you might see if working on a flat surface.
Make sure to secure your paper or sketchpad to a rigid surface before you begin, such as a drawing board with clips, or you will be spending a lot of time holding your drawing still with one hand while drawing with the other.
Step 2:
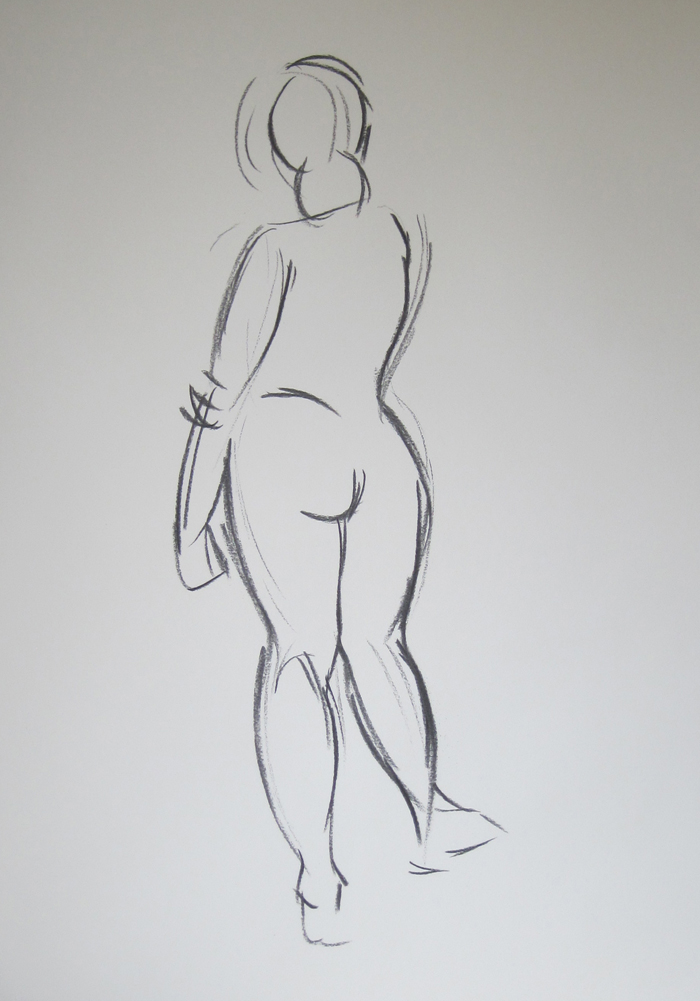
Lay out the basic shapes with a stick of vine charcoal. Because it can be erased easily, it's great for rough sketching before more permanent marks are made. I like to start with quick, gestural lines that can be reshaped and refined later.
Step 3:
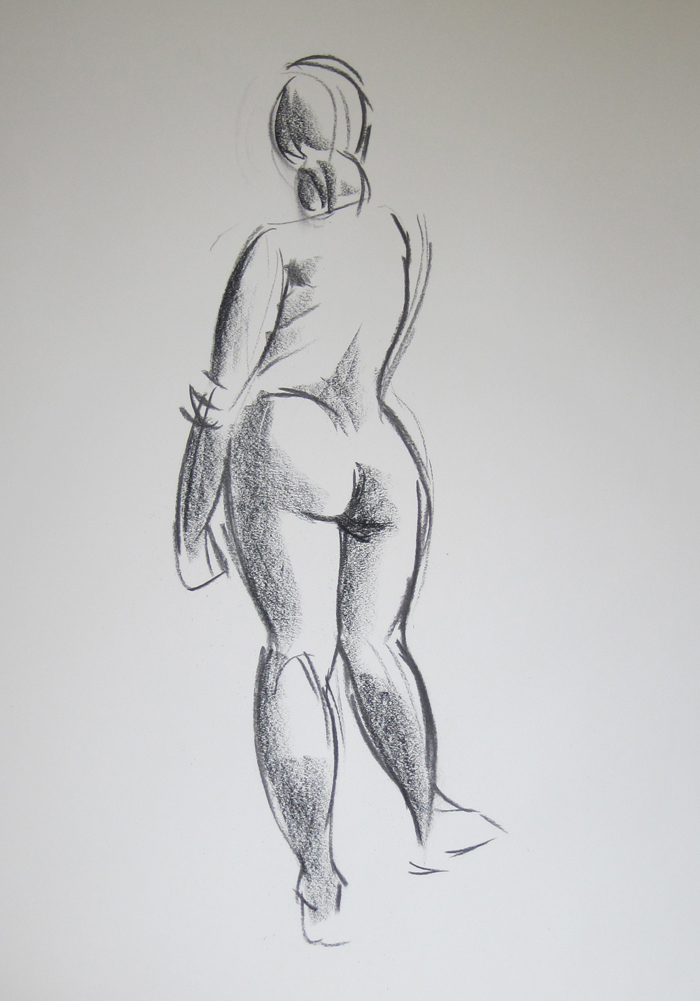
With the edge of your compressed charcoal, start laying in values. Pay attention to where the light source is in your source image or subject. Don't get too dark just yet!
Step 4:
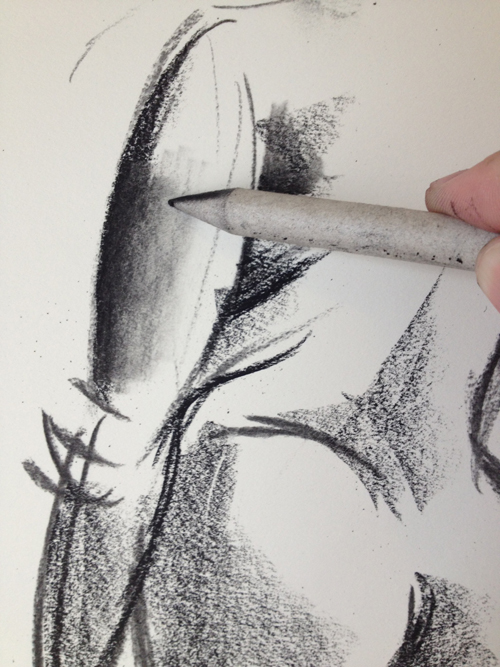
Sometimes the strokes and marks of compressed charcoal are desirable, and sometimes they aren't. With your paper stump, you can start smoothing and blending some of your values to get more even tones, as well as extend your marks a bit further without directly applying charcoal.
Step 5:
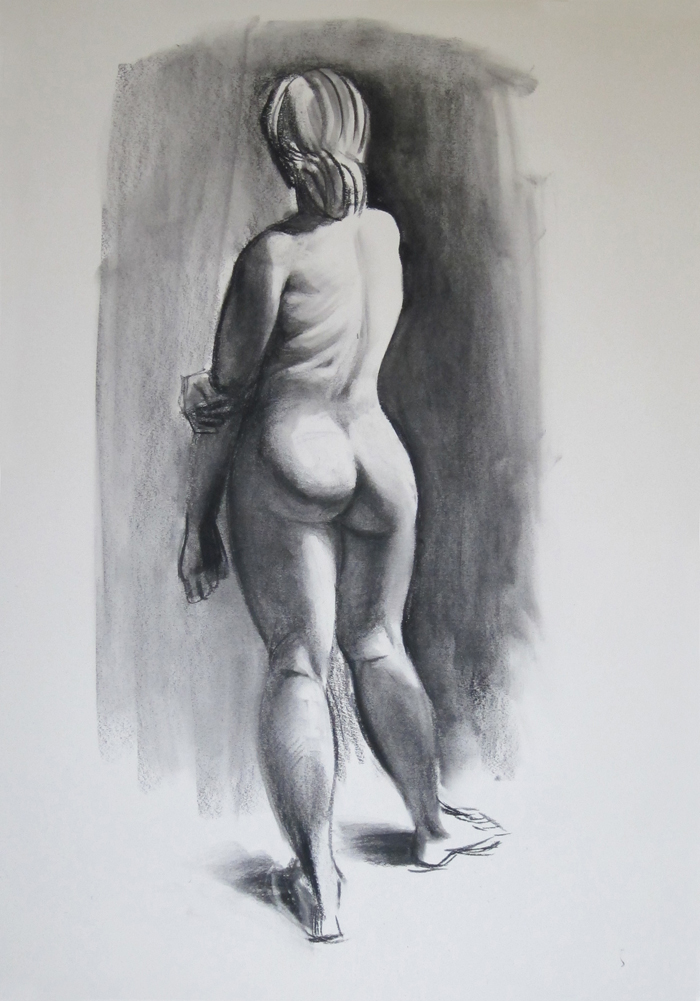
Continue applying charcoal and blending/smoothing with the paper stump as you go. Notice how addressing the negative space around the figure helps establish the highlights along her back and hips.
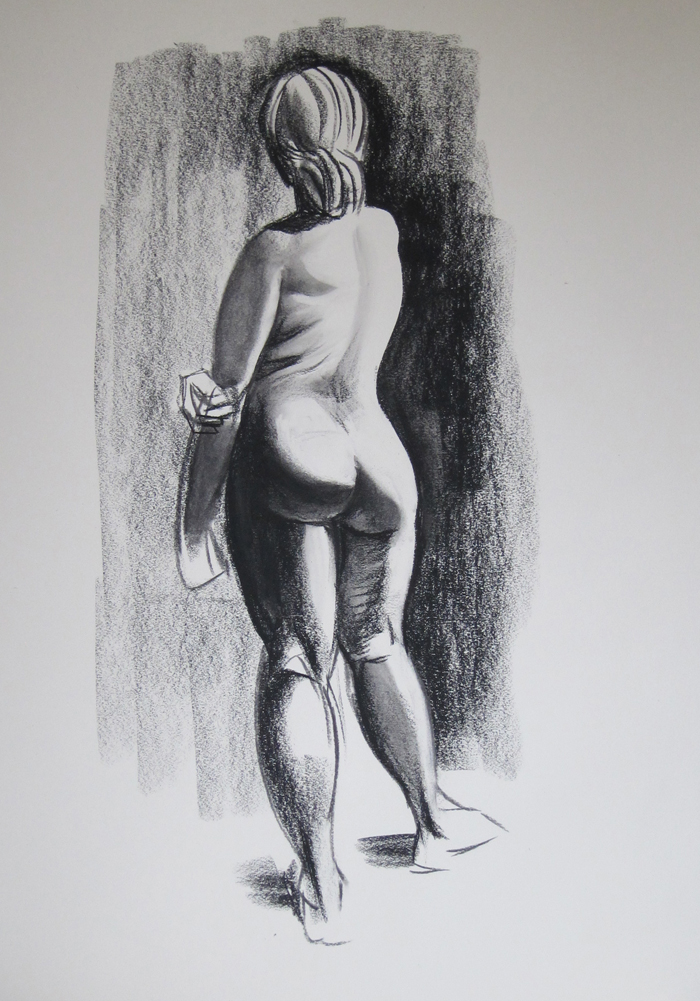
Tip: Has anything gotten too dark? You can remove some of that value and lighten it up a bit with your chamois, which won't take away most of it, like an eraser would.
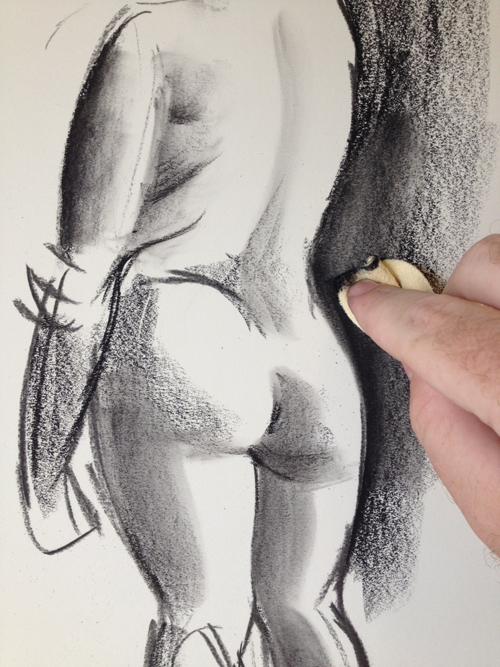
Step 6:
Pull back any areas that have gotten too dark with the chamois, or use it to blend and smooth the background values. Here you can see the values in the legs and buttocks are lighter than in Step 5.
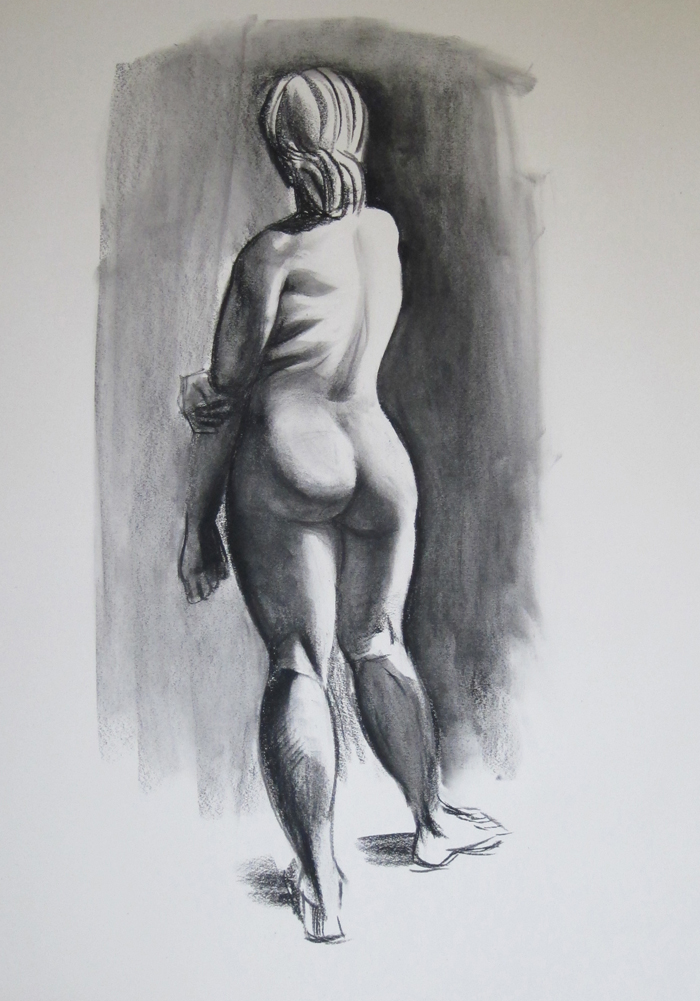
Tip: To create crisp, hard-lined highlights and value shapes, use quick, assertive strokes with your eraser. Be careful not to keep working over the area or it could smudge!
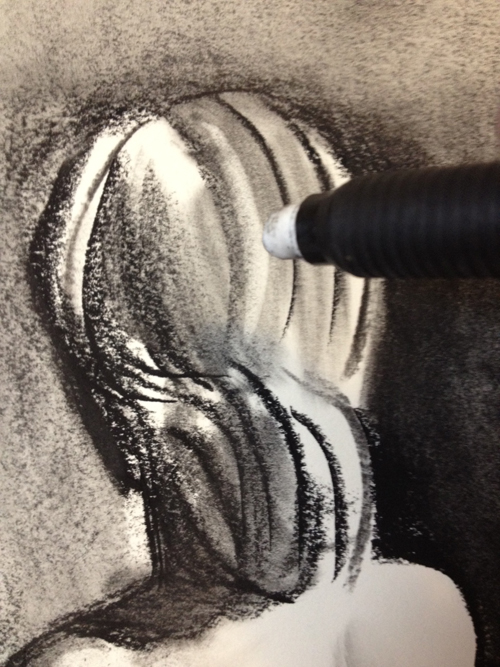
Step 7:
Don't overwork! Use your best judgment to determine when your drawing is finished. One of the best qualities of charcoal is how it allows you to leave some parts of a drawing unrefined and sketchy while developing other areas more fully. Think about where you'd like to keep your drawing loose and gestural, and where you want it more "finished."
Now, go out and explore the possibilities of charcoal drawing! Just remember to wash your hands afterwards. It can get a bit messy!

How can I develop my skills