Acrylic paint is a versatile and vibrant medium with which you can create paintings of any style. But before you can create beautiful paintings, you’ll have to learn how to use acrylic paint. Read on to learn how to use different acrylic paint materials, methods and more.
If you’ve never used acrylic paint before, it might seem like an intimidating medium to master. But as you’ll see in this post, it’s anything but — in fact, it’s one of the more accessible methods of painting for beginners. Supplies are minimal and the method is quite easy when you break it down.
Let’s explore the wonderful world of acrylic painting so you can get started creating your own art.
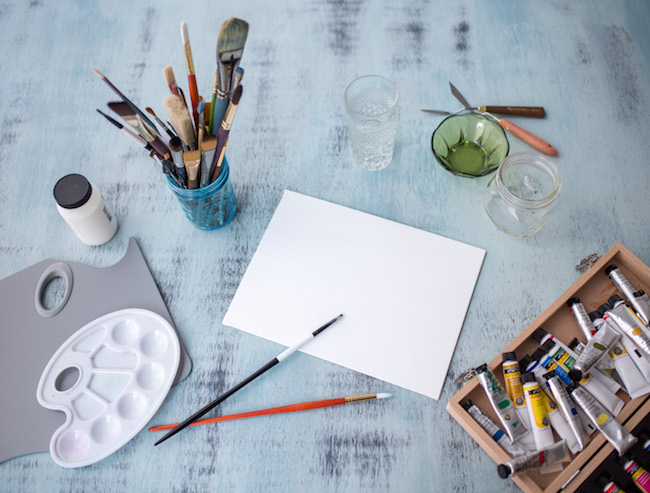
Assemble your materials:
What do you need to get started with acrylic paint? Actually, not a whole lot. Here are some of the things you’ll need.
Paint
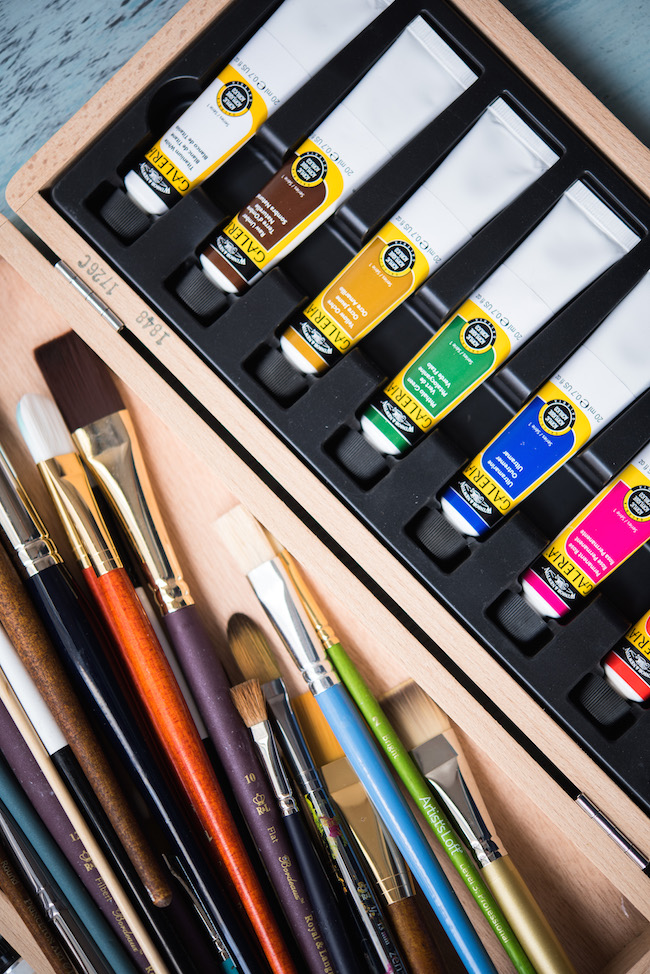
Acrylic paint comes in a dizzying array of colors and textures. Which kind is right for you? In general, you’ll find two different types of acrylic paint:
- Fluid, which is thinner and will drip out of the tube
- Heavy body or high viscosity, which is more like the texture and thickness of soft of butter.
One is not better than the other; it simply depends on what type of look you are going for. If you ultimately want to move on to thick, Van Gogh-style creations, go with the heavy body style. If you want to create fluid, dreamy landscapes, try out the fluid kind.
In terms of colors, for a beginner, it’s good to start out basic with tubes of red, blue, yellow, black, and white paint. Between these colors, you can mix any color, from skin tones to nature scenes.
Not only is choosing minimal colors the most cost-effective way to get started with acrylic paint, but it will help you learn how to mix colors so that you can attain your desired hue and can understand the role that each color plays in mixtures.
Brushes
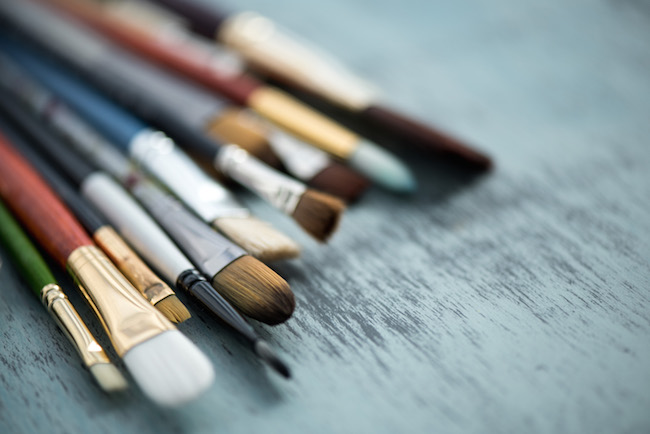
You’ll need some brushes appropriate for acrylic paint before you get started. Acrylic brushes are typically longer and sturdier than watercolor brushes, and needfully so, as they are often pressed harder into the work surface while painting.
To get started, stay fairly minimal: one large and one small round brush, and maybe one large and one small flat brush, should be a perfect starting point.
A palette
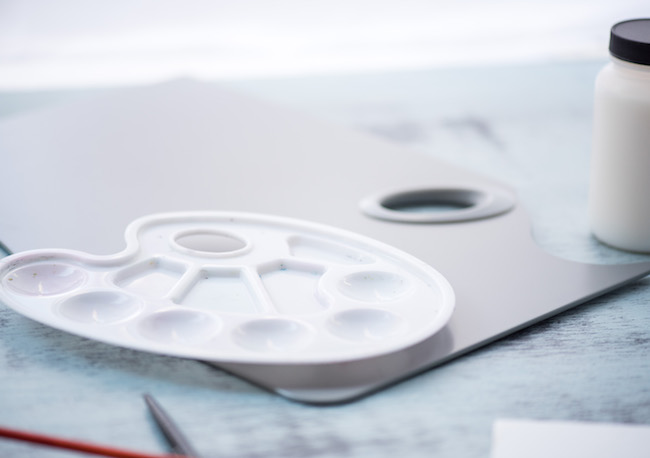
You need a surface to mix different colors of paint. Paper is too absorbent, and your paint will stick to it. You want a non-stick surface. You can use palette paper, a professional palette, or even a porcelain plate.
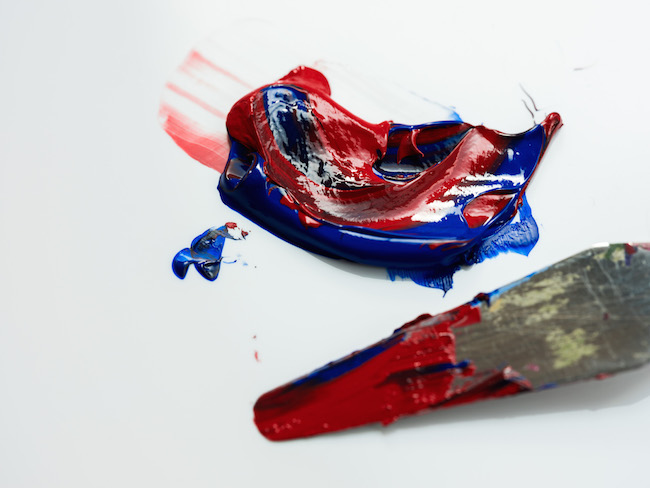
A palette knife
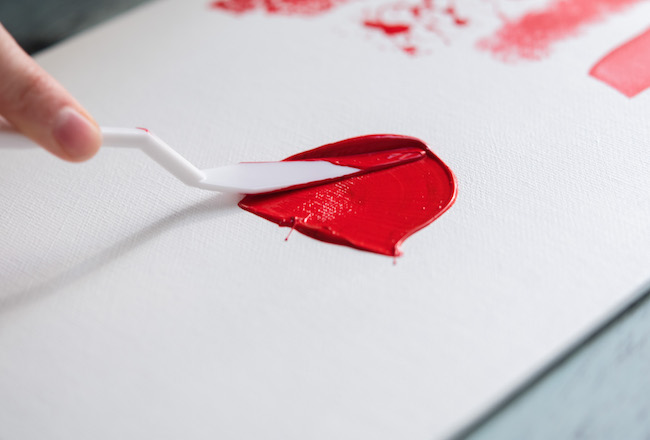
A palette knife is an inexpensive and invaluable tool for working with acrylic paint. It will help you mix paint colors in the most efficient way. You can use the knife not only for mixing colors but to apply paint to a surface, too — this lends particularly painterly effect to your pieces.
You can, technically, mix colors with your brush. But you may find that paint gets embedded in the brush and ultimately gets wasted and not mixed properly. Plus, the vigorous mixing motion can damage the bristles, so it’s not suggested that you use a brush to mix colors as a rule.
A work surface

What type of surface would you like to paint on? If you’d like to ultimately paint on canvas, canvas paper is a great beginning medium that is inexpensive and has a texture similar to stretched canvas. Board, wood, and bristol board are all great choices, too.
Depending on your work surface, you might find it easier to set up your surface on an easel. An easel is not appropriate for paper or more flexible work surfaces, though.
Water
Have a cup of water at the ready for cleaning your brush and watering down the paint if needed. If you’re using a drinking cup, designate this as a paint-only cup from now on.
Scrap paper
Scrap paper is fantastic to have on hand to wipe away excess paint from your brush or test out paint quality. It can be as simple as a sheet of blank printer paper.
Assemble your work station:
By having your work station set up properly, you’ll make the painting process far easier.
Set up your palette
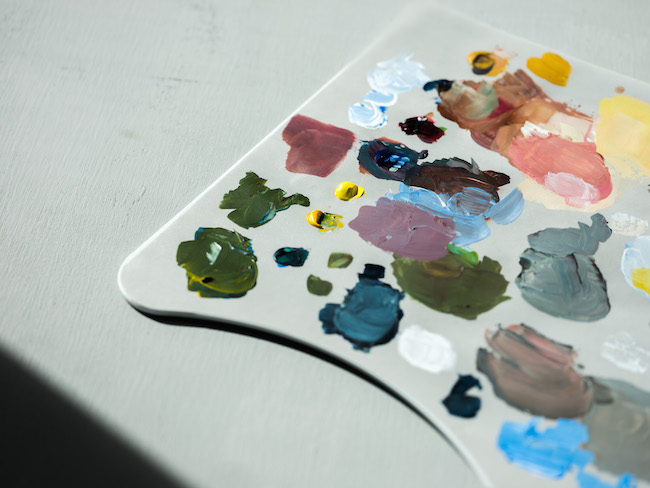
Once you have your supplies ready, you can set up your palette. Regardless of what you want to paint, it can be helpful to have a dab of each primary color plus black and white.
Space each color so that there is plenty of “white space” around it, so that you have room to mix and that the paint can spread without getting crowded.
Treat your surface
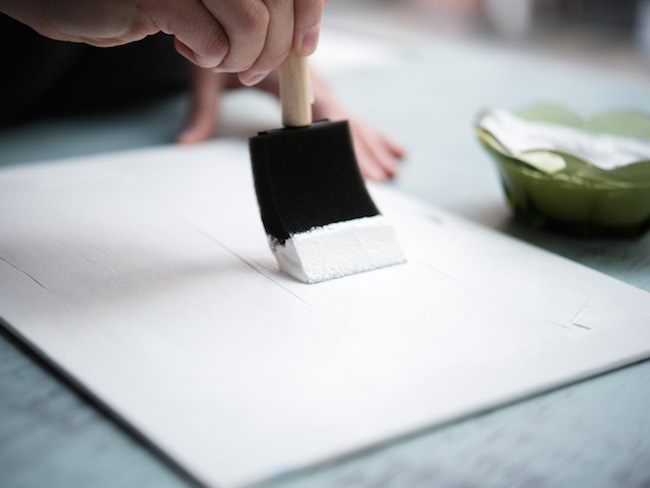
If you’re painting on canvas, you’ll want to treat your surface before you get started. A coat of gesso will dry quickly and will keep your painting archival. Not all surfaces require treating. Check the manufacturer’s suggestions on whichever work surface you’ve chosen.
Mix colors
Get painting
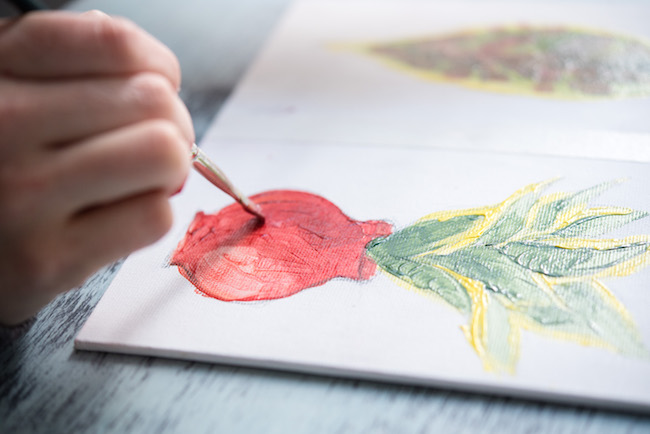
Start painting! Adjust the consistency of your paint using a small amount of water on the brush as desired. You can begin to paint free-form, or try out a simple method like a monochromatic painting or try a self-portrait.
Experiment, and enjoy!
From here, you can take your art into your own hands. Experiment with different styles, or different media, including painting with your palette knife or including catalyst wedges in your art.
Acrylic paint tips:
These tips will help ensure painting success.
Cover colors if you need to take a break
Acrylic paint cannot be “revived” once it dries, so if you need to take a break, seal your paint in an airtight container to keep it wet. For a short break, you could simply cover the palette with plastic wrap; for a longer break, you could put the entire palette in an airtight storage container, or use your palette knife to transfer individual colors to airtight containers.
Let your painting dry completely
After your painting is done, let it dry completely before you move it. There’s no bigger bummer than creating a masterpiece and then accidentally mashing your thumb into wet paint.
Enjoy!
You might not be creating masterpieces right from the get-go, but with practice, you’ll begin to develop skills and confidence in your painting. It’s a wonderful journey — enjoy it.
Way cool! Some extremely valid points! I appreciate you penning this article plus the rest of the website is very good.
I'm new to painting with acrylic paint. It seems like my paints dry relatively fast on my tray. Is there something I should be doing to prepare the paint or some brands better for not drying as fast? Any recommendations are appreciated.
Nice
Ive never used acrylic paint before but since watching the joy of painting with Bob Ross he has got the blood rushing to get started, he makes it so easy to do, with a low income I'm finding it hard to get all the materials so ive got to buy a little bit at a time I eager for the day i can eventually get started, thank you Bob Ross for reawakning the artist in me 👌
I NEVER USED ACRYLIC AND NEVER PAINTED. I AM JUST ABOUT TO GET STARTED.
Thank You
I hear you nee 2 to 3 coats of acrylic paint. How many coats do you need with heavy body artist's paint? And do you let the paint dry between coats if you just use heavy body artist's paint?
Thank you so much this help me out a lot because I got some acrylic paint and canvases for Christmas and I didn't know how to use acrylic paint but now I do because of this website
This was very helpful, thank you!
Jessie, thank you for your article! I'm a beginner & have taken several classes, but none of the teachers have used a palette knife for mixing. Lately I've been thinking about using that method, as my brushes get too loaded when I mix...I've noticed exactly what you described. I hate wasting paint & generating more waste water. I already feel guilty every time I dump my rinse water down the drain, but remind myself that painting is a wonderfully-creative, self-care activity during a pandemic! Besides the evaporation method (which I tried, & found to be quite unfeasible), are there other methods of rinse-water disposal?