Beginner sewers might be baffled by one tool that's often found in a stitcher's toolbox. It's a tiny wheel with sharp edges and, no, it's not a mini pizza cutter. It's a tracing wheel, and a total game changer for transferring patterns onto fabric. Once you learn how to use this handy tool, it may become your best friend as it makes sewing easier — not to mention more accurate.
How to Transfer Patterns With a Tracing Wheel
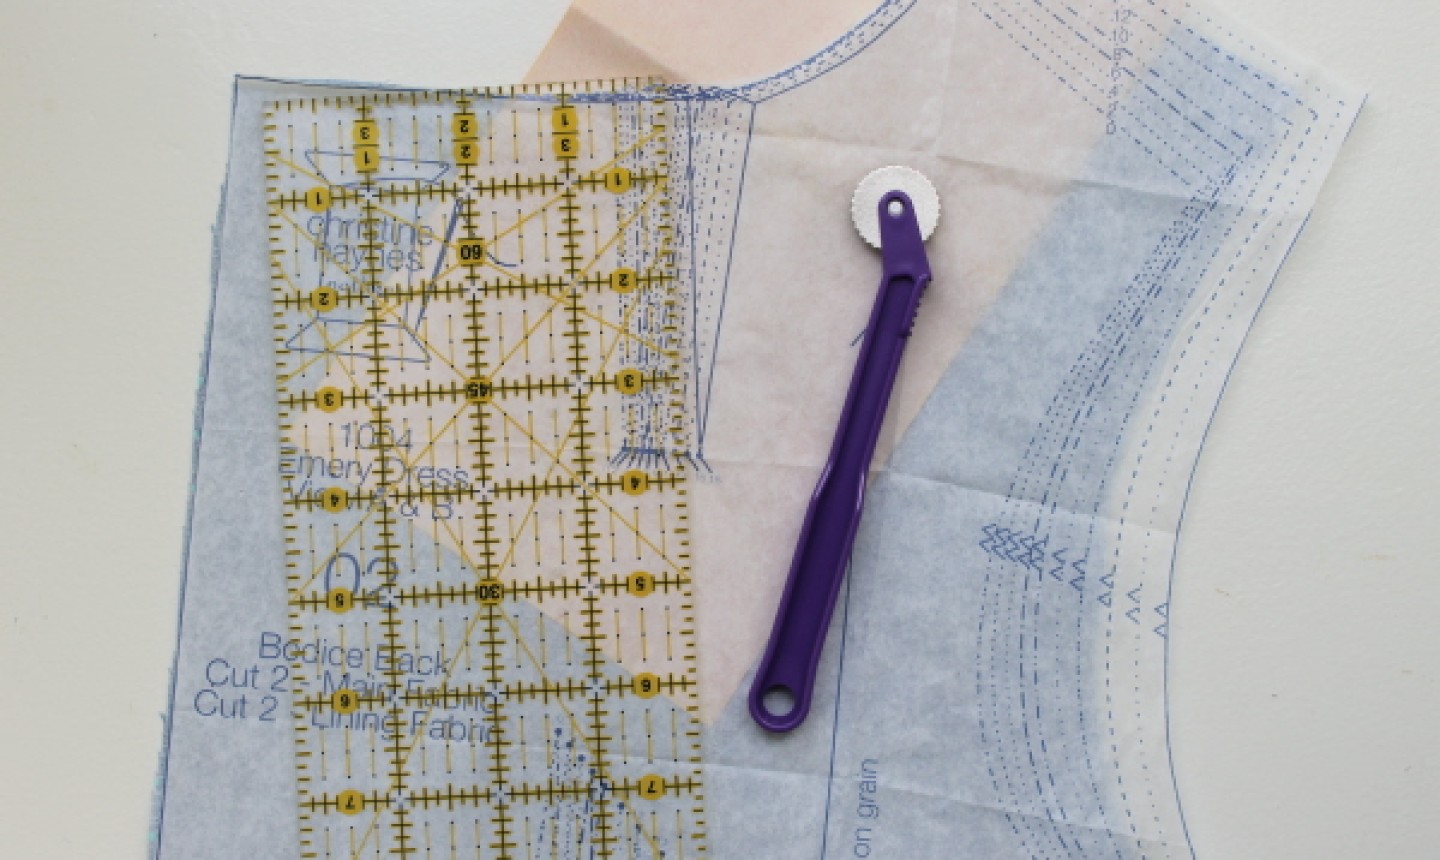
What You Need
Instructions
1. Lay It Out
Place your fabric on the cutting mat. It'll prevent you from scratching your work surface once you get rolling.
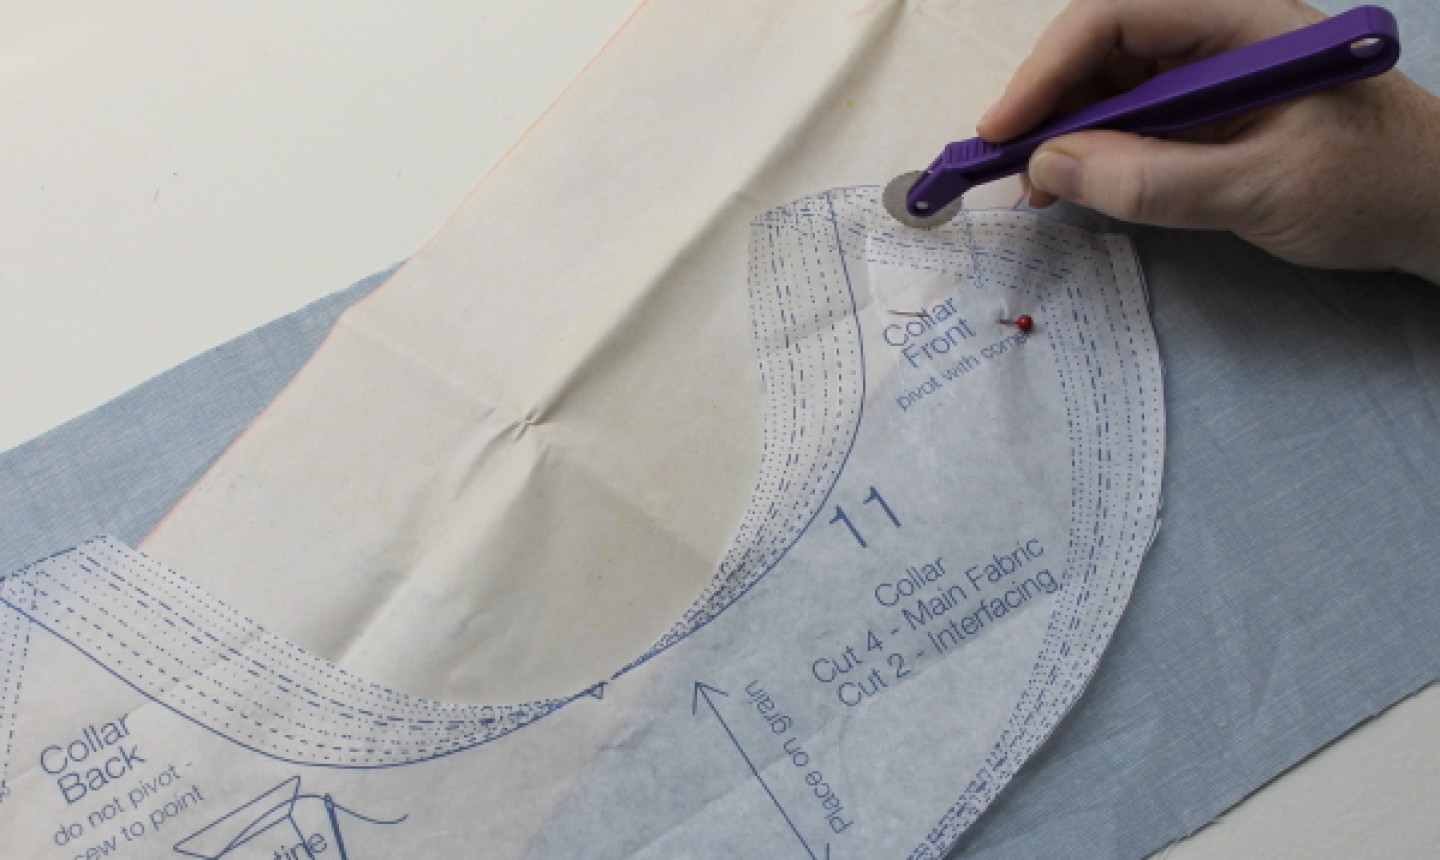
Place the pattern piece on your fabric, making sure the grain line is properly aligned . Hold the pattern piece in place with pattern weights or with pins placed inside the pattern piece. (They should be a few inches away fro the size you are tracing.)
Slip the carbon paper, color side down, between your pattern piece and fabric.
Pro Tip: Choose a carbon paper color that contrasts your fabric, so you’ll be able to see the lines you trace. Test a few different colors on a fabric swatch to help you decide on a shade.
2. Roll

Roll your tracing wheel along the pattern piece, following the line for your size. If you're working with a large pattern piece, you may need to maneuver the carbon paper around the edges, working one section at a time.
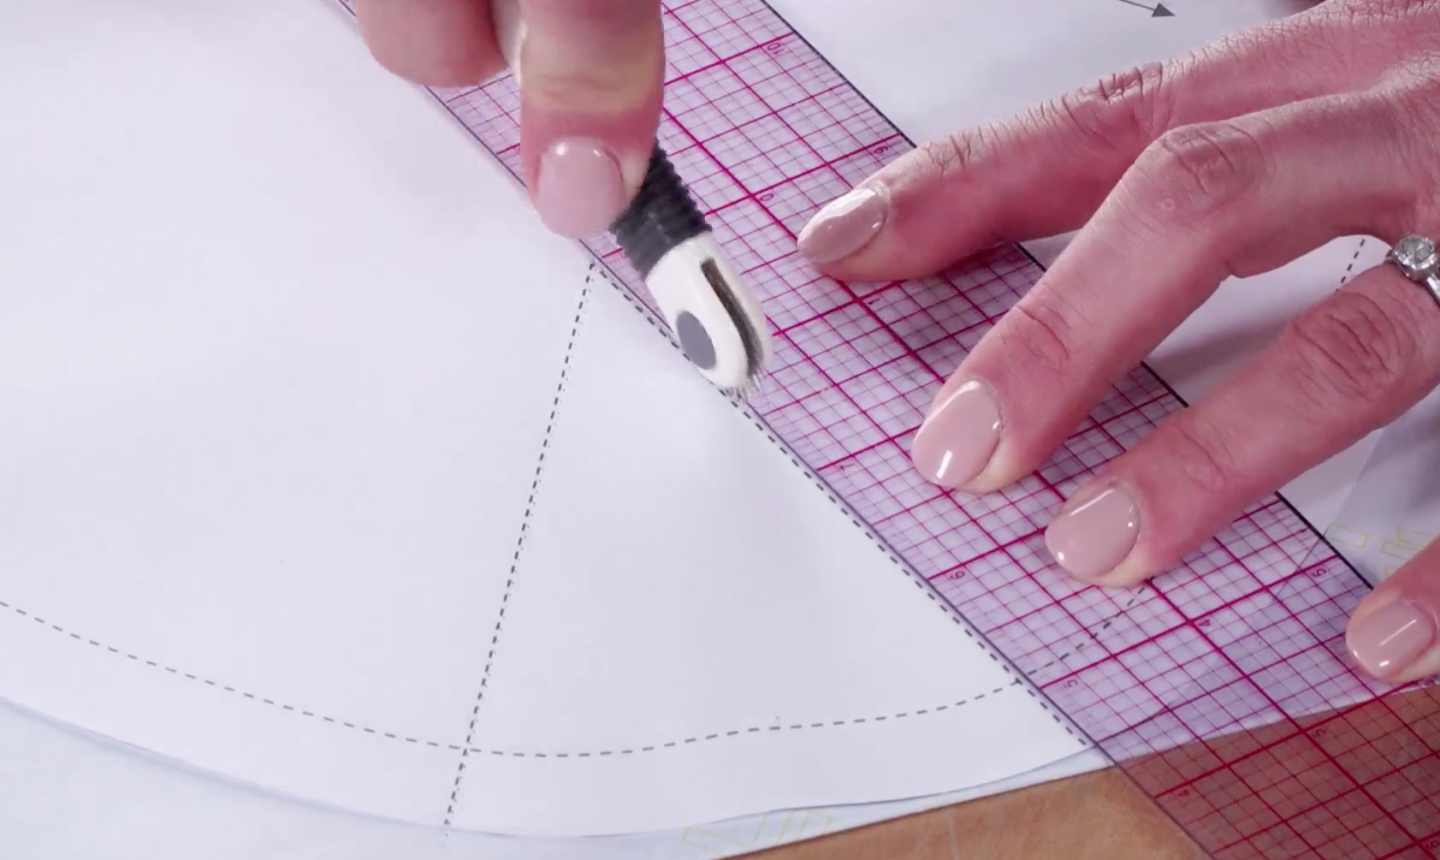
Pro Tip: If you're transferring straight lines, it might help to use a ruler so you don't wobble.
3. Trace the Pattern Markings

Trace the pattern markings, like notches and darts. You may have to move the pins around to get to any markings that go into the center of the pattern piece.
4. Remove the Pattern
When you remove your pattern piece, weights (or pins) and carbon paper, you should have a nice outline of your pattern piece right on the fabric.
Pro Tip: If you can't see the marks clearly, go over them with chalk or a fabric pen to reinforce the lines for cutting.

When to Use the Tracing Wheel
With multiple transfer tools at your disposal, it can be tough to know when to use this wonder wheel. These situations put one to good use.
To Transfer Pattern Markings
Pattern markings, like dots and darts, can be tricky to transfer accurately onto your fabric. Using the tracing wheel makes the process much easier and helps ensure all the marks go exactly where they should.
To transfer notches, use the tracing wheel to mark a line about ¼" long from the pattern piece edge into the seam allowance. For darts, use double-faced tracing paper — you'll only need to make the marks once, and they'll be in the same spot on both sides.
To Transfer Entire Patterns
For patterns that don’t require any fitting or adjustments (like bags and home decor projects), you can use your tracing wheel to transfer the whole pattern onto the fabric, then just cut it out. Easy peasy!
To Transfer Patterns to Paper
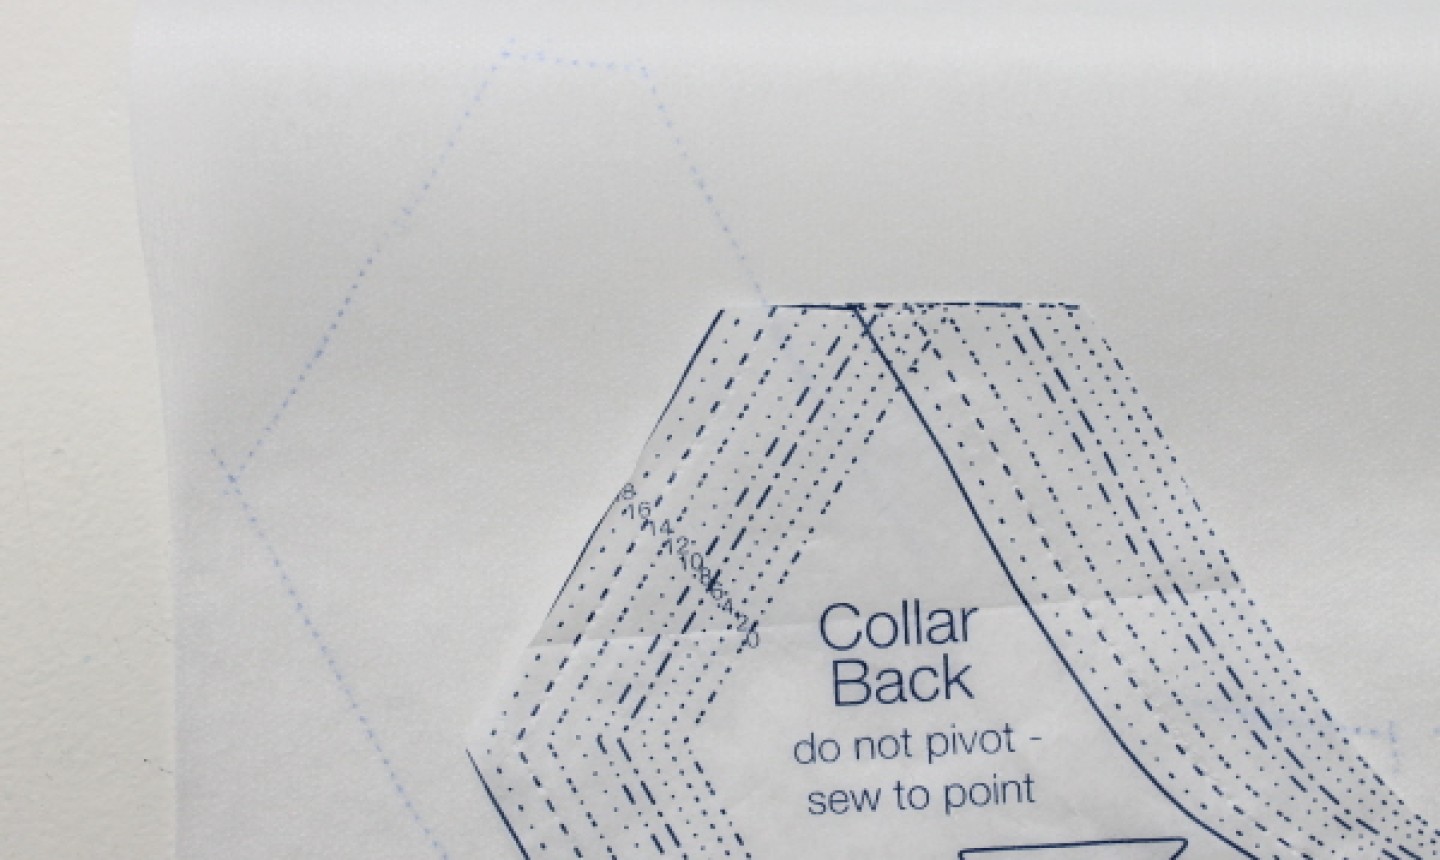
If you’re working with a vintage or damaged pattern, you can use your tracing wheel to create new pattern pieces (thus preserving the old pattern). This trick also comes in handy when you have a pattern that includes several sizes and the pattern pieces are overlapping, as you can transfer those pieces to a new piece of paper.

So if you are cutting two and you fold on the right side, can you put the tracing paper inside the fabric and use the wheel, or will it damage the fabric. I'm thinking you are going to be sewing on those lines anyway so it will not show.