Nothing kills the look of a great pair of denim-like fabric pooling at the ankle. But (breaking news!) there’s a solution that doesn't require going to the tailor. The secret: moving the original hem up higher, and making it look like it was always there.
Not only is it a jean-ius move, but shortening jeans is also an easy technique to pull off. You've totally got this!
How to Shorten Jeans:
Level: Easy
What you Need:
- Jeans
- Thread
- Measuring tape or ruler
- Pins
- Safety pins
- Iron
Instructions:
1. Determine Length
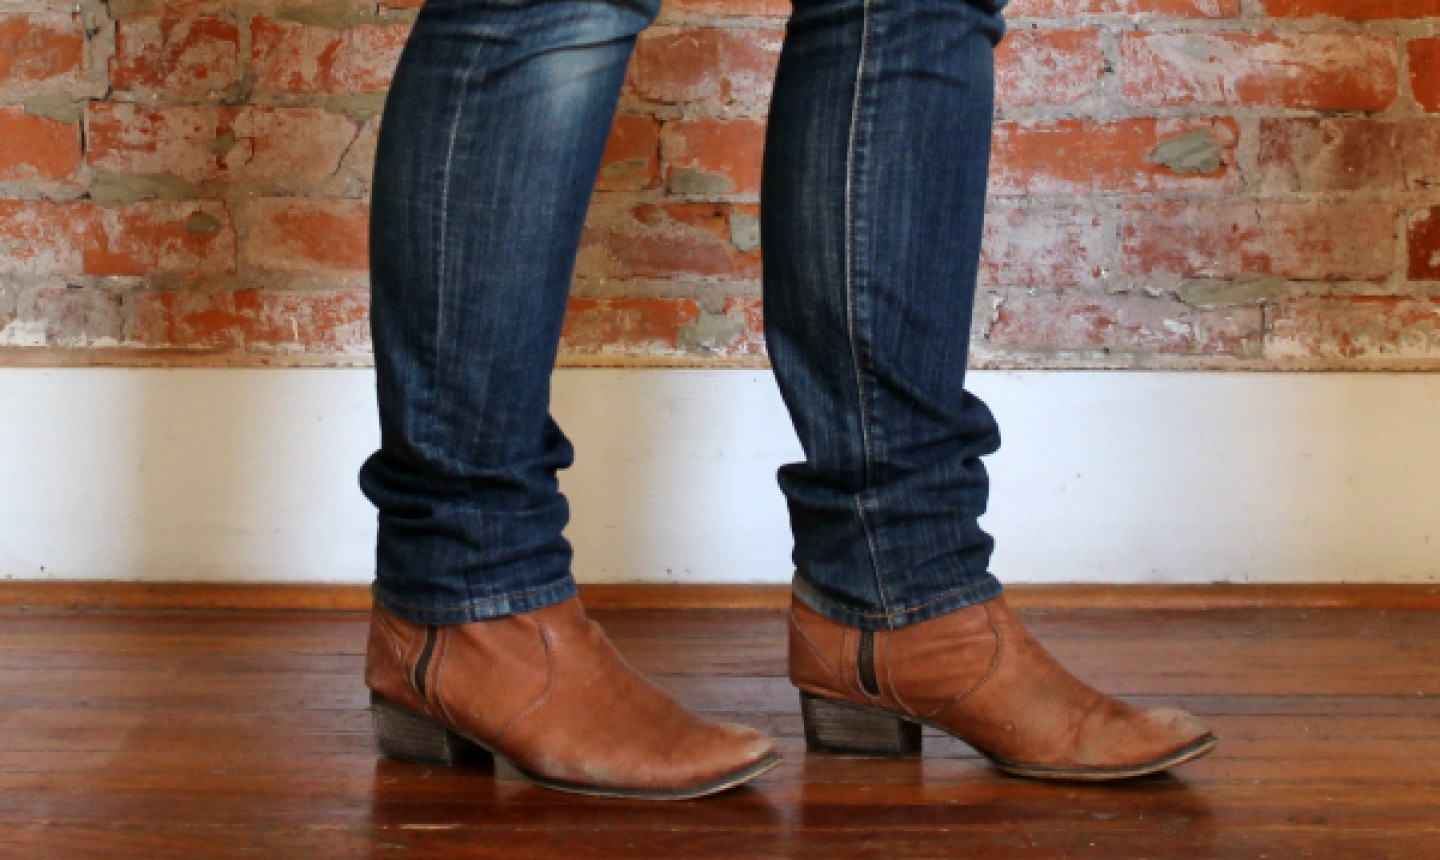
Instead of going by your typical inseam length, try on your jeans (don’t forget to wear shoes) and then evaluate the length. It comes down to personal preference, but keep in mind that skinny and tapered jeans typically need to be hemmed shorter than wide-leg styles because they sit above the shoe opening instead of around it.
2. Fold and Pin
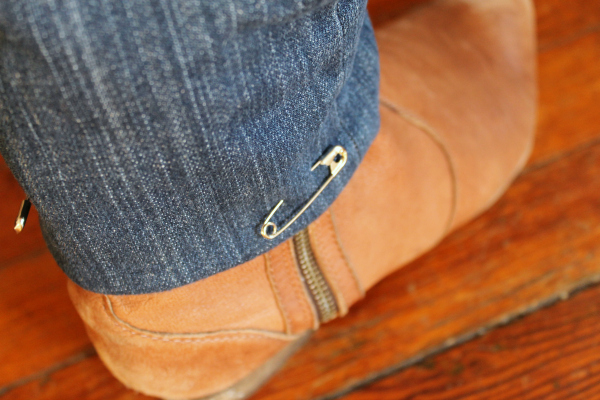
Fold under the excess fabric and pin the new hem all around the leg using safety pins. Repeat on the other leg.
Pro Tip: For this step, use safety pins instead of typical sewing pins. This will stop you from poking yourself when you take off the jeans.
When you're done, stand up straight with the waistband sitting exactly where you want it and check the length again. Adjust as needed.
3. Measure
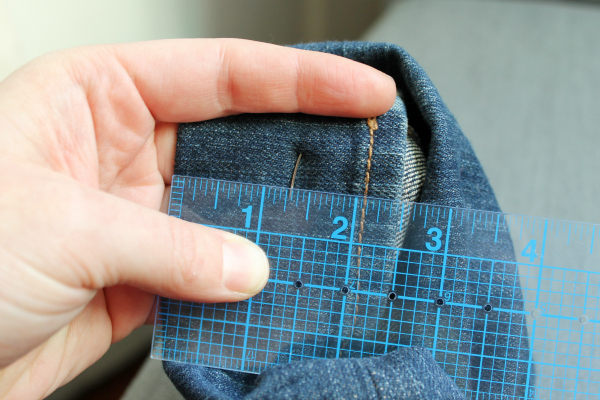
Take your jeans off and measure what you pinned up, from the fold line to the edge of the original hem.
4. Unpin and Repin
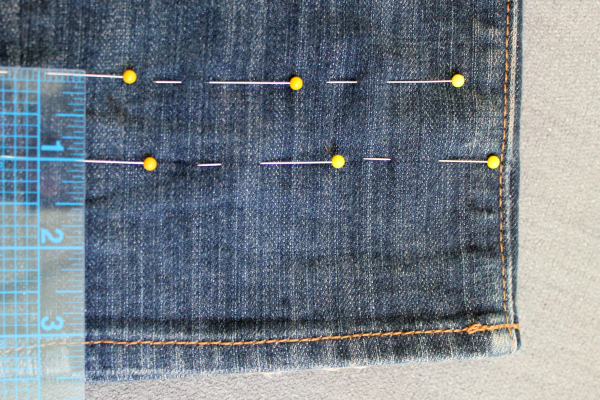
Unpin the hem, fold it back down flat, then mark the measurement you just took with a line of straight pins all around the jeans. This is where you want the hem of your pants to end.
Mark another line of straight pins 1” above that line. In this example, you’re removing 2½” from the hem, so the upper line of pins is 3½” above the original hem edge.
Good to Know: Most jeans have an original hem depth of ½”. You should double that measurement to determine where to put the second line of pins. If your jeans have a ¾” hem depth, you’ll need to make your second set of pins 1½” above that first line of pins. If the jeans have a 1” hem depth, mark 2” above.
5. Fold Up the Hem
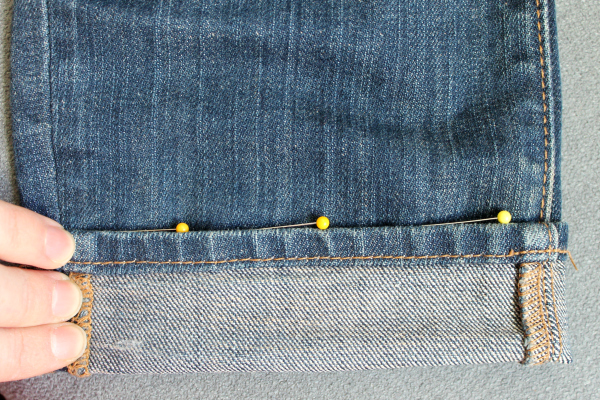
Remove the lower line of pins and fold the jeans up so the original hem edge meets the upper line of pins.
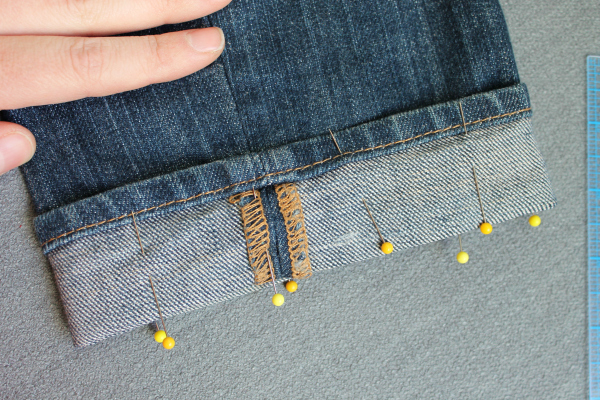
Pin the fabric in place evenly all the way around, pins perpendicular to the hem. Make sure the seams align at the sides.
6. Stitch Below the Hem
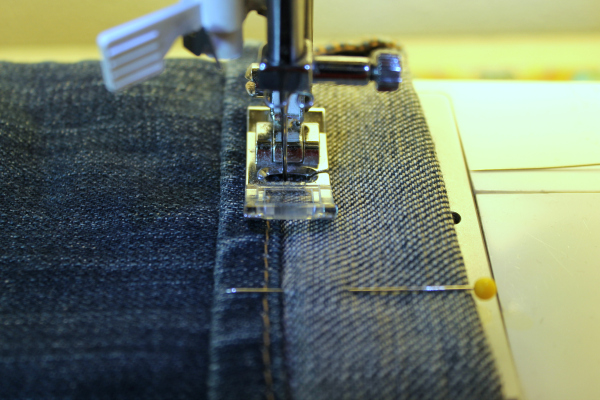
Remove the upper line of pins, then use your sewing machine to stitch right below the original hem. If possible, fit the leg of the jean over the free arm of your sewing machine so the fabric lies flat.
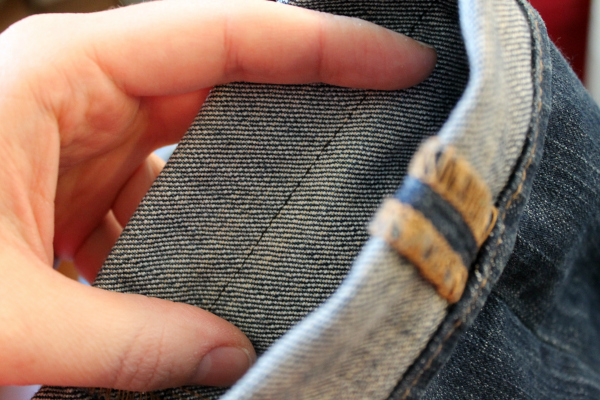
After you stitch, your pants should look like the photo above.
7. Trim and Serge
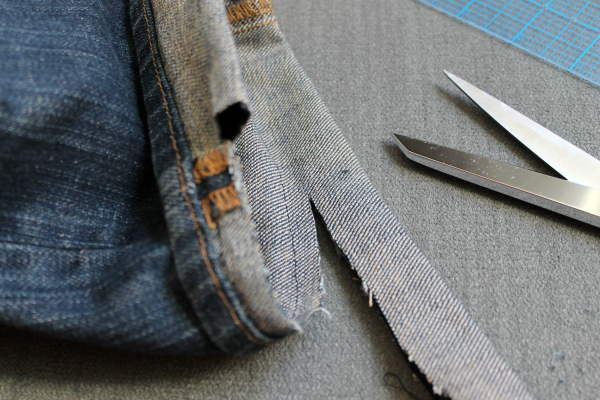
Trim the excess folded fabric, then serge or zigzag stitch over the raw edge to prevent fraying.
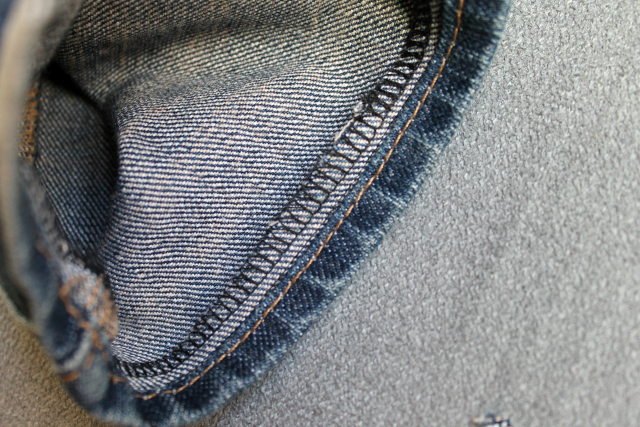
After serging, the hem will look like the above photo.
8. Press and Topstitch
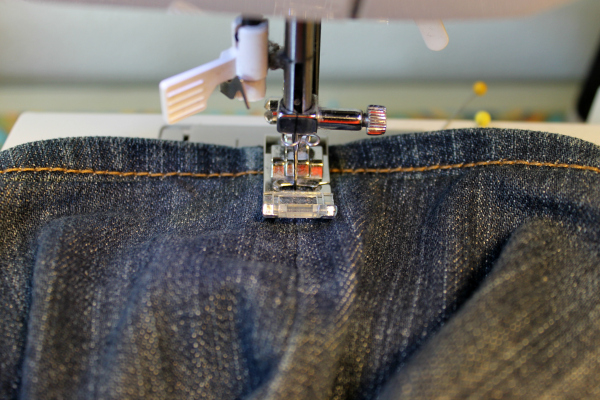
Press the hem down with an iron. Then, secure the hem at the side seams by topstitching above the new seam with matching thread, or by stitching in the ditch.
9. Repeat
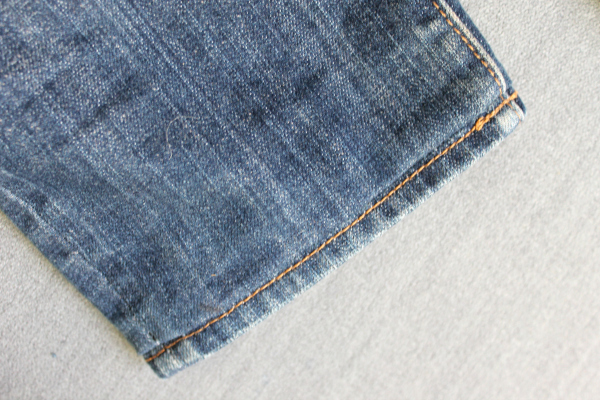
Repeat the whole process on the other leg and voila! You have newly hemmed jeans that fit oh-so-perfectly.

easy to do when you know how fantastic
Ms Andrea Brown, your instructions with images are SUPER! Especially with the captions immediately below each image. Bravo!! ... And I, too, have the very same question as Sandy Paul asked 11 months ago (June 2022): "after the jeans are washed, wouldn’t that little extra that you zig zagged ball up and make it look thicker there?" ... Would you please offer your comment regarding the "thicker" area of the serged circumference? ... thanks 🙏 😊 👍🏼
This looks easy and really nice, but I was just wondering if after the jeans are washed, wouldn't that little extra that you zig zagged ball up and make it look thicker there?
after the jeans are washed, wouldn't that little extra that you zig zagged ball up and make it look thicker there?
This is an amazing trick for petite ladies who are always needing to hem every pair of pants and jeans! Thank you!
These photos and the accompanying yesterday were perfect. Better than a video I had watched. The video went too slow in some spots, and too quickly in others. With these photos I could study them as slowly or quickly as I wanted, and it was easy to go back to a previous pic. The photos were very clear and showed all the details. This made measuring easier. I knew the general principle, but I didn’t know how to end up exactly the right length. Thank you,
Easyes hemming legs hem I have ever seen I will try it thank you