Whether you're lounging on the weekend or working from home, there's nothing better than a great-fitting pair of yoga pants (aka leggings) to make your day-to-day more comfy. Here's what you need to know to sew a pair — or five.
1. Find a Pattern
There are a ton of sportswear sewing patterns available for purchase, so take the time to find one that suits your style. Colette Patterns has one called the Manila Leggings, for example, that has a more classic design with a cute overlapped curved cuff at the hem of each leg. Whereas Papercut Patterns sells an Ooh La Leggings that could be made in a faux leather spandex to give more of a streetwear vibe. Whatever direction you go, look for a pattern that feels like it screams "you."
2. Buy Stretch Fabric With Spandex
Leggings require stretch knit fabrics with a strong recovery, meaning the fabric bounces back with a snap when pulled. The best fabrics have some spandex so your leggings end up fitting like a second skin.
3. Gather the Other Materials
Along with your fabric and pattern, you'll need a few more tools and supplies handy.
Sewing Machine Needles
There are many types of machine needles, so it's important to buy the right ones. Depending on the weight and amount of synthetics in your fabric, you'll want to pick up a Stretch or Jersey Ball Point needle in either a 70, 80 or 90 size.
Thread
Knits can be sewn on either conventional or serger/overlock machines, though you'll still need a conventional machine to do any hemming and to insert elastic into the waist. For your serger, you'll need 3-5 spools of cone thread to match your fabric, and for your conventional machine, you'll need one spool.
Elastic
Most leggings and yoga pants patterns require elastic in the waistband to keep them where they belong. Check the pattern's list of notions to see the width your chosen pattern needs.
Rotary Cutter, Cutting Mat, Weights
With knits, a rotary cutter works better than a pair of scissors, and a cutting mat protects both the blade and the surface under the fabric. Pattern weights help hold the pattern down while you cut so you don't have to use pins.
Ball Point Pins
Choosing the right type of pins is just as important as using the right machine needles. When it's time to pin your fabric pieces together, ball point pins will glide through the fabric much easier than pins with sharp points. The ball point helps the pin go between the knitted fibers and keeps the threads from breaking.
4. Take Your Measurements
When you take your measurements, remember leggings and yoga pants should have negative ease, which means the finished garment measurements will be smaller than your body's measurements. You want the pants to fit snugly, though just how snug is up to you.
5. Prep Your Fabric
Pre-wash your knit fabrics before you cut your pattern pieces, since the material may shrink about 25 percent.
Once everything is cut, take a scrap of your fabric and sew practice stitches with your machine to see how your final stitching will look on your garment.
6. Start Sewing
Now the real fun begins! Follow your pattern to bring your leggings to life, and enjoy the process knowing you never have to hit the mall for a pair of leggings again.

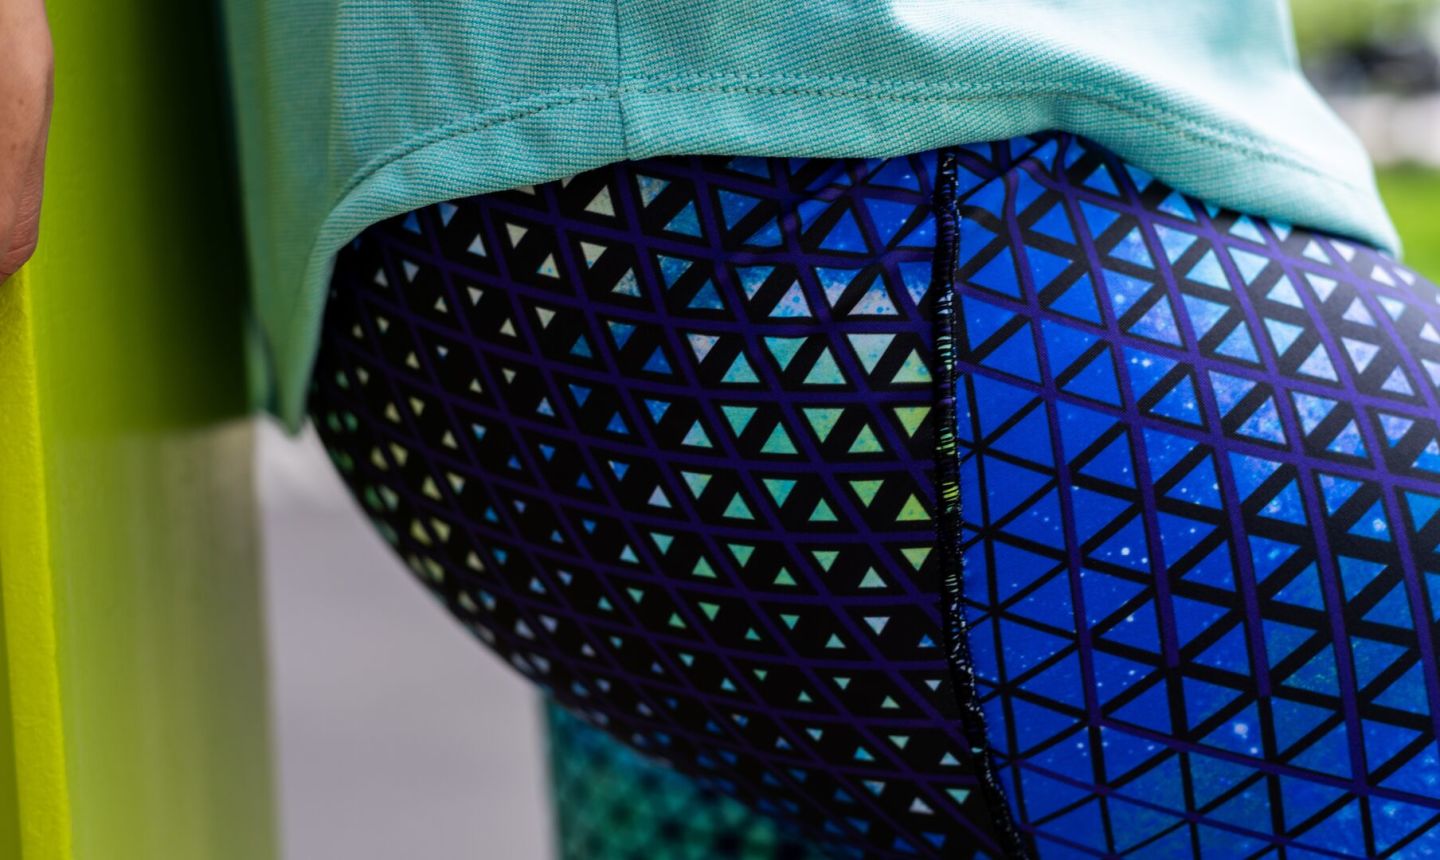
Is this supposed to be inspirational? With the very bumpy serged seam showing on the picture at top, it really fails. If this is supposed to be instructional, WHAT? This is only some tips.
Thanks!