
Swapping pillow covers might be the fastest (and easiest) way to revamp your space. But if you don't get the fit just right (like the pillow above on the right), your corners can end up sticking out and looking weirdly pointy. To make yours look more like the one on the left, follow this step-by-step for perfectly fitted pillow covers.
Square Pillow Covers
Level: Easy
What You Need
Pro Tip: The amount of fabric you need depends on how large your pillow form is. To account for ½" seam allowances, your two fabric squares need to be 1" larger than the pillow form. We used a 16" form, so our fabric squares were 17".
Instructions
1. Cut and Mark Your Fabric
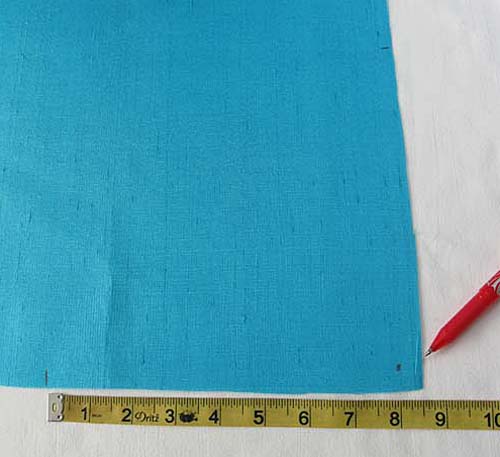
Cut one fabric square so it's 1" larger than your pillow form. Mark the center of each side. At one corner, mark a dot that's ½" in from the edges, as pictured above.
2. Connect the Marks
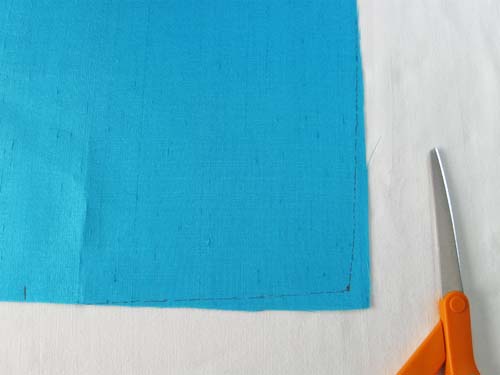
Draw a line that starts from the corner dot, then slowly tapers to nothing as it reaches the mark at the center of each edge.
3. Trim Your Fabric
Following the line you just made, carefully trim the fabric.
4. Fold Into Quarters
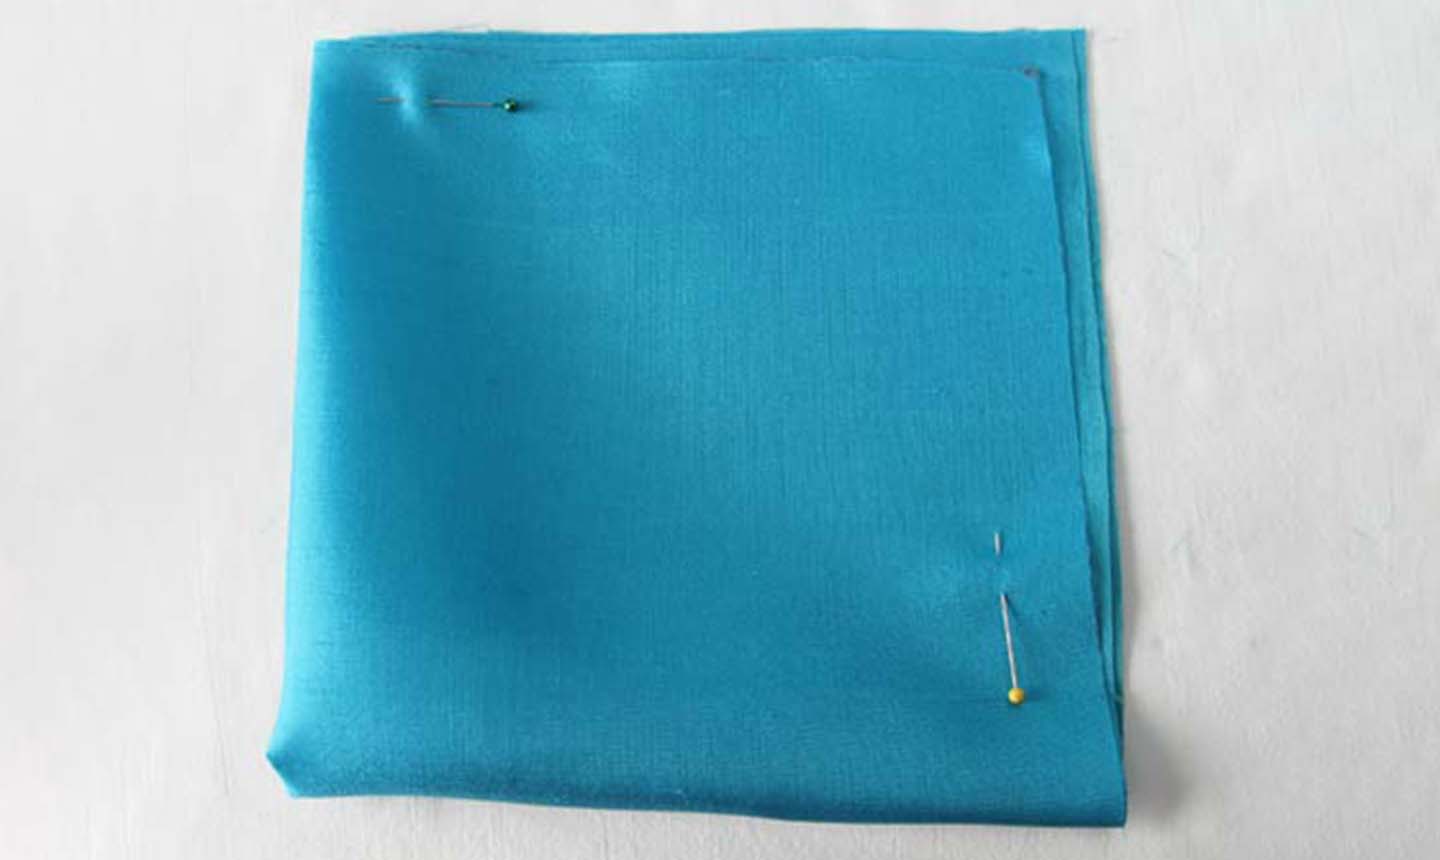
Fold the pillow piece in half and then in half again. To ensure you're folding a perfect square, use the marks at the centers of the edges as guides. Pin the folded piece together to keep the square from slipping.
5. Trim the Remaining Corners
Trim the rest of the corners using the first as a guide, so all four corners are the same.
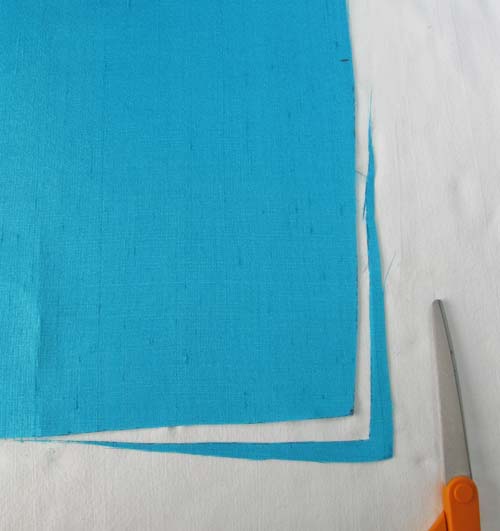
6. Cut Out a Second Square
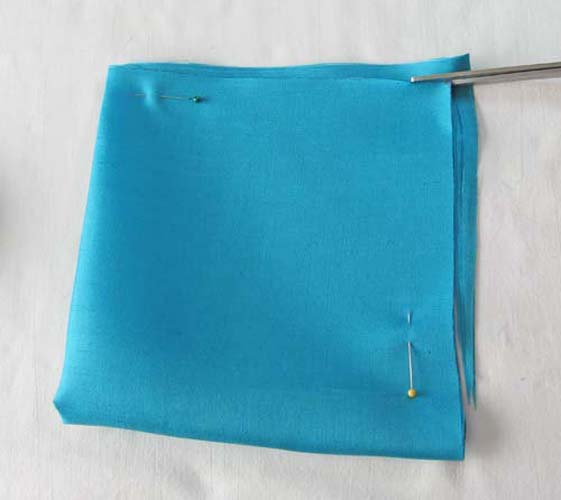
Unfold your trimmed piece, and use that as a pattern piece to cut out the second pillow square. Then, pin your pillow pieces right sides together.
7. Sew
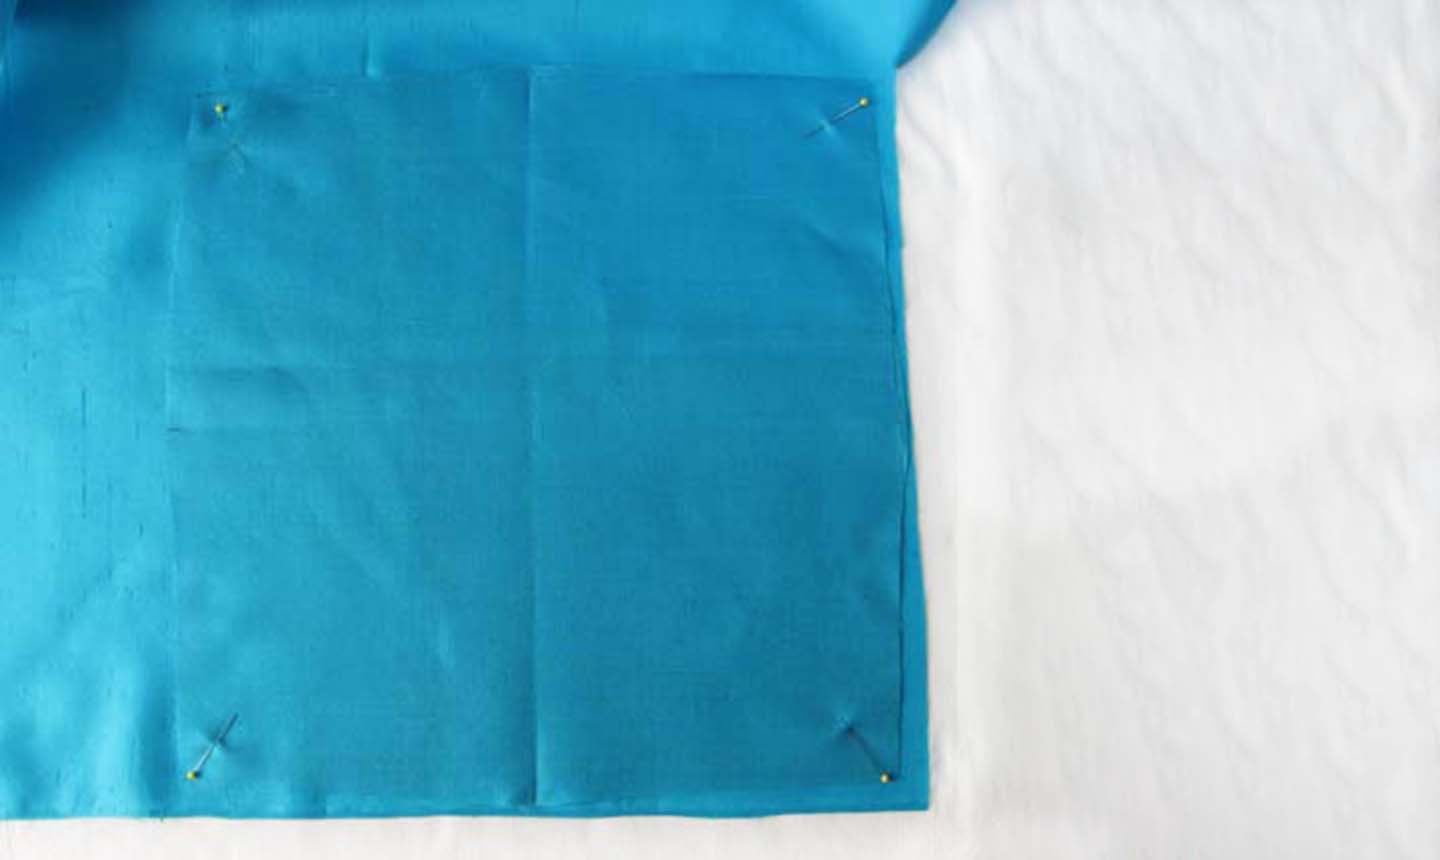
Sew the two pillow pieces together, leaving an opening on one side so you can slip it over the pillow form. If you're planning to add a zipper or another type of closure, cut out the back pieces as needed — but you can still use the first piece as a guide for shaping the corners.
7. Trim the Corners

Once you've sewn both pillow pieces together, trim the corners diagonally. You might want to press one edge on the seam allowance (the edge no one will see). That way, when you turn the pillow cover right side out that edge will be crisp and ready to sew by hand or machine.
Now just insert your pillow form and you're ready to lounge.
Free Online Sewing Class
Learn how to use 11 common sewing feet for flawless results.

Ummm..hidden zipper instructions?
I have no website but like to teach a private class