
Let’s be real: everyone can use more pajama pants. After all, you need a pair at the ready whenever the idea of changing into jeans sounds like the actual worst. Plus, it’s a quickie sewing project — especially if you whip ’em up using your own pattern. That’s exactly what we did here, right after choosing a fun, floral fabric that simply screams vacation. Pack ’em in your suitcase, or slip them on at home. Either way, you’re guaranteed to feel stylish and comfy.
Rainforest Pajama Pants
Level: Easy
What You Need
Instructions
1. Make Your Pattern
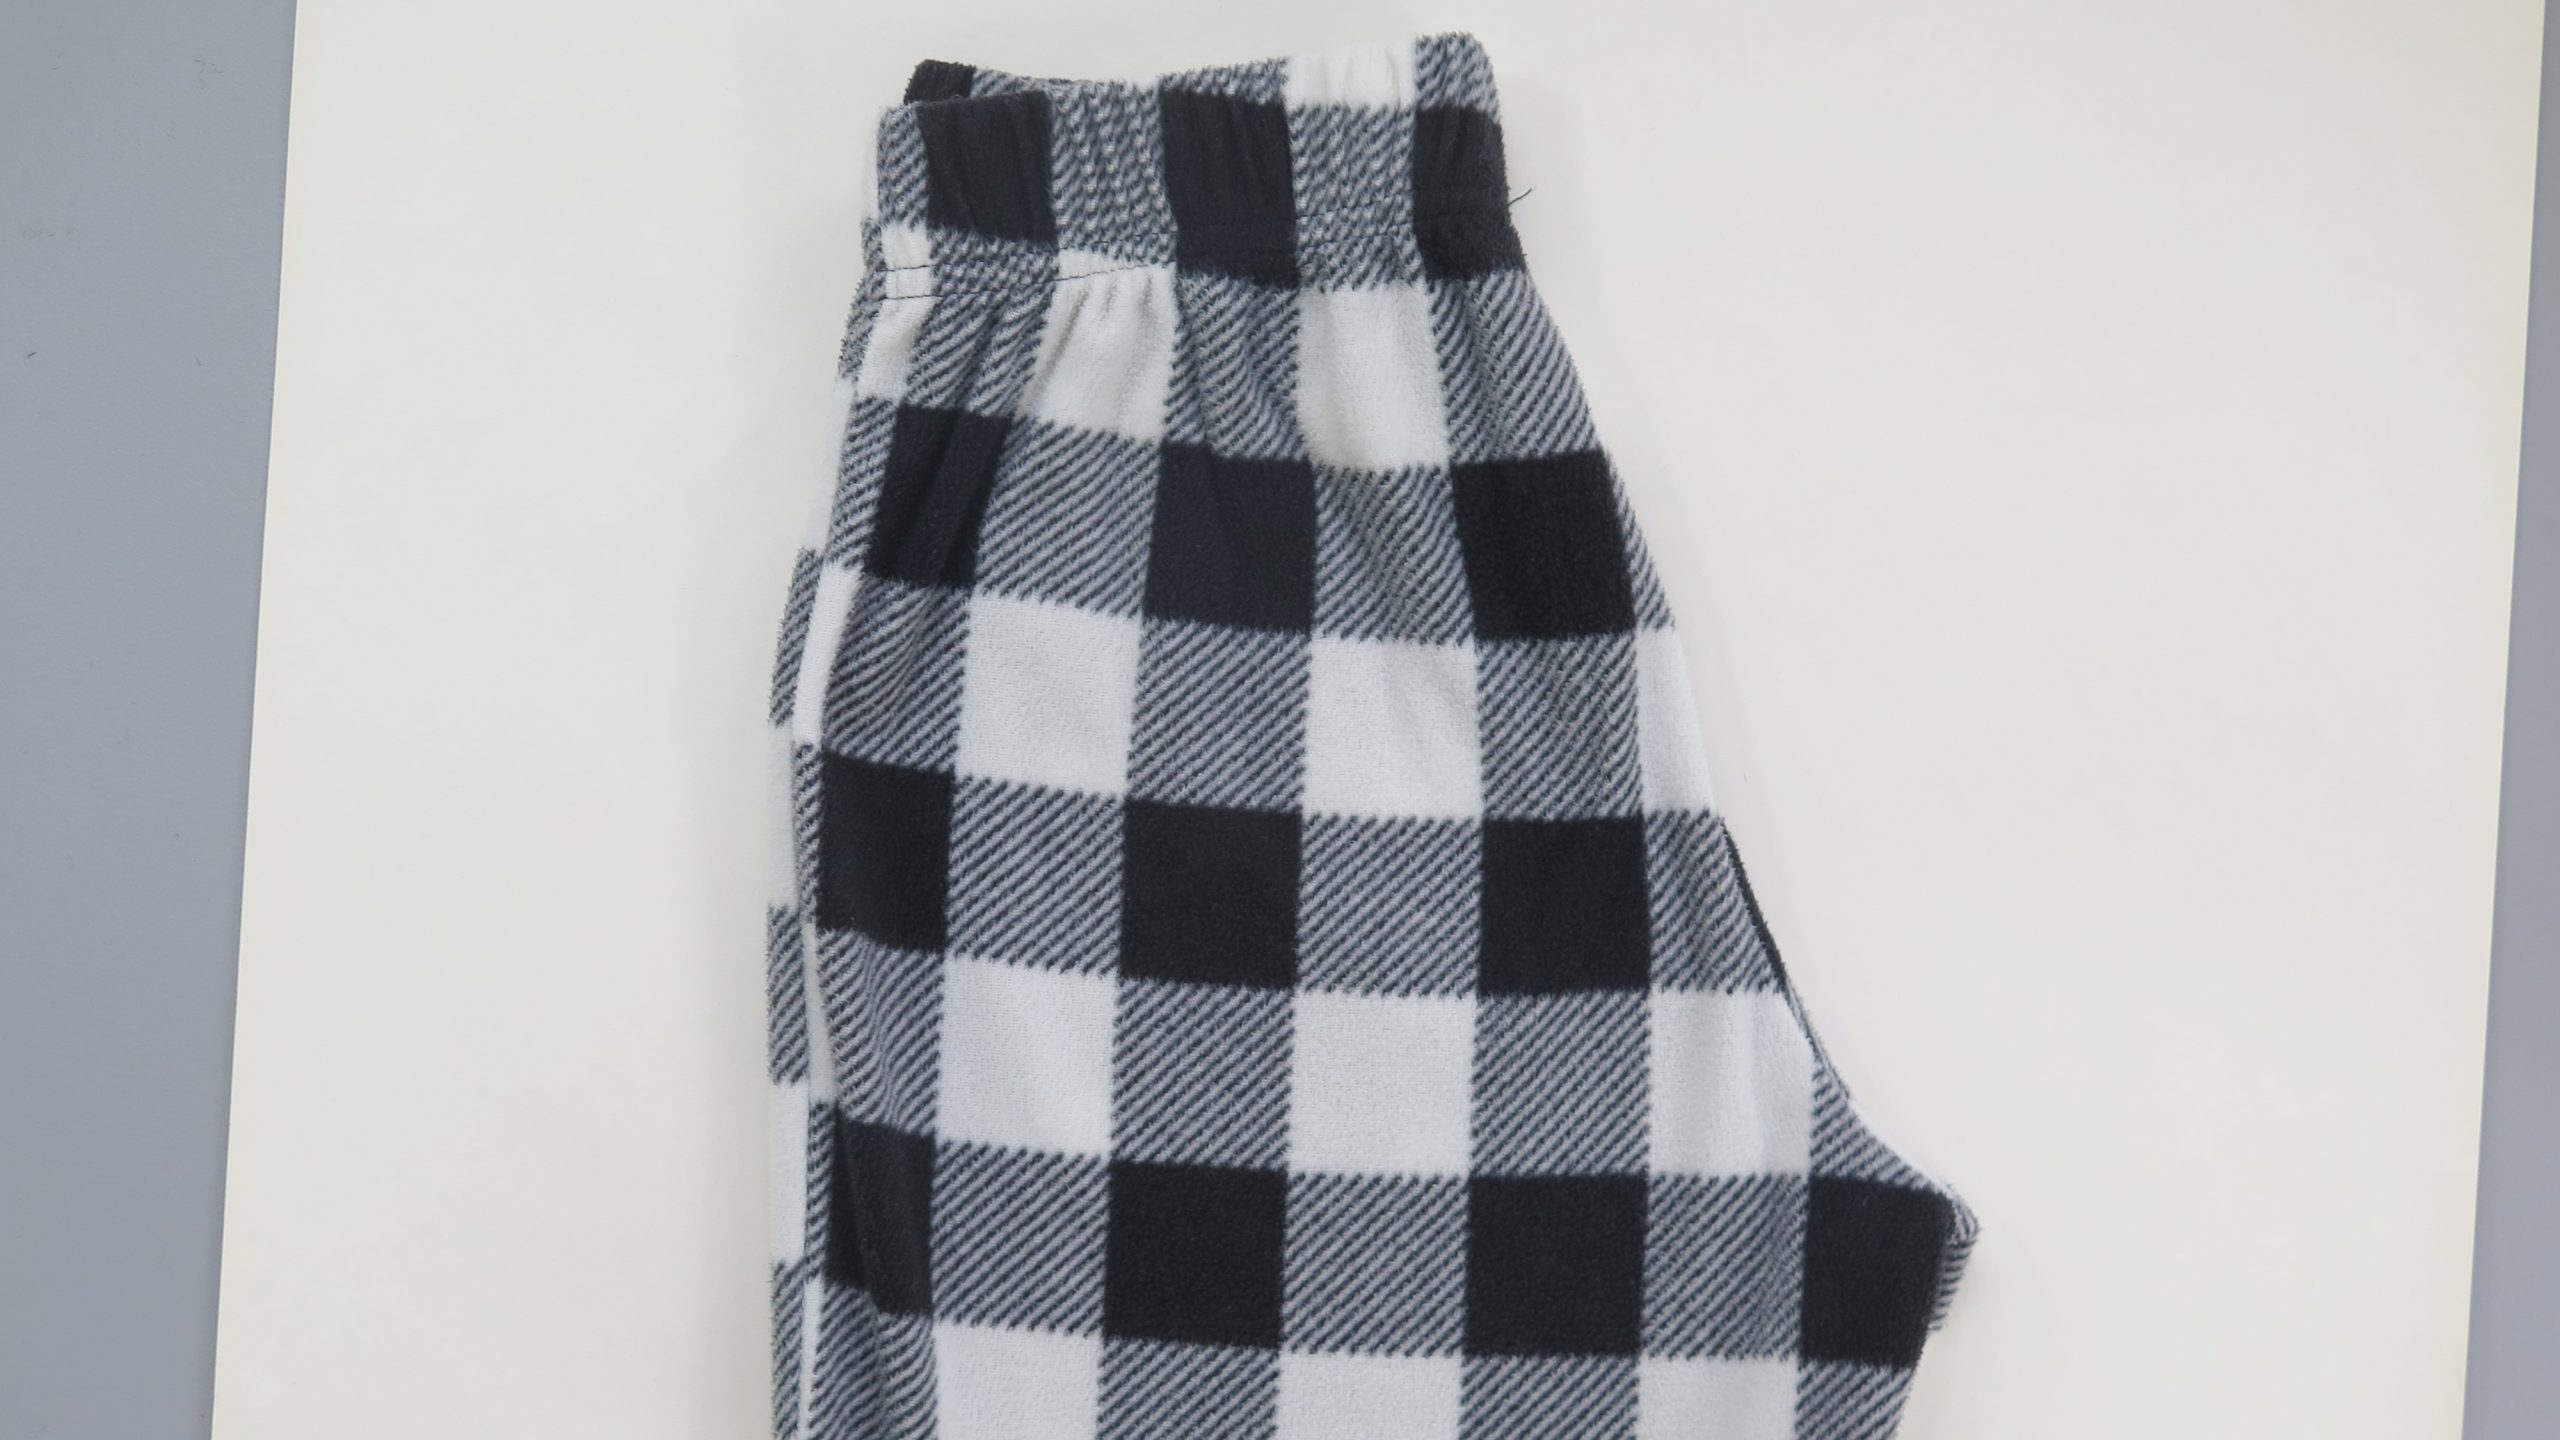
Fold your existing pants in half and pull the crotch all the way out, flattening them out as much as possible. Lay them on top of your pattern paper. Trace around the pants, making sure to trace the waist as stretched out as possible. If you need to make minor fit adjustments, such as raising or lowering the rise of the pants, or making the legs slimmer or looser, do that now.
2. Add a Seam Allowance
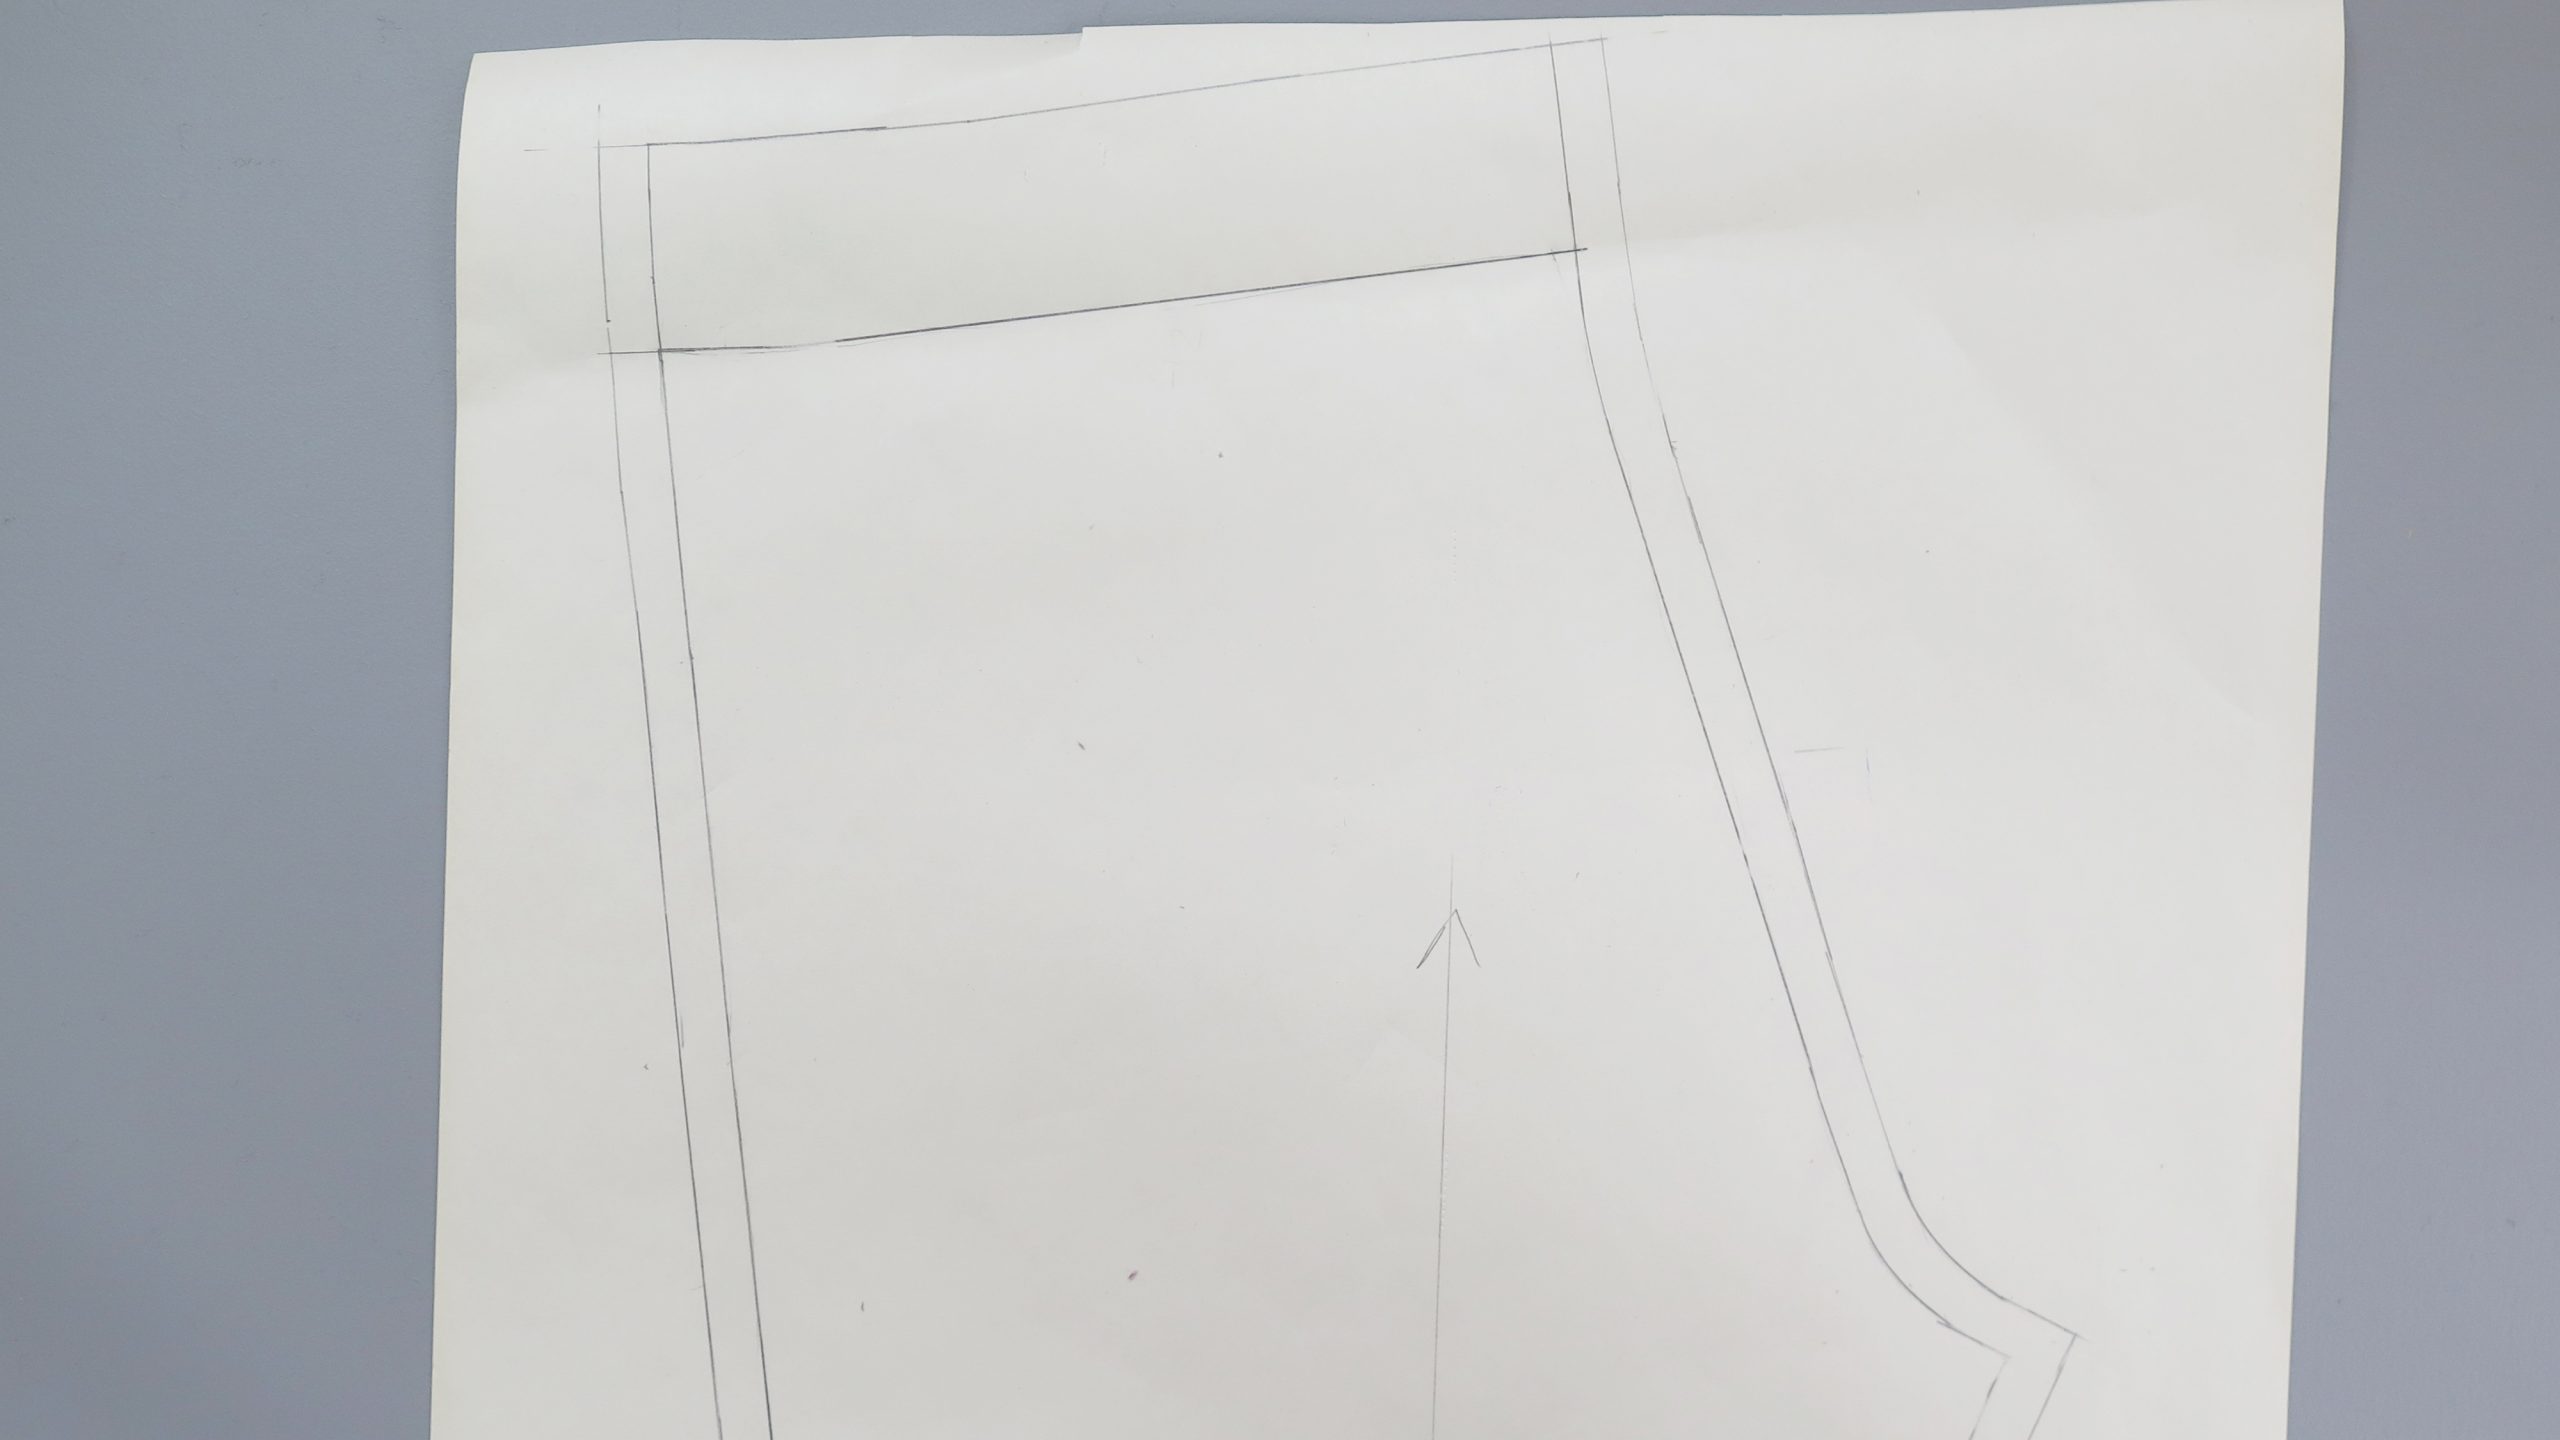
Set your old pants to the side. Trace a second line ½” outside the first line. For the waist and hem, increase the seam allowance to 2”. Cut the pattern out.
3. Cut Your Fabric
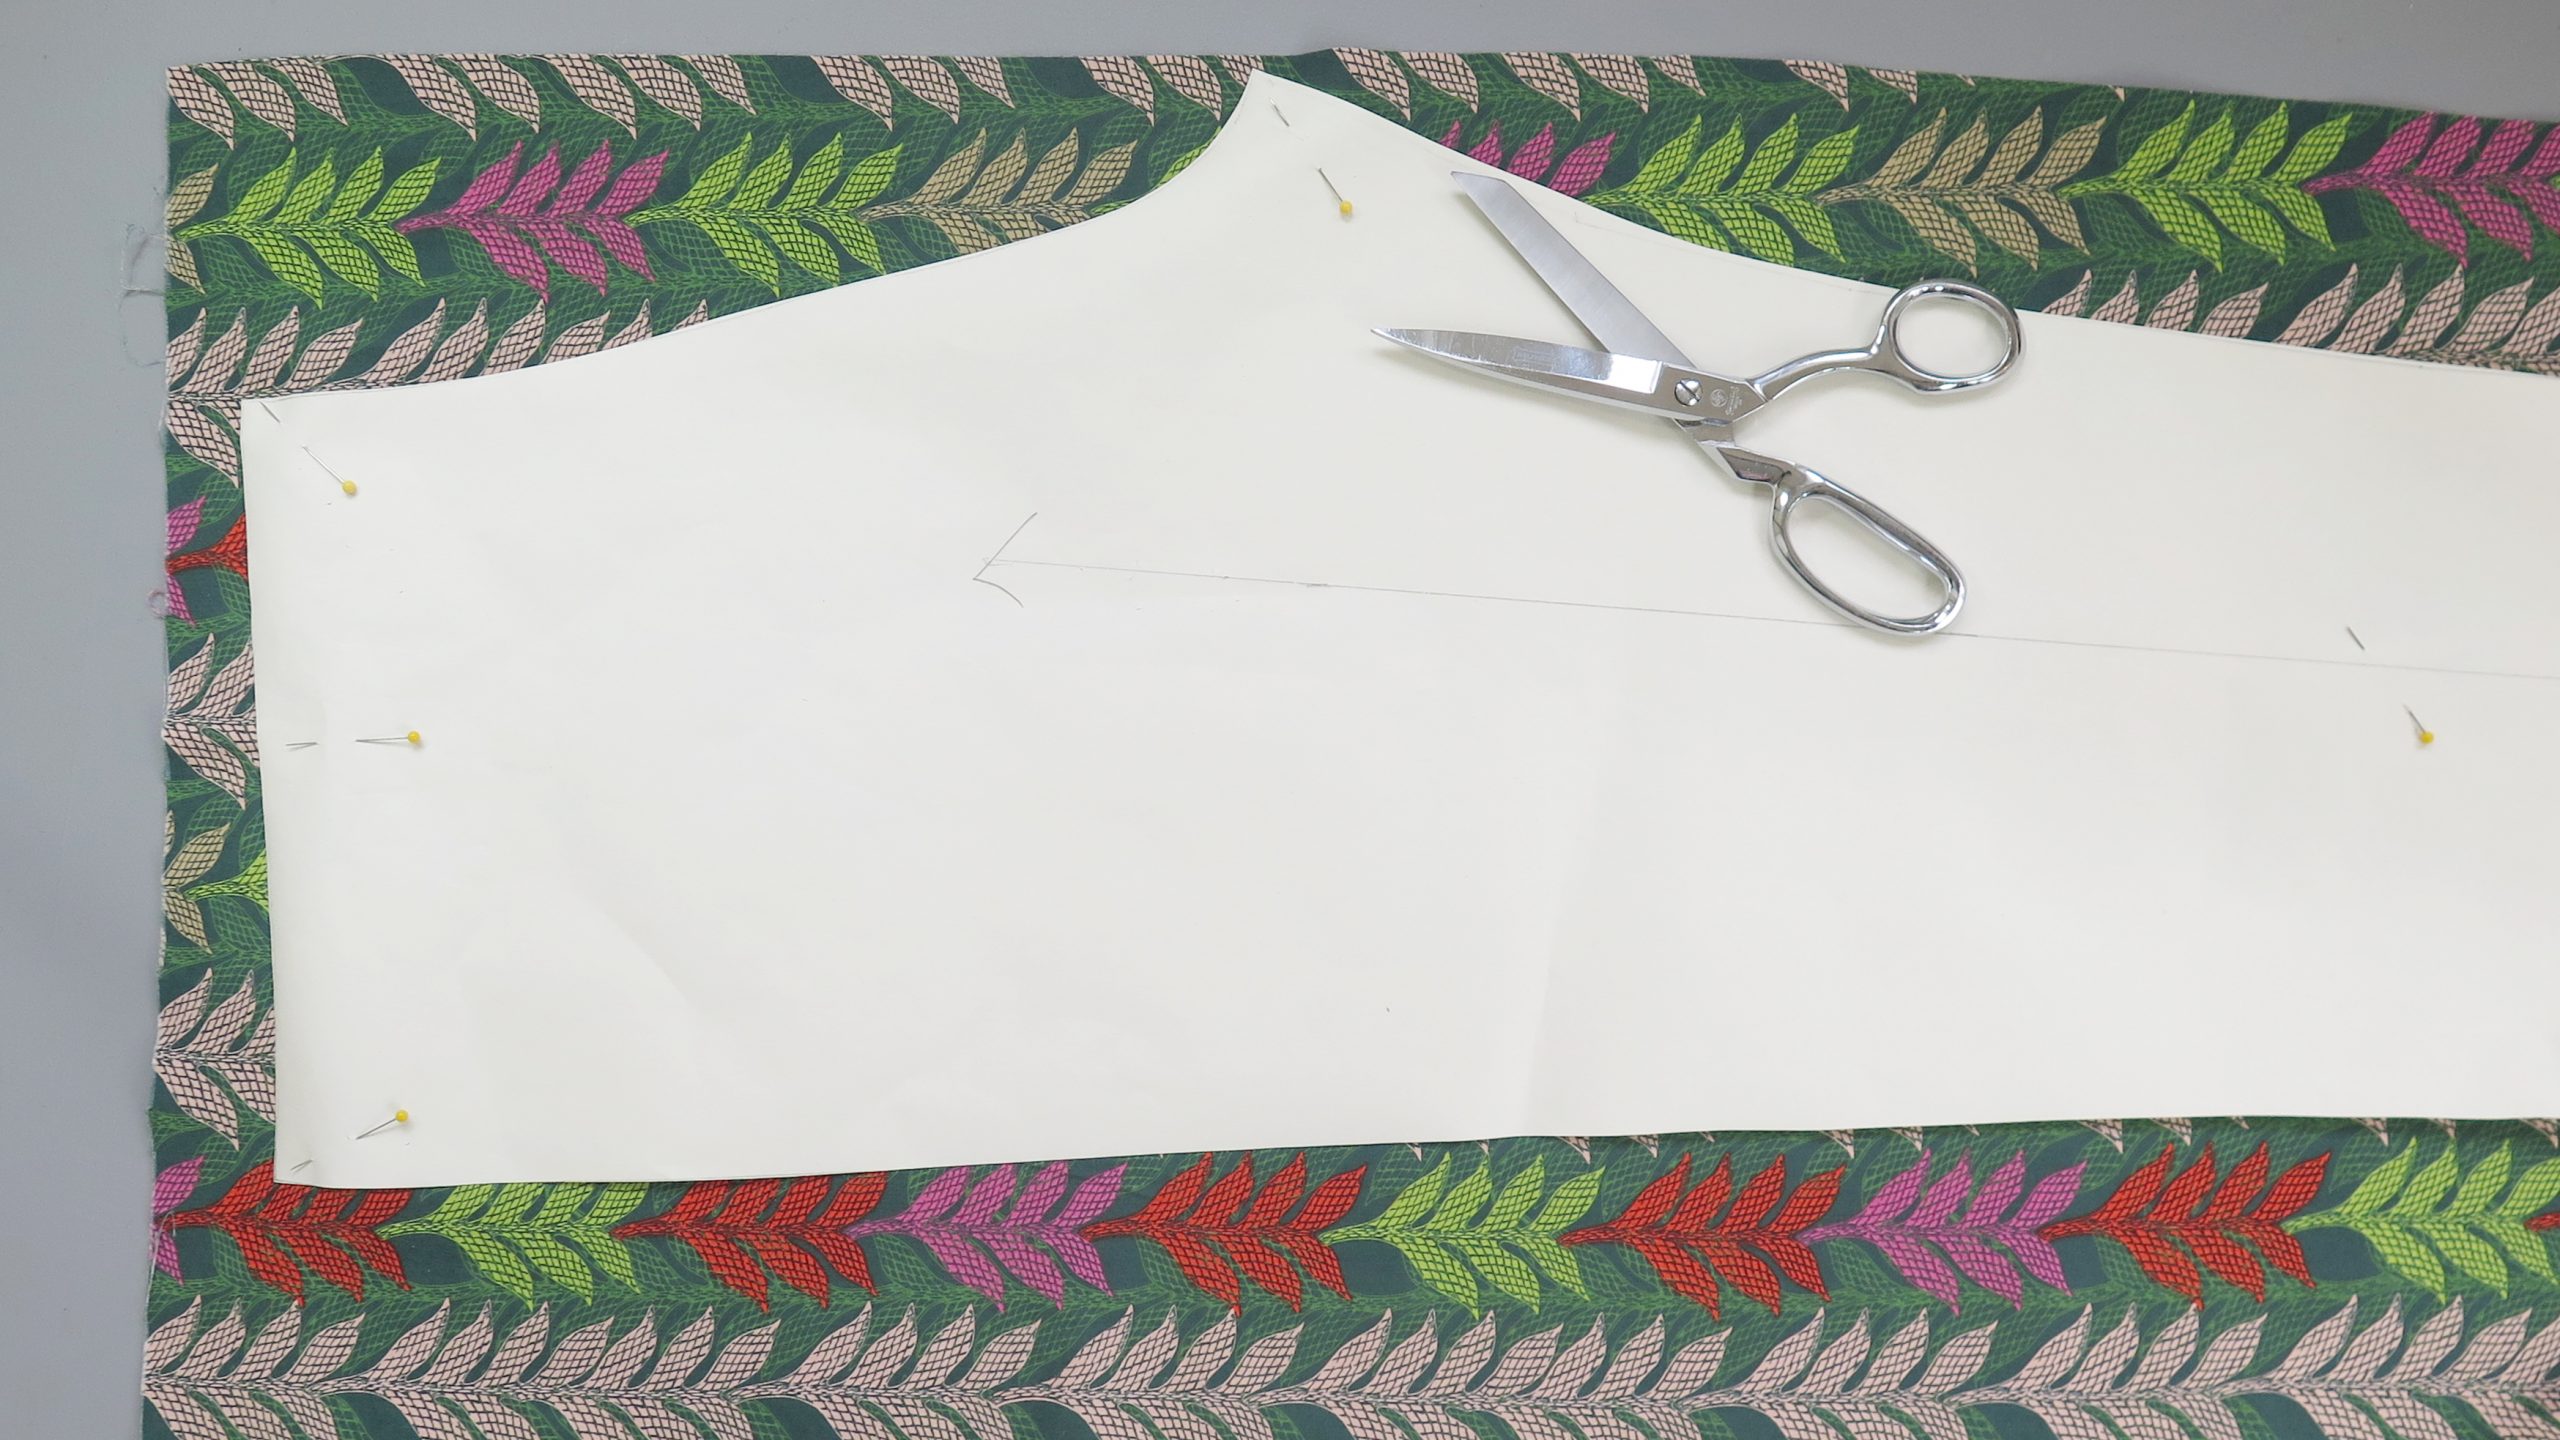
With your fabric folded in half, place the long, straight edge close to the fold. Pin in place. Cut the pattern piece out and repeat another time, giving you 4 pieces in total.
Pro Tip:While you can always finish your raw edges (with pinking shears or a serger) as you sew, it’s easier to do so before you before you begin sewing the pants together.
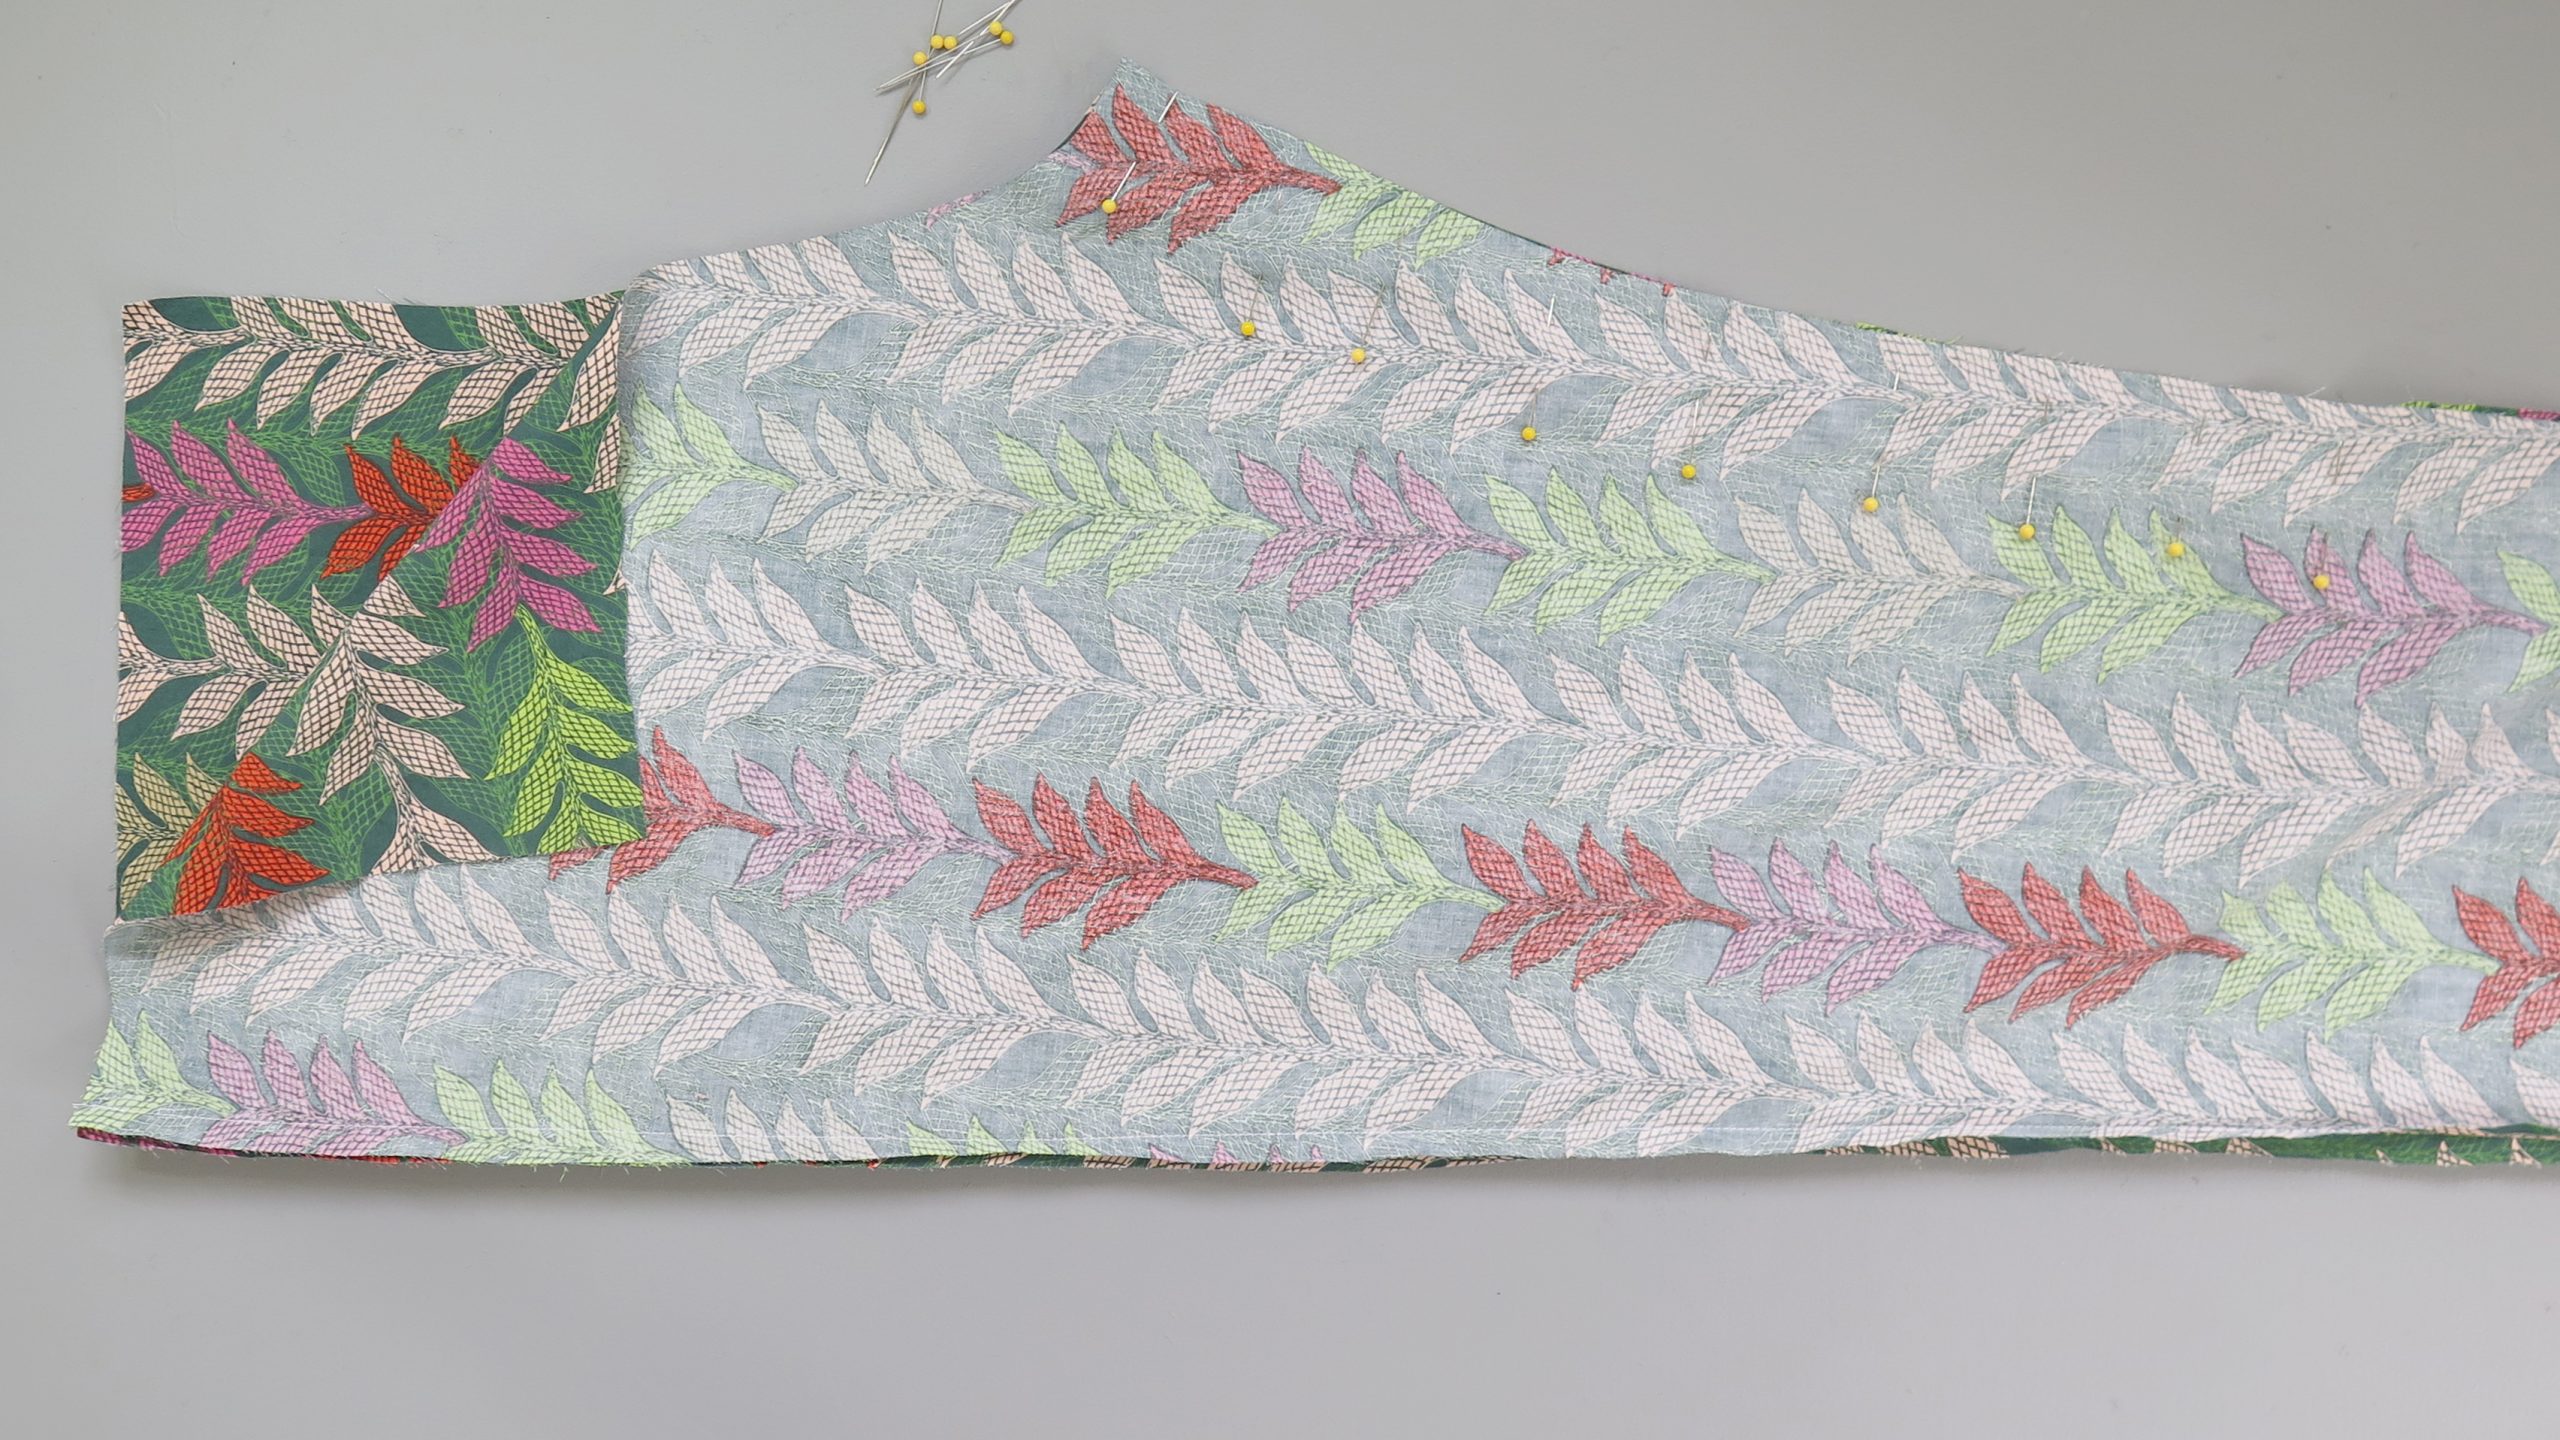
4. Sew the Side Seams
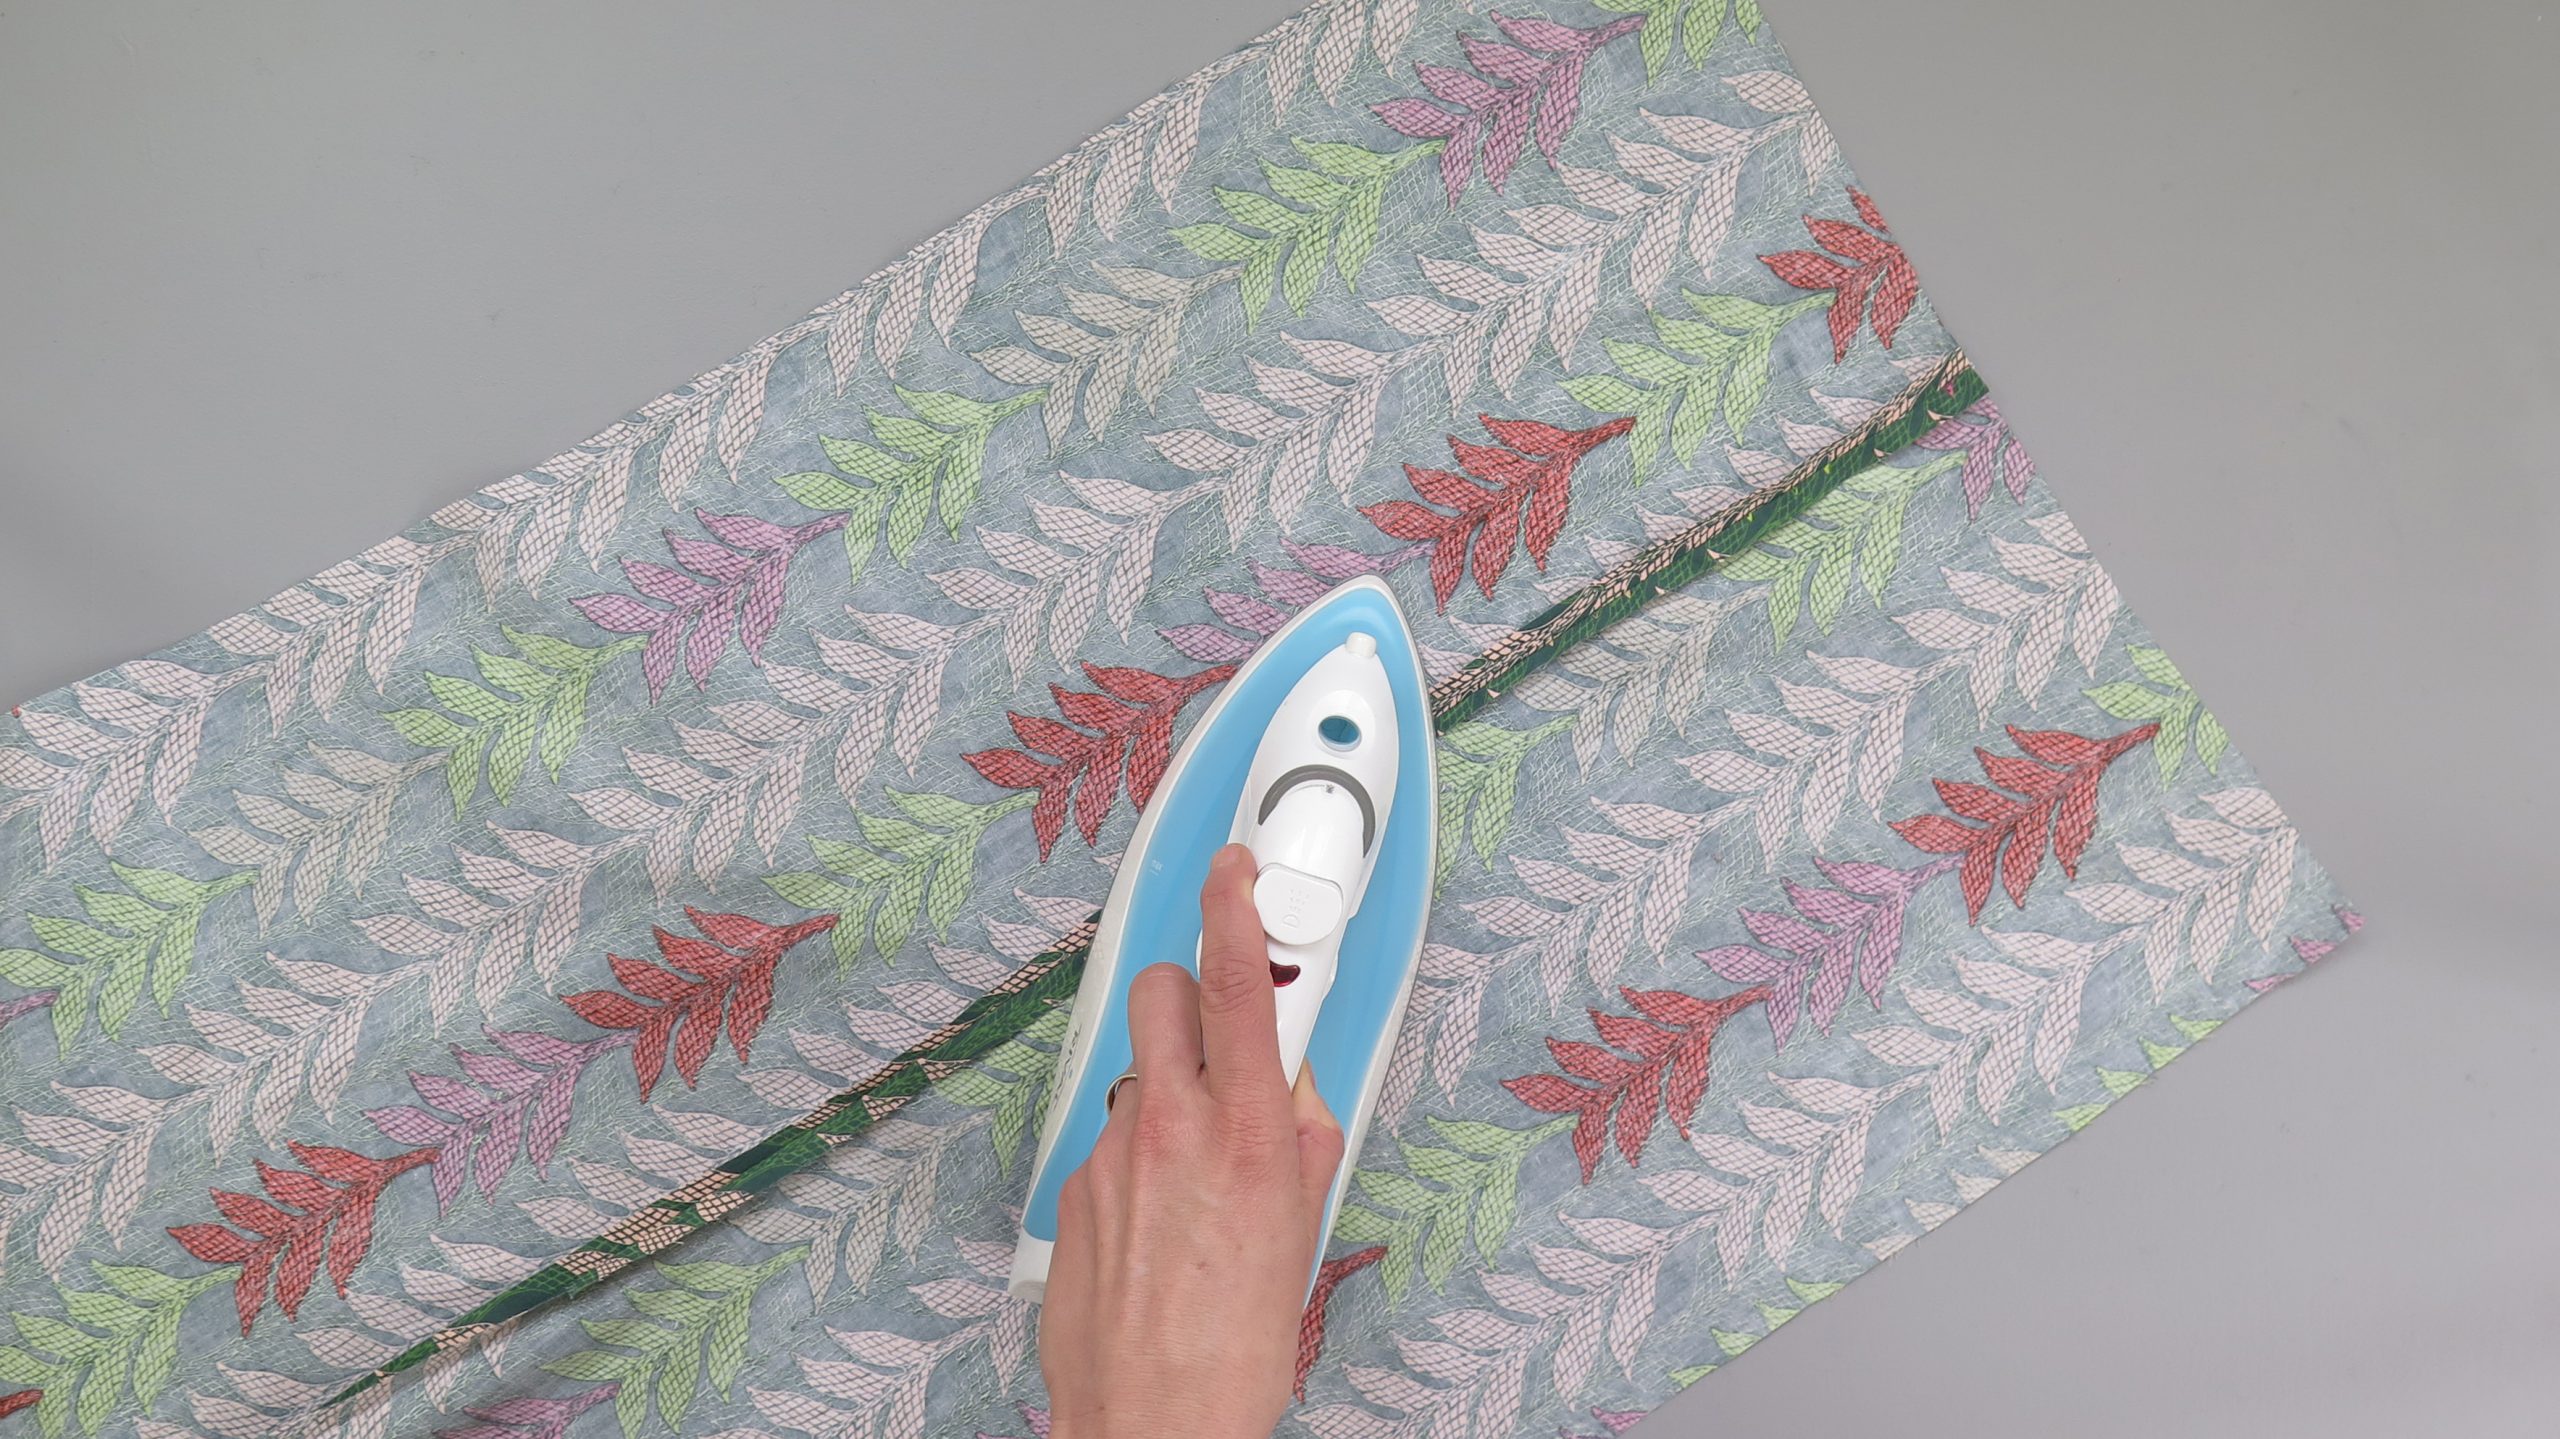
Place one front piece and one back piece, right sides together. Pin along the side seam (the long straight edge), then stitch using a ½” seam allowance. Repeat for the second leg. Press the side seams open.
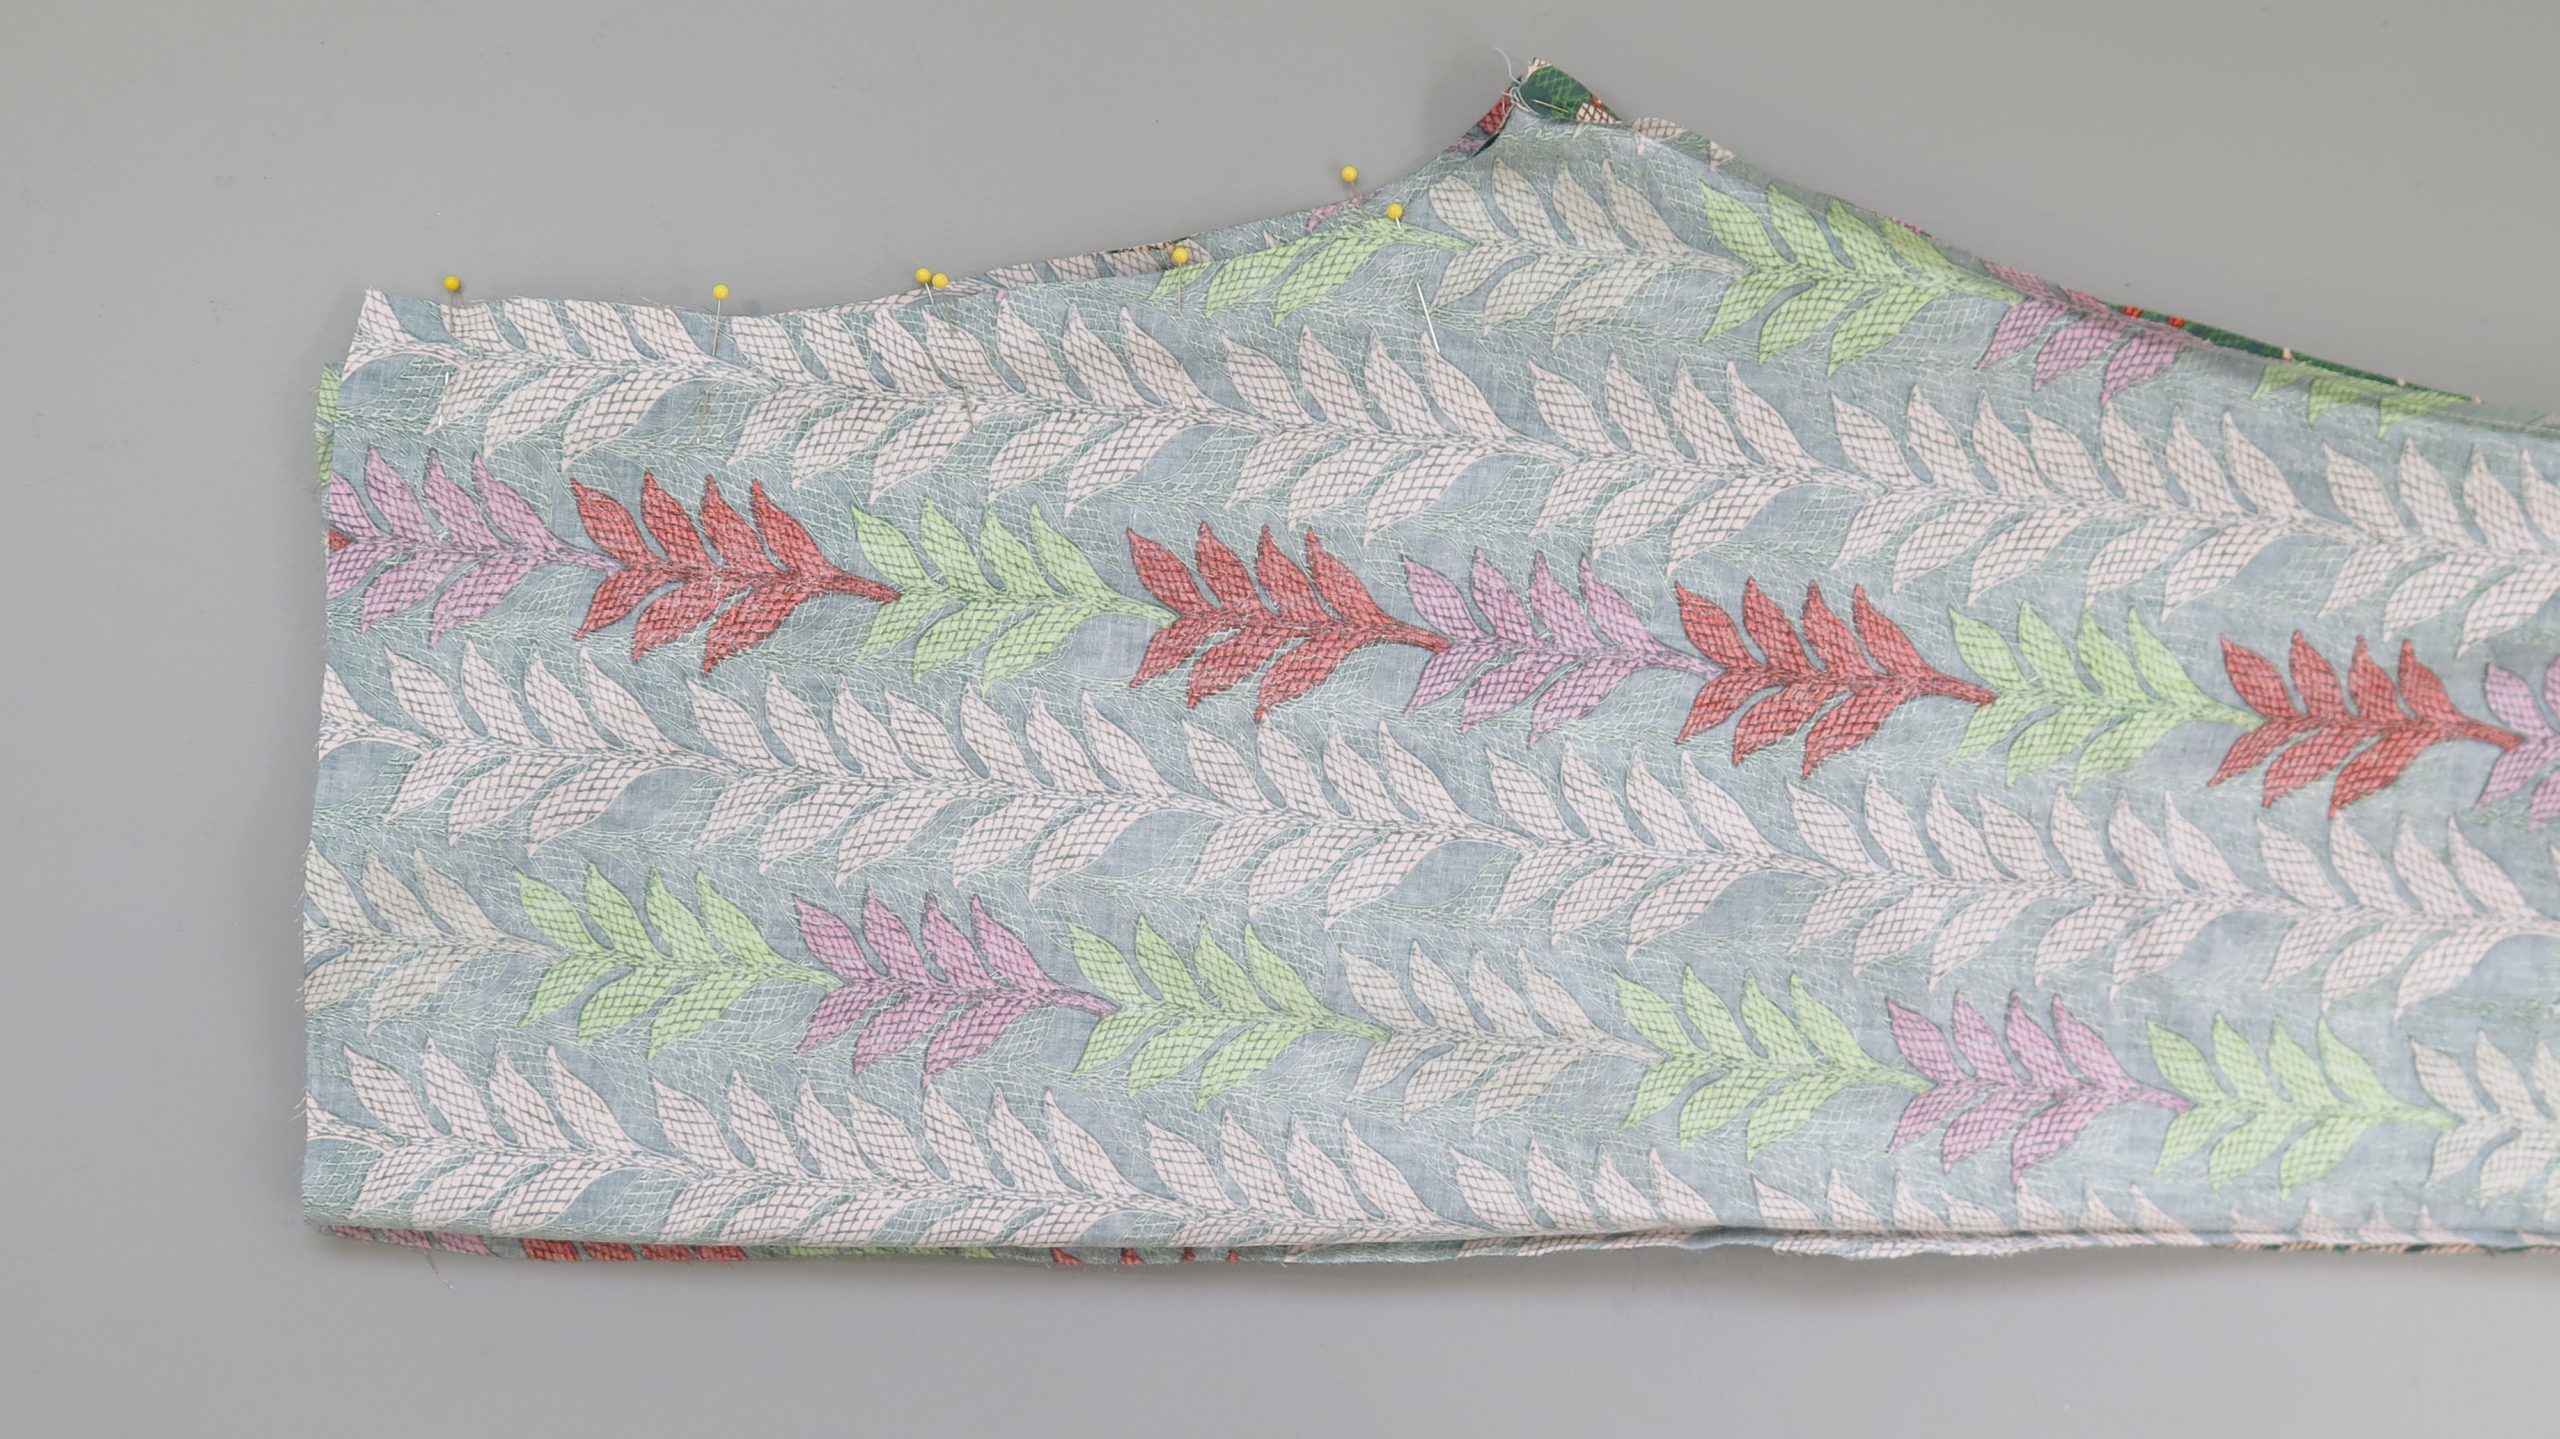
5. Sew the Inside Seams
Flip one of your legs back, right sides together. Pin along the inside seam, then stitch from ankle to crotch using a ½” seam allowance. Repeat for the second leg. Press the seams open.
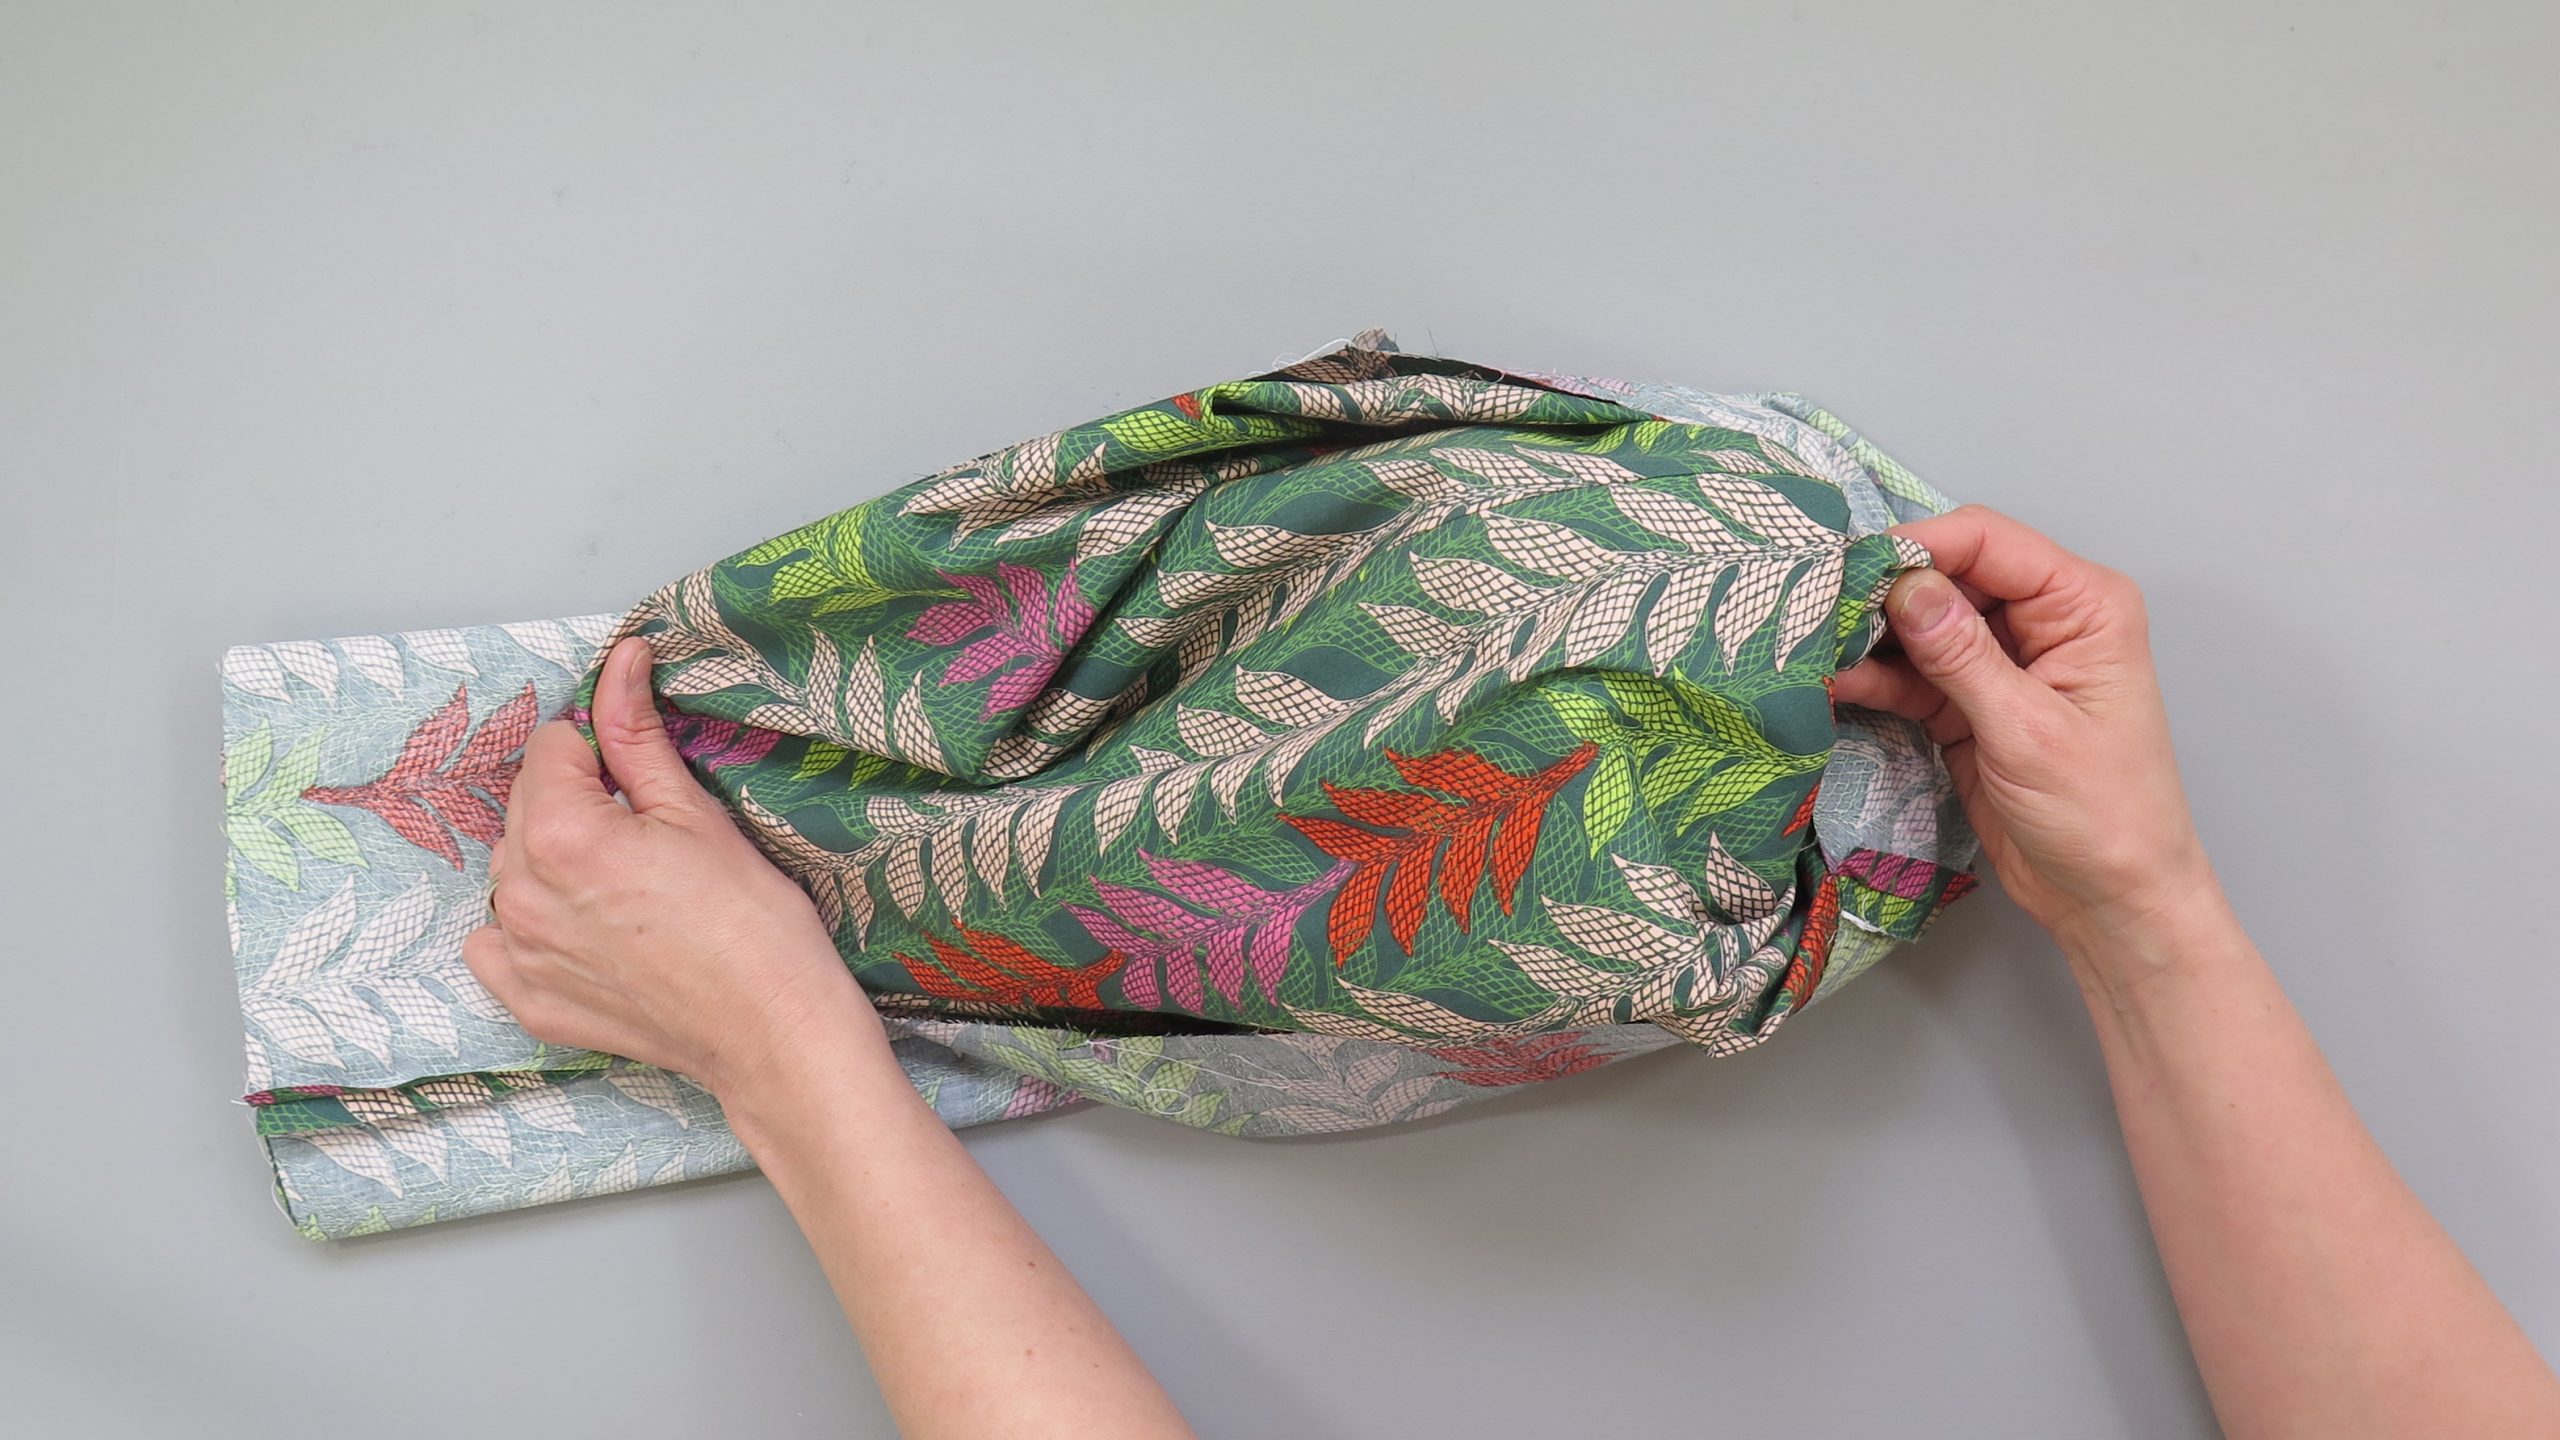
6. Stitch the Crotch Seams
With the pants wrong side out, put your hand into one leg and grab the hem. Pull upward and place that leg into the other leg. Keep pulling the legs into place until the hems touch and the side seams and inside seams match.
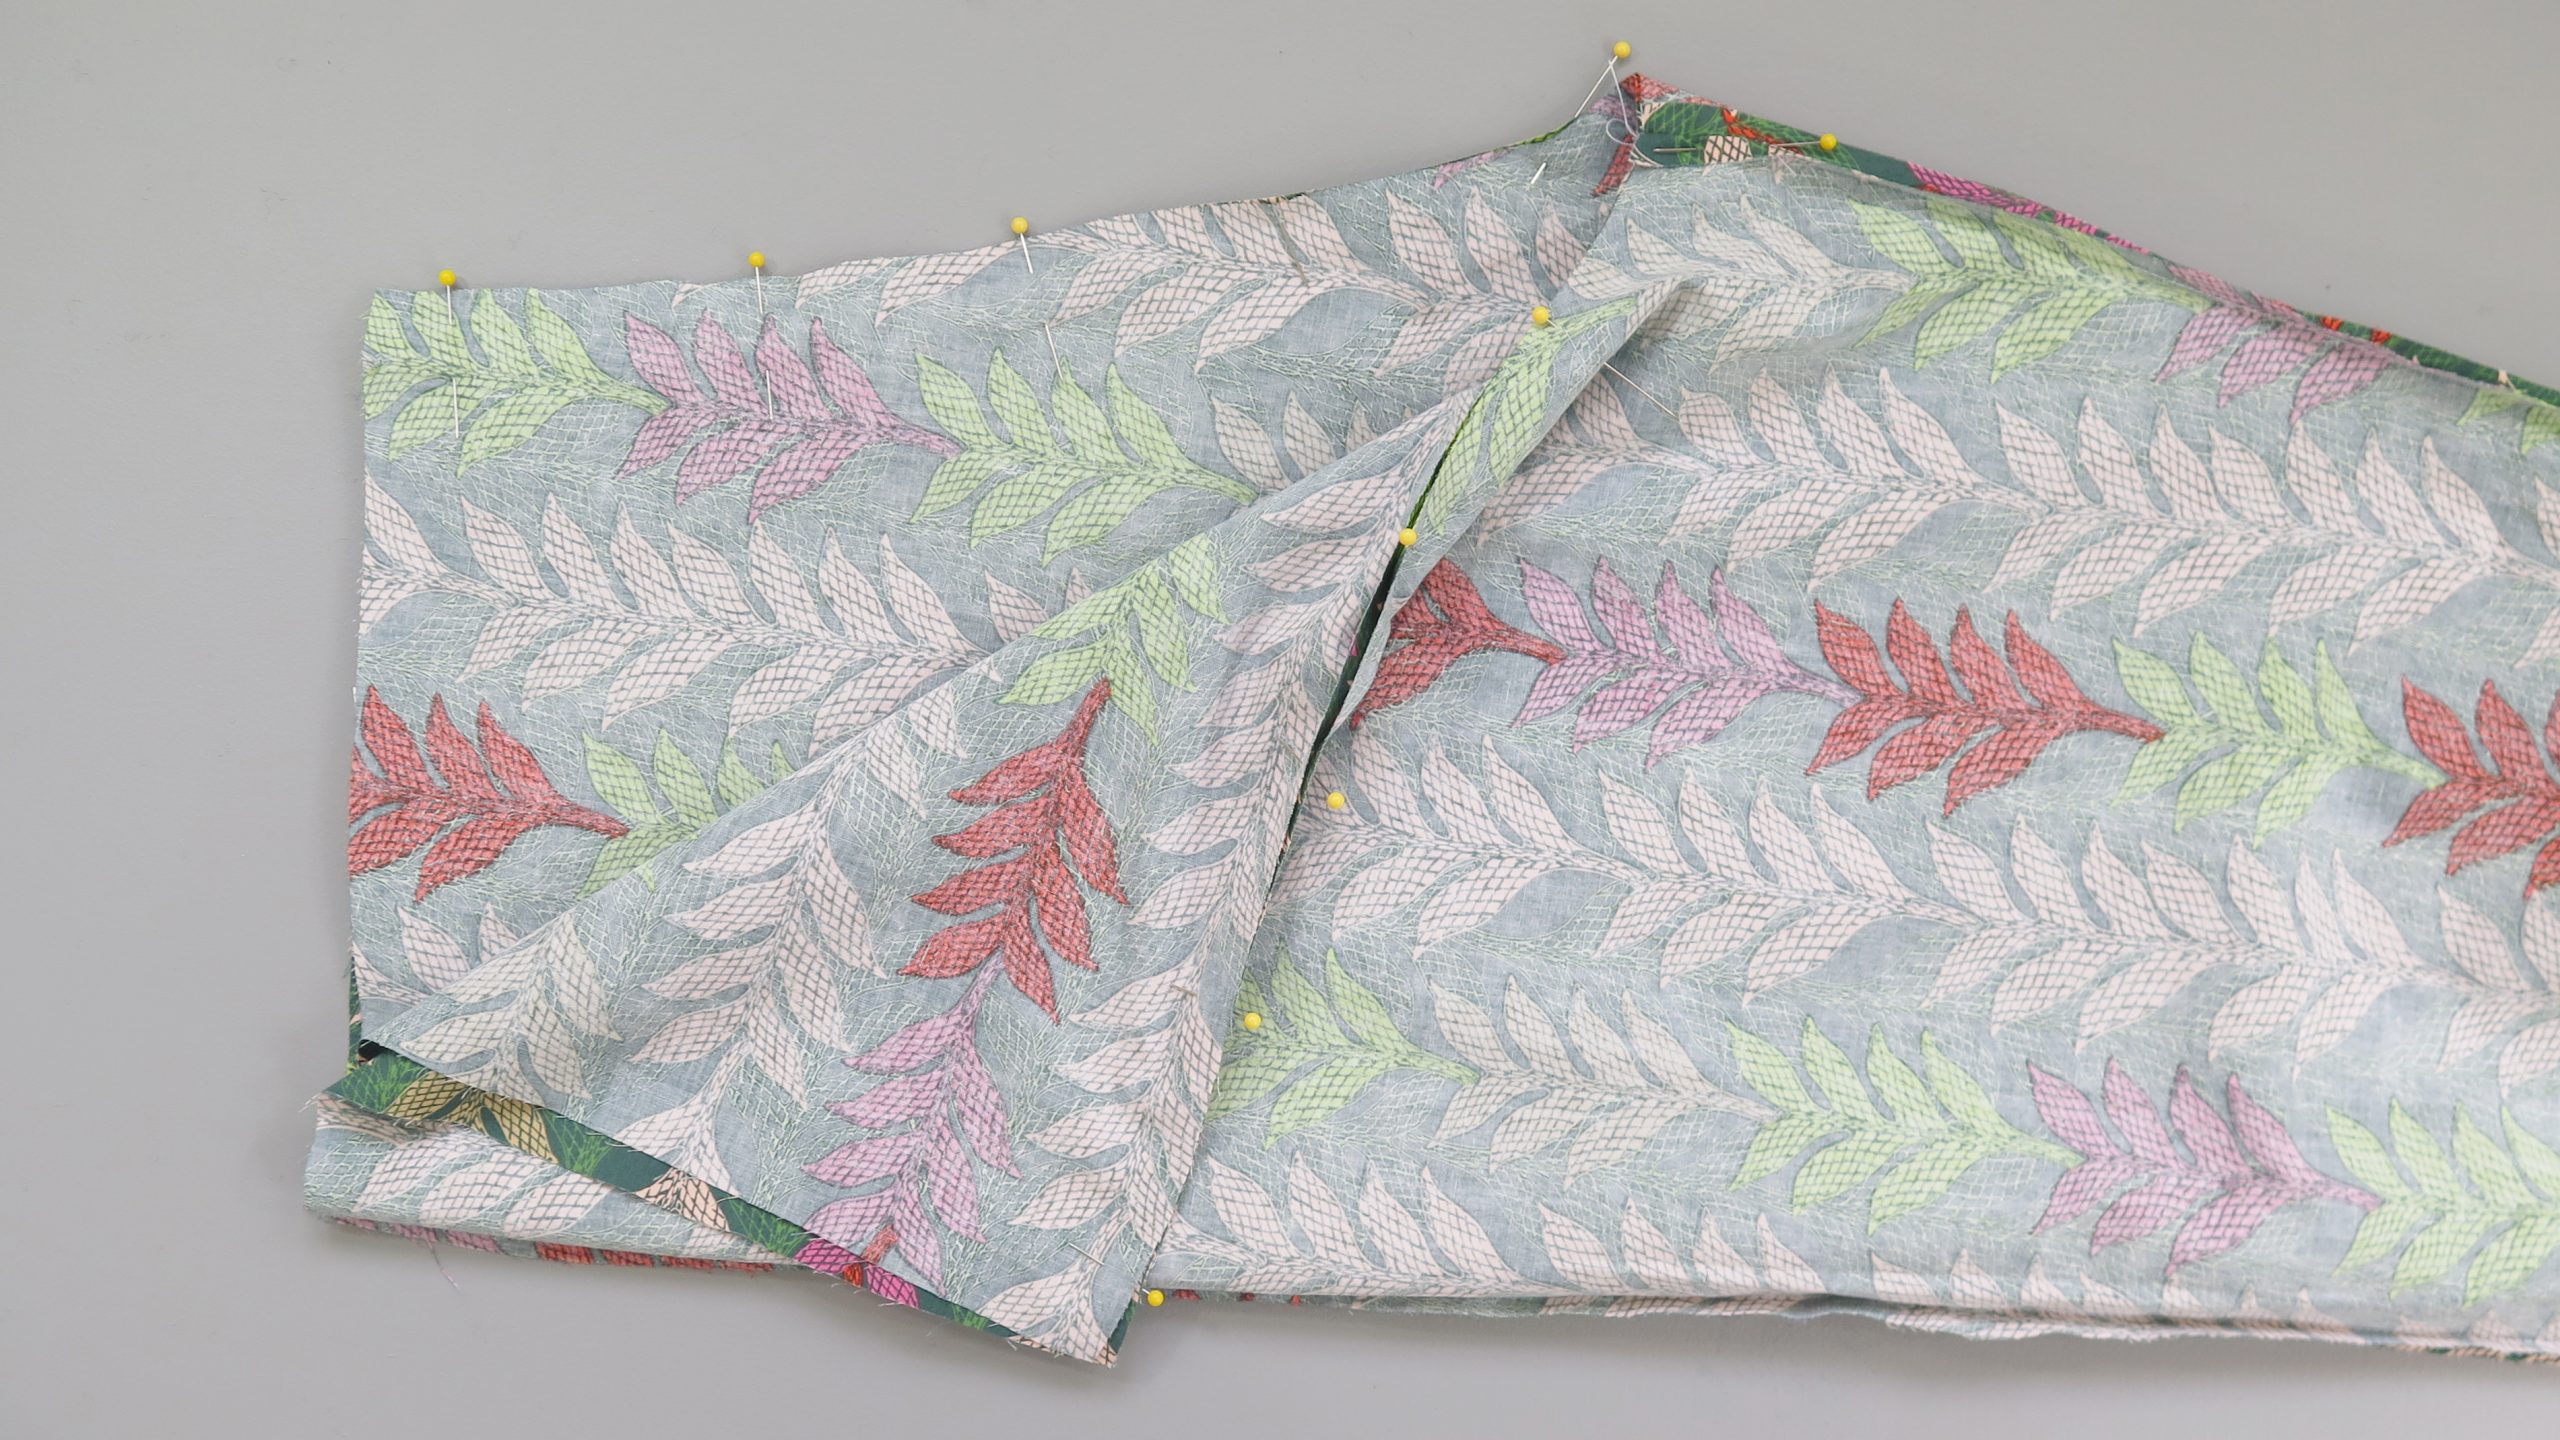
Lay the PJ pants onto your work surface; finger press any wrinkles while making sure the side seams and inside seams stay aligned. The crotch seam raw edges should now be on top of each other. Pin along the crotch seam. Stitch using a ½” seam allowance.
Turn the pants inside out.
7. Make the Elastic Casing
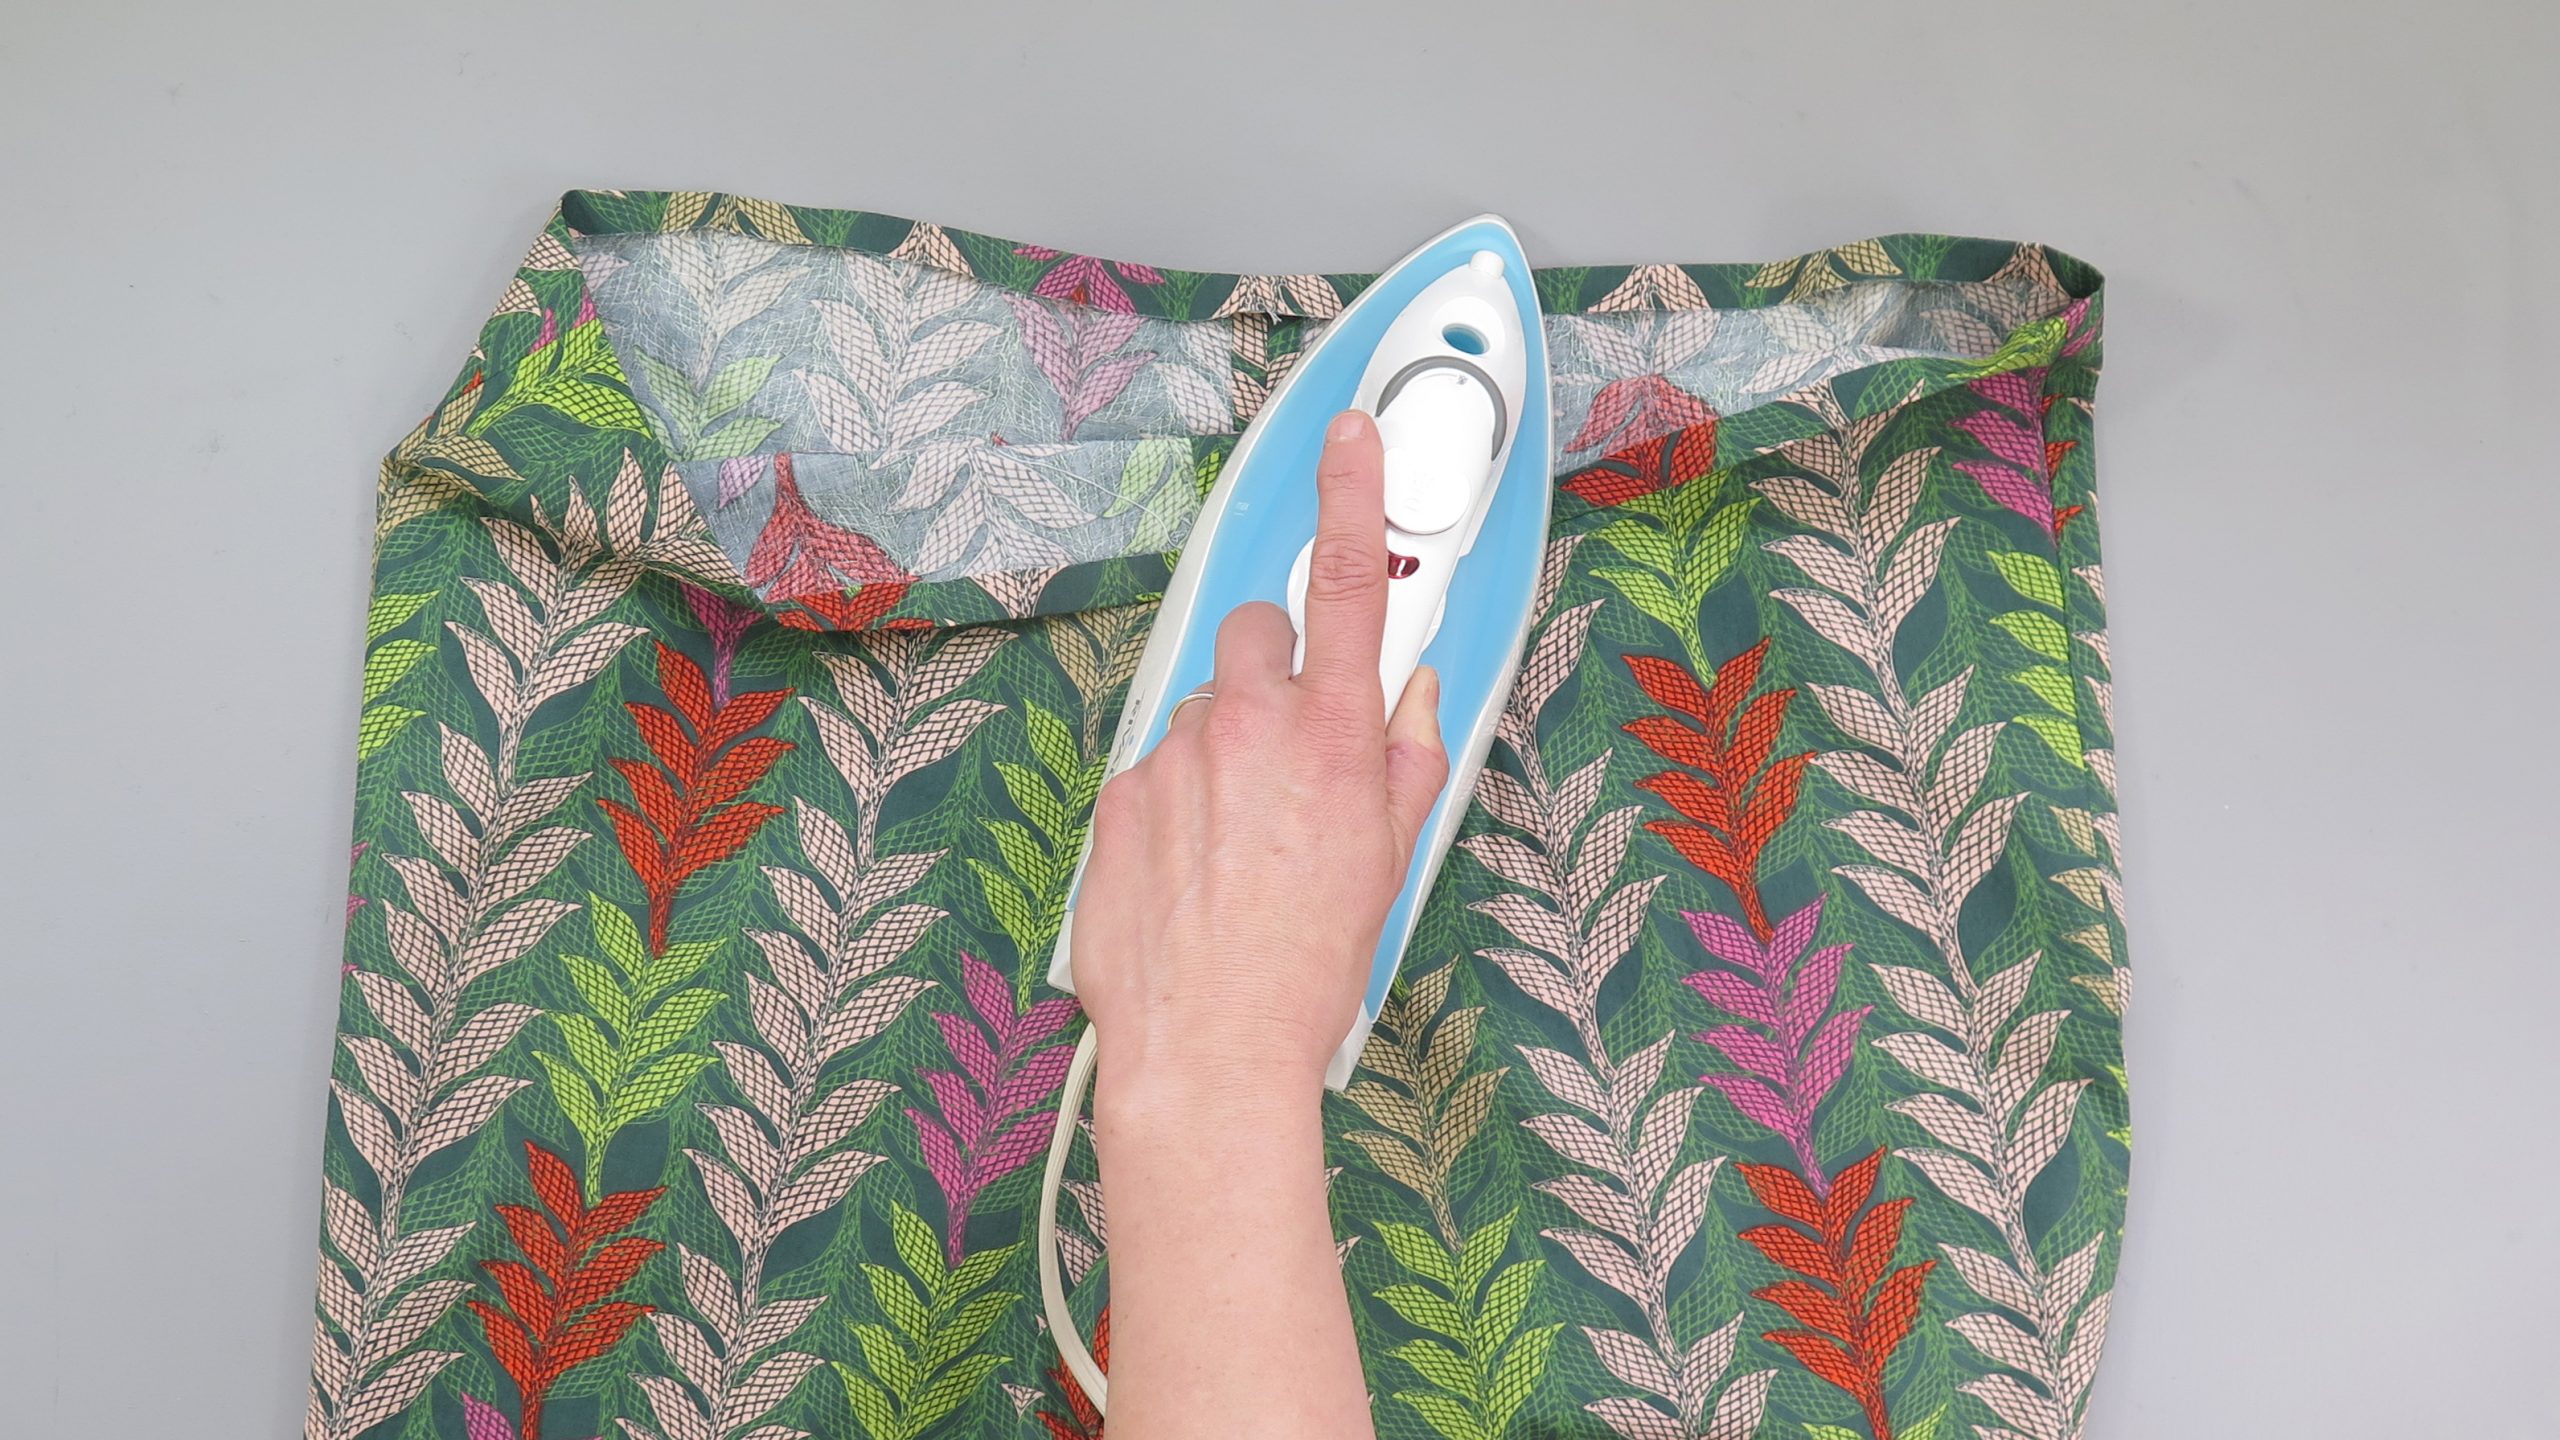
Fold down the top edge of the waist ½” and press.
Fold down the top edge of the waist ½” and press.
Use pins to mark an opening about 3” long to insert the elastic. Sew the top and bottom edges around the waist, making sure not to sew the opening closed.
8. Insert the Elastic
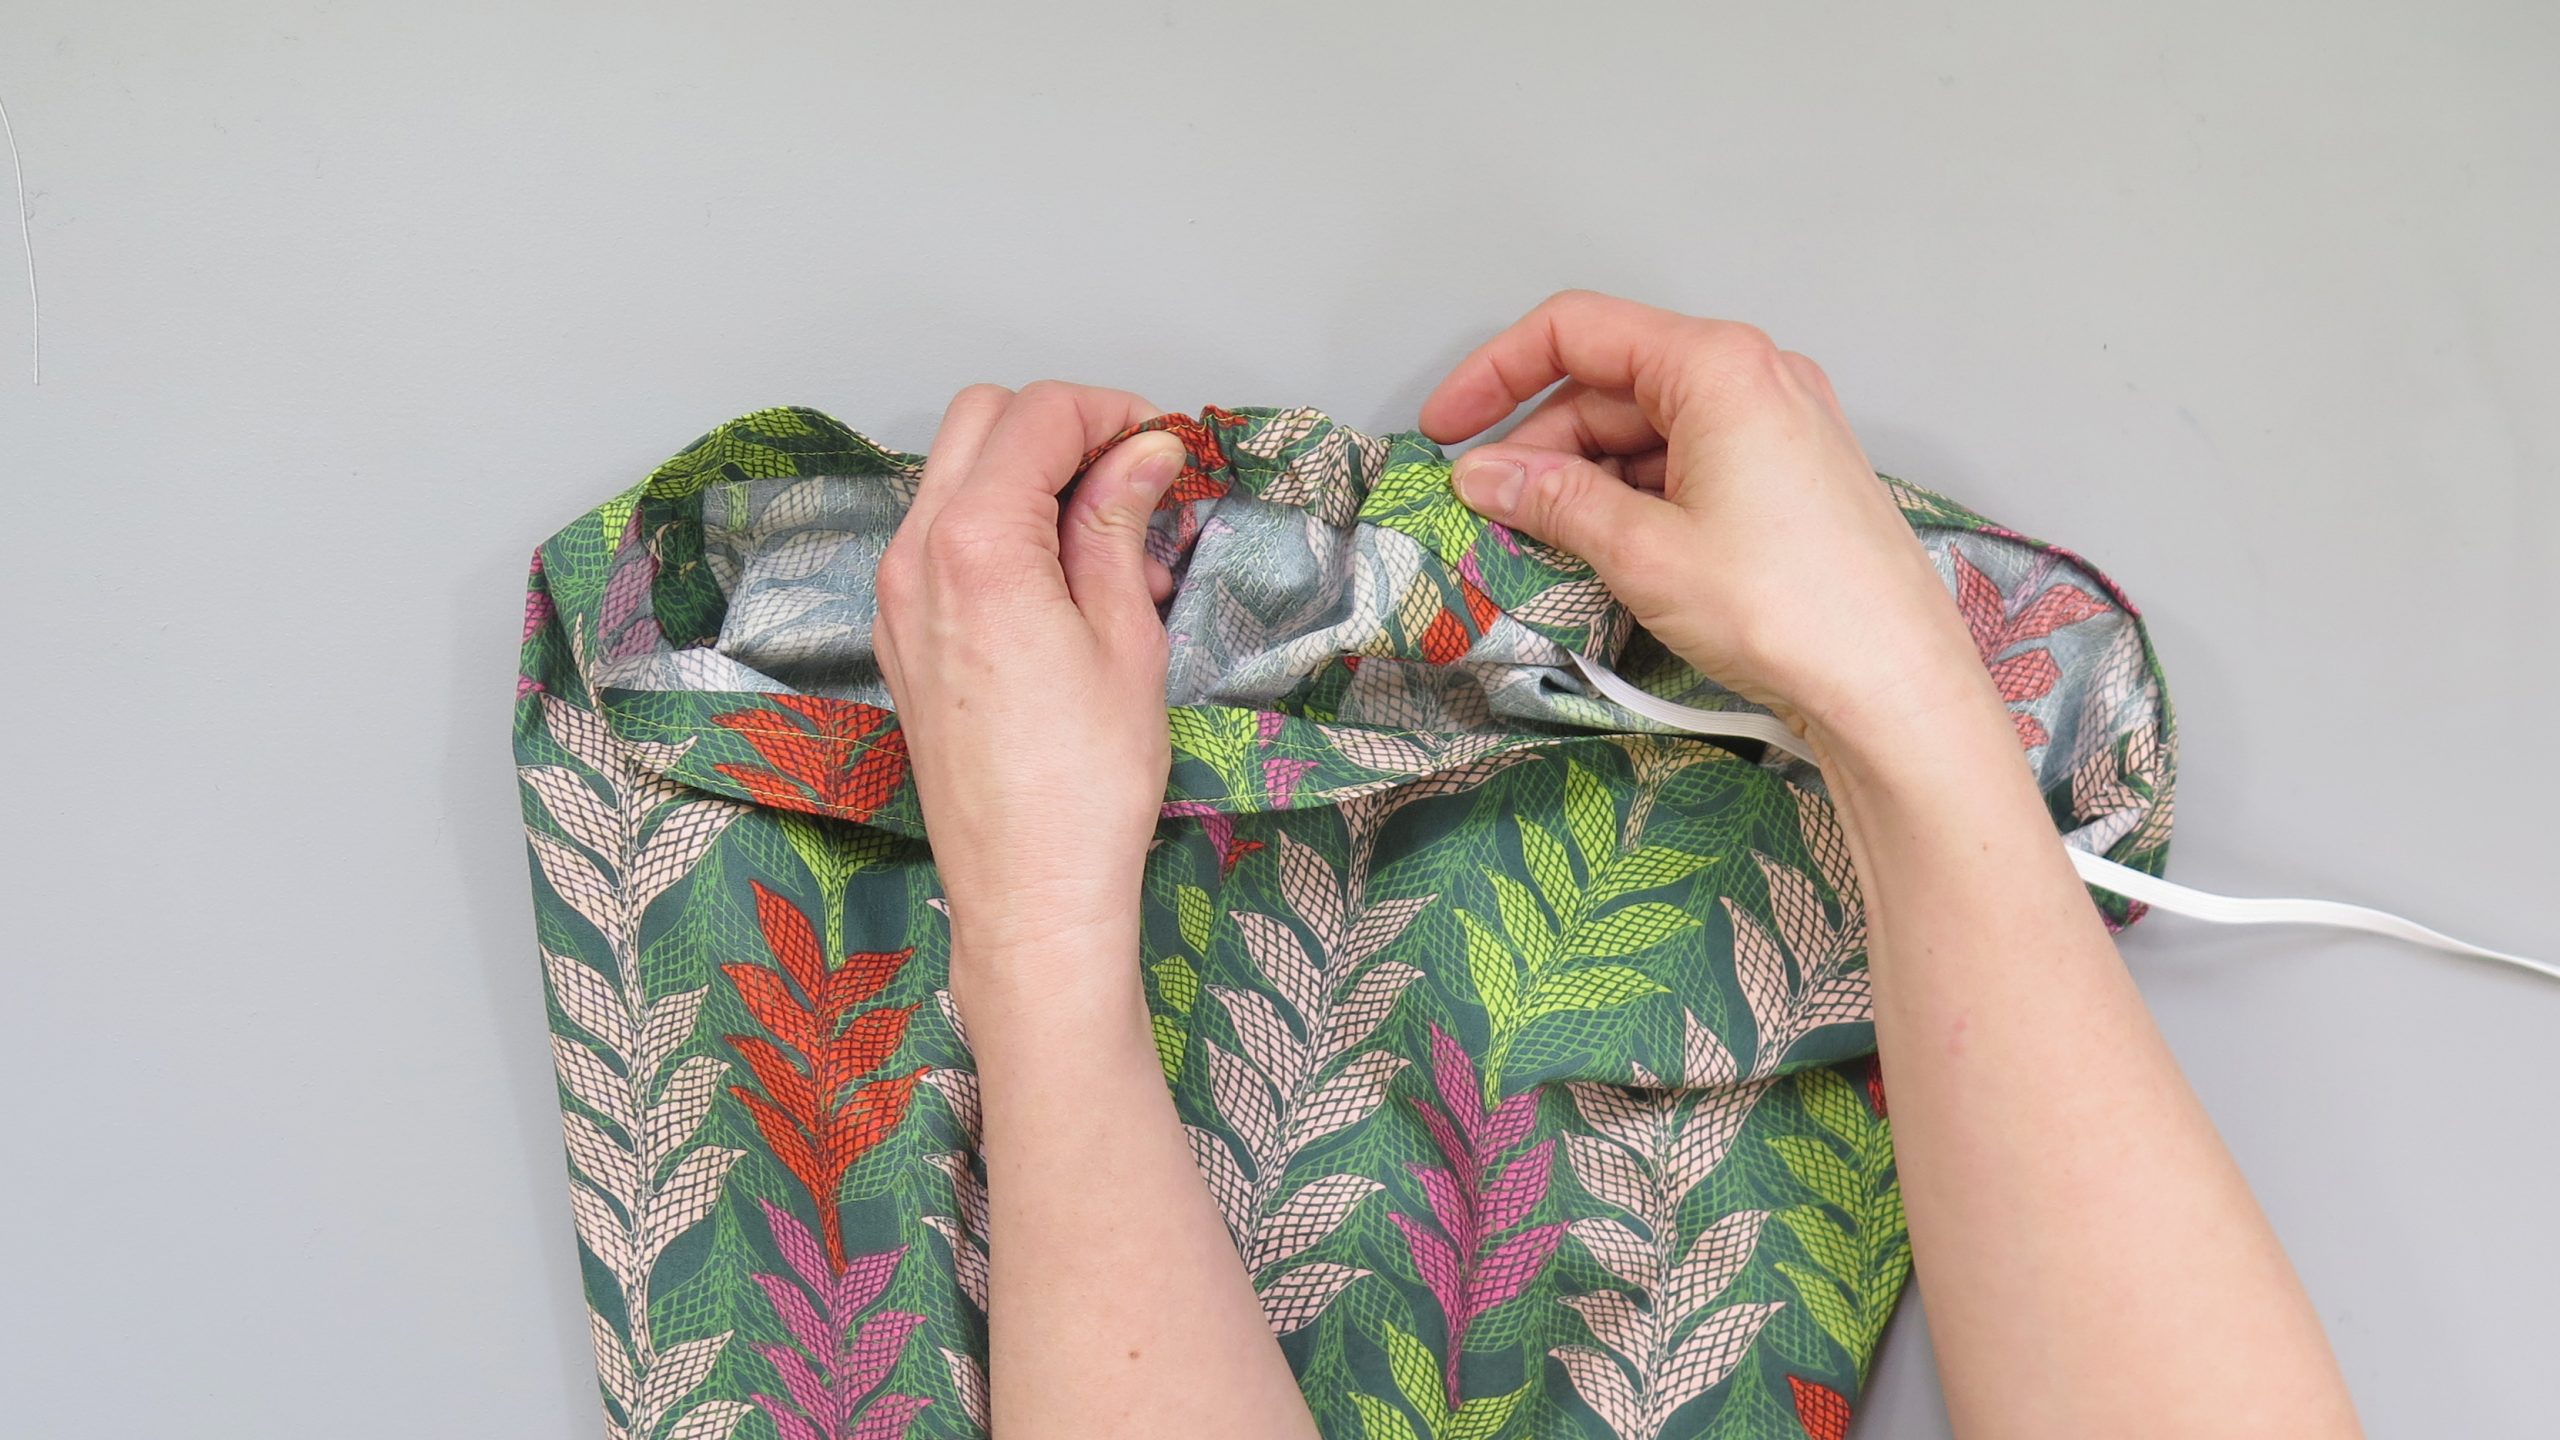
Place a piece of elastic around your waist, leaving about 2″ extra and cut. Clip a safety pin to one end. Find the 3″ opening in the waistband and insert the safety pin, feeling for it on the outside of the waistband. Gently guide the safety pin through the casing (make sure to keep the opposite end of the elastic on the outside so it doesn’t sneak into the casing).
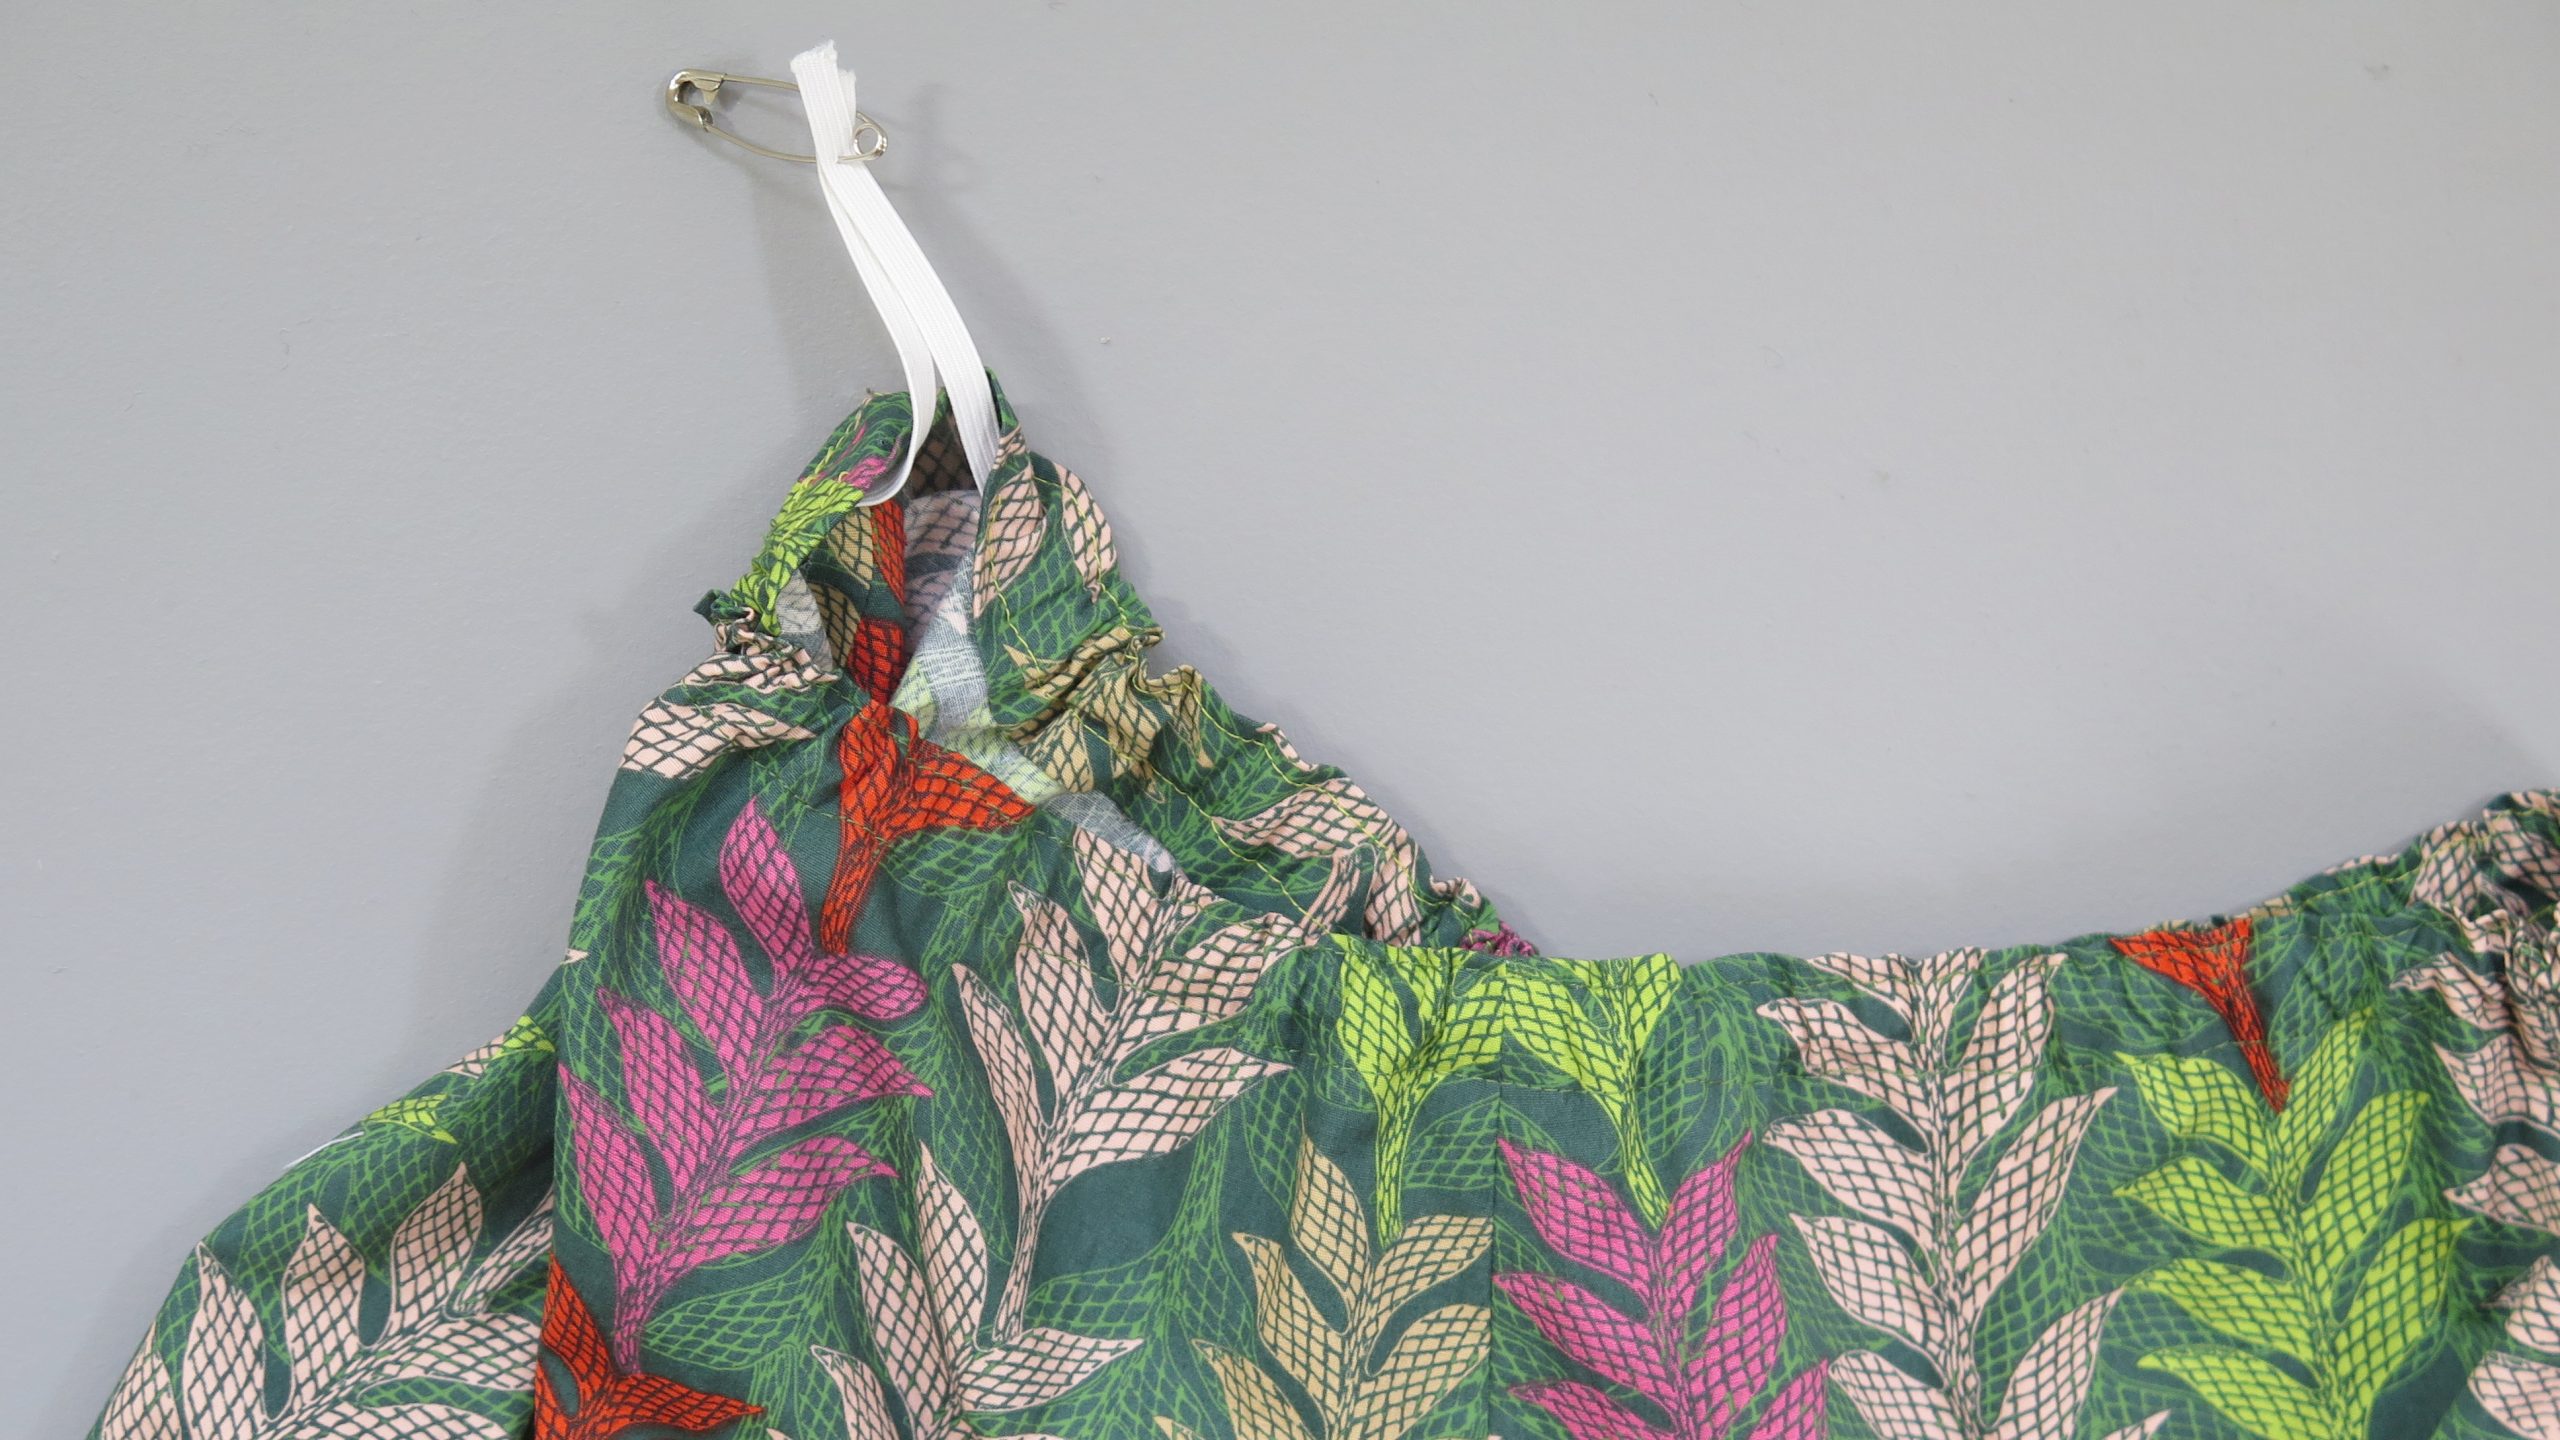
When the safety pin has been threaded through the entire casing, clip the two ends together. Try on the pants and adjust the safety pin on the elastic until it fits comfortably around your waist. Take off and sew the ends of the elastic together, cutting off any excess. Stitch the opening of the casing closed.
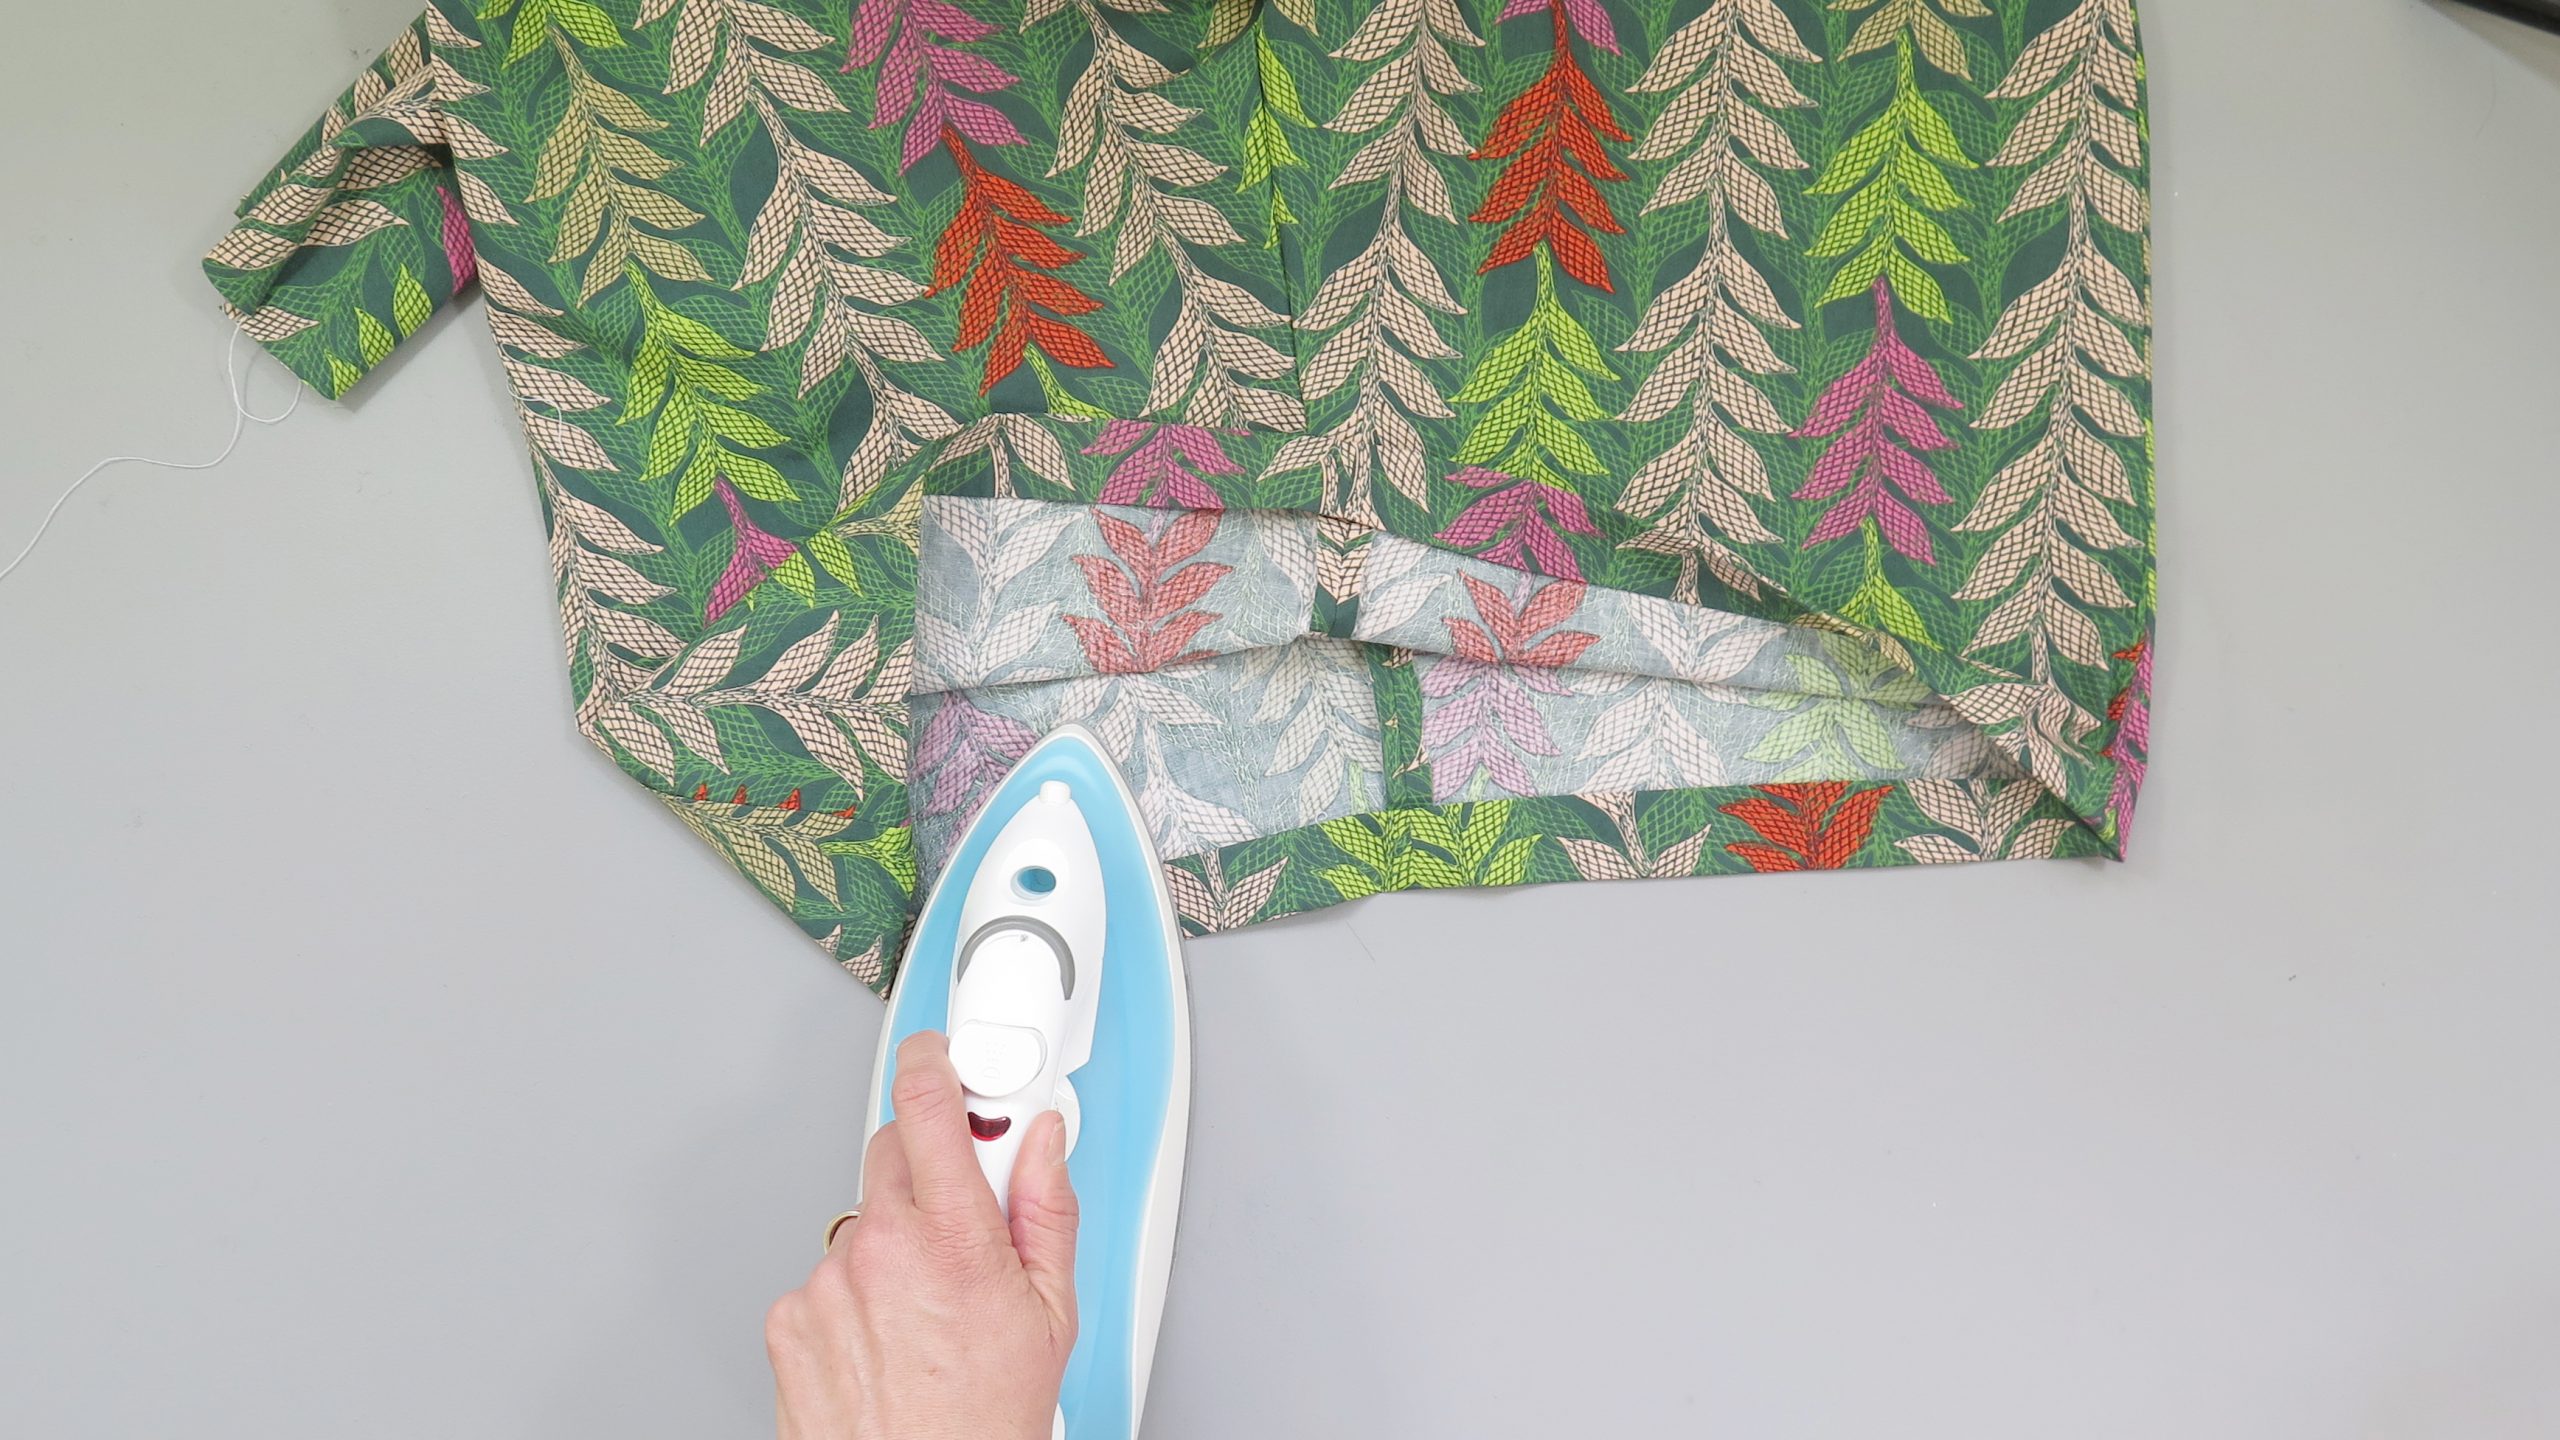
9. Hem the Bottom
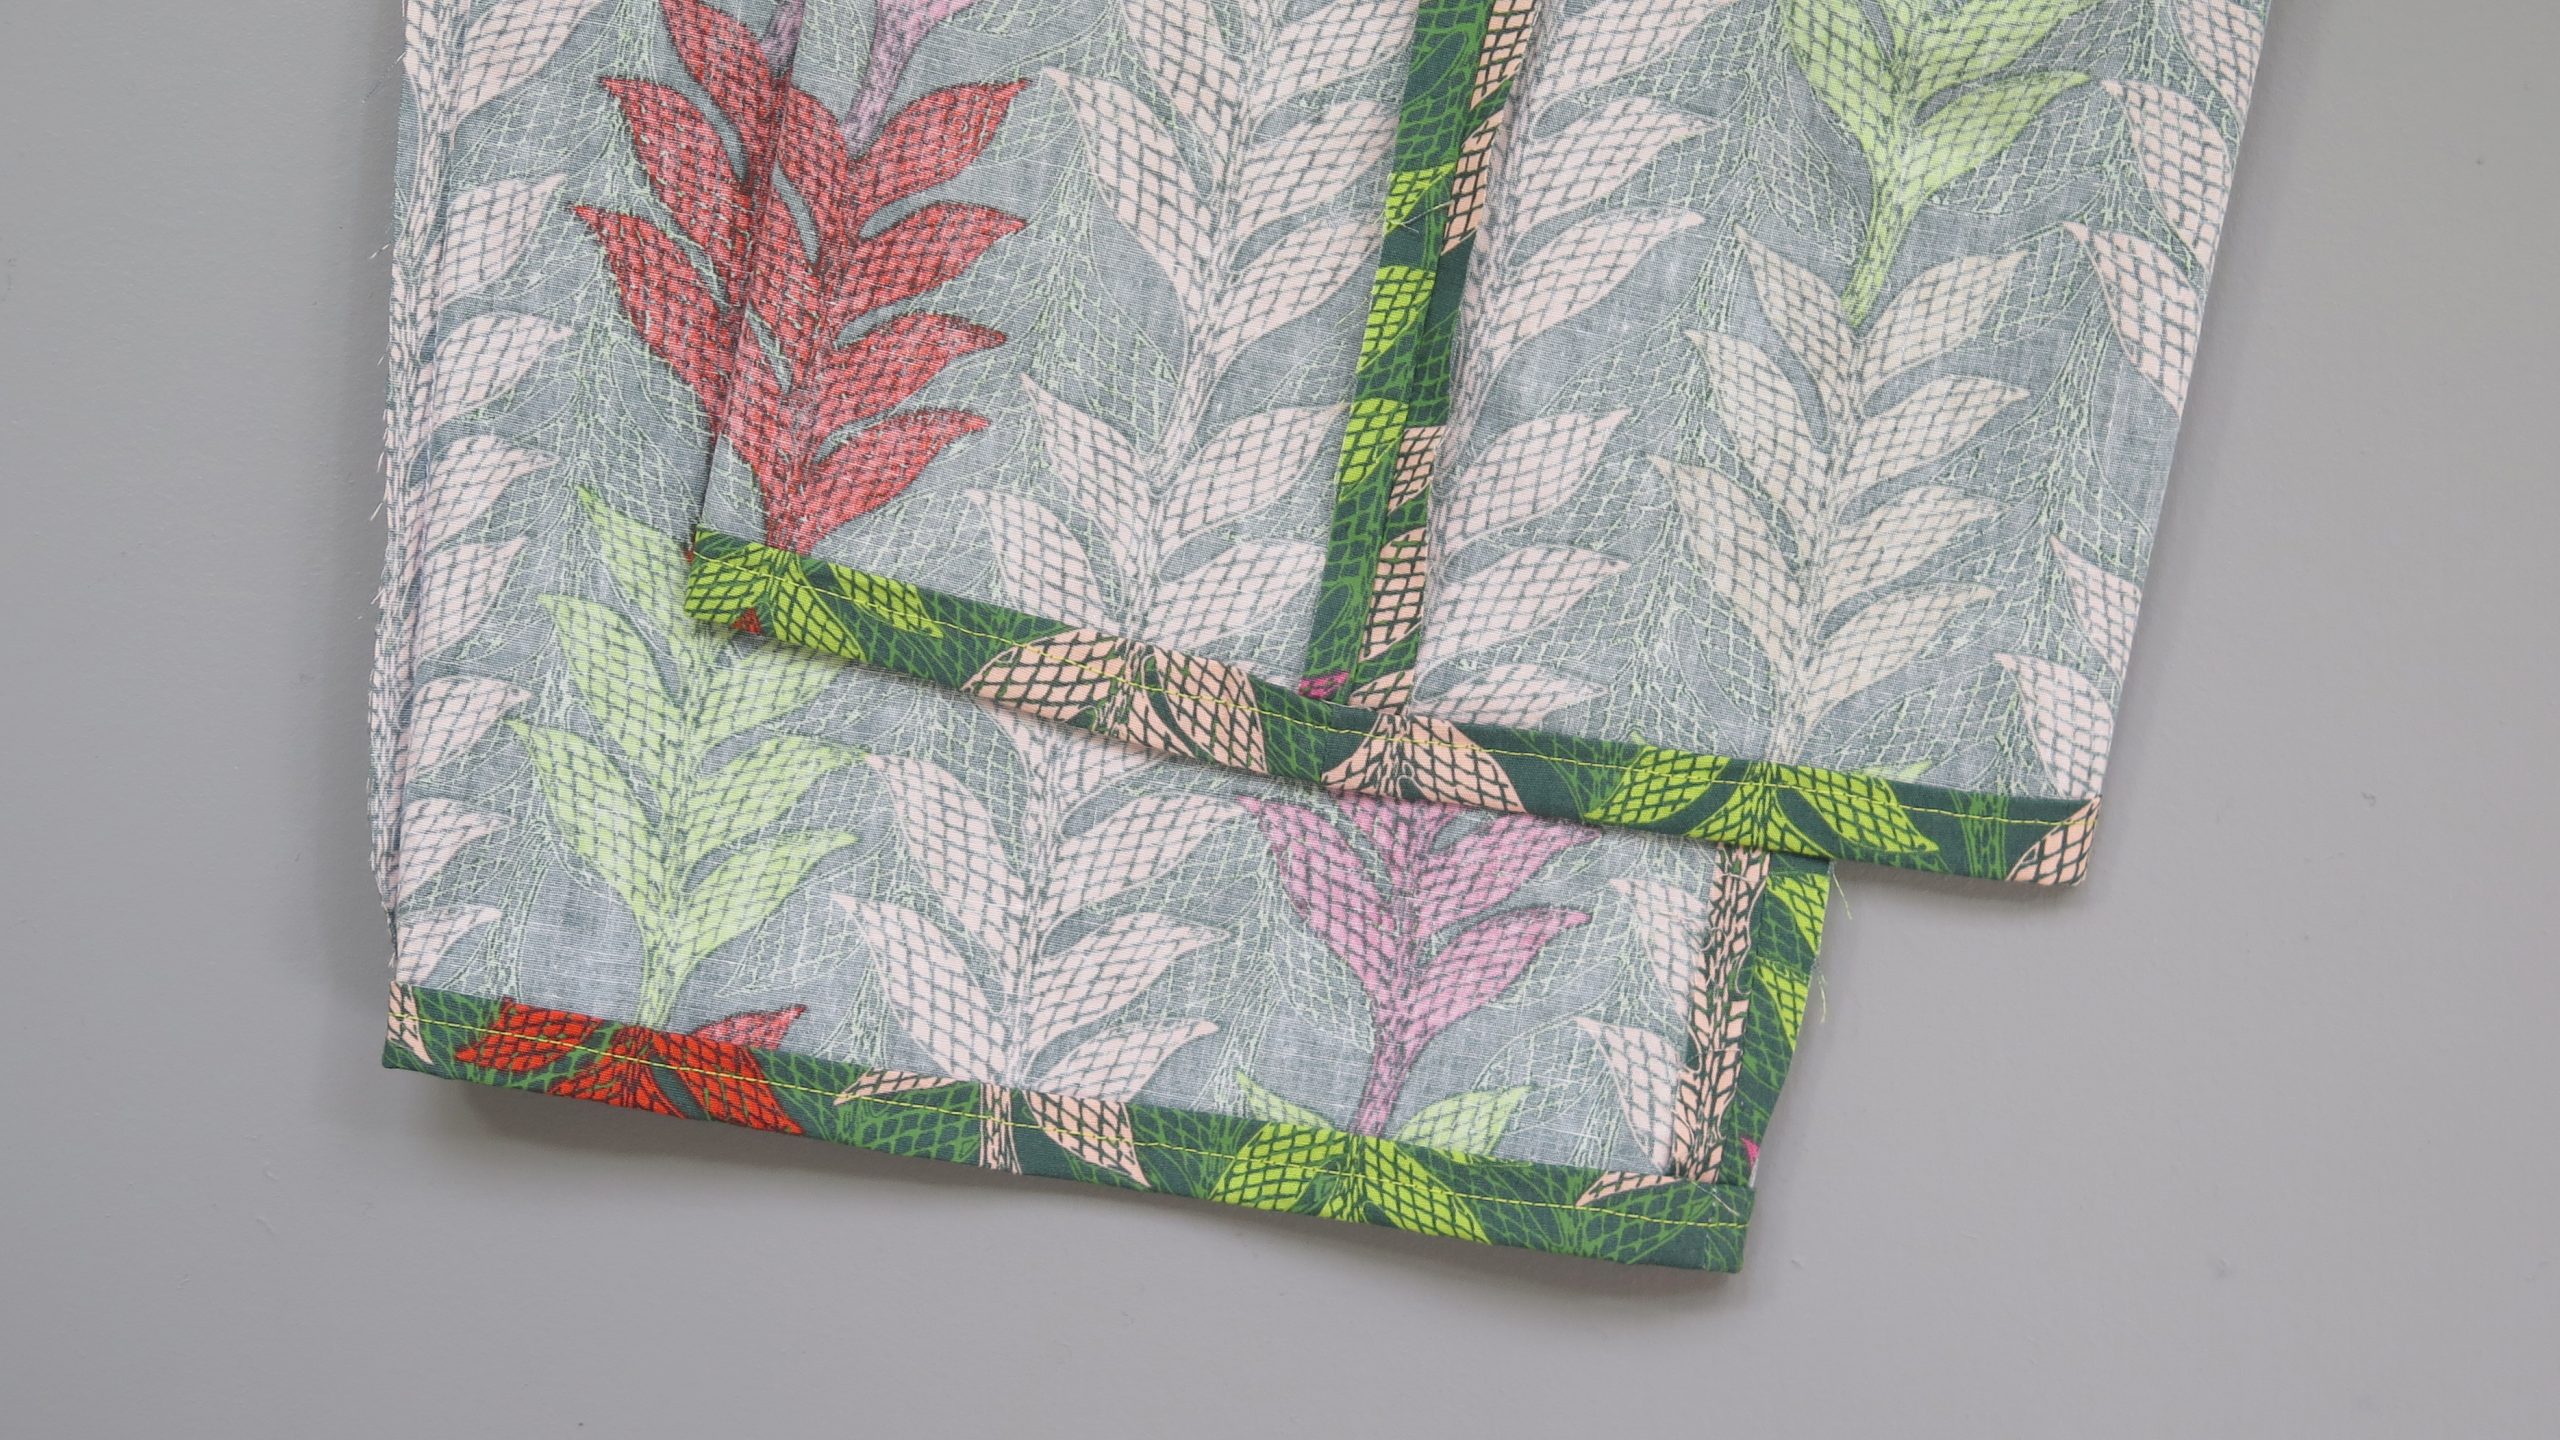
Hem to the desired length. One easy method: Fold the hem up ½” and press. Fold another ½” and press again. Topstitch around each hem. (Remember to backstitch!)
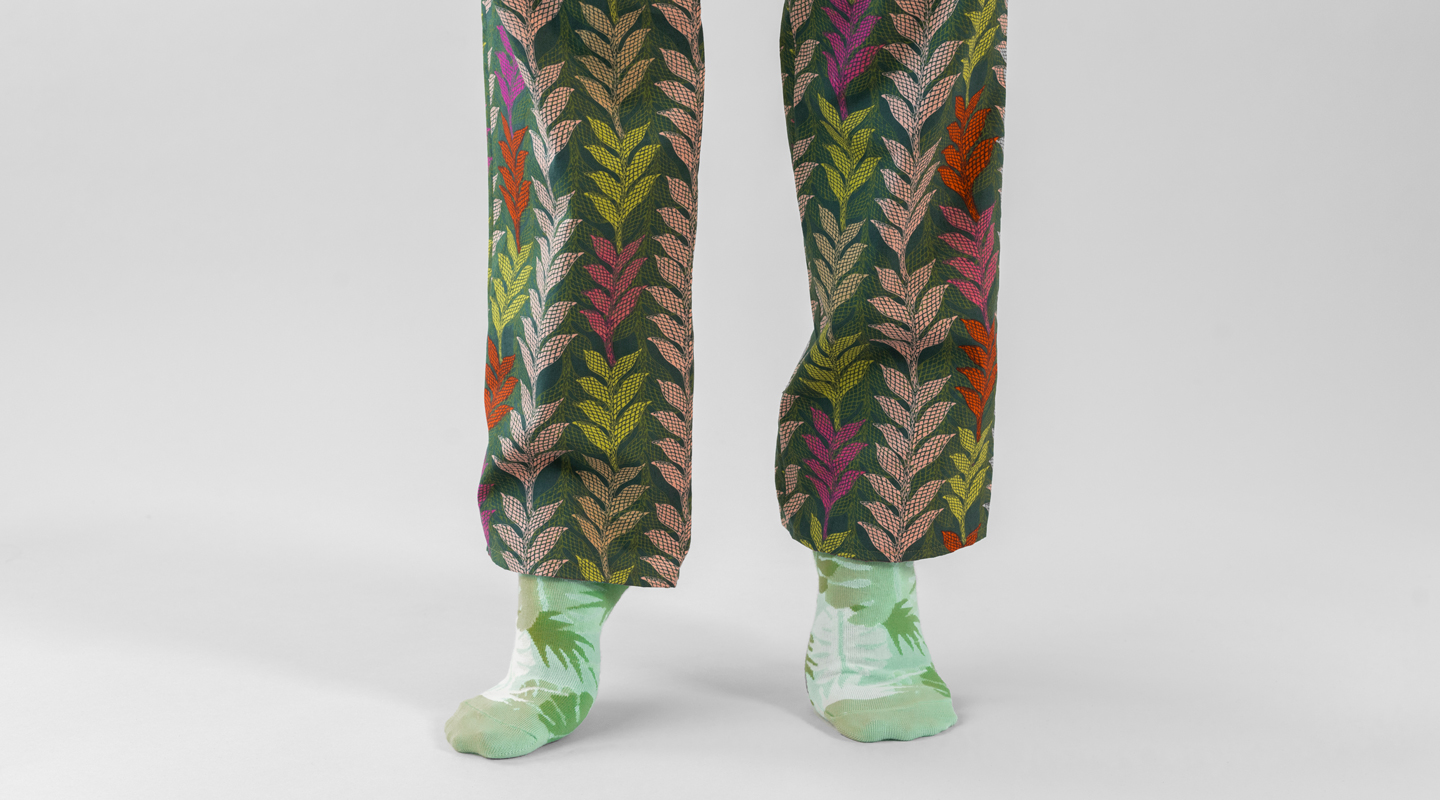
Now throw ’em on and lounge in your new comfort pants!
Photos by Marni Weaver.
how to sew the elastic into the waistband ??
Thank you.
Thanks!
Great idea, so quick and easy and no patterns. Thanks
<strong>Thanks for sharing
Definitely want to make these.
Just what I have been looking for .For years thankyou.
It's best to sew the elastic down otherwise it will twist and make them very uncomfortable.
For women, find an old pair that fits great and take a apart. There's your front and back pattern. EZ-PZ!
A 1/2 inch casing will not be wide enough to thread 1/2 elastic through.