Belt loops are essential for keeping a belt in place on a garment. Who hasn't struggled to keep a belt in the proper position, or just tried to keep track of a belt on a coat that didn't have any belt loops?
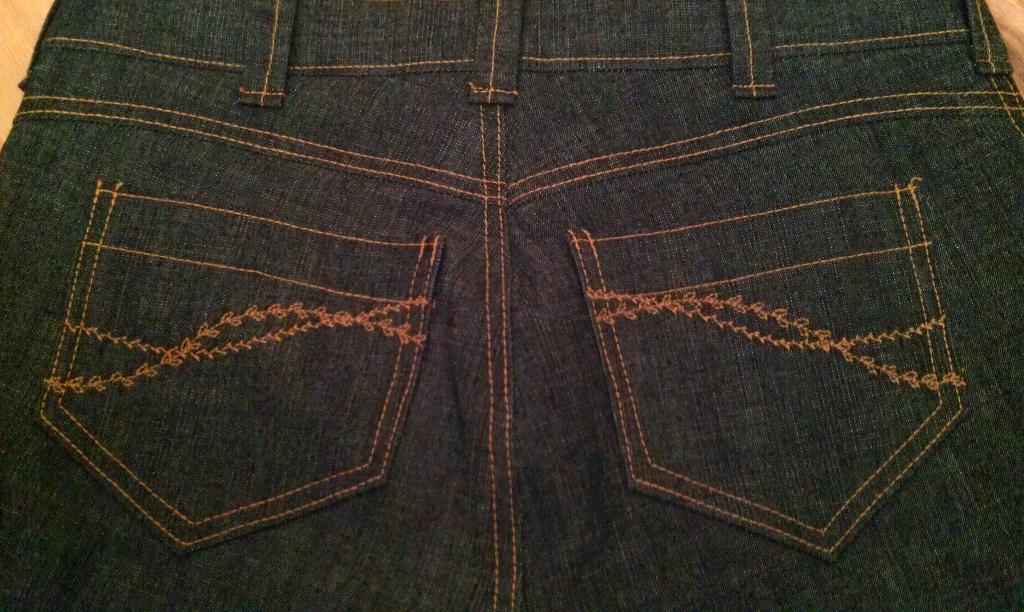
Pants made by WowCarol in Kenneth D. King's Jean-ius! class
Luckily, belt loops are simple and fast to make. Here's how to do it:
Some things to keep in mind:
You can even make and add them to a RTW garment that came without loops! It is your choice whether you make the loops from the same or contrasting fabric, and the only real consideration is the bulk of the fabric you intend to use. If your fabric is extremely heavy, consider either facing the fabric with a lighter weight fabric or using a contrast fabric that's less bulky. You can even combine cording or ribbon trims to create a unique belt carrier that will enhance your garment appearance.
To start, figure out the number of loops you want to sew on your garment. Usually coats and dresses just have loops at the side seams, though sometimes more can be added for either a decorative or functional purpose. Often pants and skirts appear more visually slimming if the belt loops are positioned a few inches on either side of center front and center back, although zipper placement also helps determine where belt loops should be located.
Now that you know the total number of loops needed, next you will determine how long each loop should be made. For this you will obviously need to know the width of the belt. Each belt loop length should be the belt width + 1/2" + 1" for seam allowances. So for a 2" belt, you would need each belt loop to be 3 1/2" long.
How to make belt loops
The fastest and simplest way to make the loops is to cut a strip slightly longer than the sum of (total number of belt loops x length of each belt loop). For example, if you are going to make 5 belt loops, each 3 1/2 " long, you will need to cut a strip of fabric 17 1/2" or slightly longer.
Now what about the width of the strip? The finished width of your belt loop is a matter of personal preference, but the construction method depends on the weight of the fabric being used. If you plan to use a medium weight fabric, the cut width should be 4 times the finished width. So let's assume you want to make loops with a finished width of 1/2" and you will be using quilting weight cotton for the fabric. That means you would cut a strip 17 1/2" (from above) x 2" to create 5 loops that are 1/2" wide. Then you would:
Step 1:
Fold your strip in half lengthwise and press.
Step 2:
Fold the long raw edges in to the center fold and press.
Step 3:
Fold in half again lengthwise, and press the original center fold again.
Step 4:
Stitch close to the edge of both long sides of the strip.
Step 5:
Cut into 5 loops, each 3 1/2" long.
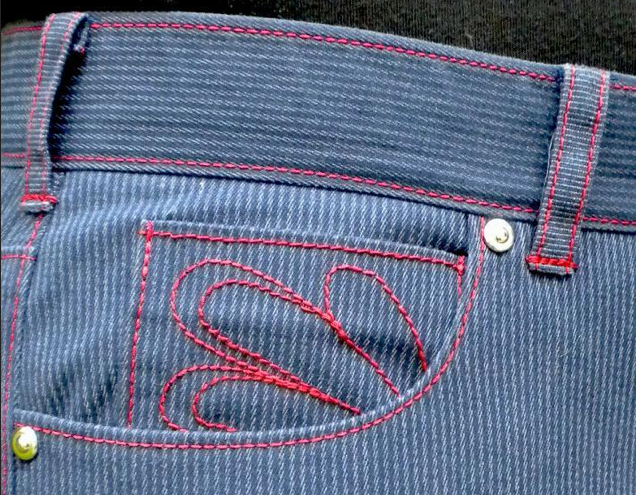
Jeans made by artistikim in Kenneth D. King's Jean-ius! class
How to make belt loops using lightweight fabric
Another construction method that works nicely for very lightweight fabric uses fusible web and eliminates the edgestitching.
Step 1:
Using the selvedge edge for one long edge, cut a strip twice the width of the finished loop + 1/4".
Step 2:
Cut a strip of webbing the same width as the final belt loop.
Step 3:
Using the long, raw edge of the strip, turn the fabric 1/4" to the wrong side and press.
Step 4:
Lay the fusible web strip close to the pressed edge and fuse in place.
Step 5:
Remove the paper backing and fold the selvedge edge over the fusible web and press.
Step 6:
Cut the strip into individual loops.
How to apply the belt loops when the waistband has already been stitched
Step 1:
Mark the placement lines for the loops on the garment.
Step 2:
Fold 1/2" of each end of the belt loop to the wrong side, and pin on both the upper and lower placement marks for one loop.
Step 3:
Using a narrow zigzag or bar-tack stitch, stitch through all layers of fabric, securing both ends of the loop to the garment.
If the waistband has not been applied, then the loops can be inserted into the waistband seam edge, and then topstitched to the top edge of the waistband.
Ready to sew an entire pair of pants? Check out Pant Construction Techniques with Sandra Betzina and Jean-ius! Reverse Engineer Your Favorite Fit with Kenneth D. King to get started!

Want to buy belt loops