
A breezy summer scarf is an instant mood-booster. For this versatile infinity style, we used a cotton voile fabric, which is ideal for warmer weather (as are linen, cotton and chambray). But once you’ve nailed the how-to, you can easily make the same project in a heavier fabric come winter. (We see you, flannel, French terry and lightweight wool.)
Can’t find a summer print you love? Learn how to hand-dye a plain scarf three different ways and you’ll have a totally custom look around your neck.
Indigo Infinity Scarf
Level: Easy
What You Need
Pro Tip: Woven or knit fabrics work equally well for infinity scarves. If you’re going with woven, stick to lightweight to midweight linen, cotton and chambray. For knits, try double knits, ponte and jersey. Avoid heavy fabrics like twill, corduroy or canvas — they don’t have the drape you need in a scarf.
Instructions
1. Measure and Cut Your Fabric
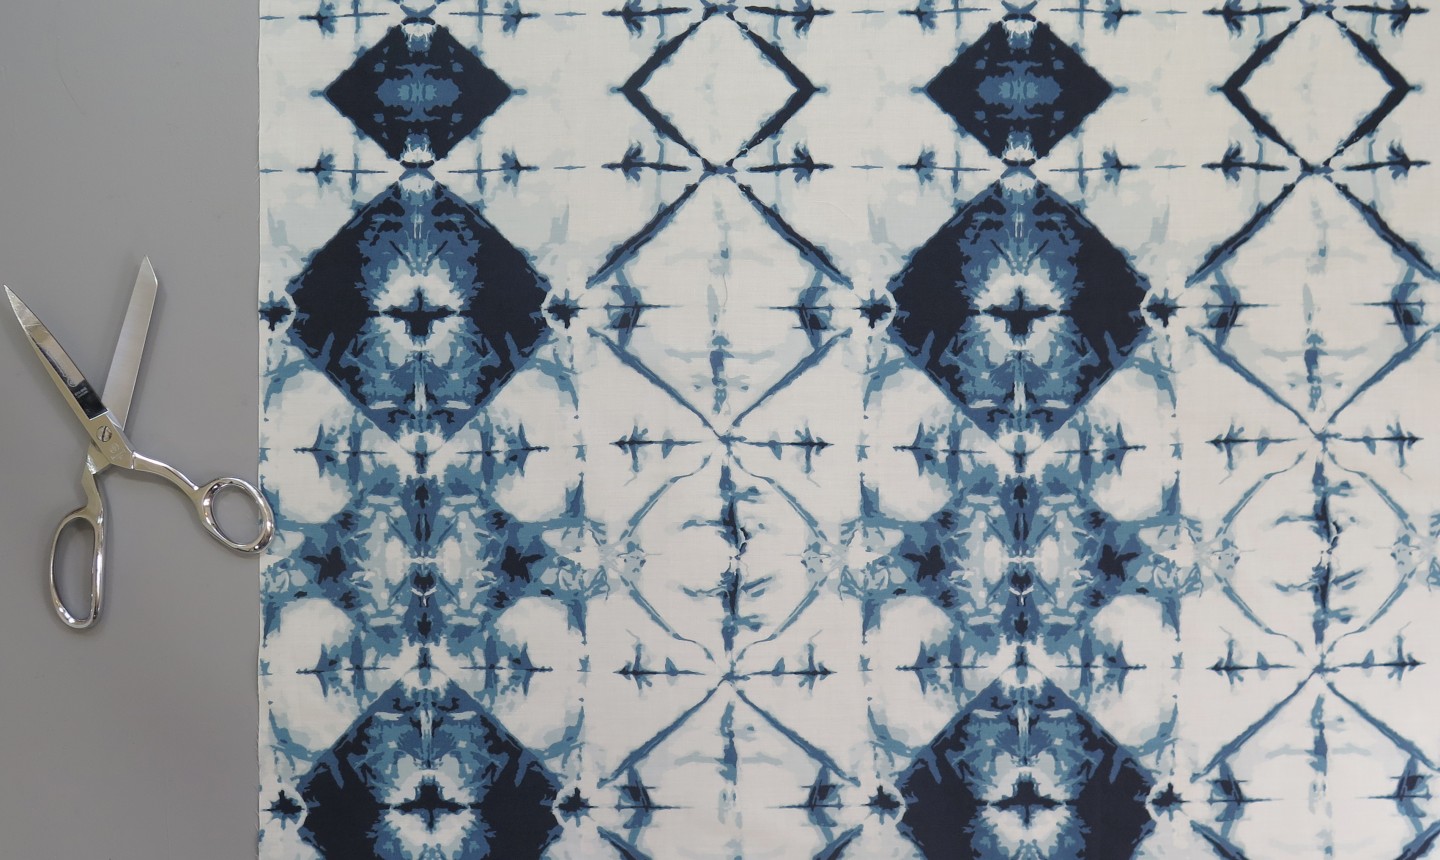
Measure your fabric in a rectangle shape to the length and width you want; we chose 60″ long x 40″ wide, as a 60″ infinity scarf can usually be wrapped twice around the neck for a nice, close fit. Because we’re making a double-layered scarf, the width needs to be cut twice as wide as the scarf’s final dimension. So our 40″ cut will make for a 20″ width in the finished scarf.
Add a 1″ seam allowance to your measurements. Cut out the fabric.
2. Sew the Long Edges
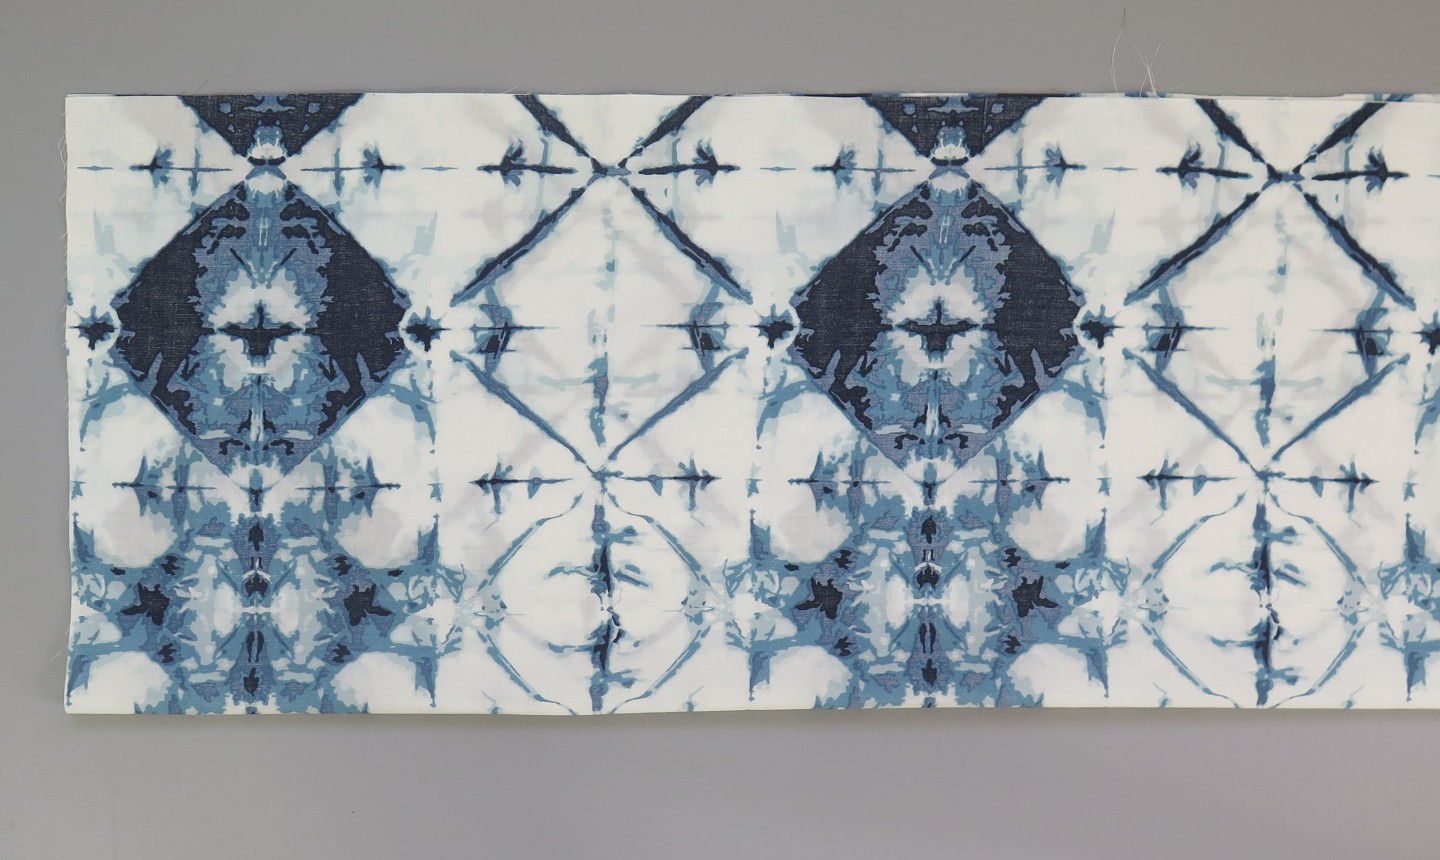
Fold the fabric lengthwise with right sides together. Sew the long edges of the scarf together with a ½” seam allowance. (If you’re using a serger, your seam allowances may need to be ⅜” instead.)
3. Join the Seams
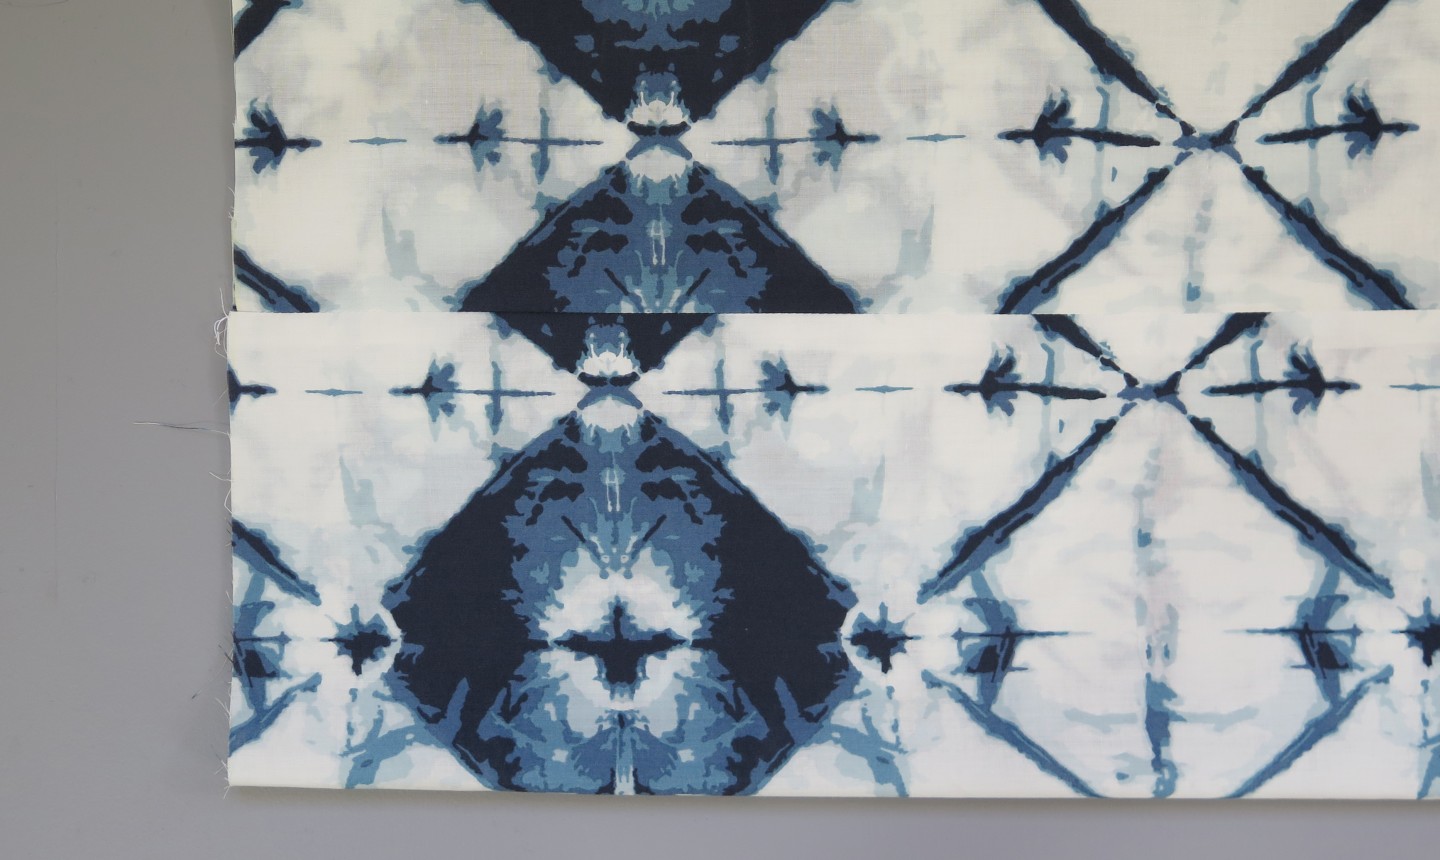
Pull the fabric right side out and lay the scarf flat. Place the seam in the middle, so it’s facing toward you.
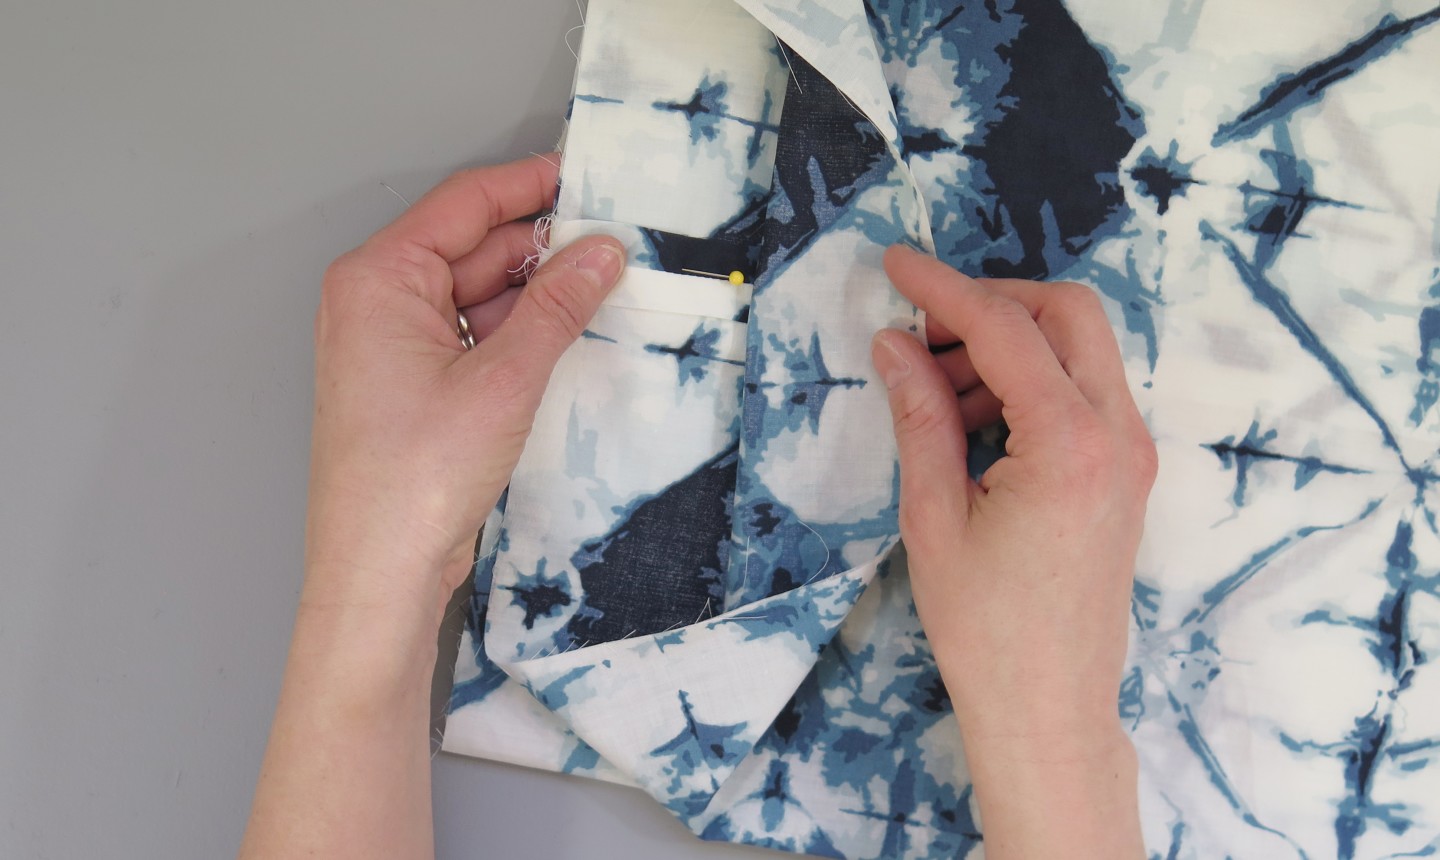
Pinch the seam at one short end and pull it over to meet the seam on the other short end, right sides together. Pin this seam intersection.
4. Pin the Raw Edges
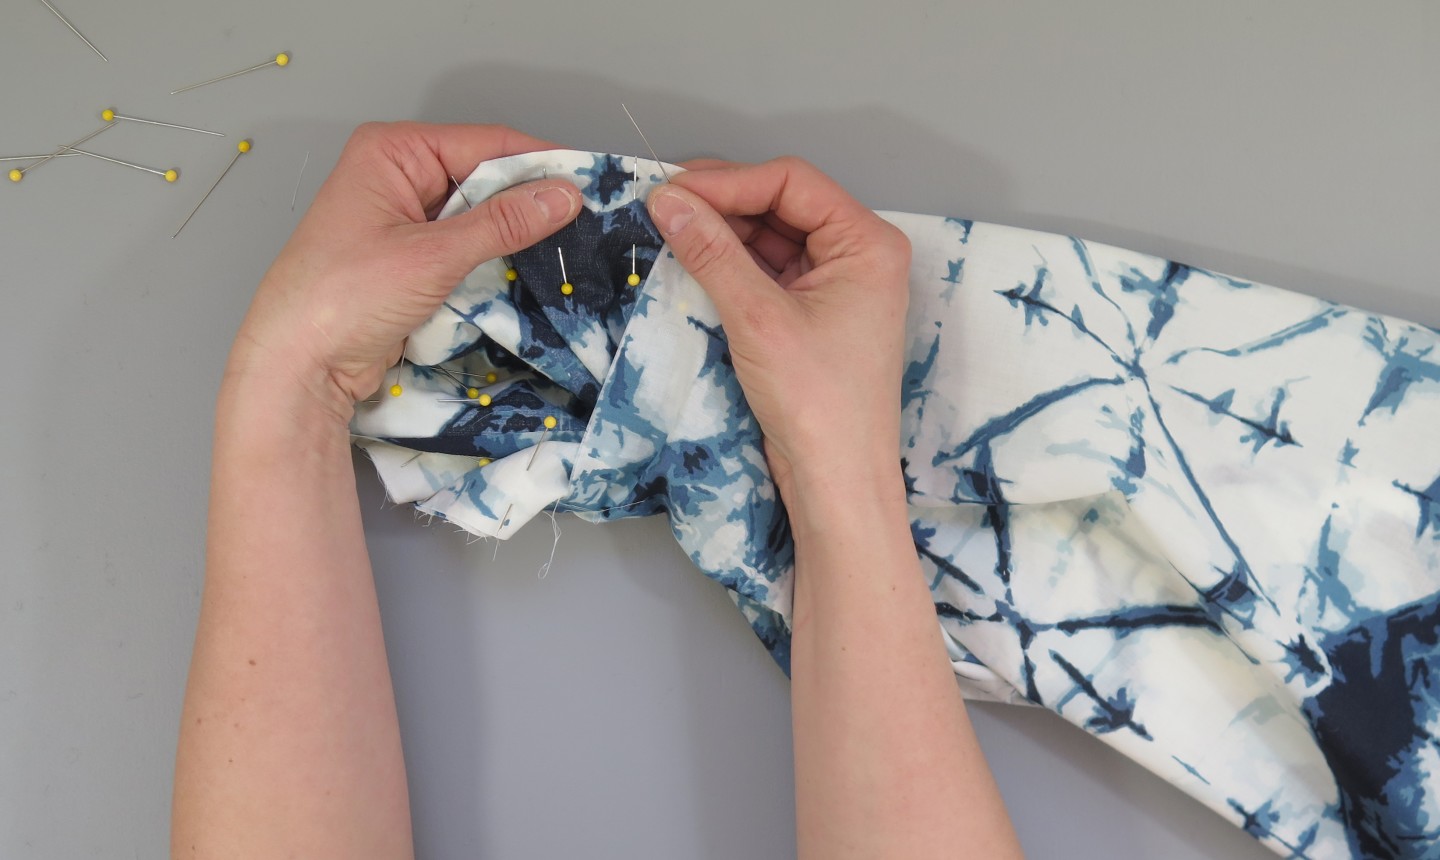
Working away from the seam intersection you just pinned, continue pinning the raw edges of the two short ends. Because you’re pinning two circles together, the fabric will start tucking itself into a pocket. Continue until you see your first pin; leave a 6″ gap between the first and last pins so you can turn your scarf right side out after you sew it.
5. Stitch the Raw Edges
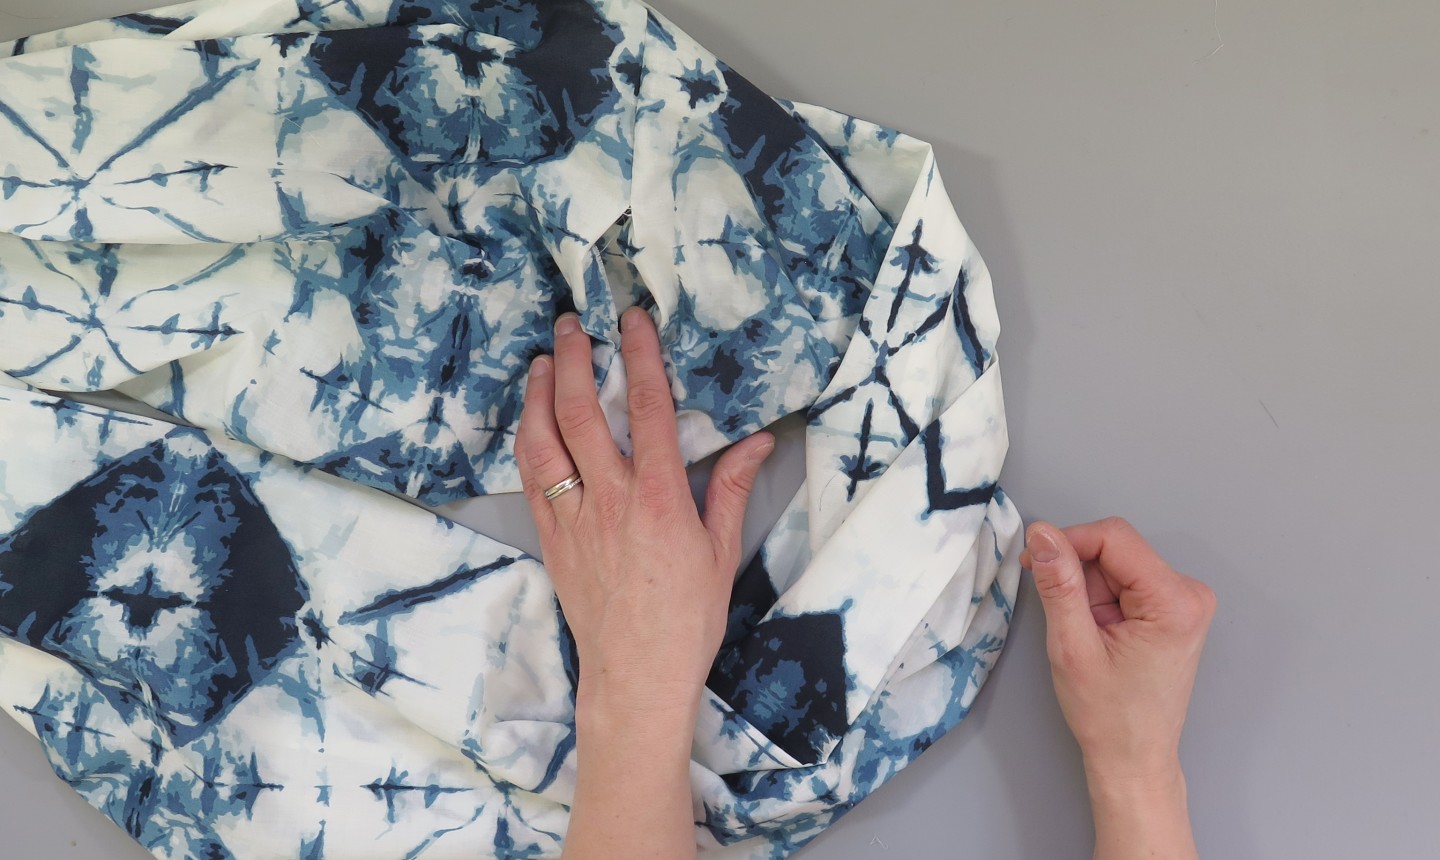
Sew the edges together with a ½” seam allowance, removing the pins as you go. Remember to leave the 6″ gap. Turn the scarf right side out through the gap.
6. Press the Edges
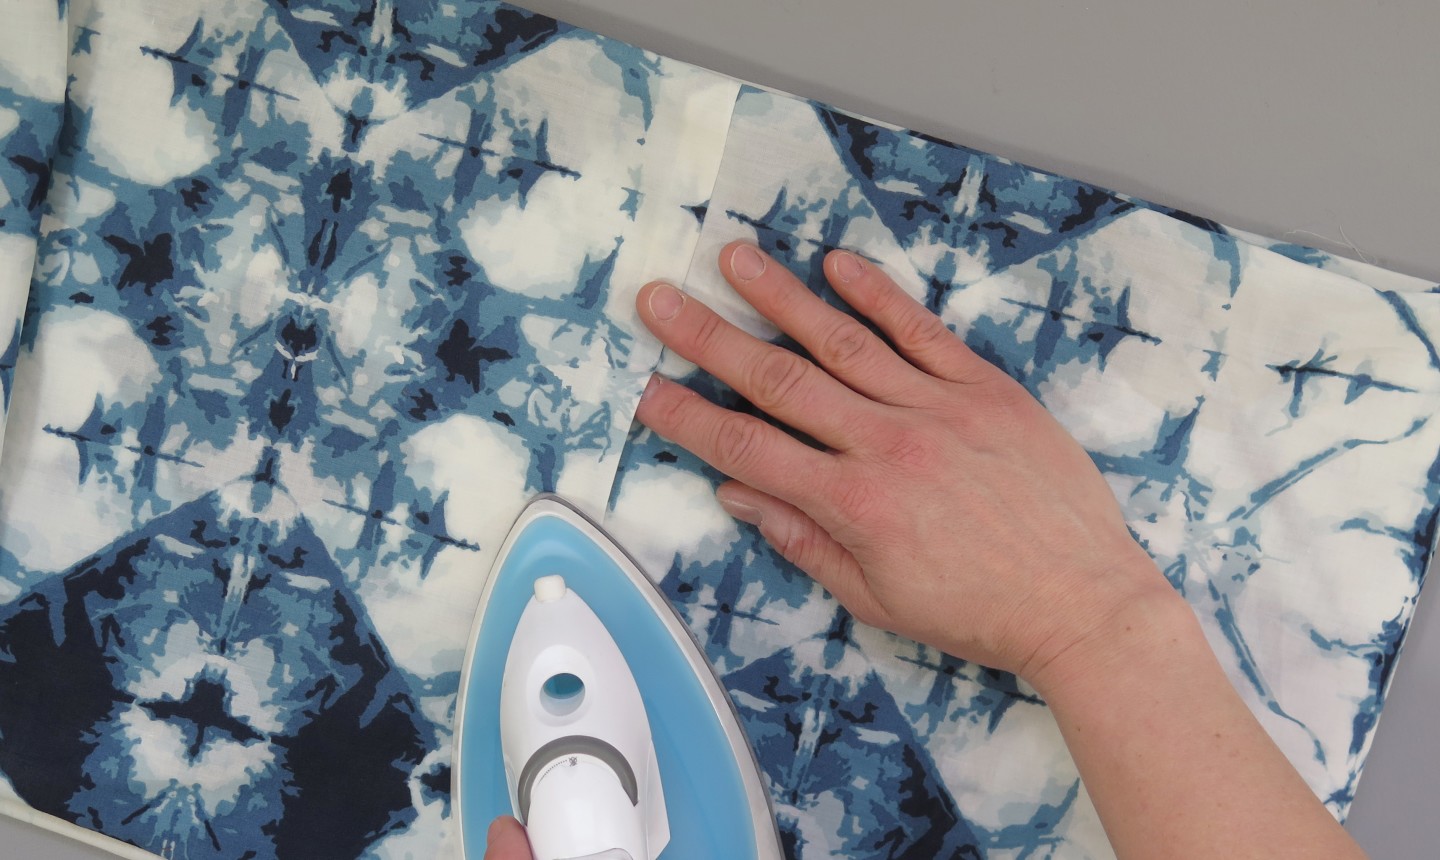
Press the edges of the gap under so it can be hand-sewn closed.
7. Hand Sew the Gap
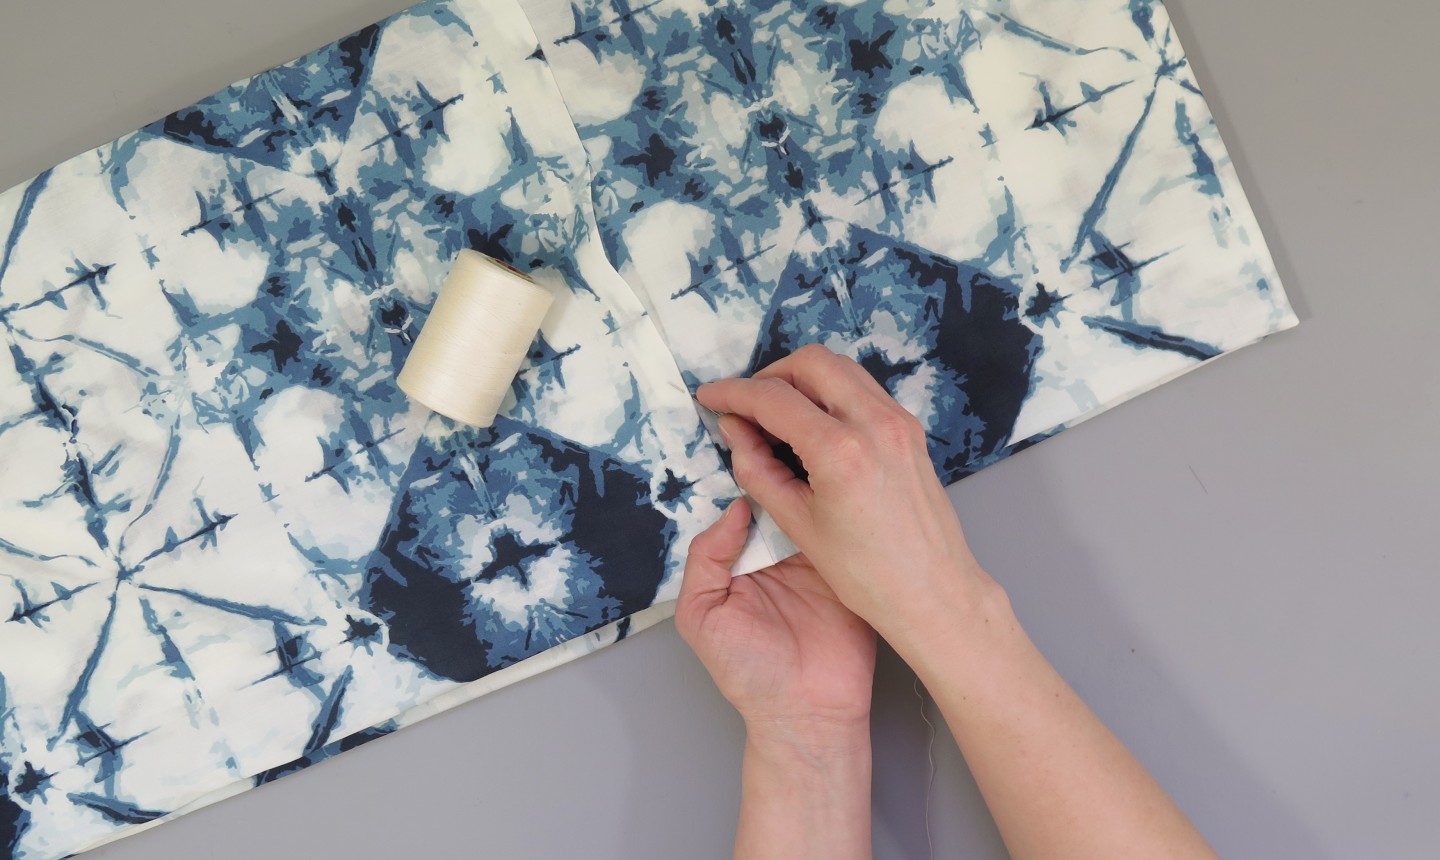
Thread and knot a hand-sewing needle and slip-stitch the gap closed.
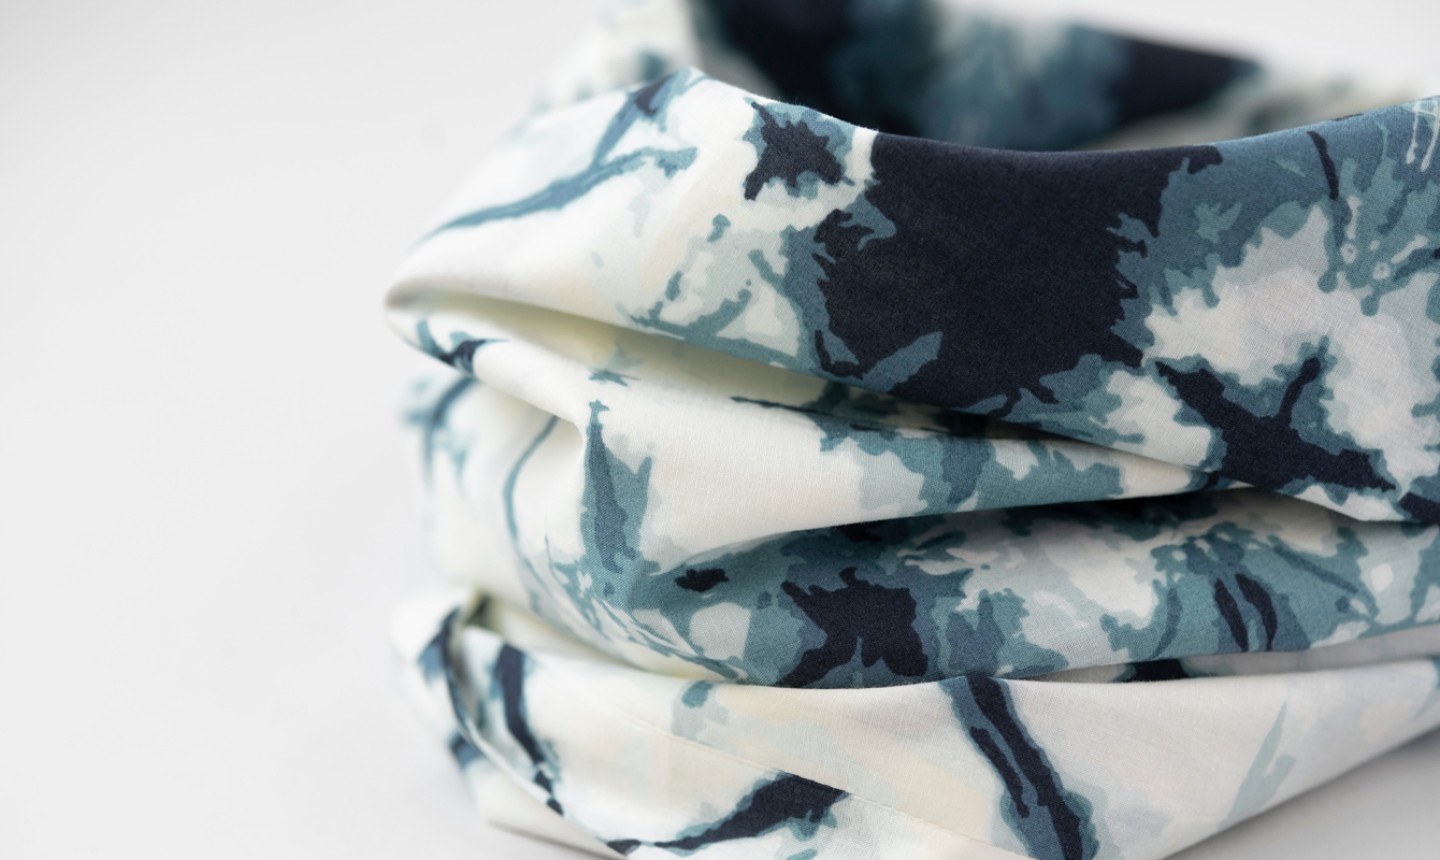
Tie off the thread and say hello to your brand new scarf!
Photos by Marni Weaver.
Love sewing!!!!
I enjoy projects like the one above.