Even as an advanced sewer, there are a few garments that seems a bit intimidating, like sewing a hoodie. It's not that it is overly complicated, but there are many steps, many pieces, and of course the hardware! But fear not, I survived sewing up a hoodie, and am here to help you through sewing one for yourself as well.
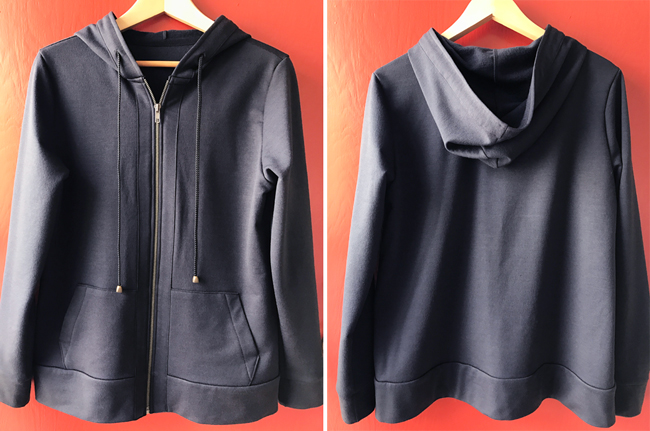
Follow this simple tutorial to learn how to sew a hoodie all your own
Step 1: Gather tools and notions
I think most people are afraid of hoodies because of the hardware involved. And honestly, that's a fair thing to be scared of. But it turns out that there really are not that many items to get, and some are entirely optional!
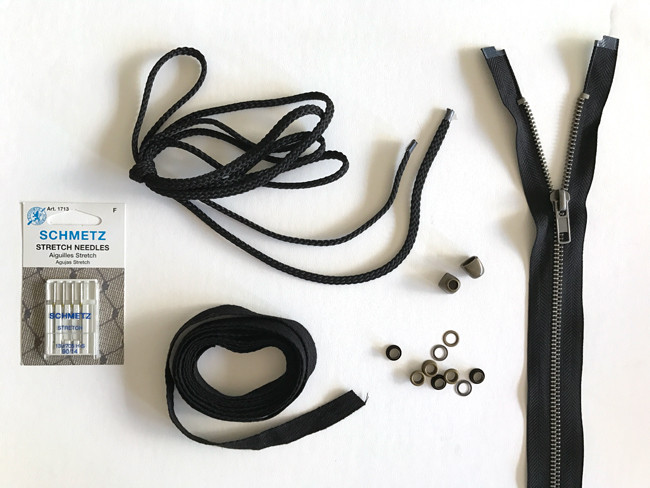
Pictured above are the notions required:
- A ball point or stretch needle. Make sure it matches the content and weight of your fabric.
- A cord to feed through the hood. I picked up a synthetic black cording.
- Twill tape for the neckline. This is somewhat optional, as it simply hides the neckline seam, but it really looks so professional, so I recommend it.
- Of course, you'll need a zipper to close the whole thing up.
- Something to put at the end of your pull cord, and some eyelets for the holes (optional).
As we go on, you'll see each of these in action and can decide for yourself what you might like to use or skip.
Step 2: Select your pattern and fabric
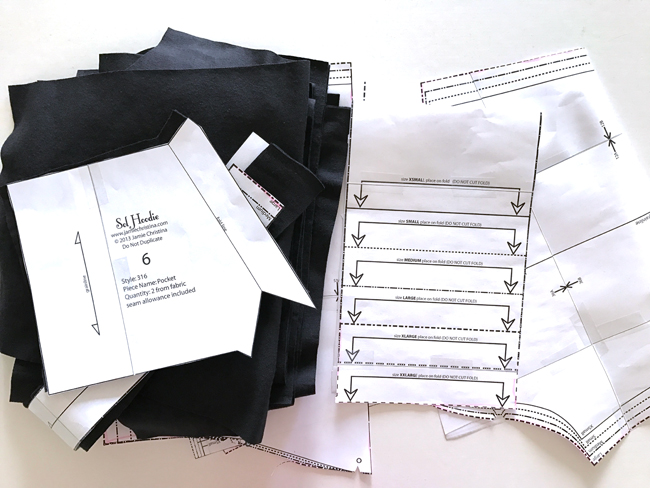
For the pattern, I selected the Sol Hoodie from Jamie Christina. It's quick and easy to download, plus it's beginner friendly.
I decided to work with a fleece-back medium-weight merino wool from The Fabric Store. I wanted something slightly nicer than your average hoodie fabric. With this pattern you have the option to sew the front band in a contrasting fabric or a decorative ribbon. I sewed it all up in the same fabric for one color throughout, but you can go as wild as you like with yours!
Step 3: Print and cut your pattern pieces
Download and print the pieces, then cut out the size that best suits your body. Afterward, cut out all the pieces in your fabric of choice.
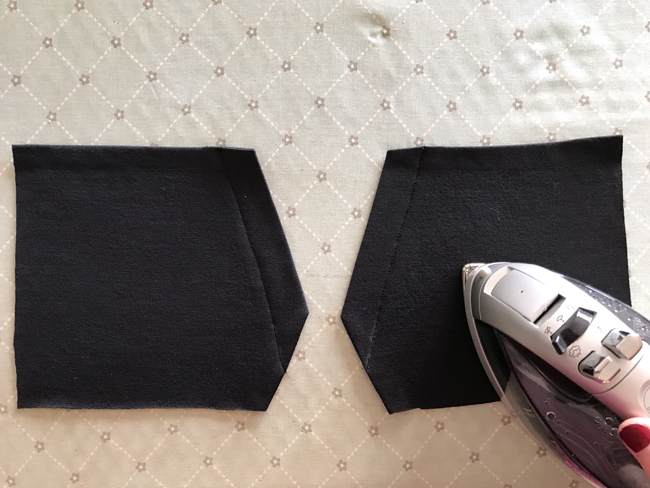
Step 4: Prepare and sew the pockets
This pattern has patch pockets sewn on the front, but they're entirely optional. If you prefer your hoodie without pockets, you can skip this step!

To sew the pockets, fold the inner edge of the pocket, right sides together. Sew along the top and bottom edges.
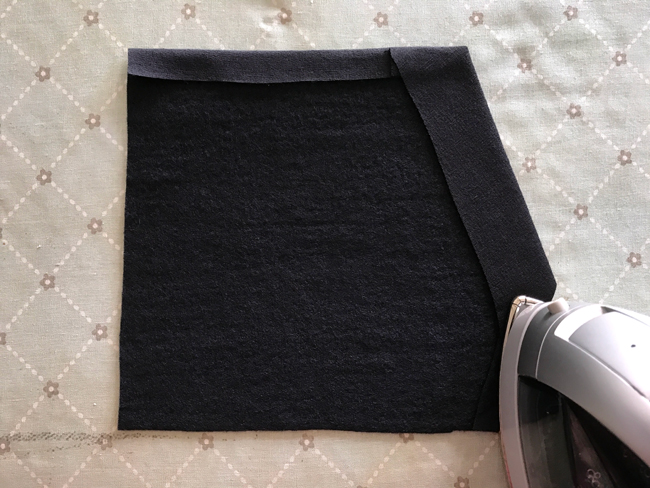
Turn the pockets right side out and press the fold at the opening. Also press the top edge and front edge that folds along with the seam allowance.
Topstitch the flap along the opening in place and press again.
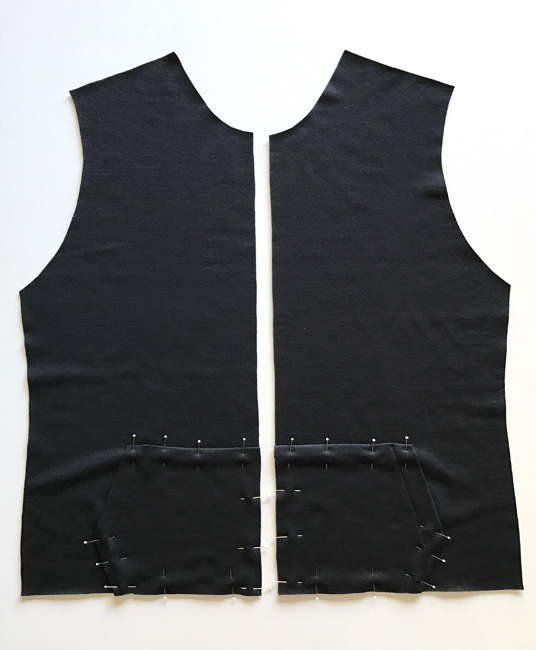
Place the pockets on the front hoodie pieces, lining up the edges. Along the top and side edges, edge stitch in place. Along the center front and bottom edges, simply secure with a baste stitch.
Step 5: Sew the shoulder seams

Place the front pieces on top of the back piece, right sides together. Stitch along the shoulder seams. Press seam allowance after sewing.
Step 6: Sew the sleeves
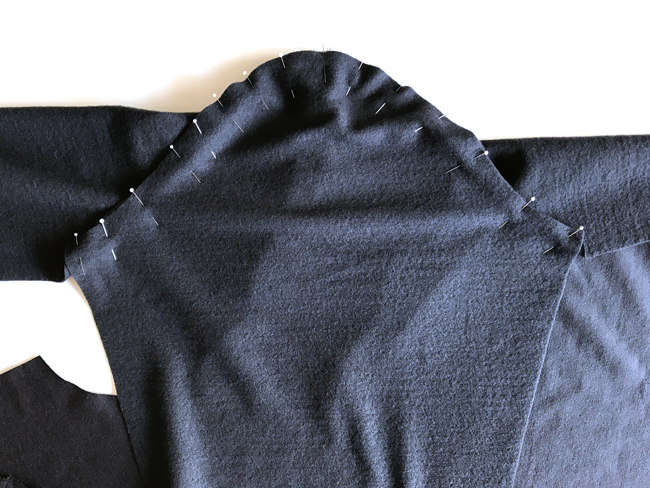
Open up the hoodie with the right side up. Place one sleeve on top of the hoodie with the notches lined up. Stitch in place and press the seam allowance toward the sleeve. Repeat on the other side so both sleeves are sewn.
Step 7: Sew the side seams

Lay the hoodie in place, arranging it as it will look when finished, but with the wrong side out. Pin along the side seams from the sleeve hem to the bottom hem. Sew both side seams and press the seam afterward.
Step 8: Sew and attach the cuffs
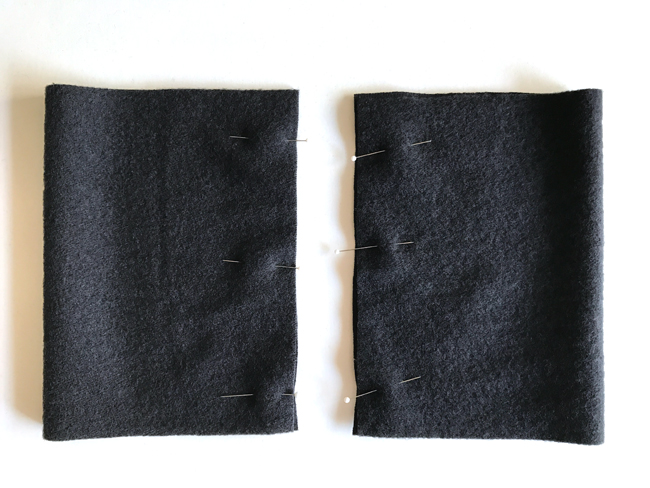
For the cuffs, fold the pieces in half, right sides together. Sew along the opposite edge. Fold the cuff in half, wrong sides together, and press the fold.

To attach the cuffs to the sleeves, divide the cuffs and the sleeve openings into four equal parts. Start at the side seams in each piece, and find the spot opposite the seam. Then divide those two sections in half for four sections. Repeat this on the sleeve opening as well.

Pin the cuffs to the sleeves with the raw edges flush. Match each of the four sections, stretching the cuff where needed to fit.

Stitch the cuffs to the sleeves, then press the seam allowance around the opening.
Step 9: Attach the hem band
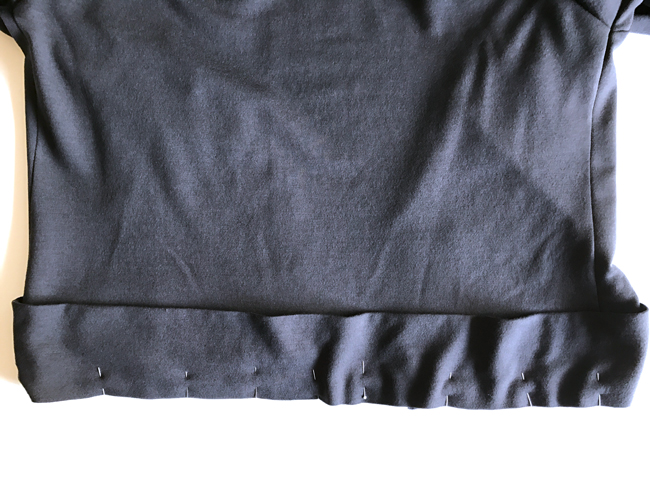
Pin the hem band to the bottom of the hoodie, matching up notches. Pin and sew in place, then press the seam allowance down toward the hem.
Step 10: Attach the front bands
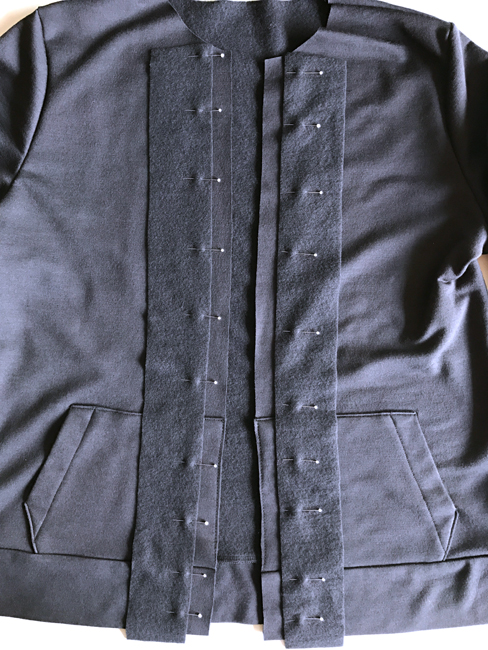
Pin the front bands to the front of the hoodie, matching up the markings from the pattern. Pin the right side of the band to the right side of the hoodie. Note that the band will extend below the front of the hoodie. Sew the bands in place along the inside edge.
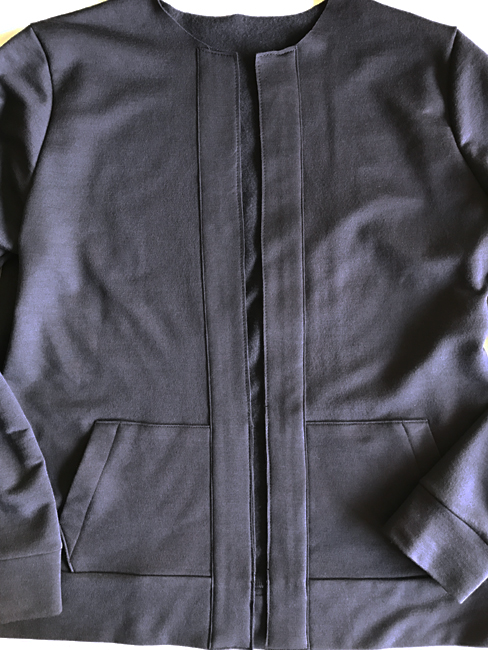
Fold the bands to the front and press. Edge stitch along the previously sewn seam. Baste the band along the front edge to hold it in place. And fold the bottom edge up to the inside of the hoodie and edge stitch in place.
Step 11: Add the zipper
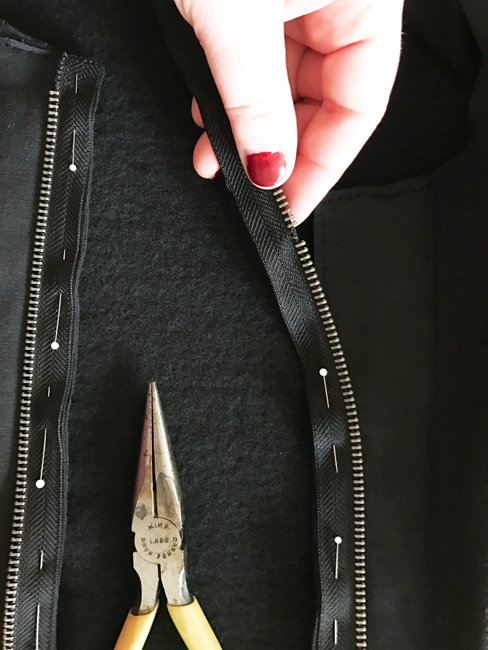
If your zipper is too long for the hoodie, like mine was, simply remove teeth from the top edge by pulling them off with pliers. Be cautious not to damage the zipper tape, which will be visible. Also, make sure your pull is below the area you're pulling the teeth, and do not pull it up until later once the top area is secured. Otherwise you will pull it right off the zipper!

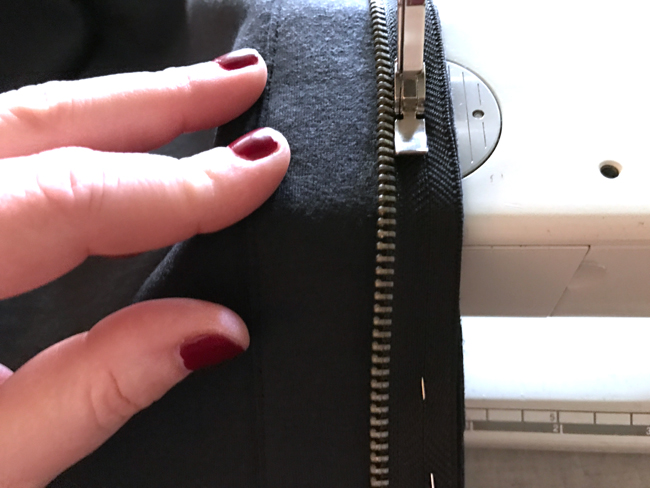
Pin the zipper in place on either side of the front opening. Place the zipper tape flush with the opening and the bottom stopper flush with the bottom band. The teeth at the top should start at the 1/2" seam allowance mark.
Using your zipper foot, sew along the zipper, securing it to the opening. Repeat on the opposite side.

Flip the zipper tape and seam allowance to the inside of the hoodie and press. Be careful as your teeth will be hot!
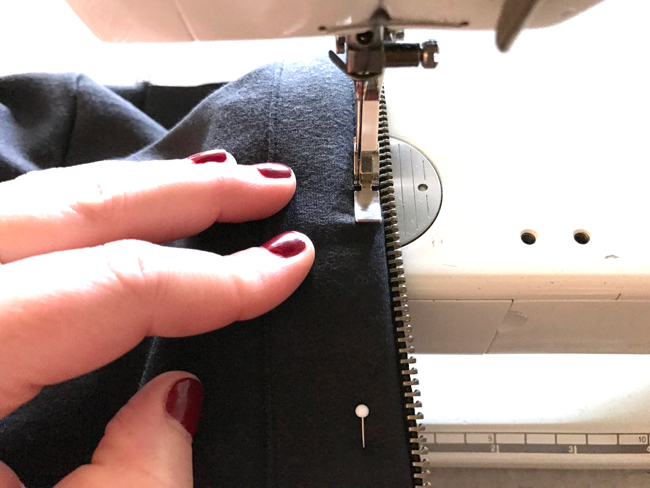
Stitch along the zipper again, sewing the tape and seam allowance to the inside of the hoodie. The teeth should now be facing the center of the opening.
Here's a refresher on sewing zippers.
Step 12: Sew the hood and hood bands

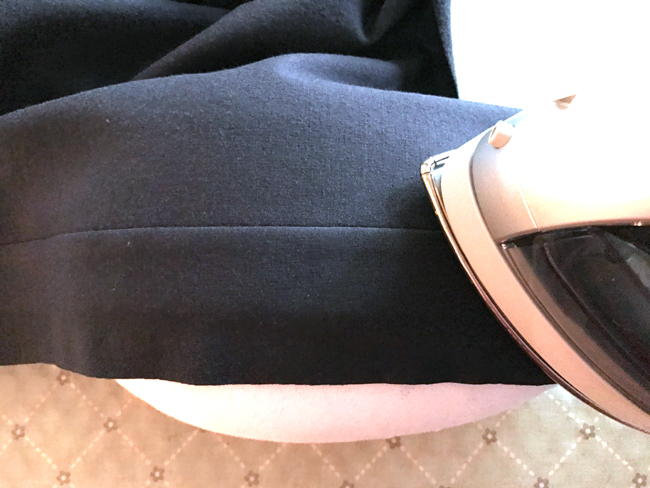
Place the right sides of the hood together and sew along the curved edge. Press the seam allowance.

Sew the hood band pieces together, right sides facing, along the short end. Press the seam allowance.
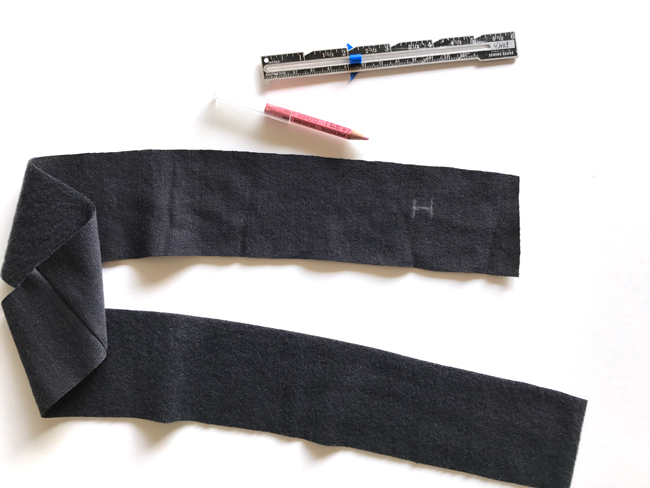
Create a buttonhole or install an eyelet at the spot on the pattern piece. Be sure to practice this on a scrap first! My fabric is soft and did not take to the eyelets well at all, so I opted to sew a simple buttonhole.

Repeat on the opposite side of the band, so you have either two eyelets or two buttonholes. This is for the drawstring for the hood.
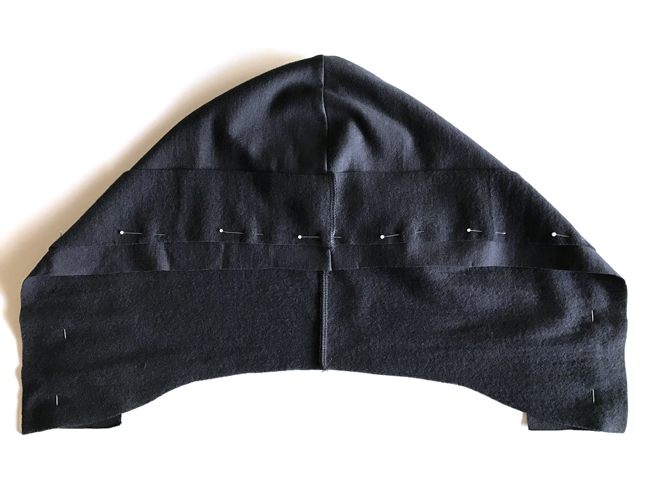
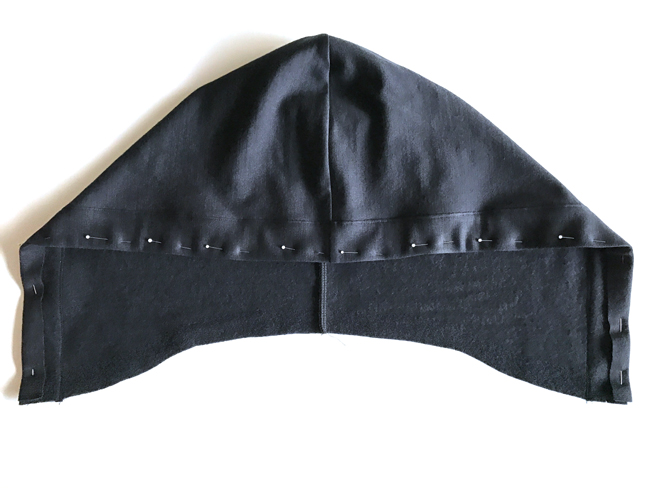
Just like we did on the front of the hoodie, pin the band to the hood with right sides facing. Sew in place along the edge closest to the opening.
Press the band toward the opening.
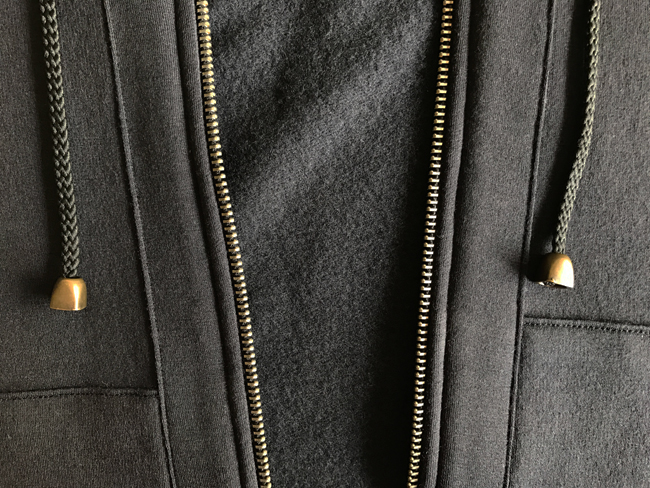
Pin the band in place, and topstitch to secure. The stitching on the band of the hood should match that of the band on the hoodie front, as pictured below.

Step 13: Attach the hood
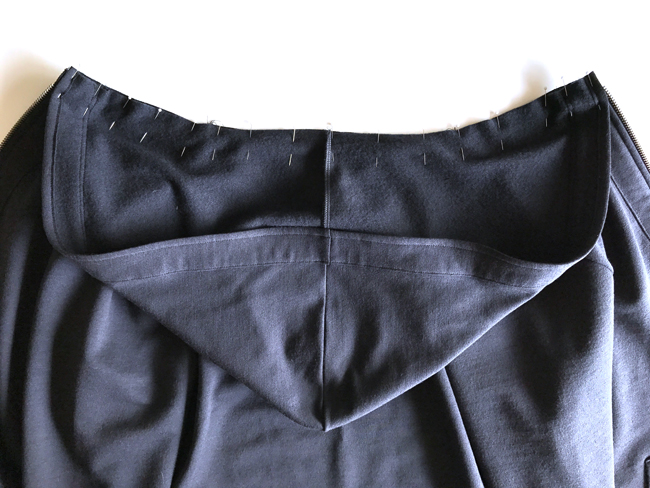
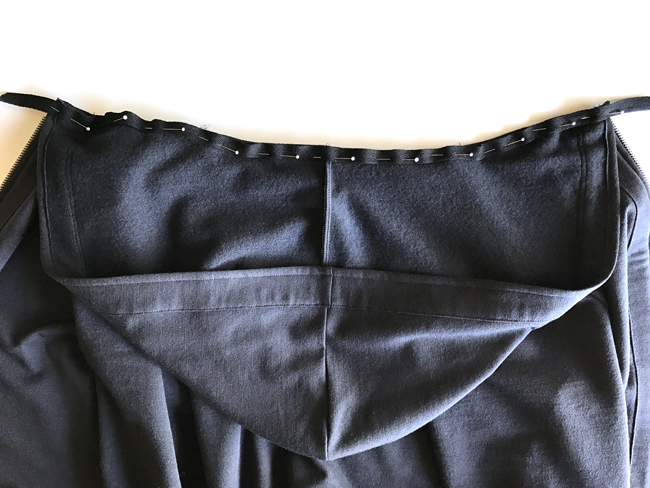
Pin the hood to the hoodie along the neckline. Sew along this seam, making sure to not sew over any metal teeth on the zipper at the front.
Place your twill tape along the neckline, placing one edge flush up against the stitching from the previous step. Stitch in place near that edge. Make sure to leave about 1" extra twill tape on either side.
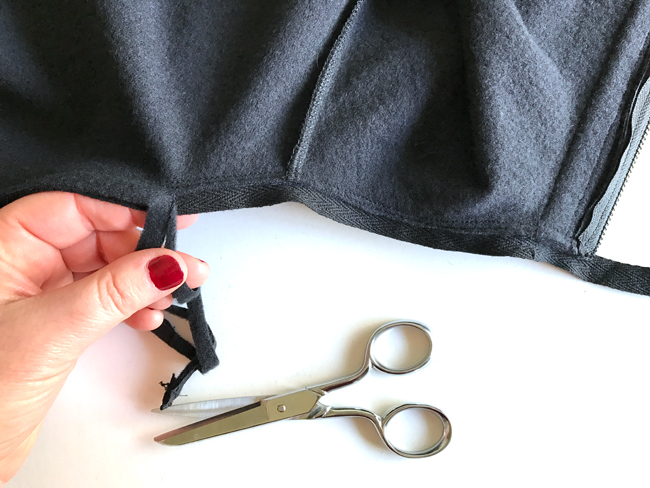
Trim away the seam allowance so the width of the twill tape will cover it up.
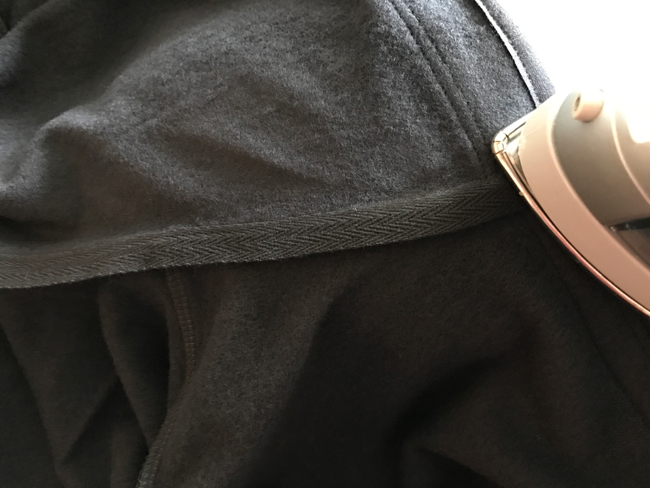
Press the twill tape down toward the hoodie, covering up the seam allowance in the process.

At the center front sides, fold the excess twill tape under, hiding the edges of the seam. Pin in place and stitch to the hoodie along the bottom edge. Be careful not to form any pinches on the right side of the hoodie.
Step 14: Insert the cording
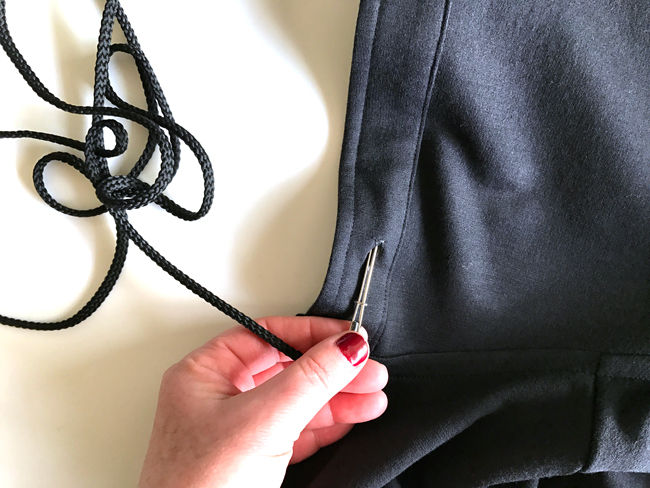
Attach your chosen cording to a bodkin or a large safety pin. Insert it into the opening on one side of the hood.

Feed it all the way around the hood until you have come out the other side.
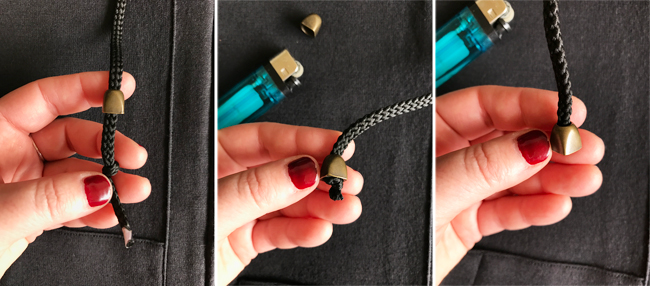
Once you've decided how long you want it to be, trim the end. Slide any optional hardware and knot the cording. If your cording is synthetic like mine is, you'll want to melt the ends with a lighter to prevent the cord from unraveling. Be very careful and only do this in a well ventilated area. Then simply slide the hardware in place.
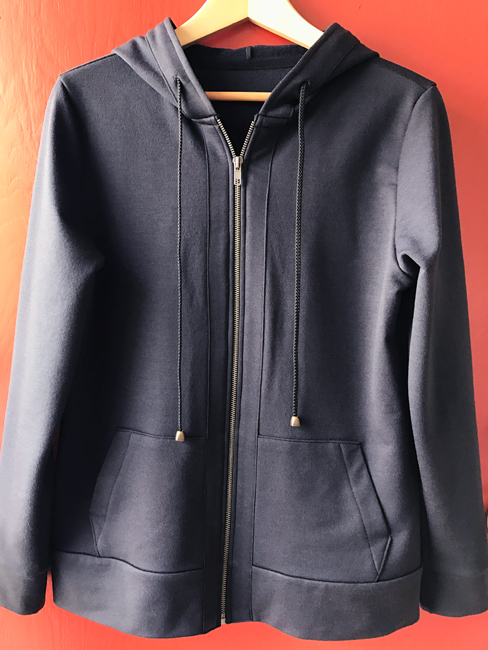
And that's it! I think this is one of those very satisfying projects that people will be amazed that you actually sewed yourself. It is such a great closet staple and really does not require much fabric, so don't be afraid and give it a try!

Very neat and professional look. Love it. Will definitely attempt my own.
thanks
That nice
Do you have a link to the pattern you are using?
comment telecharger ce model ?