Creating a landscape painting can be a daunting task at first, especially if you are unfamiliar with painting trees — one of the most common elements within a landscape painting.
Learn the basics of how to paint trees with acrylics.
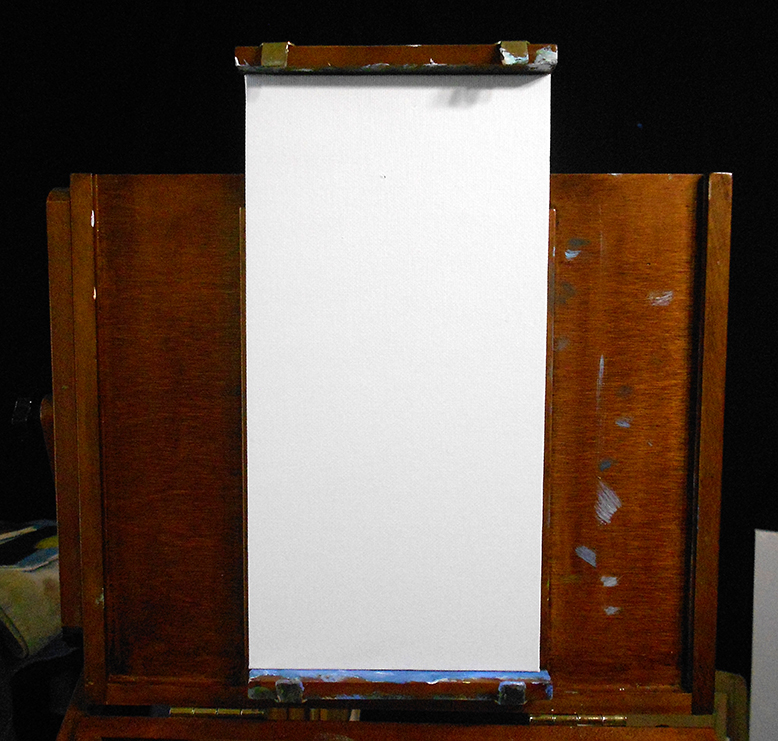
Step 1: Prepare your materials.
Set up your canvas and prepare your paints and brushes. I’m trying out this skinny canvas panel, just to try something new and experiment. For this tutorial, I’m chose to use Ultramarine Blue, Cadmium Red, Cadmium Yellow and Titanium white paint. I like to soak my brushes in warm to hot water anywhere from 5 to 10 minutes before starting my painting.
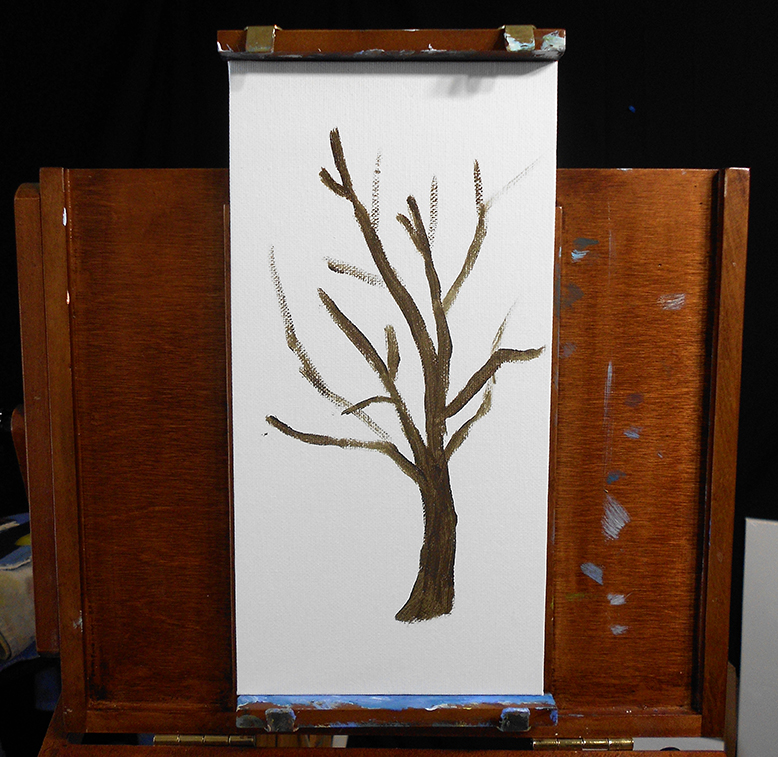
Step 2: Create a tree structure.
All trees have different branch and trunk structures, so it’s important to study different types of trees and how they are naturally built. Keep in mind that almost all trees are made up of V-shapes. There are also many different tree trunk colors and styles depending on which type of tree you wish to paint. Have fun and experiment!
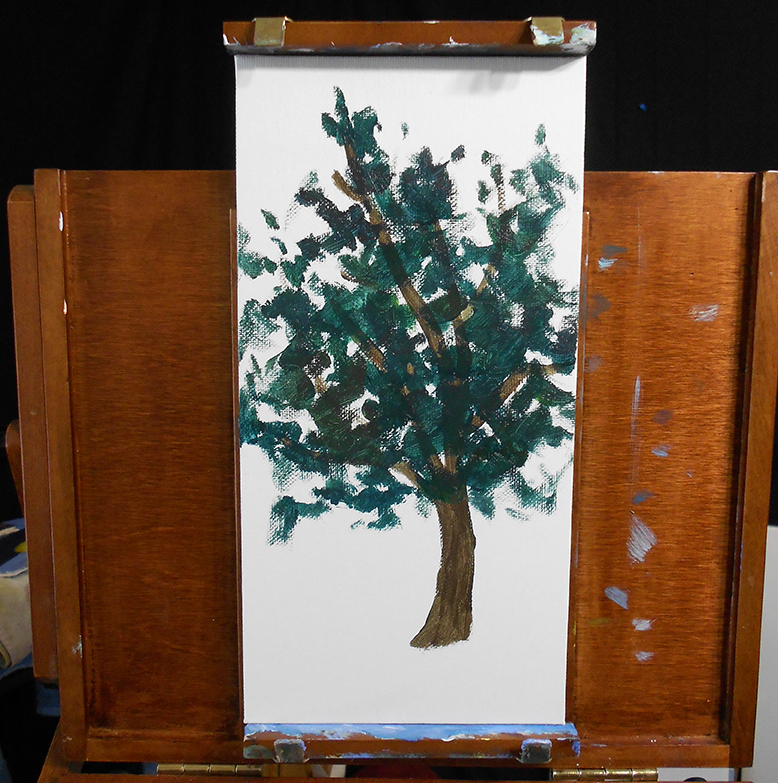
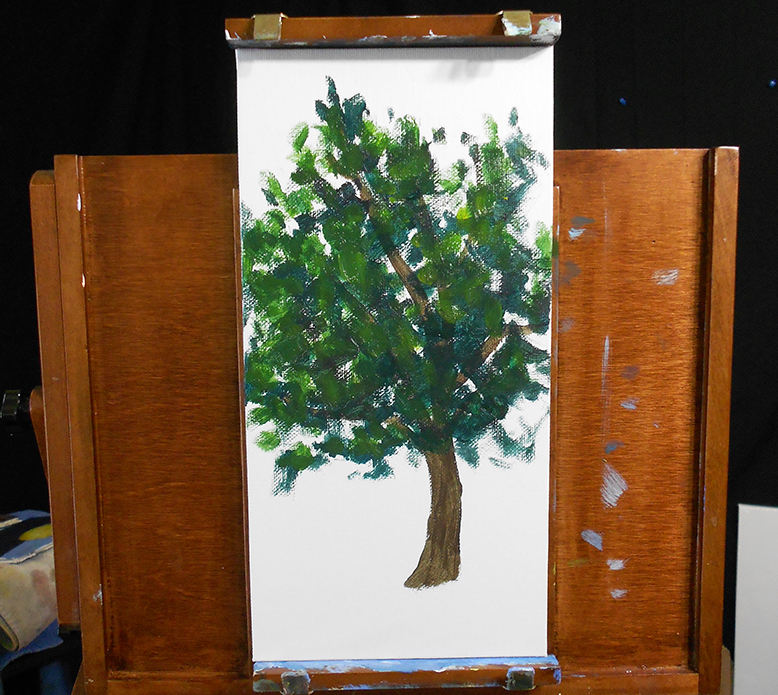
Step 3: Add shadows & dark leaves.
With acrylics, I find it’s best to work in layers — generally dark to light. So, in this step, mix up a dark green using the primaries (yellow, red & blue) for the shadow areas of the tree and leaves. Be sure to add variety of colors and values to mimic nature and create a realistic image.
Step 4: Add mid-tones
Now, you can either wait for the previous layer to dry or if you would like some blending action go ahead and add a layer of lighter greens. This is the bulk of the tree color. You can also add some variation of color to the tree trunk — adding texture, shadows and more. This is where your tree will start to come to life.
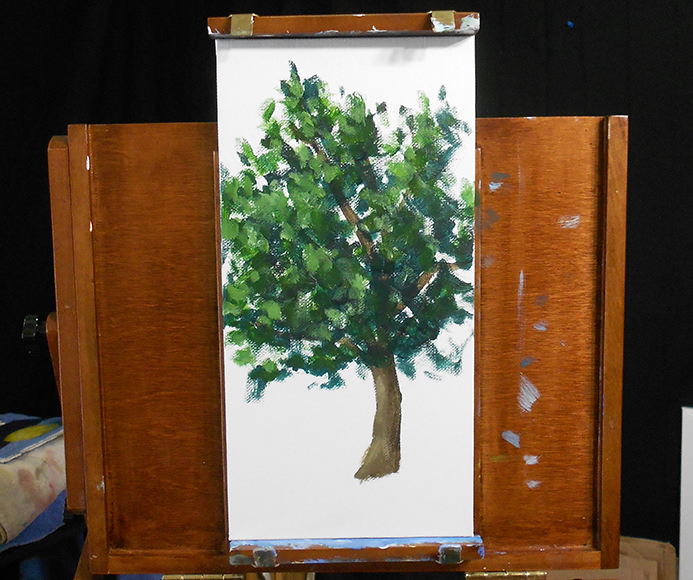
5. Paint highlights.
For this, I used a mixture of white, yellow and blue for the most part, although a tiny bit of red can be added to neutralize when needed. Don’t forget about the tree trunk as well, depending on your light source some of the trunk may be in sunlight too.
Most beginning artists like to overdo highlights, which can ruin the effect of light and shadow, so be careful and use sparingly. You can always add more if needed. It can be a more difficult to paint over if too many are added so keep that in mind.
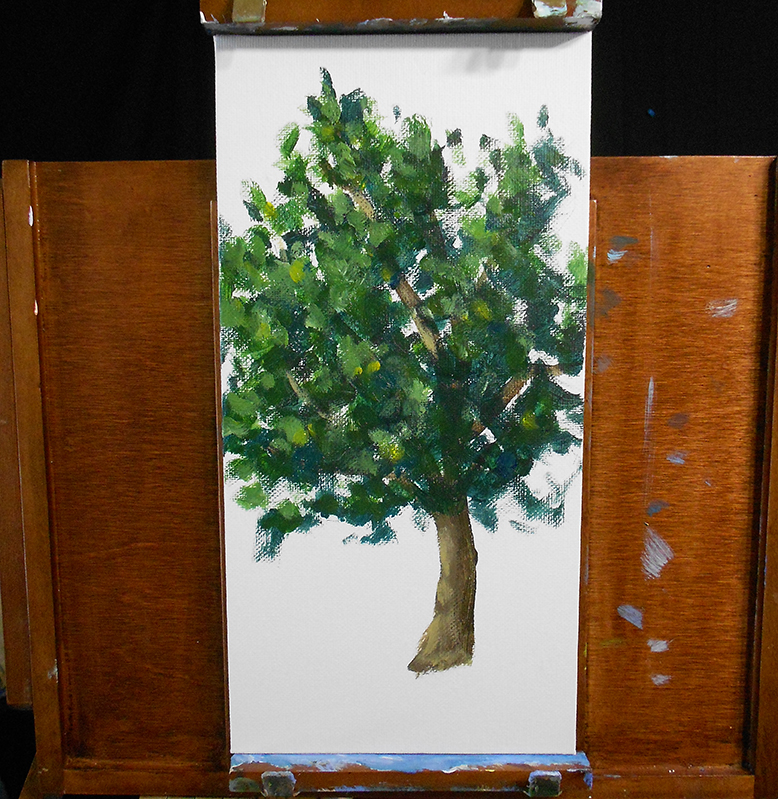
Step 6: Finalize your tree.
In this step, add the lightest accents and other flare to make it your own. I added some small strokes of saturated yellows and blues to give more of an impressionistic color effect. Take note of natural and realize that it is full of variety and color, do your best to incorporate these elements into your work.
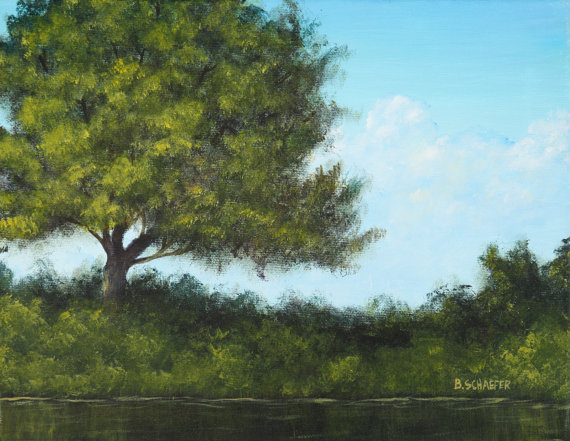
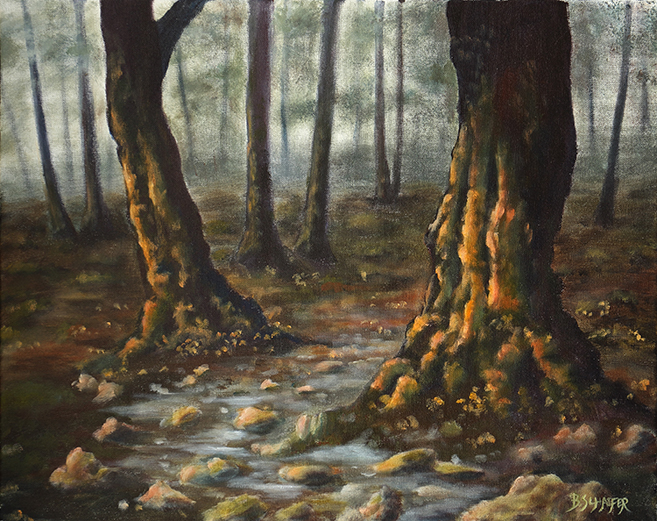
Here are some examples of other types of trees:

Now that you understand the basic steps for painting a tree with acrylics, go outside, find your favorite trees and try to recreate them or add them into a new landscape painting.

I have painted landscapes, but I have painted more flowers than anything else, and have been painting for the past 20 years, yet I still like to read what other artists share with us. You can always discover something new.
Can’t get the tree trunk skinny enough …
What I find most difficult is a tree in the winter, so no leaves but lots and lots of tiny branches