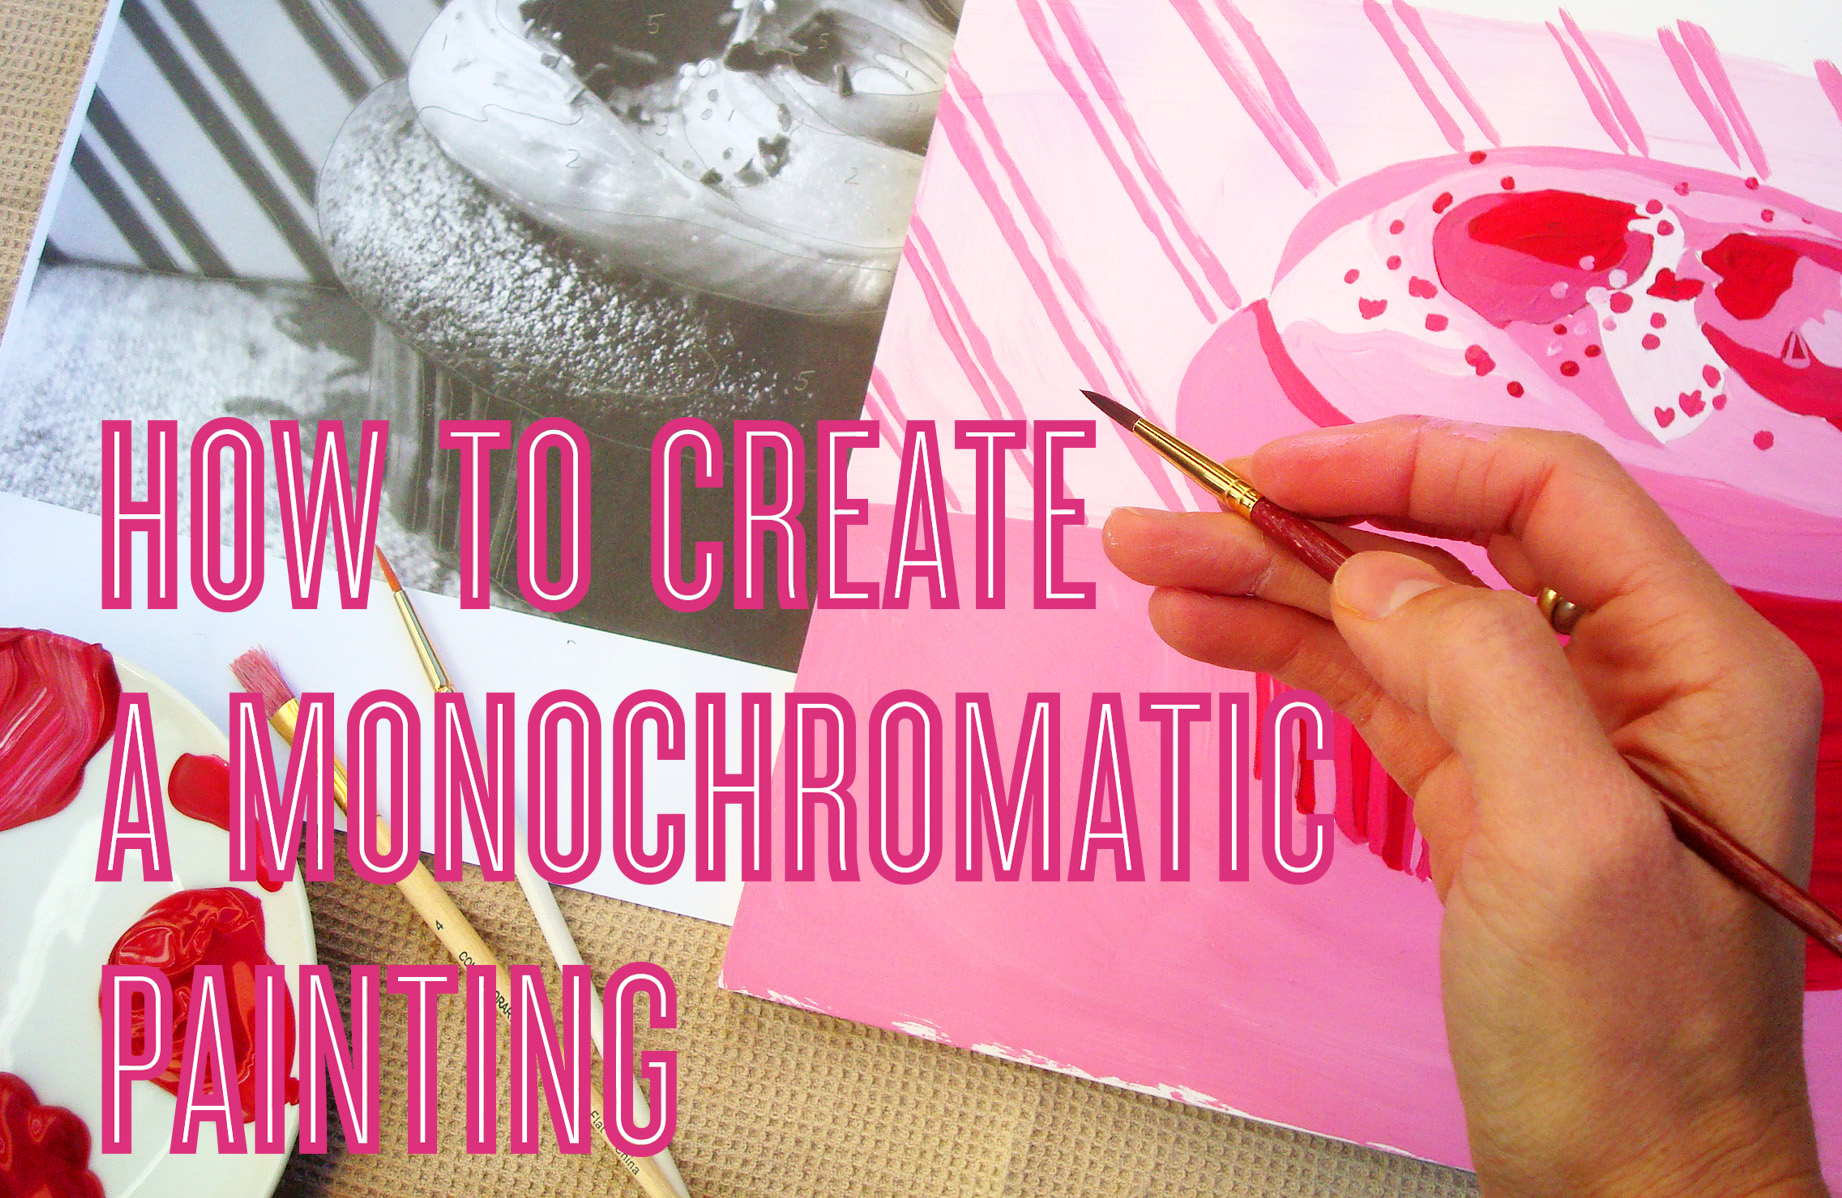
Photos and painting via CakeSpy
Monochromatic painting can teach artists powerful lessons about how light and color can create shapes in a composition. Painting in various shades of a single color can inform and improve your more advanced, color-rich work by helping you identify contrast versus relying on hue to build a piece.
This exercise will teach you how to paint in monochrome in a simple, controlled method: by making your own paint by numbers piece. It's not only a fun project, but it will teach you valuable lessons about composition, contrast, and shape.
While acrylic is the medium used for this tutorial, you could easily replicate the effects using any opaque or semi-opaque paint, such as gouache, tempera or oil paint. Watercolor paint is not suggested due to its natural translucence and variation of color.
How to create a monochromatic painting:
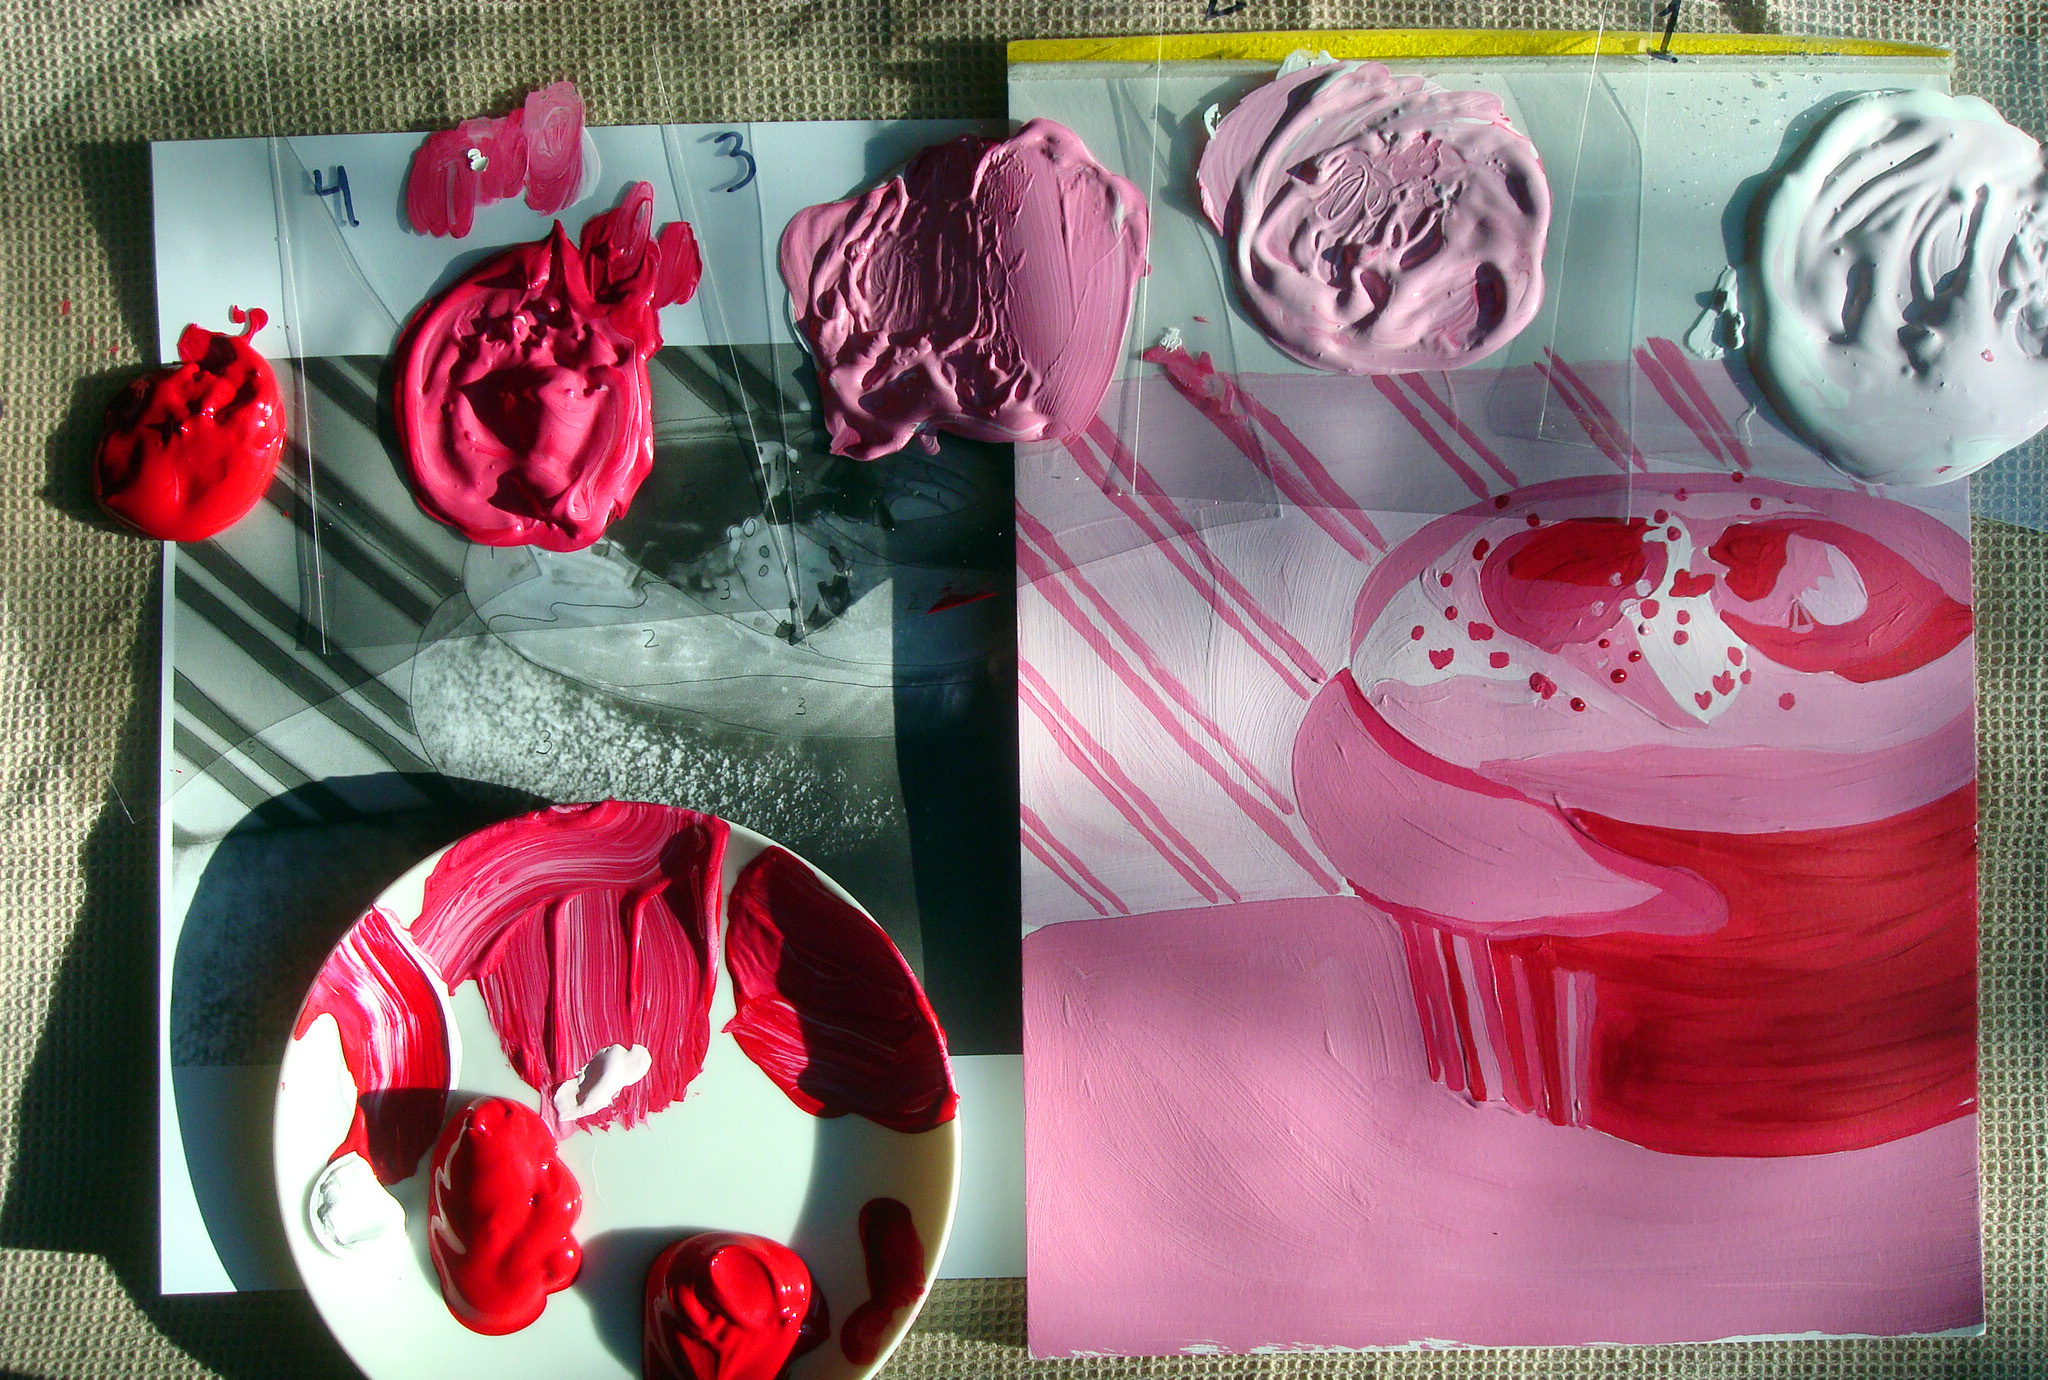
You'll need:
- A reference image
- Pencils
- Tracing or transfer paper
- Opaque paint of your choice: one color, plus white paint
- Small palette knife, for mixing
- Brushes
- Painting surface of your choice
Step 1:
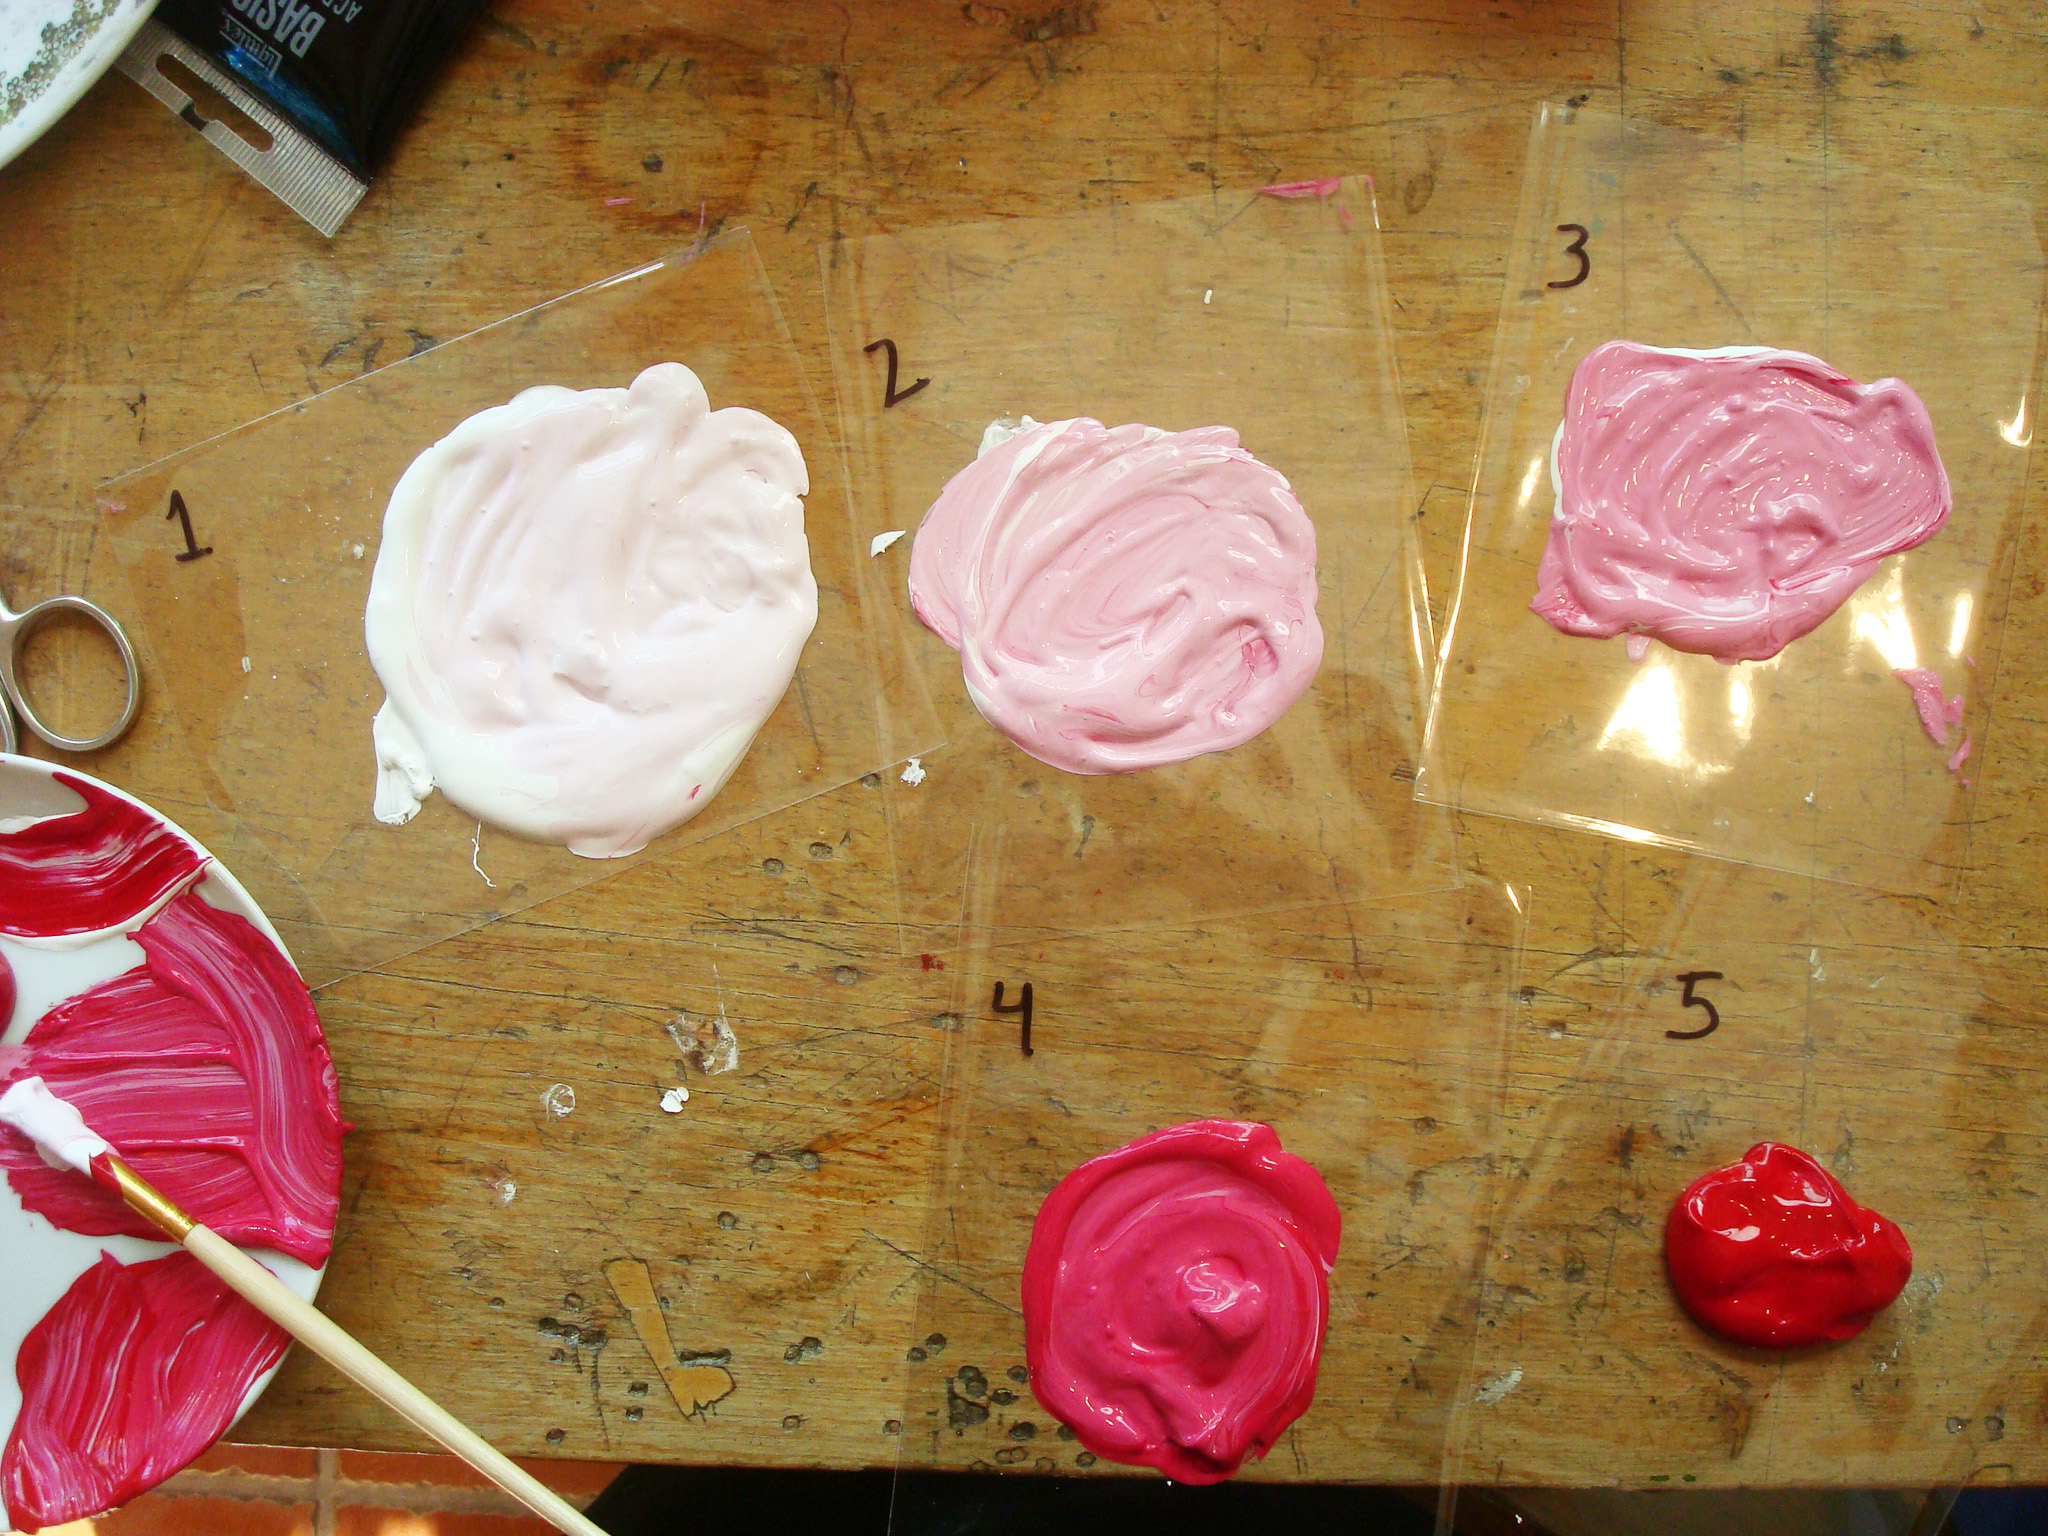
Choose which color you'd like to use for your painting, and get ready to mix up a gradient of five color variations.
Note: I'll explain my methods and preferences for doing so, and you can follow it if you like.
Here's the way I do it: I will make five small portions of paint in one color. I will leave one portion of the pure color as my number five, and then add a little more white to each succeeding portion of color, so that they form a gradient. Each tone should be distinctly different from the one before it, but together, the five tones should form a natural gradient.
It can be difficult to re-mix the same exact shade, so ensure that you have a way to preserve the colors if you're not going to finish your painting in one sitting. I put my colors on top of clear plastic, which can easily be covered if a break is needed. You can also put your paint in plastic containers (such as empty film canisters, if anyone uses those anymore) to prevent them from drying out.
Step 2:
Choose a reference image. Choose a fairly simple image with a good amount of contrast. Not sure if an image has contrast? Digitally make the image black and white. If you can see a variety of clear tones, it's got good contrast. If it all looks pretty similarly grey, choose another image.

Step 3:
Print the image in black and white in the size you'd like the finished piece to be.
Step 4:
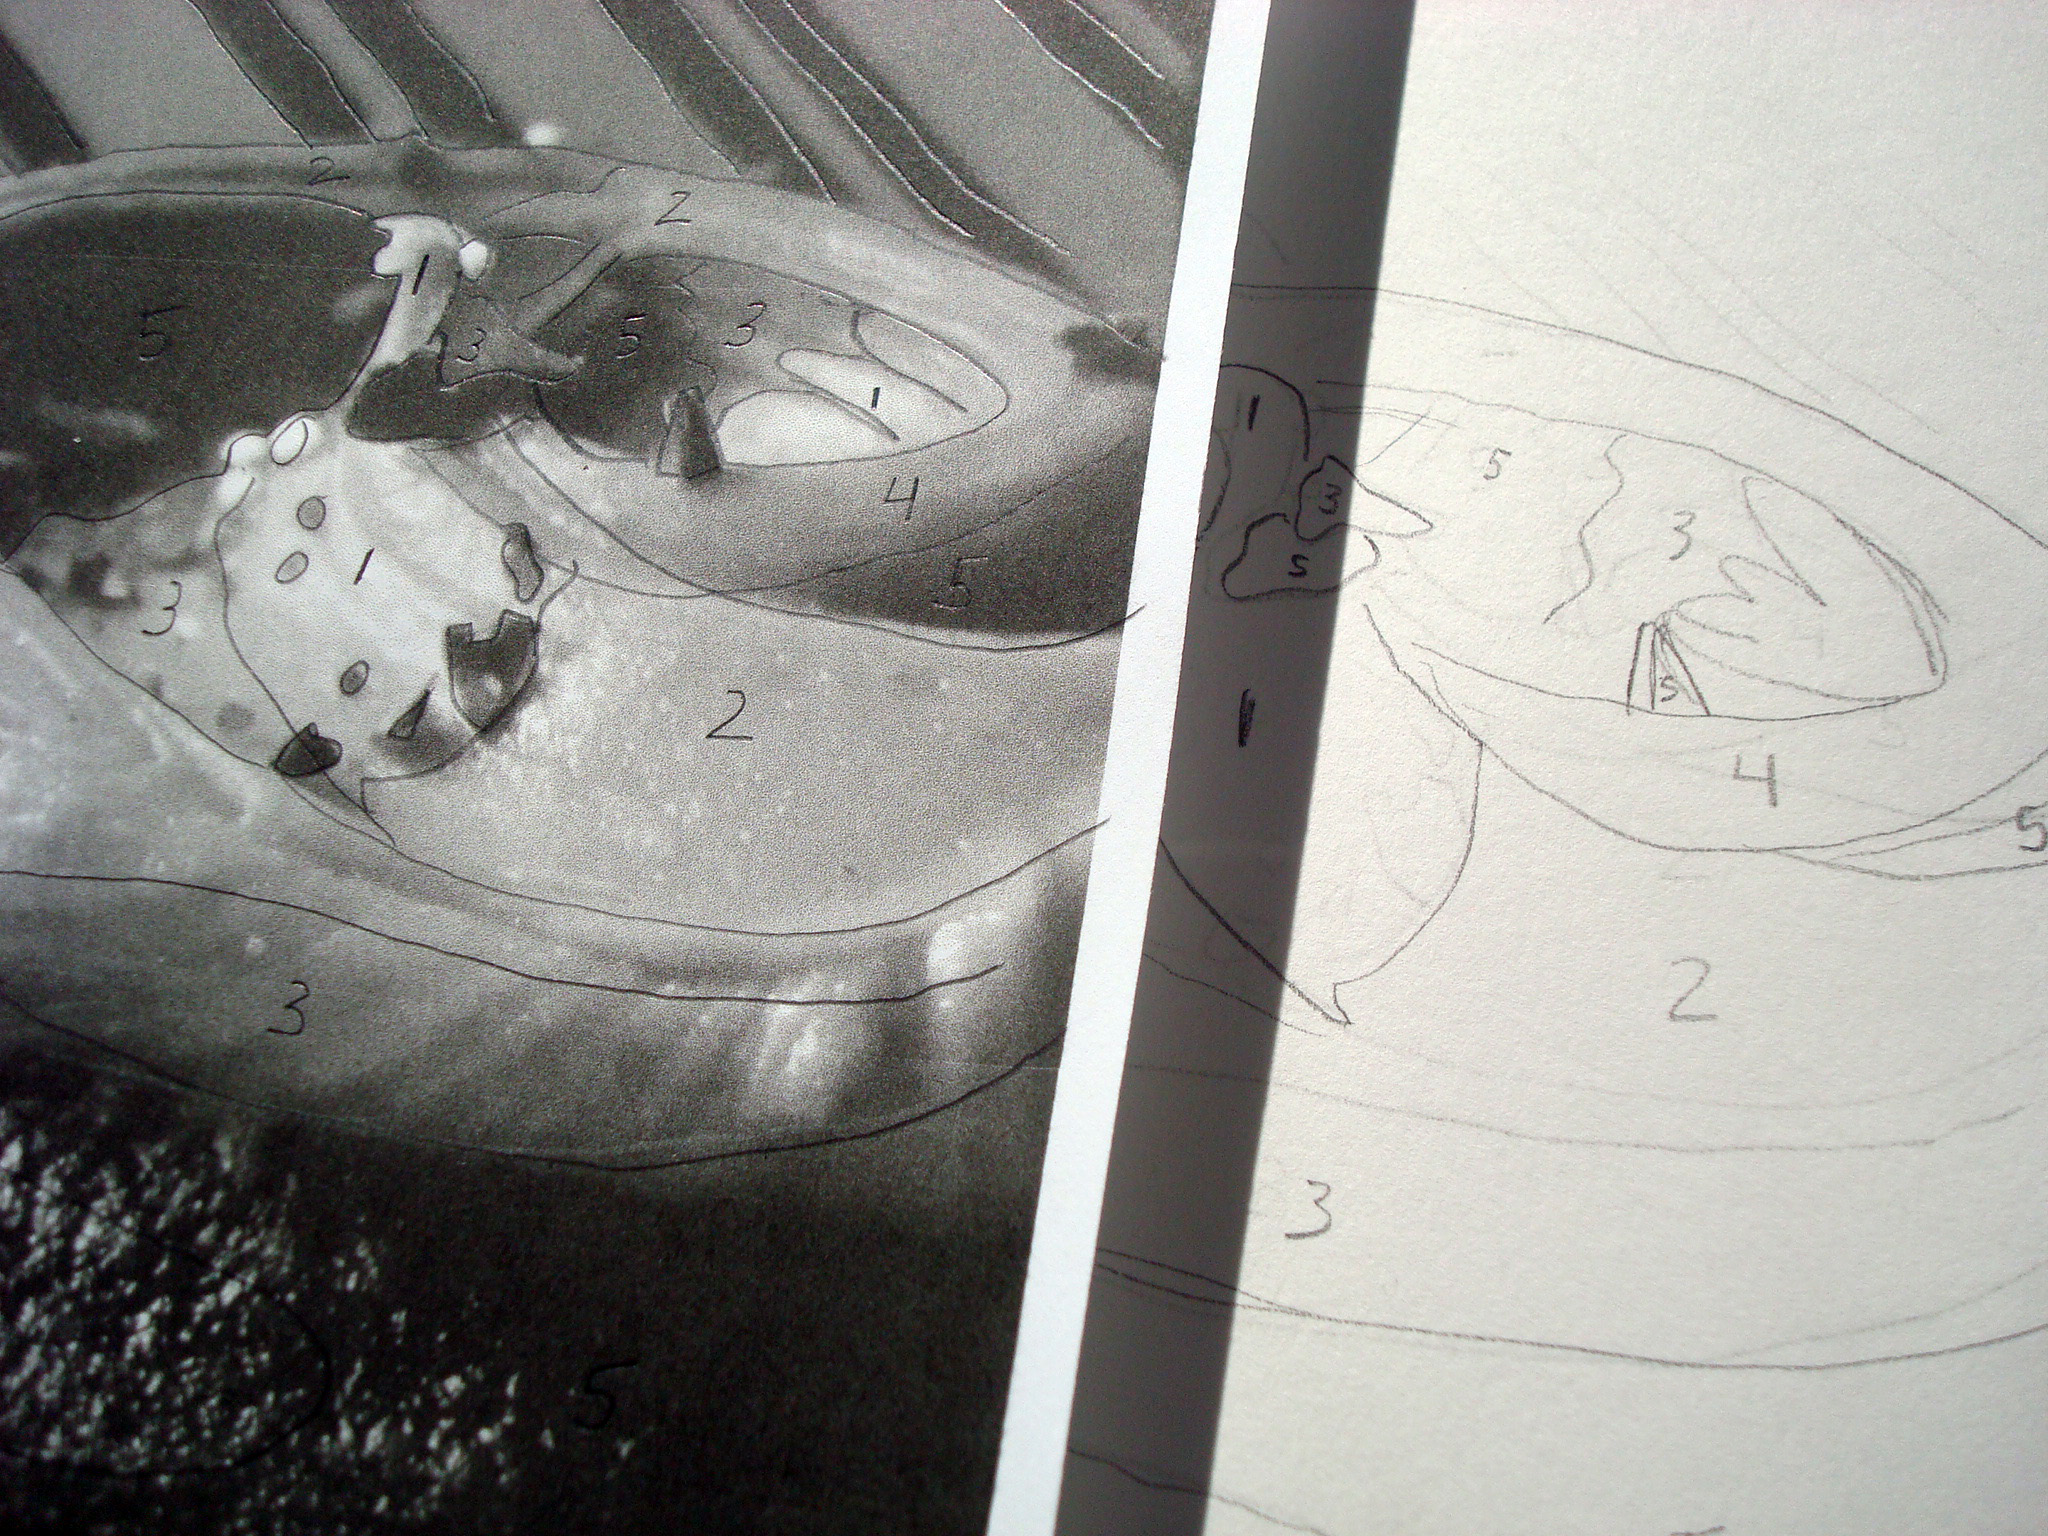
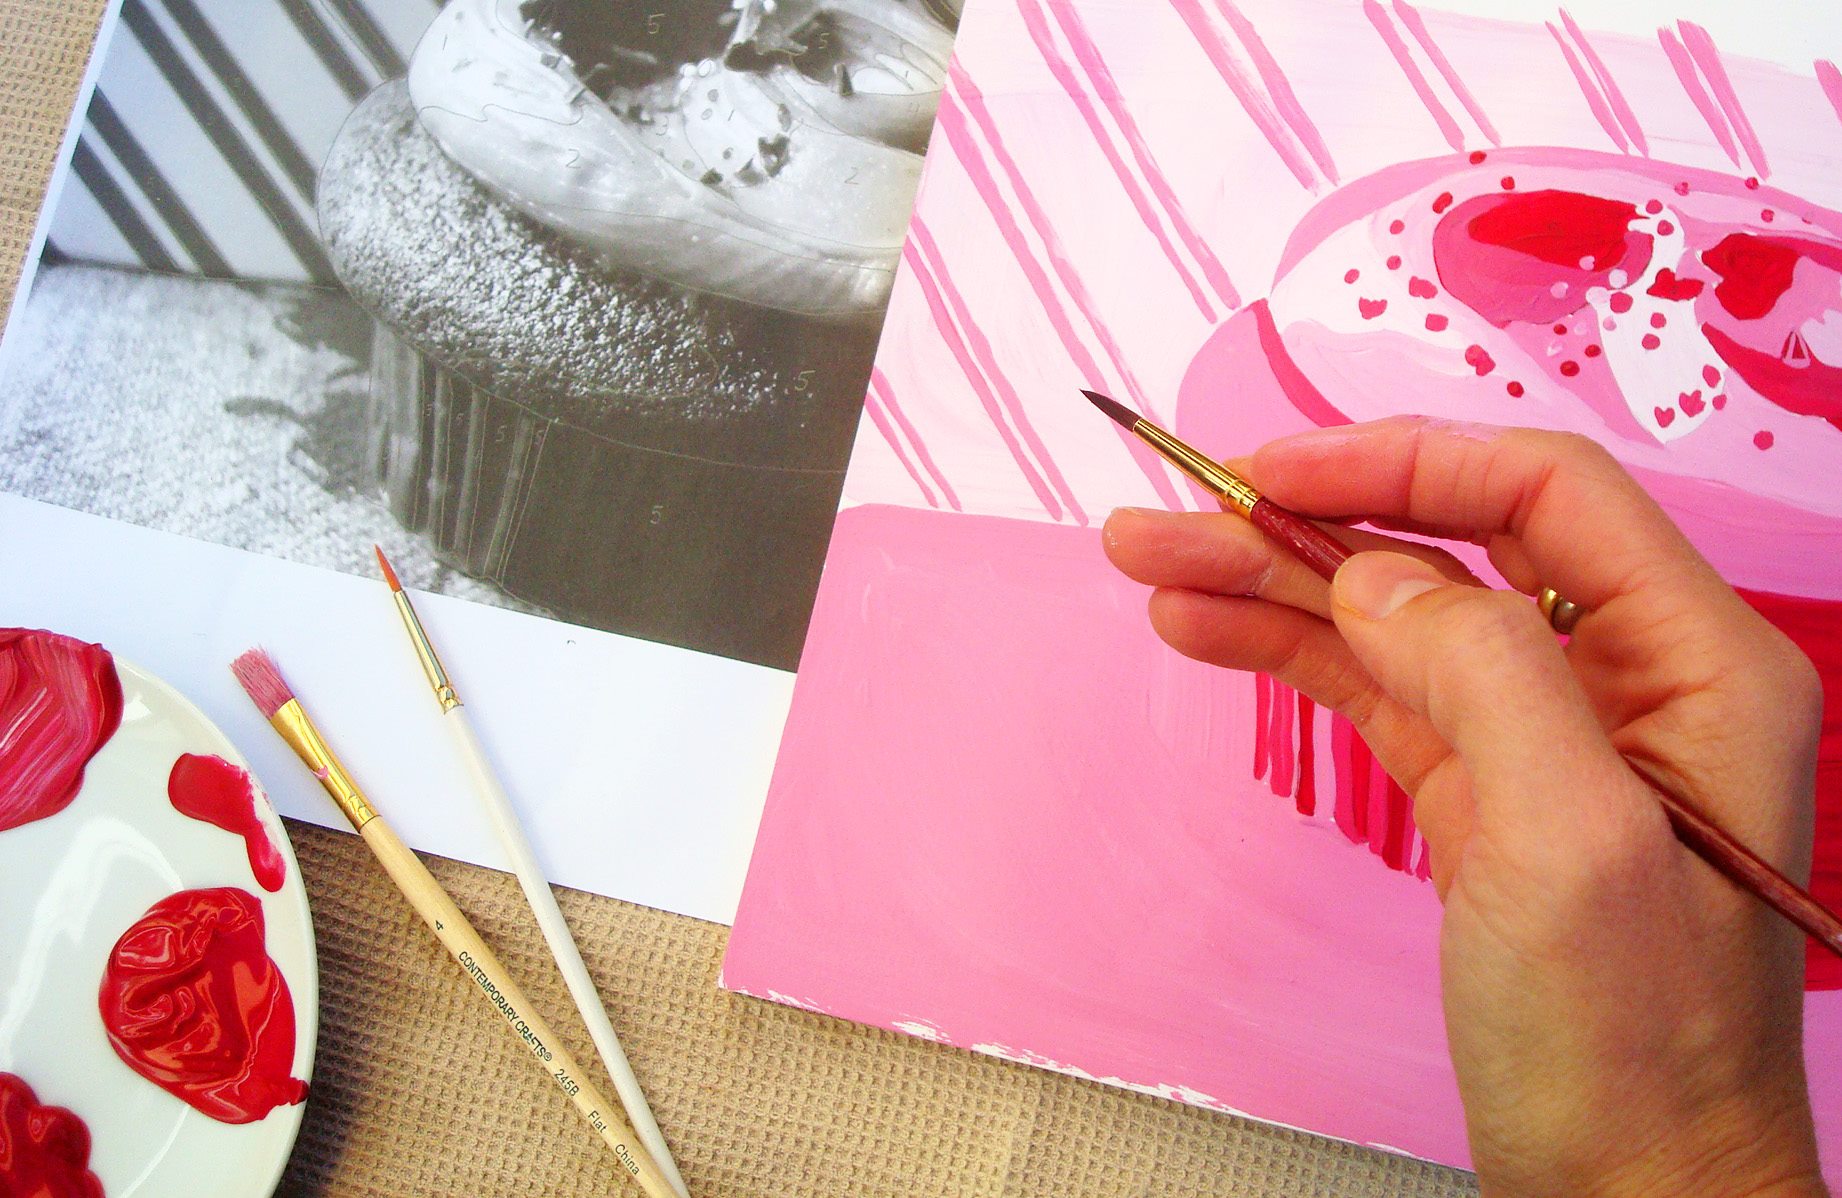
Trace the image on tracing paper or directly on to your work surface using transfer paper, but a little differently than usual. Trace distinct blocks of tone as shapes. Number each one 1-5, based on the lightness or darkness. If it's hard to get a handle of this, start by the extremes (1 being light, 5 being dark) and then work toward the middle tones.
Step 5:
If you used tracing paper, transfer the image to your final working surface. If you used transfer paper, you should be ready to go.
Step 6:
Paint in each portion according to the color you've assigned to it, referring to your reference image as needed.
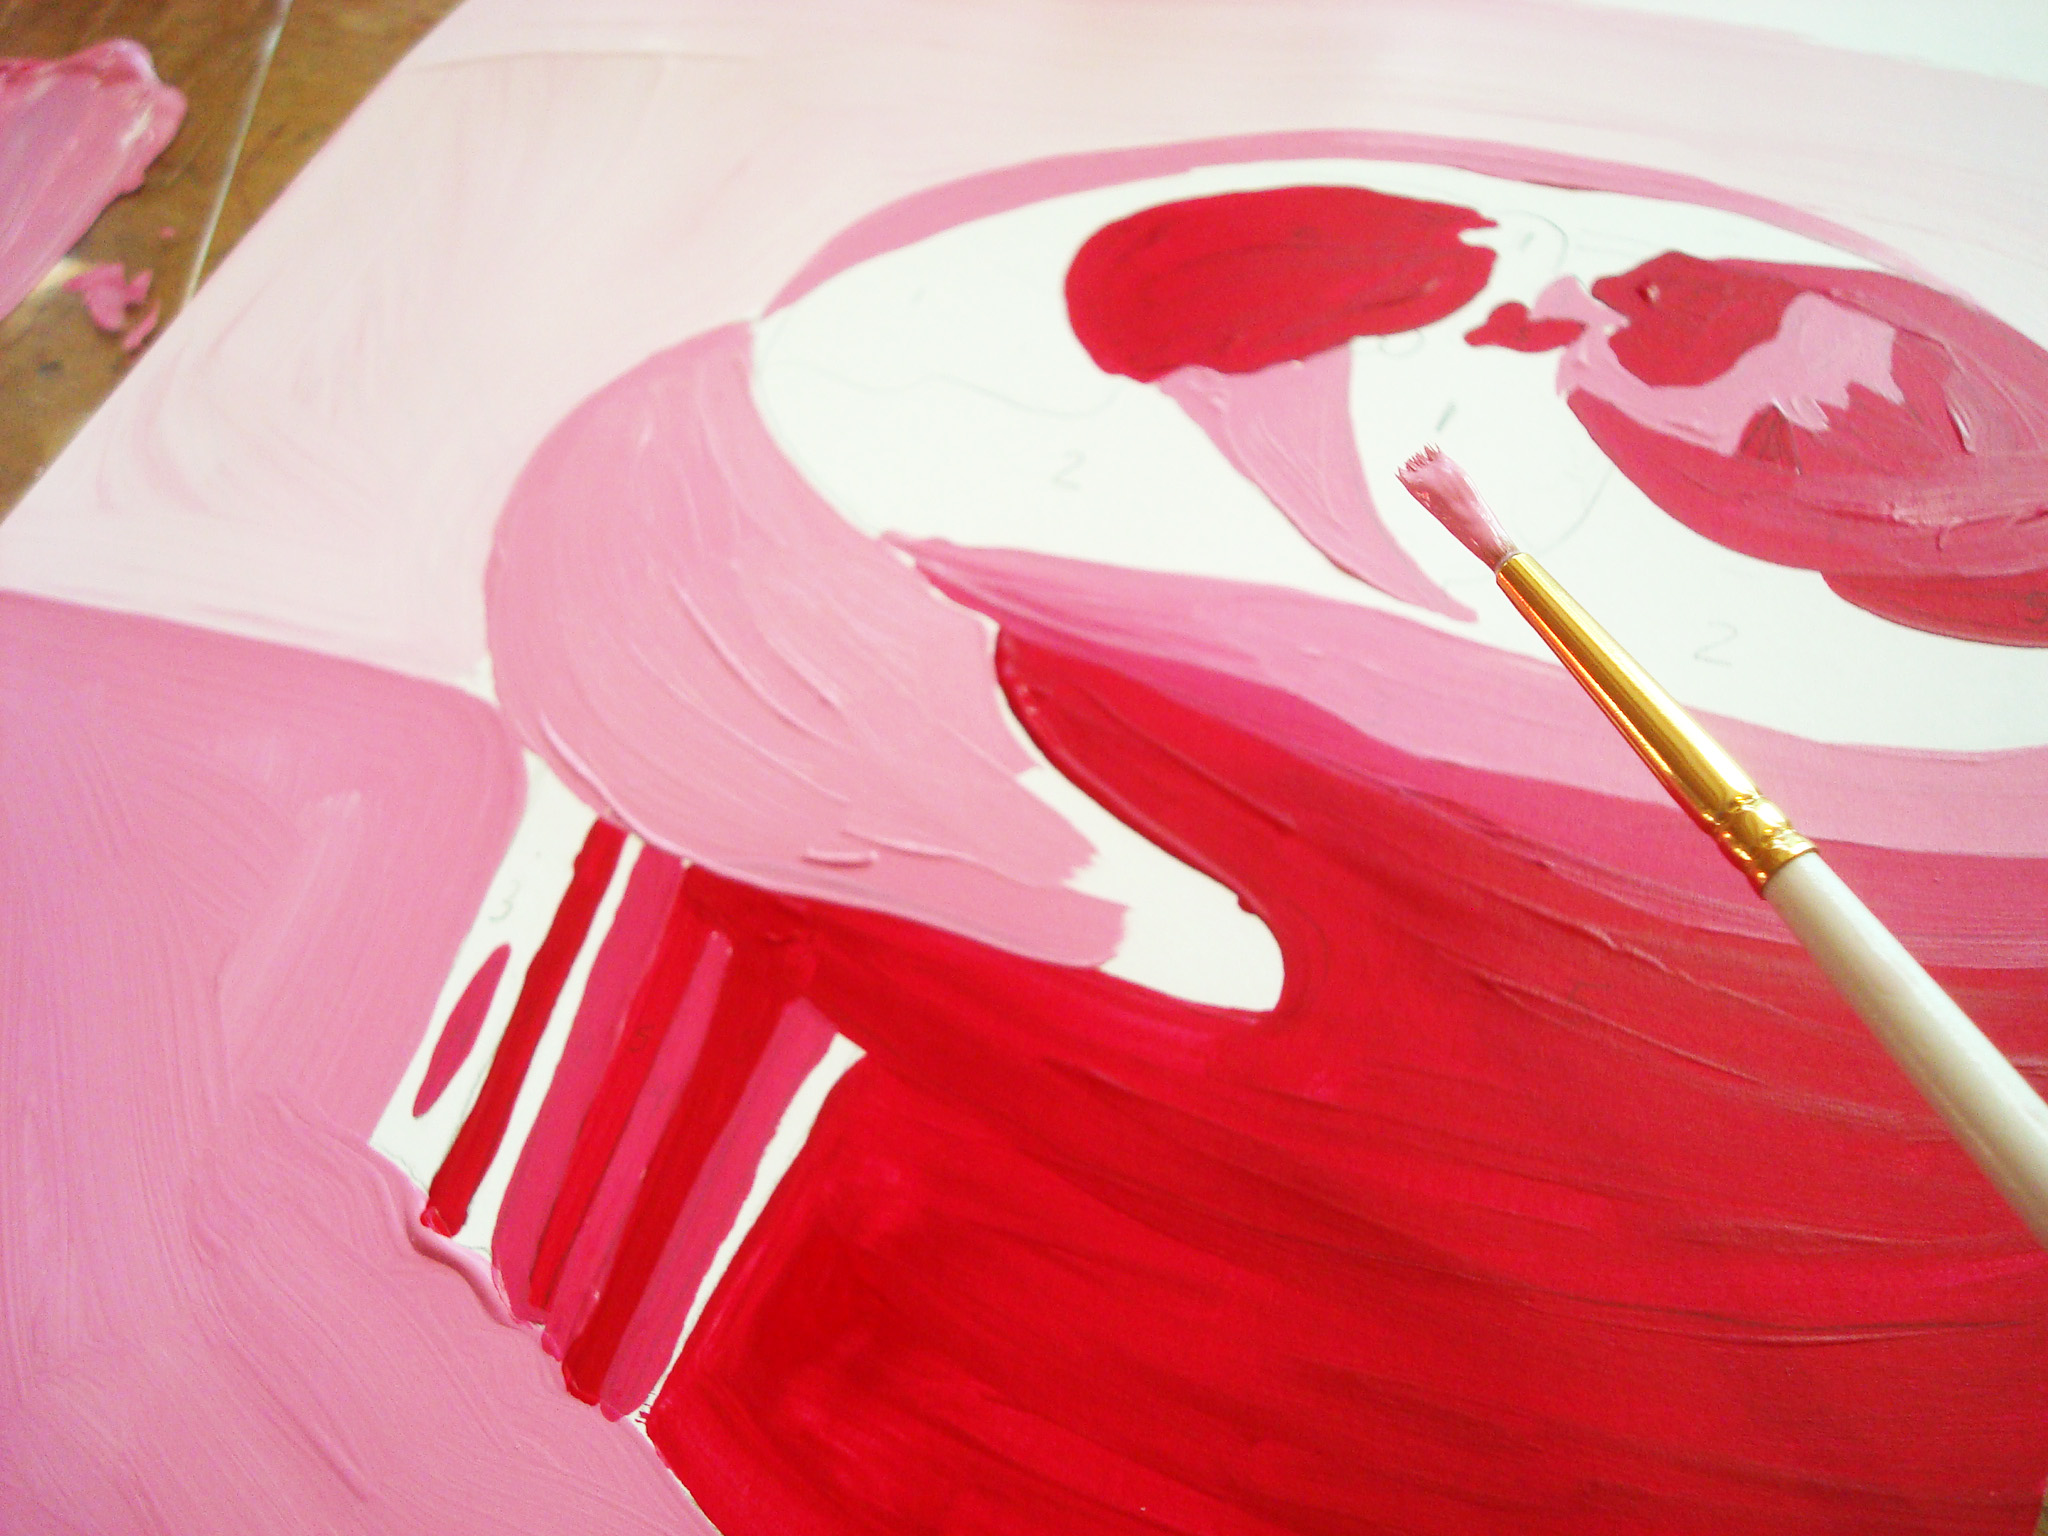
Step 7:
Once you've painted in the numbers, refine or add details as you see fit.
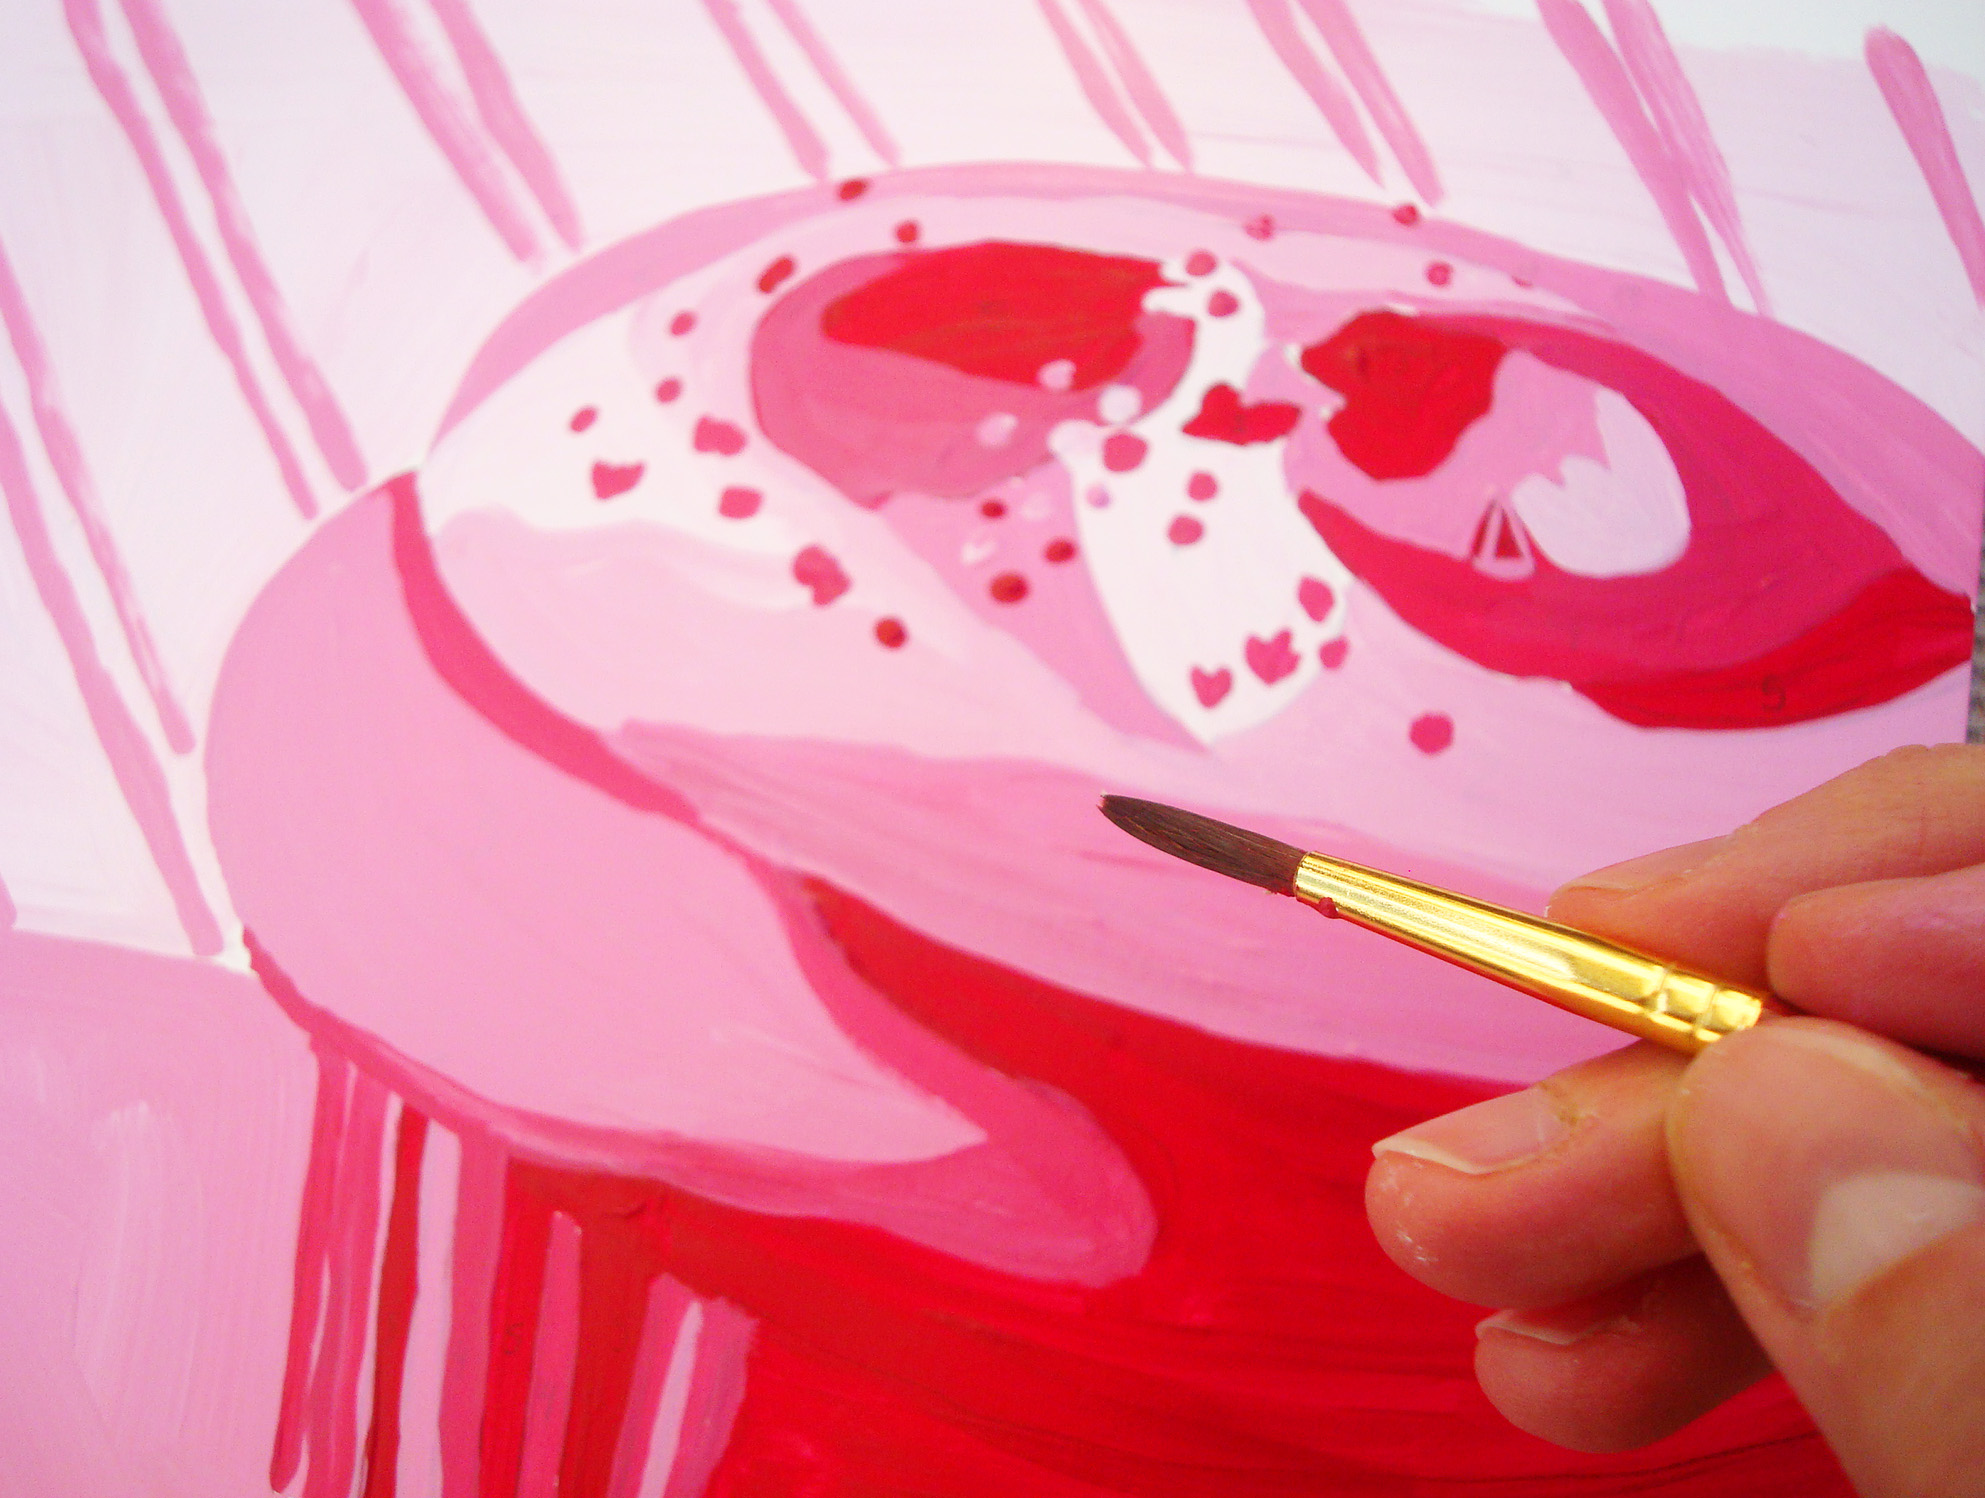
Don't forget to add a second coat if you can still see the numbers below the paint!
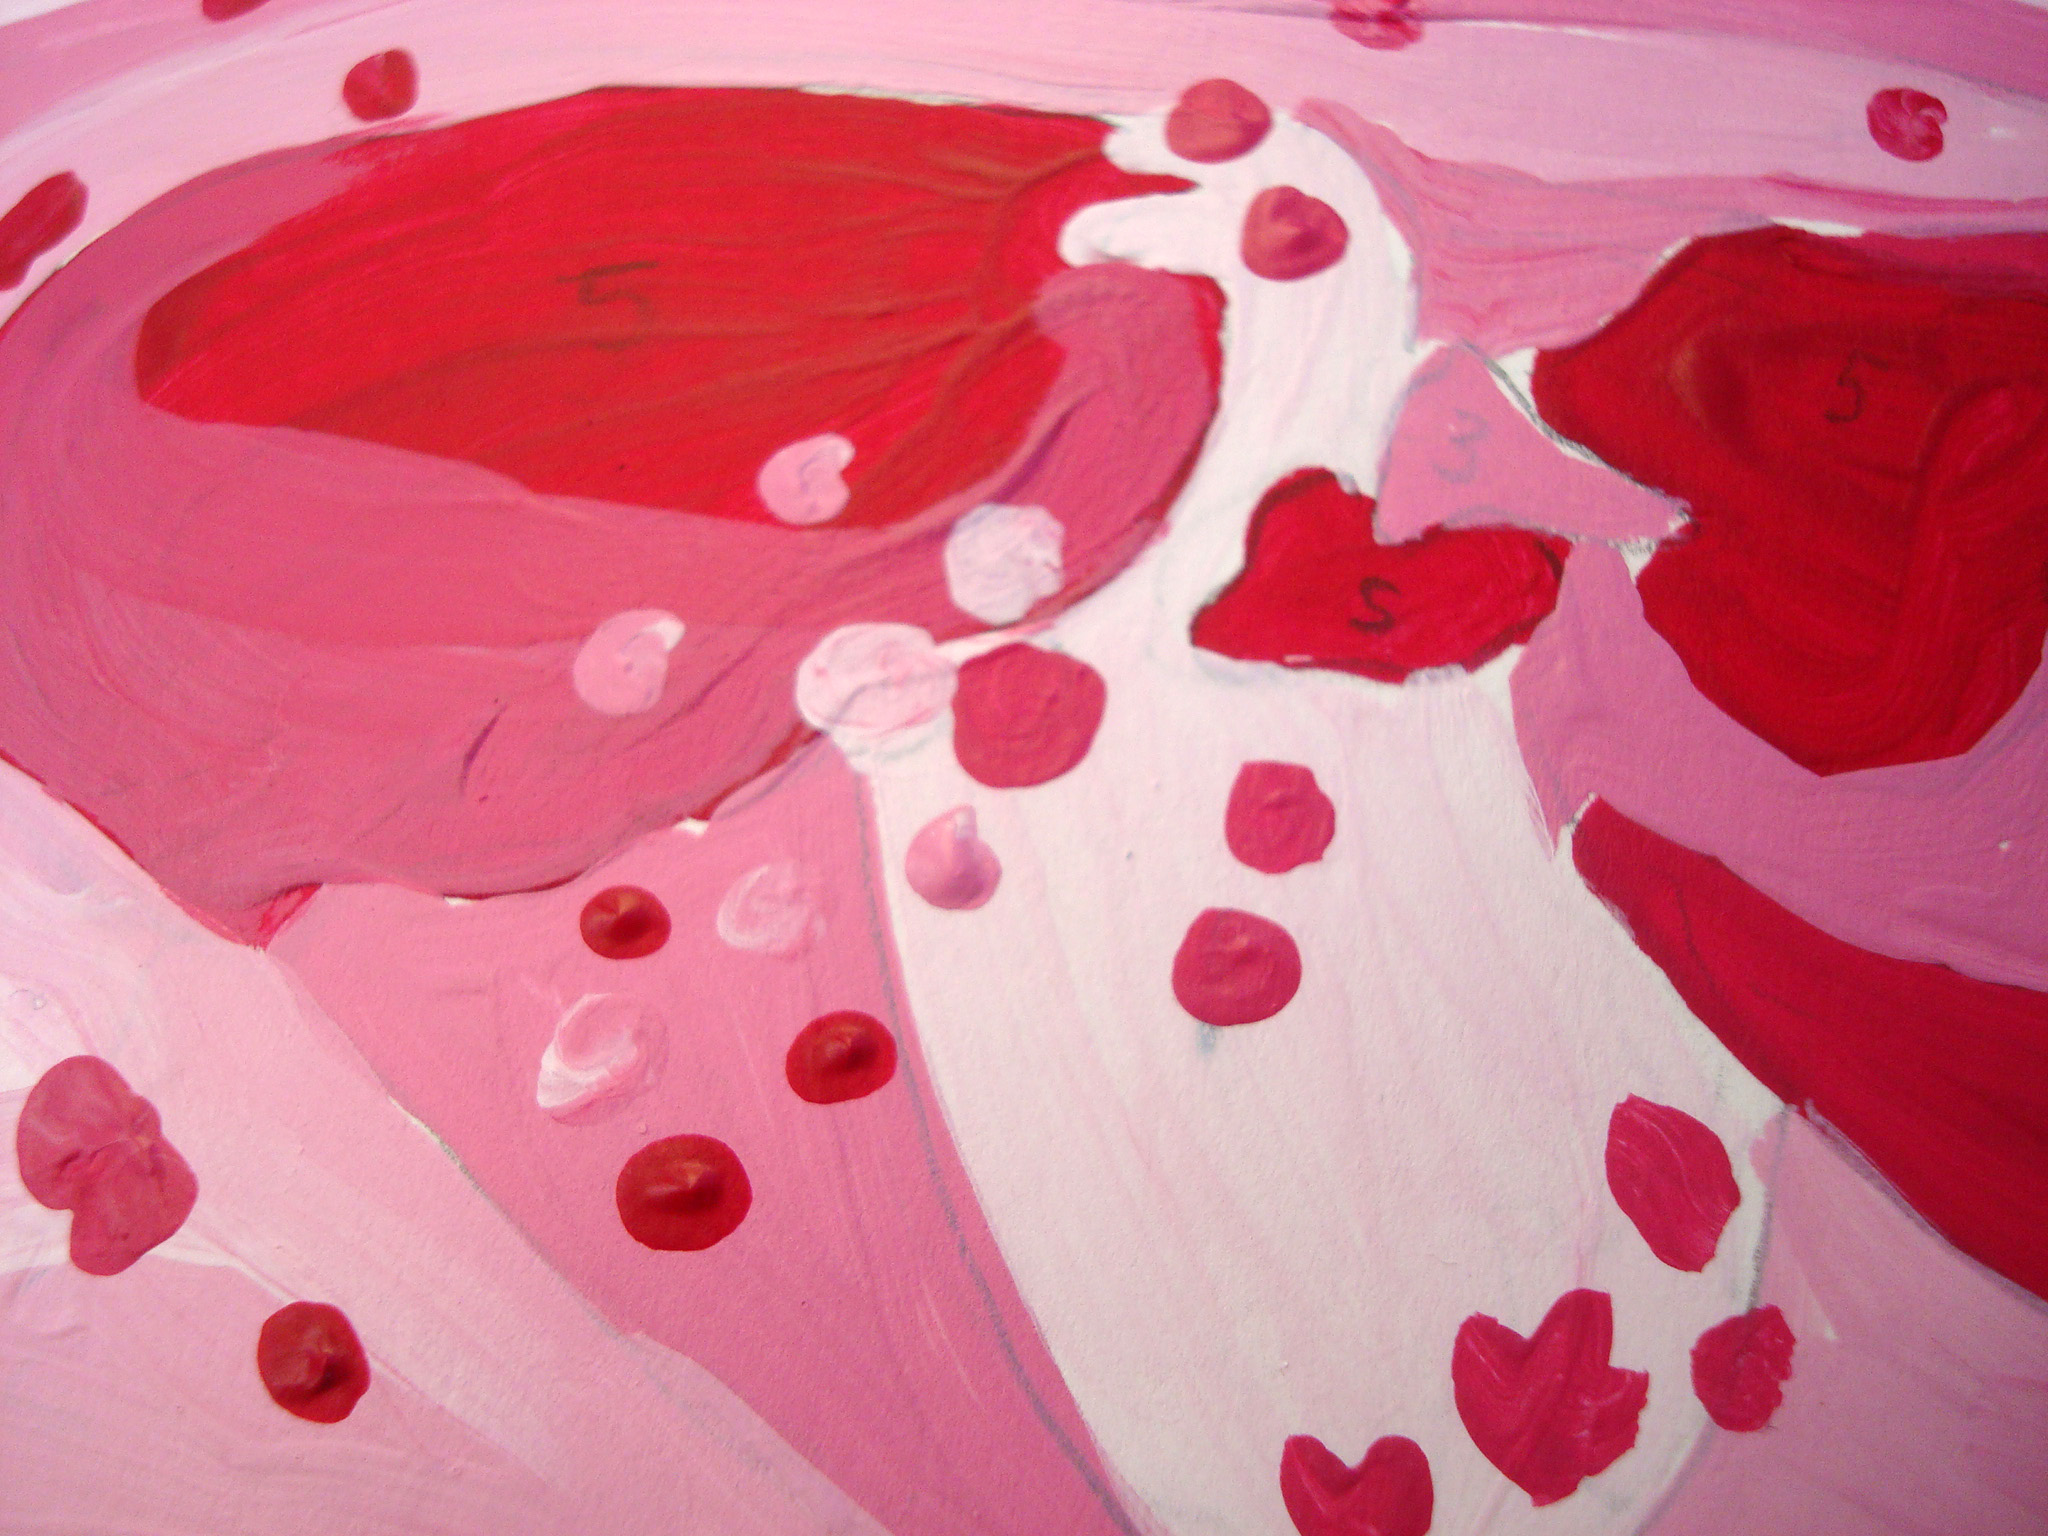
Now, you have a lovely finished monochromatic piece. Isn't it amazing how the painting started out looking like blobs of a single tone, but when you step back you can see that you've attained a dimensional painting?
Learn how to create endless colors with a limited color palette as you explore tints, tones and shades in Craftsy’s class Paint and Palette Essentials taught by Jay Senetchko. Begin by setting up a monochromatic color palette, and dive into value as you use light and dark to develop dimensional forms.

Share tips, start a discussion or ask other students a question. If you have a question for an expert, please click here.
Already a member?
No Responses to “Tone it Up: How to Paint in Monochrome”