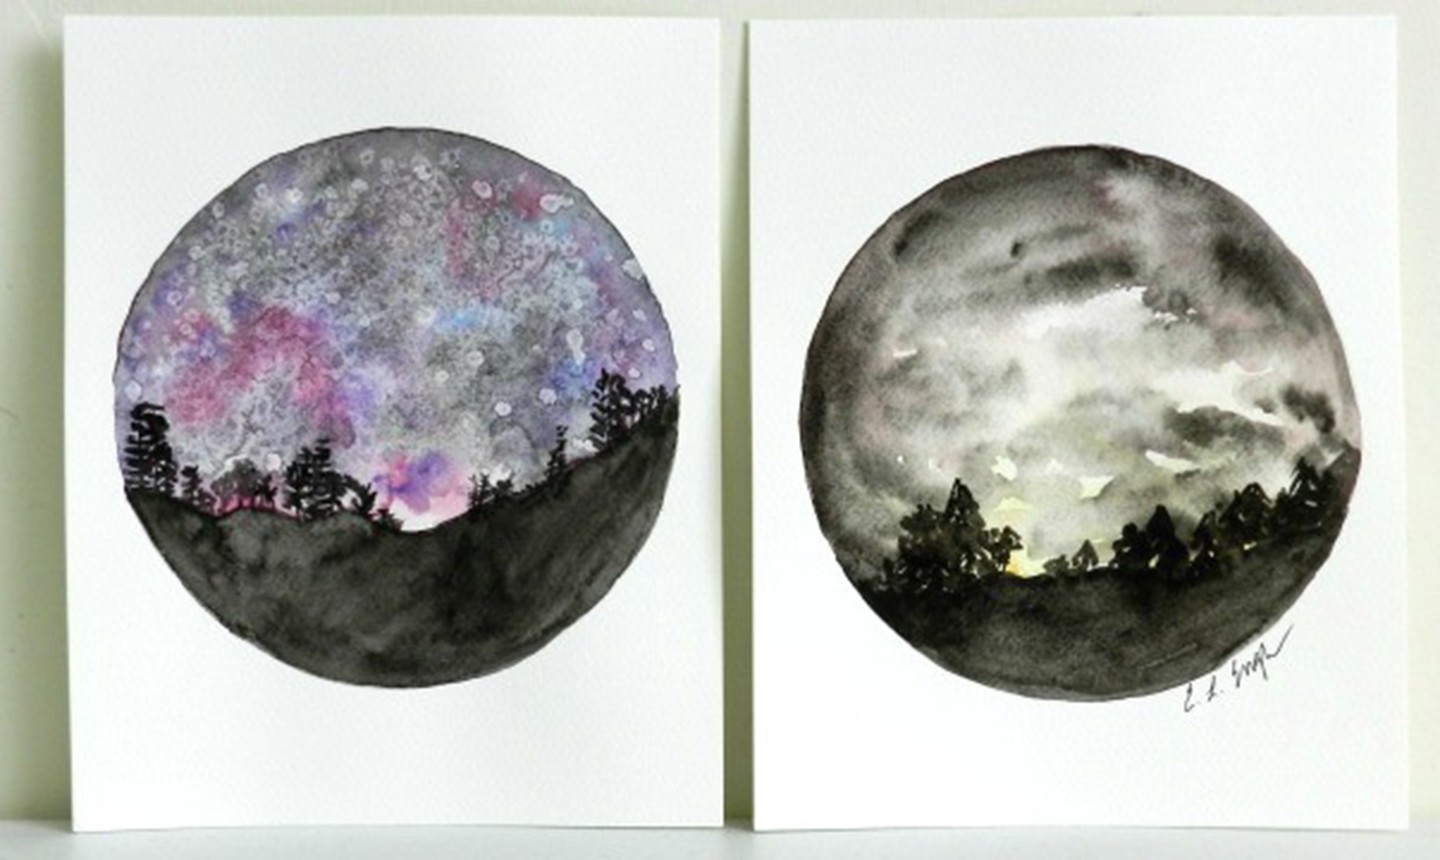
Starry night or cloudy dusk, we can’t decide which watercolor sky we love more. The key to painting both of these gorgeous scenes is to work quickly without letting the paint dry. Once you’re done, you’ll be a master of the wet-on-wet watercolor technique!
Watercolor Night Skies
Level: Easy
What You Need
Instructions for the Clear Night Sky
1. Sketch and Tape
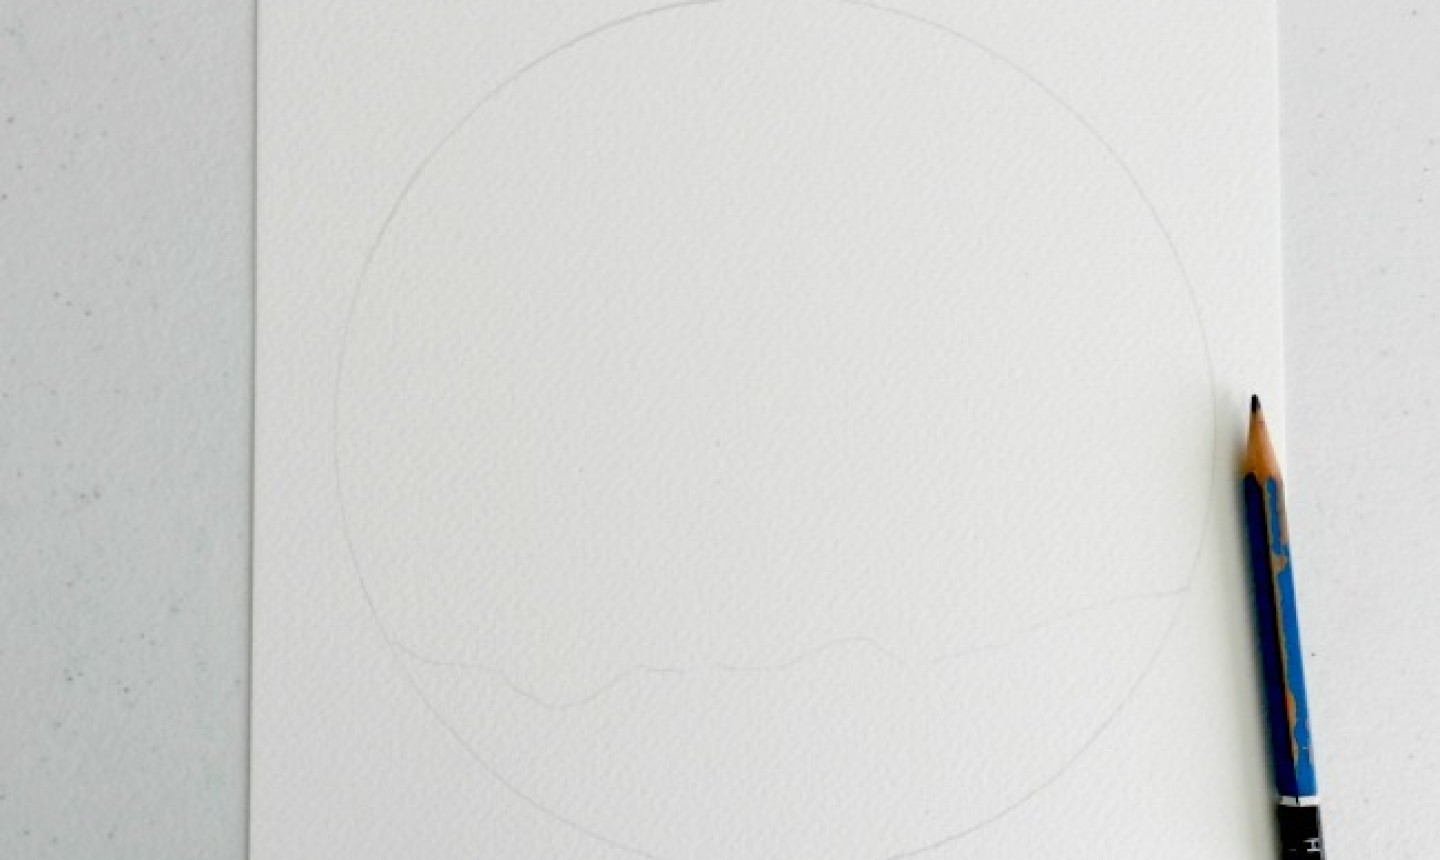
Using a round object such as a bowl, trace a circle in the center of your watercolor paper. In the lower third of the circle, sketch a horizon line. This can be anything you want — flat planes, a forest or a mountain range. Whatever speaks to you!
After you finish your sketch, tape your paper down to a table or drawing board. This prevents your work from warping when you add water.
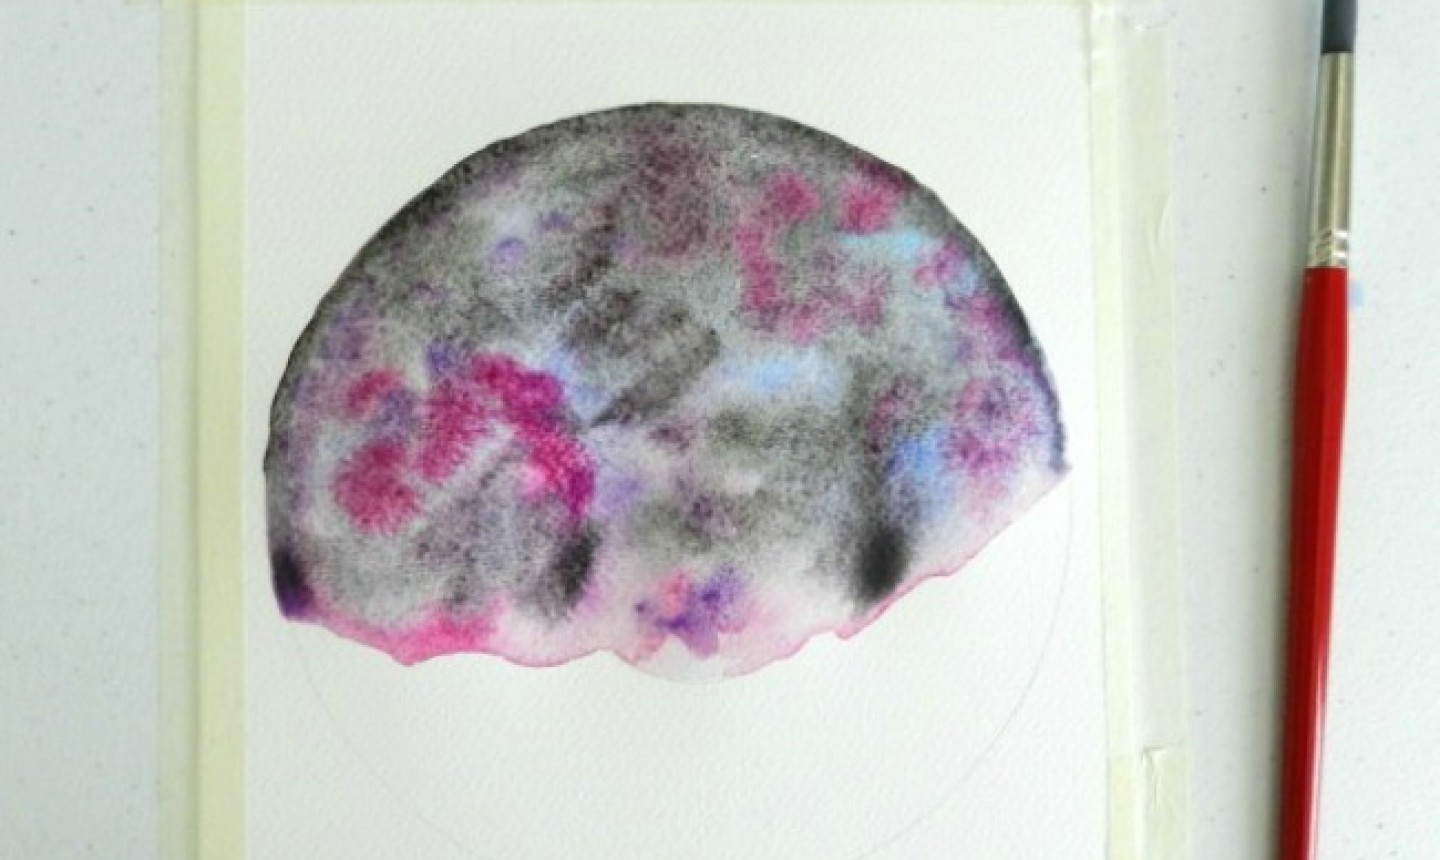
2. Create an Underpainting

Making sure to keep within the circle, lay down a wash of varying colors in the sky. This underpainting gives a colorful base for your final night sky. We used pinks, purples and blues, but you can experiment with any colors you like. Just remember to keep your paint wet and juicy! If your edges come out a bit messy, you can easily fix this watercolor mistake by lifting the color. You can also add a watercolor glaze to your sky before dipping your brush in color, if you prefer that method.
3. Darken the Sky
Using wet-on-wet application, drop in darker colors on top of your underpainting. This is the moment to bring the nighttime effect by adding black and deeper colors.
Pro Tip: Making watercolors appear more saturated is all about the paint-to-water ratio . Experiment with adding more pigment to your brush and less water when you want a bold effect.
As you drop in more paint, make the top of the sky darker and leave the area near the horizon line lighter.
4. Create Texture
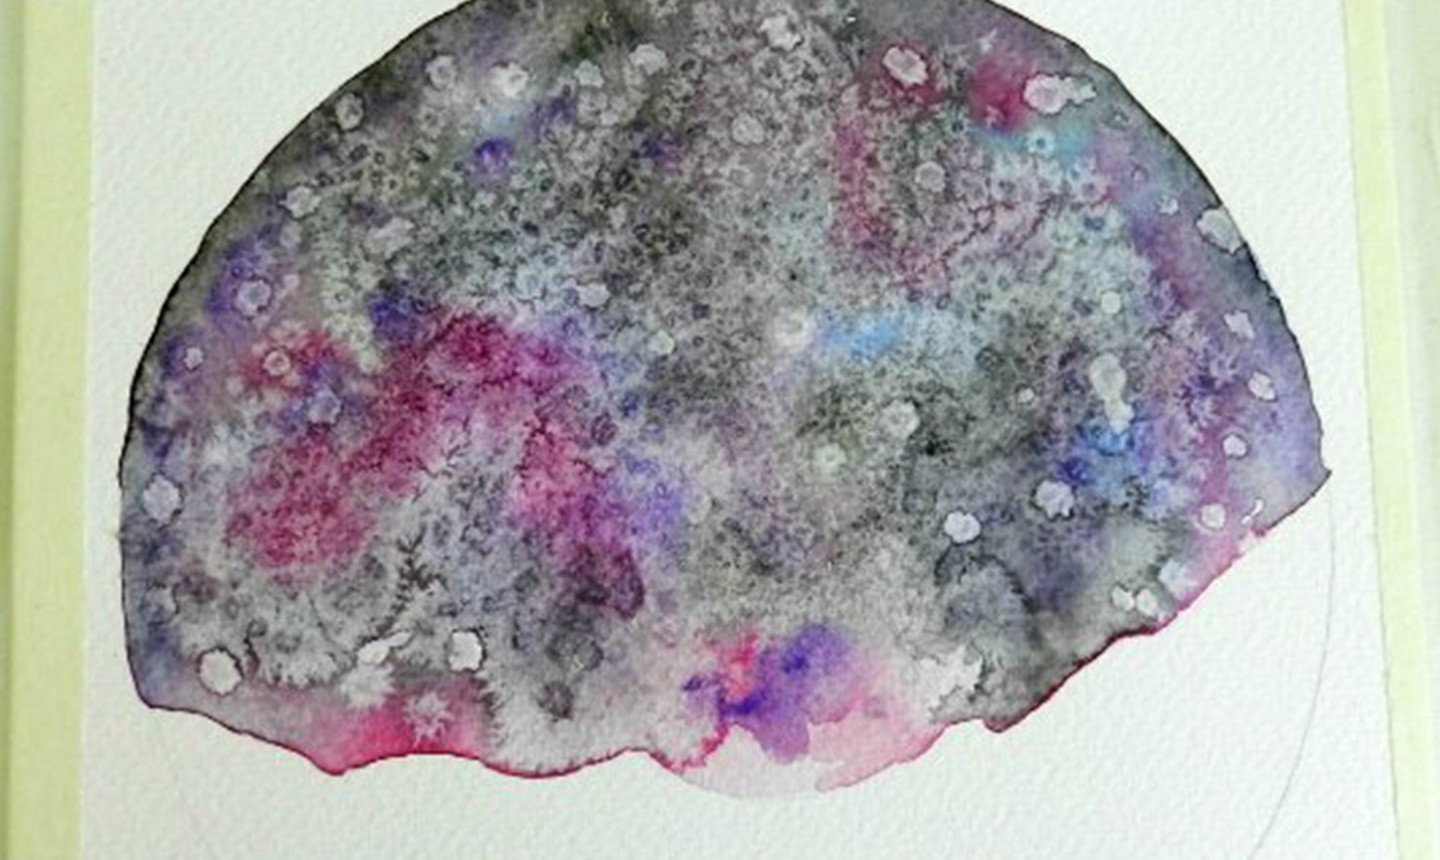
Now for the fun part: adding texture! Using a cotton swab, dab some dots of rubbing alcohol across your wet paint. Rubbing alcohol repels the paint, creating little light spots in your wash.
Then sprinkle salt onto the paint. Now (finally) let your painting dry completely. Once everything is dry, rub the salt off with your fingers. The salt absorbs the water and some of the pigment, leaving crystal-like textures. Don’t they look like little stars?
5. Paint the Horizon
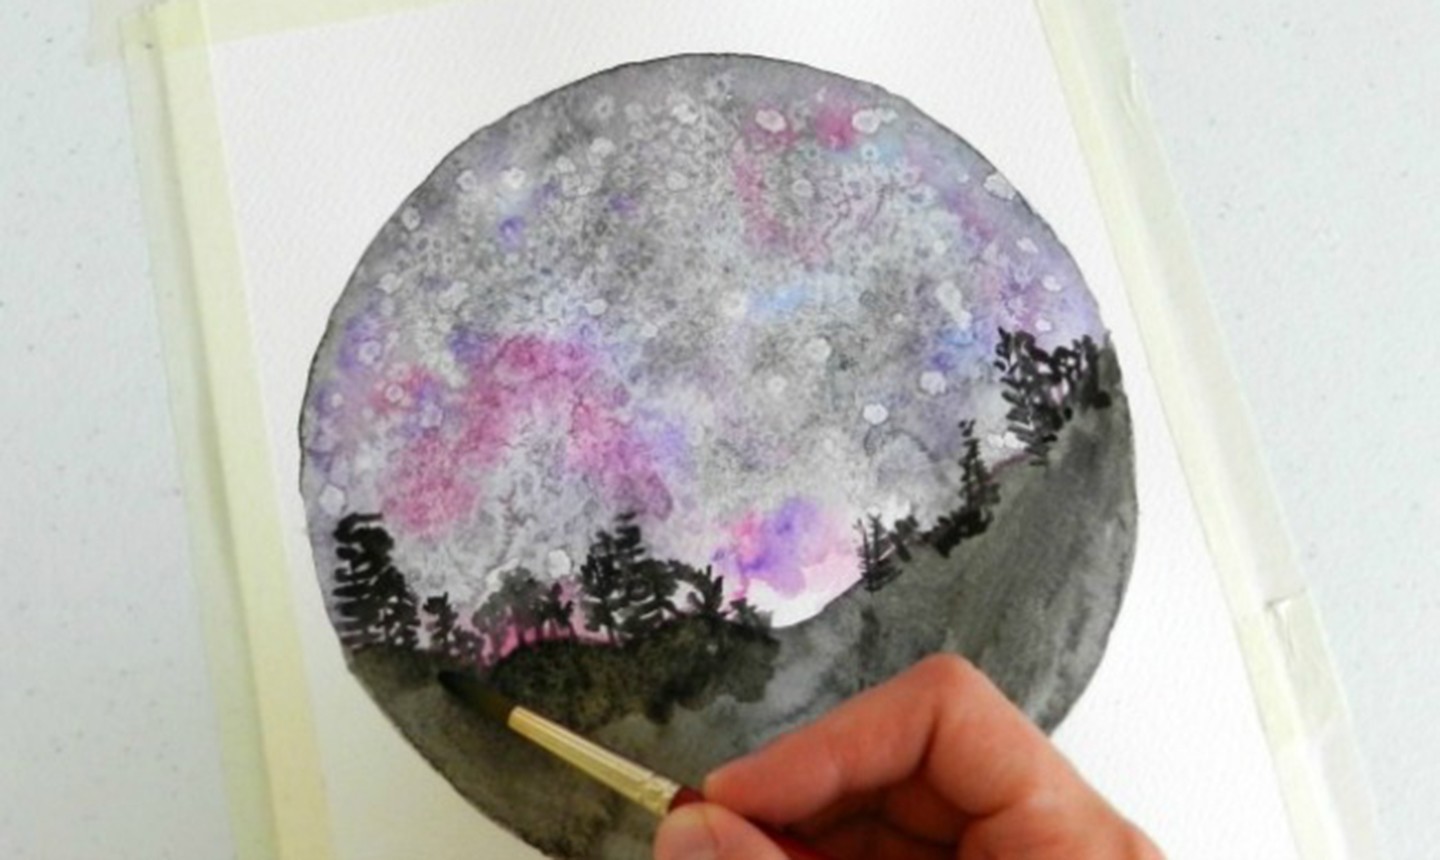
Fill the land underneath the horizon line with black paint. With a fine-tipped brush, create detailed silhouettes along the horizon line. We painted trees, but you can add whatever elements you want.
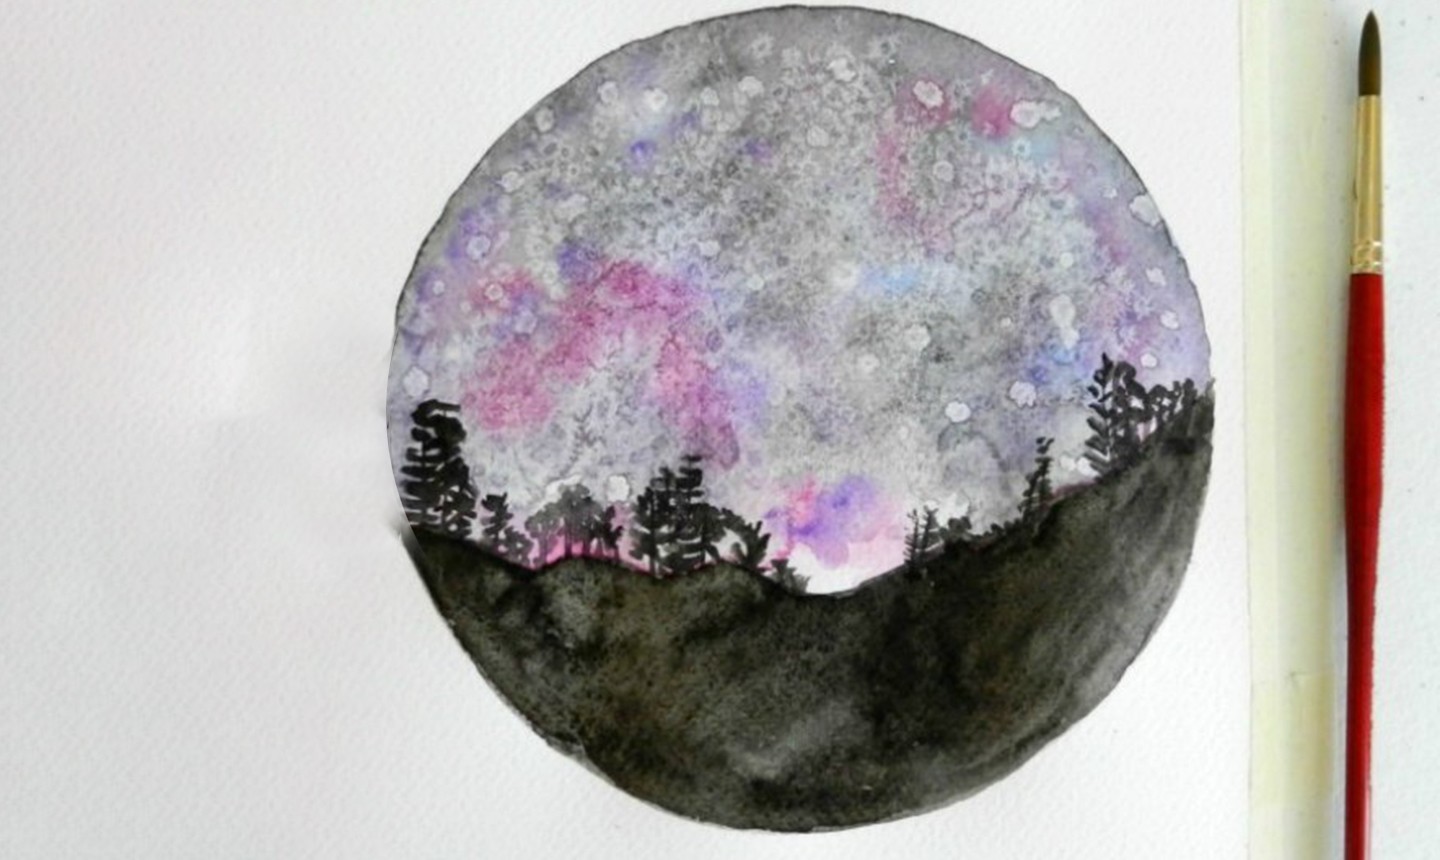
Let your painting dry completely and carefully pull off the tape. Your starry night sky is done!
Instructions for the Cloudy Night Sky
1. Sketch and Tape
Just like in the first tutorial, trace a circle, draw a horizon line and tape your watercolor paper down.
2. Create an Underpainting

Apply watery and light washes of color to the sky inside the circle. We used the colors of a sunset: yellow, orange, pink and purple. While your paint is still wet, use a clean paper towel to gently dab a few places and lift the paint off of the paper. This will leave soft white cloud shapes.
3. Darken the Clouds
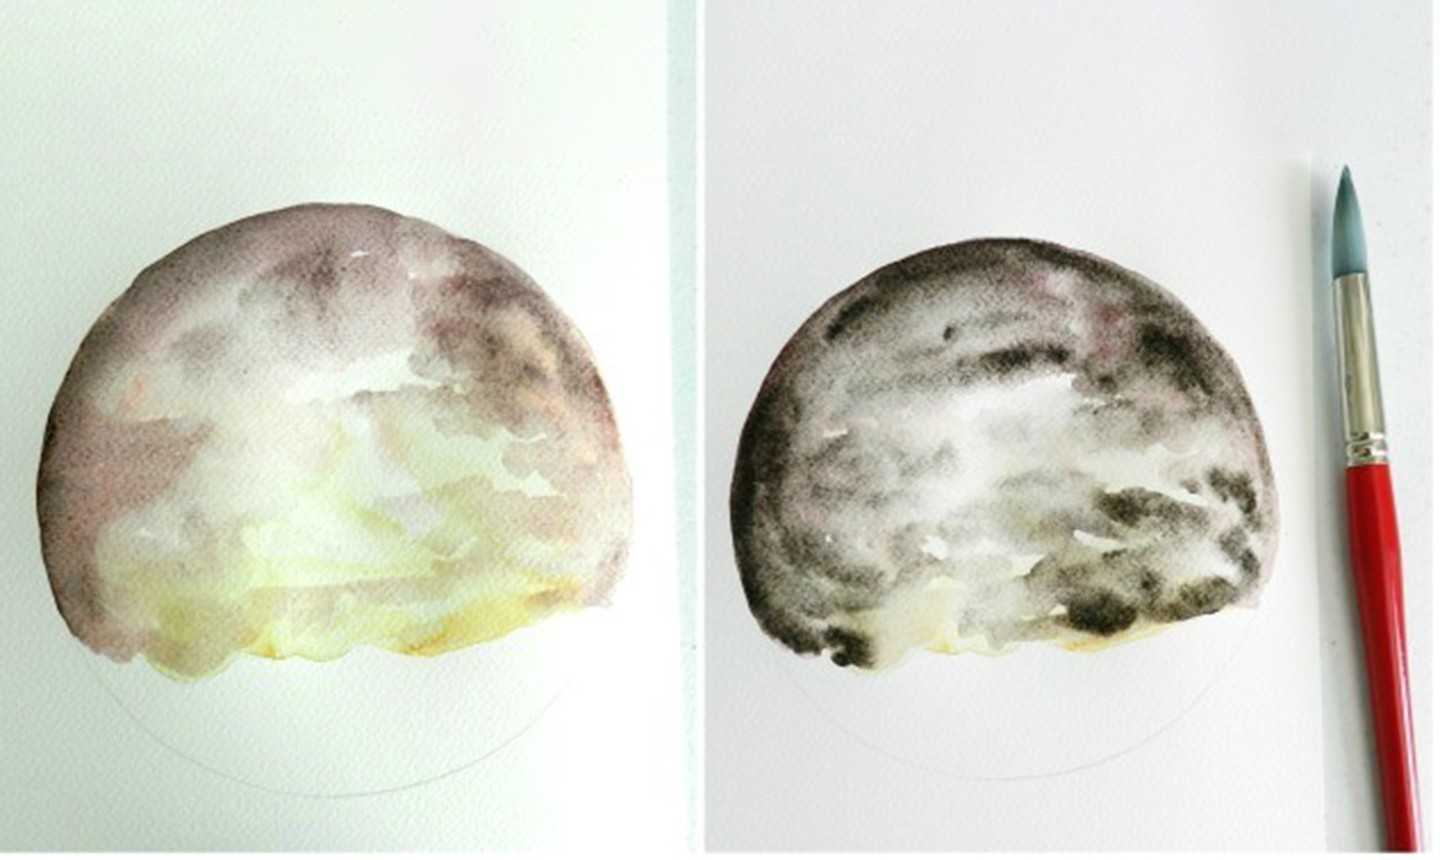
Mix a small amount of black with pink and purple paint, then drop the color in around the edges of the circle. Add some of these shadows around the white cloud shapes, and add a few black clouds as well. Continue adding darker areas and lifting paint until you have a white-cloud-to-black-cloud ratio you’re satisfied with. Make sure to soften the edges as you work so the painting looks natural (there are no hard edges in a cloud!)
4. Paint the Horizon
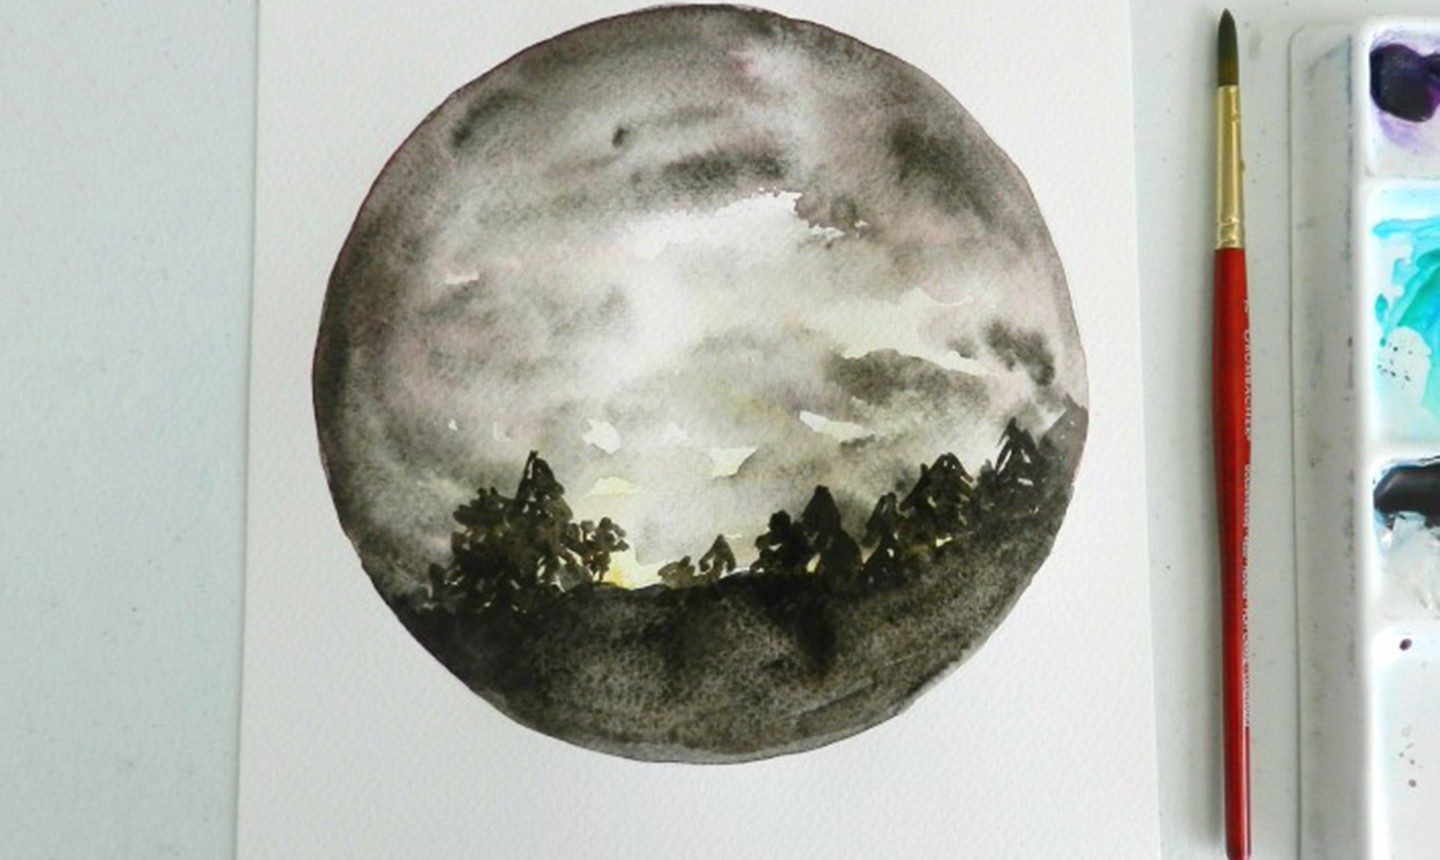
Load your brush with deep black paint and fill in everything below the horizon line. Then paint in your landscape details, like trees. Let your painting dry completely and peel off the tape.
And voila! You can choose the night sky you love the most, or paint them both and make a moody, atmospheric pair!
Looking to get started with watercolors? Check out the class Startup Library: Watercolors below!


Beautiful