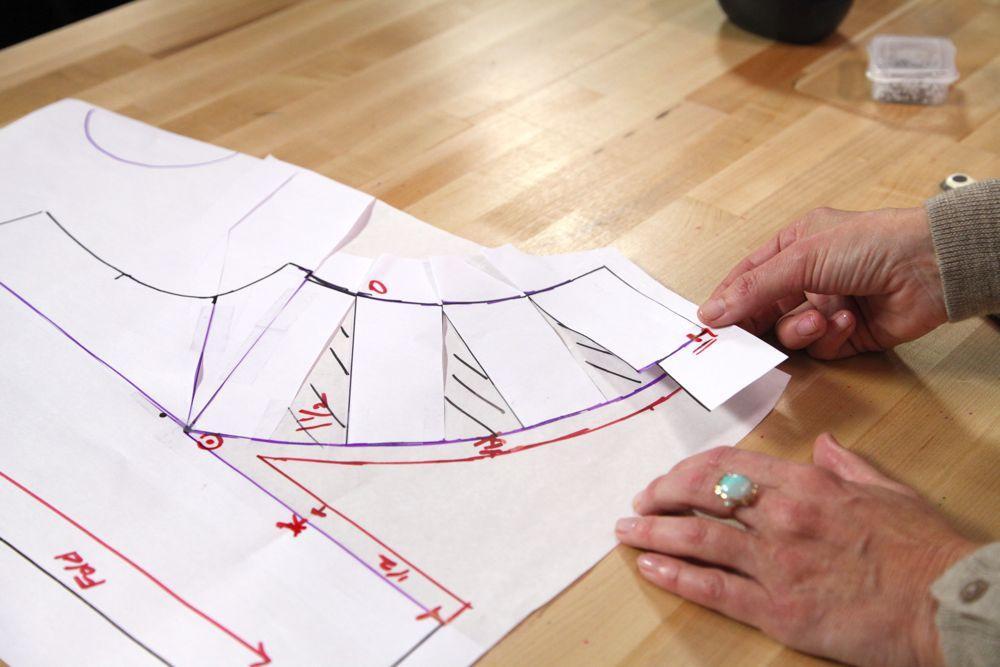
Let's talk about princess seams: They're elegant, glam and totally classic —oh hi, Grace Kelly — and they're an easy way to add a serious dose of style. All you need to do to bring some princess-seam action to your garment is to start with a basic pattern, convert a few darts, and boom! You've just created your own chic, form-fitting design.
How to Use Darts to Add Shape
When the fashion pros design clothes, they typically start with a sloper — a basic pattern made from specific body measurements — and convert it into any look they want.
Darts are a key starting point for making those new looks happen, because they add shaping to a garment and turn flat, two-dimensional pattern pieces into three-dimensional forms. Without darts, there’s no room for curvy body parts or areas that have a little something extra going on, like the bust or hips. Darts let you play fashion designer and make your own princess seams, gathers, tucks, cowls — you name it.
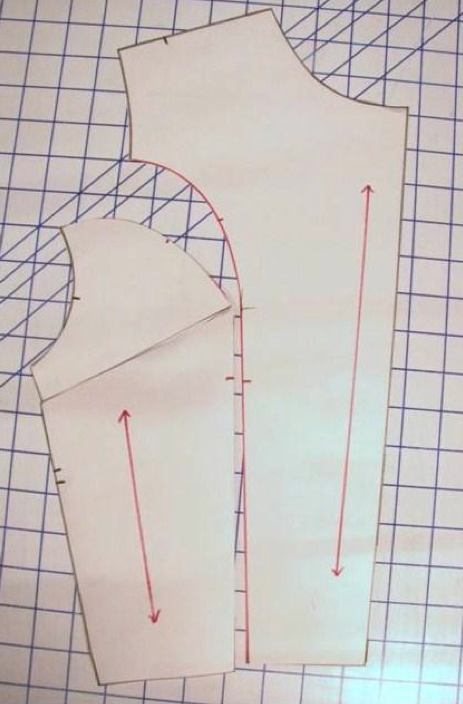
Creating a new look from a basic pattern usually involves moving, converting or adjusting the standard bust and waist darts. The process is actually surprisingly easy (even for beginners). You can move darts from the standard side seam position to the neckline, shoulder line or armhole — and you can convert the same dart into lots of other forms of shaping.
Which brings us back to those fabulous princess seams. Here's a simple tutorial on how to create them just by manipulating a few darts on a pattern.
Note: We'll be showing the technique for turning darts into princess seams that start from the armhole, but the process is the same for ones that begin at the shoulder or neckline.
How to Convert Bust and Waist Darts into Princess Seams
1. Begin with a Basic Sloper-Style Bodice
The bodice you're starting with should have a side bust dart and a waist dart, adjusted to your bust size. You definitely need that if you want to end up with a princess seam that fits you like magic.
2. Extend the Dart Points
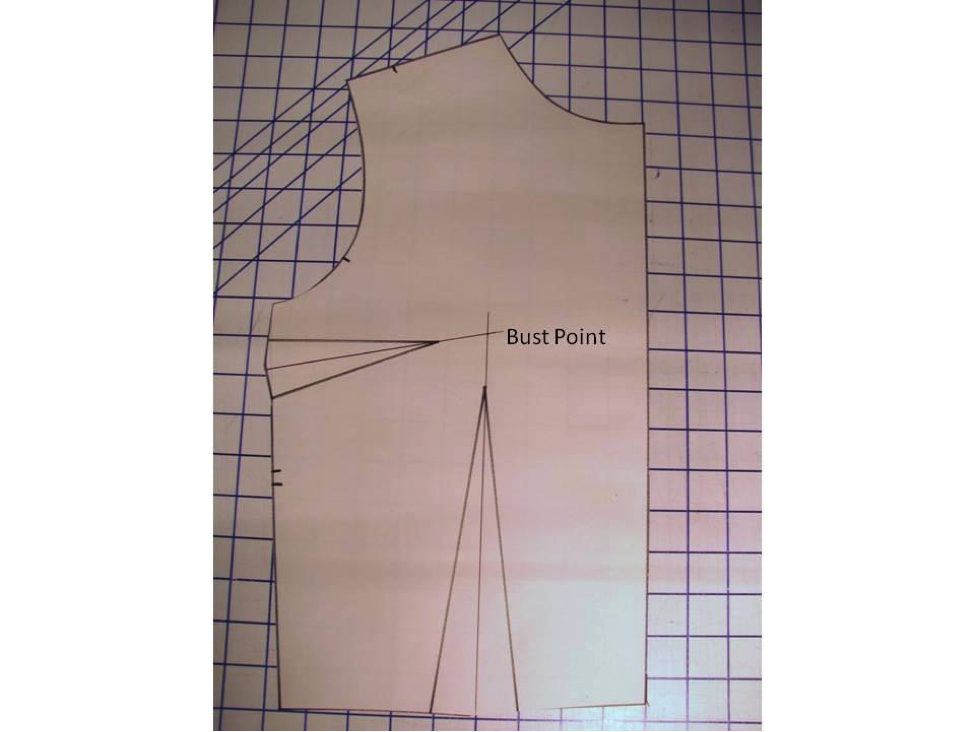
Starting from the center point of each dart at its widest end, extend the dart points until they cross one another. This is the dart point.
3. Make a Line from the Armhole to the Bust Point
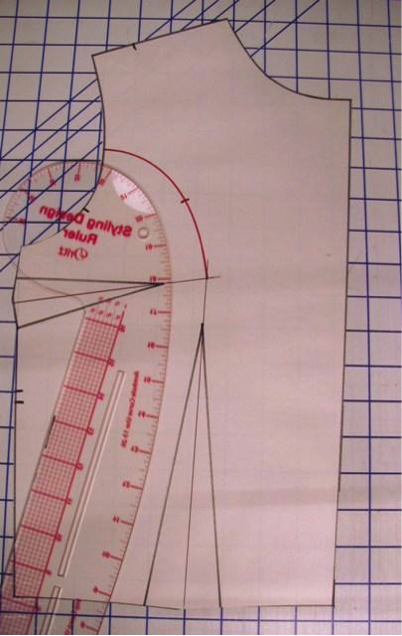
For a princess seam that starts from the armhole, draw a line using a curved ruler from the center of the armhole to the bust point. Now draw a notch or cross line 2" above the dart point. This will help when you're sewing the two sections together.
4. Extend the Princess Seam
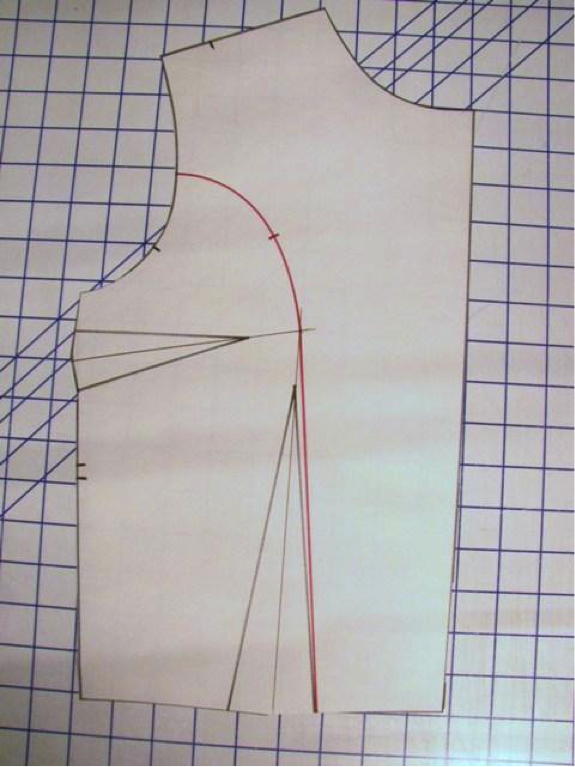
Now you'll extend your new princess seam, going from the bust point to the outer edge line of the waist dart nearest the center front.
5. Cut along the New Princess Line
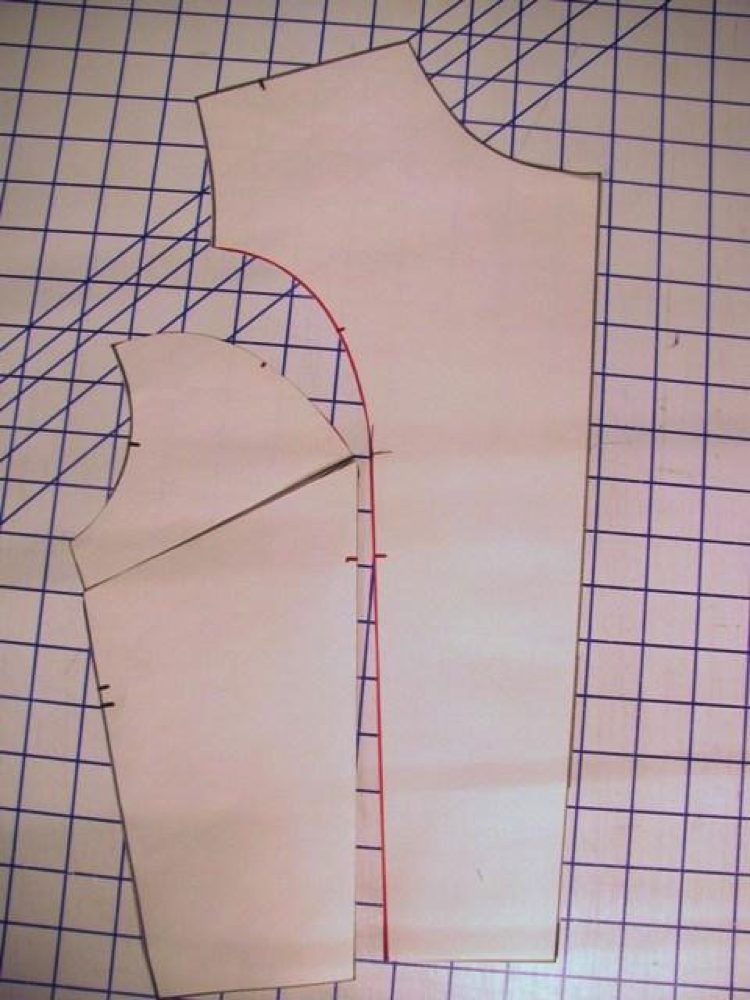
Make your cuts from the armhole to the waist, to create a center front panel and a side front panel.
6. Cut Along the Lower Edge Line of the Bust Dart
Cut to the bust point (not the dart point). Bring the cut edge to the top bust dart leg and tape it in place, leaving a scant ⅛" spread at the bust point.
7. Fold Out or Cut Out the Waist Dart
Go from the bottom wide edge to the bust point (again, not the dart point).
8. Align the Two Pieces Together, Matching the Bust Point
Mark a notch or cross line 2" below the bust point.
9. Add Grainlines to Each Section
For the center front panel, the grainline should be parallel to the center front seam or fold. For the side front panel, the grainline should be perpendicular to the waist edge.
10. Finish Up
Last step: Add seam allowances to both sides of the new princess seam — and you're done!
Looking sleek!

I have a pattern that only has a side bust dart and no waist dart. Can I still use this technique?
Pattern please
Drfating bodic