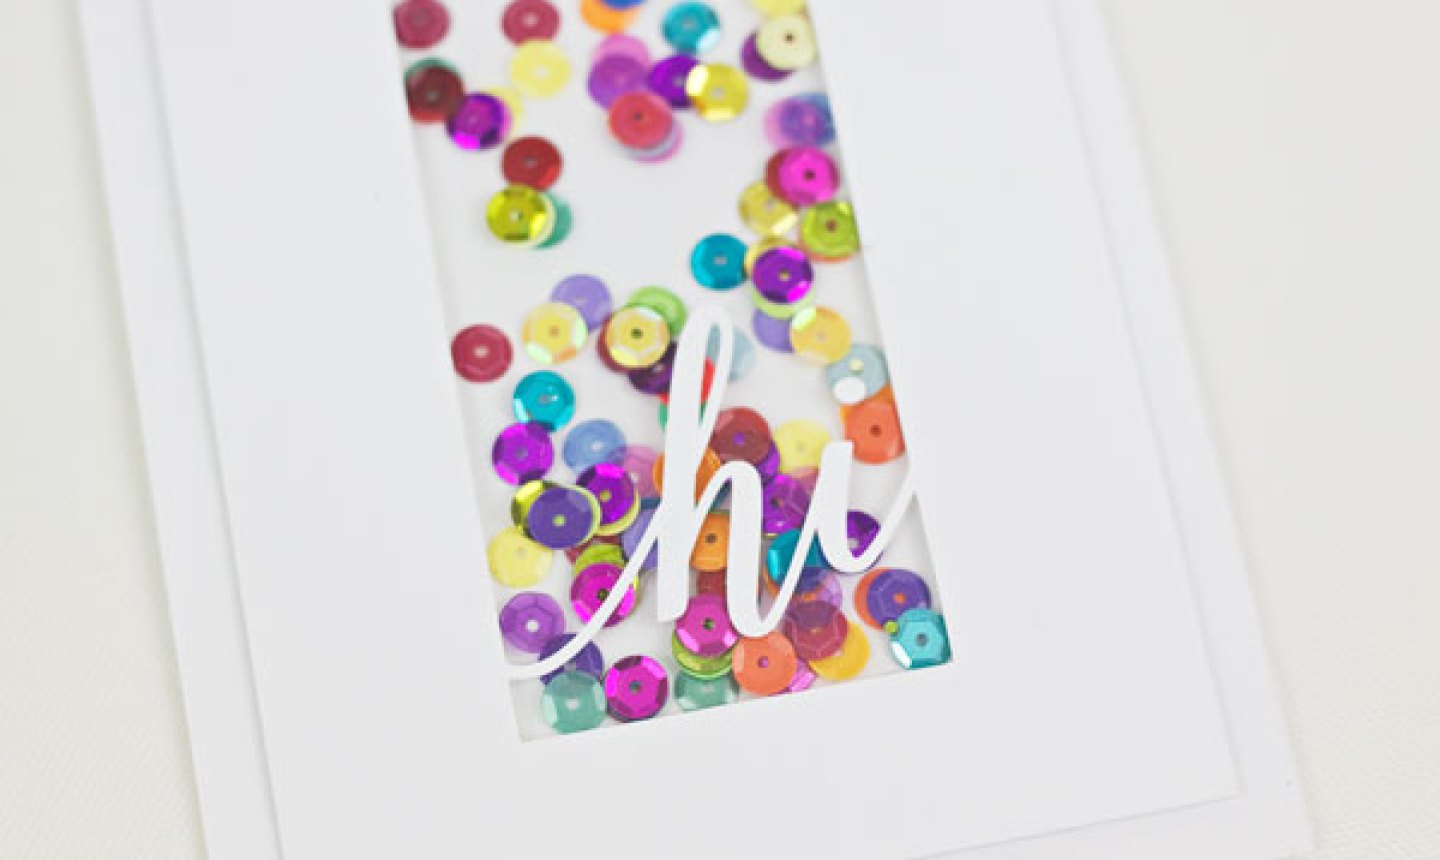
You’ve probably seen these fancy cards in stores — the ones with a little clear window full of sequins, beads or glitter bits that dance around when you give the card a shake. If you’ve ever wondered “could I make that myself?” the answer is most definitely yes! It’s actually really easy.
Shaker Cards
Level: Easy
What You Need
Instructions
1. Cut Out the Front
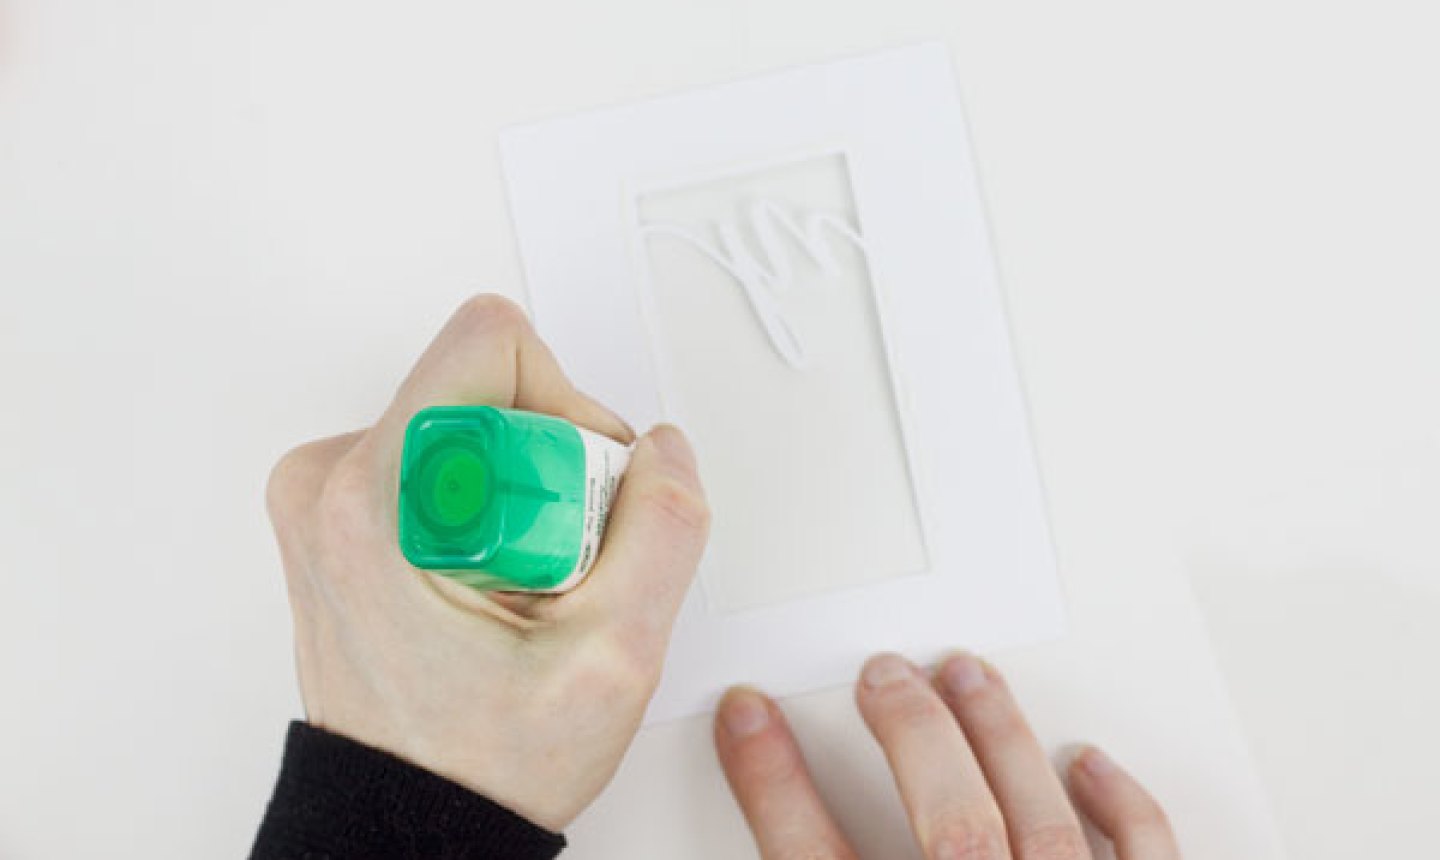
Cut a piece of card stock to match the size of your blank card. Then cut out the window on the card stock with an X-Acto knife. If you want the card to have a cut-out saying (like the “hi” shown here) make this with your X-Acto knife as well. (It’s also totally fine to keep it simple.)
Now line the back of the window cutout with craft glue.
2. Apply the Acetate
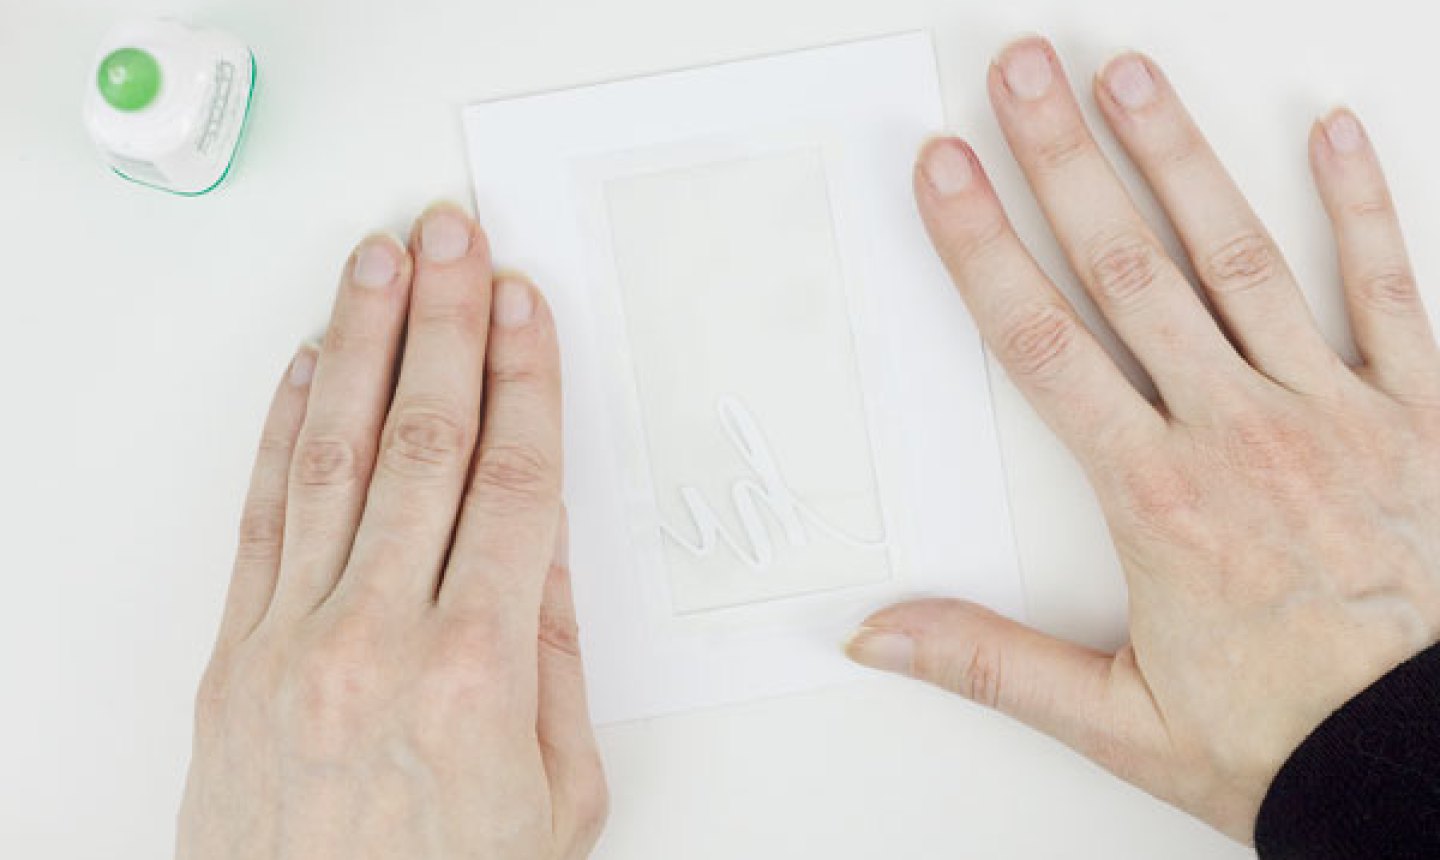
Cut a piece of clear acetate about ½” larger than the window. Center the acetate over the back of the window and adhere it to the card stock.
3. Tape the Card
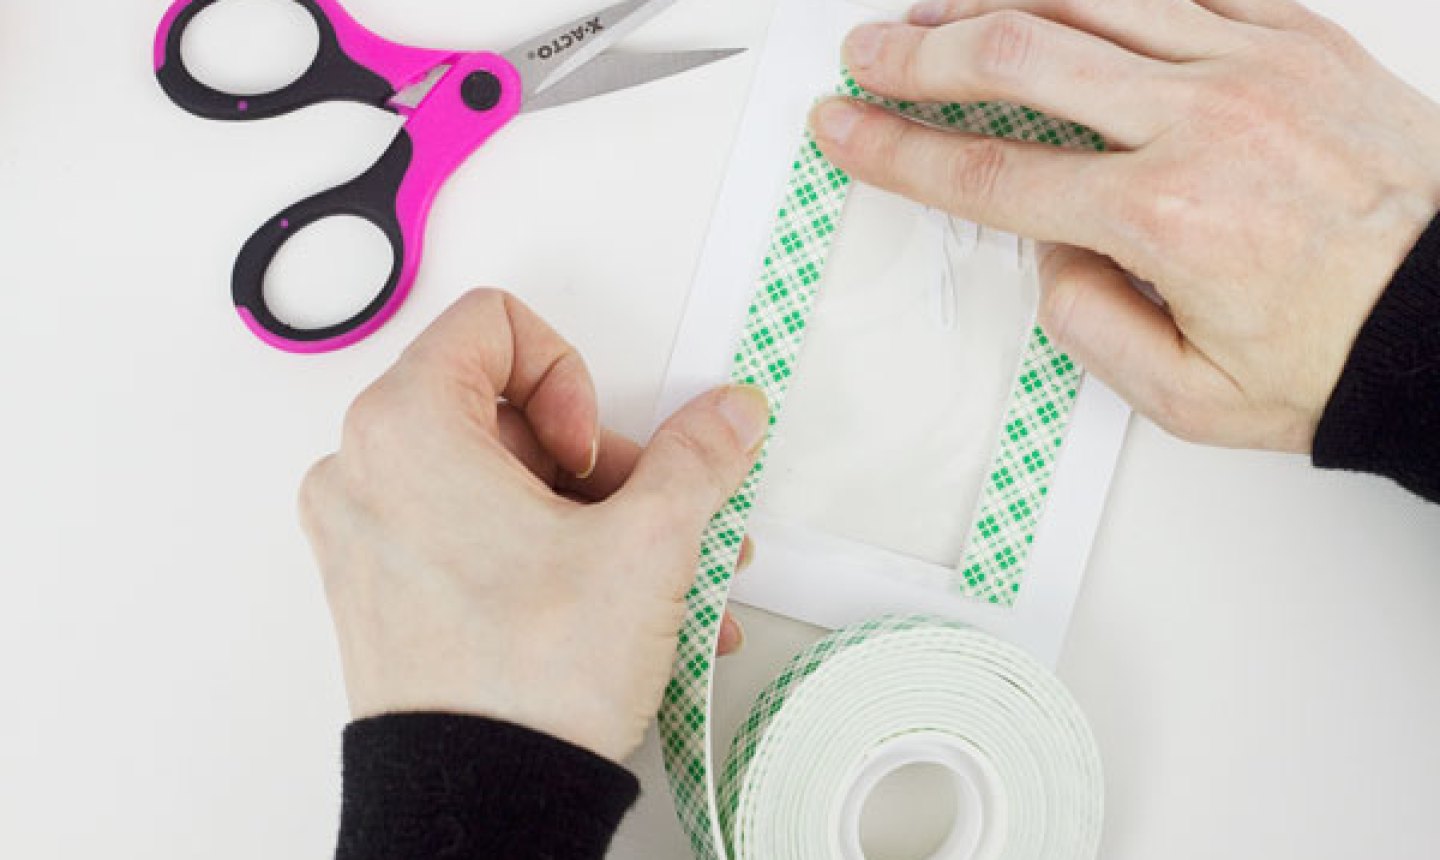
Add foam tape around the entire border of the window, making sure that there aren’t any gaps in the tape where bits of filler could work their way out after the card is assembled.
4. Add the Filler

Add some shaker fill in the center, then remove the backing from the foam tape.
5. Secure the Back
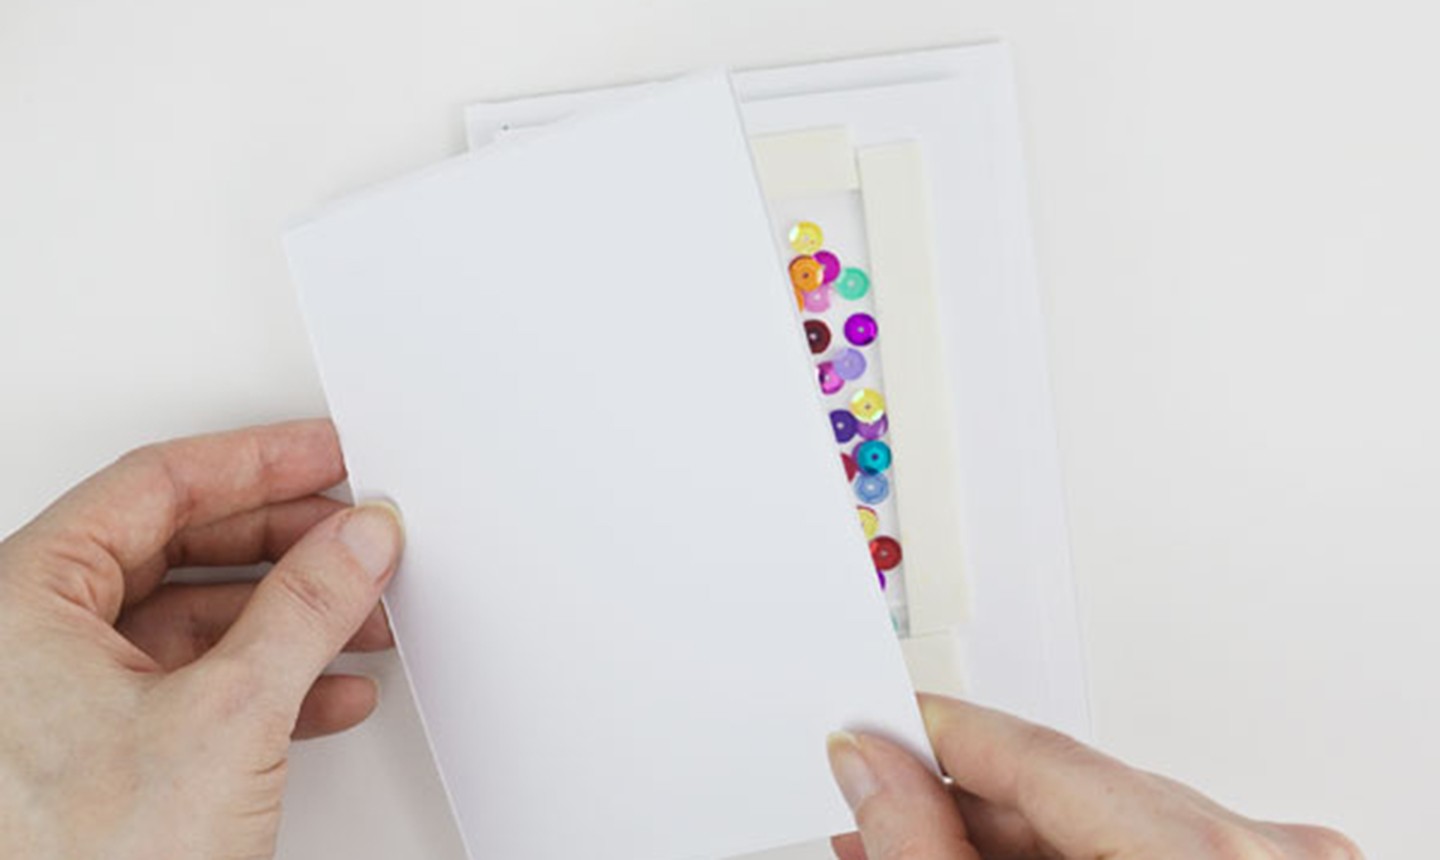
Line up the blank card with the window assembly and press down to seal the shaker cut out to the front of the card. Now just write your message, slip it in an envelope, and get ready for the recipient to be seriously impressed!

Pretty cute