 Photos via Oh Everything Handmade
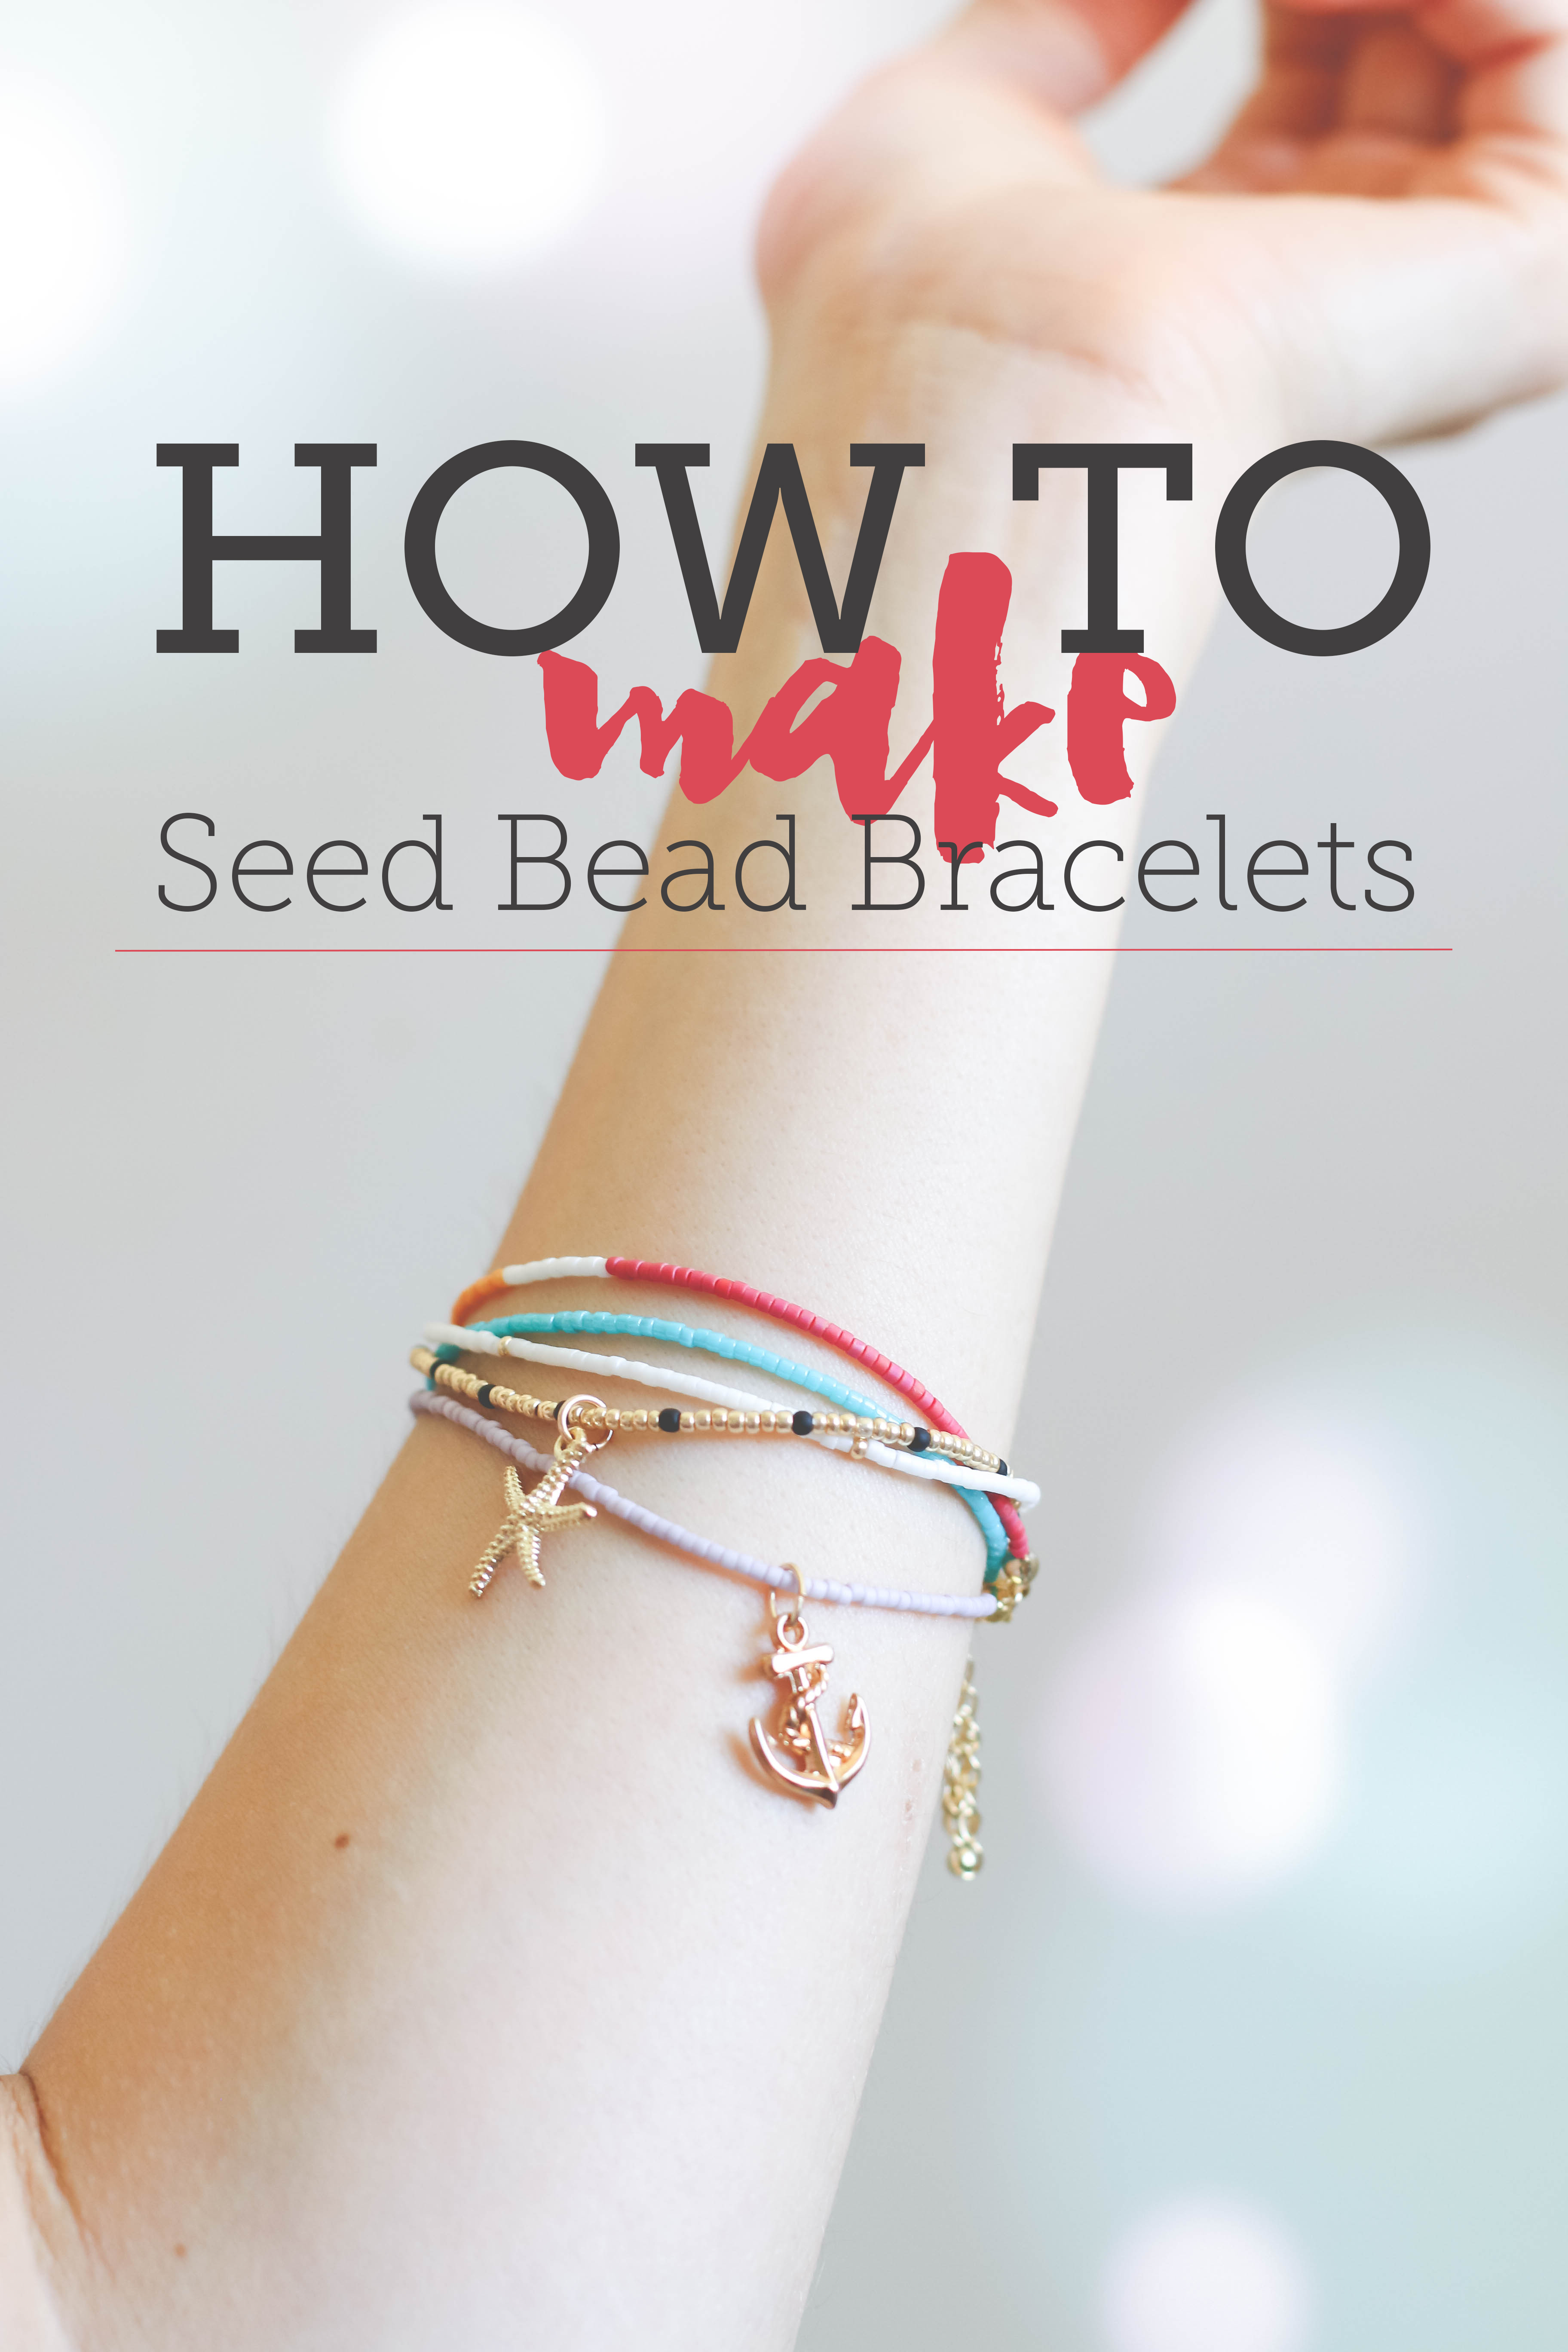
Master Essential Seed Bead Techniques!
Seed bead bracelet tutorial
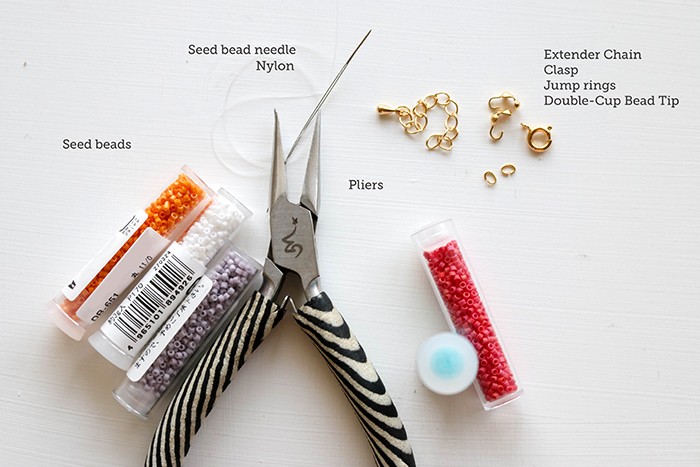
Materials needed:
- 3–4 different colored seed beads, size 11/0
- 1 seed bead needle
- Jewelry nylon
- 1 extender chain
- Clasp
- Jump rings
- Double-cup bead tip
- Charms (optional)
- Pliers
Step 1:
Cut a piece of 13–14″ nylon string, thread the needle on and slide it to the center.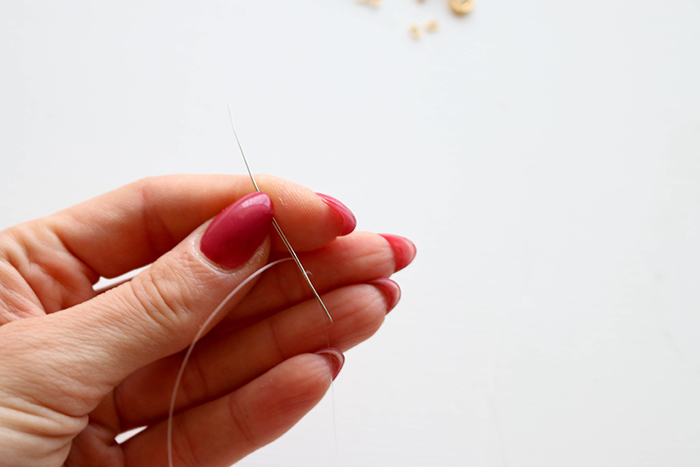
Step 2:
At the end of the string, make a double knot.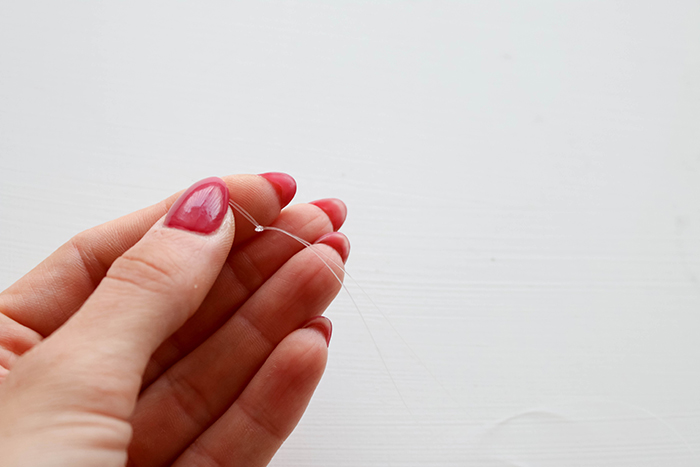
Step 3:
Add a double-cup bead tip to the end.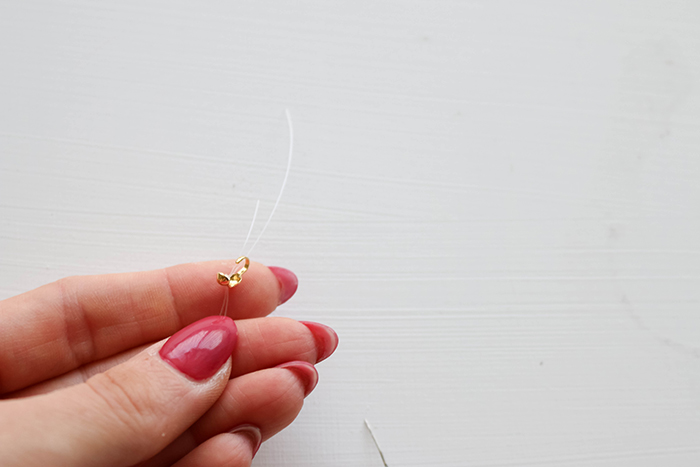
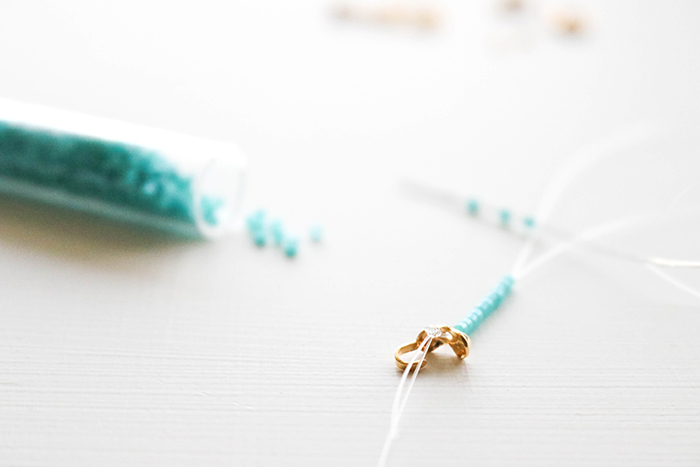
Step 4:
Measure your wrist and start threading on the seed beads; stop once you reached your desired length.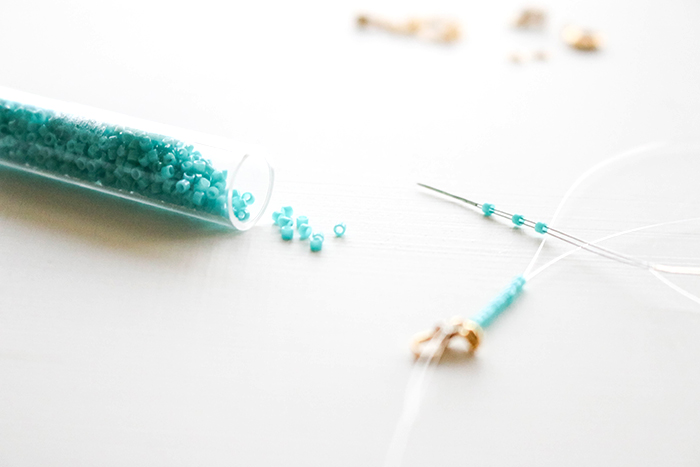
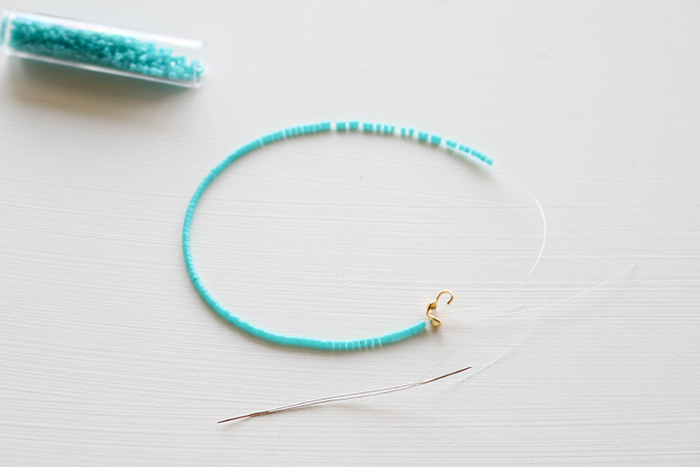
Step 5:
When the bracelet is long enough, add the second double-cup bead tip and make a double knot again.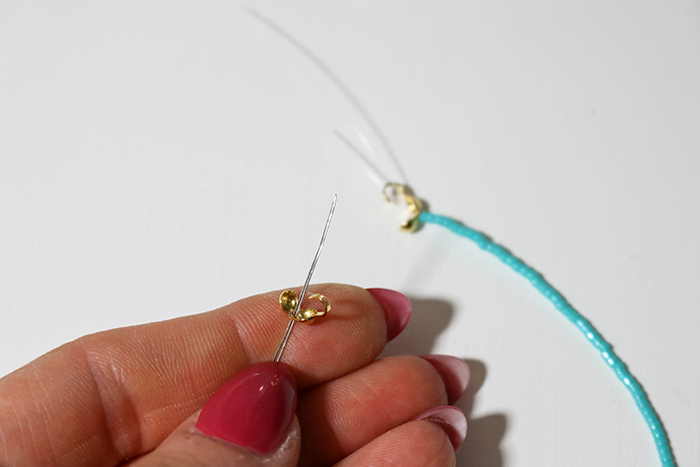
Step 6:
Finish the bracelet by closing the double-cup bead tips and adding all findings and charms. I recommend to use 2–3 strings per clasp — otherwise, the bracelet will look too chunky at the ends. Or if you don’t want to add an extender chain, you can have all bracelets close with their own clasp.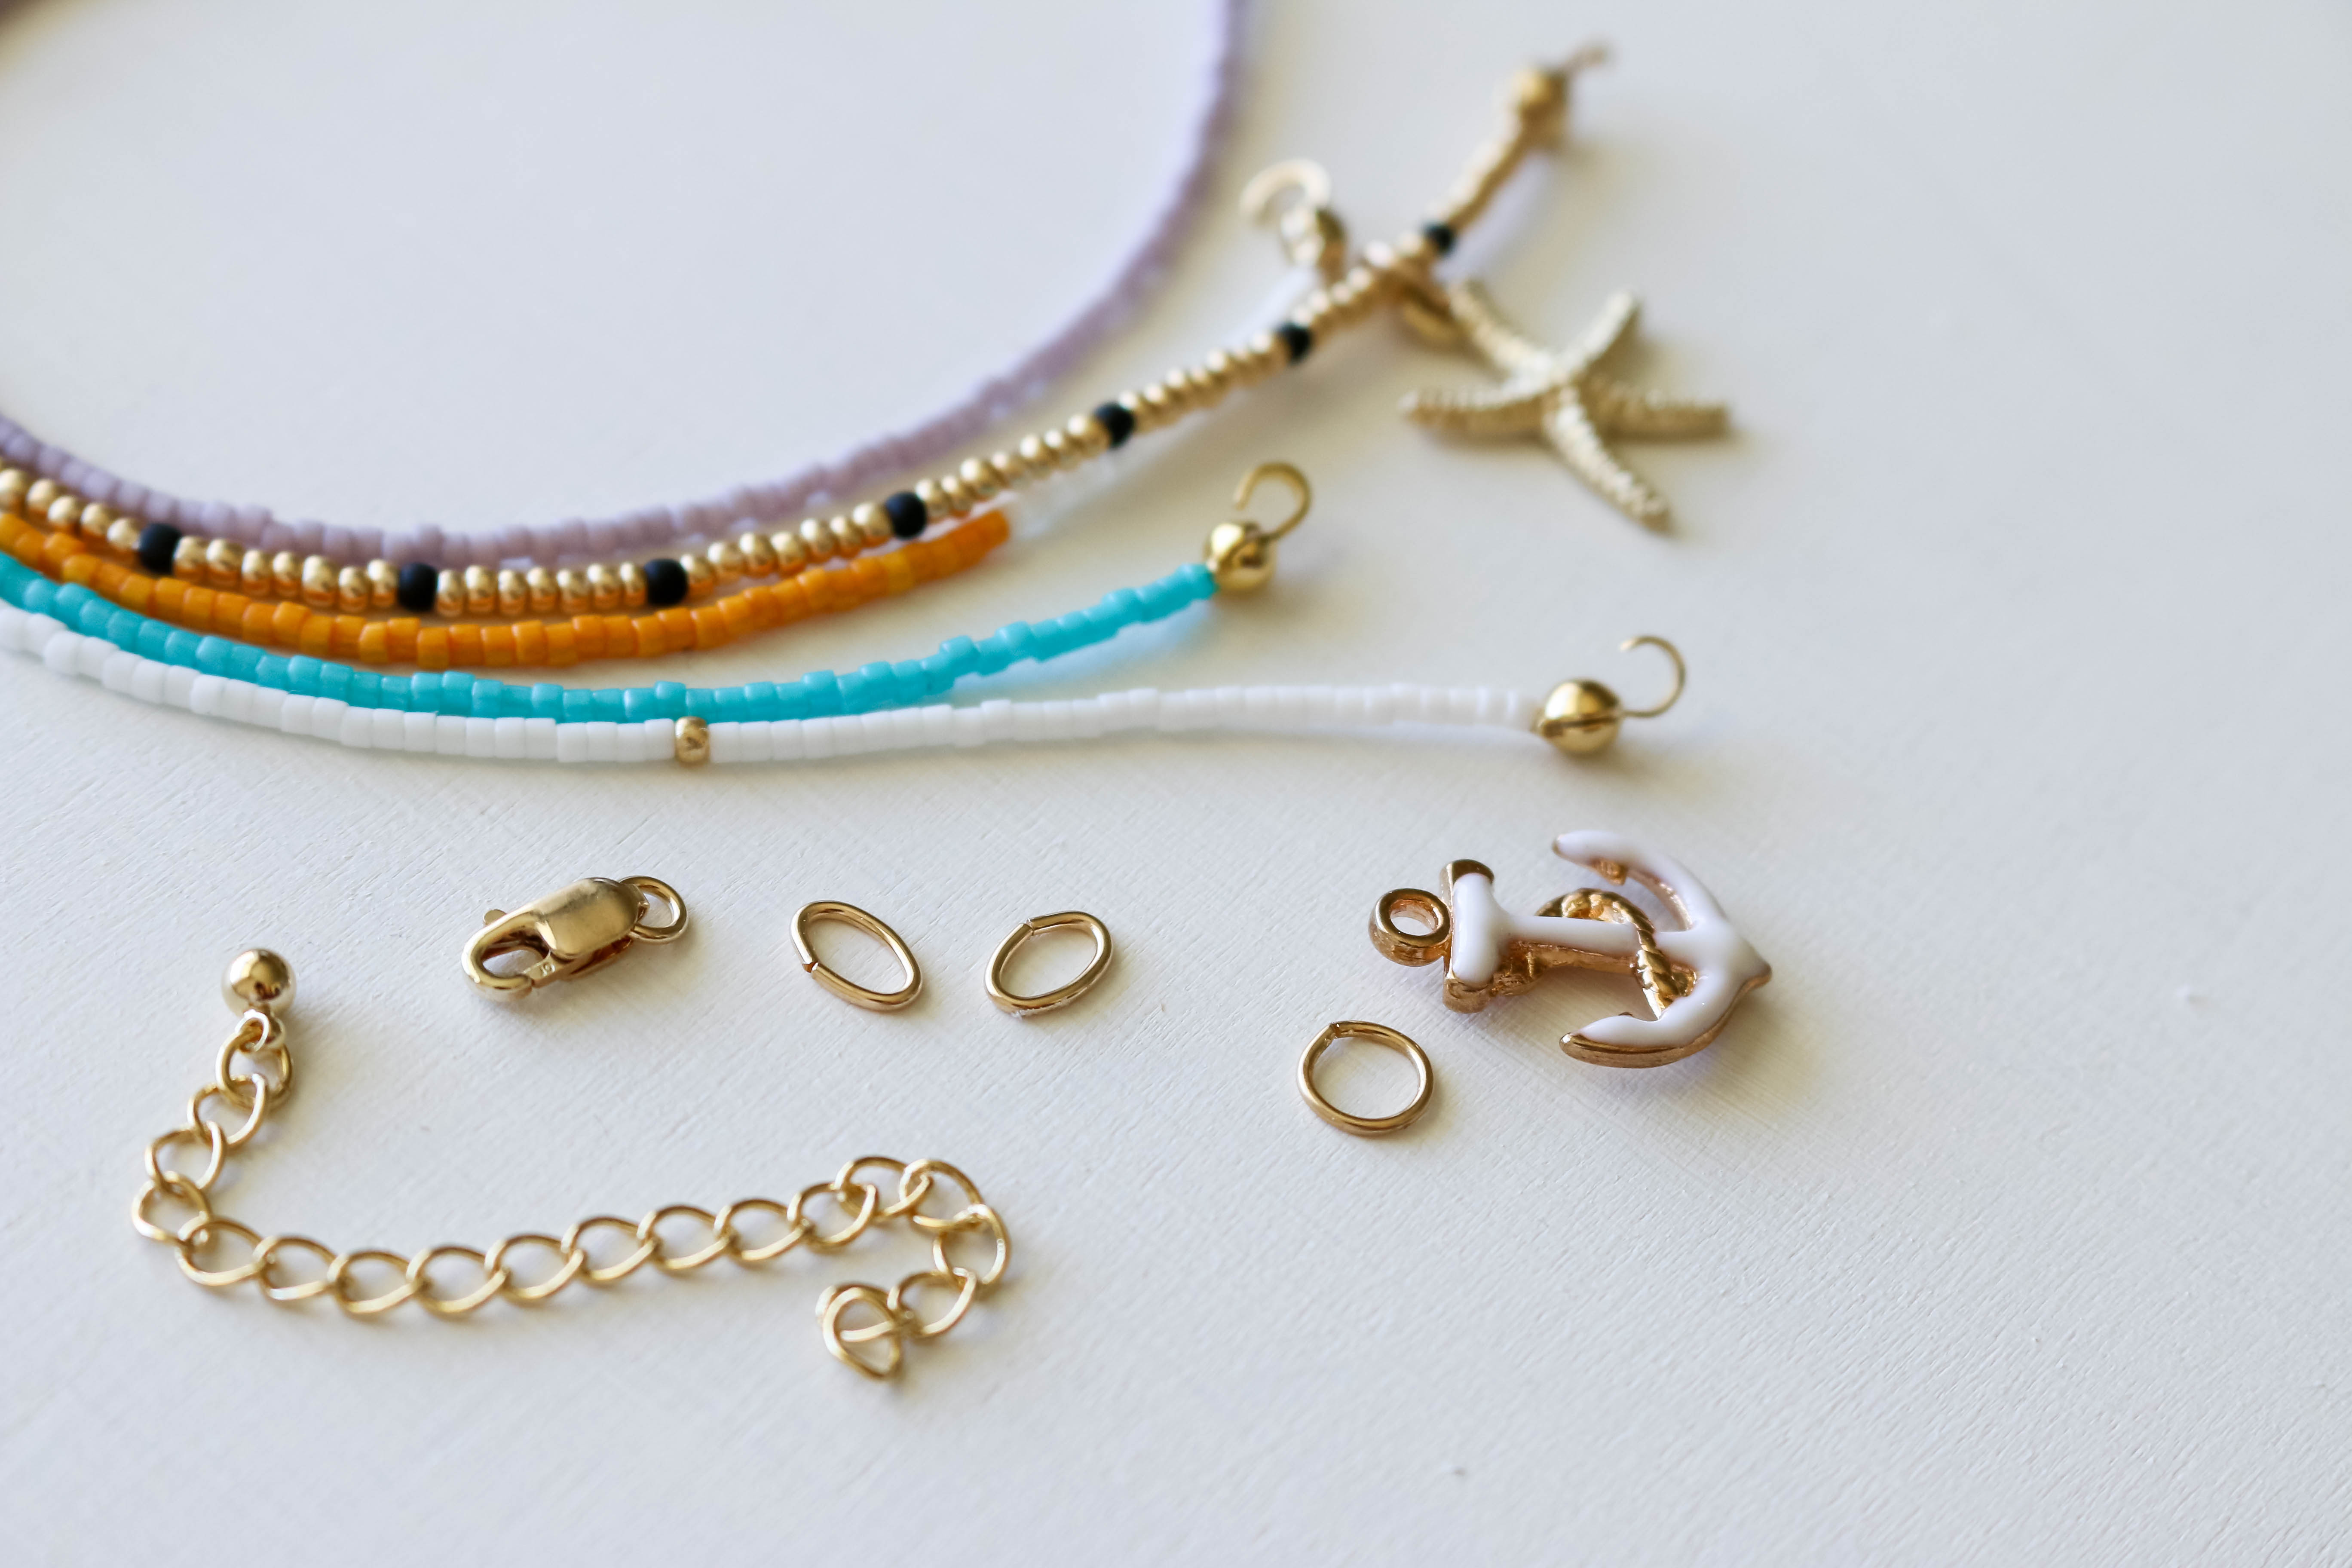
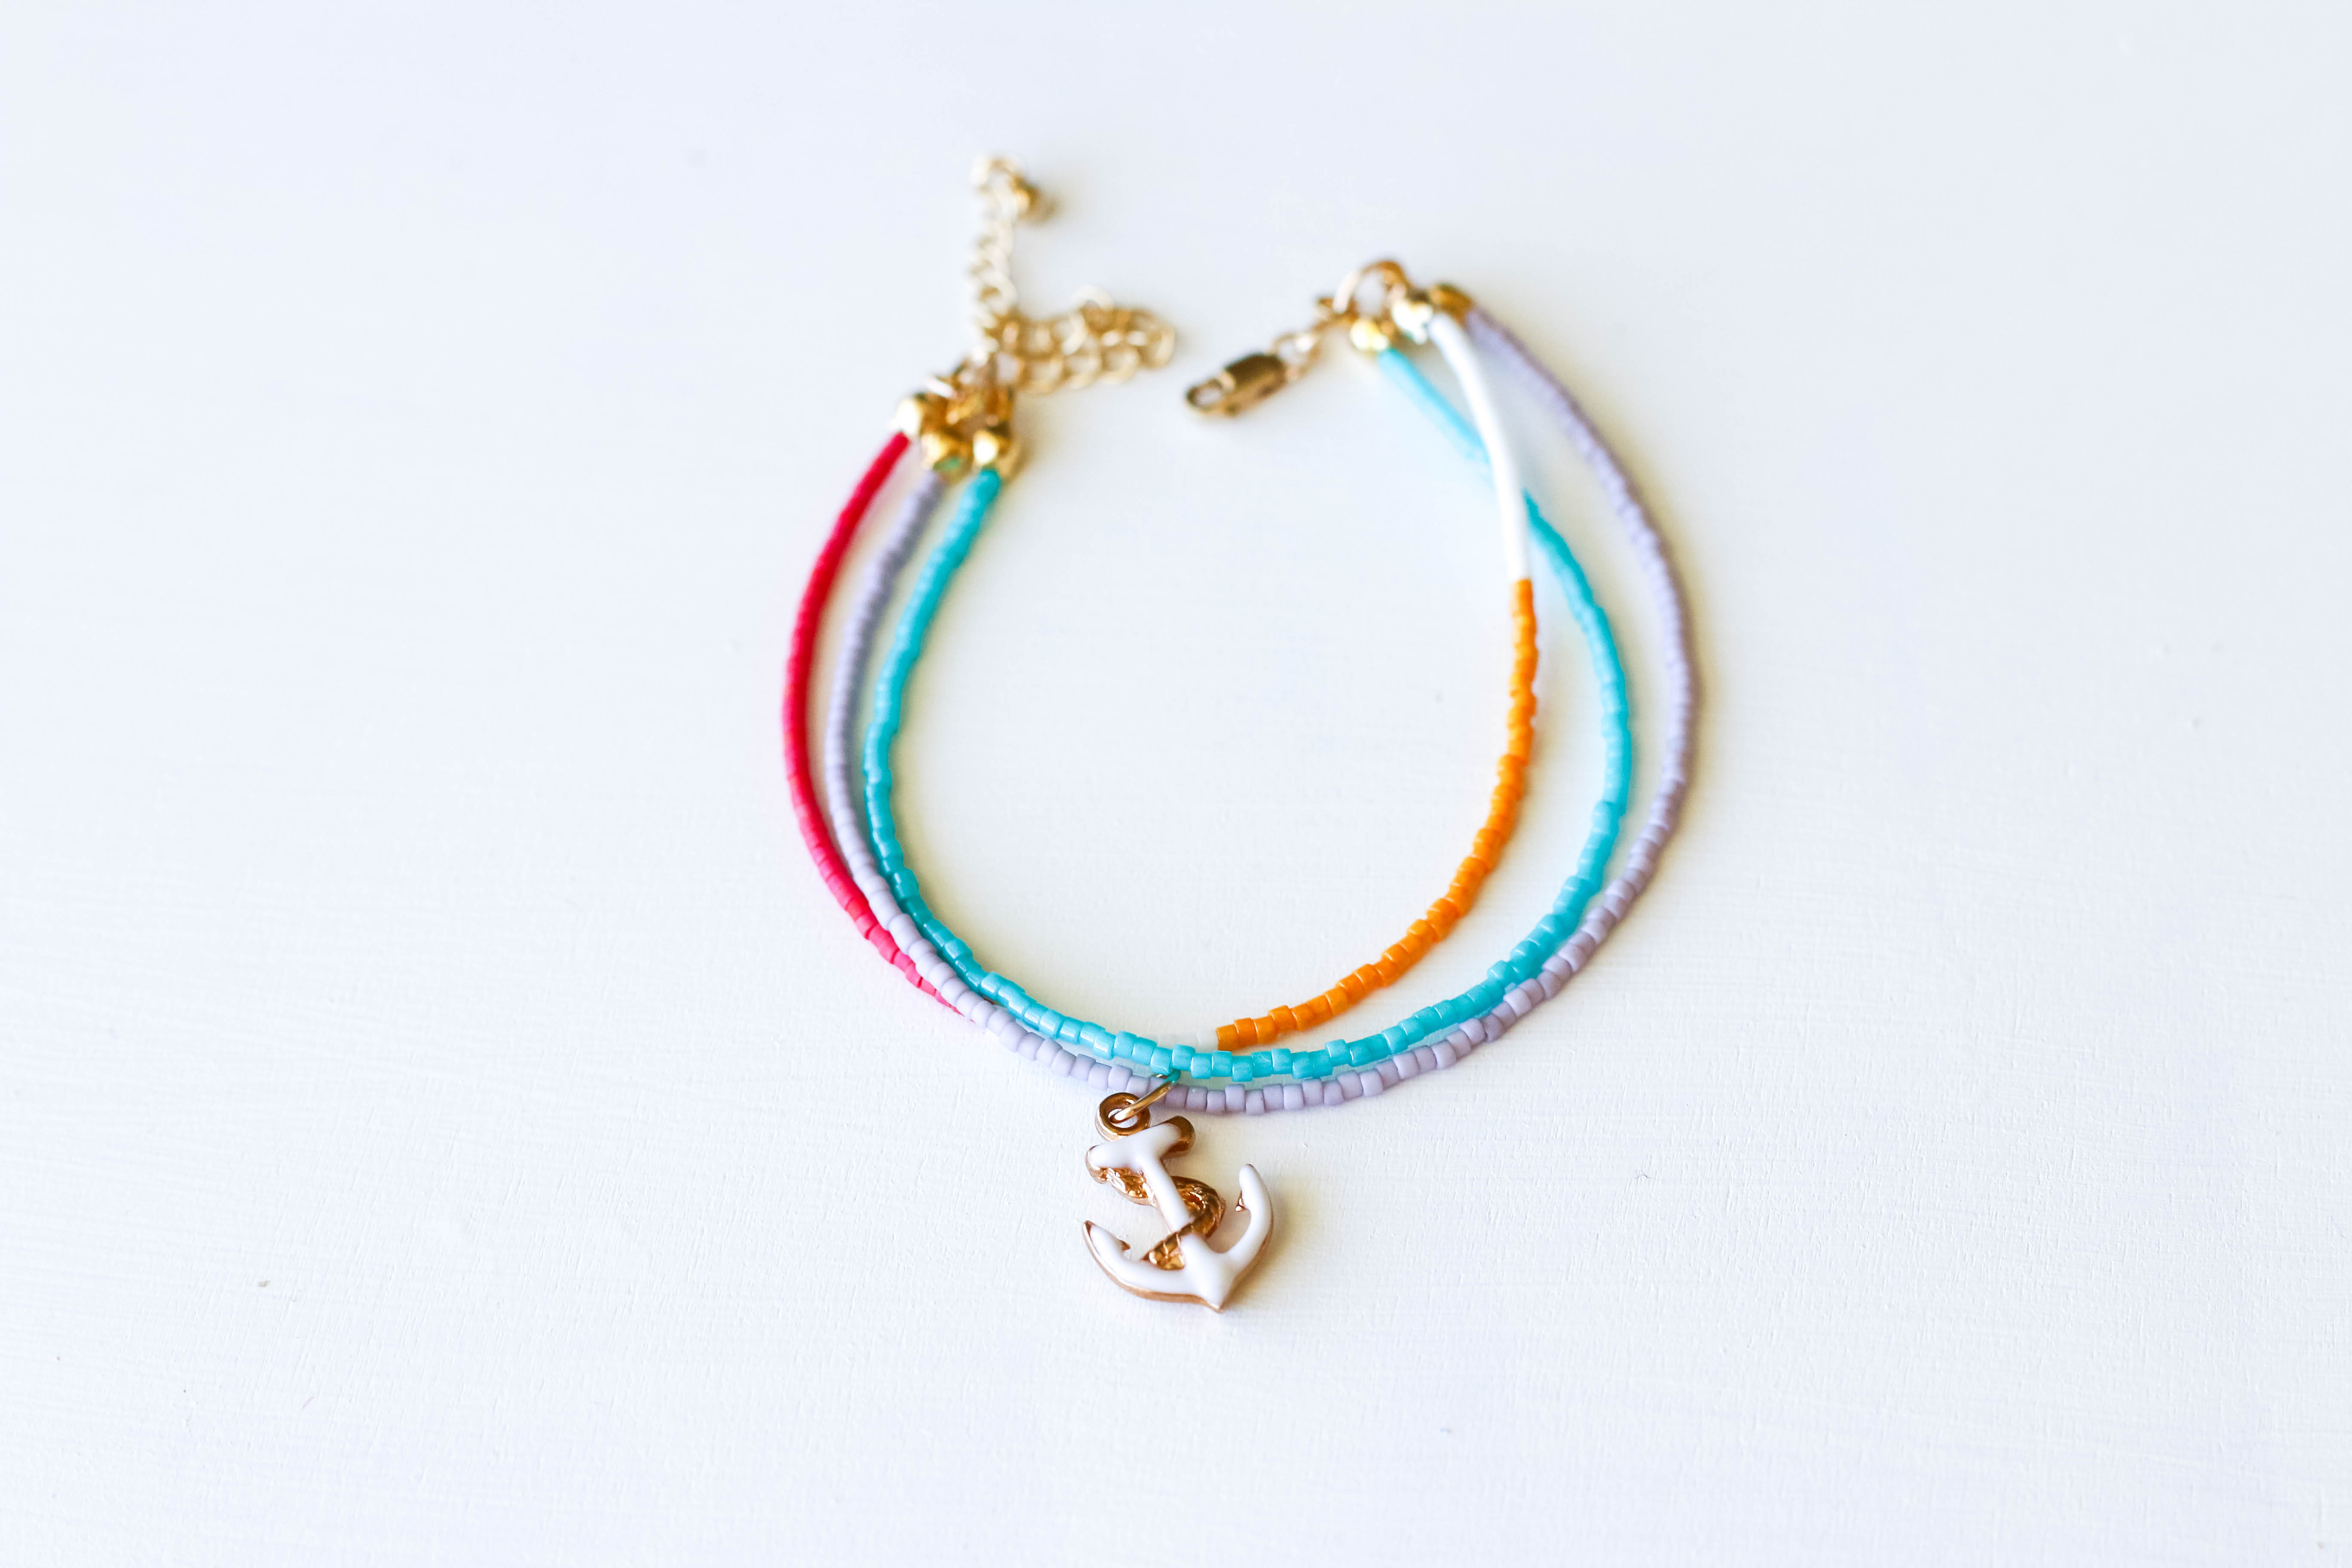 That’s all there is to it! I hope you enjoyed this quick tutorial on how to make seed bead bracelets.
Master Essential Seed Bead Techniques!
What makes online Craftsy classes great?

Learn for life! With lifetime access to your classes, you can watch lessons at your preferred pace and easily revisit your favorite concepts with just a click.

Kick up your feet! Enjoy classes anytime from the convenience of your home or even on-the-go with our mobile apps.

Get personalized guidance! Ask your instructor questions to receive all the answers and feedback you need to succeed.

Love it! There’s no risk in trying with our 100% money back guarantee.
Want to get more beading tips.
Want to learn more tips.
Jewellery
<strong>Ticket 43774 What size nylon thread are you using to make these bracelets?
No web site
What do you do with the cain and how to ad the other strings? not as clear as other tutorials I have seen
Please provide a photo that clearly shows how you have the chain and clasp attached. It’s blurry there on this final photo.
Do u conduct classes also?
Where can I get so these materials
Looks so easy