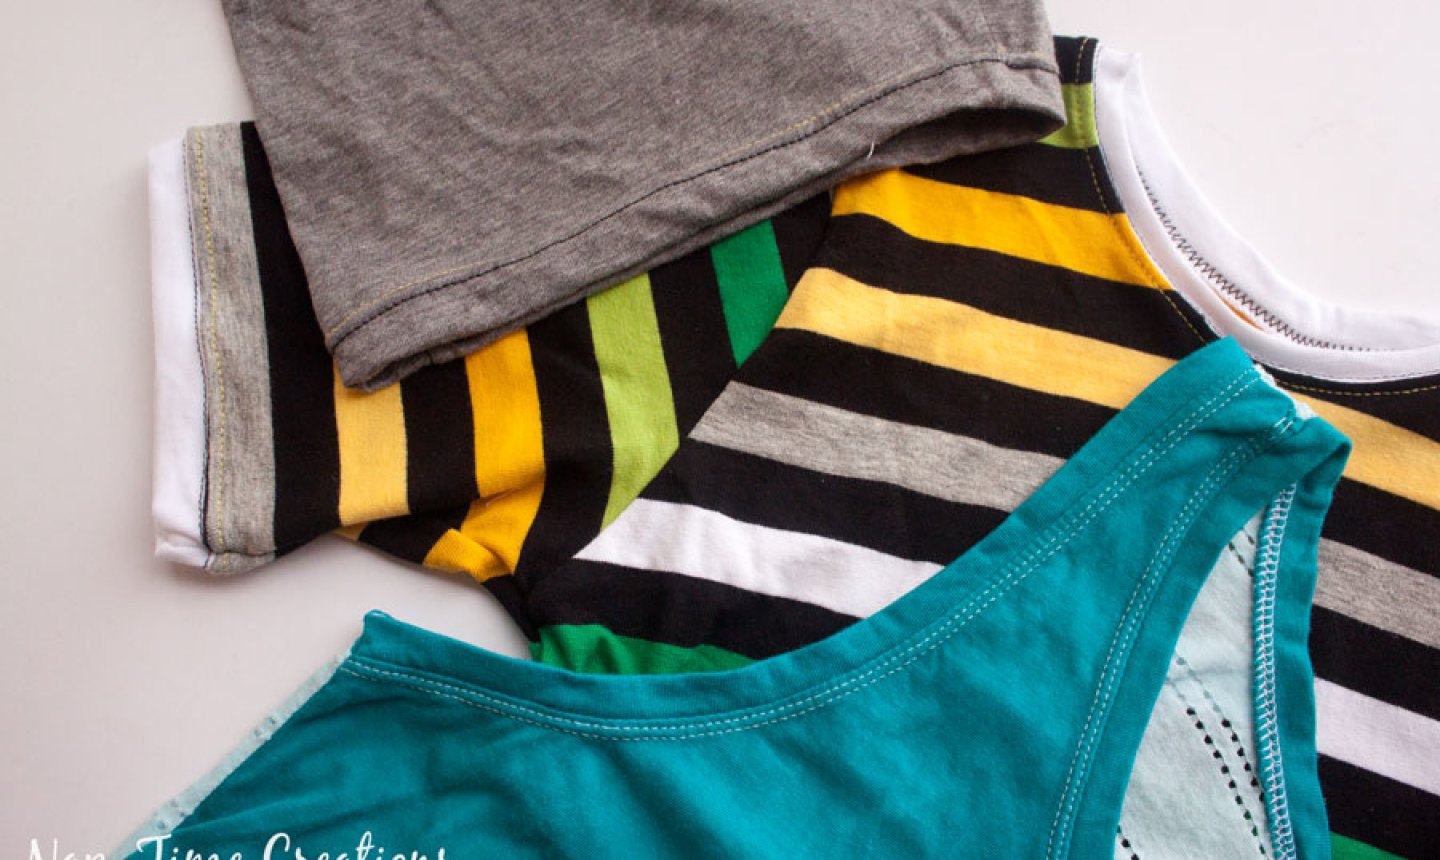
Finishing and binding knit edges may seem tricky, but once you get the hang of how to make a binding with knit fabric, you'll want to bind everything with knits.
I'll show you several ways to making a binding with knit fabric — some straightforward and some more advanced. You can add bindings as necklines, sleeve and pant cuffs, bottom of shirts, short sleeve bindings and I'm sure more that I've not even thought of.
Measuring and cutting your binding
To determine the length of your binding fabric, measure the opening you plan to bind. Calculate 80-90 percent of that number — that's how long you'll cut your binding fabric.
If my binding fabric is really stretchy (like a ribbed knit), I usually cut close to 80 percent. If my fabric is not so stretchy (like jersey), then I cut at the 90 percent length.
I like to cut my width between 1¼" and 2" for all projects.
Here's an example:
Let's say you're binding a neckline that measures 20" in length. The binding fabric will be between 16" and 18" long (80 percent and 90 percent of 20", respectively).
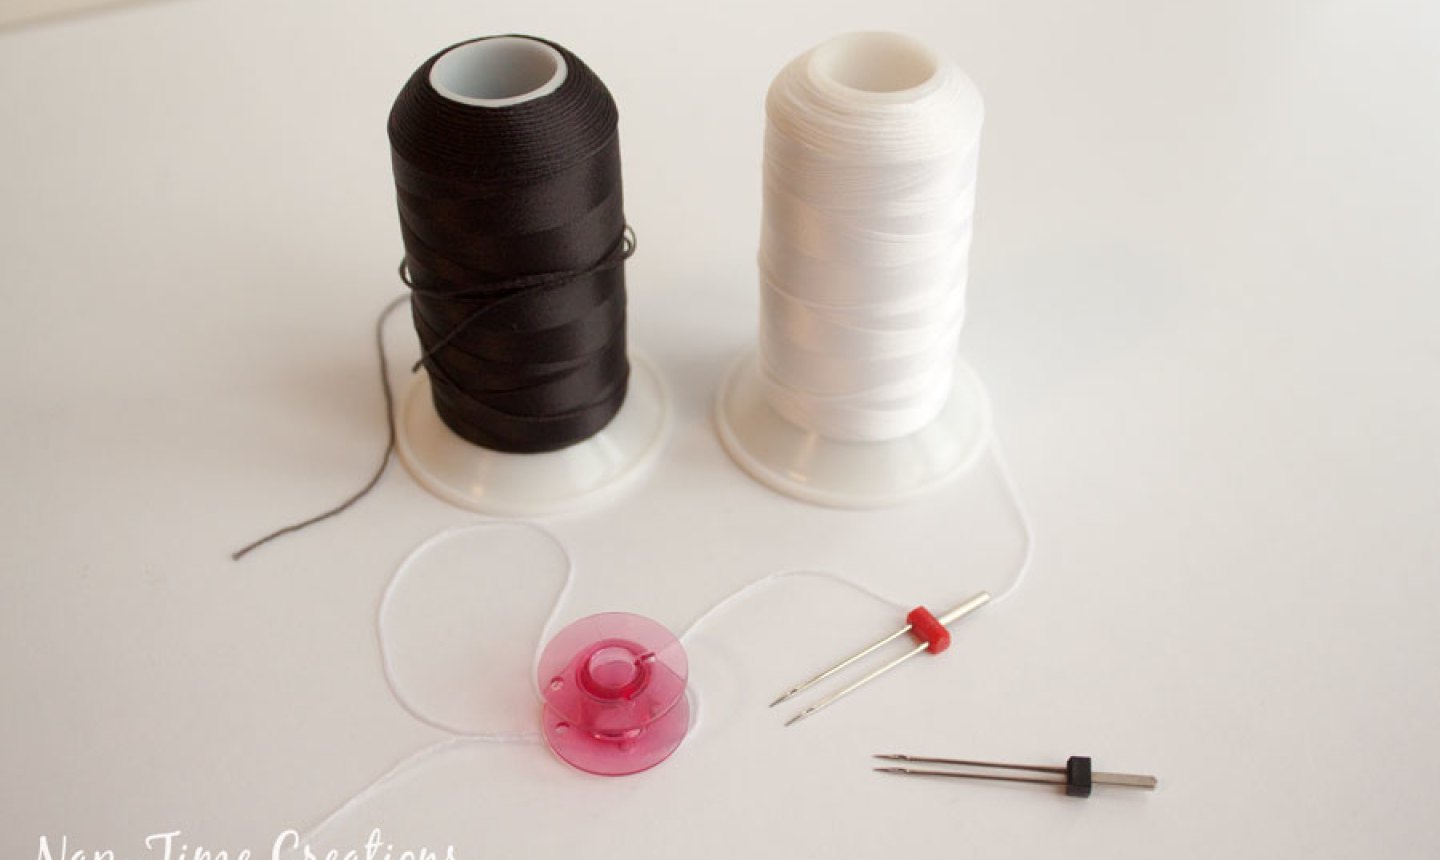
Now that you have established how to long to cut your binding, let's look at how to put it on. I recommend using a good stretch thread — bulky or wooly nylon work great — in the bobbin and a twin needle for best binding results.
Option #1: Bind on an open or straight edge
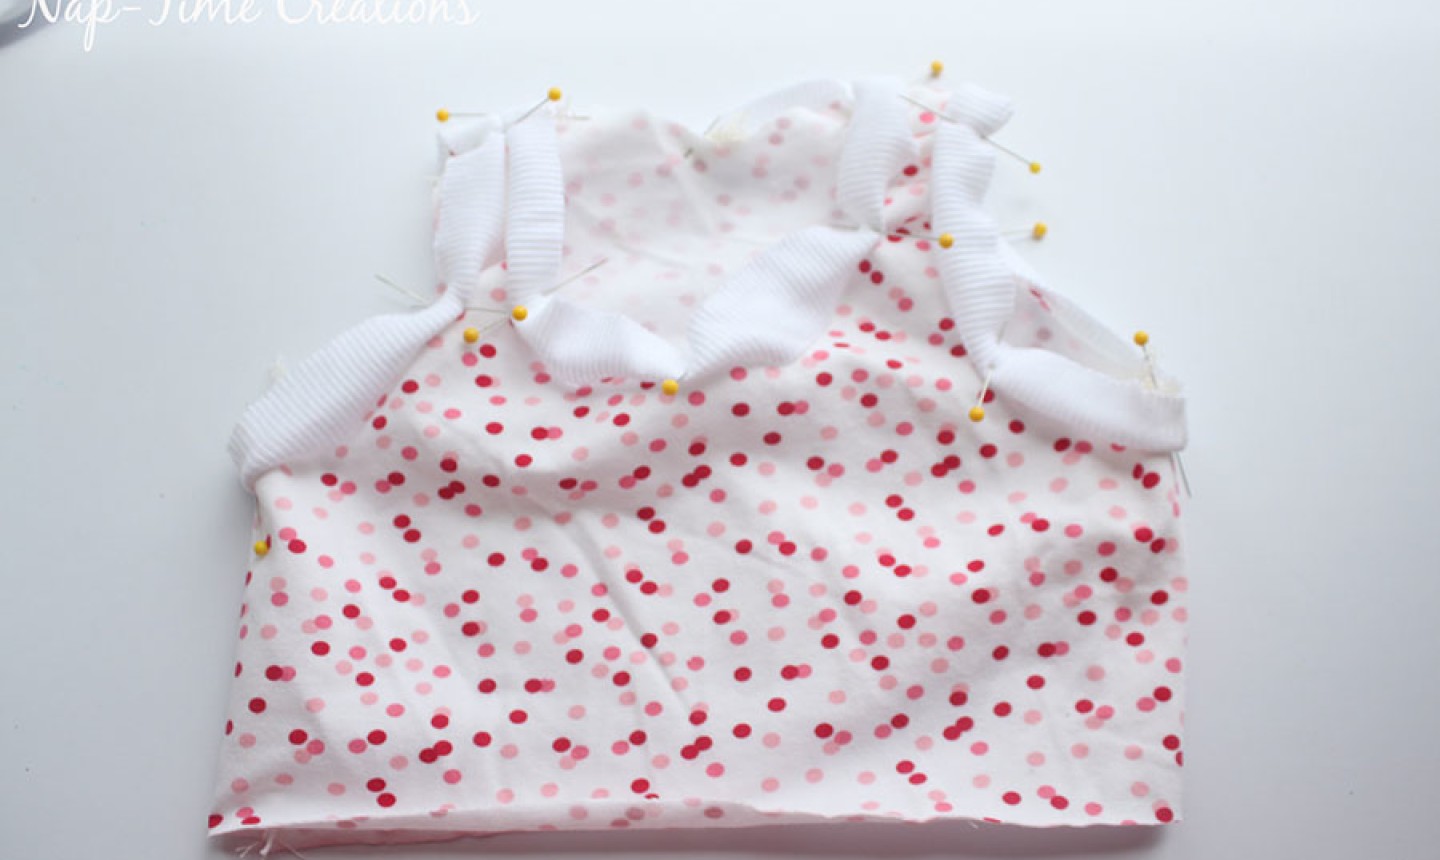
This method works well for any edge that has one open edge (read on for a different approach for attaching bindings "in the round"). I'll use a tank top as an example, where I've sewn one of the shoulder seams. but the same method applies for sleeve and pant cuffs.
Step 1:

Measure and cut the binding as directed above. Then, fold binding in half with wrong sides together.
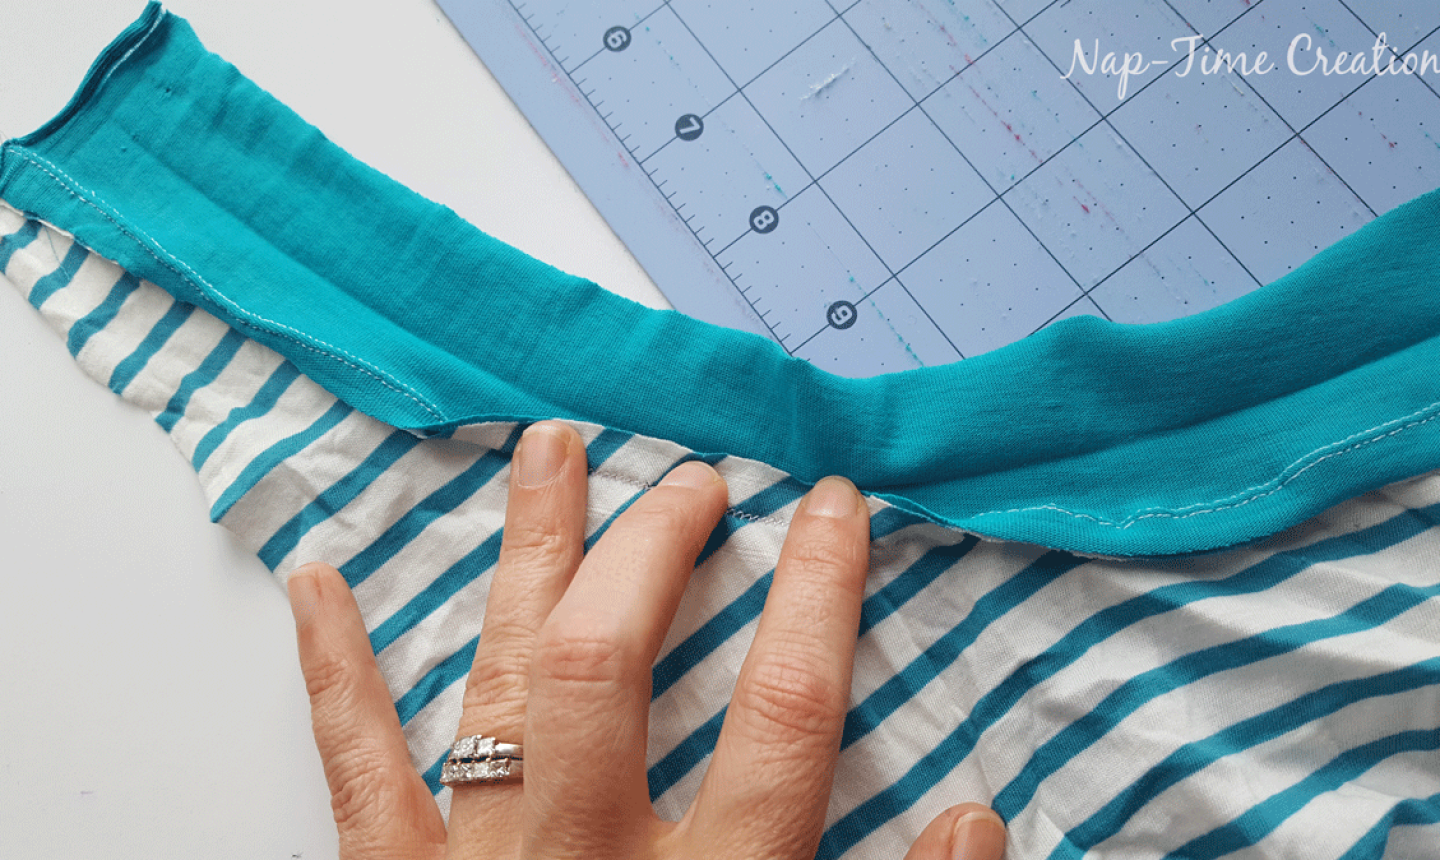
Align the raw edges of the binding with the raw edge of the garment, stretching it to fit. Try not to stretch your main garment fabric, just stretch the binding.
You will pin three layers of fabric: two layers of the binding and one layer of the garment.
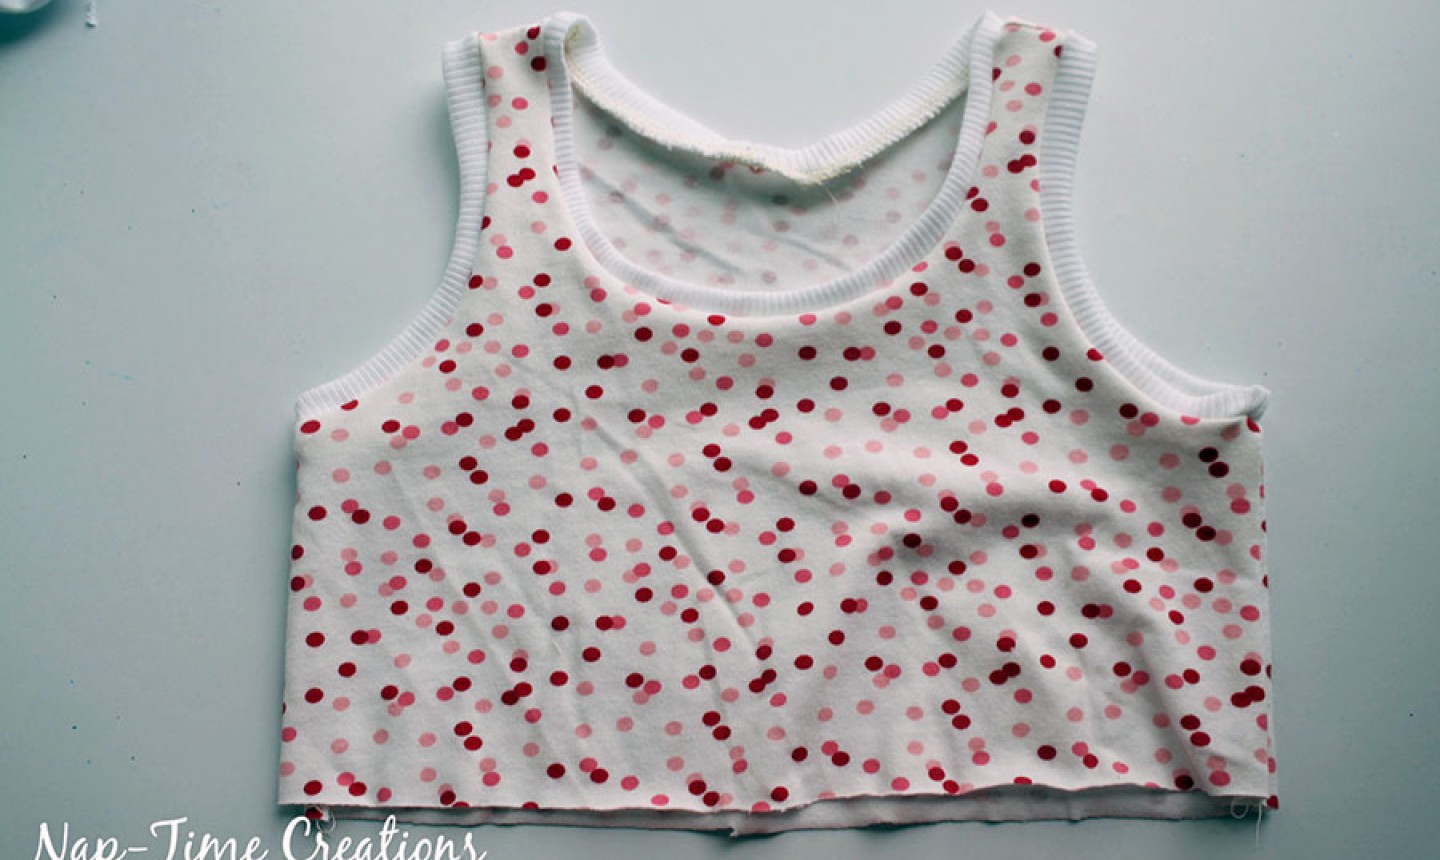
Step 2:
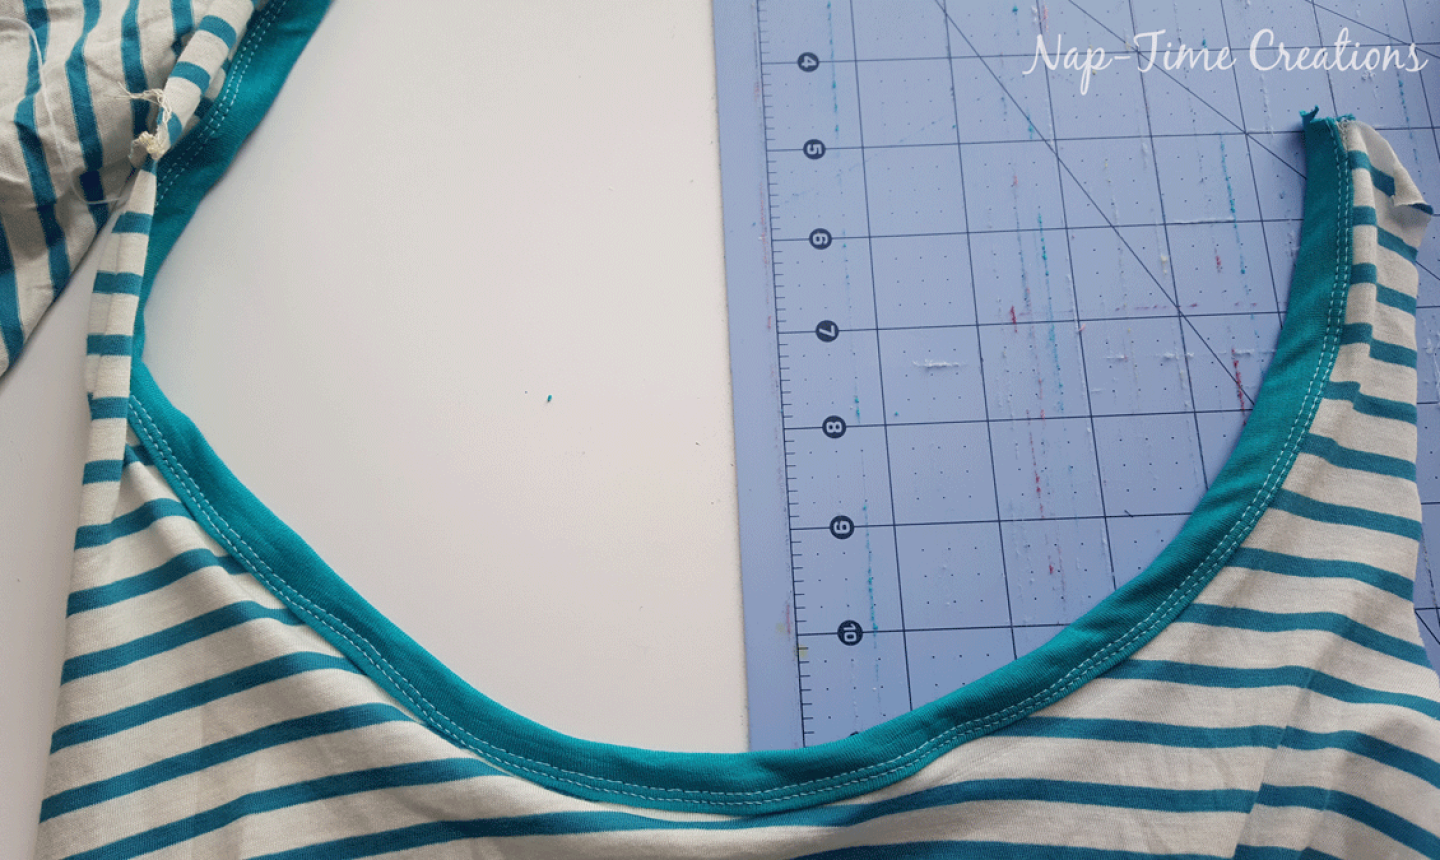
Sew with a serger, knit stitch or zig-zag stitch.
Step 3:

Sew the second shoulder seam closed (if applicable for your project).
Topstitch around the main fabric close to the edge (about 1/8" from the binding edge) with a twin needle. I like to used a stitch lent of 3 when topstitching. You can also use the narrow knit stitch setting on your sewing machine to topstitch.
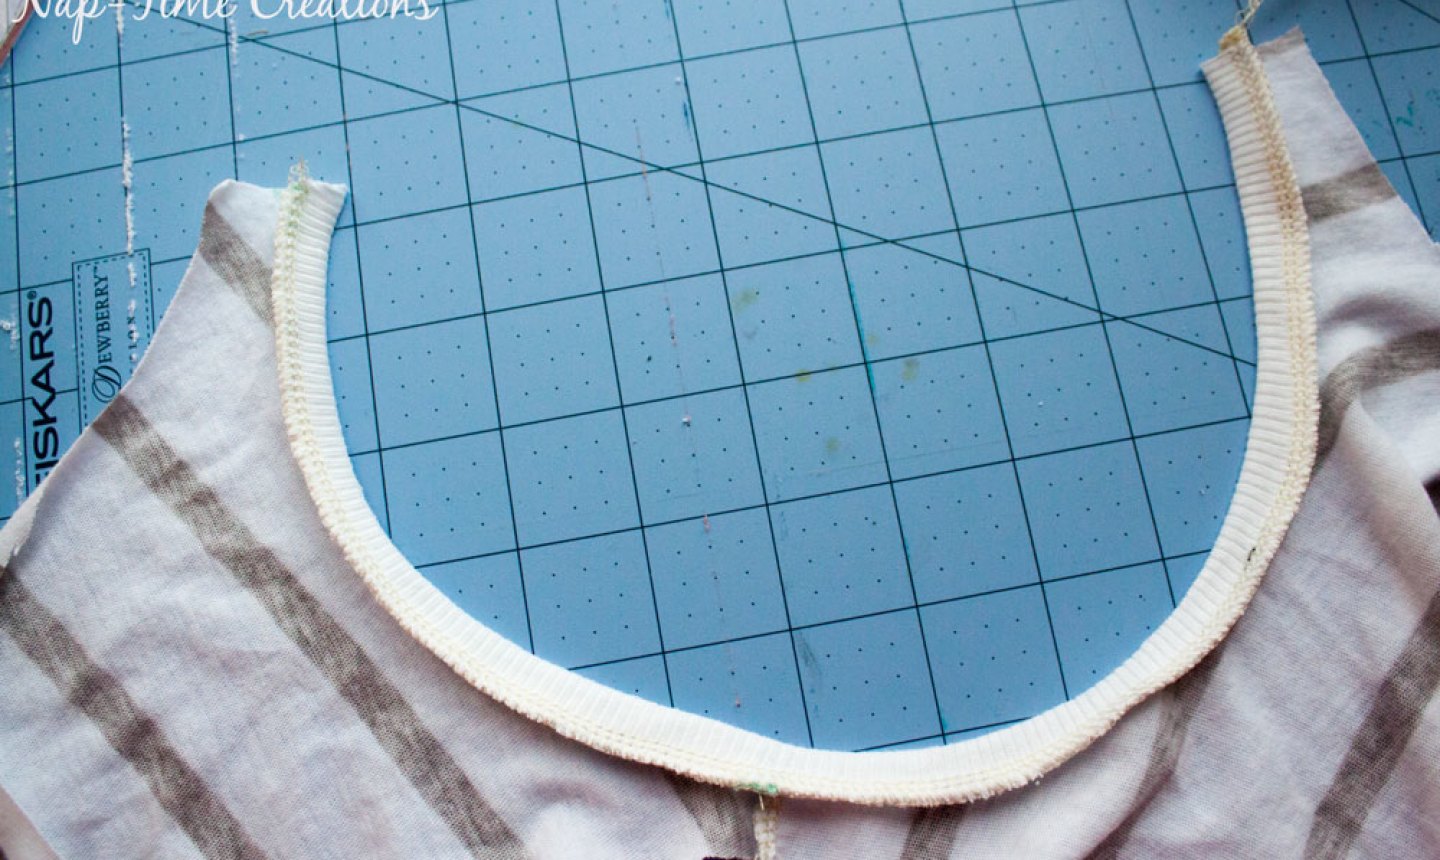
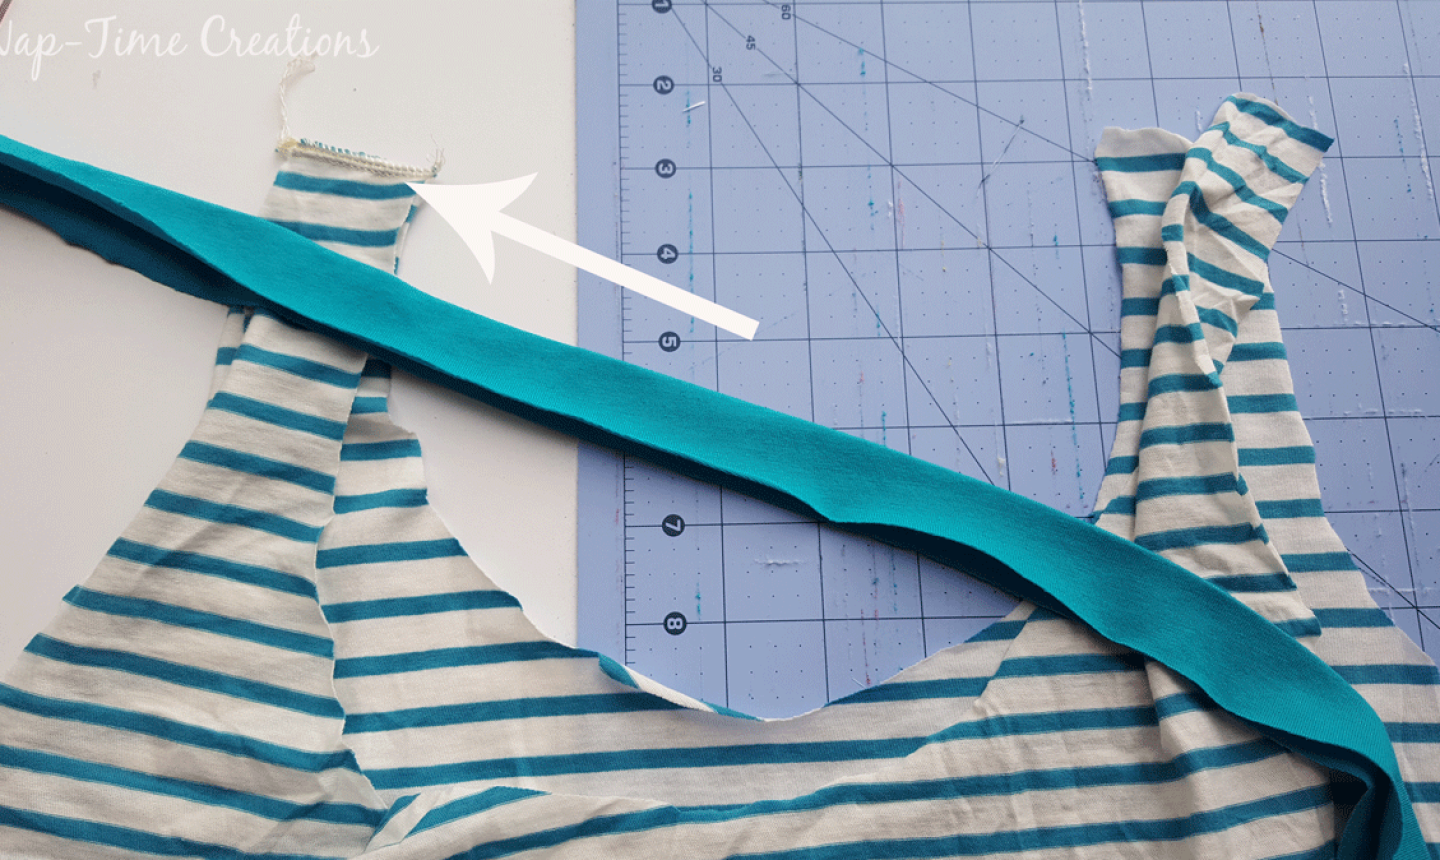
Option #2: Bind on a closed edge
This method is best for a round edge — for example, a neckline where both shoulder seams are already sewn.
Step 1:
Measure and cut the binding as directed above. You need to be particularly precise in your measurement because you won't be able to cut away any excess.
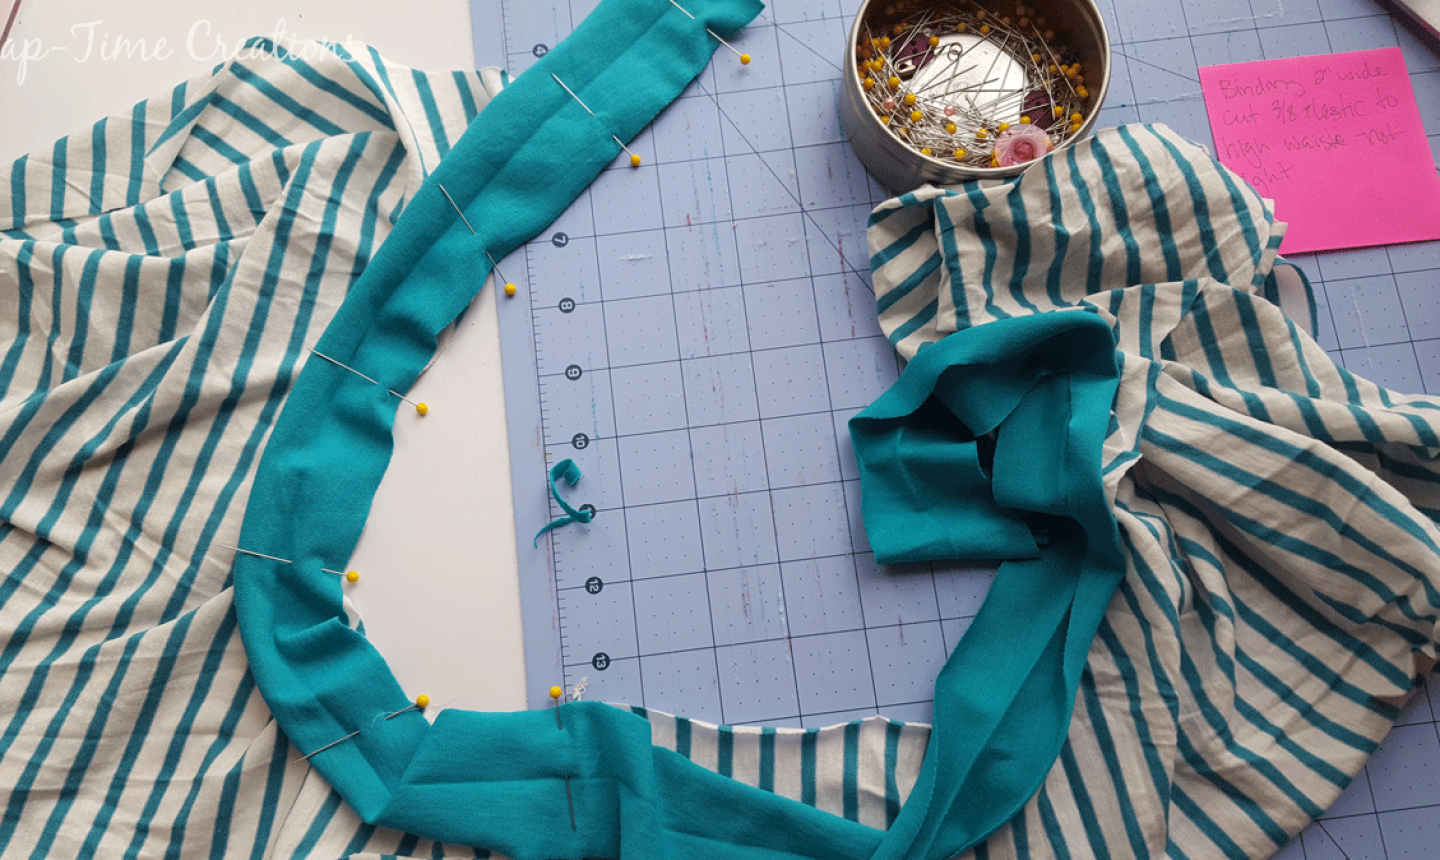
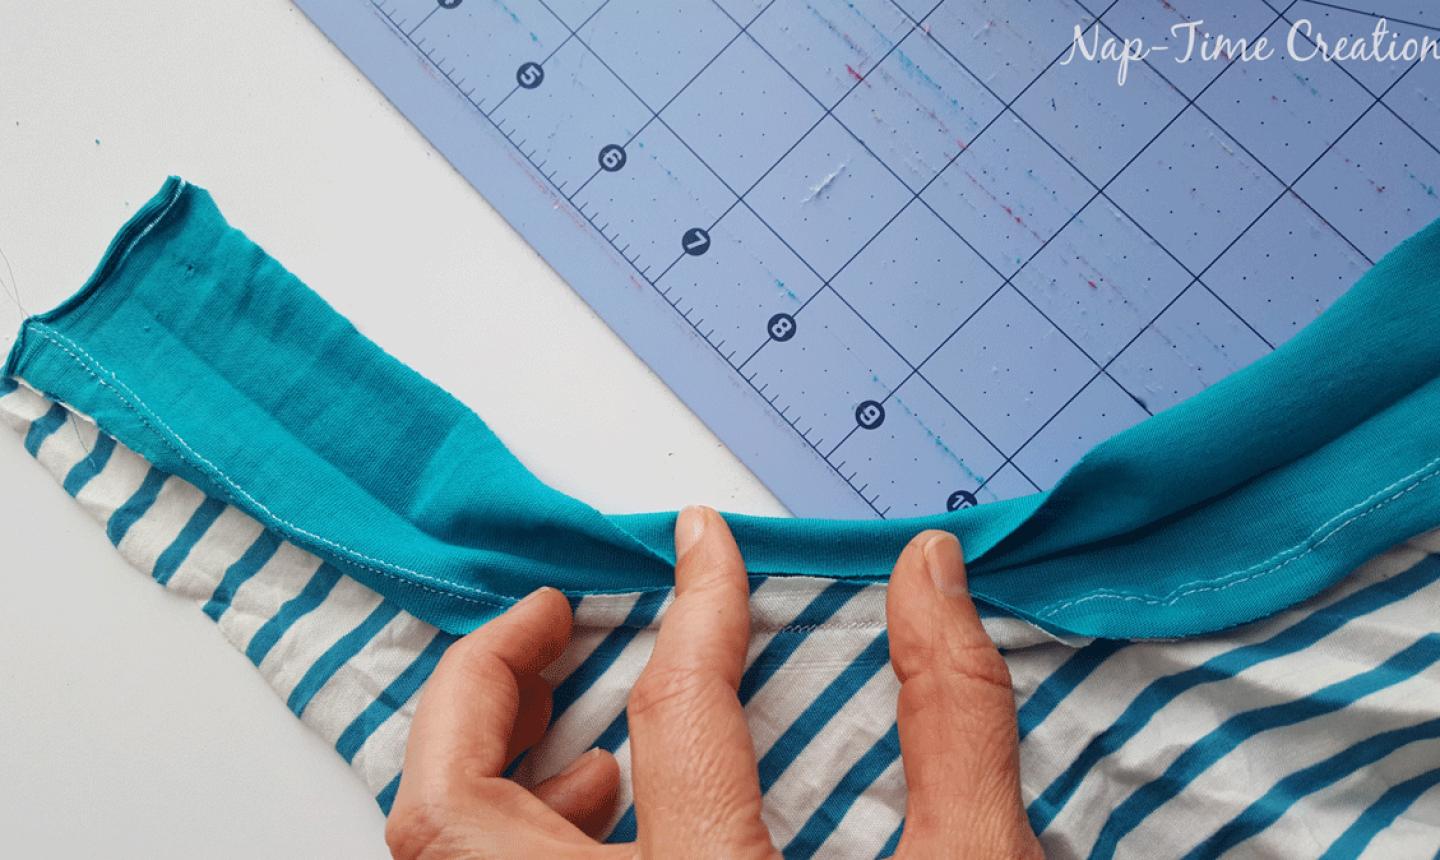
Sew your binding fabric into a circle. Fold the binding in half with wrong sides together.
Lining up the three raw edges: two from the binding and one from the other clothing piece.
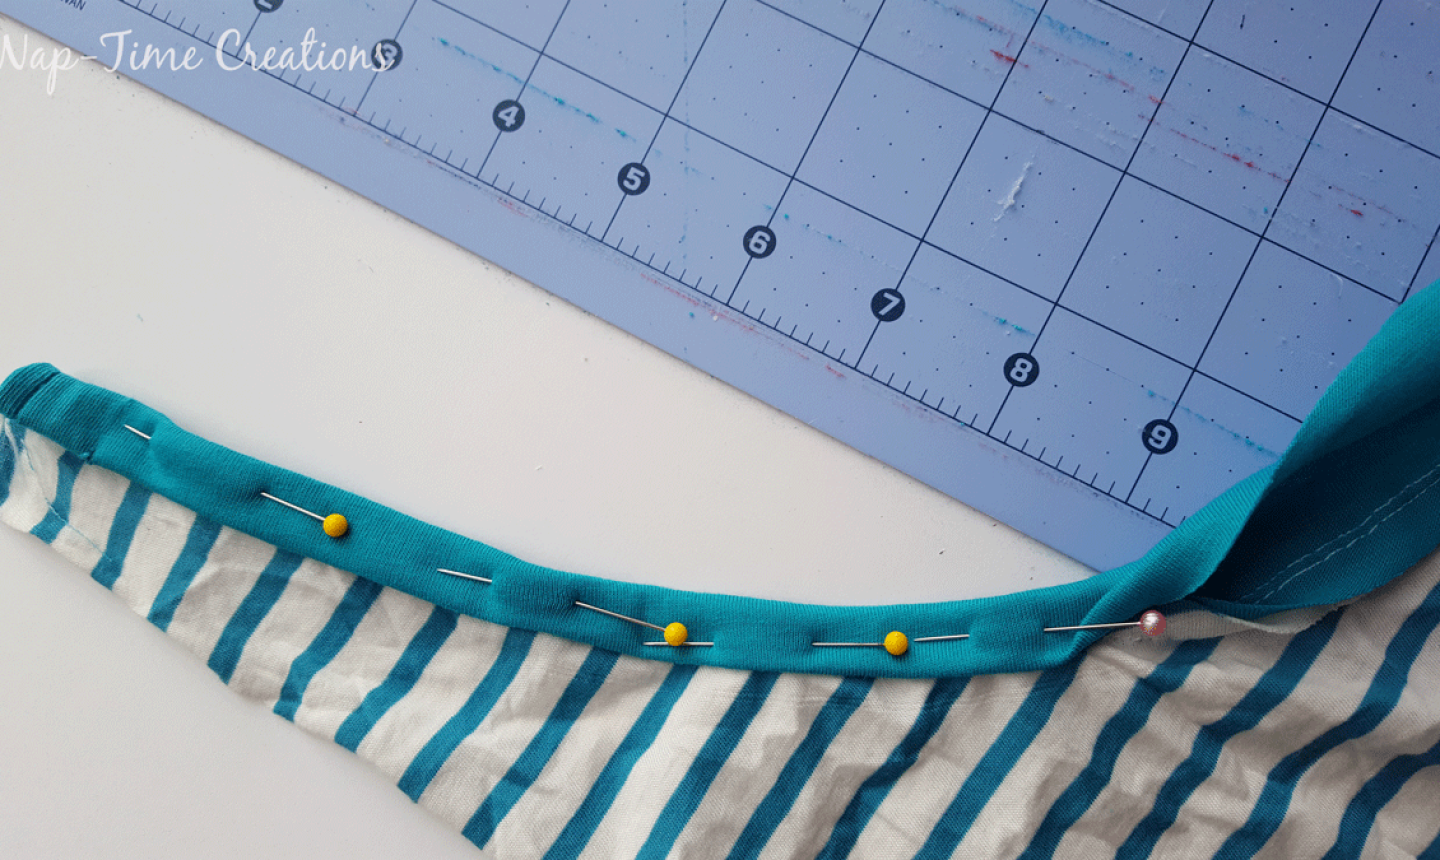
Pin the binding around the garment edge: I like to divide the main fabric and the binding both in fourths, placing a pin evenly around both. Then, match the four points and stretch the remaining binding to fill the rest.
Step 2:
Sew the binding and garment together with serger or zig-zag. Topstitch close to the seam with your desired stitch (I like a knit stitch or twin needle).
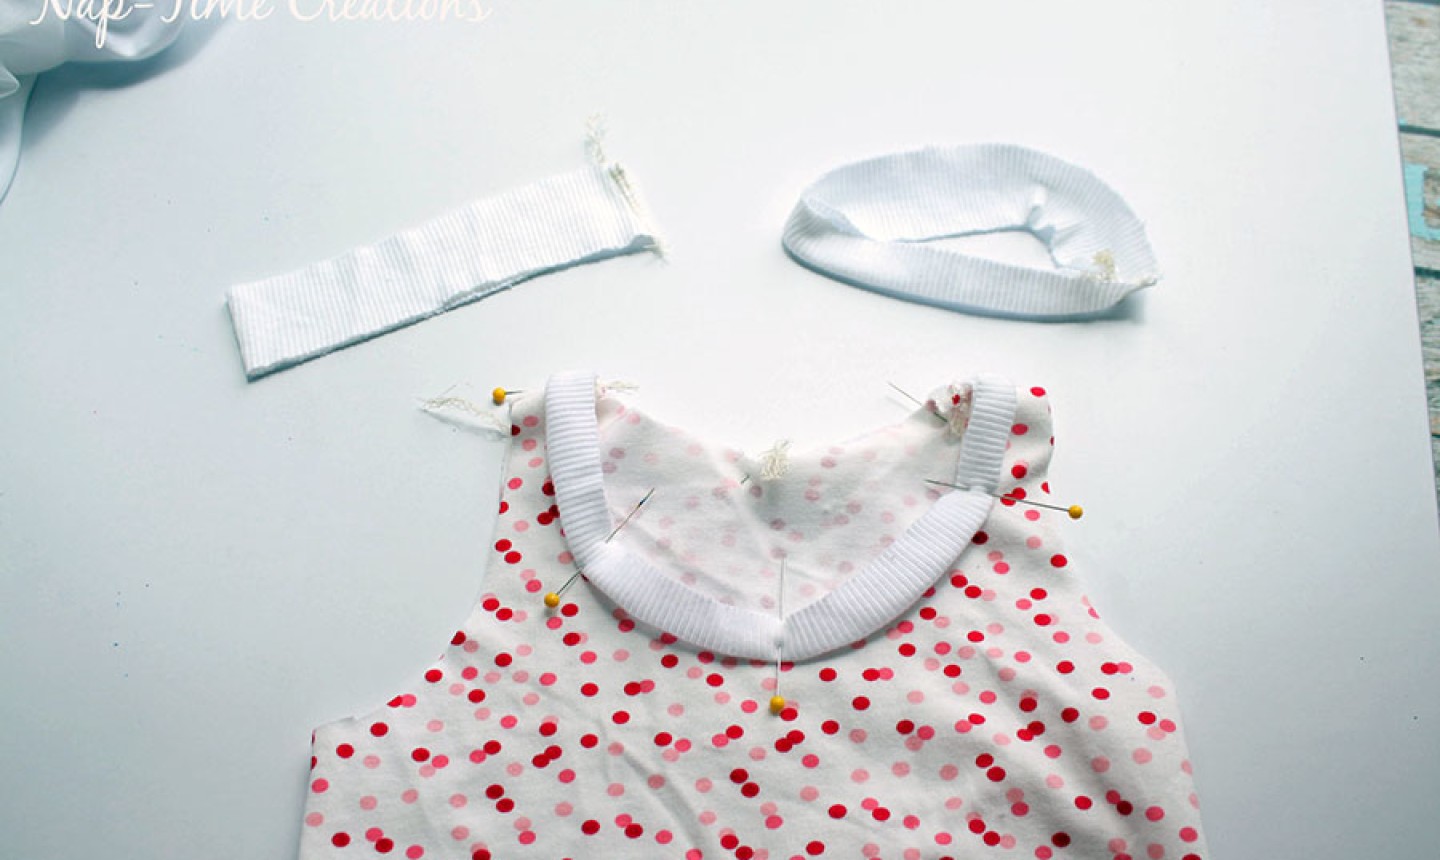
Option #3: Fold-over binding
This method is specifically for sewing necklines with no exposed seams. With this method, I like to sew with only one shoulder seam sewn. You can also sew it in the round, but it is more difficult.
Step 1:
Measure and cut your binding as described above, choosing a width on the wider side (about 2"). Fold and press the binding in half with wrong sides together.
Step 2:
Pin the right side of your binding to the wrong side of your shirt. Sew with a knit stitch or zig-zag and at a 3/8" seam allowance.
Step 3:
Turn your shirt over so the right side is facing you. Fold the 3/8" seam allowance up toward the binding.
Step 4:
Fold the binding edge in toward the seam allowance. The raw edges of the binding should now meet in the middle. You can use the crease you pressed before to make sure they really are in the center.
Step 5:
Fold the binding over to cover the seam allowance. Pin all around, stretching to fit as you need.
Step 6:
Topstitch with a zig-zag or twin needle. This time you'll topstitch directly on the binding. Press to smooth the binding.

I’ve seen since I was 10 & cousin I was staying with-her back went out mid sewing bridesmaids dresses for her BFF. Anyway wanted fresh look at knit binding installation options for a couple projects when I found your excellent info here —❤️❤️❤️— the step by step photos & the hack of using double needle topstitch on top of Option 3. Adapting it will solve an issue I encountered! 🙏🙏🙏 for the assist!! 🤩🥰 P.s. those mid-‘70’s dresses were of stretchy knit & sleeves/hems were lettuce edge so I’ve never been afraid of innovative techniques but I’m always cautious🤨 about extended family visits 😂 😉