Gathering fabric is one of those techniques that seems complicated, but doesn’t have to be. It’s really just about scrunching one piece of fabric to fit a smaller piece, which adds a nice puff to the shape of your project. You’ve seen it a bunch — it’s the volume you love in the waist of a skirt, or the fun ruffles on a pillow sham.
The best part: gathering fabric is actually pretty easy once you get a few pointers. Check out the info below to see which approach is best for your project, then go forth and gather like the total pro you are!
Method: Gathering With Basting Stitches
Level: Easy
You can use this method with a standard sewing machine or by hand.
What You Need
Instructions
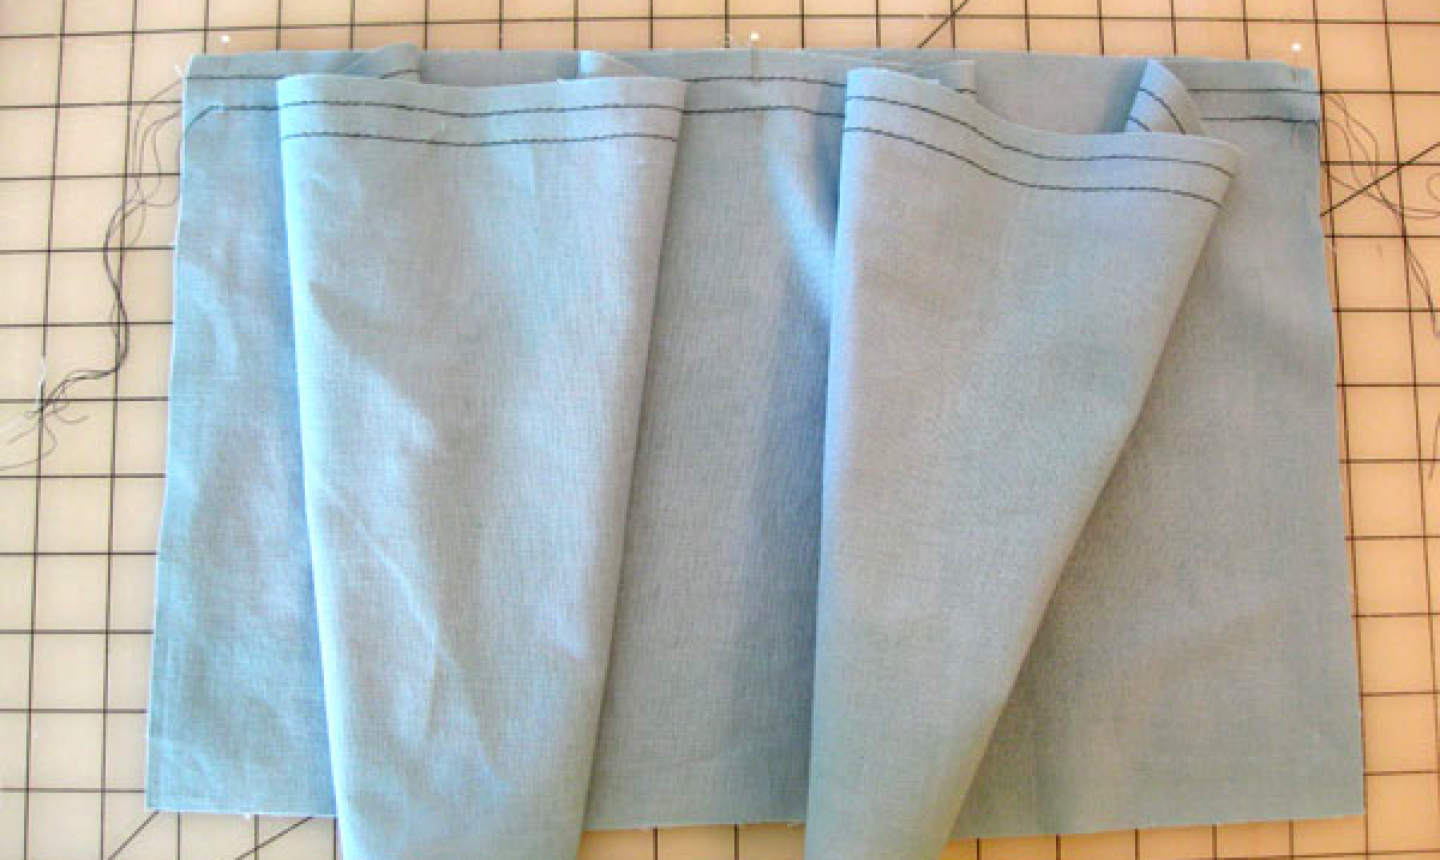
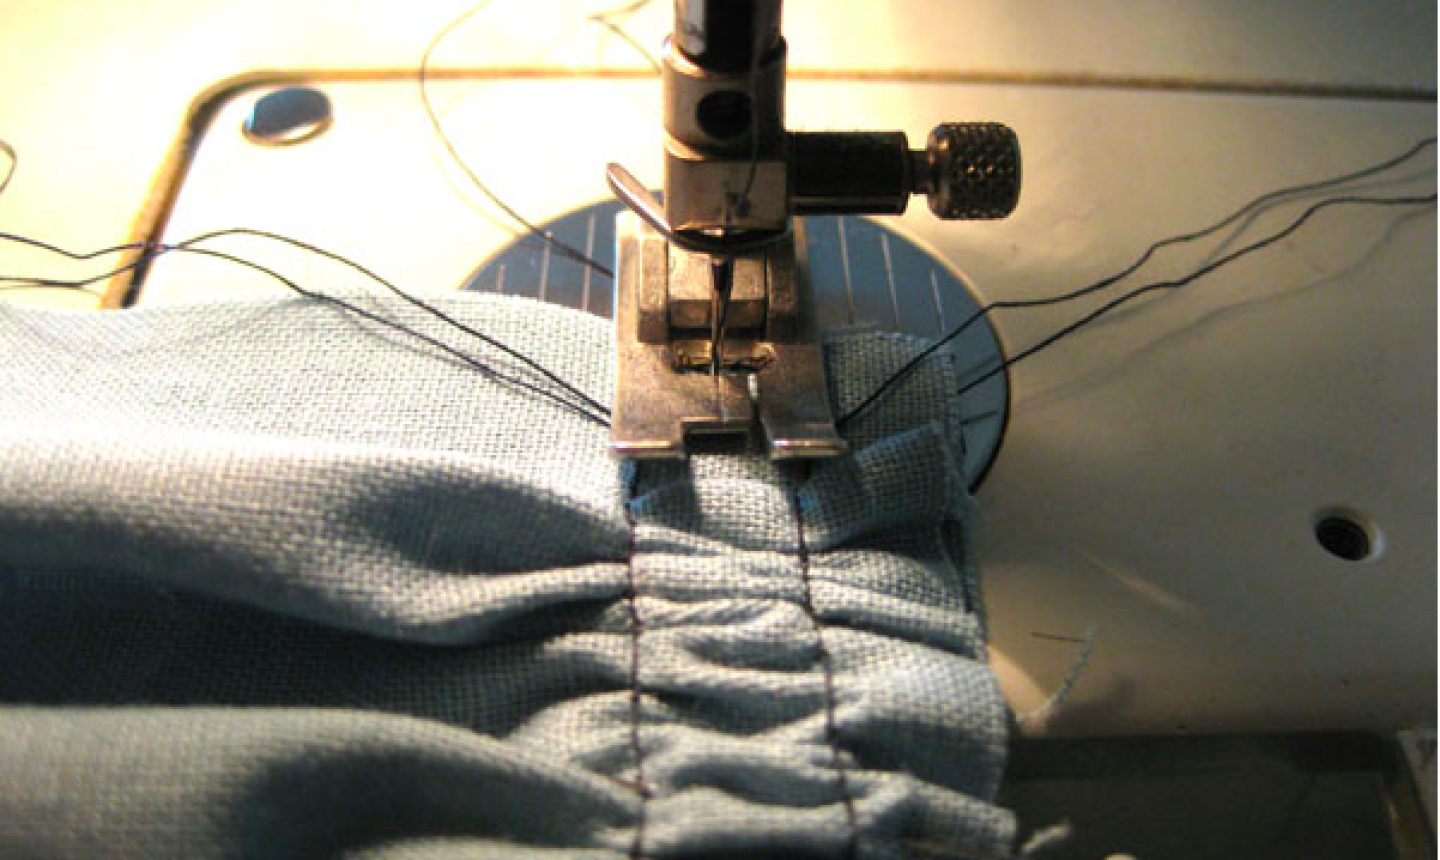
1. Sew Your Basting Stitches
On the larger piece of fabric (the one that will be gathered), run two parallel lines of basting stitches, one along either side of your stitching line. For example, If your seam allowance is ½” , you’ll run your basting stitches at ¼” and ¾” from the fabric edge.
If you’re using a sewing machine, set the stitch length between 4.0mm and 6.0mm. (Lightweight fabrics need the length set closer to 4.0mm; medium- to heavyweight should be closer 6.0mm.) For hand sewing, use a long running stitch.
Pro Tip: When working with very lightweight fabric (like tulle) that becomes permanently marred by needle holes, you can modify this approach by placing both rows of basting stitches inside your seam allowance, instead of placing one on either side of the stitching line. This way, when the thread is removed the needle holes will be concealed within the seam of your finished piece.
Make sure to leave long thread tails at the beginning and end of each basting row. Don’t backstitch at the beginning or end, and if you’re sewing by machine, check the machine isn’t set for a locking stitch.
2. Prepare to Gather
For this method, we’ll sew the gathered fabric onto its adjacent piece at the same time we secure the gathers in place.
To begin, mark the widthwise center of each fabric piece along the seam allowance. With the right sides together, place the larger piece over the smaller piece. Align the sides and centers and pin.
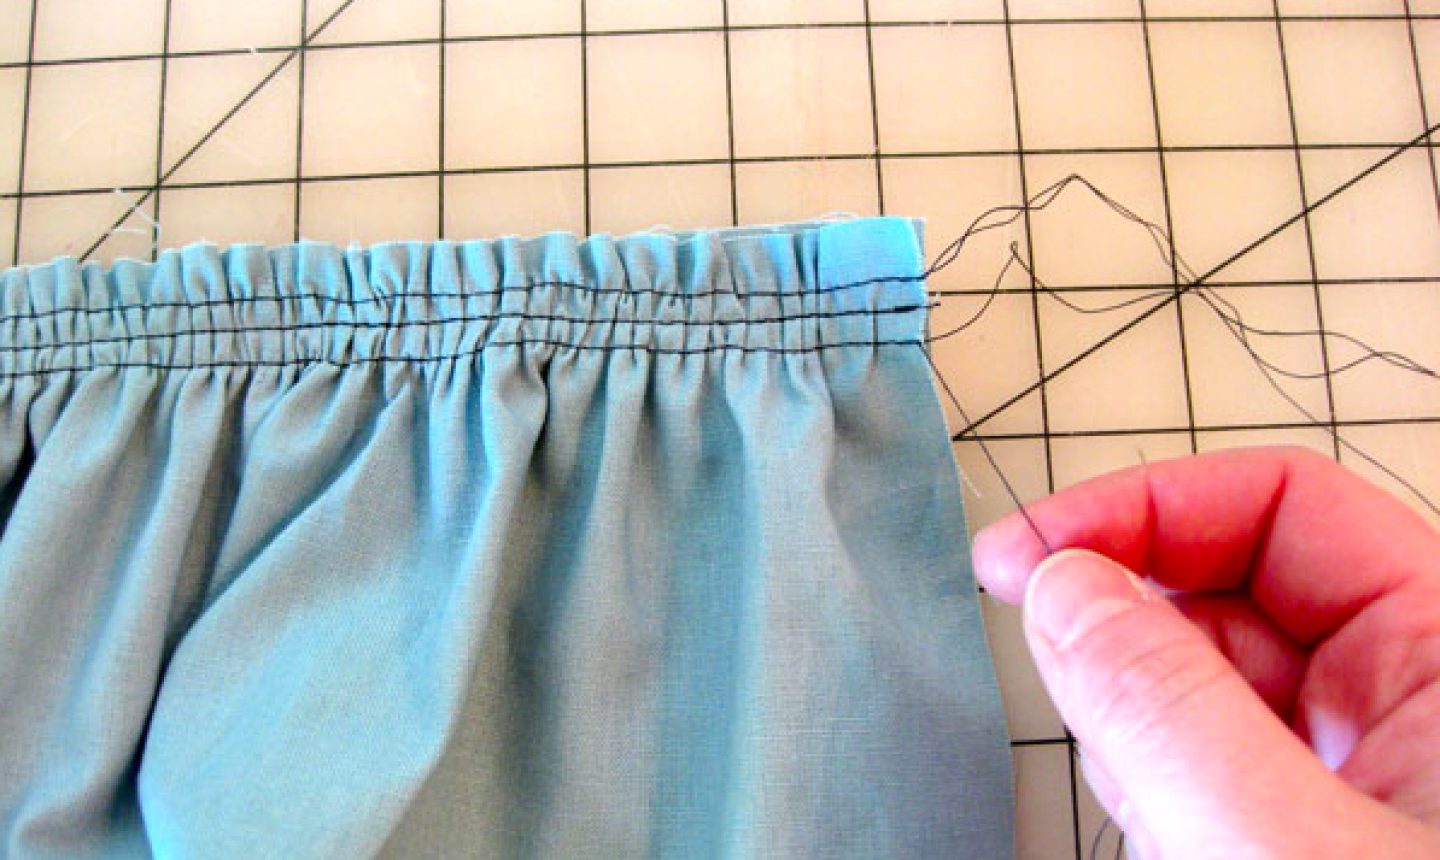
3. Create the Gathers
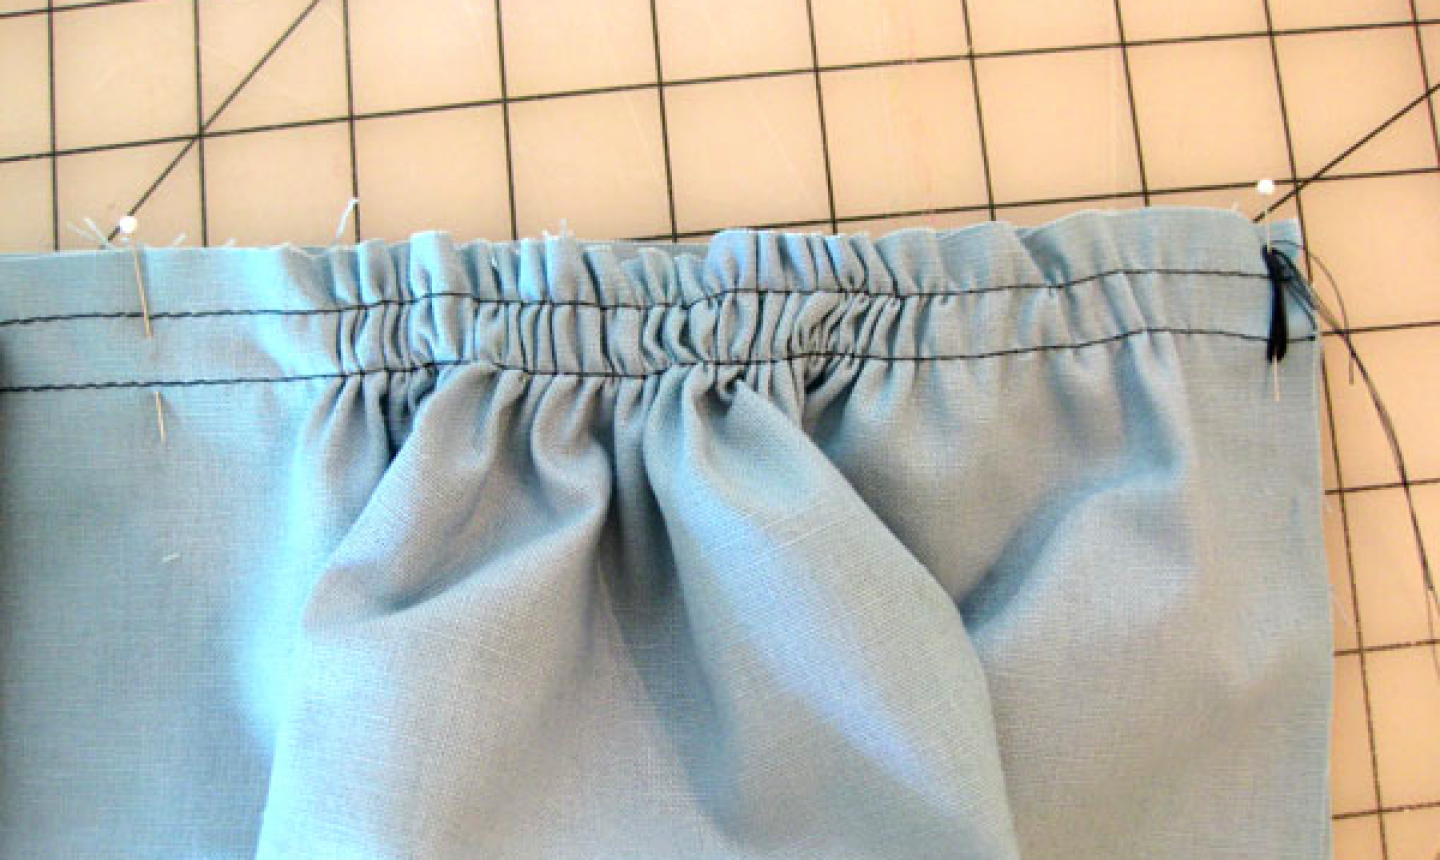
Grasp the rightmost thread tails on the upper fabric and wind them around your fingers to hold them taught. With the other hand, scoot the upper fabric closer to the center pin along the threads, easing the upper fabric into place so it fits the lower fabric length.
Once your gathers are evenly distributed on the right side, secure the thread tails by wrapping them around the rightmost pin in a figure eight.
Repeat this process on the left side, gathering the fabric between the center and leftmost pins. Wrap those thread tails around the leftmost pin to secure.
Generously pin along the entire seam.
4. Sew Between the Basting Stitches
Set the machine for a standard 2.5mm stitch length. Remove the leftmost pin and separate the thread tails at the beginning to avoid stitching over them.
Stitch between the basting stitches along the seam line, backstitching at the beginning to secure the thread. Carefully sew over each small bump. At the seam end, separate the thread tails to avoid running over them, then backstitch at the end to secure.
(If you’re hand sewing, use a short backstitch to secure the fabrics.)
5. Remove the Basting Stitches
Gently pull out your basting rows stitches, removing the lower line first.
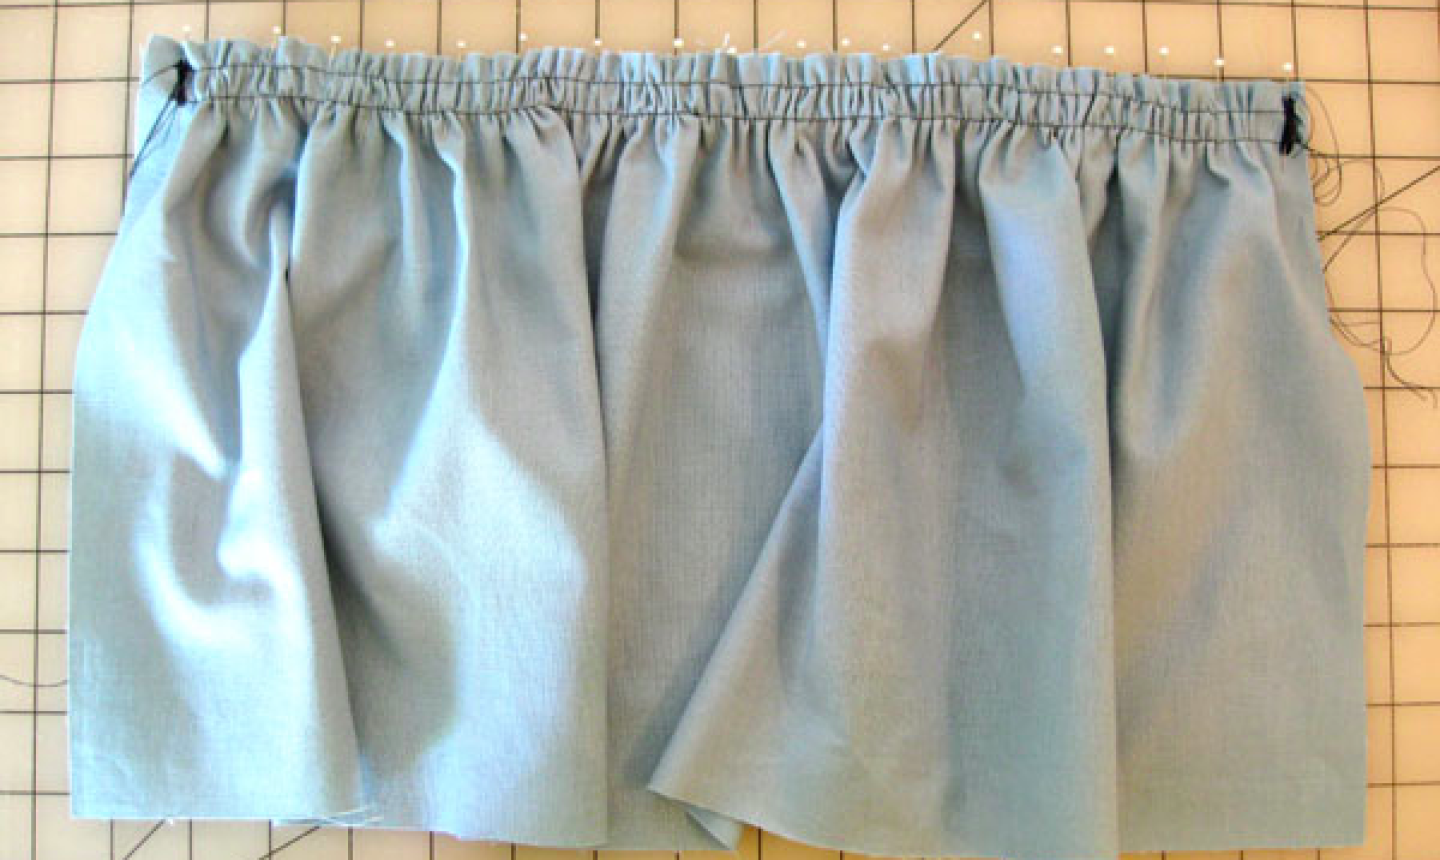
6. Flip and Press
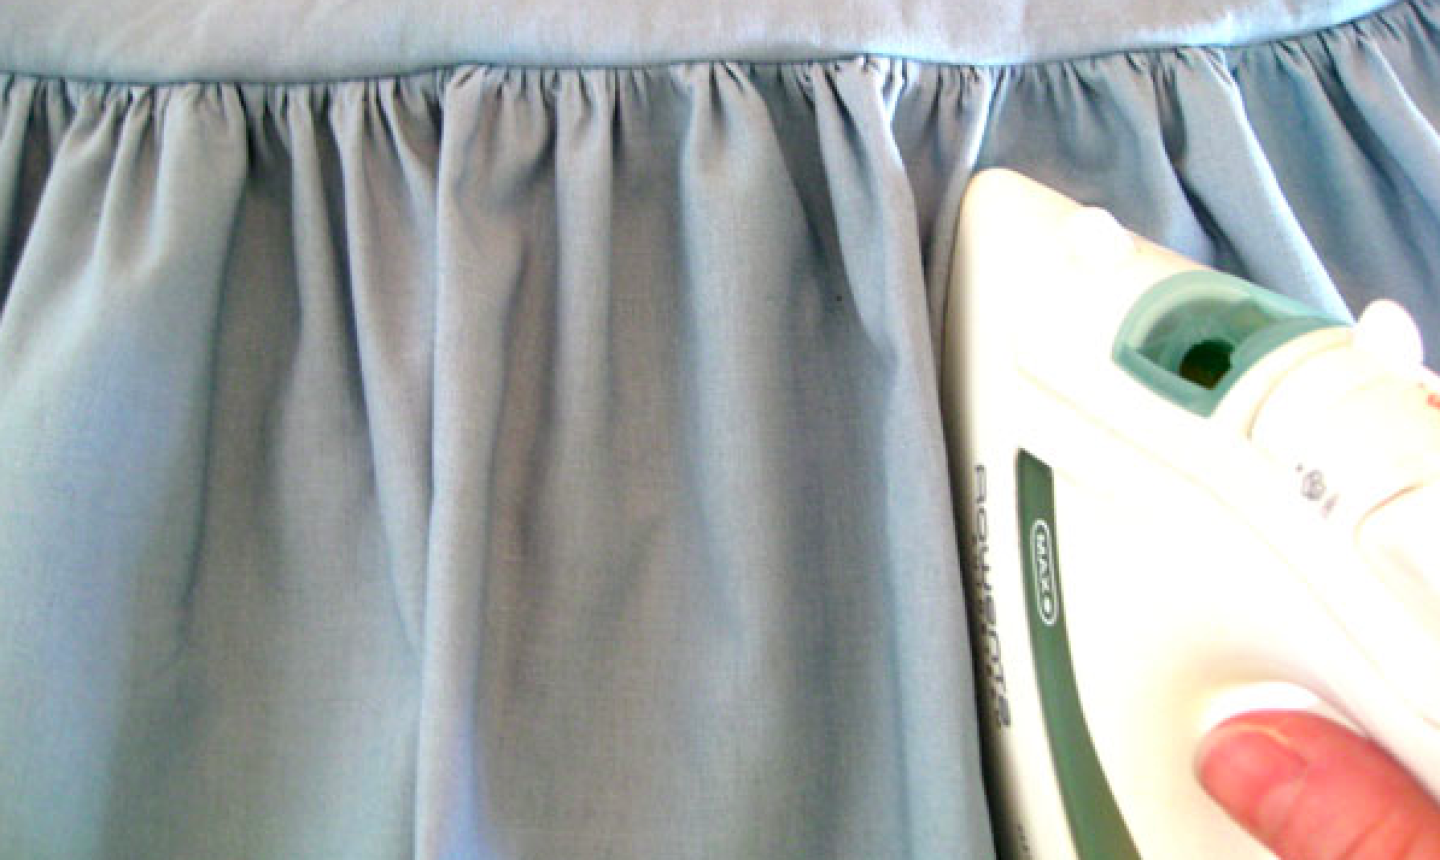
Turn the garment right side out and press, being careful not to flatten any of the fabric folds created by the gathering.
Method: Gathering With Zigzag Stitches
Level: Easy
When gathering a very long fabric section, this method is both reliable and fast. While our first approach created gathers while seaming two pieces of fabric together, this approach demonstrates a way to gather a single piece of fabric.
What You Need
Instructions
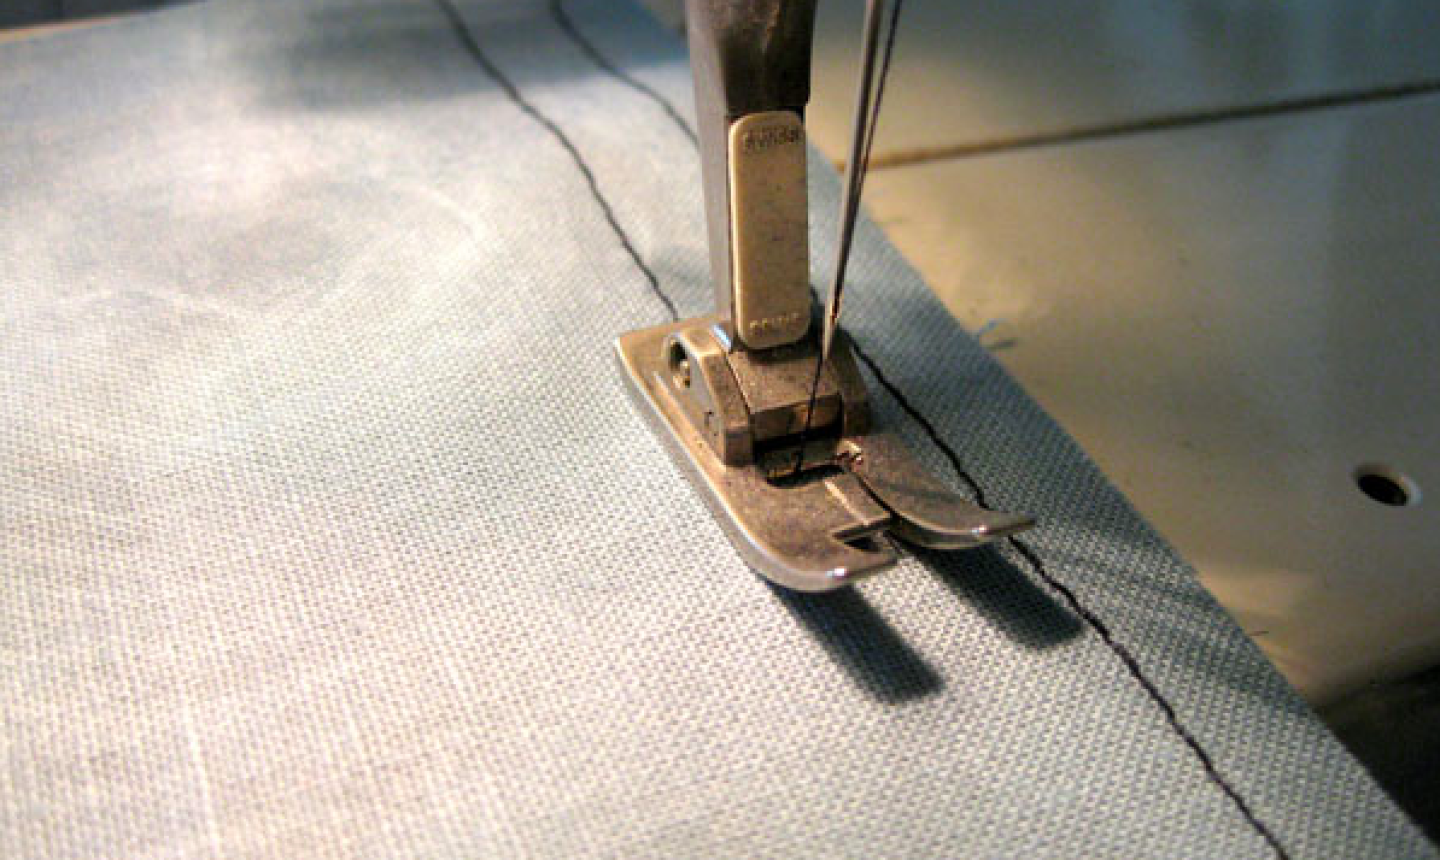
1. Make Your Zigzag Stitch
Start by marking your seam allowance along the edge of the fabric you want to gather. Place a length of string along the edge of your fabric, ¼” above your seam allowance line. Make sure the string is at least 4” longer than the fabric length.
Set your machine for a zigzag stitch that’s slightly wider than the string and as long as the machine allows. (Test-sew on scrap fabric to ensure the zigzag width straddles the string and doesn’t hit it on either side.)
Center the string within the presser foot and zigzag over the string, leaving long thread tails at the stitch beginning and end. Remember, your string should extend at least 2” beyond the fabric on either side.
Repeat this same process to stitch a second string ¼” below the marked seam line.
2. Create the Gathers

Anchor the two string tails at one end by loosely tying them. At the opposite end, pull the string tails while gliding the stitches closer together, gathering the fabric to the desired fullness. Evenly distribute the gathers across the fabric length.
3. Stitch to Secure
Set your machine to a standard straight stitch. Stitch along your seam line between the two zigzag rows to secure the gathers.
Release the string ends and pull the strings free from the zigzag stitches. Gently remove the zigzag stitches using a seam ripper.
Method: Gathering Heavy-Duty Fabrics
Level: Easy
Vinyl, leather and other heavy-duty fabrics show every needle mark, so the gathering methods above won’t work as well. This easy alternative uses clear tape to help get those even gathers. Like the first tutorial above, this method shows you how to gather a larger piece of material at the same time as you seam it to a smaller piece.
What You Need
Instructions
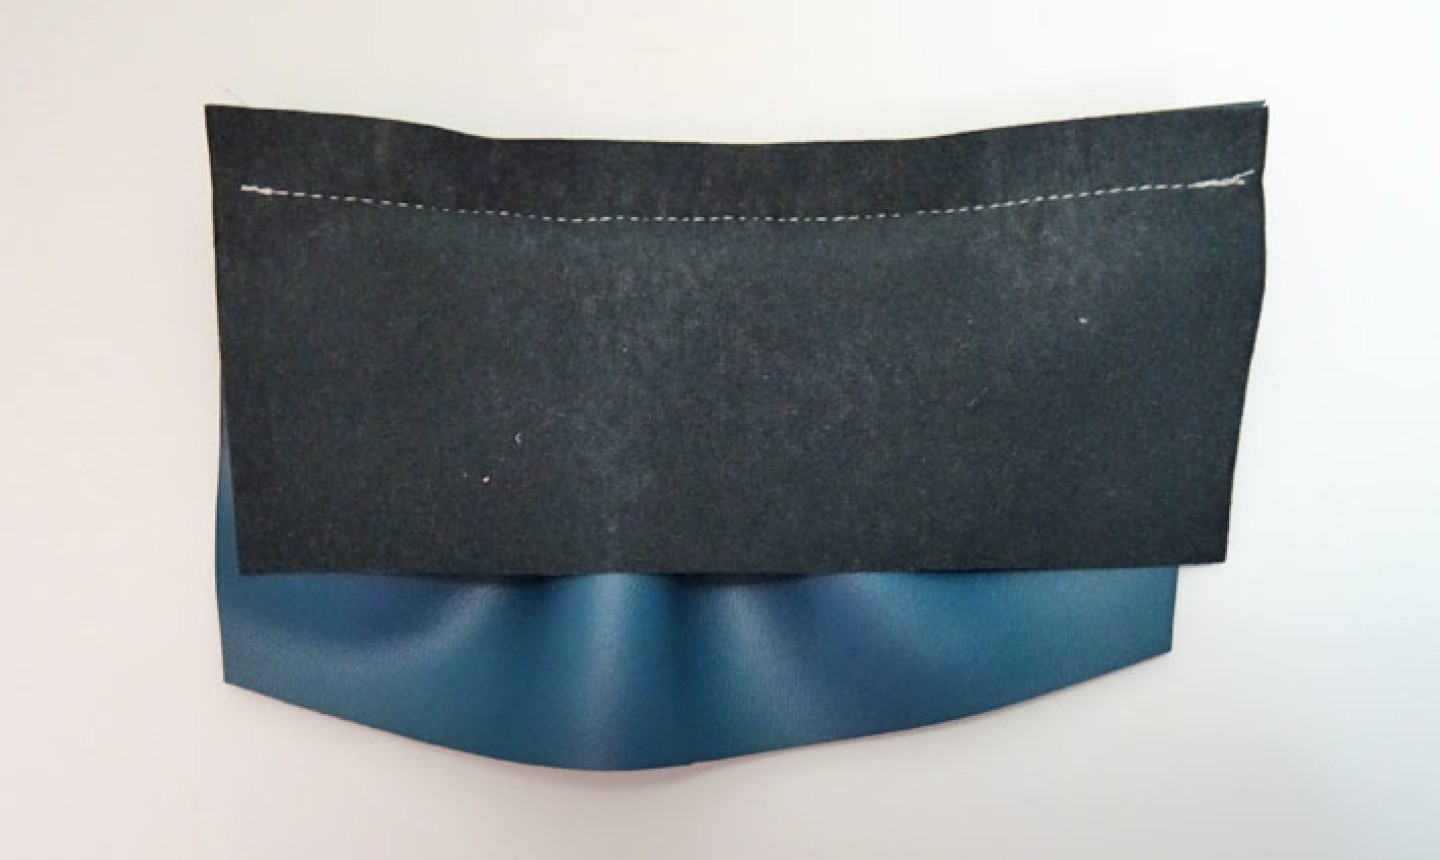
1. Sew Basting Stitches
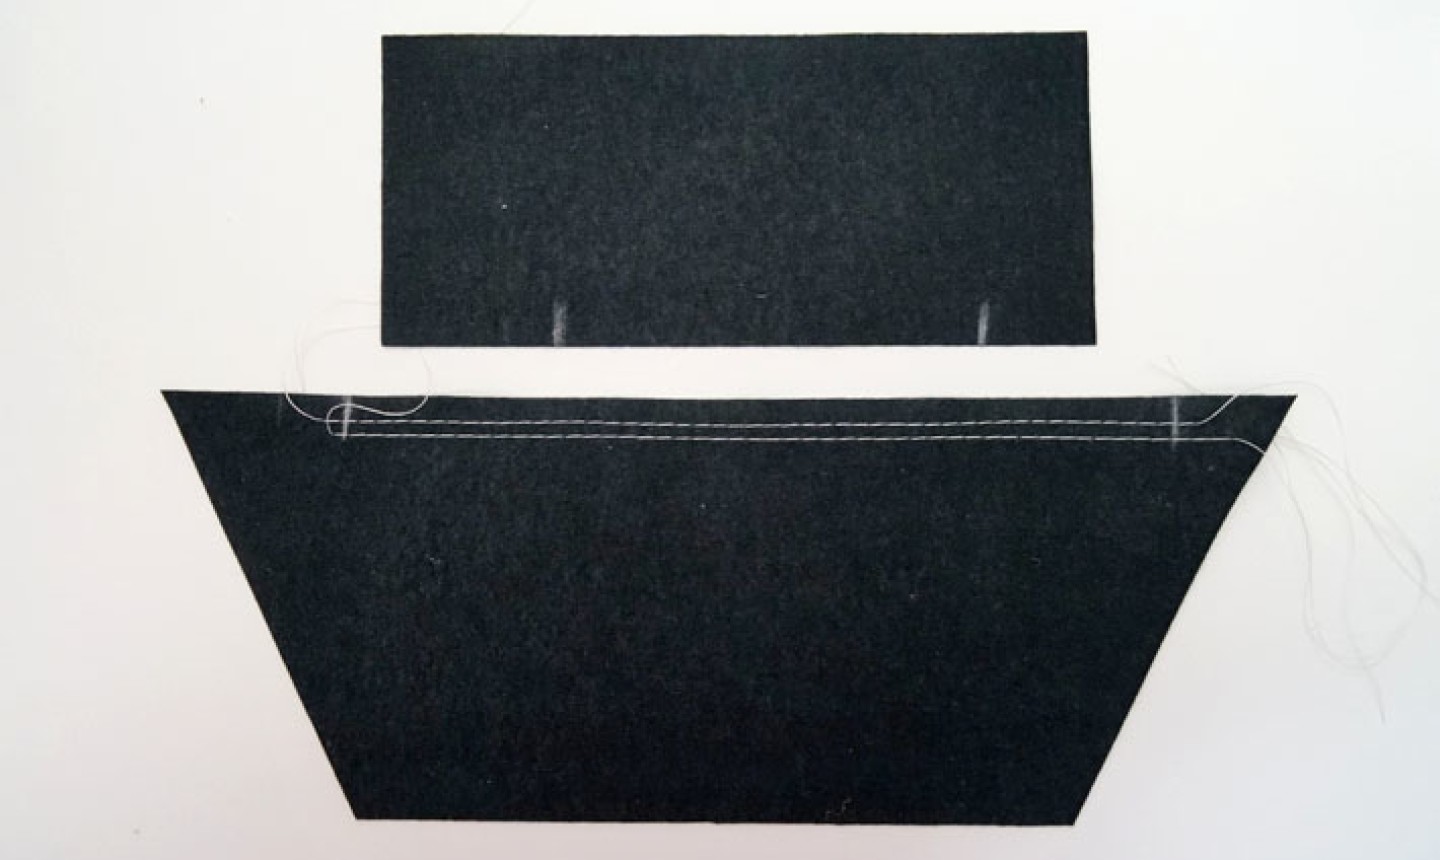
Stitch two basting rows on the longer piece of fabric, placing them inside the seam allowance width, about ⅛” apart. Example: if the seam allowance is ½”, place the basting rows ¼” and ⅜” from the fabric edge. Leave long thread tails on either end of your basting stitches.
2. Line Up Your Fabrics
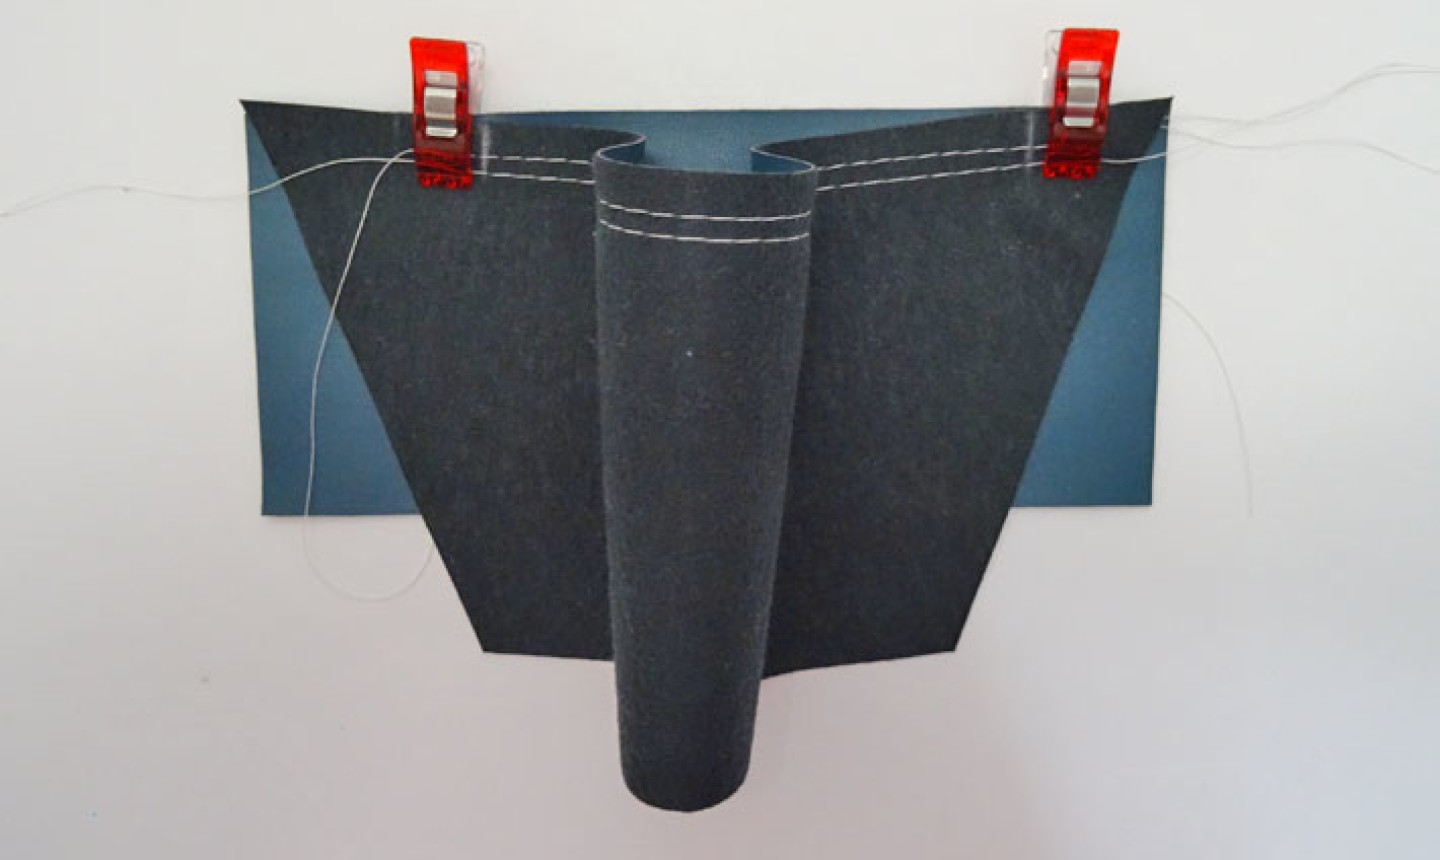
With the fabrics right sides together, match any notches and marks indicated by your pattern. Place the longer piece on top of the shorter piece and clip into the seam allowance at each notch.
3. Create the Gathers
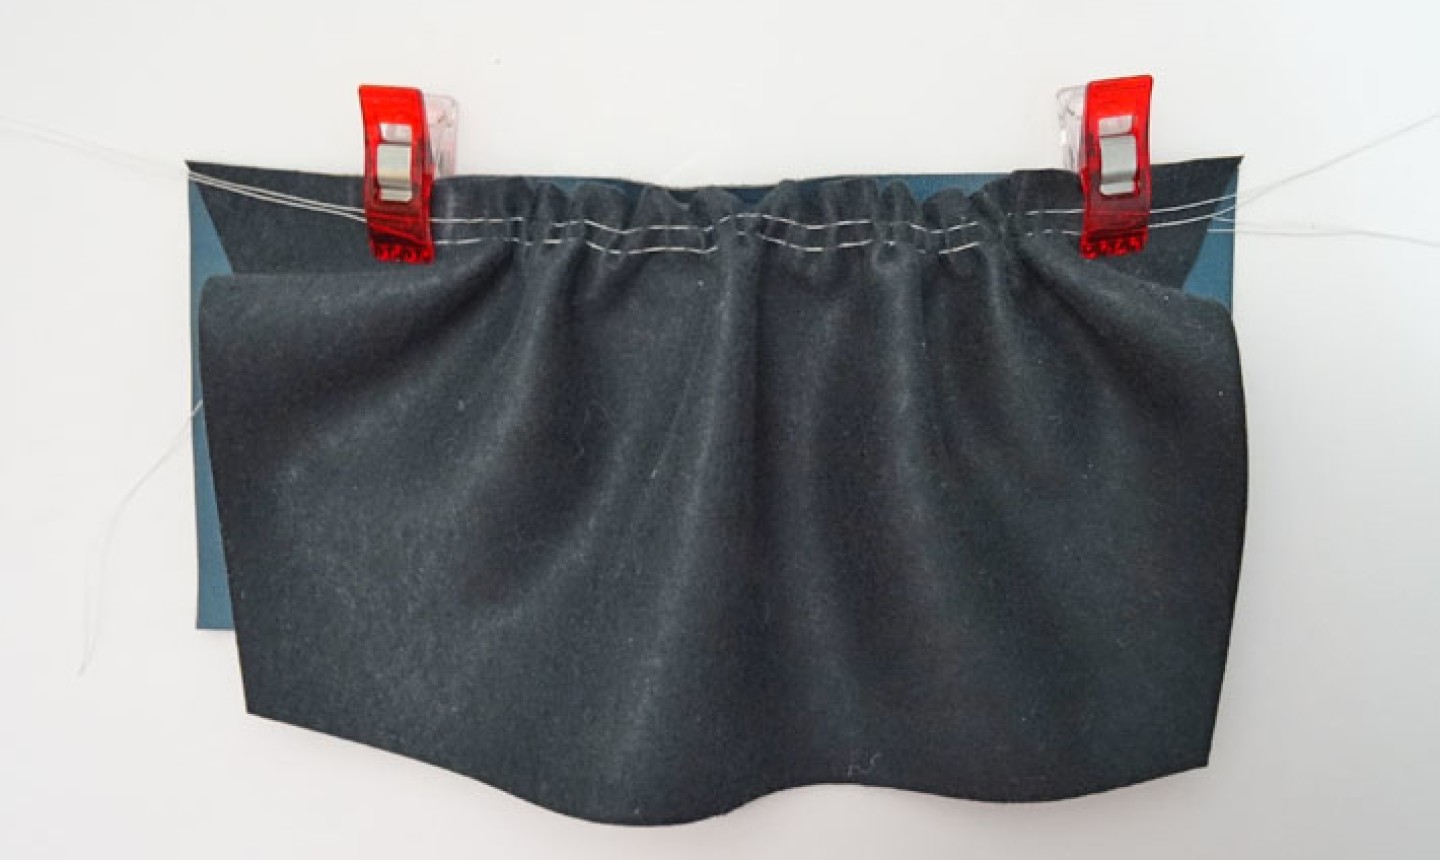
Anchor one pair of thread tails by wrapping them around your fingers. Gather the fabric by pulling the opposite thread tails and sliding the fabric along the seams until the long piece is the same length as the smaller piece. Evenly distribute some fullness so the fabrics are the same length, but don’t try to make the gathers perfectly even yet.
4. Tape the Gathers
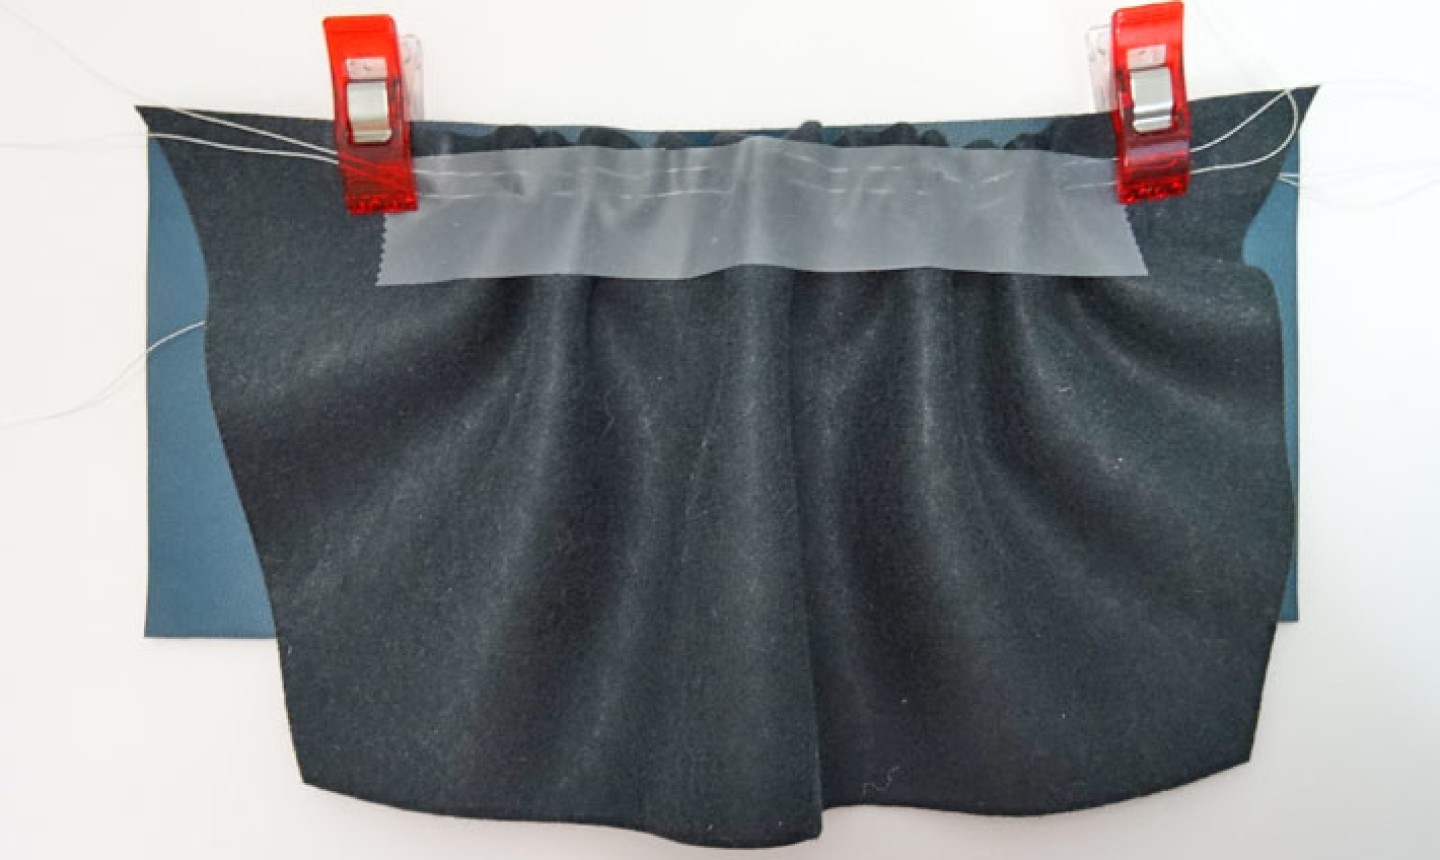
Place a piece of clear tape over the gathers on the wrong side of your fabric. Make sure the lengthwise center of the tape aligns with the final seam location. The tape will secure the gathers.
5. Even Out the Gathers
Turn the fabrics to the right side. Manipulate the gathers as needed to evenly position them over the clear tape. (You can use the end of a seam ripper to push the gathers side to side.) As you work, remove and re-stick small portions of the clear tape to allow for movement while keeping finished portions from slipping. (Place a second piece of tape underneath the first for extra security if needed.)
6. Stitch the Seam
When you’re satisfied with the gathering, stitch the seam as indicated by the pattern, leaving the clear tape in place as you sew.
Remove the tape once you’ve secured your seam. Check your work, and re-tape and re-sew portions if needed. Once you’re happy with the gathers, remove the tape and continue sewing the rest of your project.
Method: Using a Gathering Foot
Level: Easy
Specialty sewing machine feet can make quick work of specific techniques. A gathering foot helps cut down on prep time, so you can get to the construction faster.
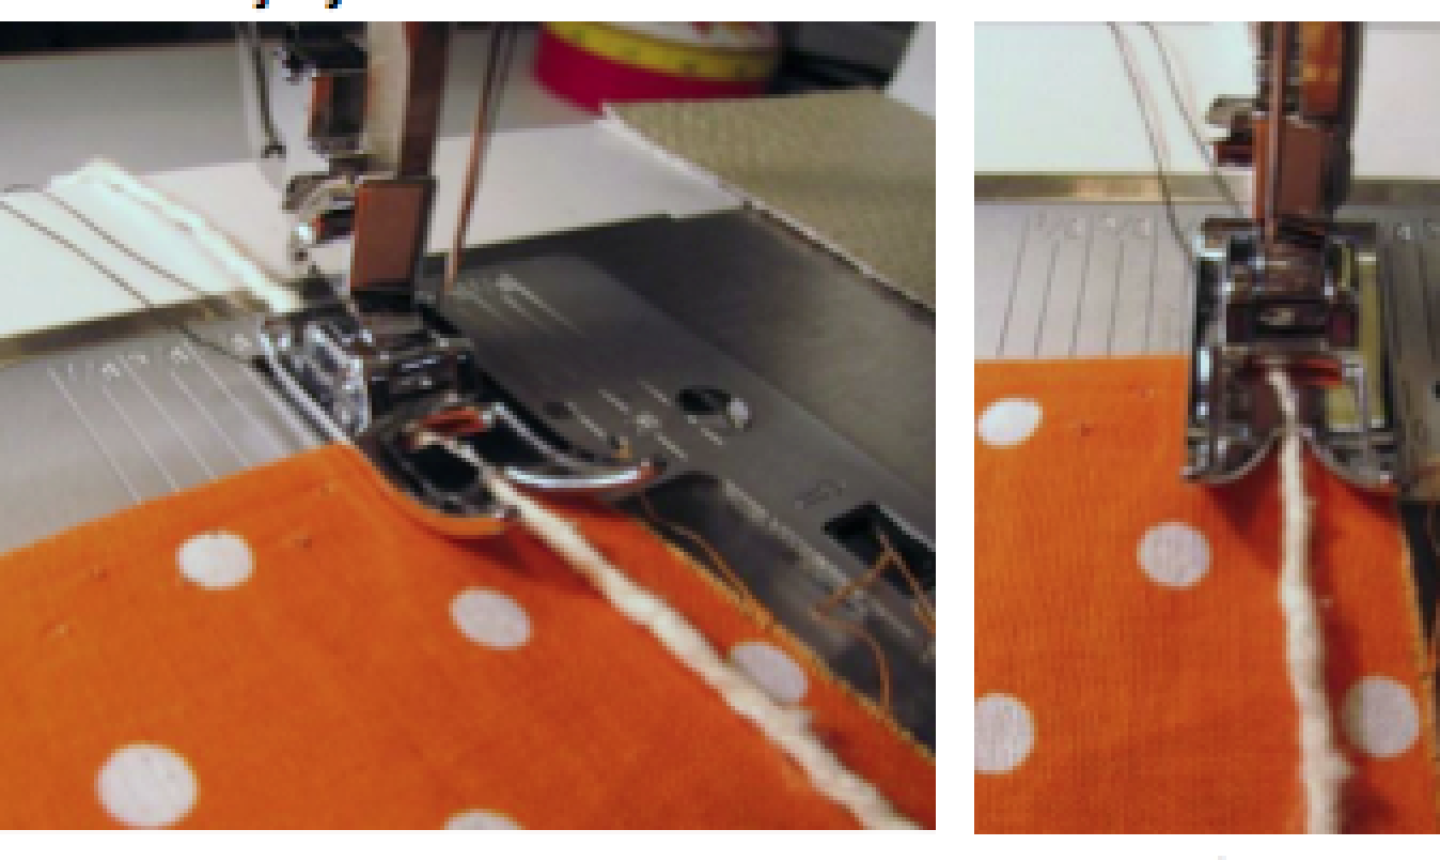
How It Works
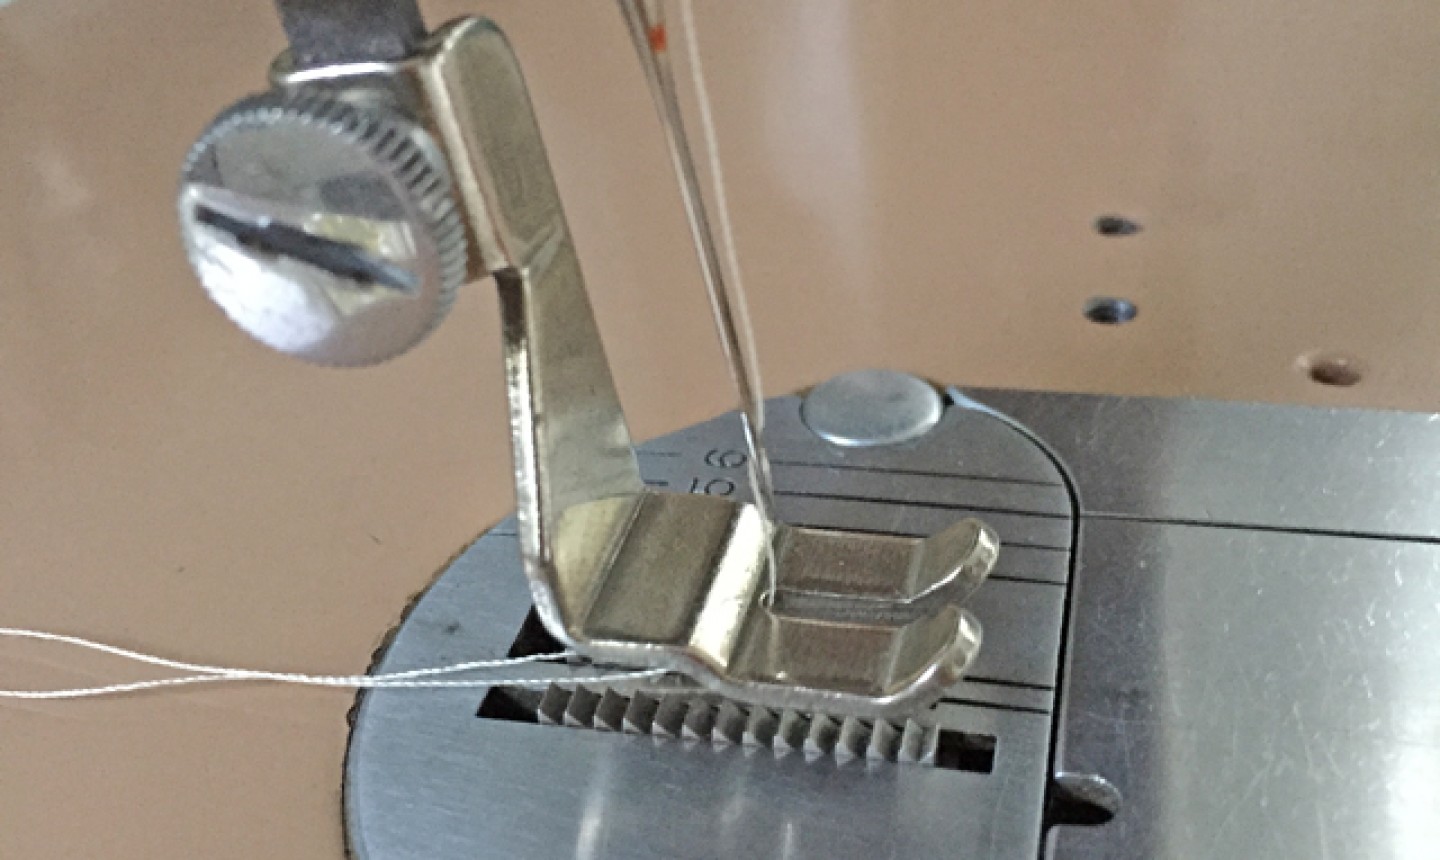
Some gathering feet are meant for a single layer of fabric, which is gathered and then attached to another fabric. Other varieties gather the lower fabric layer while stitching it to a flat fabric layered above. The shape of the presser foot, acting together with the feed dogs underneath the fabric, creates small gathers in each stitch.
Choosing Fabric
The gathering foot works best with lightweight to medium-weight fabrics. For heavyweight materials, use a ruffler or pleater attachment instead.
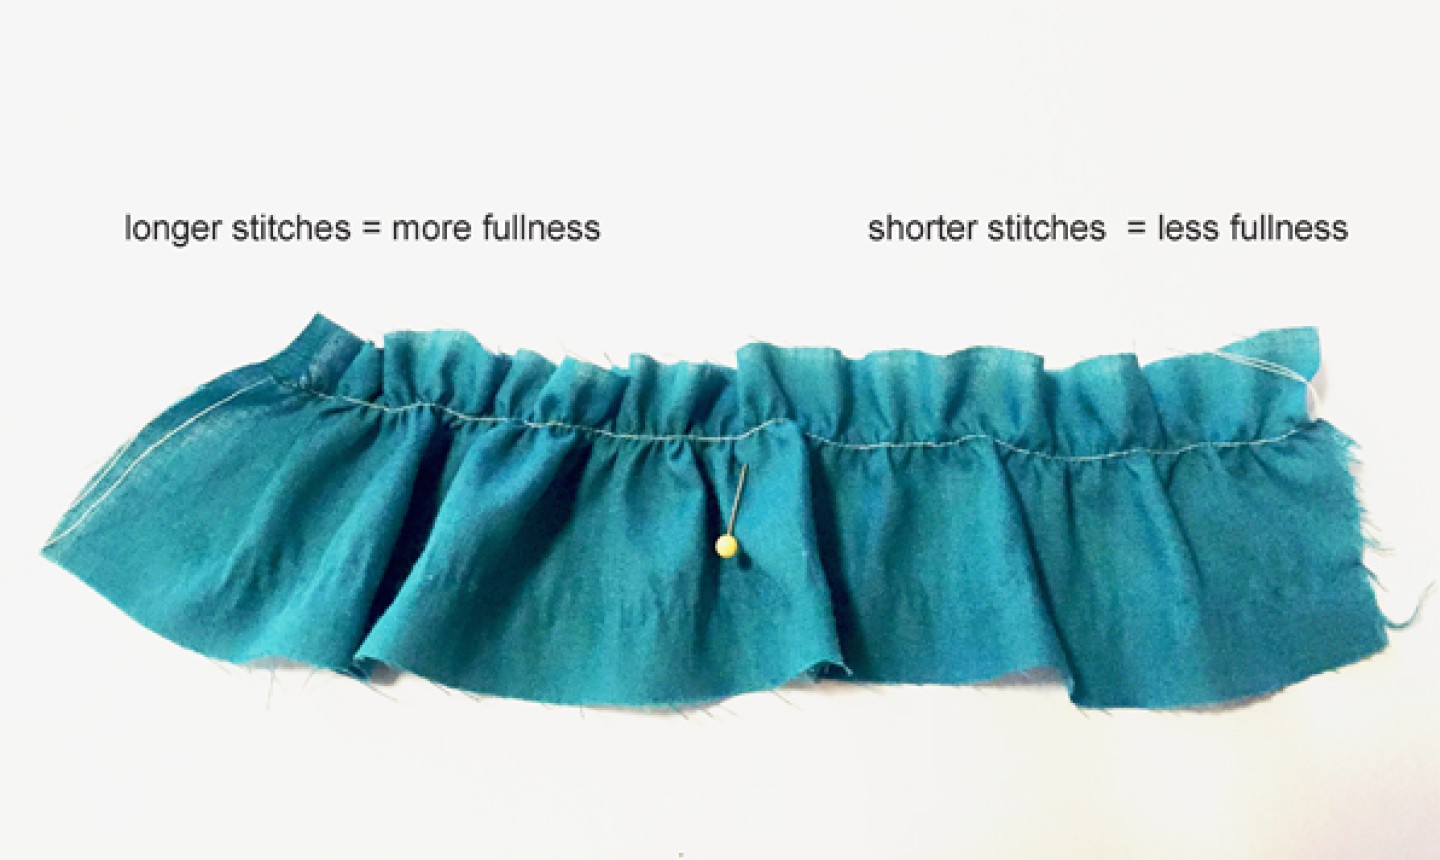
Stitch Length
 \
\
The stitch length determines the size of the gathers. The longer the stitch length, the more fullness is created, as more fabric is drawn up in each stitch.
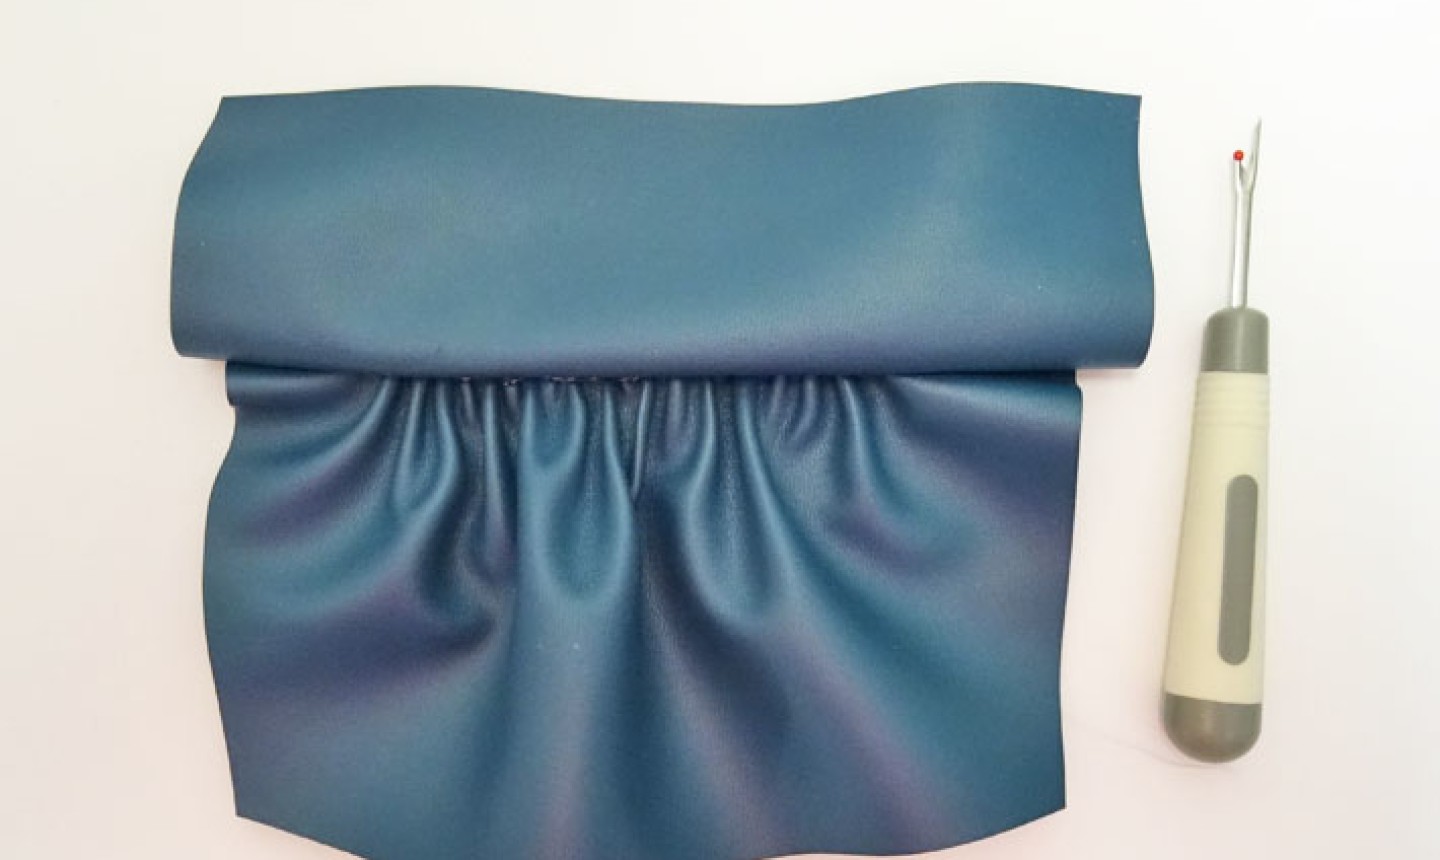
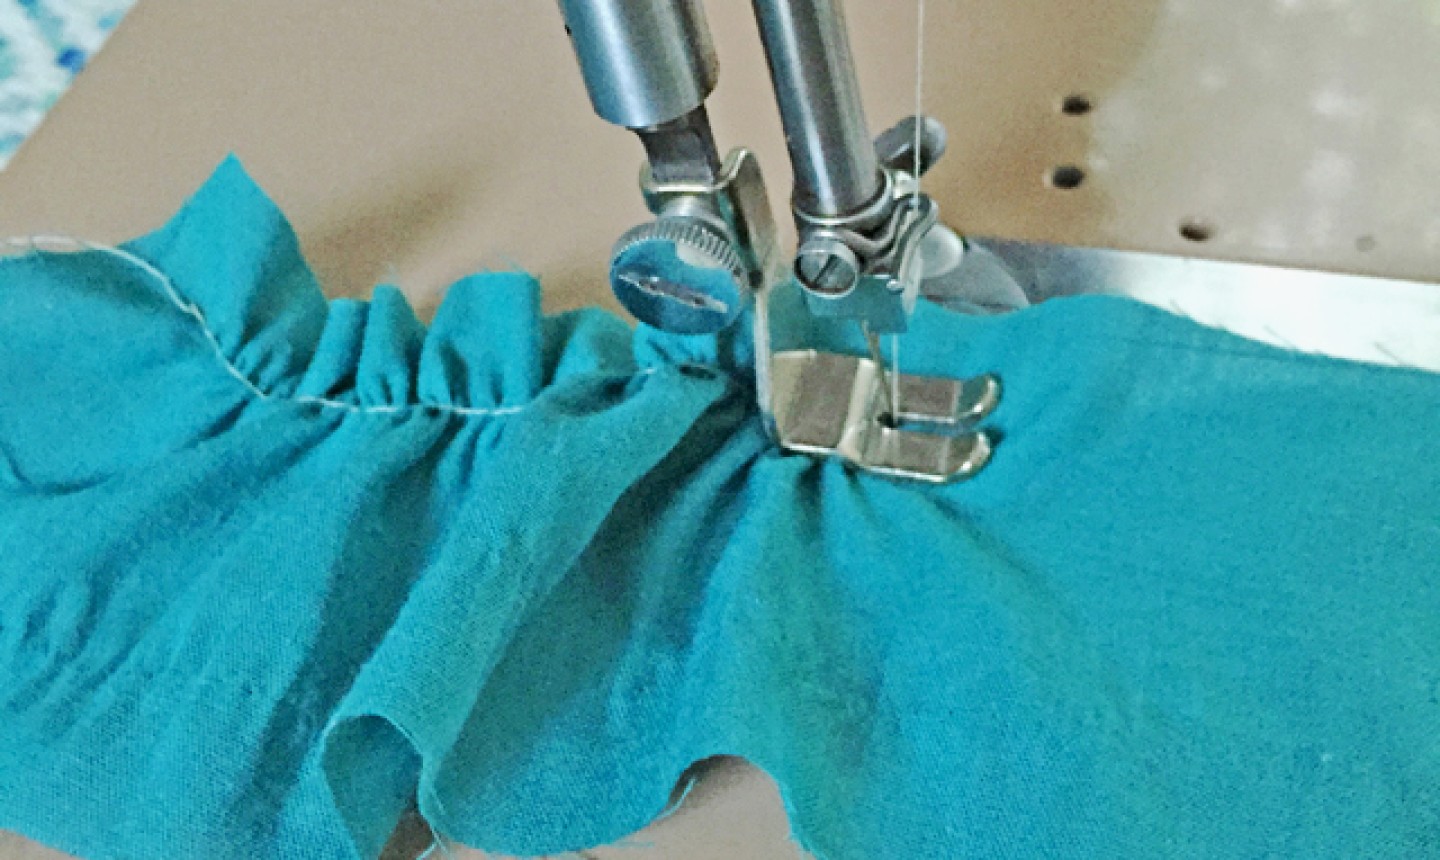
Scrap Testing
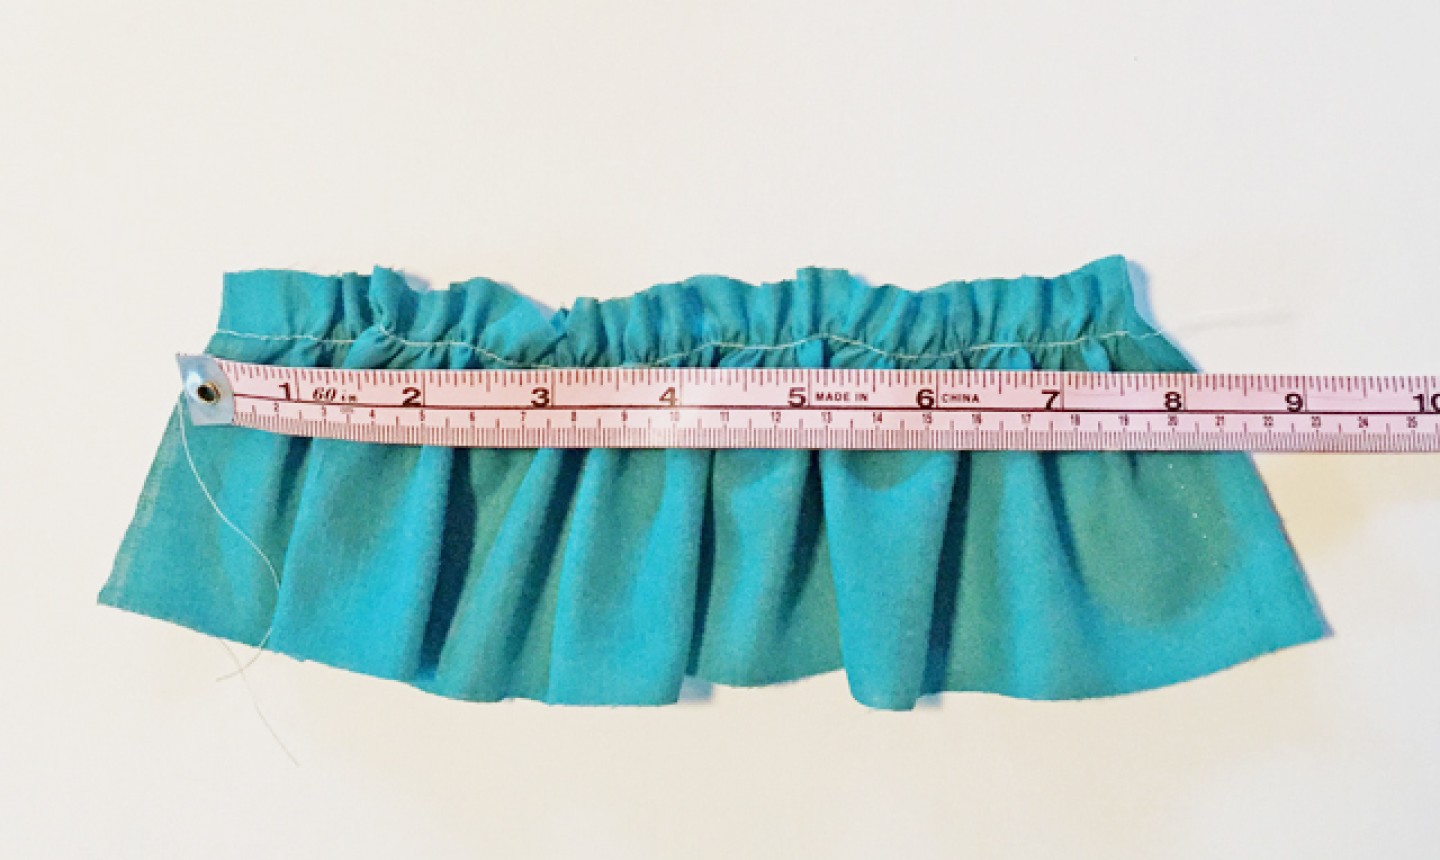
It’s a good idea to test the gathering foot using various stitch lengths to determine what length of flat fabric is required for a specific length of gathered fabric. The piece of fabric shown above measured 16″ long before gathering. Using the longest stitch length setting on the machine, it became about half as long after gathering.

I have been sewing for over 50 years and I thought I knew everything about gathering. Well, no I did not. These are some great ideas. Thank you for teaching an old dog new tricks. :D