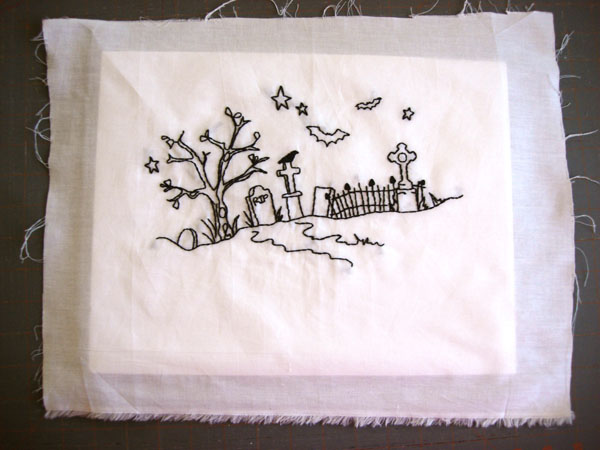
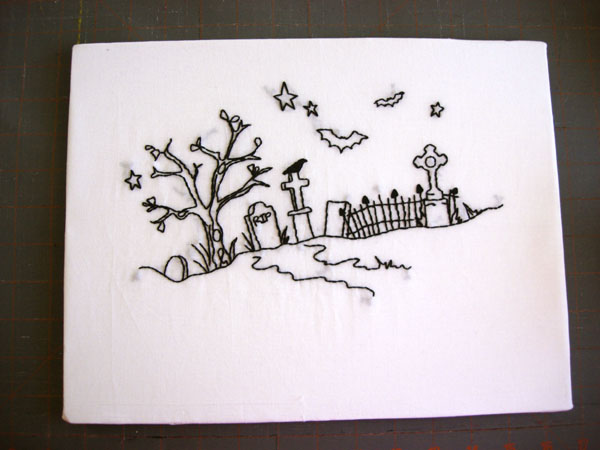
There are times when I finish a piece of embroidery and sew it into a larger project or leave it in the hoop and hang it on the wall. There are other times, when I embroider something, and then don’t do anything with it at all! Which is the case with the piece included in this tutorial — I stitched it for Halloween last year, then let it float around. Awful, I know.
Avoid this mishap by learning an easy way to frame your embroidery.
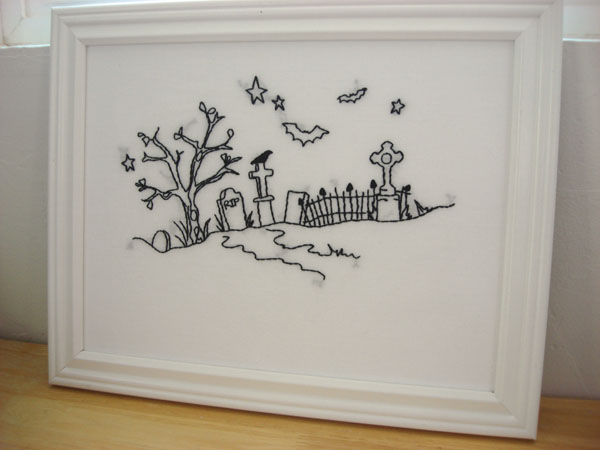
I like to enjoy the hand embroidery I devote time to: A nice frame is a great way to highlight all that time and handwork that goes into a finished stitched piece. I know some of you feel the same way! Today’s how-to post will provide you with all the steps you need to learn how to frame your favorite embroidery projects!
You will need:
- Foam core board
- Pins (sewing or quilting pins)
- Iron and ironing board
- Cutting or self-healing mat (a piece of cardboard works, too)
- Tape
- Frame of choice
- X-acto knife or box cutter
- Embroidered piece of fabric
Step 1:
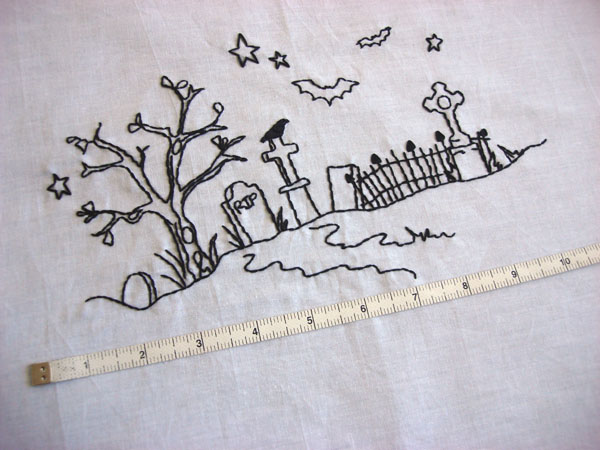
Measure your embroidered piece of fabric and ensure that it is large enough to fit in your frame of choice. Take the measurement of your frame, just inside the lip. Your embroidered piece should extend beyond this length 2″ or more.
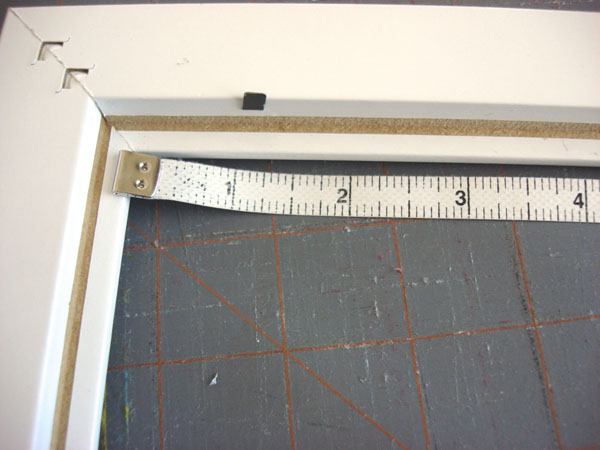
This inside portion of my frame is 10 x 13″, and my embroidered piece is 13 x 15″.

Step 2:
Using the measurement of the frame that you took in step 1, mark the length and width on the foam core. If the frame has a piece of glass, use the glass as a guide, but be careful not to cut yourself. Using a cutting mat and a box cutter / X-acto knife, carefully cut the foam core to your measurements.
Step 3:
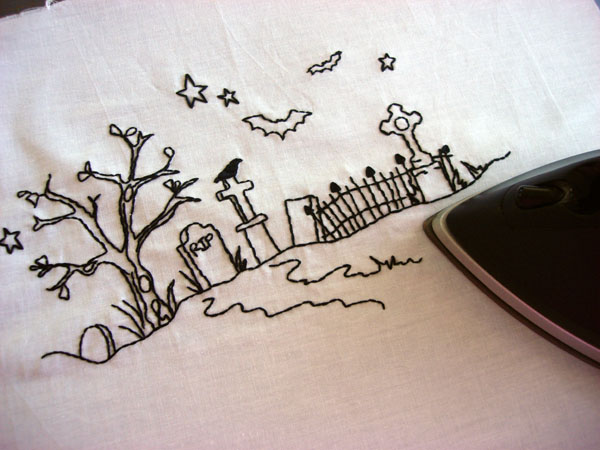
Press your embroidered piece prior to placing on the foam core. I do not recommend ironing directly on stitches as it can warp the embroidery. Iron the front and backside of the fabric, only going around the stitches. If you feel you must iron the embroidery, use a pressing cloth or piece of fabric over the stitches so the heat from the iron is not touching them directly.
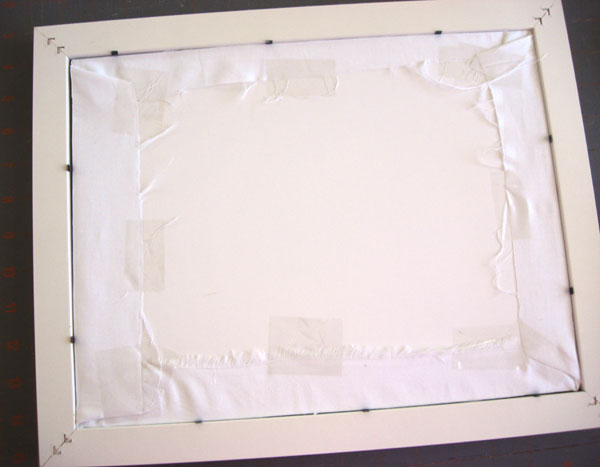
Step 4:
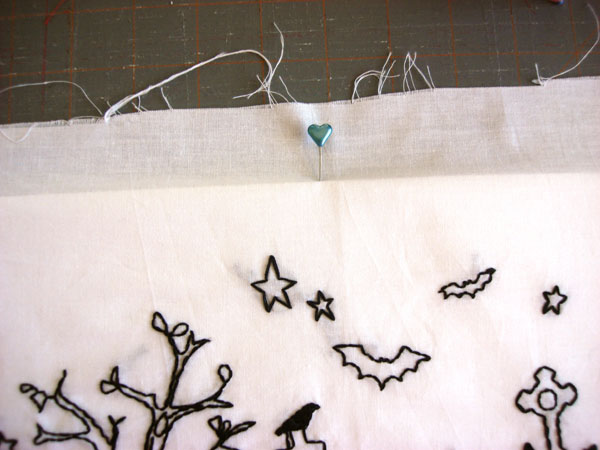
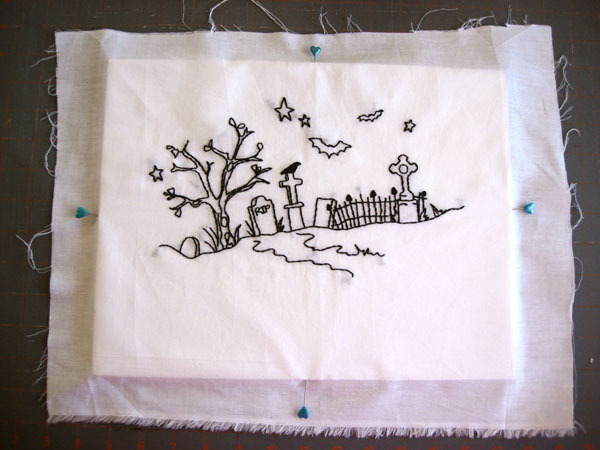
Center your embroidery on the foam core. Take a pin and push it through the fabric and foam core along the center of the top edge. Repeat for all sides making sure to hold the fabric taut. Continue adding pins to each edge, gently pulling the fabric to create a smooth even surface.
Step 5:
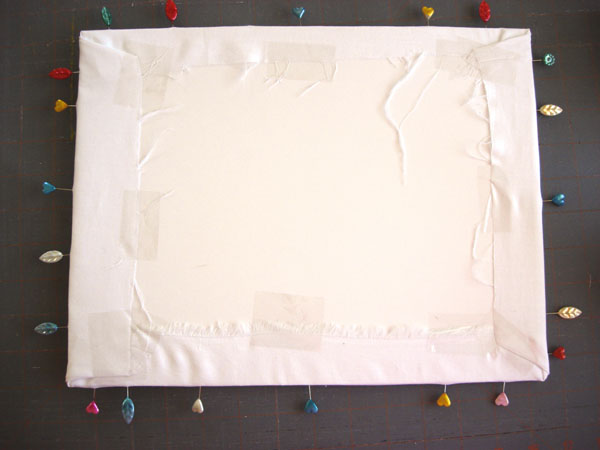
Turn the embroidered piece over and fold the top and bottom edges of fabric over the back of the foam core. Using tape, secure each side to the foam core. Repeat for the side edges of fabric.
*Embroiderer’s note: If you are looking to mount embroidery without a frame, you can use the first 5 steps of this tutorial to place an embroidered piece on foam core.
Step 6:
Place the embroidered piece into the frame. It should fit snuggly. Attach the frame backing.
*Embroiderer’s note: I removed the glass from the frame completely. It is your choice whether you prefer to frame your embroidery with glass or not.
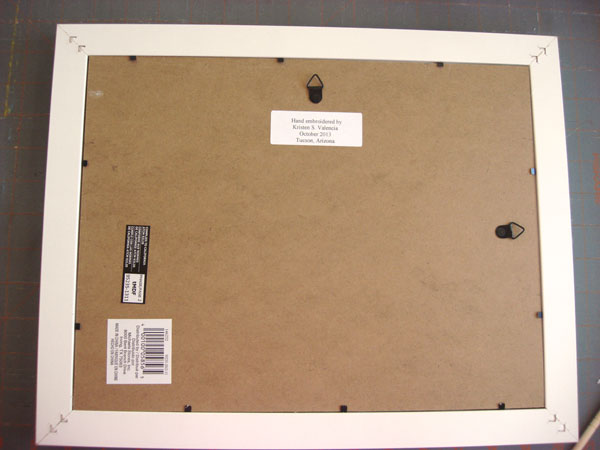
Step 7: (Optional)
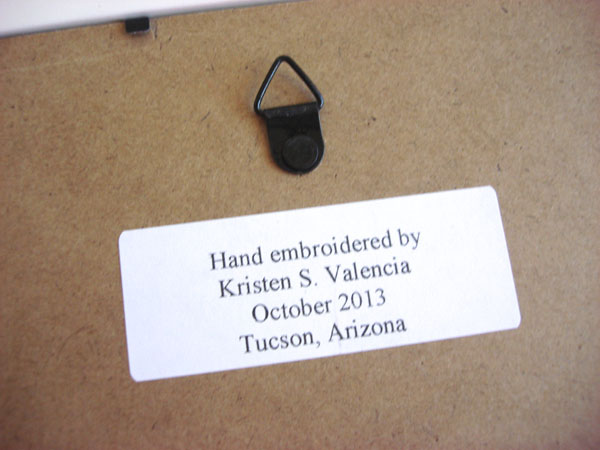
This is an optional step. I did not stitch my signature to the embroidered piece I framed, so I created a label on the computer and added it to the back of my frame.
Step 8:
Display your framed embroidery to enjoy on a daily basis!
Hope you enjoy this tutorial and use it to frame some of your stitched pieces!
This is a very poor way to frame embroidery. It is okay for your first couple of stitch projects while you learn how, however you would never frame a nice piece of embroidery this way. If you doubt me look at the ‘completed’ picture. It is not stretched properly. It is loose and sags. The lady who suggested the lacing technique knows what she is talking about. It would cost close to $200.00 to have this professionally framed. There is a lot more to it than what is described here. It, however, can be done very nicely at home. Matts & frames are available at craft stores, or garage sales. If you follow the right directions it can be done very nicely and will look quite professional if your work doing the framing is to a high enough standard. If it isn’t quite right - do it over, better. You will be very happy with the result. Otherwise it will look like you framed it at kids summer camp. I found out the hard way and have learned to be very fussy in my work to get results that I am happy for anyone to see - both front and back. Lynda
Please don’t use tape on a hand stitched piece. The fabric should be sewn together on the back of foam board with a lacing technique, using cotton thread. There are tutorials online
Do you remove the pins as you frame it, or leave them in situ?