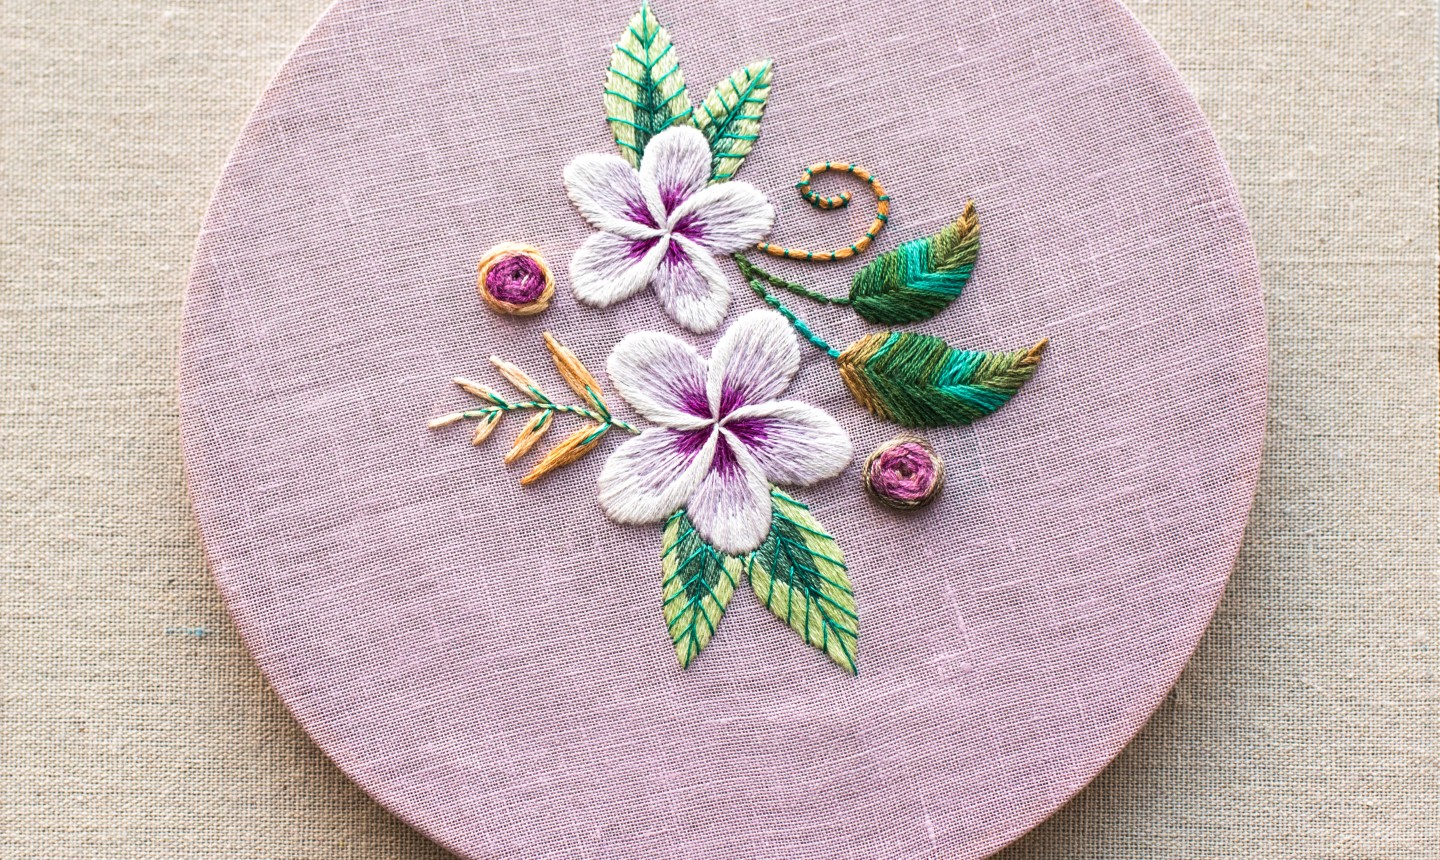
As soon as spring arrives, we've got flowers on the brain — hand-embroidered flowers, to be exact. And we're not gonna stop at just one style. With these techniques, you could make a whole garden!
Woven Wheel Roses
Roses are a classic, but you can mix up the look of yours by changing the size, color and type of floss for a wide range of effects. Pro tip: Variegated , or multicolored, floss gives a unique ombre look without the extra work of switching up your thread.
French Knot Rosettes
Whether you make single knots or a bunch of clustered ones, these little guys are a great way to fill space and add tiny flower buds. The secret to making them bigger or smaller: how many times you wrap your floss around the needle. That's it!
Long and Short Stitch Flowers
These stitches are super easy to master, since they're basically just a bunch of straight stitches in various lengths. But the beauty is in blending the colors to form a flower with tons of depth and dimension.
Wired Slips
Stumpwork is any embroidery that's raised off the surface of the hoop, and wired slips are a specific technique that's perfect when you want those petals to pop. Learn to secure a delicate wire border to fabric, then fill it in with thread to create the dramatic 3D effect.
Mixed Media Flowers
For this more free-form style, experimentation is the name of the game. Start by fusing fabrics to your background, then layer on beads and surface stitching until you've got a look you love.
Ribbon Rosettes
When you want a traditional look but still want to play with materials, grab some good ol' ribbon. These rosettes are fairly simple to make and look gorgeous atop a more luxurious fabric like velvet.
Satin Stitch Centers
While there's an array of fill stitches to choose from in hand embroidery, satin stitches are the way to go when you need a solid area of color (like a bold center for your bloom). Outlining your shape with a simple back stitch before you fill it is the secret to success with these beauties.

Show me what i can learn