One of the cornerstones of realistic drawing is foreshortening. If you ever learned to draw in one or two-point perspective, than you’ve already encountered this technique. But, if not, then never fear! I’ll introduce you to it today.
Learn how to draw foreshortening with these simple tips!
What is foreshortening?
Before we begin any drawing, let’s first define the term. Foreshortening is a way to render an object or figure that shows its depth. When we draw something that’s foreshortened, it’s basically an optical illusion that’s created because something looks compressed. For instance, if you’re looking down at someone, their head appears much larger than their shoes thanks to your extreme angle. Foreshortening happens when you’re not looking at something from a straight-on view.
Better Drawing With Perspective
Basic ideas for drawing foreshortening
There are three basic ideas for drawing something that’s foreshortened. They all revolve around the same principle, but it’s good to keep each of these key words in mind as you draw.
1. Shape
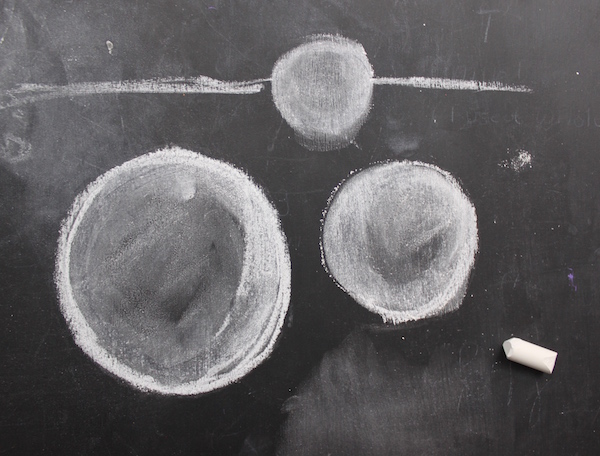
Objects that are closer to us will appear larger than the ones that are farther away.
2. Overlap

Whatever is object is closer to us will appear to overlap whatever is behind it (and therefore hide part of that object).
3. Surface
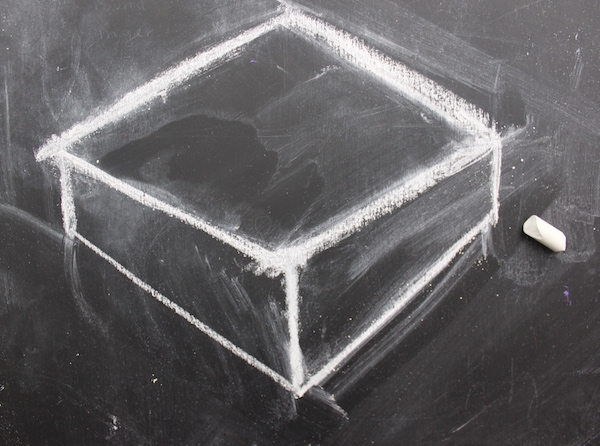
Depending on what surface is near, that’s the one we’re going to see the most of.
Practice with foreshortening
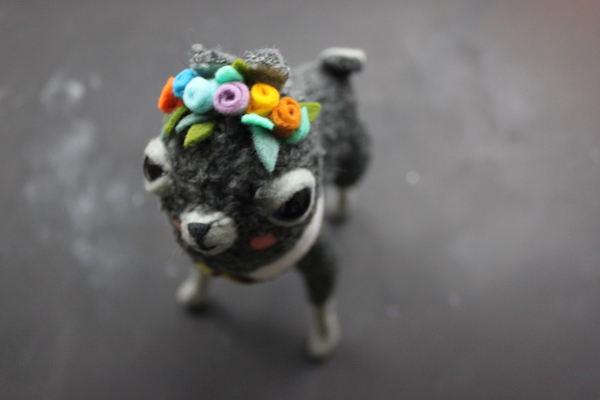
Because foreshortening happens all of the time, it’s easy to practice it. I’m going to do a quick tutorial on how I set up a drawing with foreshortening. I picked something that’s fun to look at and is almost always foreshortened — this plush alpaca doll! It’s so tall that to me, its head always seems gigantic while its body seems so tiny. In reality, the everything is proportional, but it’s an extreme vantage point.
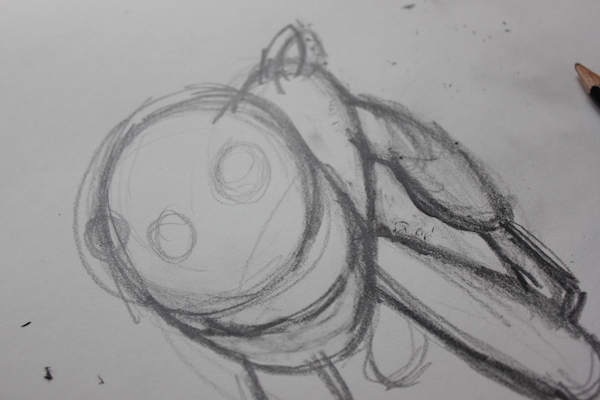
1. Determine the shapes
Before you begin drawing, figure out what kind of larger shapes you’re looking at. The head of the alpaca, for instance, is a circular shape while the body is a small oval.
2. Draw every shape you see and determine which ones overlap
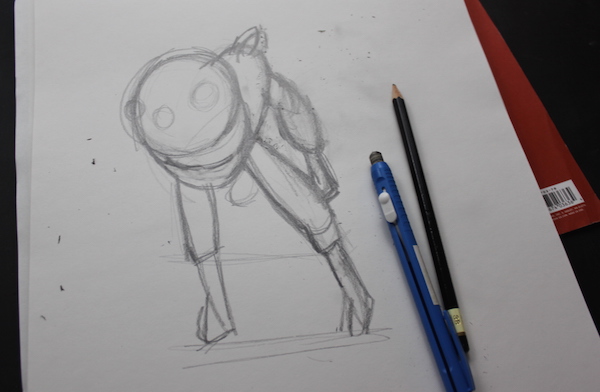
Now that I know what kind of shapes to make, let’s look at how they relate to each other. The head, since that’s the closest to us, is much larger than any other thing I drew. And the closer the legs get to the ground, the more narrow they appear.
Tip: To check your work, consider how large one shape is in comparison to each other. Is the head twice as large as the torso? Do the legs appear twice as long as the head? Weigh all of these things against one another to make sure your drawing is accurate in scale.
This might make your drawing look strange and distorted, but don’t worry. You’re trying to create the illusion that something on a two-dimensional surface is really three-dimensional, and that always looks a little strange.
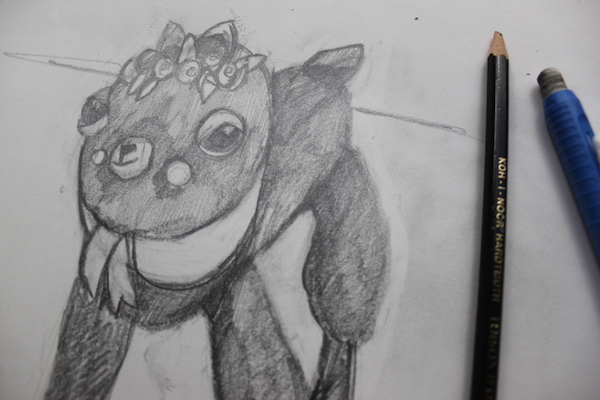
3. Refine your shapes and details
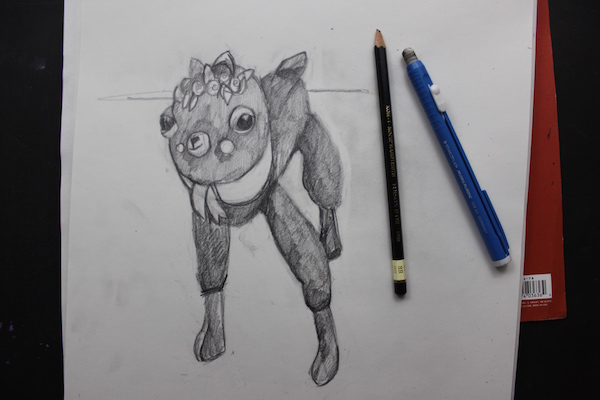
Once you feel good about your shapes, you can start to refine them and add details to your drawing. Shade and finish your work in any way that you like.

Share tips, start a discussion or ask other students a question. If you have a question for an expert, please click here.
Already a member?
No Responses to “Creating Depth: How to Draw Foreshortening”