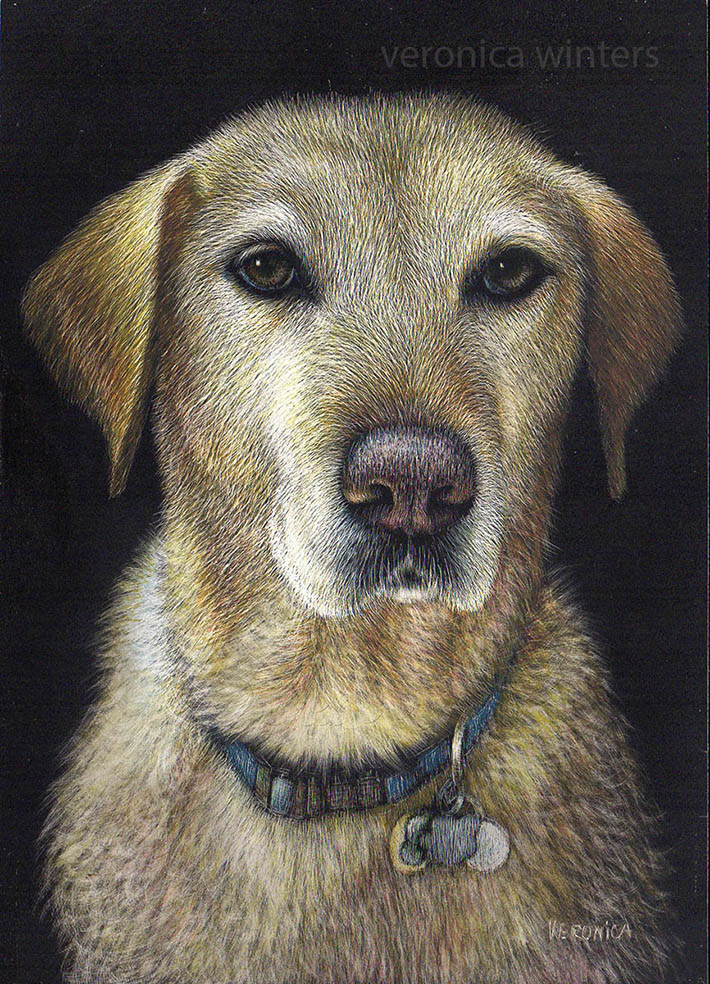
We all love to draw our pets — especially dogs! If you want to draw a realistic depiction of your pup, it all starts with the eyes. Drawing realistic eyes starts with understanding the structure of the dog's eyes and then breaking it down into simple shapes. We'll walk through basic anatomy and then do a step-by-step tutorial so you can follow along.
Understanding the structure of the dog's eye

We've already discussed how to draw cat eyes, but drawing the dog's eyes is rather different. Dogs have their own anatomy, with a crucial third eyelid promptly appearing in the eyes as either white or black. In the sketches above to the right, you can see how the eyeball is covered by the eyelids.
Understanding how the light passes through the eye is also necessary for realistic depiction of the eyes. I've also indicated the direction of light passing through it with an arrow. It marks the position of the highlight on the left side and some reflected light passing through on the opposite side of the eye.
Drawing dog eyes from a photo reference
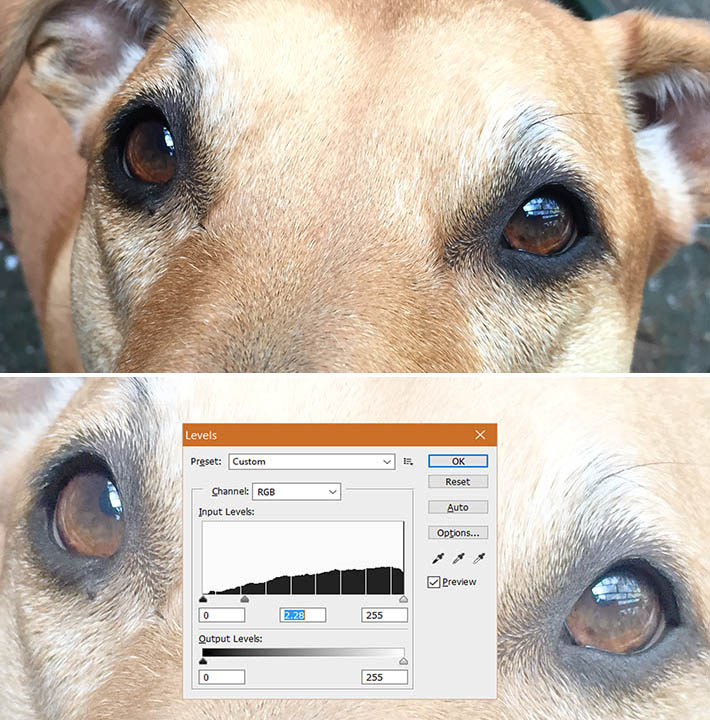
A lot of times, the structure of the eye is hidden when we draw from pictures. The eyes often appear too dark. I strongly suggest using a photo editing program like Photoshop Elements to see and study the details of the eye.
Here's a quick tutorial: In the editing program, select the Levels panel and move the central scroll to the left. The image will lighten up considerably. You can save this file under a different name and refer to it while drawing the eyes. Switch to your regular photo to draw the rest of the dog after that.
How to draw dog eyes step by step
Step 1:
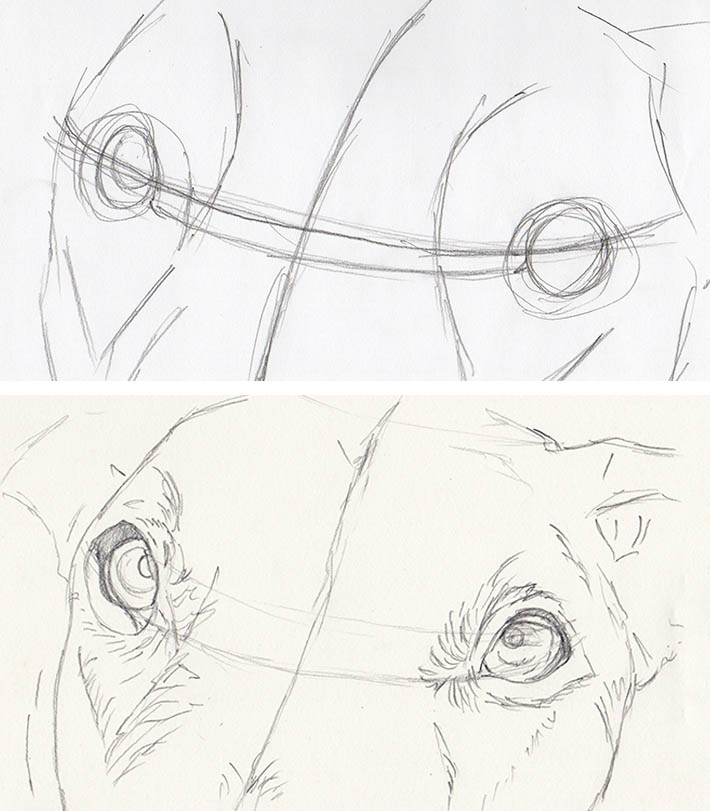
Mark the page with two directional lines that divides the dog's face in half. This helps with the symmetry of the face and lines up the eyes at one level. Pay attention to the fact that the face is round, not flat — the line marking the general position of the eyes is a curve.
After that, put simple circles that define the eyeballs of the dog. Draw the eyelids around them. The upper eyelid always partially covers the eyeball.
With a few strokes, add the general direction of the fur around the eyes. If you want, you can block in the darkest darks to avoid confusing yourself with too many lines in the eyes.
Step 2:

Mark the darkest areas with a soft 6B graphite pencil, paying close attention to the structure of the eye. Even when the eyes are dark, the drawing looks convincing when all shapes are worked out by the artist who understands the anatomy. Shade the deepest darks around the lightest areas, including the definition of the eyelids.
Step 3:
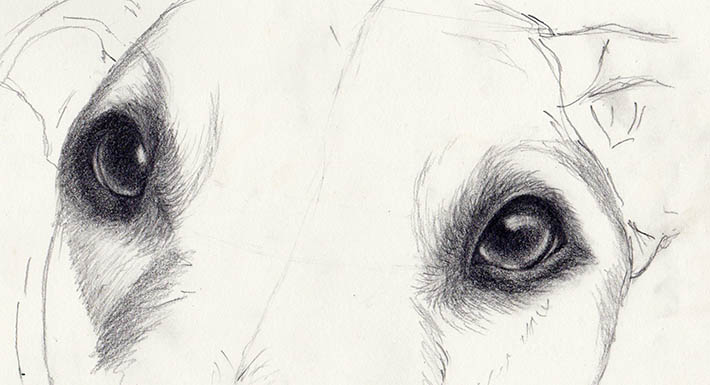
Switch to a less soft pencil like a 2B and fill in the middle tones — the reflected light in the eye. Use a kneaded eraser to pull out soft highlights in the eyes and to do a general clean up around them. Usually the shape and the position of a highlight is identical in both eyes, but here both the shape and the placement of highlights is unique to this dog and the picture. Pay attention to your photograph to notice such details.
Also draw softly and overlap your strokes. The direction of your strokes affects the shape and texture of the animal. While the pupils and irises should look smooth, the dog's fur around the eye curves in a particular pattern with varied hair length. It makes the eyes pop and look realistic!

I found it somewhat helpful. Everyone does it differently. I tried this method and my dog's eyes turned out quite lovely and soulful looking. Thank you for posting.
I don't seem to be able to get lighter colors to show up over dark colors. What brand of colored pencils to u use? Erasing my pencil marks is very difficult too. I'm trying to do light layers. HELP!
Great information for anatomy, thanks.
Nice
I did not find this helpful whatsoever. It's just one of those tutorials that assumes you're a talented artist