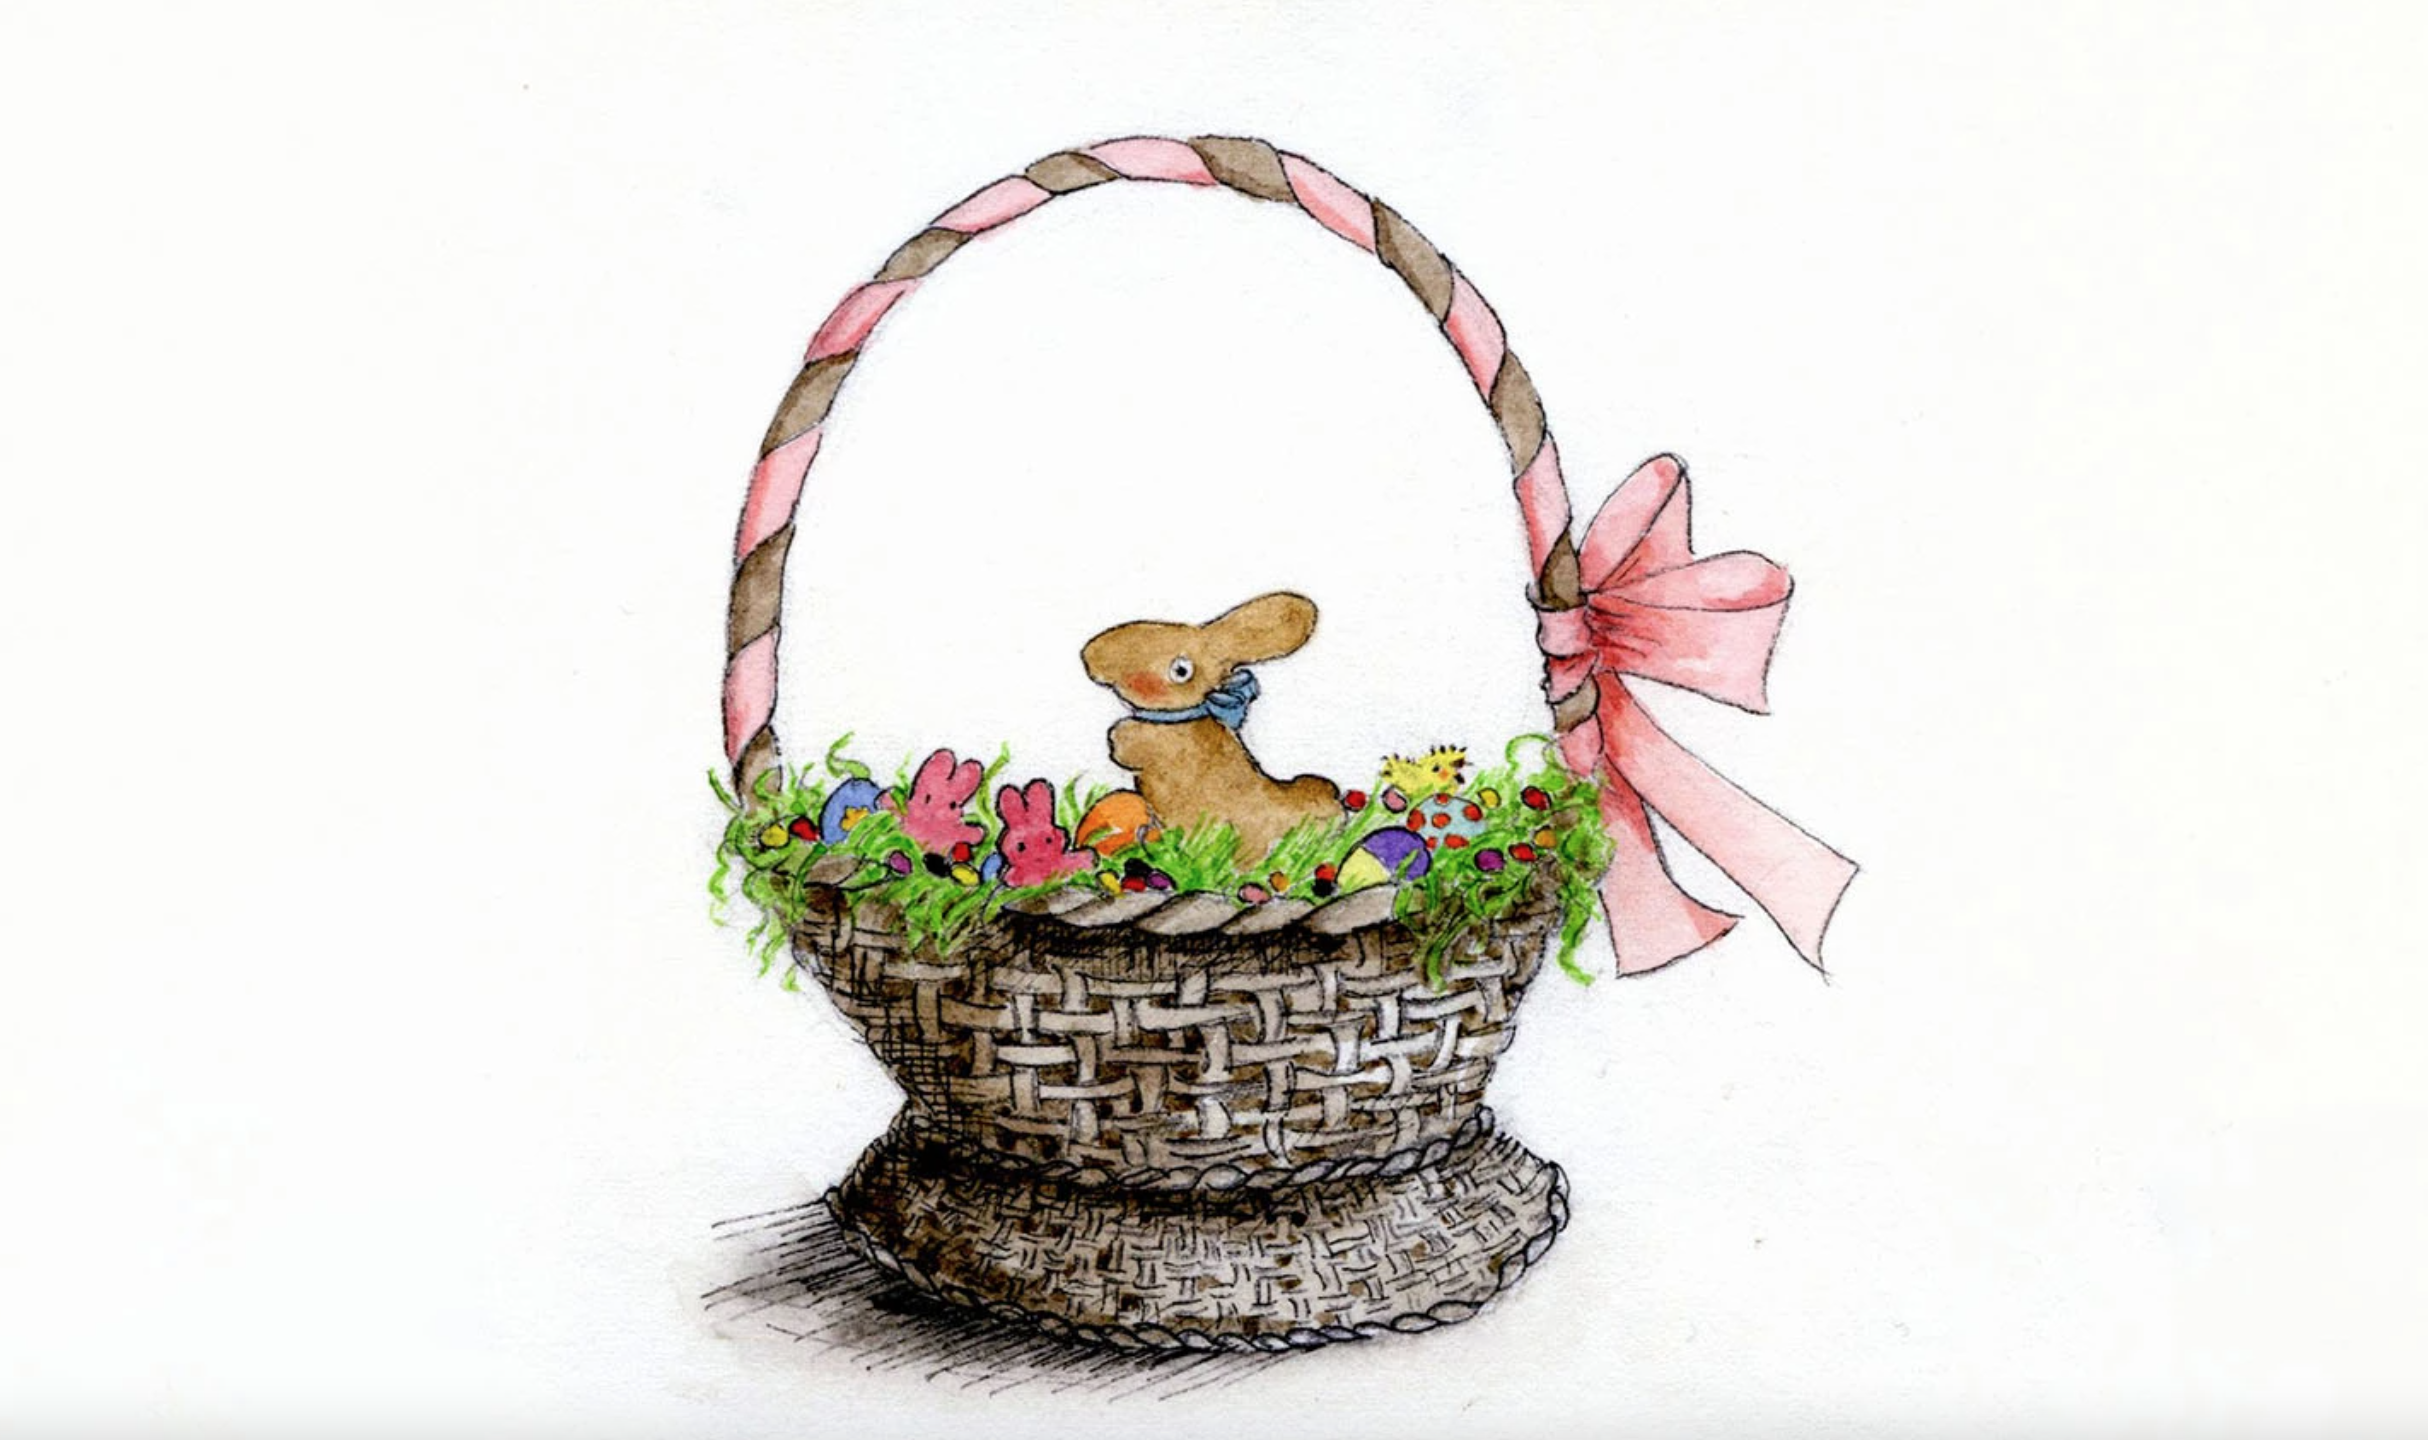
This Easter basket is filled with brightly-colored eggs, pink chicks, jewel-like jelly beans and a big chocolate bunny. What could be sweeter? With this simple tutorial, you can dream up your perfect basket, then bring it to life with watercolor.
Easter Basket
Level: Easy
What You Need
Instructions
1. Sketch the Basket
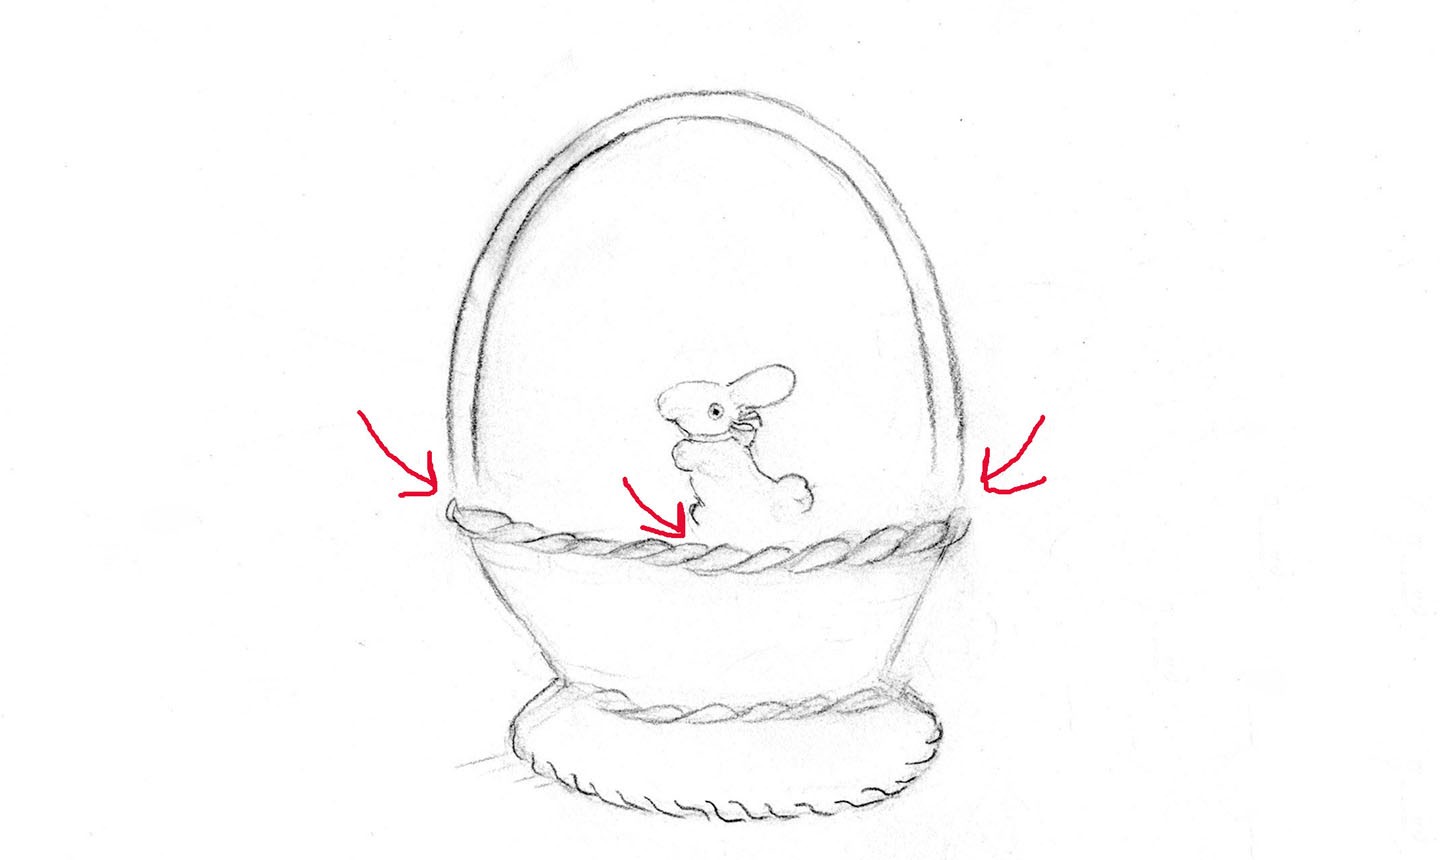
Sketch the basic shapes of your basket. Don’t draw the grass or candies yet, but add the chocolate bunny to the center.
Pro Tip: For now, leave a small gap between the basket and the handle, and the basket and the chocolate bunny. You’ll fill it in later, so doing this will save you some erasing.
2. Detail the Basket Weave
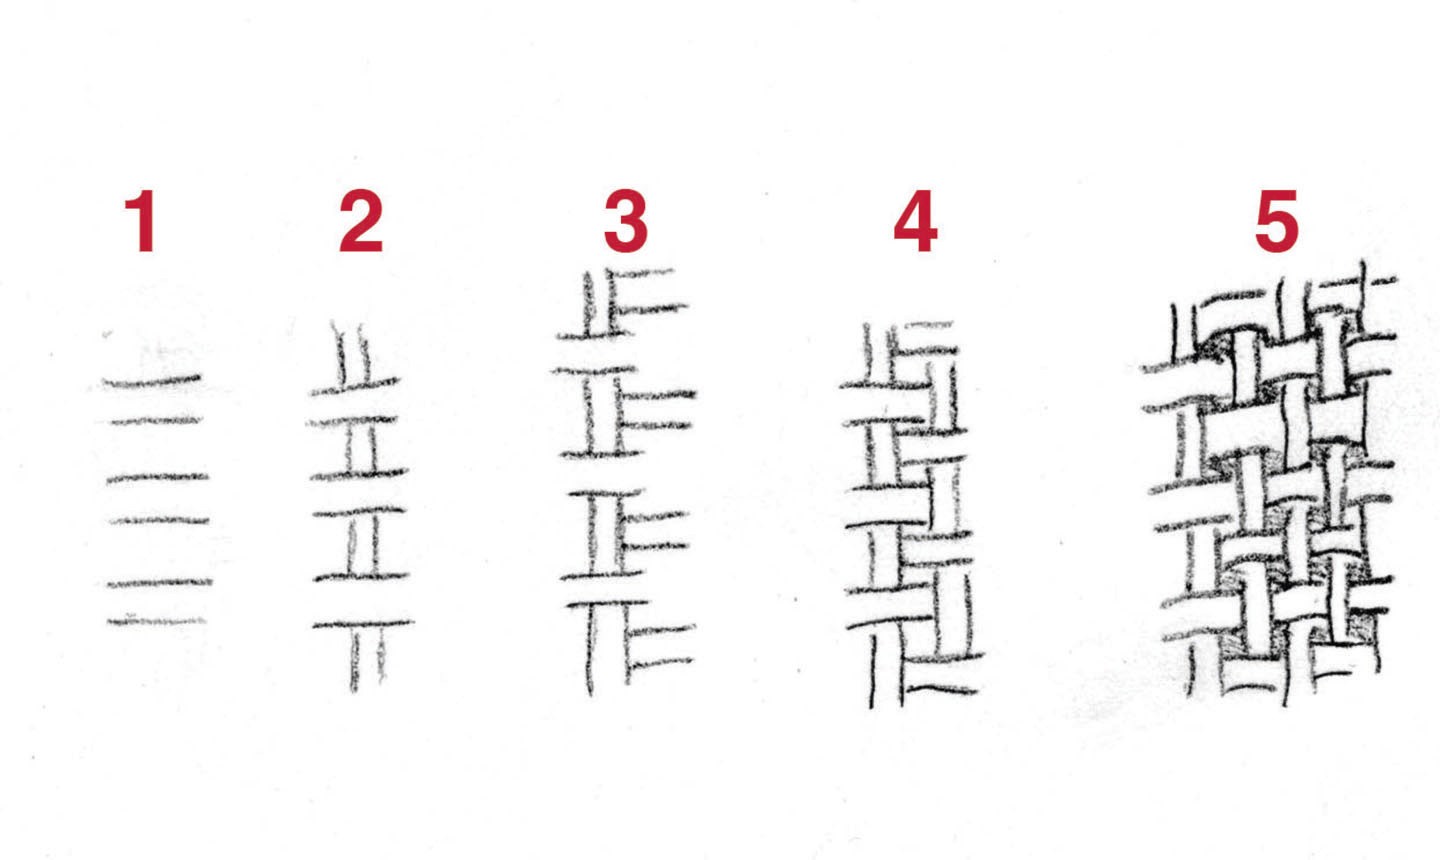
Creating a basketweave texture can seem daunting, but it’s so simple once broken down into the five steps pictured above. Essentially, you build and connect the same two horizontal lines, then vertical lines, continuously.
Pro Tip: Try to match the curve of the lines with the shape of your basket. Don’t worry about keeping the weave perfect — if the lines are uneven, that’s totally fine.
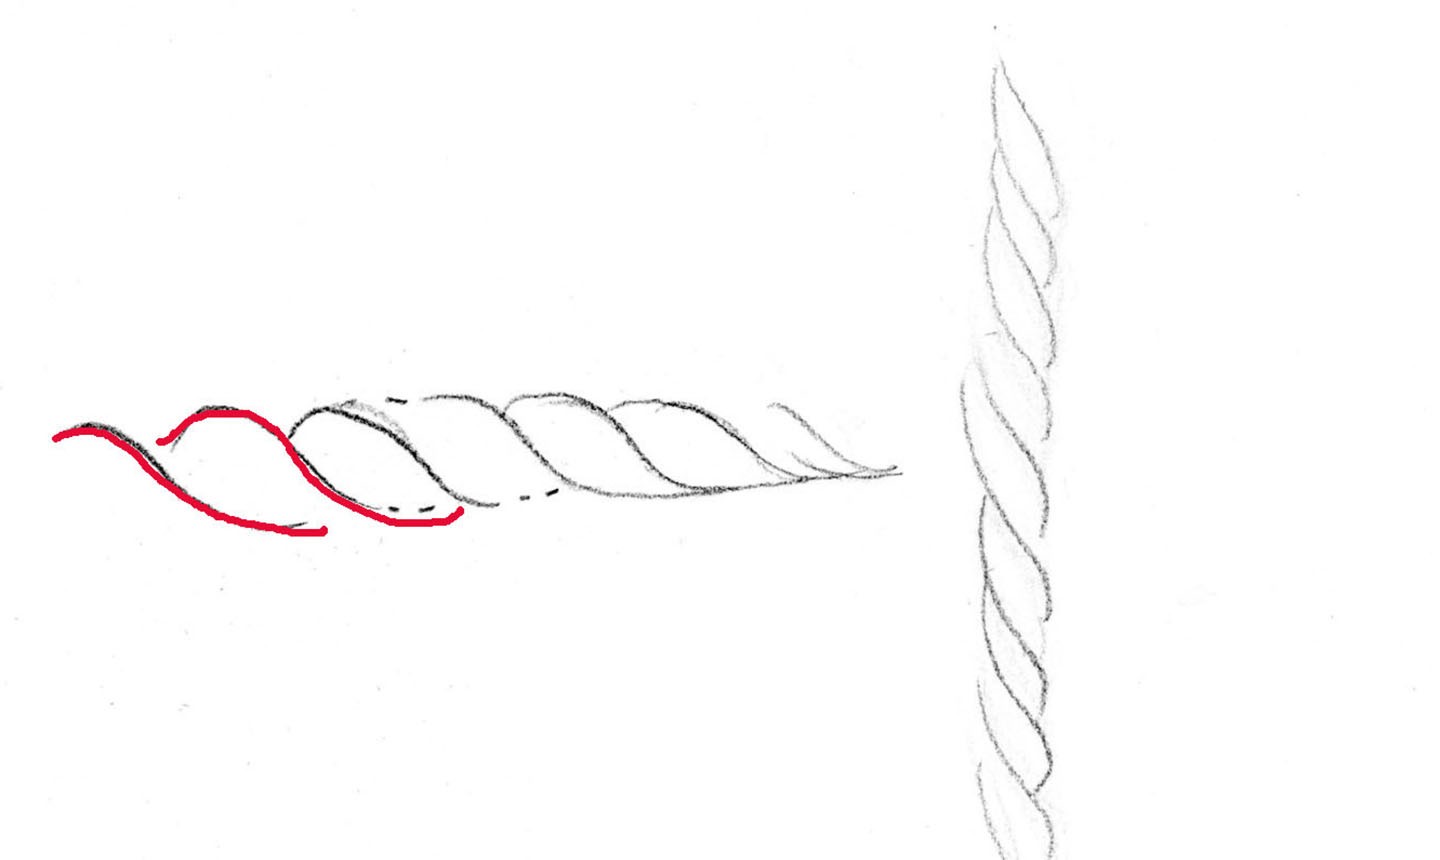
Once the basketweave pattern is finished, add detail to the handle and rims by drawing curved lines that mold into the next sequence.
3. Decorate the Basket
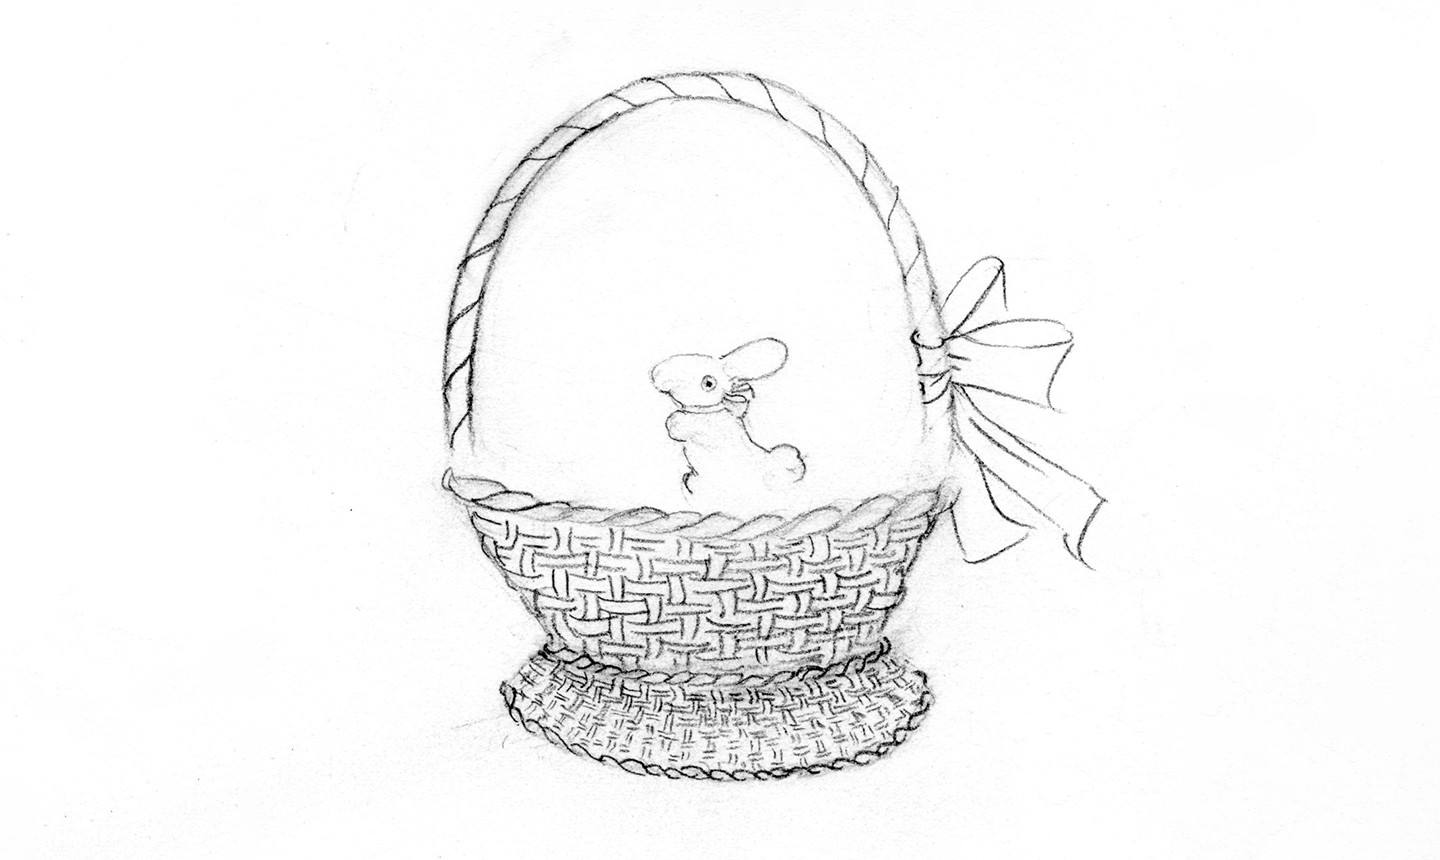
If desired, draw a decoration onto your basket. We added a ribbon tied into a bow.
4. Fill It Up
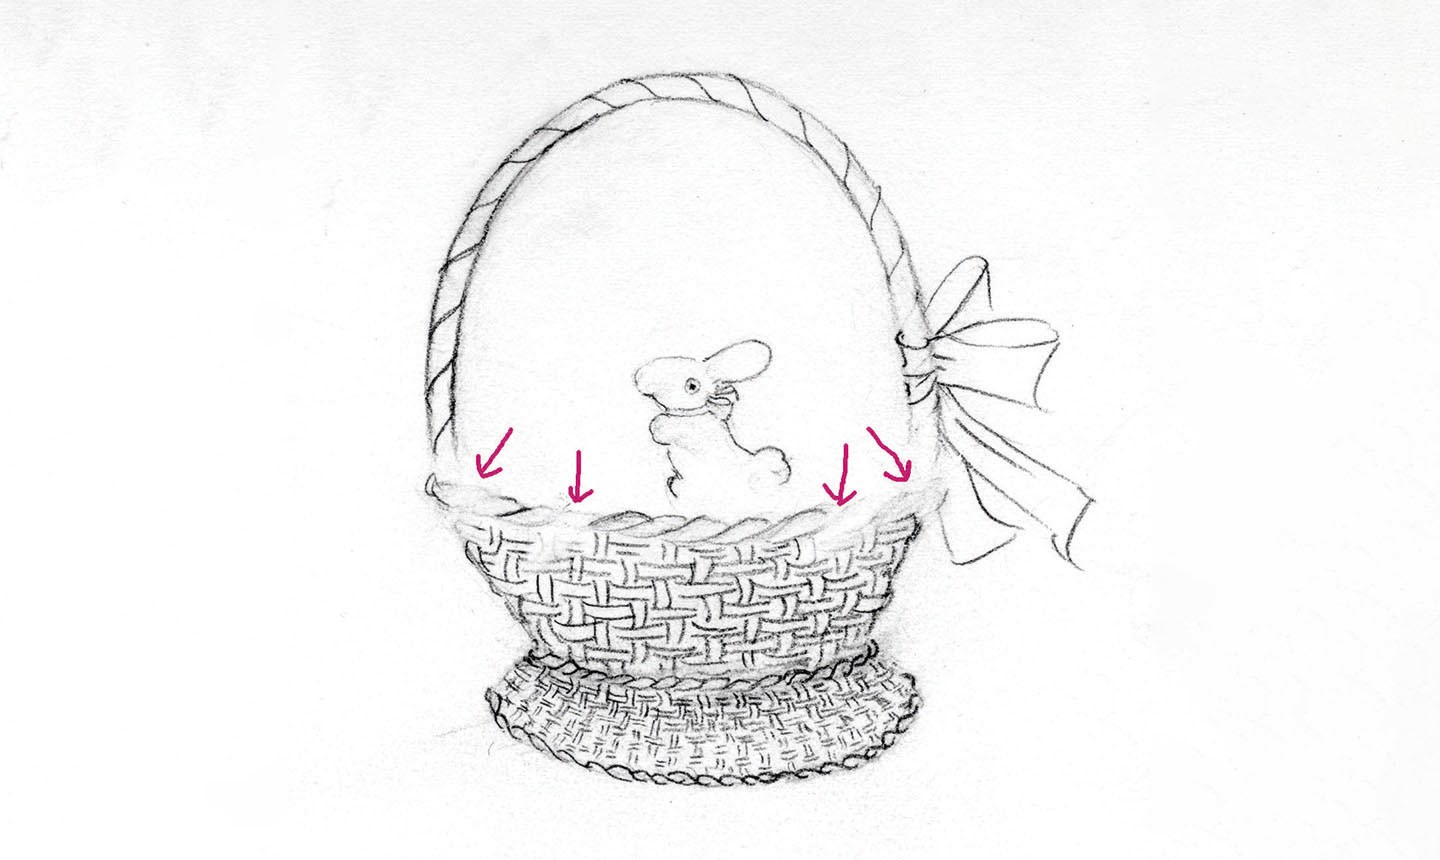
Now begin working on the basket’s contents. First, you want to erase any hard edges along the upper rim of the basket where the grass will spill out.
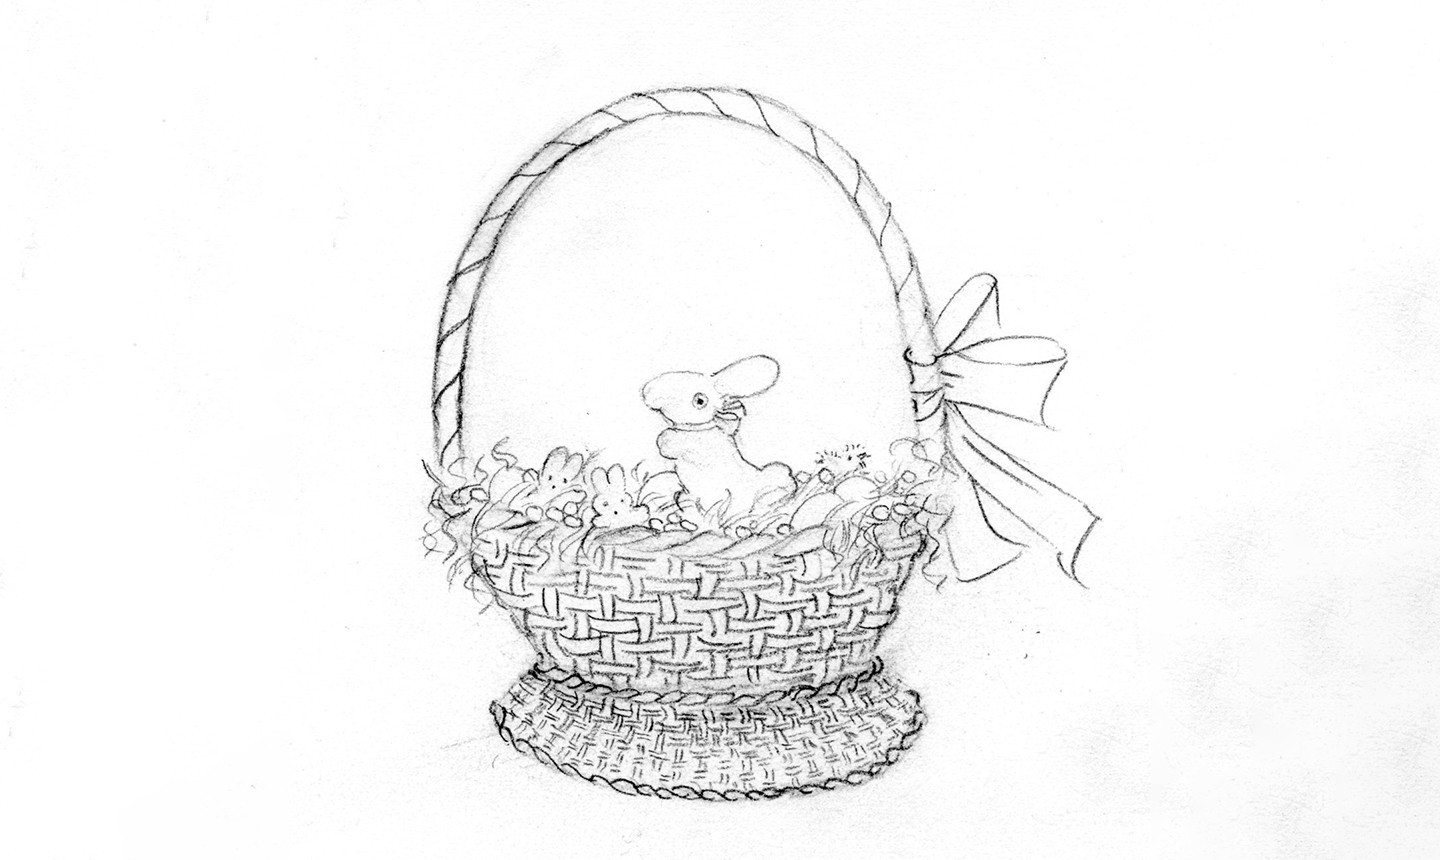
Add any goodies you want — we went with bunnies and candies. Once those are drawn, fill in all gaps with grass, letting it flow over the sides of the basket.
5. Detail in Pen (Optional)
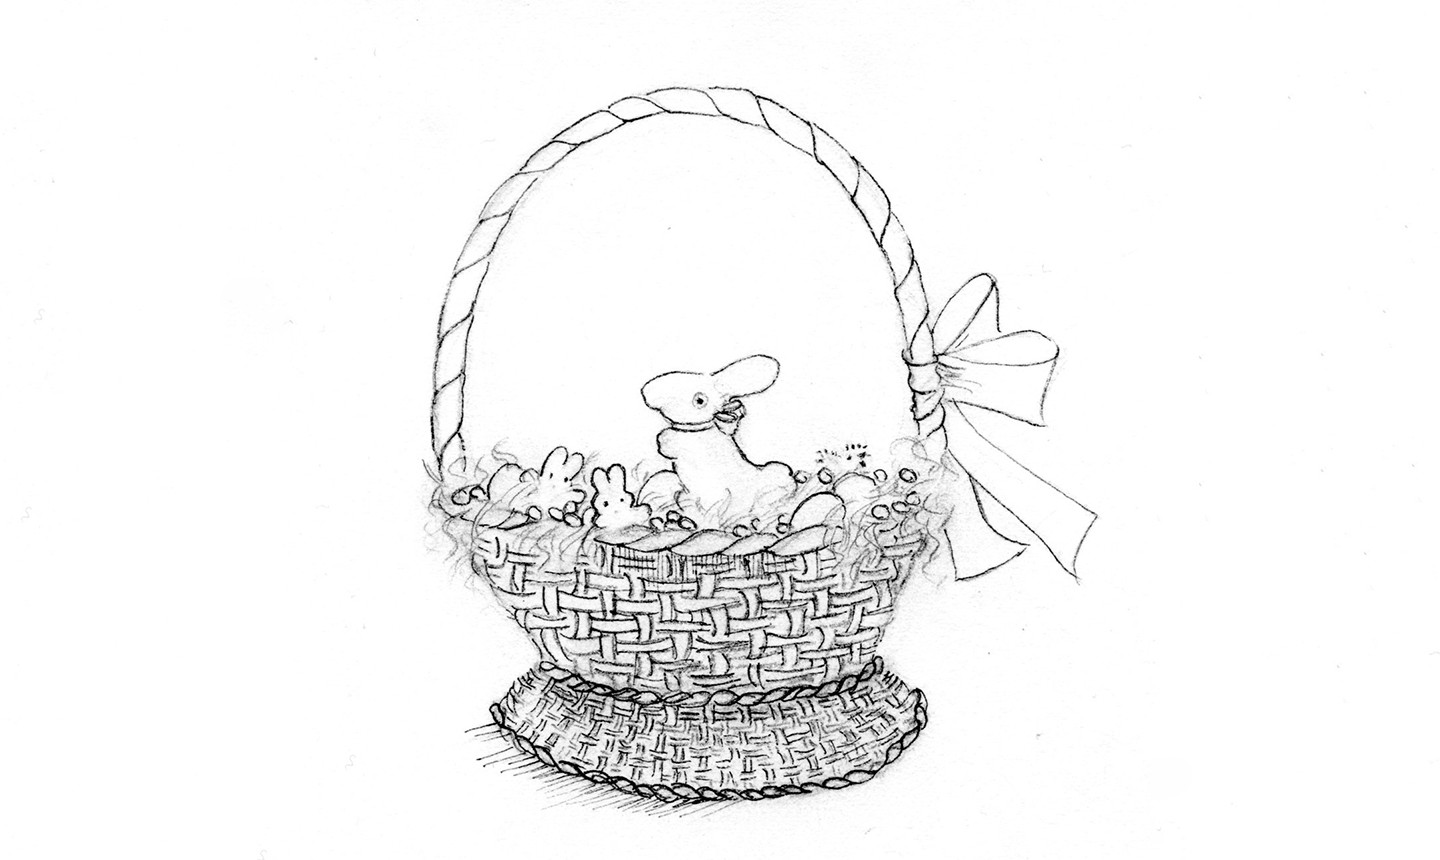
If you want to move straight to adding color, skip this step. If not, outline your final drawing with a black micron pen and erase stray pencil marks.
Pro Tip: Don’t outline your grass in pen, as you want this to be light and wispy. You may even want to lighten your pencil lines with an eraser before applying color.
6. Add Color
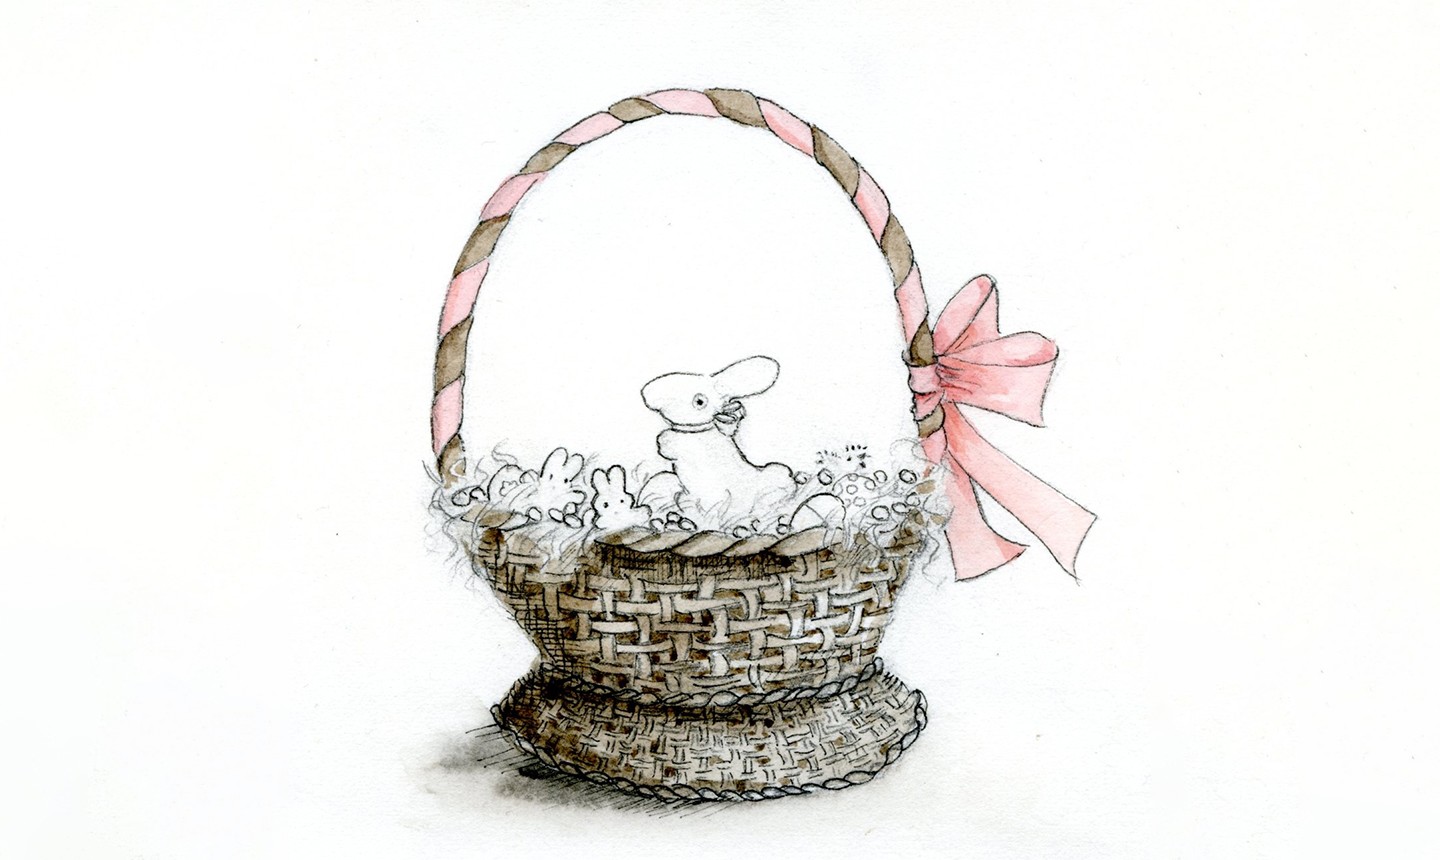
Wet the entire surface of the basket and add a light brown first wash. Leave the areas where the grass spills over the basket untouched.
Good to Know: You can use watercolors or colored pencils to decorate the basket. We used watercolors, but the same steps apply to colored pencils.
Keep adding washes, building the basket’s shades and blending it with a damp brush. For contrast, darken the openings between the basketweave.
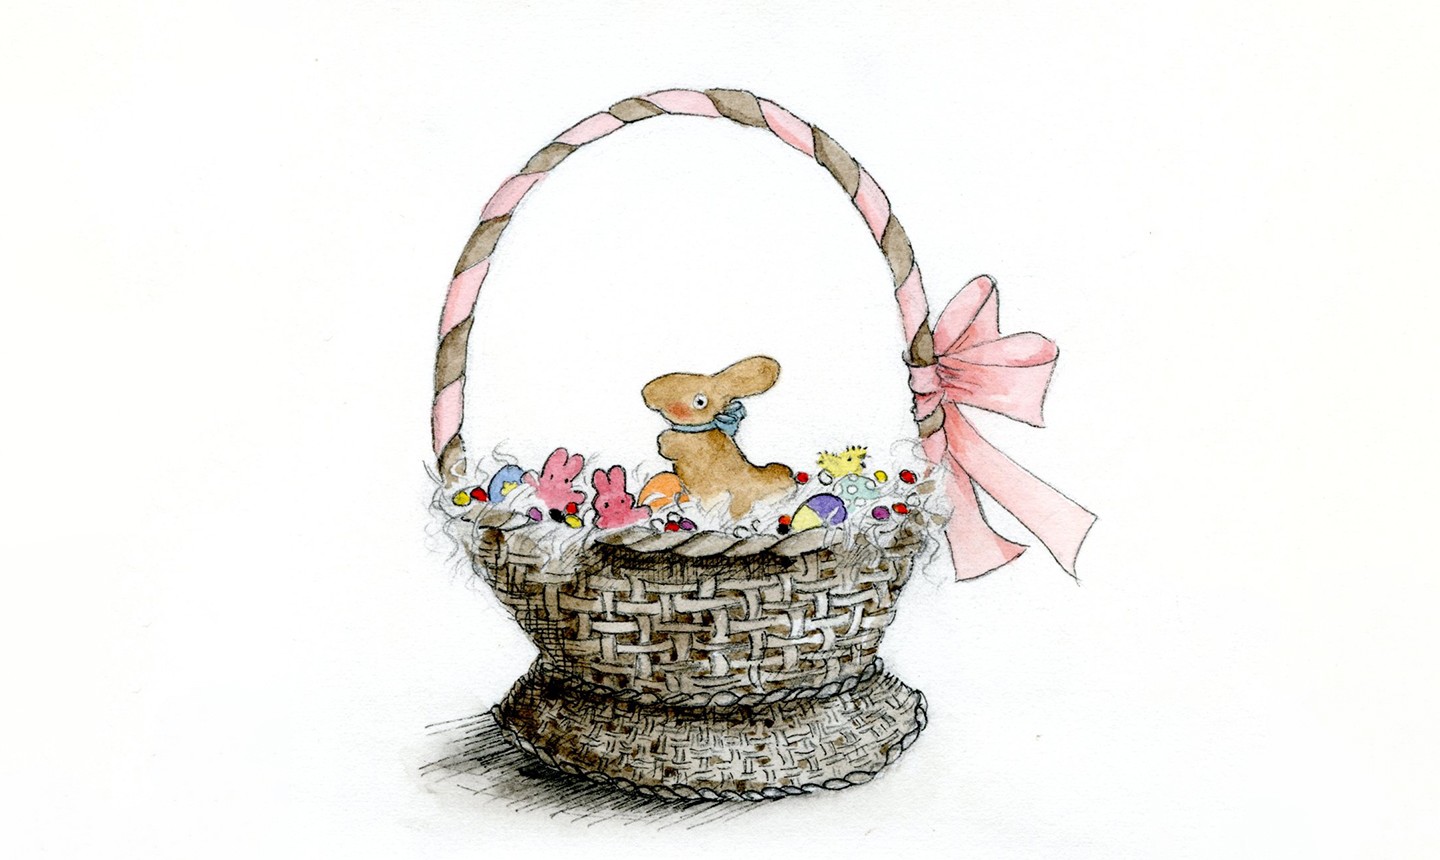
Add color to the contents of the basket. Remember to paint only what you want visible once the grass is colored in.
Color your grass last — we used green, but Easter grass comes in a ton of colors, so use any pastels you want.

Finish the painting with fine details and any additional shading needed to make the basket pop. Now you’ve got some sweet Easter art!

Very nice tutorial! Weaves have been tricky for me, but your instructions helped quite a bit. Thank you!