Read on to learn how to crochet a rug (+ tips for choosing the best materials)
 Photos by Kathryn Vercillo of Crochet Concupiscence
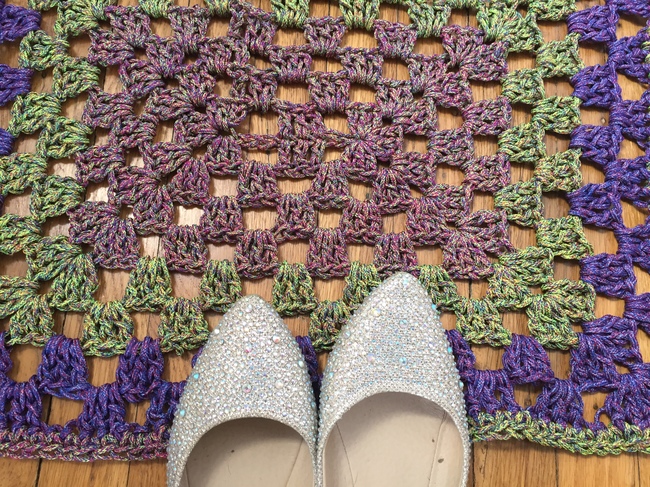
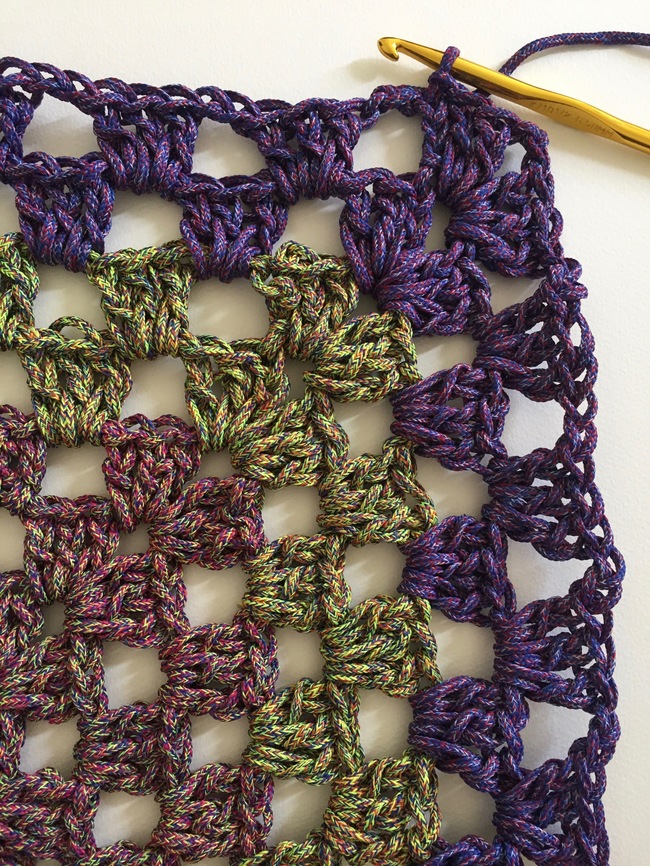
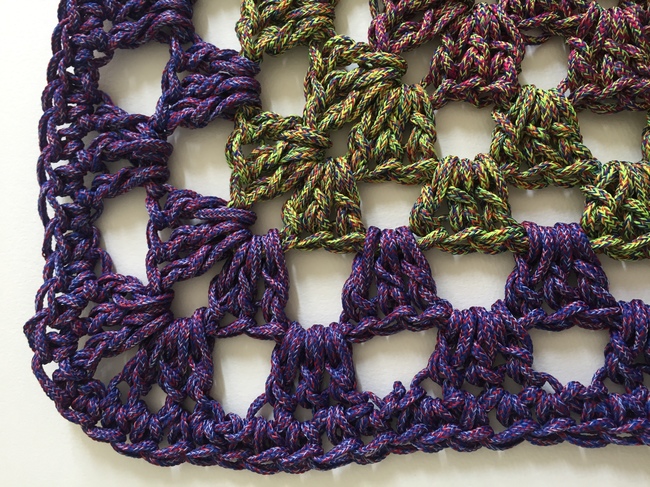
A granny rectangle is an excellent choice for a crochet rug.
The shape lends itself well to rugs for any room. Since it’s worked in the round, you can continue adding rounds until you have the size that you need for any space.
Choosing your materials and rug size
I made my crochet rug using three skeins of Red Heart Cordial yarn (one each in the colors Jazzy, Sprout and All Star) and size K crochet hook. My rug is eight rounds, plus another round of sc edging, which wound up being 17″ x 22″ — a suitable rug for a bathroom or kitchen. If you’d like a larger rug, you can always add rounds. There are a few important factors to consider when choosing your yarn for a crochet rug.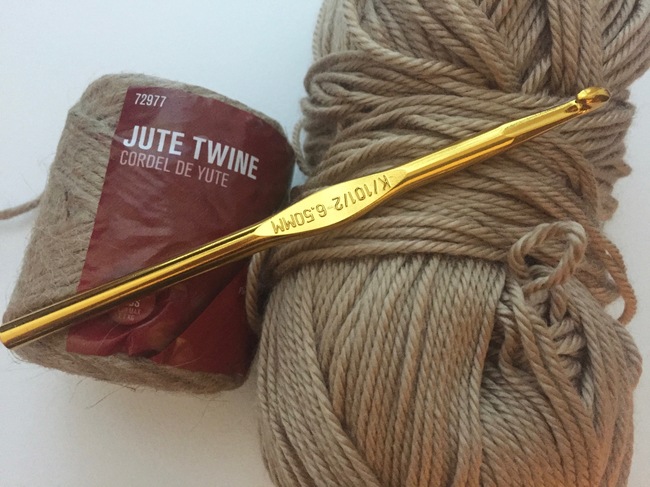
Consider your fiber choice
- Cotton yarn creates a rug that can get wet, so it’s a great choice for a bathroom rug.
- T-shirt yarn is cozy on the feet and perfect for a rug that sits by your bedside.
- Rag rugs (made with recycled or fabric yarn) are durable and can be used both indoors and outdoors.
Consider the weight of the yarn
Bulky is better when it comes to rugs, because you generally want that density under your feet. You should choose a hook that corresponds to your chosen yarn weight; err on the side of “bigger is better” if you’re not sure.Make it non-slip
A non-slip rug is essential, especially in high-traffic areas or on slippery floors (such as in the kitchen or bathroom). Fiber can affect slip-factor — acrylic is more slippery than jute, for example. However, you can make any crochet rug non-slip with additional materials.- Crochet designer Lilla Bjorn has some great ideas for making a rug non-slip by adding non-slip area rug pads, anti-slip spray or silicone/ latex to the back of the rug.
- Over at her blog Moogly, instructor Tamara Kelly shares 7 Great Ways to Make Slippers Non-Slip, many of which can be applied to rugs. Tips include using puffy paint and Plastic Dip on the back of your rug — genius!
How to crochet a granny rectangle rug
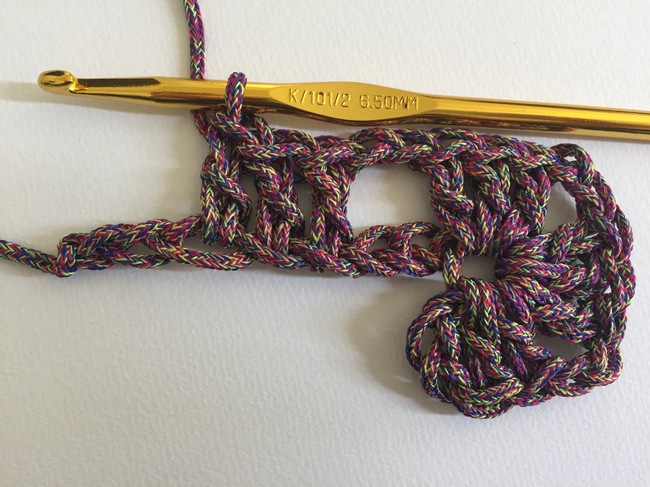
If you already know how to crochet a granny square, granny rectangles will be a breeze. Just like a granny square, you’ll create corners of 3 dc, ch 2, 3 dc. In between the corners you’ll create ch 2 spaces, and you’ll make 3 dc into those ch 2 spaces. (Sounds familiar, right?) Start by making 12 chains.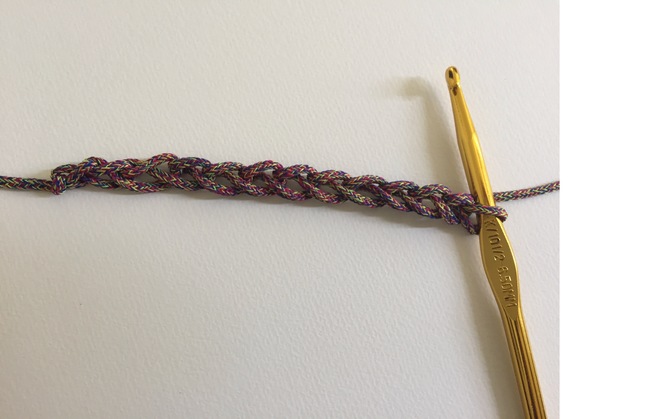
Round 1:
Dc into fourth chain from hook. In the same space, make 1 dc, ch 2, 3 dc, ch 2, 3dc.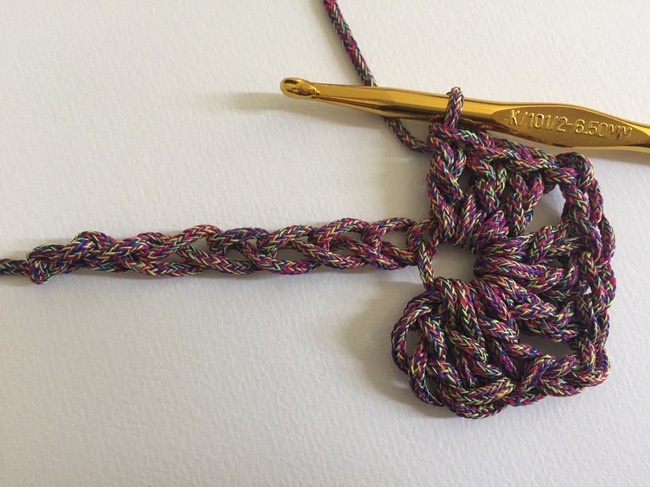 As you work, the first stitches will be pushed down. By the time you’re done with this step, you’ll have a pair of corners.
To continue around the row: Ch 2. Skip 2. Dc into each of the next three stitches.
As you work, the first stitches will be pushed down. By the time you’re done with this step, you’ll have a pair of corners.
To continue around the row: Ch 2. Skip 2. Dc into each of the next three stitches.
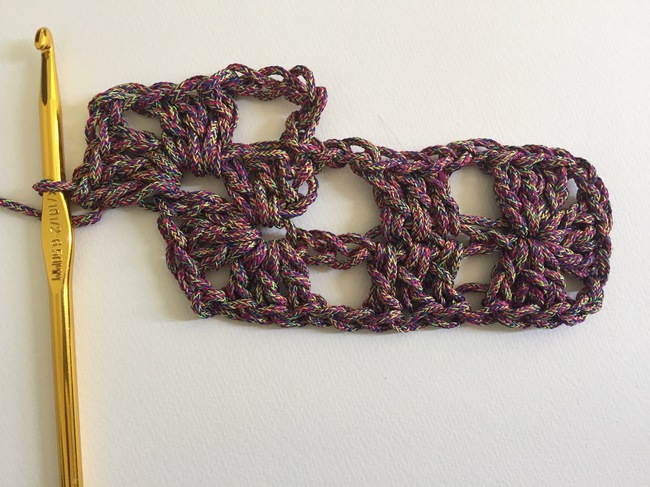
 Ch 2. Skip 2. Now you should be at the end of the chain, where you’ll make another set of corners.
Work all of the following into the last stitch: 3 dc, ch 2, 3 dc, ch 2, 3 dc.
Ch 2. Skip 2. Now you should be at the end of the chain, where you’ll make another set of corners.
Work all of the following into the last stitch: 3 dc, ch 2, 3 dc, ch 2, 3 dc.
 Just like before, working this many stitches into one stitch forces the work around the corner. Now you’ll work the rest of this round on the opposite side of the starting chain.
Ch 2. Skip 2. Dc into each of the next three stitches.
Just like before, working this many stitches into one stitch forces the work around the corner. Now you’ll work the rest of this round on the opposite side of the starting chain.
Ch 2. Skip 2. Dc into each of the next three stitches.
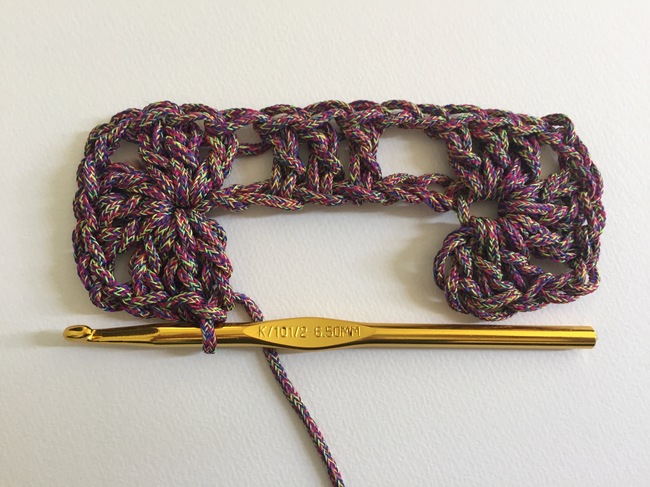
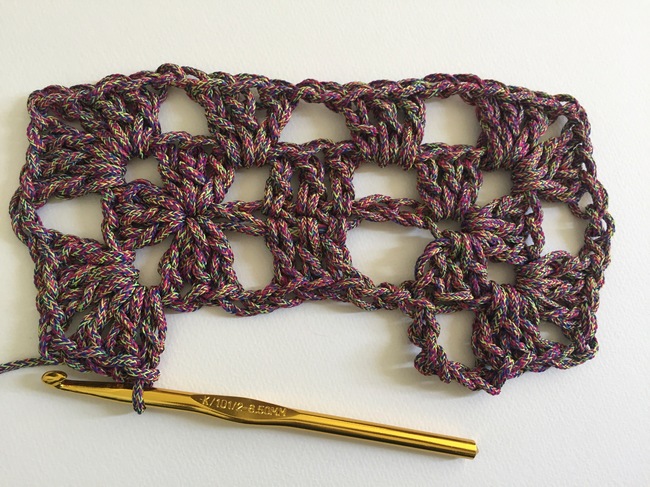
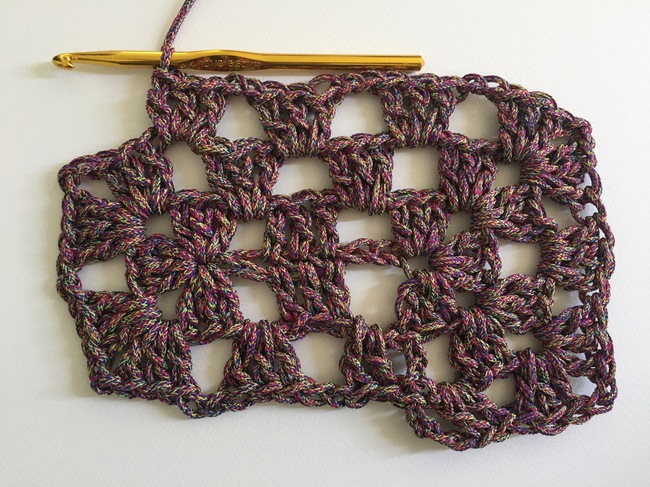
 These 3 dc be exactly opposite the on the opposite side. The photo above shows how you’re now working on the opposite side of the starting chain. Don’t forget that you’ll turn the work upside down to crochet this part!
Ch 2. Skip 2. Sl st into the top of the first dc to close the round.
These 3 dc be exactly opposite the on the opposite side. The photo above shows how you’re now working on the opposite side of the starting chain. Don’t forget that you’ll turn the work upside down to crochet this part!
Ch 2. Skip 2. Sl st into the top of the first dc to close the round.
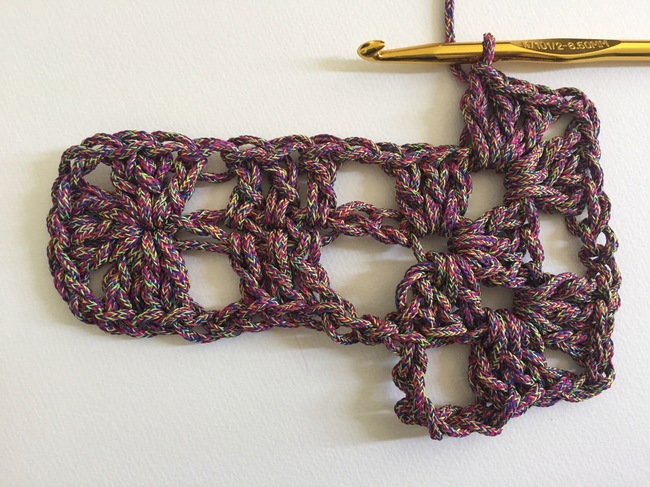
Round 2:
If this were a granny square, you’d find yourself at the corner. But that’s not the case in a granny rectangle, so this step is a bit different. Begin with chain 5. This creates the first dc + ch 2.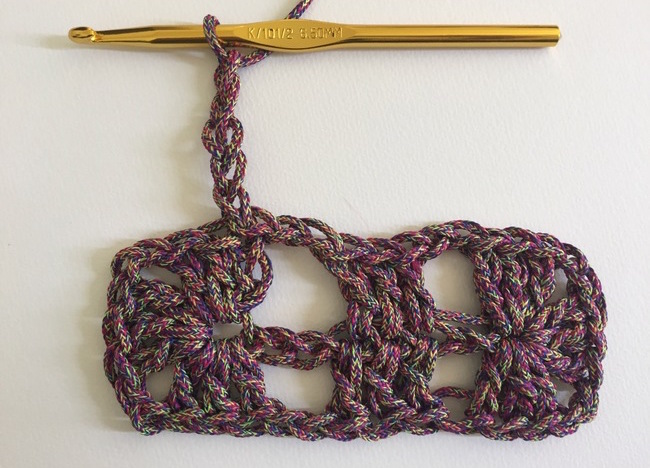 Make your first corner. Here and throughout, the corners will always be: 3 dc, ch 2, 3 dc all worked into the corner of the round below.
 Ch 2. Make your second corner.
 Ch 2. Sk 2. 3 dc into ch sp.
Repeat. (Ch 2. Sk 2. 3 dc into ch sp.)
Ch 2. Sk 2. 3 dc into ch sp.
Repeat. (Ch 2. Sk 2. 3 dc into ch sp.)
 Ch 2. Make your third corner.
 Ch 2. Make your fourth corner.
 Ch 2. Sk 2. 3 dc into ch sp.
Ch 2. Skip 2. 2 dc into ch sp. Sl st into the top of dc to close round. (Remember that you did a ch 5 here, so it will be into the 3rd ch of the ch 5.)
Ch 2. Sk 2. 3 dc into ch sp.
Ch 2. Skip 2. 2 dc into ch sp. Sl st into the top of dc to close round. (Remember that you did a ch 5 here, so it will be into the 3rd ch of the ch 5.)
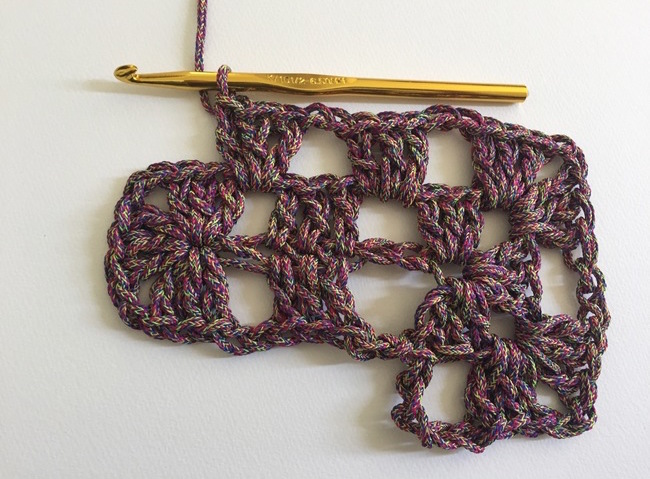
Round 3:
As you begin this round, your hook is placed right before the next ch-sp, so instead of beginning like Round 2, you’ll begin with ch-3, which counts as your first dc. Make 2 more dc into this same space. Ch 2. Make your first corner.
 From here, you will continue around the rest of the rectangle in the same pattern. Ch 2 and 3 dc into each space except in the corners, where you work 3 dc, ch 2 3 dc. When you get to the end of the round, sl st to close.
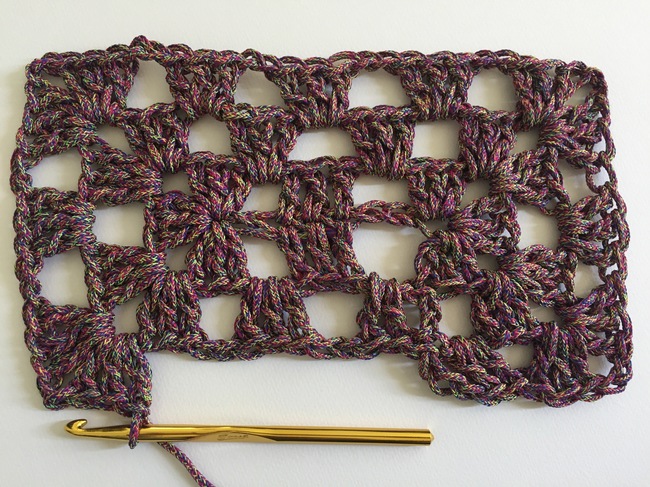
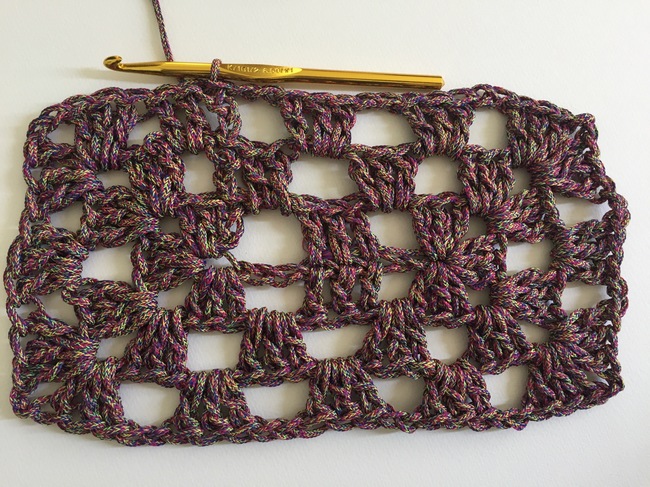
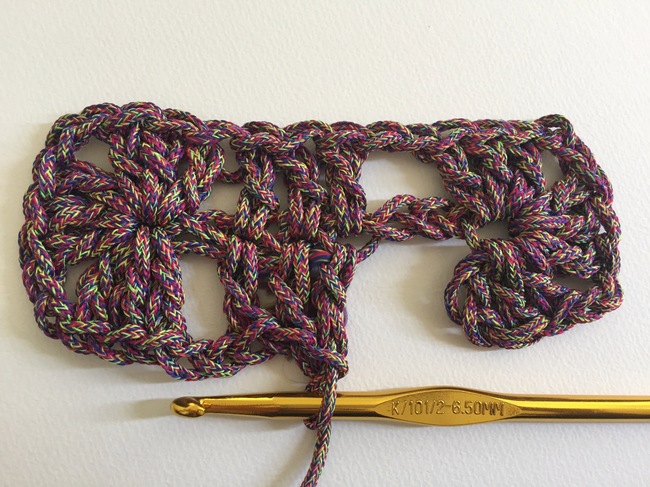
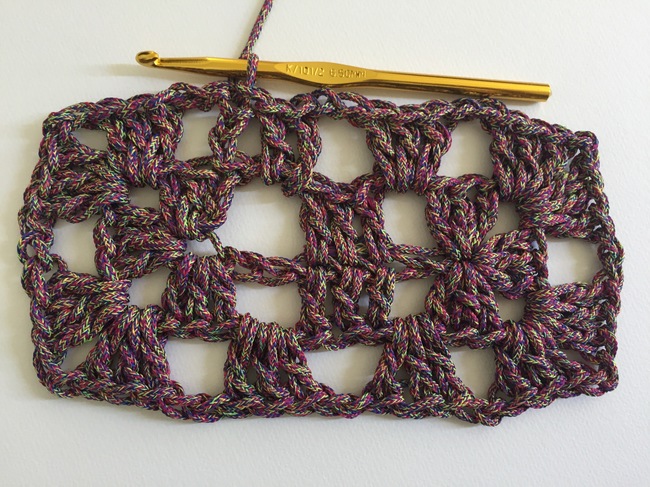
Growing the rectangle
After this, simply continue the pattern. Alternate between a “Round 2” (starting with ch 5) and a “Round 3” (starting with ch 3).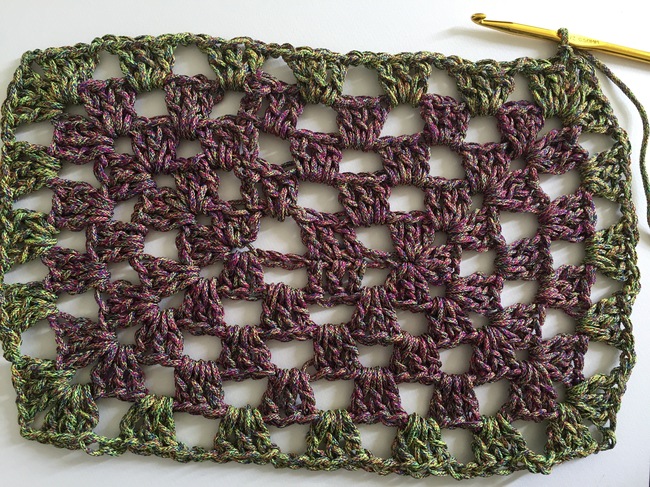
An alternative: Skipping ch-2
If you’d like, you can treat the granny rectangle like a granny square by skipping the “ch-2” between clusters of double crochet stitches. If you want to do this, simply eliminate the “ch-2” instructions and work your double crochet stitches directly into the next stitch. This creates a tighter, cleaner granny square for some people, depending on your tension. Just keep two things in mind if as you go through.- Don’t skip the ch-2 in round 1, which will help you get the right rectangular shape.
- Don’t skip the ch-2 in the corners. Each corner should always be 3 dc, ch 2, 3 dc. If you skip it in the corners, you won’t have a corner to work into in the next round!
Changing colors in your crochet rug
Changing colors can create beautiful, colorful rugs, of course — but switching up your yarn can also help you keep track of your stitches.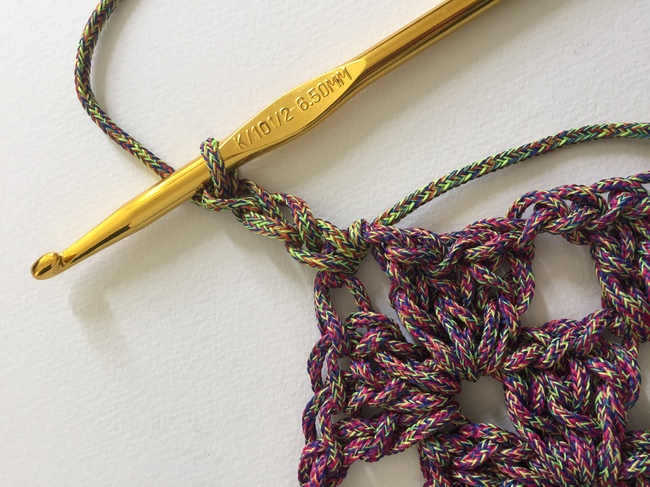 You may find it a hassle to remember whether it’s time to ch-5 or ch-3 at the start of the round. To avoid this issue, end off after Round 3 and begin the next round in the corner with a new color (or the same color). This way, you can start in the corner and continue around in the pattern easily.
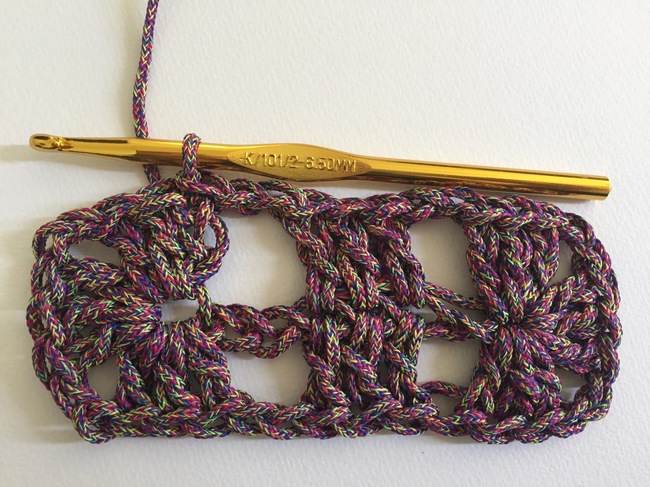
Finishing your crochet rug
Continue growing your crochet rug until it’s the size you want. At that point, you can end off or add an edging of your choosing. Nearly any edging works on a crochet rug ,but the granny rectangle rug is particularly well-suited to a very simple edging. My example used a single round of single crochet. Another great option would be reverse single crochet or crab stitch. Each of these gives some density to the rug to help it lie flat.

Share tips, start a discussion or ask other students a question. If you have a question for an expert, please click here.
Already a member? Sign in
No Responses to “How to Crochet a Rug That'll Refresh Any Room”