Drawing with colored pencils can be a lot of fun, but blending sometimes can be a not-so-fun process. Since seamless colors can be vital to achieving realistic results, let’s demystify how to blend colored pencils.
Unlike graphite or charcoal, colored pencils can’t be blended with paper stumps and tortillions. But there are several other tools and techniques that can achieve the same blending effects. In this post, we’ll go over some of the best tools and tips for easily blending with colored pencils
Tools and Techniques for Blending Colored Pencils:

Solvents
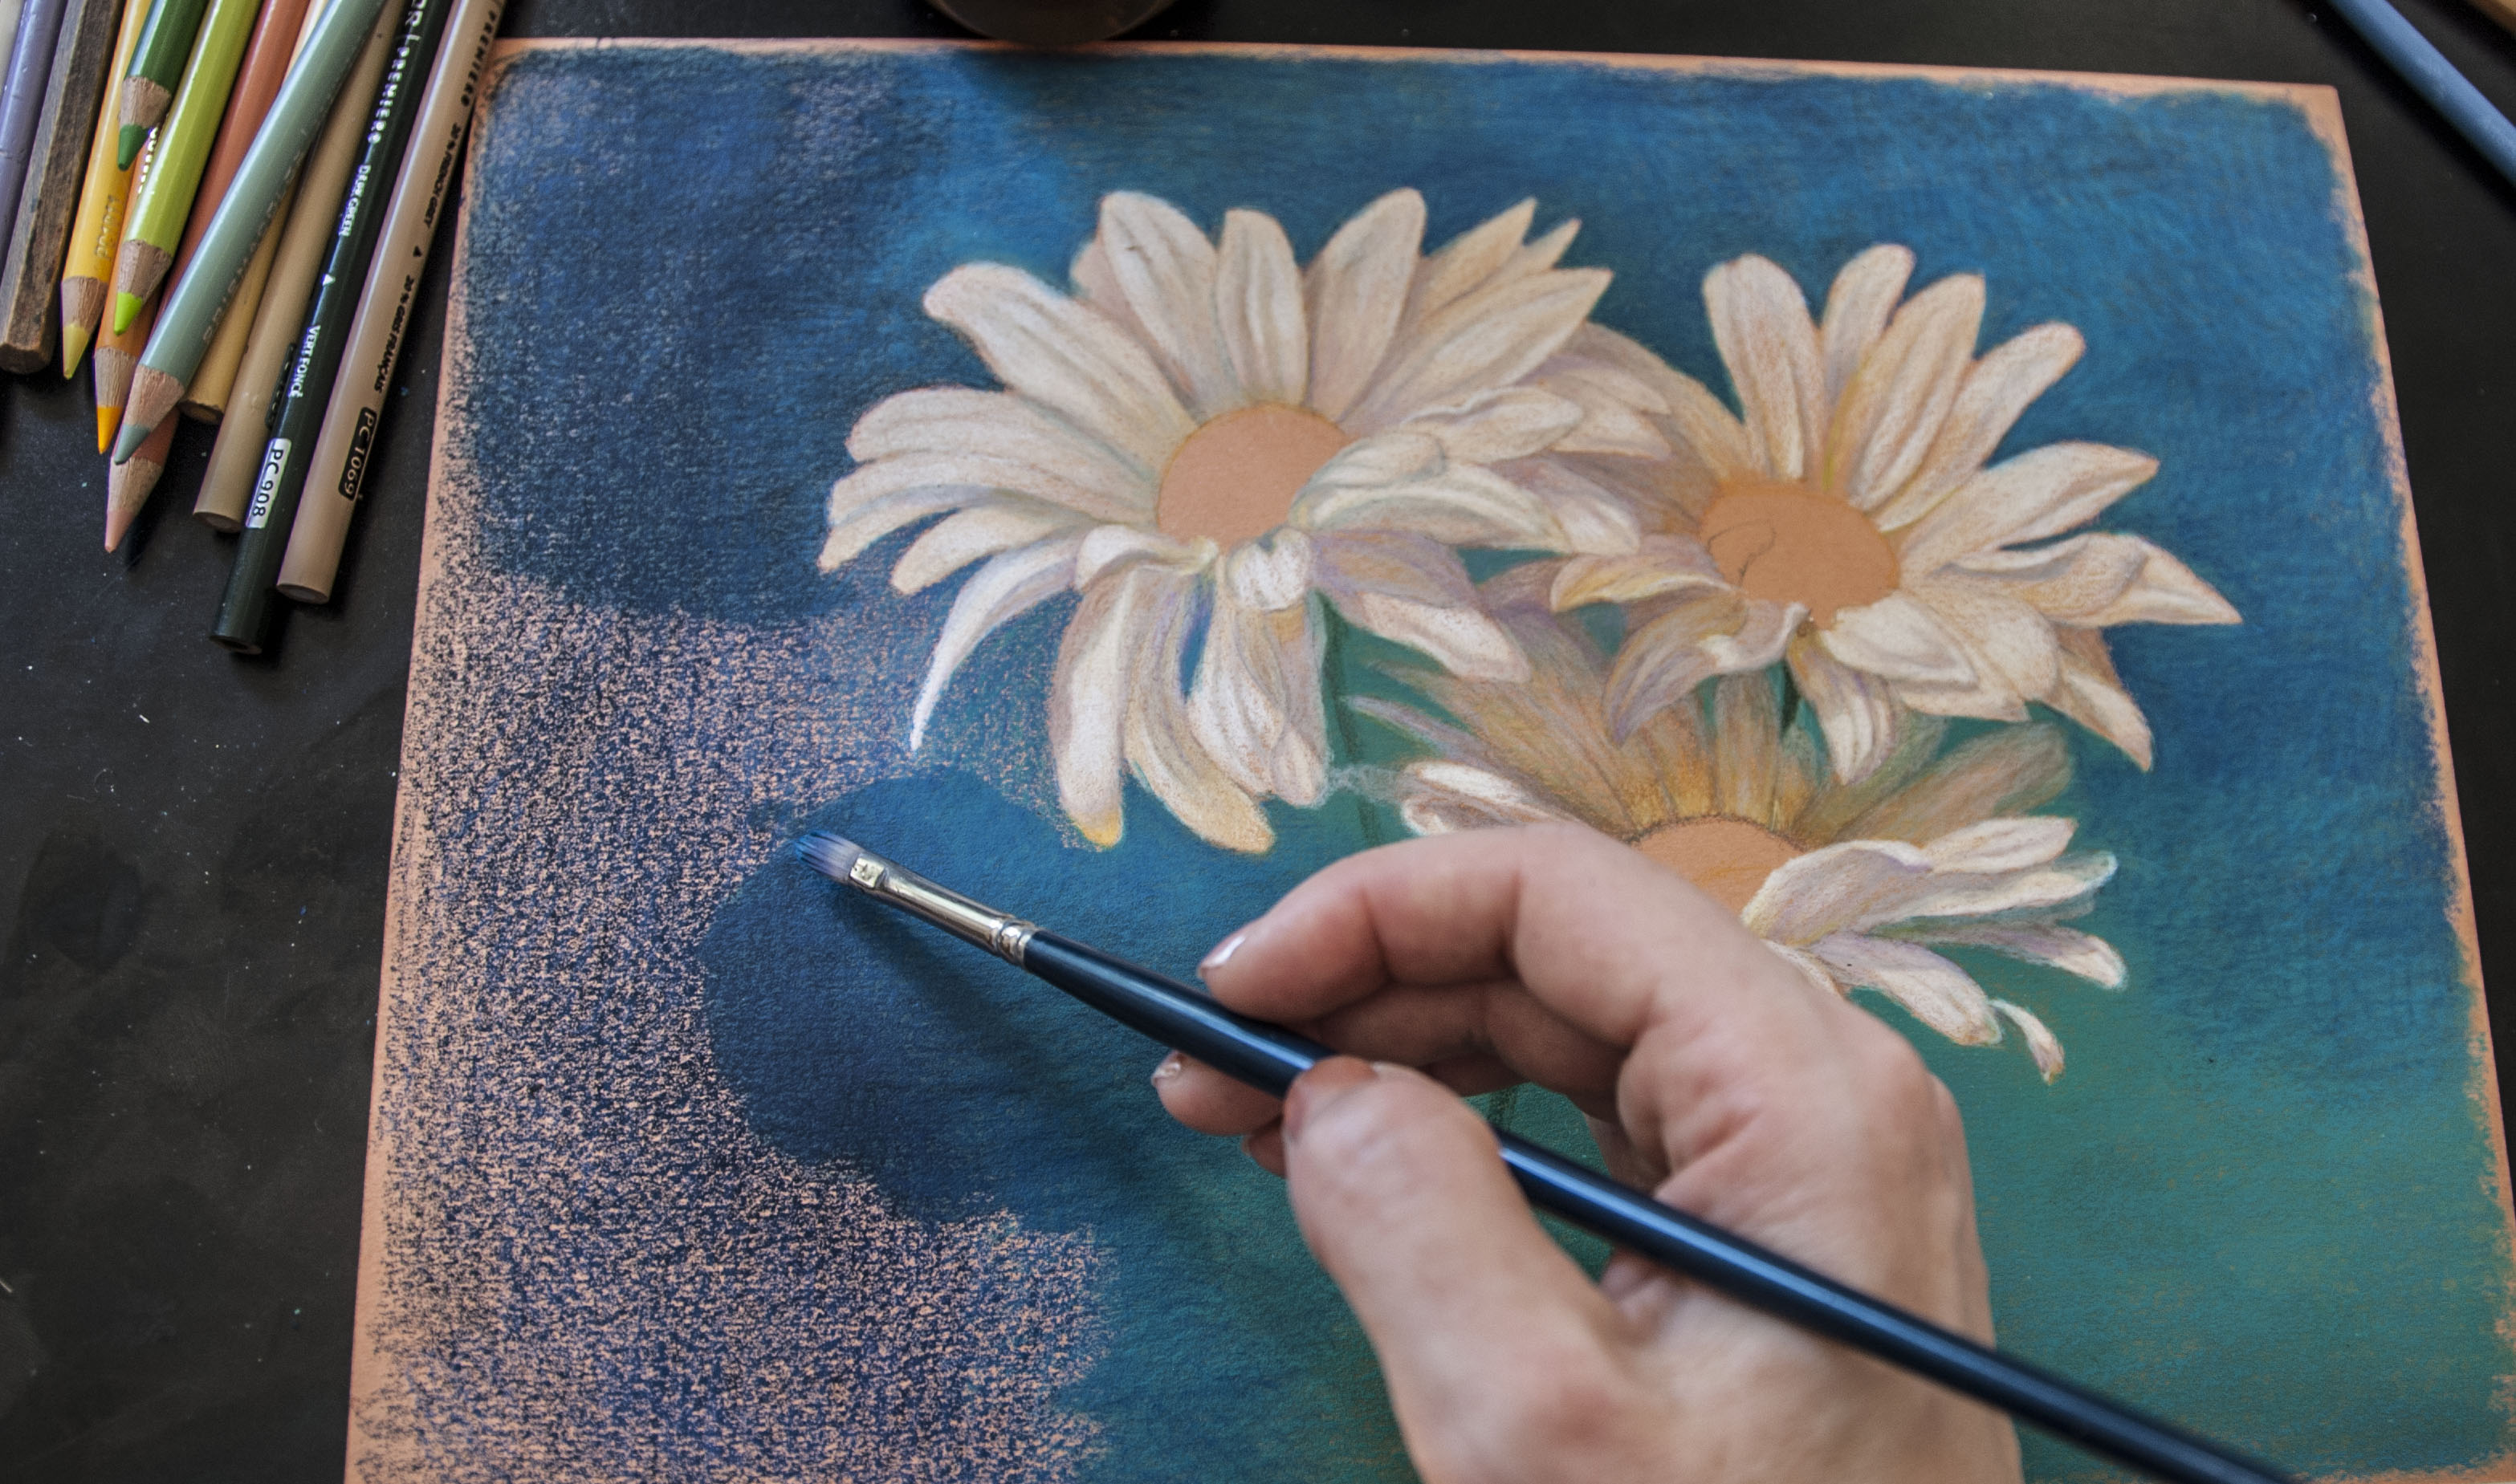
Solvents — liquids that melt the binders in wax- and oil-based colored pencils — eliminate pencil strokes, smooth the surface of your work and make layering color much faster. This technique works best for dark and medium colors, though it will work (a little less noticeably) with lighter hues.
Great solvents to use for colored pencil blending are Gamblin Gamsol Odorless Mineral Spirits and Weber Turpenoid Natural. It’s best to use solvents in a well-ventilated area to limit your exposure to the chemicals (and, sometimes, the odor). Pour the liquid in a small, resealable glass container so that it’s easy to use and clean.
For the best results, dip an inexpensive synthetic brush into the solvent and brush it over the shaded area. It takes some practice to use just the right amount. As a rule, use a little rather than a lot, because the solvent might dilute more pigment than you planned. Have a paper towel handy to blot extra solvent from your brush.
Colorless pencil blenders
While colorless pencil blenders take more time and effort, using them for burnishing can create an effect similar to solvents.
Burnishing is a blending technique of layering colored pencils with heavy pressure. It fuses and saturates colors while smoothing out the surface. The blending method rids the surface of any texture left in the drawing. In other words, burnishing allows the artist to polish the surface to its maximum smoothness so that it’s evenly filled with color, reducing deep saturated tones.
This technique and tool are particularly effective to burnish the surface in the mid-tones, lights, and highlights in your colored pencil drawing.
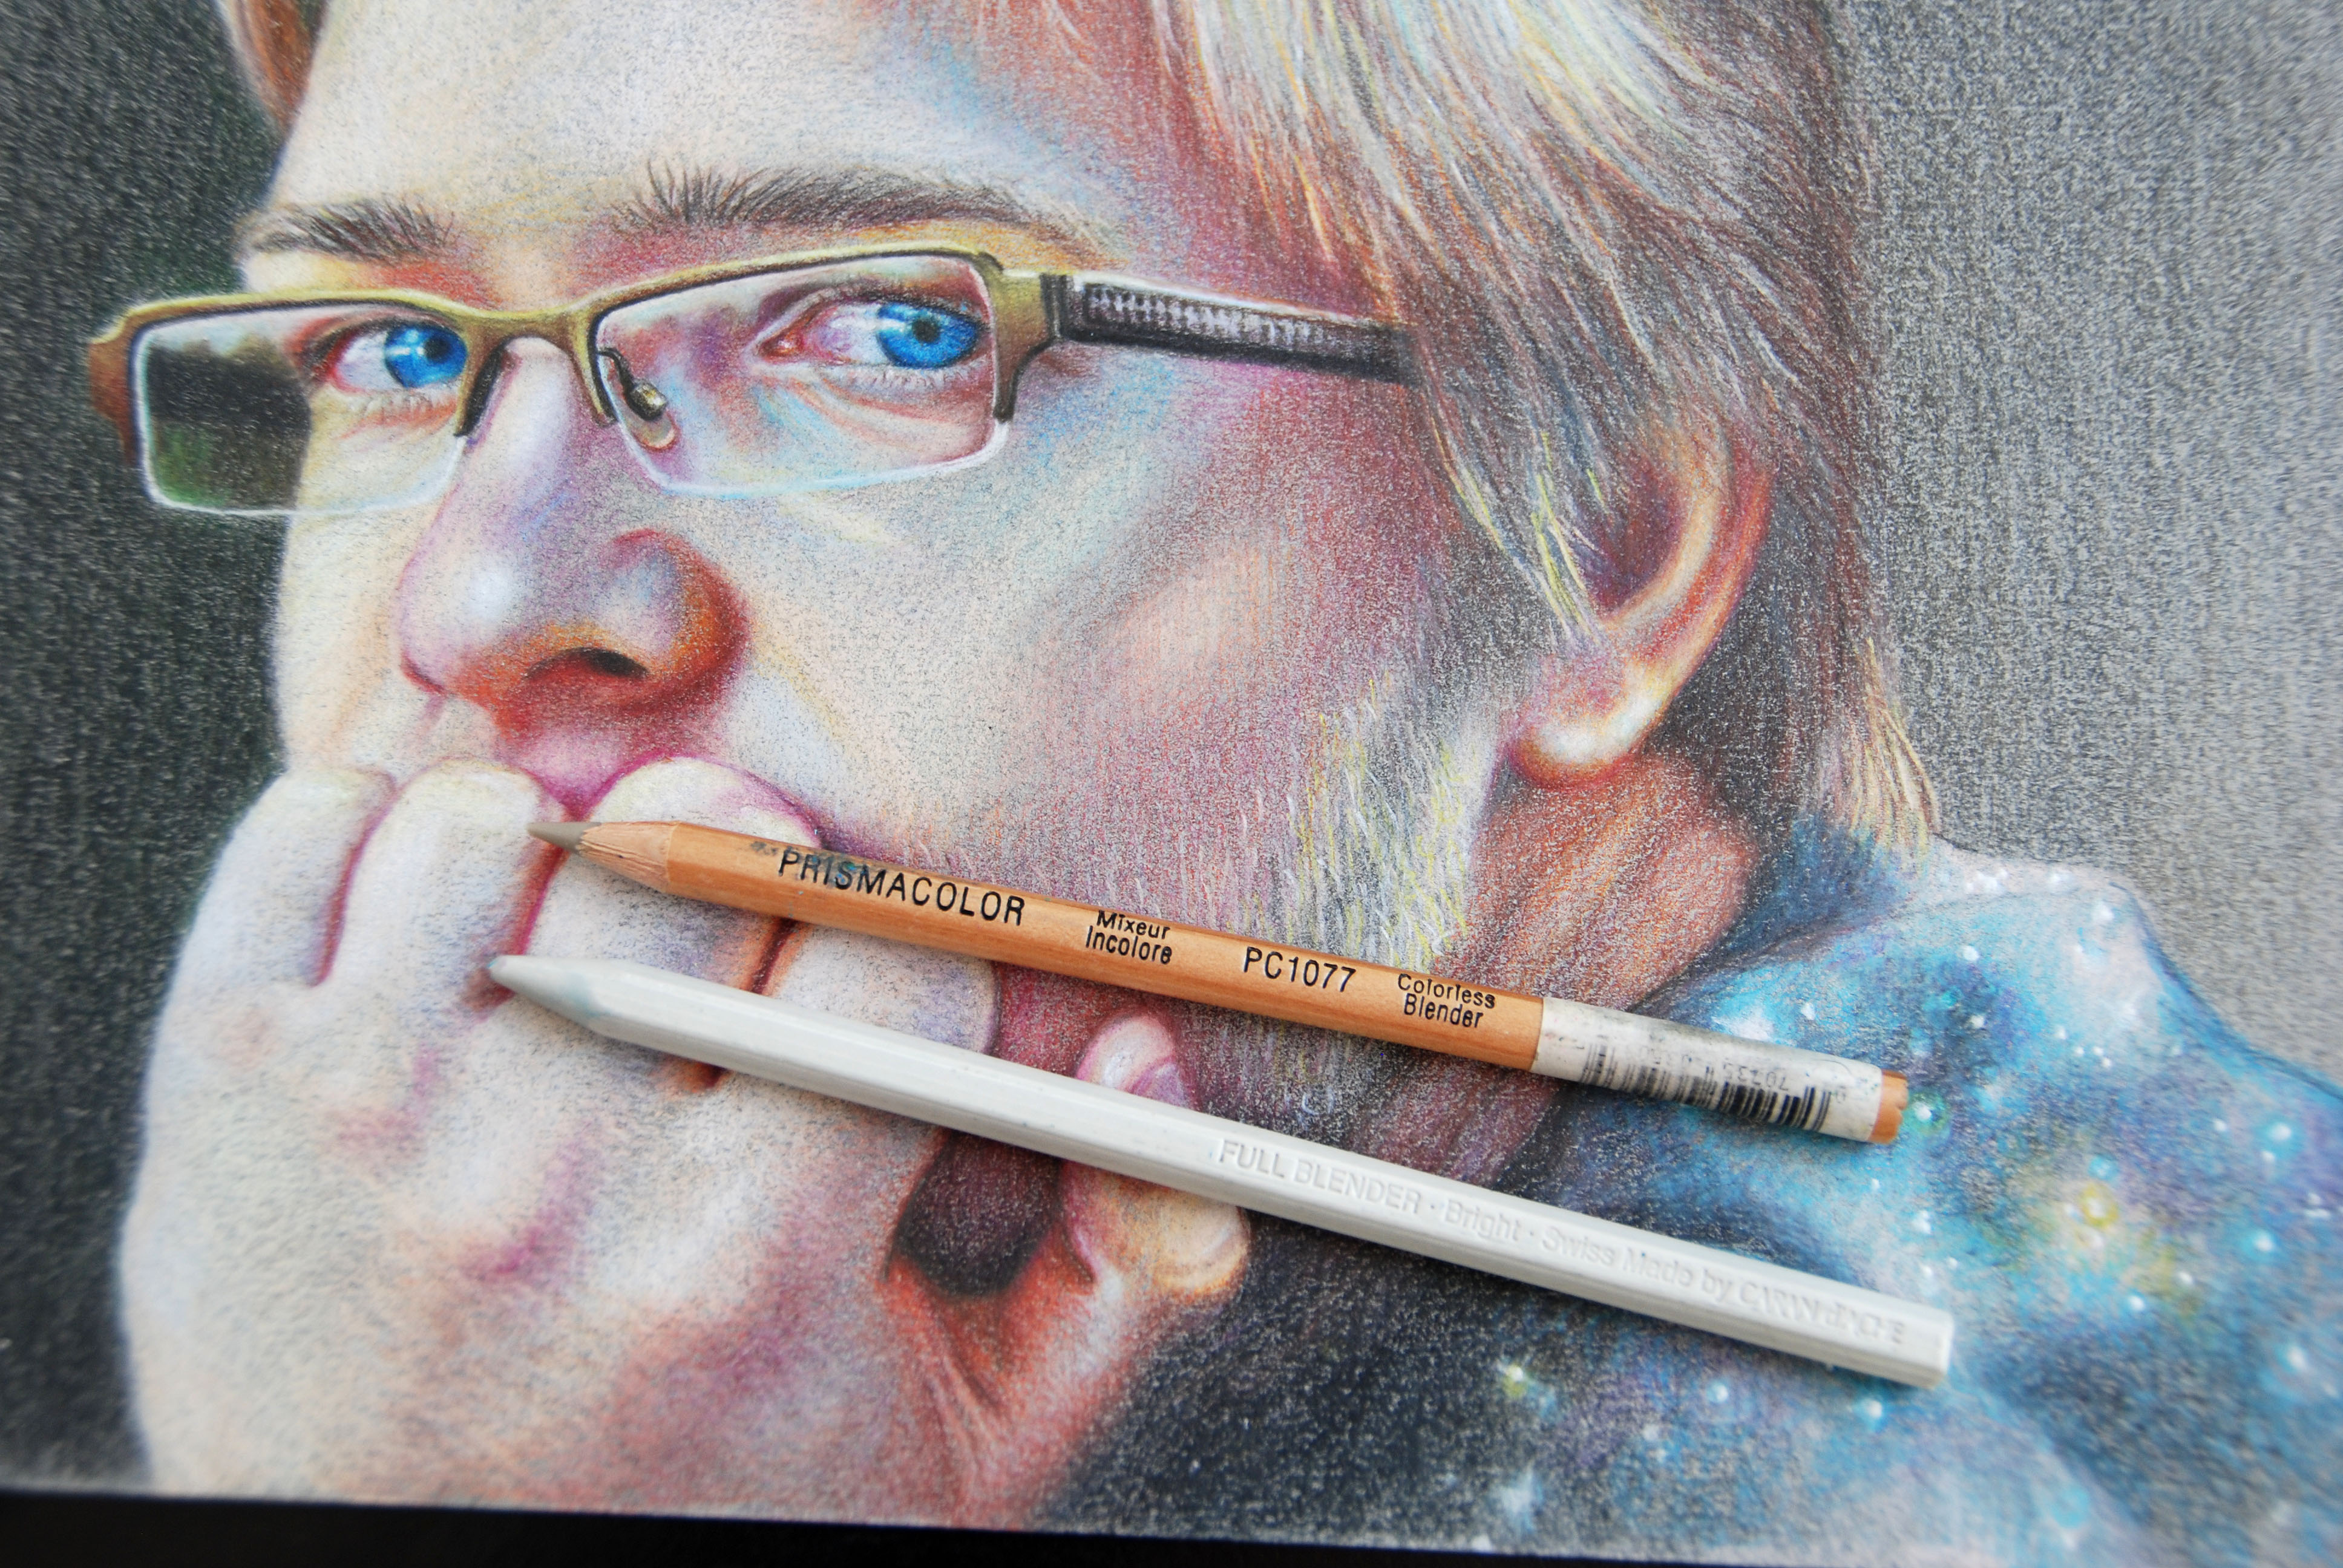
There are two really great colorless pencil blenders on the market: the Prismacolor Colorless Blender and the Caran d’Ache Full Blender Bright. While the Prismacolor pencil leaves a slightly grayish tone, the Caran d’Ache woodless, oil-wax pencil glides on clear and burnishes the surface perfectly.
White and off-white colored pencils
Unlike the solvents and blenders, the white or very light-colored pencils (such as cream, sky blue, light peach or beige) lighten up the surface while burnishing it. It’s useful for certain situations, such as coloring the afternoon haze in a landscape, lightening up a skin tone or creating transitions in the light and around the highlights.
Icarus Art Board
Colored pencil blending was revolutionized by the Italian-American artist-inventor Ester Roi, who invented the Icarus Art Board. Basically, it’s a controlled heat plate that allows artists to work in colored pencil much faster by seamlessly blending the pigment while drawing. The boards, which come in three sizes, cost a pretty penny, but you’ll make for it in saved time and effort.
Tips for Blending Colored Pencils:
- Blend colors from light to dark
- If using a solvent to blend, let your drawing dry before drawing over it once again
- Burnish the surface gradually by varying pencil pressure. If the surface becomes too dark, let it dry and layer lighter color over it
- Burnish carefully around the highlights in little feathering circles
- Warm your wax-based pencils on a pencil tin by placing them on a battery used for heating your home. The wax will become much softer, yielding easier and faster application of colored pencils
- Remember to draw on a smooth surface. A paper’s texture greatly affects the layering of a color — the more textured, the harder it is to fill in the paper’s tooth and blend the colors. Many artists prefer Strathmore paper or Stonehenge paper
Colored Pencil Blending Results:
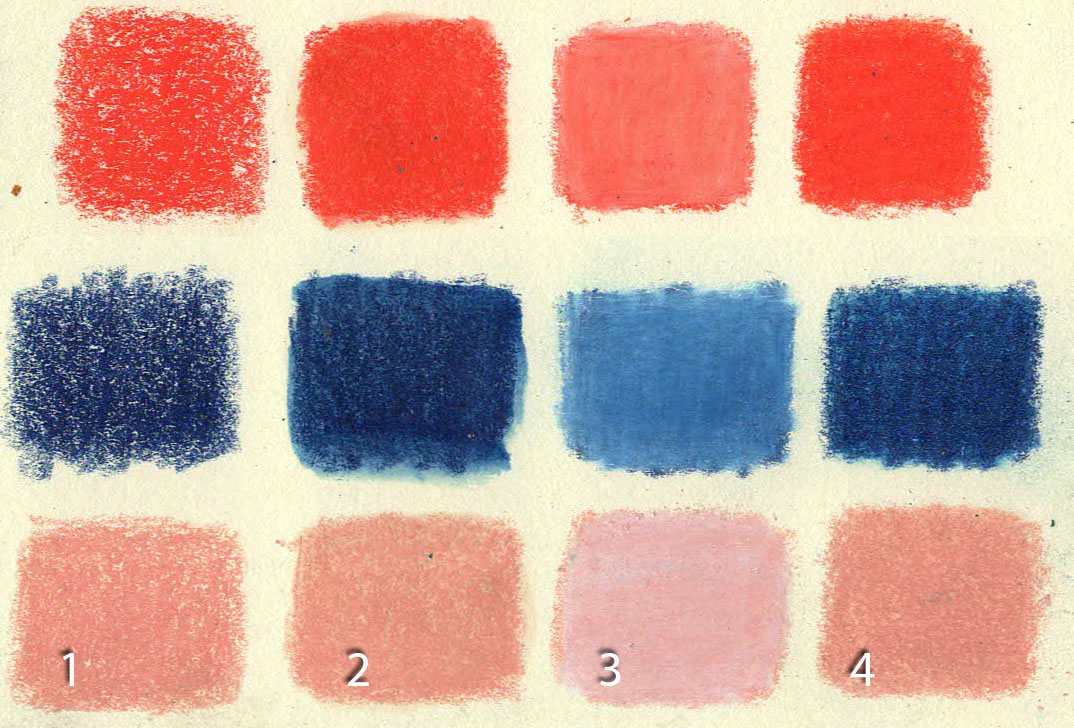
Different techniques create different results. The image above shows three different colors: Prismacolor poppy red at the top, indigo blue in the middle and peach at the bottom, with each column using a different blending technique.
Column 1:
The original application of a color on Strathmore drawing paper.
Column 2:
The pigment blended with some Gamsol solvent
Column 3:
The pigment blended with white colored pencil
Column 4:
The pigment blended with the colorless pencil blender

they don't make the Icarus board anymore. A piece of aluminum and a good heating pad will do something almost identical. Put the heating pad on a safe surface, place the aluminum sheet on top (large cookie sheet that is solid aluminum) and your medium (paper) on that. Let the drawing warm up a bit before you start blending with a colorless blender or tool of choice. It melts the binder (wax) in your pencils or pastels. Most good heating pads have 7-10 settings, You want to use the underside of the cookie sheet. If you can get one without any edges thats even better. You can also put the heating pad on a cooling rack and the cookie sheet on top, just try to avoid the ones with some sort of embossed brand on the underside,
i need help for how can i blend wax based pencil crayons on drwing food