When working in watercolor, there's a time and a place for messy edges. The same goes for hard edges. But when they show up unwelcome, it can feel quite disheartening.
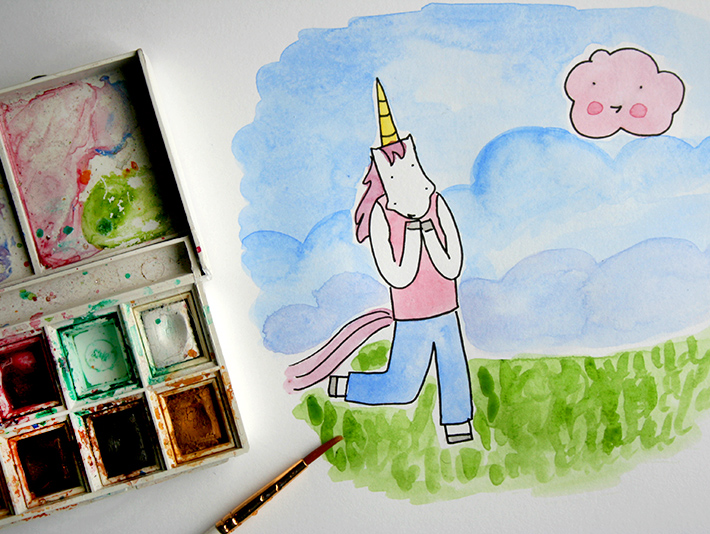
Tips and techniques for overcoming hard or messy watercolor edges!
www.craftsy.comPhotos and artwork via CakeSpy
If you've found yourself in a situation where you have unwanted lines or edges in your composition, don't despair! There are some quick and easy tricks to fix messy or hard watercolor edges which we'll address here.
What are hard edges in watercolor?
Before we start to fix the issue, let's talk about what causes it. Usually, what will cause these rigid edges on watercolor paintings is wet paint that dries with a hard line. It lacks the smooth softness that makes watercolor so special, and can cause visual distraction.
A few common culprits include:
- Using too much water to mix your paint
- Holding the brush in one place for too long
- Using paper that isn't absorbent enough to soak up the paint quickly.
Preventing hard edges
One of the best methods of "fixing" these edges is to avoid them in the first place. While they are bound to happen from time to time, they are far less likely to happen if you're using the proper materials and technique. Here are some quick tips that can help you avoid them:
- Use the appropriate work surface. Watercolor paper, such as Bristol board or illustration board, are your best bets. A thinner paper such as drawing paper is less absorbent and can buckle. Both of these attributes can contribute to messy edges or hard lines as the paint will pool in the warped areas of the paper.
- Don't overload the brush with water. Too much water on the brush can lead to too much water on your work surface, which can dry unevenly and form hard lines.
- Don't hesitate. When painting a watercolor wash<, don't hesitate and let the brush rest in a single area for too long. Take a deep breath and just go for it!
How to fix messy, hard watercolor edges
Here, I'll address two different ways to deal with messy or hard edges. In essence, you either want to diffuse or soften that hard edge, or work it into your composition. Here's how:
Diffuse it: The water & layer technique
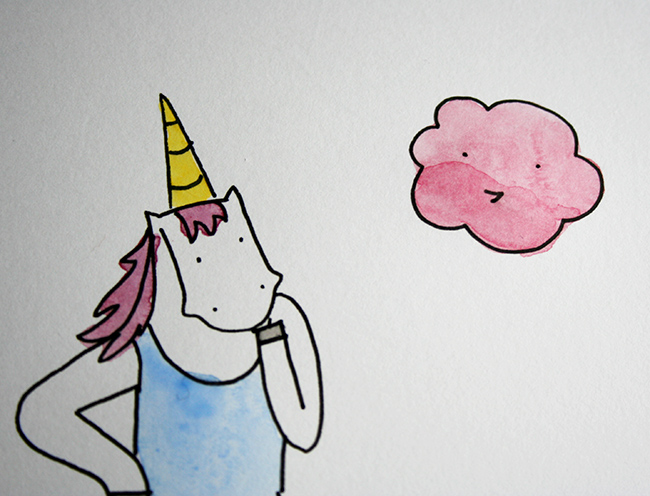
Step 1:
Using water only, gently brush over the area. I like to use a slightly up-and-down motion while applying the water, to diffuse the hard edge. Sometimes, this alone will work to resolve the issue; if not, proceed with the following steps.
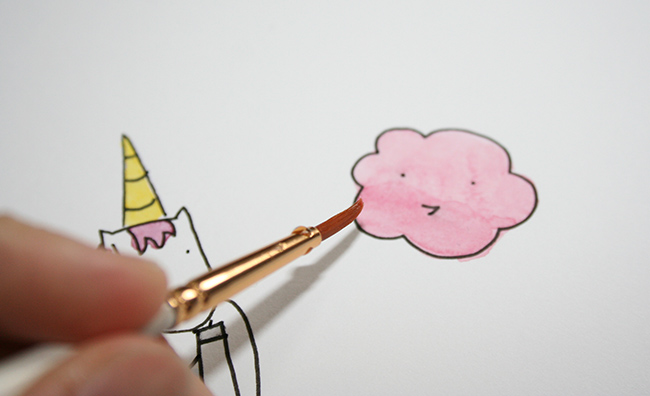
Step 2:
Let it dry completely.
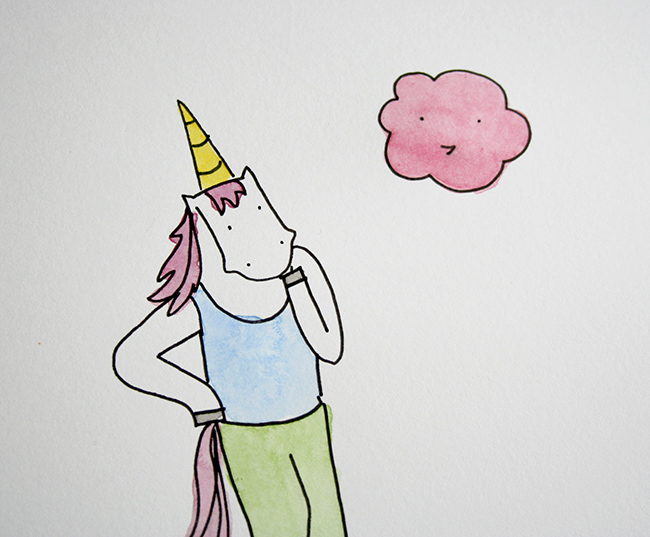
Step 3:
Using the same color you originally used, apply another coat of watercolor over the area. If necessary, let it dry and repeat with a second coat. That hard line or messy edge should be far less noticeable now!
Work with it: 2 techniques to try
Rather than fighting the mistake, it's far easier to just work with it. Here are two easy ways.

Transform it with texture
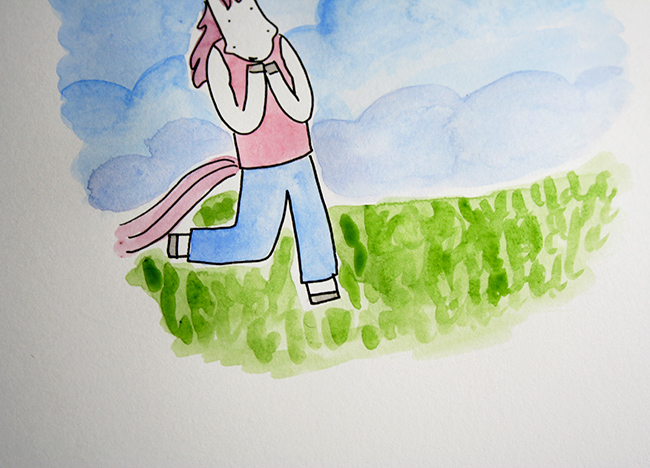
If an area has a lot of hard lines, such as in the grassy area shown in the image above, you can "cover" the area by applying texture.
I applied flecks of paint all over the area. In the one regard, this actually created lots of hard edges — but it actually softened the distracting effect by making the texture more purposeful and stylized, like grass. This could be done with flecks or dots or dabs of paint and tends to work well with natural landscapes and organic matter.
Cover-up job
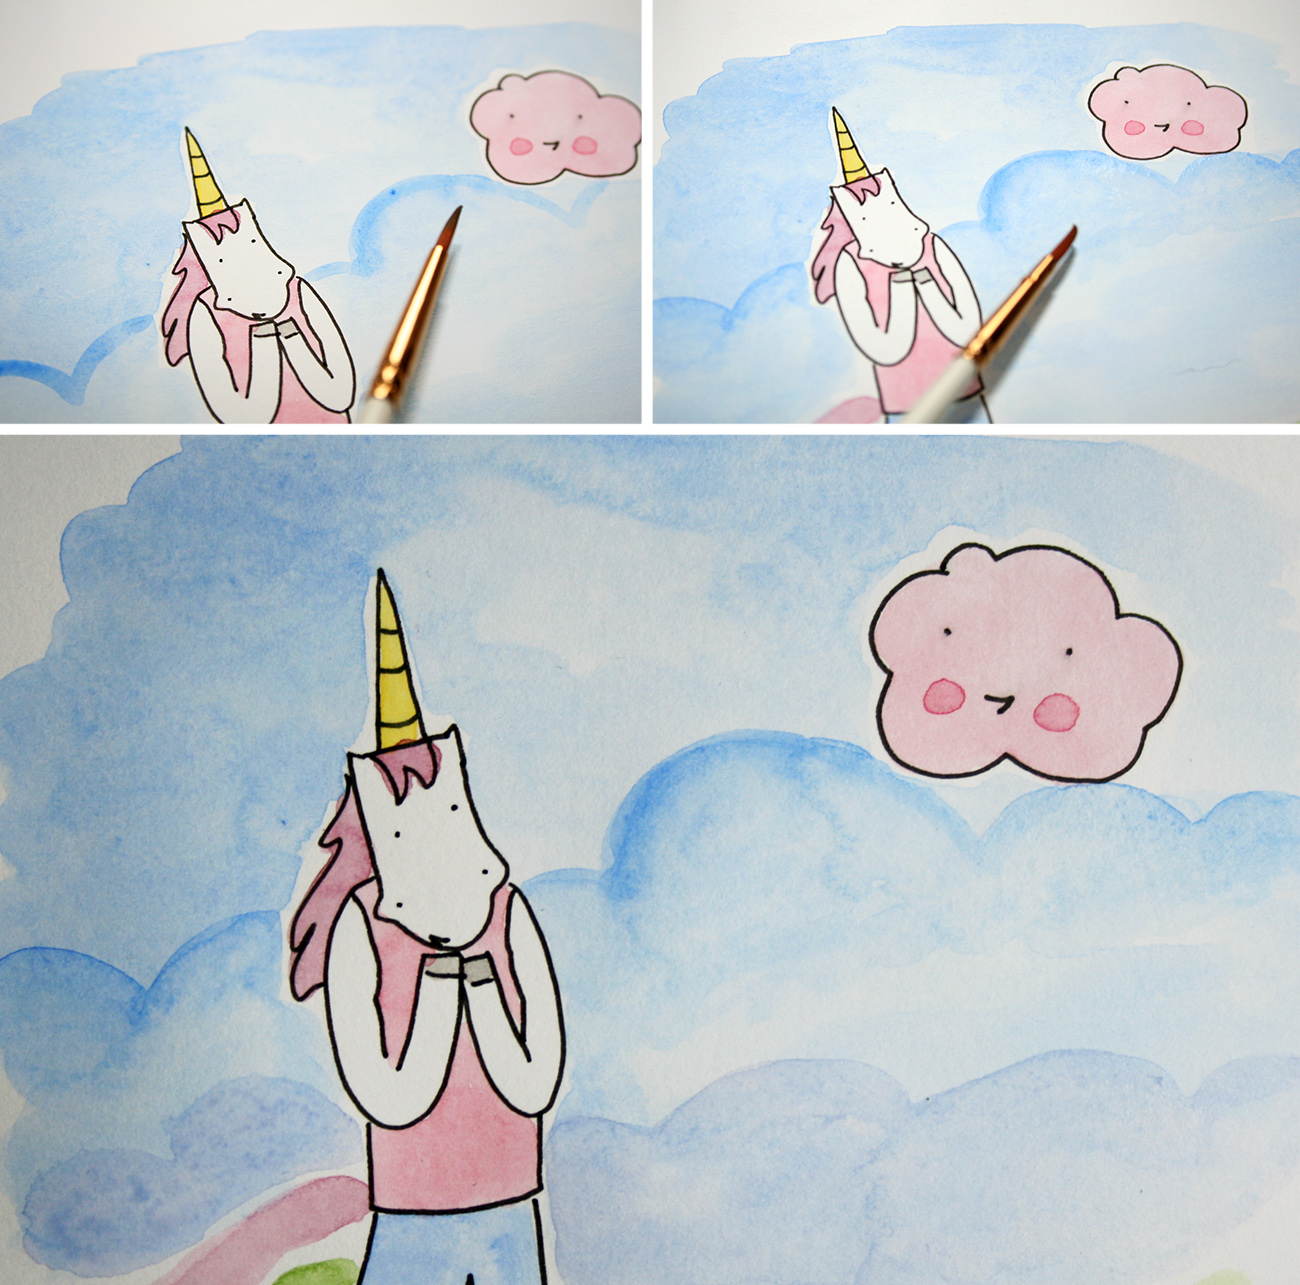
In the blue sky above, there's a hard blue line right by the cloud. It could be tricky to diffuse this area without getting paint on the other elements of the piece, so instead of trying to resolve the hard line, I worked with it. I used a darker shade to create a new cloud line in the backdrop to hide the hard line in plain sight!

I found these instructions the best I've seen for a beginner like me. hanks, God's Joy!
Very detailed expectations Thank you