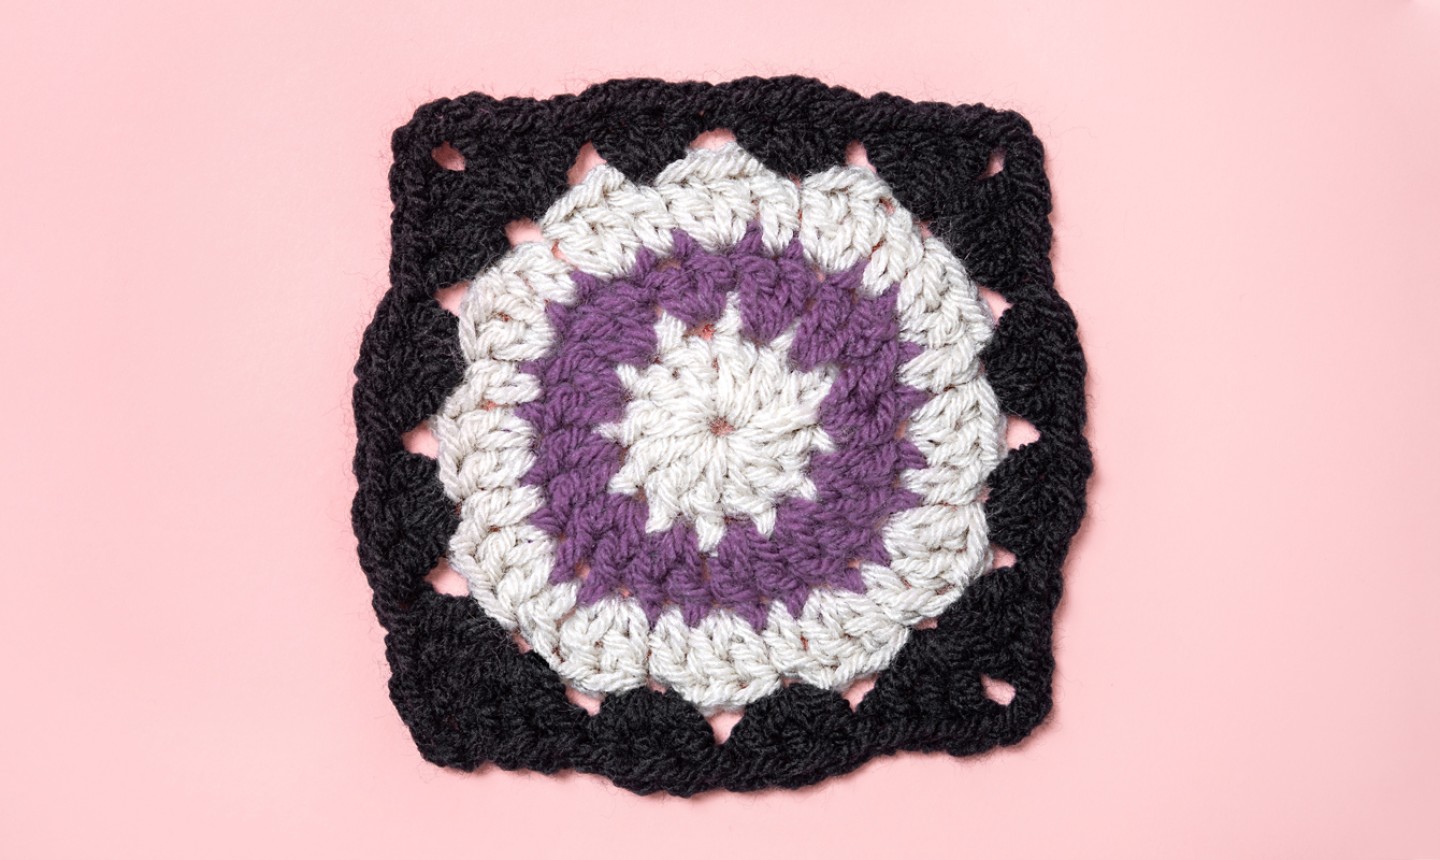
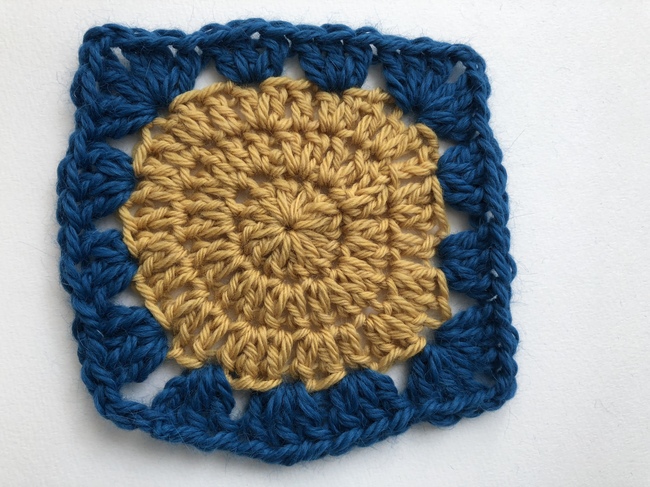
Starting your square with a circle may sound like a recipe for disaster, but trust us: circle-center granny squares deserve some love.
Imagine a whole slew of these squares in a blanket: when you work the circles in one color and the rest of the square in another, you get bold, graphic polka dots. The opposite combo is fun, too: keep your inner circle the same from square to square, and play with color on your granny rounds. So many options!
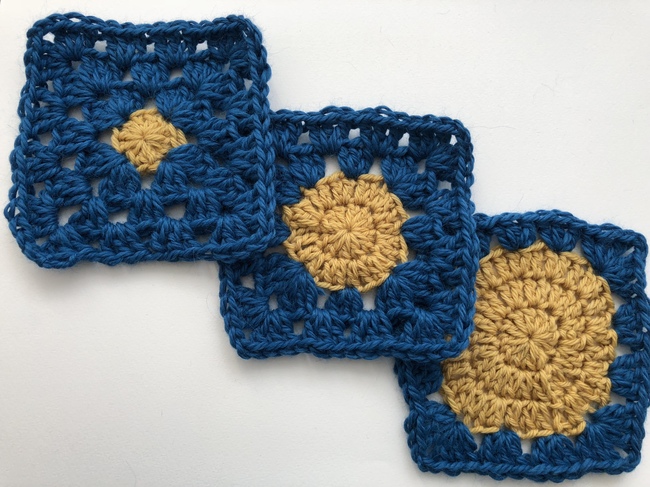 Speaking of options, it’s totally up to you how big you want your circle. One round, two, three — it’s your call.
Circle-Center Granny Square
Level: Easy
What You Need
Pro Tip: You can use any yarn and hook to make these squares, just remember that the weight of your yarn and size of your hook will change the finished size of your square.
Abbreviations
Instructions
Round 1

Ch 3, 11 dc in third chain from hook, sl st to close round. (12 dc)
Round 2
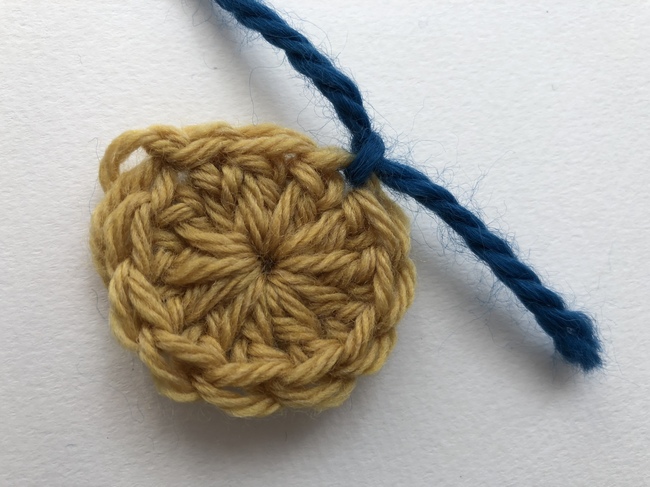
Join the new color of yarn in any stitch.

Ch 3, 2 dc in same stitch, [skip 2 sts, (3 dc, ch 2, 3 dc) in next st] 3 times, skip 2 sts (now working in same st where you began the round), 3 dc, ch 2, sl st to top of first ch 3 to close.
Round 3 and Beyond
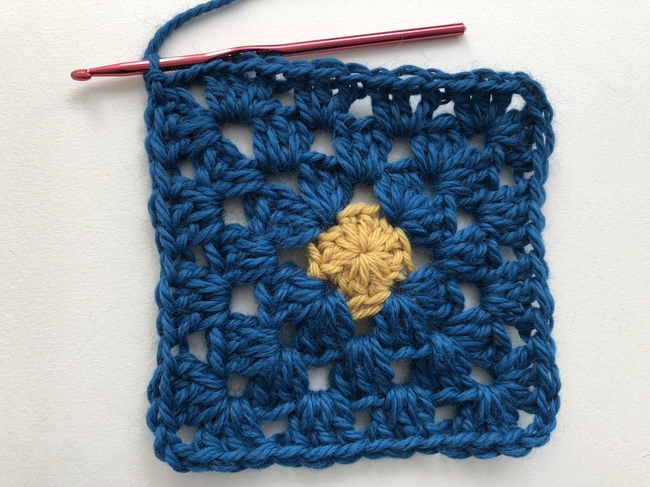
From here on out, you’re working traditional granny rounds. Follow the instructions below, just adding an additional ch 1, 3 dc between each corner as you add more rounds.
Join new color of yarn in any ch-3 corner space from Round 2.
Working in that same space: ch 3, 2 dc, ch 3, 3 dc (first corner made), [(ch 1, 3 dc) in next ch-3 sp, (ch 1, 3 dc, ch 3, 3 dc) in next ch-3 sp] 3 times, (ch 1, 3 dc) in next ch-3 sp, ch 1, sl st to top of first ch-3 to close round.
Variations
If you want to go big with that center circle, we’ve got you. Try a two (or even a three!) round circle before you start working the granny square stitches. Keep your center solid or try striping that circle.
Two-Round Circle

Rnd 1: Work the same as for the granny square above.
Rnd 2: Ch 3, dc in base of same chain, 2 dc in each st around, sl st to close round. (Total: 24 dc)
Rnd 3: Join yarn in any stitch. Ch 3, 2 dc in same stitch, [skip 2 sts, 3 dc in next st, skip 2 sts, (3 dc, ch 2, 3 dc) in next st] 3 times, kip 2 sts, 3 dc in next stitch, skip 2 sts, (3 dc, ch 2) in first stitch you worked into. Sl st to top of first ch 3 to close.
Rnd 4 + Beyond: Continue to grow your granny square as you normally would.
Three-Round Circle
Rnds 1 + 2: Repeat rnds 1 + 2 from 2-Round Circle above.
Rnd 3: Ch 3, 2 dc in next st, *dc, 2 dc, repeat from * around (Total: 36 dc)
Rnd 4: Join yarn in any stitch. Ch 3, 2 dc in same stitch, [(skip 2 sts, 3 dc in next stitch) twice, skip 2 sts, (3 dc, ch 2, 3 dc) in next st] 3 times, skip 2 sts, (3 dc, ch 2) in next st (this is the same stitch you began the round with), sl st to top of first ch 3 to close.
Rnd 5 + Beyond: Continue to grow your granny square as you normally would.
If your granny “square” looks a little wonky — not quite like a square — don’t worry! You can fix this by blocking. The more rounds of granny stitch you make, the more square the motif will become.
Share tips, start a discussion or ask other students a question. If you have a question for an expert, please click here.
Already a member? Sign in
No Responses to “Crochet a Granny Square with a Circle Center”