One of the most mysterious concepts for oil painters is “glazing.” Why? Glazing oil paintings involves a bit of science and a lot of patience!

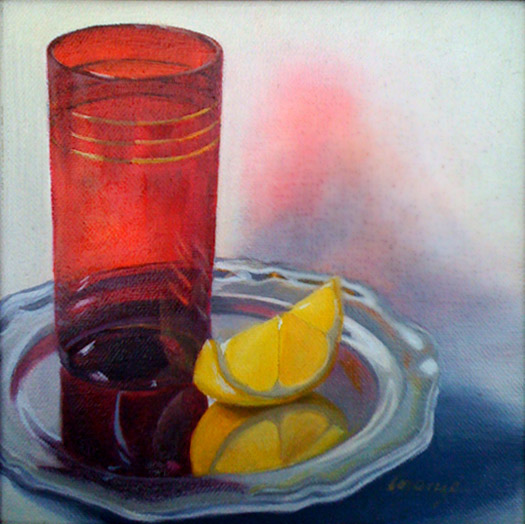
Ruby Reflection

The Complete Guide to Oil Painting
Gain essential oil painting skills as you create a colorful painting! Explore color theory, mixing, paint application & more with expert guidance.
What is glazing in oil painting?
Glazing is the process of applying a thin layer of translucent paint over a more opaque layer. This allows preliminary layers of color or value to influence the top, most visible layer.
Why glaze?
Generally painters glaze a painting to create a kind of glow. That’s where the science comes in. Light travels through the transparent layer and is reflected back by the opaque layer.
Conversely, a thin, dark glaze applied over a more chromatic, opaque base can create depth of color in a shadow.
Glazing can also be used to help describe form. To do this, the painter first renders the subject in a gray monotone with all shapes defined using shading and highlights, but no color. Once the monotone is dry, they apply color over it in thin layers. This process allows the artist to focus on color alone, having already modeled the form in black and white.
How does patience play a role?
Well, the lower layer has to be really, really dry before applying a translucent layer over it. Oil paint can take months to dry thoroughly. For glazing, “dry to the touch” is sufficient, but every bit of the area to be glazed must be touch-dry, otherwise the underlying opaque color will lift and the glaze will no longer be translucent.

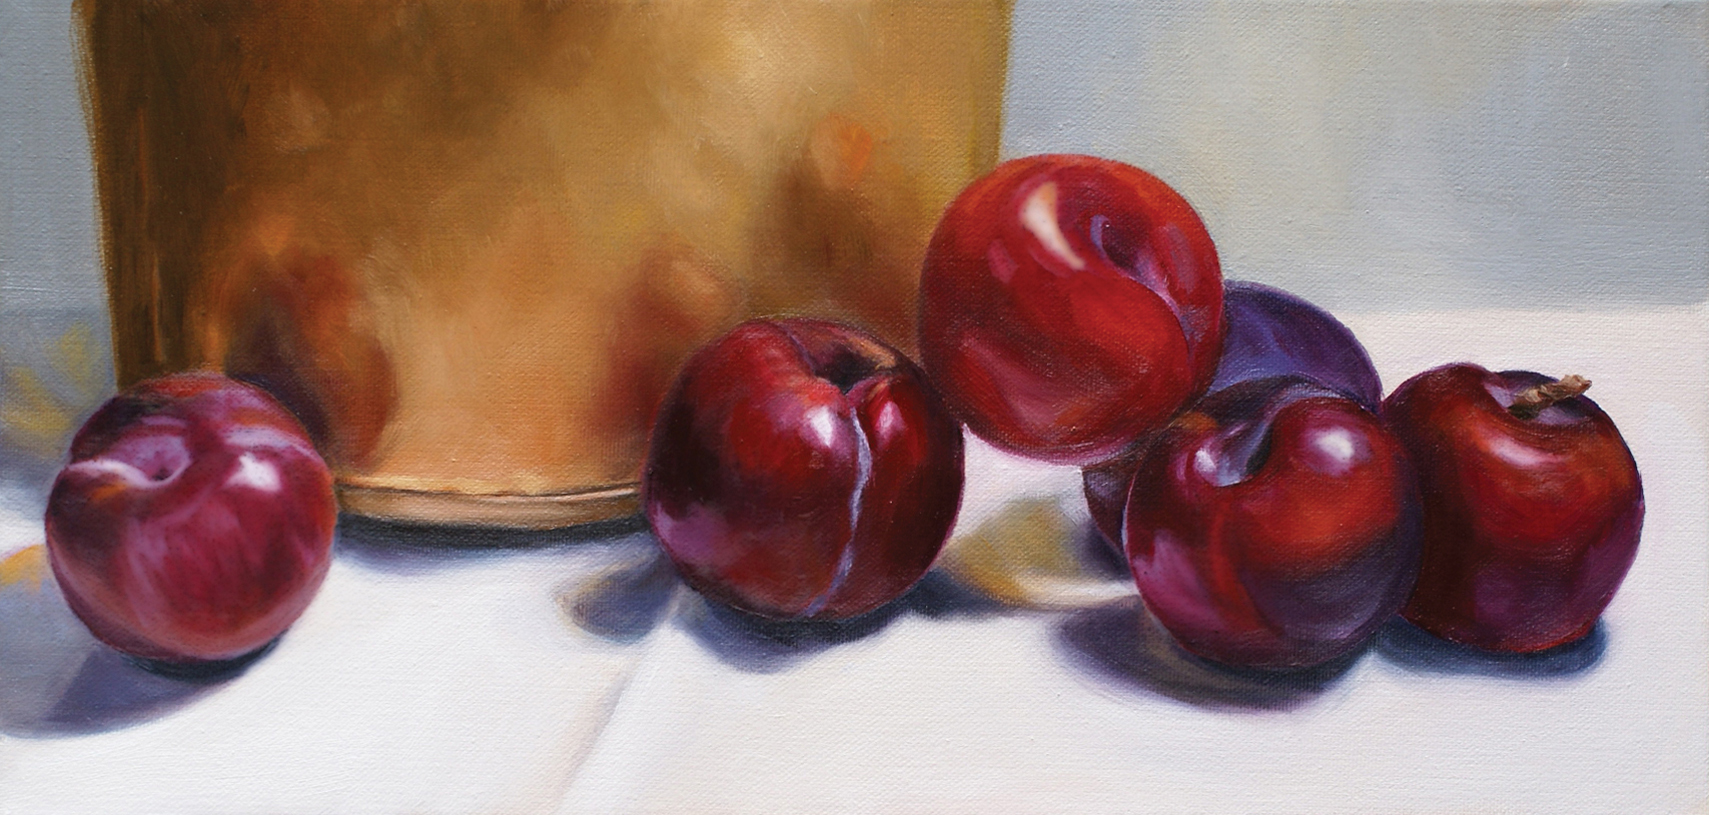
Plum Jam Kettle
For true luminosity, glazing with multiple layers of transparent color is the best way to get the job done. And it requires the most patience! Building up color from most opaque to most transparent takes time since each layer must be dry before applying the next. Above, the plums in the center are more luminescent because an initial layer of cadmium yellow was followed by a very thin glaze of cad orange, which was then followed by a thin layer of alizarin crimson.
What do we mean by “thin” layers for glazing?
We mean thinning the pigment with the addition of oil.
In general, oil paint can be thinned to increase viscosity or spreadability by adding either a medium such as linseed (fat) or a solvent such as turpentine (lean). We always have to abide by the “fat over lean” rule, which holds that the oiliest layer must be on top. Any paint mixed with solvent is less oily and therefore “lean.”
So, it’s fine to “thin” paint with solvent for a preliminary wash, but such a lean mixture cannot be used to glaze. This is because in the glazing process your base, opaque layer is straight oil paint — it’s totally oily. Layers applied after that base must be oily as well.
To thin pigment for glazing layers we add more oil. This can be linseed, poppy, walnut or any oil medium you prefer. Fat over lean is key!

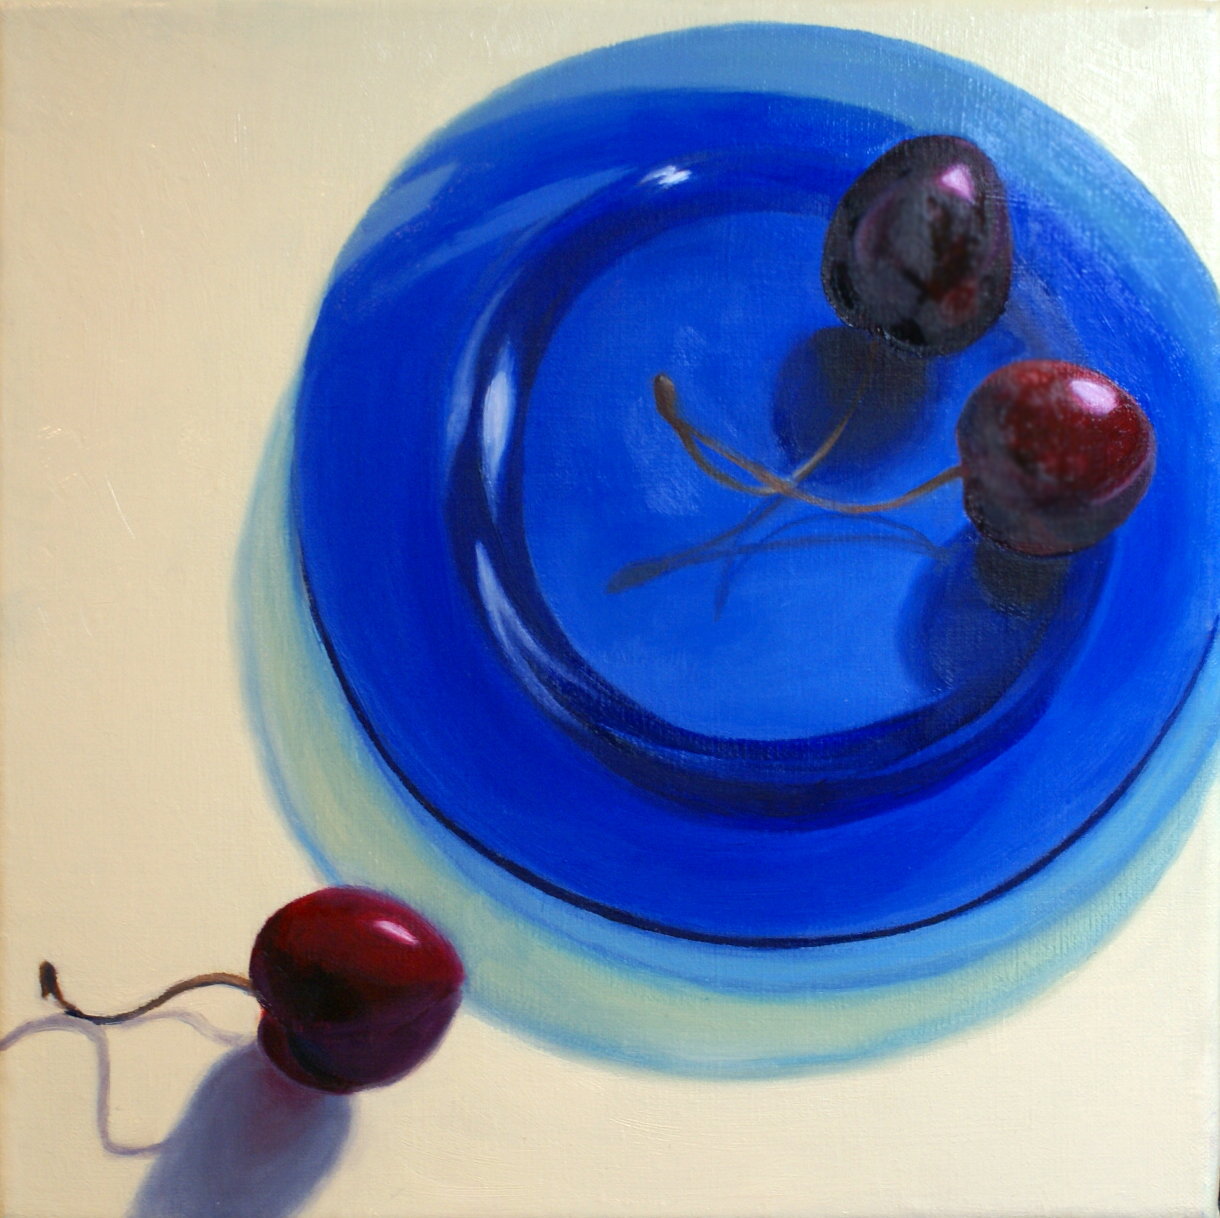
Cherry Trio
What else do I need to know about glazing?
Once you understand this principle, try experimenting with color. If you were to mix ultramarine blue and cadmium, the result would be a dull, muddy purple. But when a thin layer of ultramarine is applied over the same cad red, you get a deeper, richer color. It’s magic! The downside is you have to wait between layers.
Is glazing worth the time?
Glazing oil paintings is well worth the wait. To feel less frustrated and more productive, I recommend working on more than one painting at a time. That way, while one opaque layer is drying (over night or longer) you have another painting underway to focus on. That’s what I typically do.
On the other hand…you could grab a latte and sit down with an art book or tune into a Craftsy class while you wait. That will also feed your creative soul!
<!–
The Complete Guide to Oil Painting
Gain essential oil painting skills as you create a colorful painting! Explore color theory, mixing, paint application & more with expert guidance.
<strong>Very well said
Excellent Well explained
Glazing.
Auto correct!! Not gasoline lol, Gamsol medium!
Hello. I have not used the glazing process much with my oil paintings, however I have recently covered a generous area with gasoline medium and transparent colour. It is taking a long time to dry. What might be a rough estimate of how long the drying process will take? It is somewhat tacky now.
Ian interested in ‘complete guide to oil painting ‘
Great info! I have read that a student should seal the underpainting with an alkyd to facilitate easy removal of a glaze coat (while learning the technique)...true?
Any courses available to do glazing?