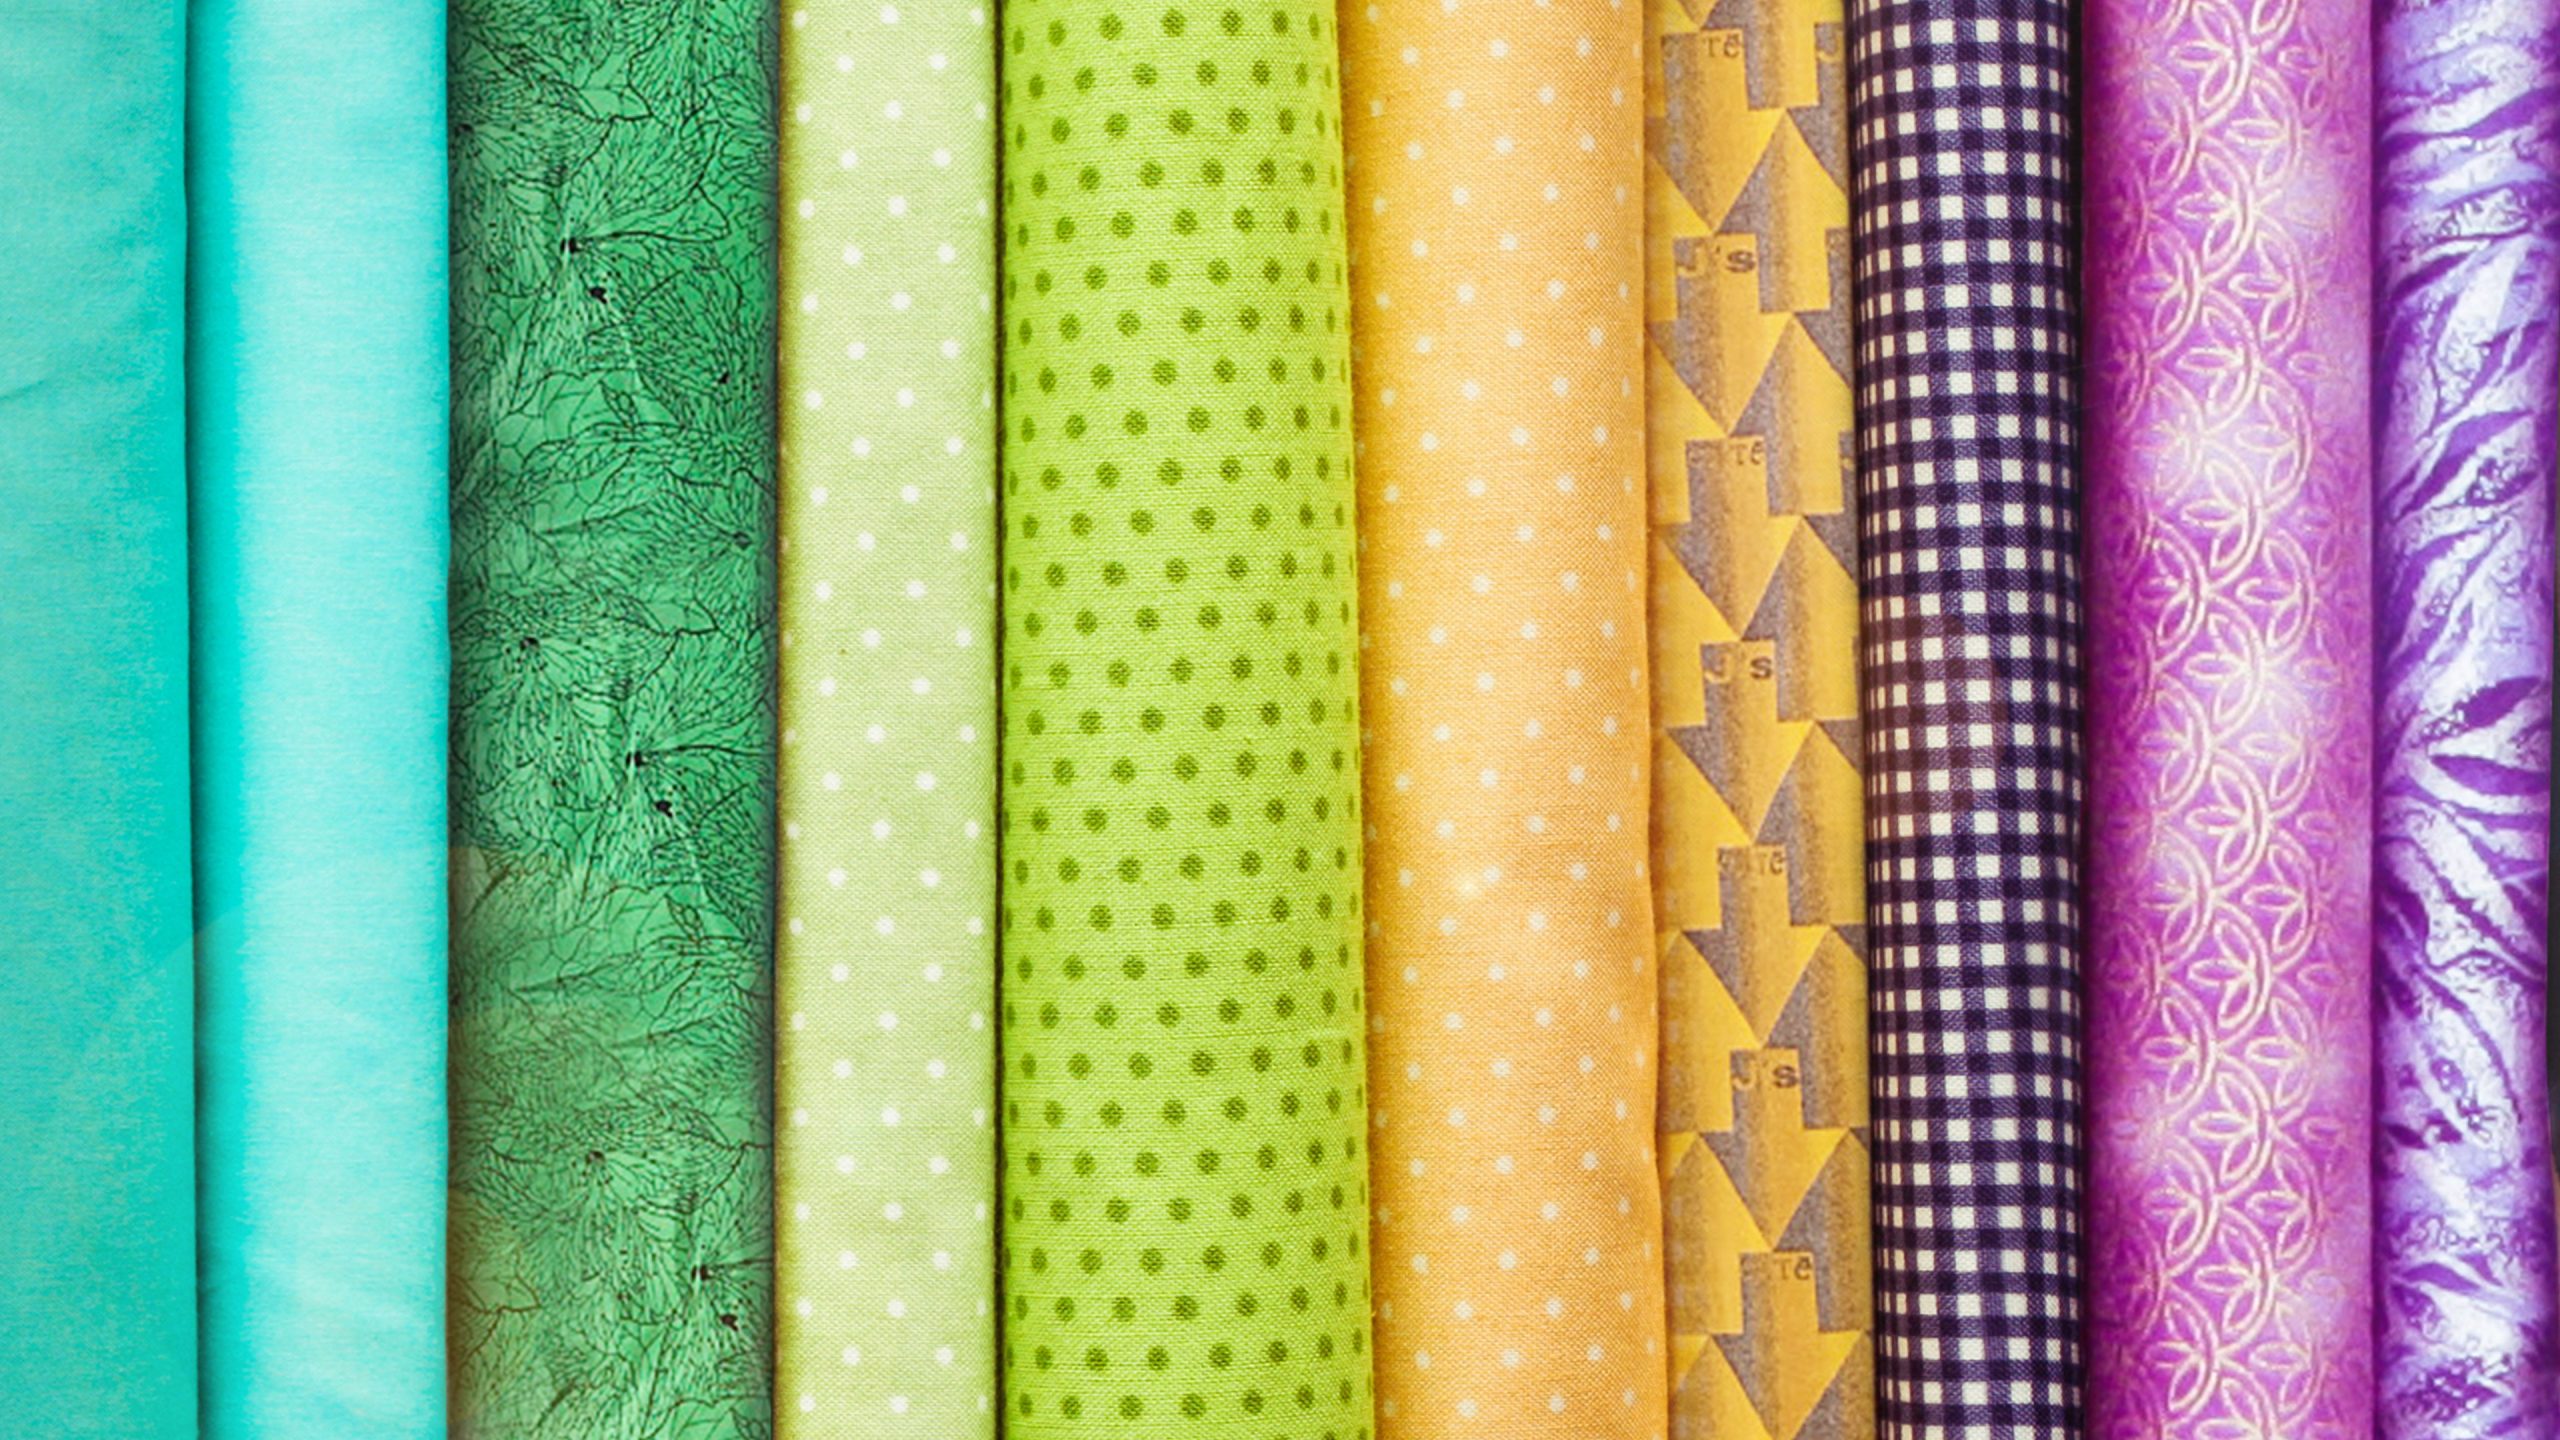
Picture this: you go to the fabric store, pick out the perfect materials for your next project, and come home only to realize that — doh — you already have great fabric you could have used tucked away in a forgotten corner of your sewing room.
We’ve all been there. But if you want to avoid spending unnecessary dollars — not to mention put all your pretty fabric on display — you’re gonna have to get organized. Here’s how.
How to Organize Bigger Fabrics
There are so many ways you can store and display your material, whether you’re working with fabric by the yard or precuts.
Sort By Color on Shelves
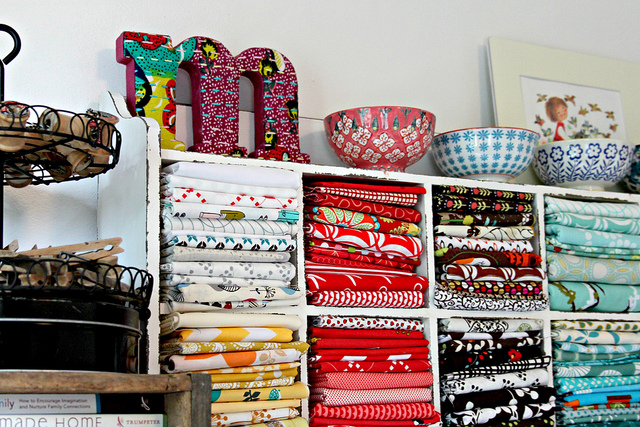
Photo by Maureen Cracknell
For large fabric, like half- and one-yard cuts, pick up (or build!) a cubby bookshelf. Sort fabrics by color, then fold them to fit the width of your shelving. Add decorative bowls on top to hold pins and other notions — and consider those another opportunity to show off even more of your style.
Hang It Up
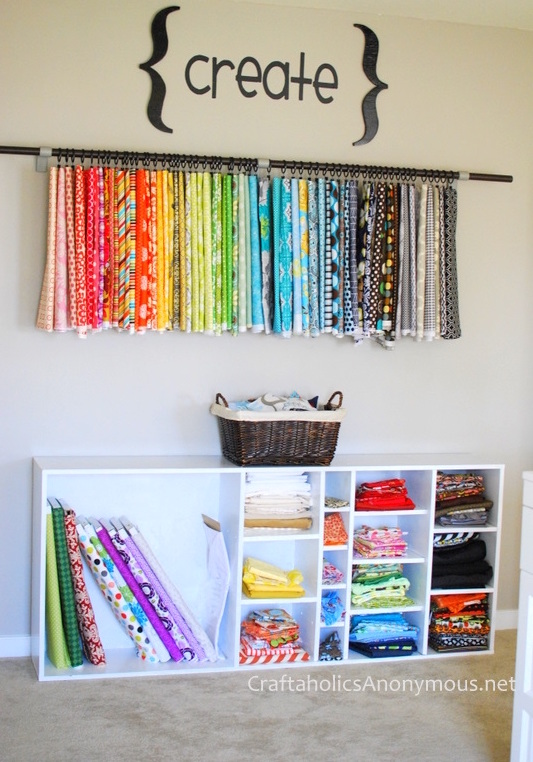
Photo by Craftaholics Anonymous
Make use of wall space — and let fabric double as colorful art — by hanging a curtain rod into your wall studs. (That’ll make sure it stays put no matter how heavy the load gets.) Fold your fabric lengthwise, hang it on curtain rings with clips and sort in rainbow order.
Find a File
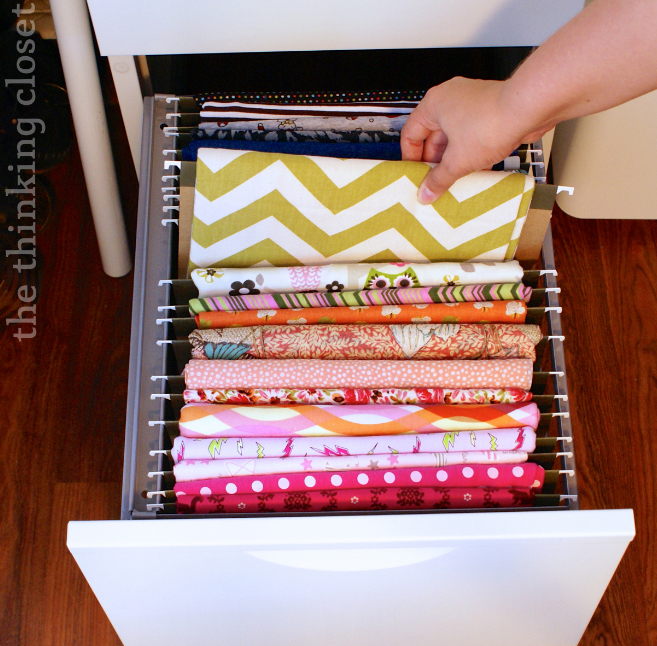
Photo by The Thinking Closet
Raise your hand if you have an old filing cabinet that’s filled with years of no-longer-needed paperwork. Send that stuff through the shredder and — voila! — tons of fresh space for your favorite fabrics. All you have to do is fold and drape over standard file folders (that you can cut in half to double in quantity). Extra points if you dedicate each drawer to a different-sized cut!
Repurpose an Old Crib
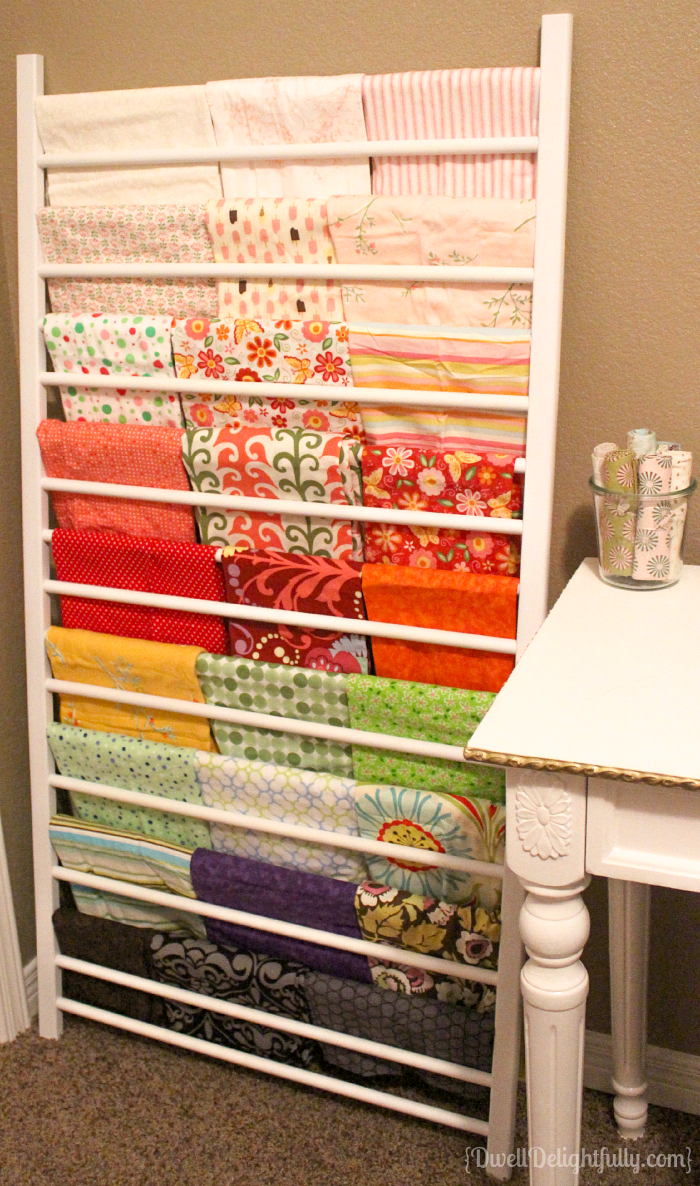
Photo by Dwell Delightfully
Nope, that’s not a custom-made fabric rack — it’s the side of a crib! After your kiddo makes the leap to a big-kid bed, creating ideal fabric storage is as easy as leaning the crib piece against the wall. All you have to do is drape your fabric from lightest to darkest and you’ll always know exactly what’s on hand.
Go Vintage
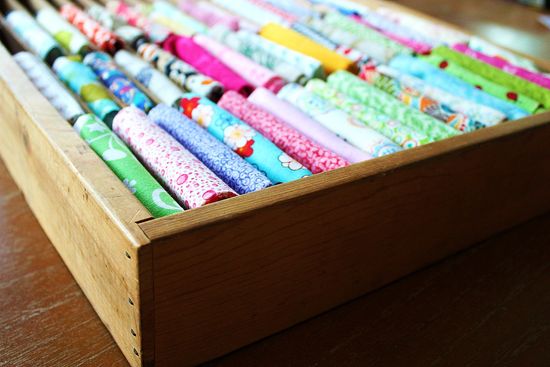
Photo by Tonya Staab
An old cassette tape tray makes it easy to sort scraps and fat quarters into each slot. Keep an eye out at antique shops, thrift stores and garage sales for shelves, small boxes, bowls and jars that are just waiting to enjoy a second life in your sewing room. Then just organize your fabric into a method that works for you and display proudly in your workspace.
How to Organize Fabric Scraps
Scraps are an inevitable part of quilting and sewing, but don’t tuck ’em out of sight. There are a variety of ways to put them on display in your craft room so they can serve as a creative source of inspiration.
Grab Resealable Bags
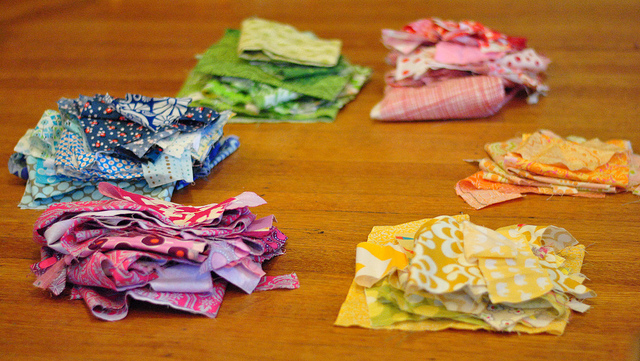
Photo by Craft Buds
Instead of stuffing all your scraps into an overflowing bin (which could be the last you’ll see of them), sort strips by color and store in separate zippered freezer bags. Easy and effective!
Stuff Mason Jars
Use clear jars to store your smaller scraps. Arrange them by color (one jar for warm colors, one for cool, another for crazy prints) so it’s easy to eyeball what you have. Even if some scraps are too small to use, they’ll still look pretty in your DIY display.
Sew Fabric Bins
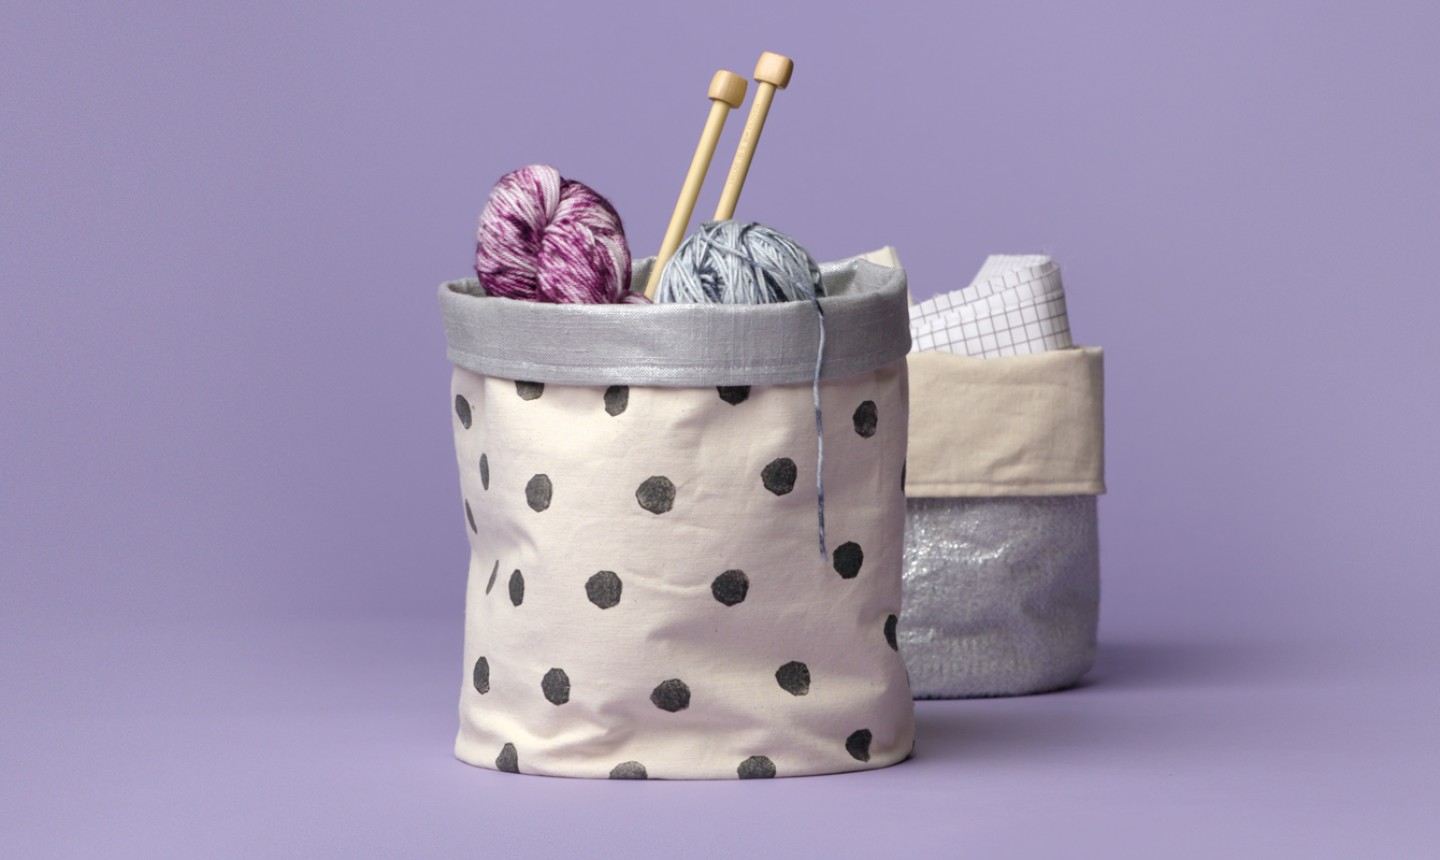
If your stash is larger, sew a simple fabric bin to hold them and organize by color. You can even use your scraps to sew the actual bins — win-win!
Pro Tip: Before you tuck away your leftover fabric, it could help to cut them into commonly used sizes — think 2½”, 5″ and 6″ squares, or strips 1½” and 2½” wide. This way they’ll be ready to go when you start a new project.
Share tips, start a discussion or ask other students a question. If you have a question for an expert, please click here.
Already a member? Sign in
No Responses to “8 Genius Ways to Organize Your Fabric Stash”