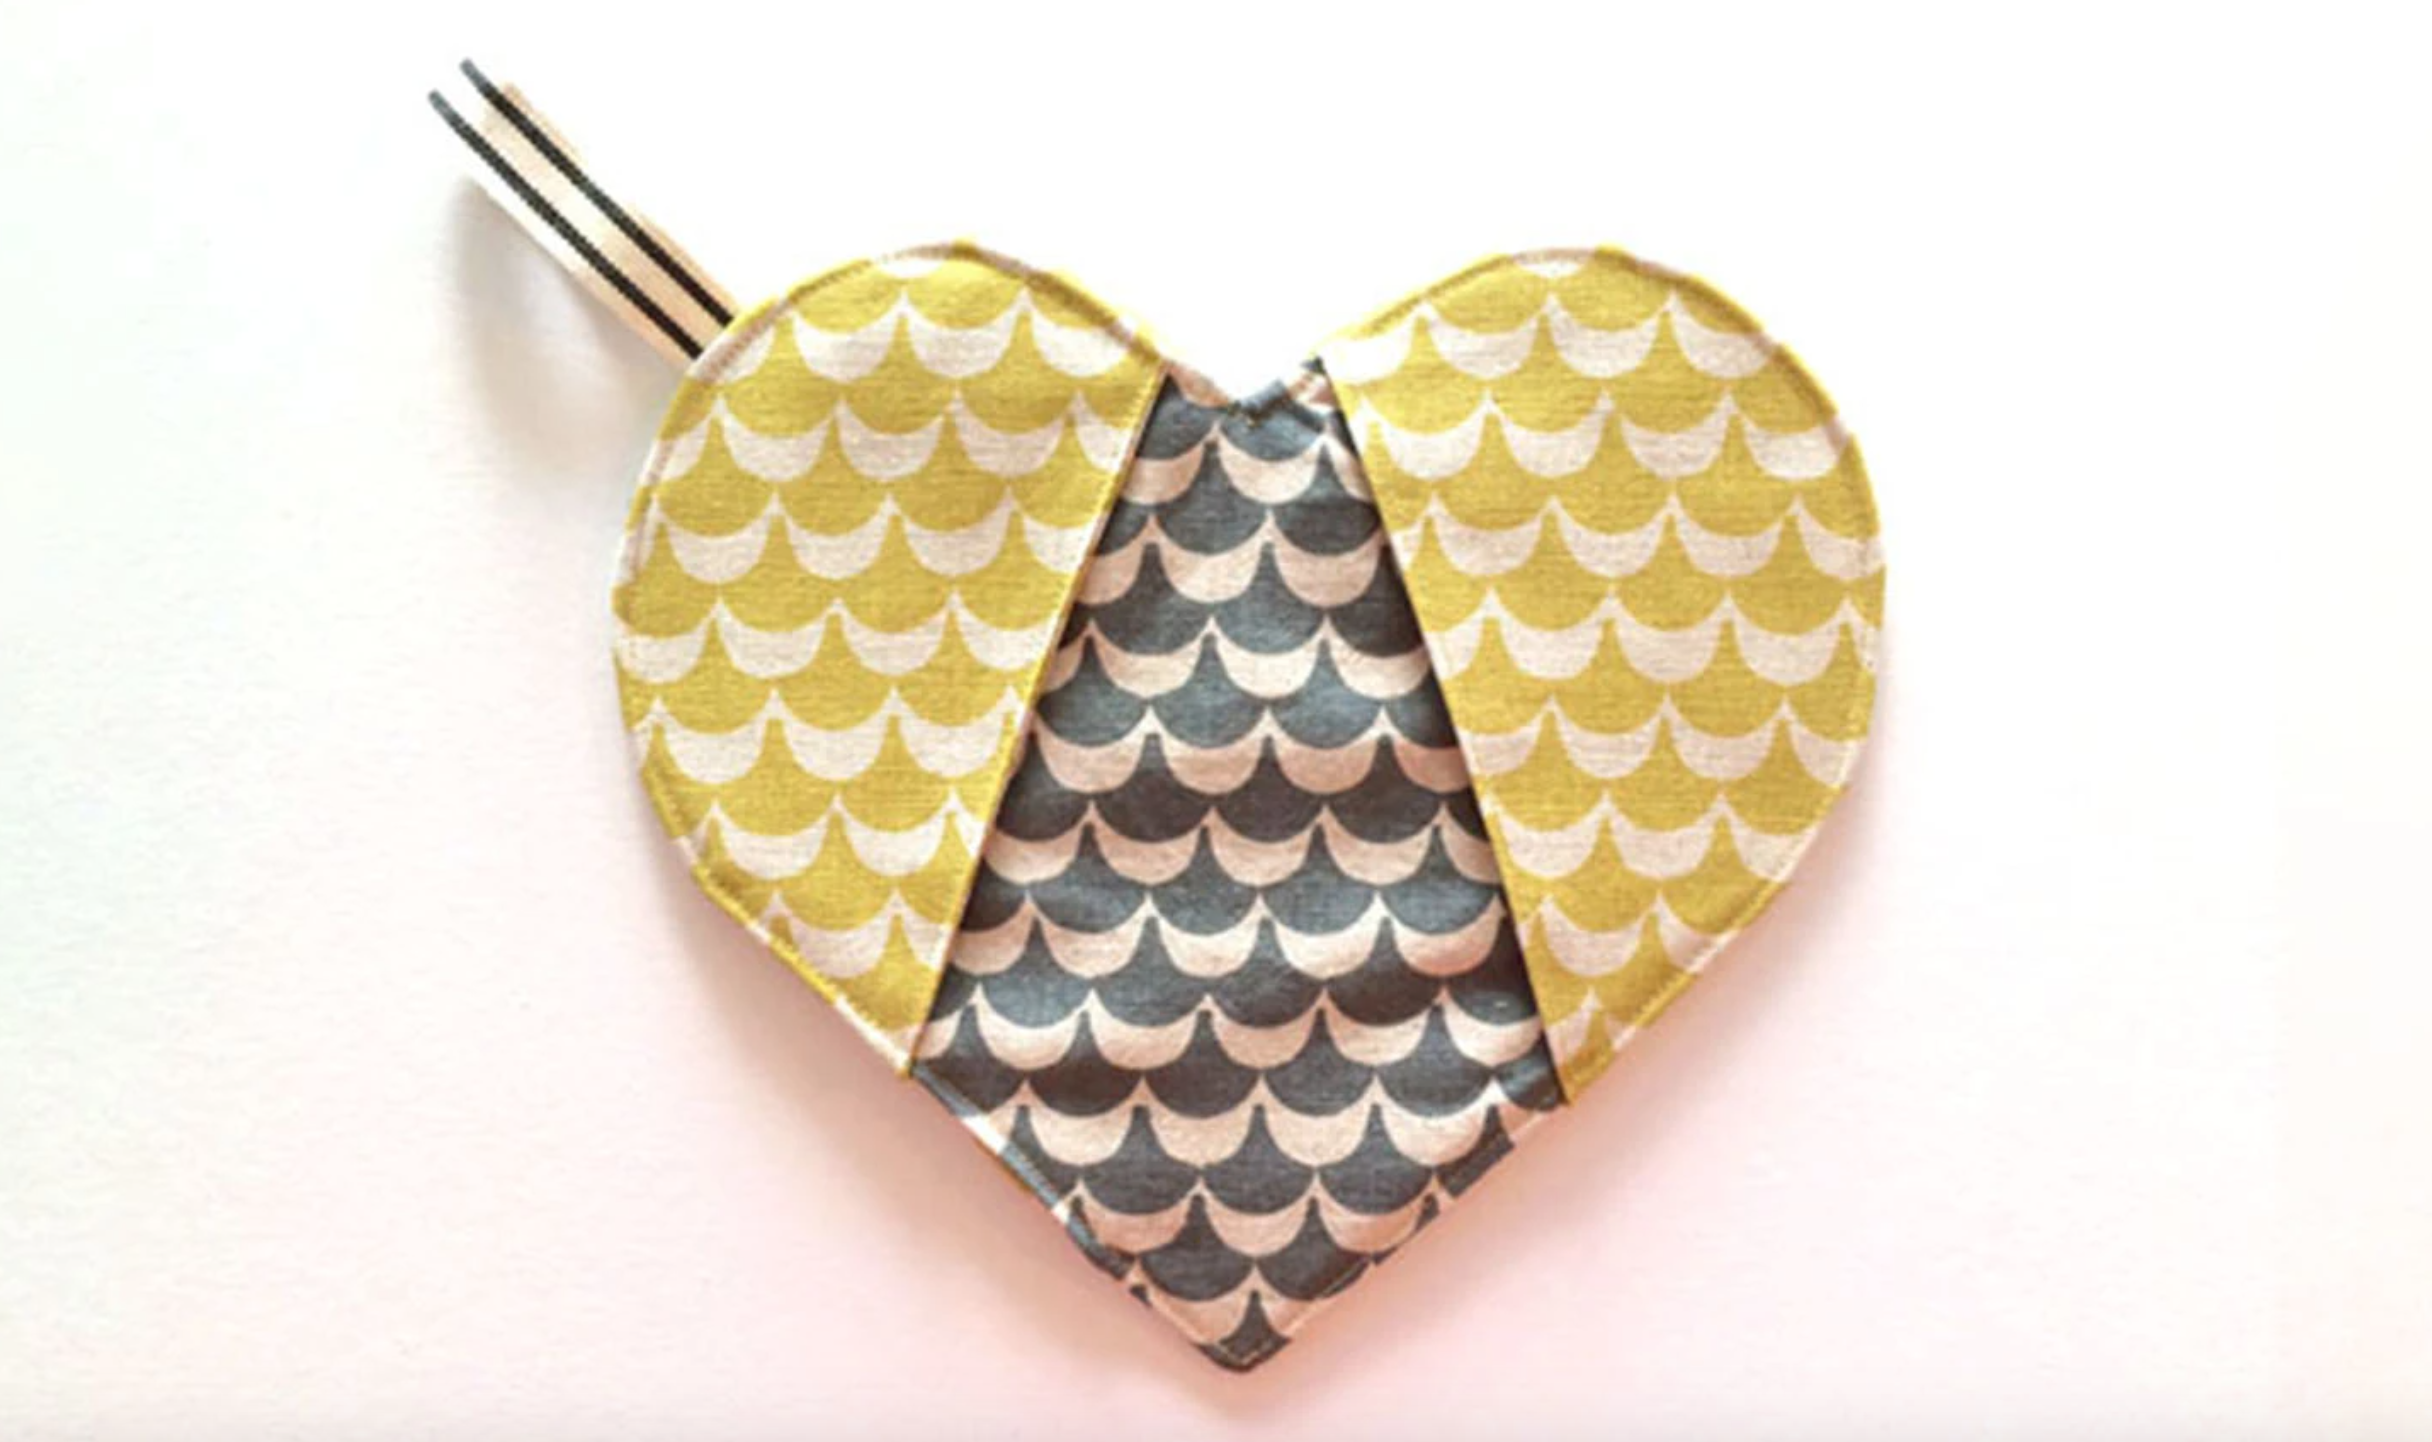
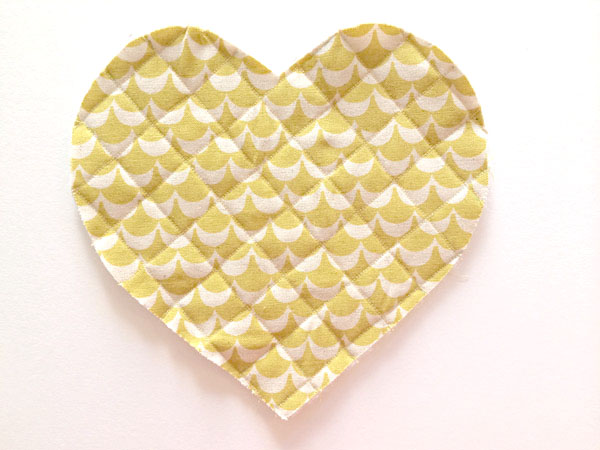
This quick-and-easy potholder is awww-dorable, and it'll look perfect in your kitchen come Valentine's Day. An added bonus: it's great for using fabric scraps!
Heart-Shaped Potholder
Level: Easy
What You Need
Instructions
1. Print and Cut the Pattern
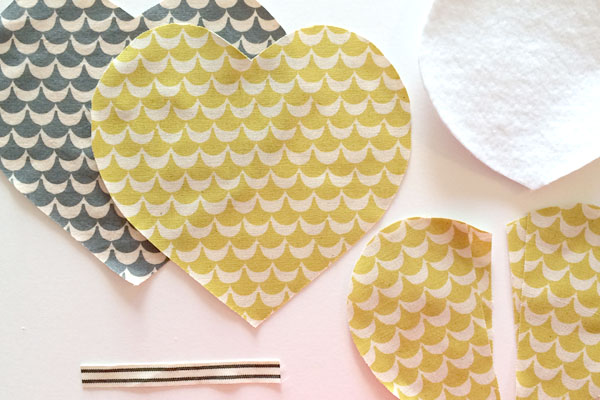
Download and print the potholder template. Be sure to print it at 100% and not "scale to print" so it prints the correct size.
Cut the template out and follow the instructions on each piece for cutting the fabric. You'll have two full-sized fabric hearts (one for the front and back) and four smaller, half-hearts. You'll also cut the batting to be a full-sized heart.
2. Join the Halves
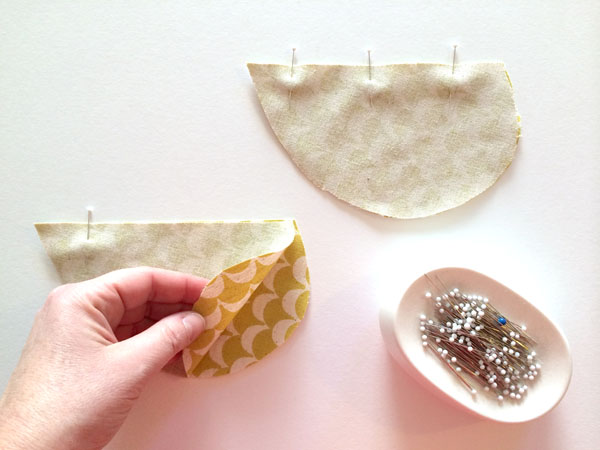
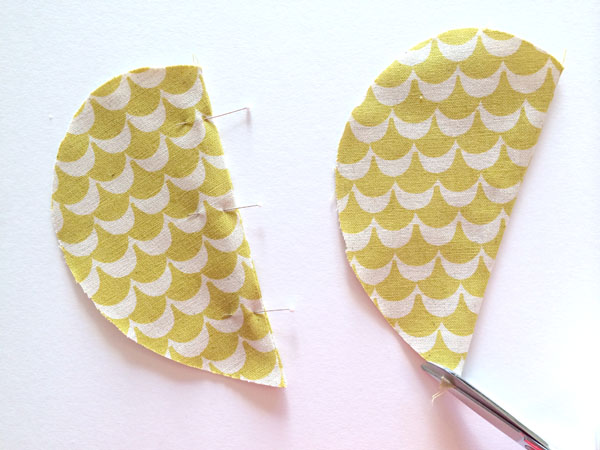
Place two half-hearts right sides together and pin along the straight line.Repeat for the other two half-hearts.
Sew the straight edges with a ¼ " seam allowance. Press the fabric open on the right side.
3. Press and Pin
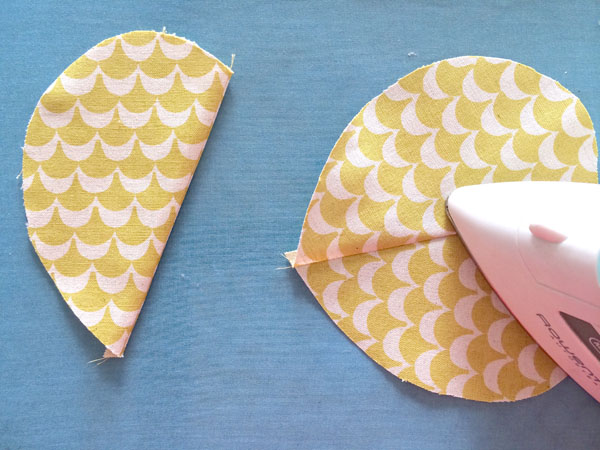
Fold the fabric so the wrong side is facing up and the outer curves are aligned. Press the seam flat.
Pin along the seam and trim off the little point at the bottom that was created when folding the two pieces together.
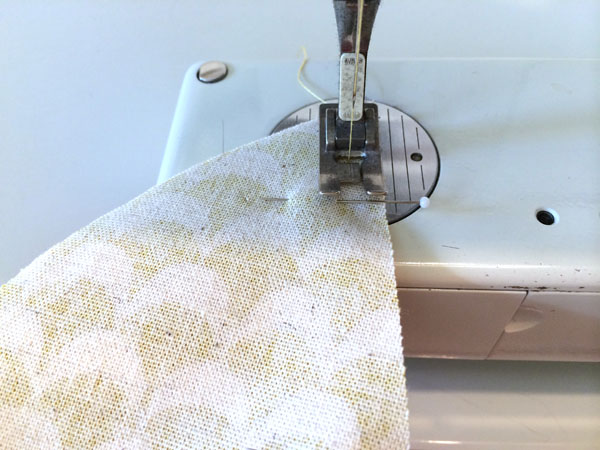
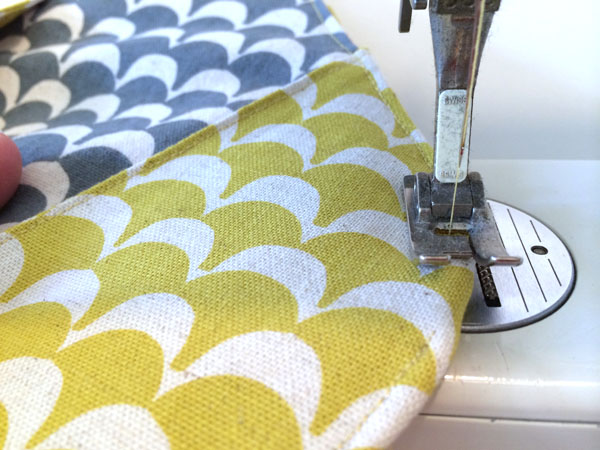
4. Topstitch
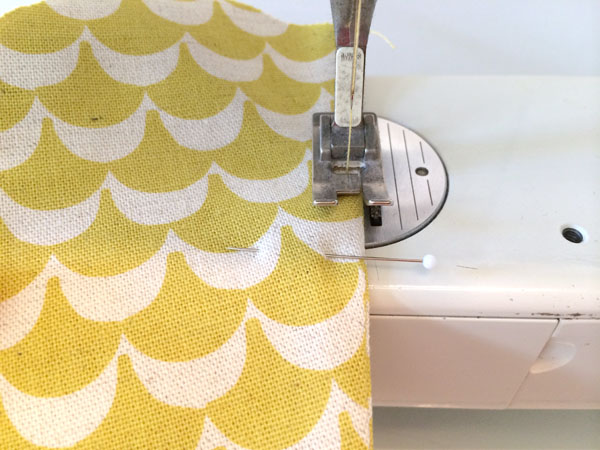
Topstitch both pieces along the straight seam, ⅛" from the sewn edge. Press well.
Pro Tip: Consider using a contrasting thread color for this step — the exposed stitching can be a nice detail.
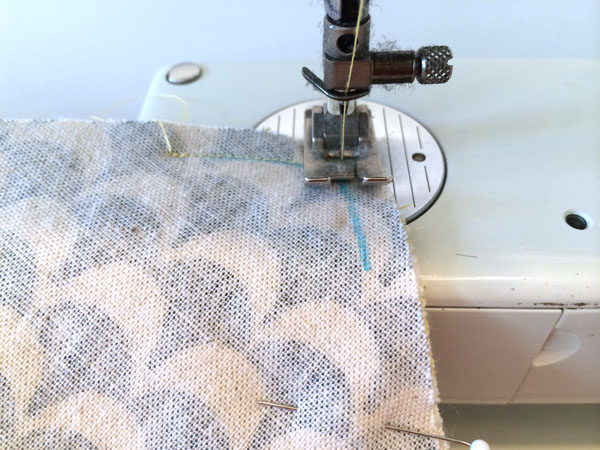
5. Join to the Front
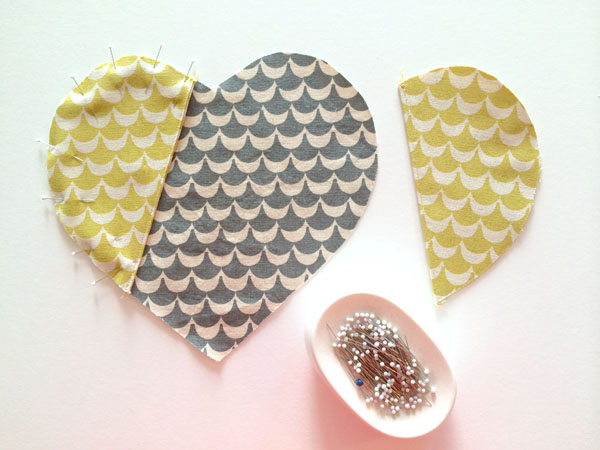
Place one of the half-heart pieces on front heart piece, so the top and left edges line up. Pin along the curved edge, then pin the second piece to the top right of the heart.
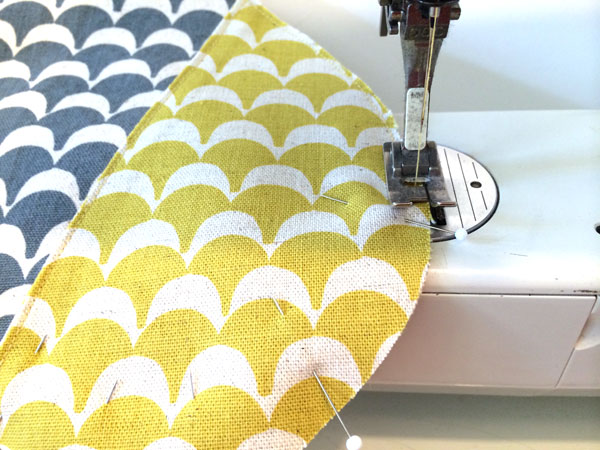
Stitch along the curve at a ⅛" seam allowance. This is essentially a baste stitch, but we used a regular stitch length. You can use whichever you like best.
6. Add the Ribbon
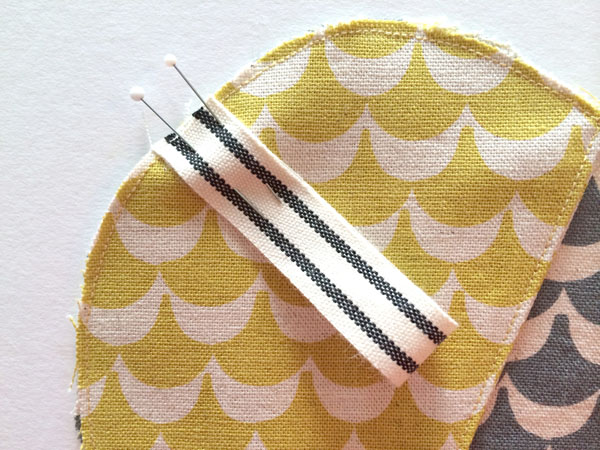
If you want to give your potholder a hanging loop, cut a piece of ribbon or twill tape in your desired length. Fold it in half and place it wherever you like, with the raw edges in line with the raw edge of the fabric. Stitch along the edge at ⅛" on top of the stitches from the previous step.
7. Quilt
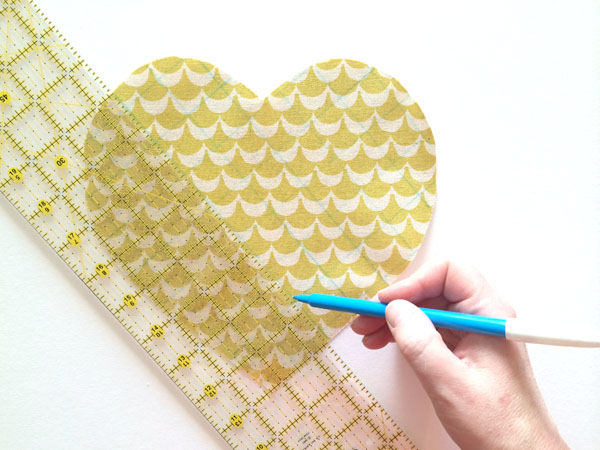
Quilt your potholder to join the pieces together. You can quilt in any way you like, from free-motion quilting to walking foot quilting. We chose to use a ruler and marked a 1" square grid on the back heart piece.
Pin the batting to the wrong side of the back heart piece. Pin baste so the layers don't shift as you stitch.
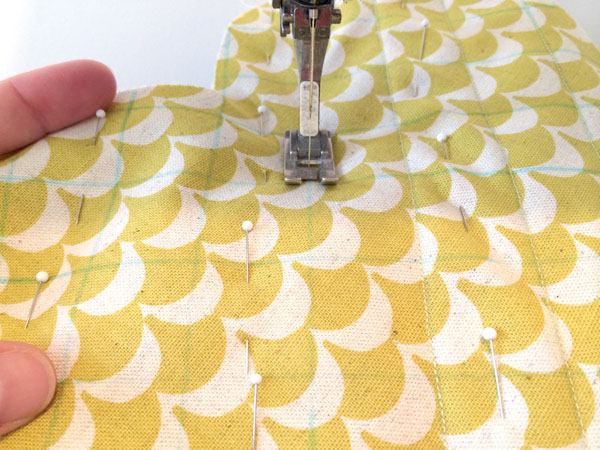
Quilt through the fabric and the batting. If you have a walking foot for your machine, this is a great opportunity to use it to keep the layers moving in unison.
Pro Tip: These layers are a bit thick, so turn up your stitch length. This will help you work smoothly through each layer.
Once you've finished quilting, press the back fabric. Be very careful not to touch the batting with the iron, as it will melt. If you have any excess batting hanging off the edges, trim it away first.
8. Mark the Pivot Points
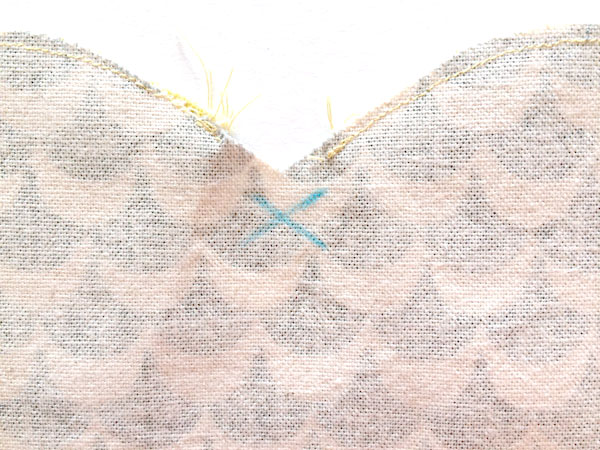
At the top V of the heart, mark an X on the wrong side of the fabric where the two seam allowances meet.
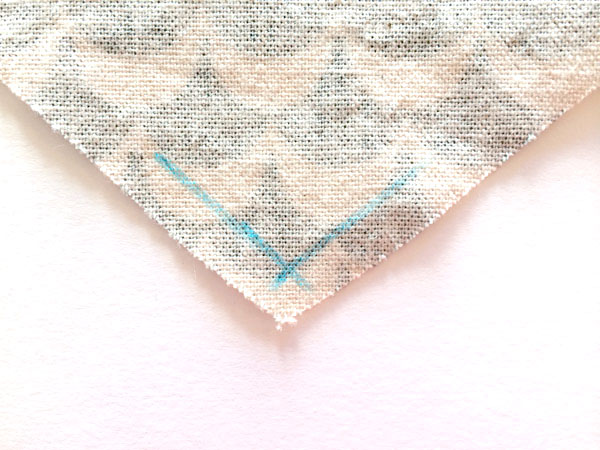
Mark an X at the bottom of the heart as well.
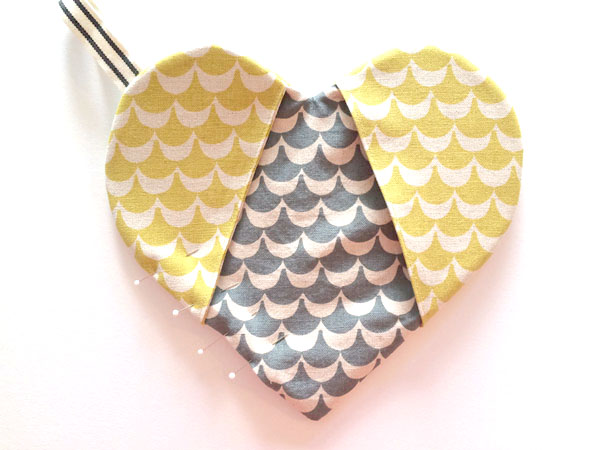
9. Sew It Together
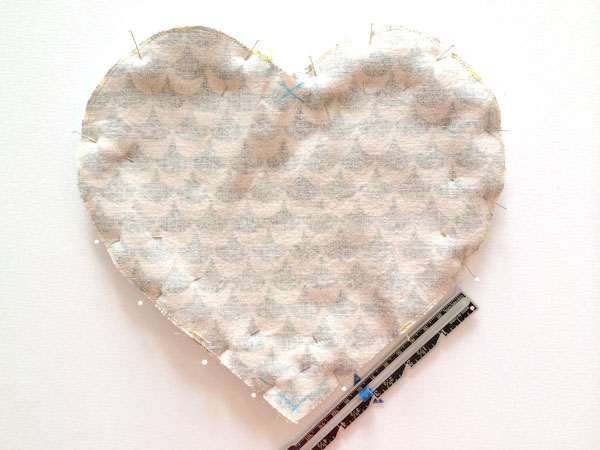
Place the front and back pieces right sides together. Line up the edges and pin all the way around the heart. Measure a 3" section to leave open.
Pro Tip: Leave the gap on the bottom, about 1½" from the tip of the heart. This is the straightest section of the heart, so it's the easiest to close up afterward.
Sew all the way around the heart with a ¼" seam allowance, pivoting at both the top and bottom of the heart and leaving the 3" section you marked unsewn. Trim the seam allowance down to ⅛" around the entire heart (except the 3" opening). Snip into the top V of the heart so it'll lie flat.
10. Turn It Out
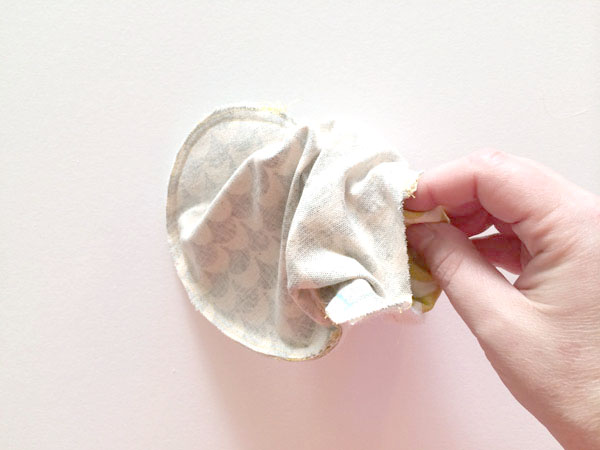
Turn the potholder right side out through the opening you left. Use a point turner to carefully poke out all the corners and curves. Finger press all the edges, then press with an iron.
11. Finish It
Fold the seam allowance back into the opening and press it flat. (This is much easier done with the whole ¼" seam allowance in tact, which is why we did not trim it.) Pin the opening closed.
Topstitch around the entire heart at a ⅛" seam allowance. This will close the remaining hole.
Give the potholder a final press, then hang or use in your kitchen!

Like the heart shape patern
I love the heart shape.
Just made this. Good directions. I will adjust the patten size downa little as I find the finished heart is too big for hand together a good grip.
I would put the hanging loop just to the side of the top indent of the heart so that it can be folded between the potholder and your hand when you are using the potholder. Doing this would mean the loop will not go into your food.
This is so pretty and easy to do. So good JOyce Dupree
Would love to learn more craft projects. Looks like a fun project and would be a wonderful gift. Thank you
Hi, I would like to make these lovely potholders but also have problems with the printing. Although I follow the instructions the pieces come out too large and the small piece is too large in relation to the bigger one. I have contacted customer services but haven't had a reply yet.
The pattern for the heart is too large for the letter size paper, the curve of the heart gets cuts no matter how I have tried changing the print parameters. Could you redo that pattern in a size that will actually print out the entire heart shapes?
Would love to make these
where do I find the printable pattern pieces to cut the heart shape