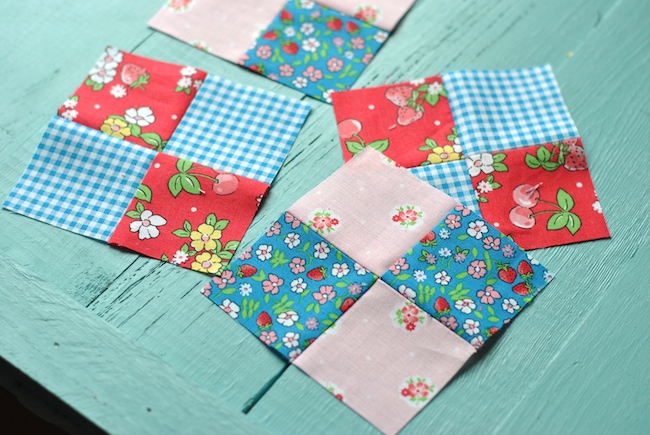
Sewing four-patch quilt blocks is fun and fast! This classic block is a favorite of quilters, and I’m going to show you a tutorial on making four beautiful four-patch blocks from four charm squares. They are great to use in quilt borders or interspersed with solid blocks to make charming quilts.
One of the hardest parts of making this quilt block is matching up the seams and making them look precise. After this quick lesson, you’ll be sewing up perfect four-patch quilt blocks in no time! These blocks measure 4¼” unfinished (3¾” finished).
How to make a four-patch quilt block
What you need:
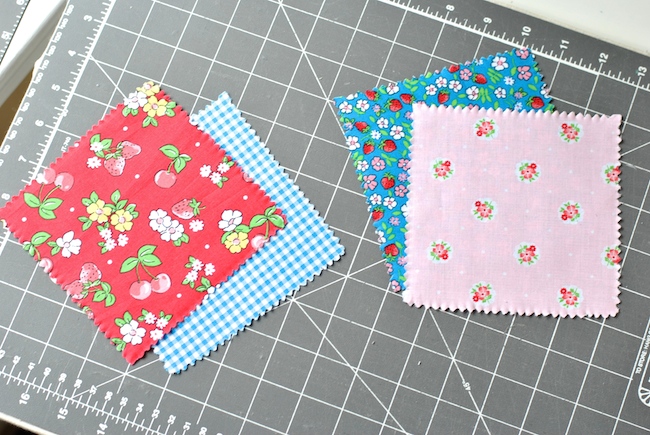
- Two sets of contrasting 5″ charm squares (I’m using Lily & Loom Strawberry Fizz pre-cuts)
- Sewing machine
- Thread
- Rotary cutter
- Quilting ruler
- Cutting mat
- Sewing pins
Note: I chose to work with blue and pink prints for this tutorial, but you can use this method with any color or even solid charm squares. Remember that your four-patch will stand out the most if you choose colors that really pop against each other.
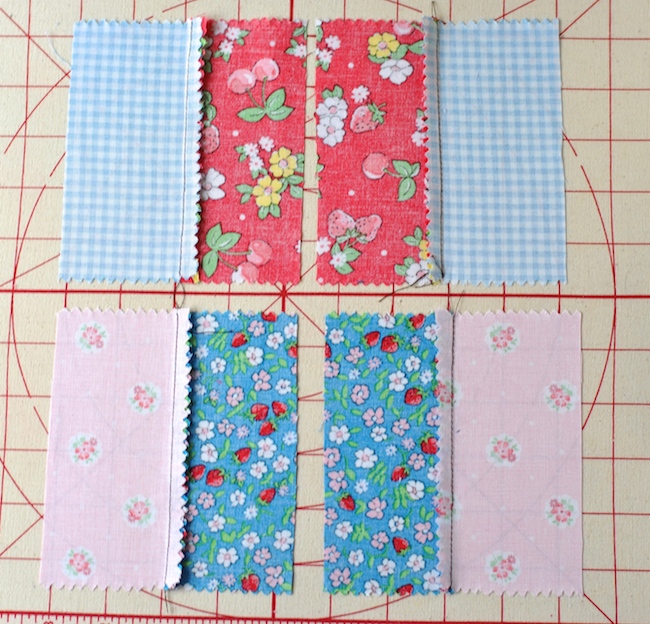
Step 1:
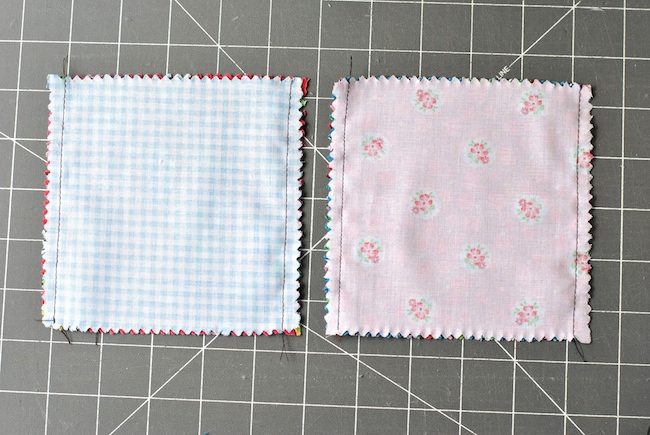
Stack the contrasting charm squares on top of each other, right sides together. Do this with both sets. Sew a scant ¼” seam (just a hair smaller than ¼”) along the left and right sides of each set.
Step 2:
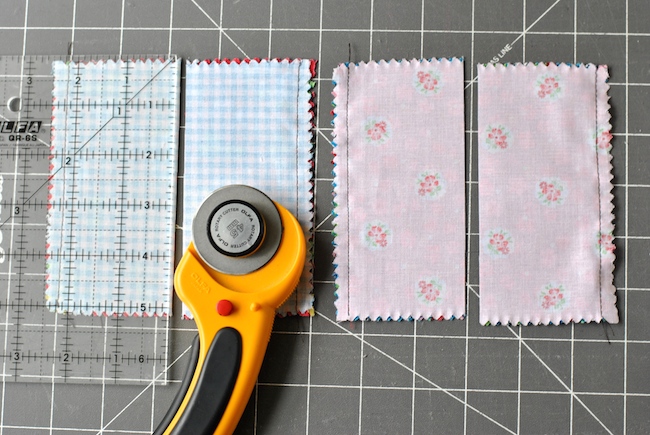
Use a ruler and rotary cutter to measure halfway across each set, cutting a vertical line 2½” from the edge of the block. Be sure you do not cut through the two lines of stitching!
Step 3:
Open up each fabric unit and press the seam toward the darker fabric. Make sure not to drag your iron, so you won’t distort the seam, but simply press down on top of the seam (here’s a little more on why it makes a difference!)
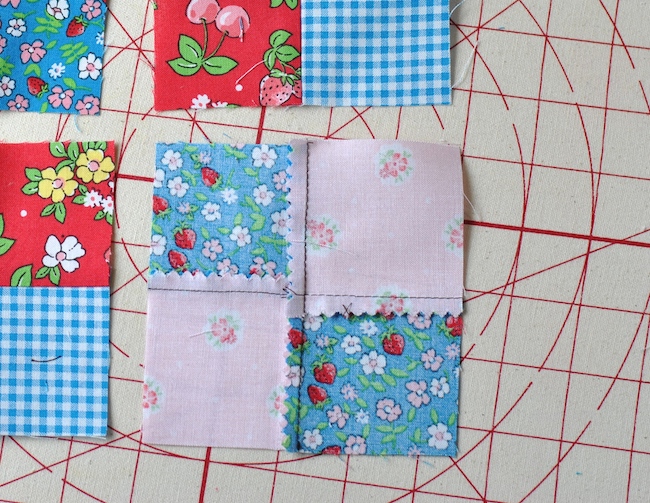
Step 4:
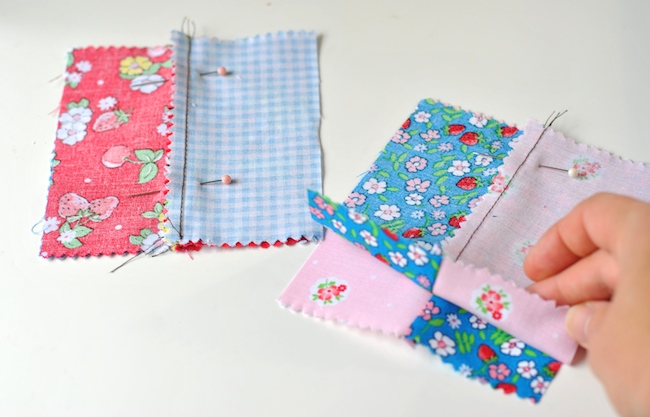
Stack the matching units on top of each other, with the right sides of the fabric facing. The contrasting (blue/pink) fabrics should be opposite each other, as pictured. Nest the seams (butting them up against each other) and pin the block units together.
Step 5:
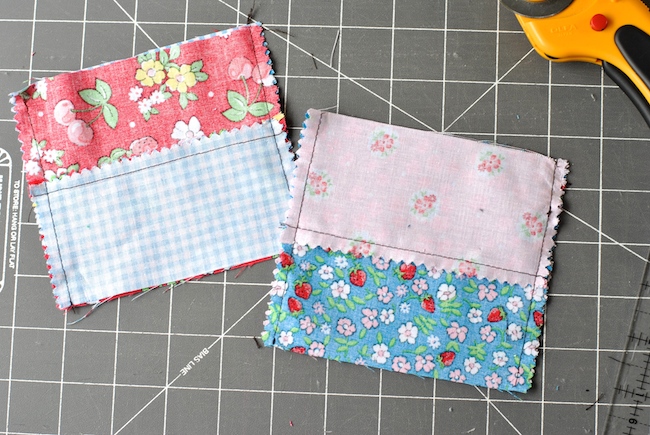
Stitch a scant ¼” seam along the two edges of the block, sewing perpendicular of your previous center seam line and thus crossing over it. Repeat with the other block.
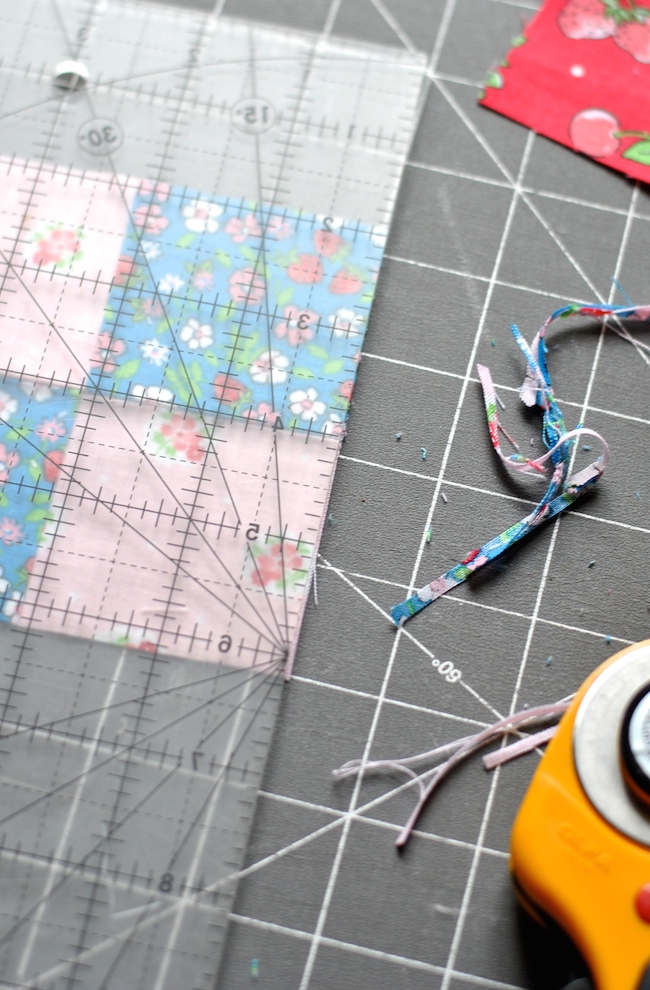
Step 6:
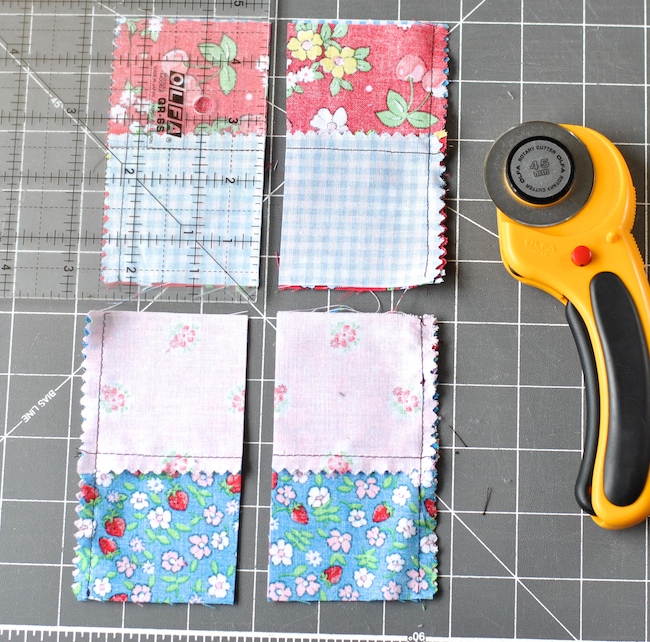
Next, cut a straight line down the center of the block, cutting through the other center seam and parallel to the two seams you sewed on the sides of the block. Use a ruler to measure 2½” from one side, and cut along this line with a rotary cutter. Repeat with the other four-patch block.
Step 7:
Press the center seam to one side.
Step 8:
Next, trim the finished four-patch blocks to 4¼”. To do this, align the 2-1/8″ mark on your ruler with the center seam, and trim everything beyond that on every side of the block.
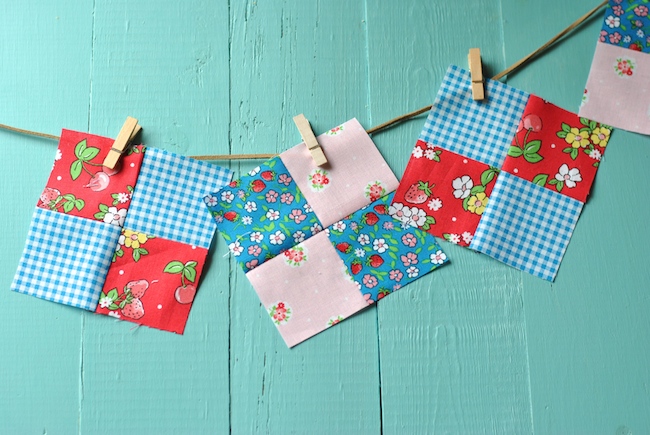
That’s it! You’ve turned four charm squares into a quartet of classic quilt blocks. If you’d like to make larger four-patch blocks, simply start with a larger starting square. You could try a pre-cut 10″ square, for example.
I’m going to work on a fun patchwork project with these blocks, and will be back soon with some more classic quilt block tutorials.
Great tip
Love this, have to try it
Love this! I will give it a try.
Looking for beginner patterns for teaching teens at our church.
Love this! Thank you
That sounds quick and easy! Thanks!
so very interesting, thanks
<strong>great information, love how you made the units.
thanks for this great idea! Much appreciated
Thank you