Watercolor is a wonderful medium for creating works of fine art and illustration. It's affordable, easy to use and creates vivid yet fluid color that is well-suited to a variety of different artistic styles.
However, watercolor is not always the most forgiving medium — if you add too much water to a wash it can dry in uneven, splotchy color. when still wet, different colors can bleed into one another. And, what if you accidentally drop paint on the page?
Don't worry: While these crises are occasionally inevitable, they are also quite curable. Here are a handful of common calamities which can occur while working in watercolor, as well as some easy solutions.
To master the art of watercolor, check out Craftsy's suite of watercolor painting courses. From comprehensive courses on creating portraits to painting watercolor flowers to making mixed media creations, you'll be taking your painting to the next level in no time.
Mistake #1: Unwanted paint marks on the page
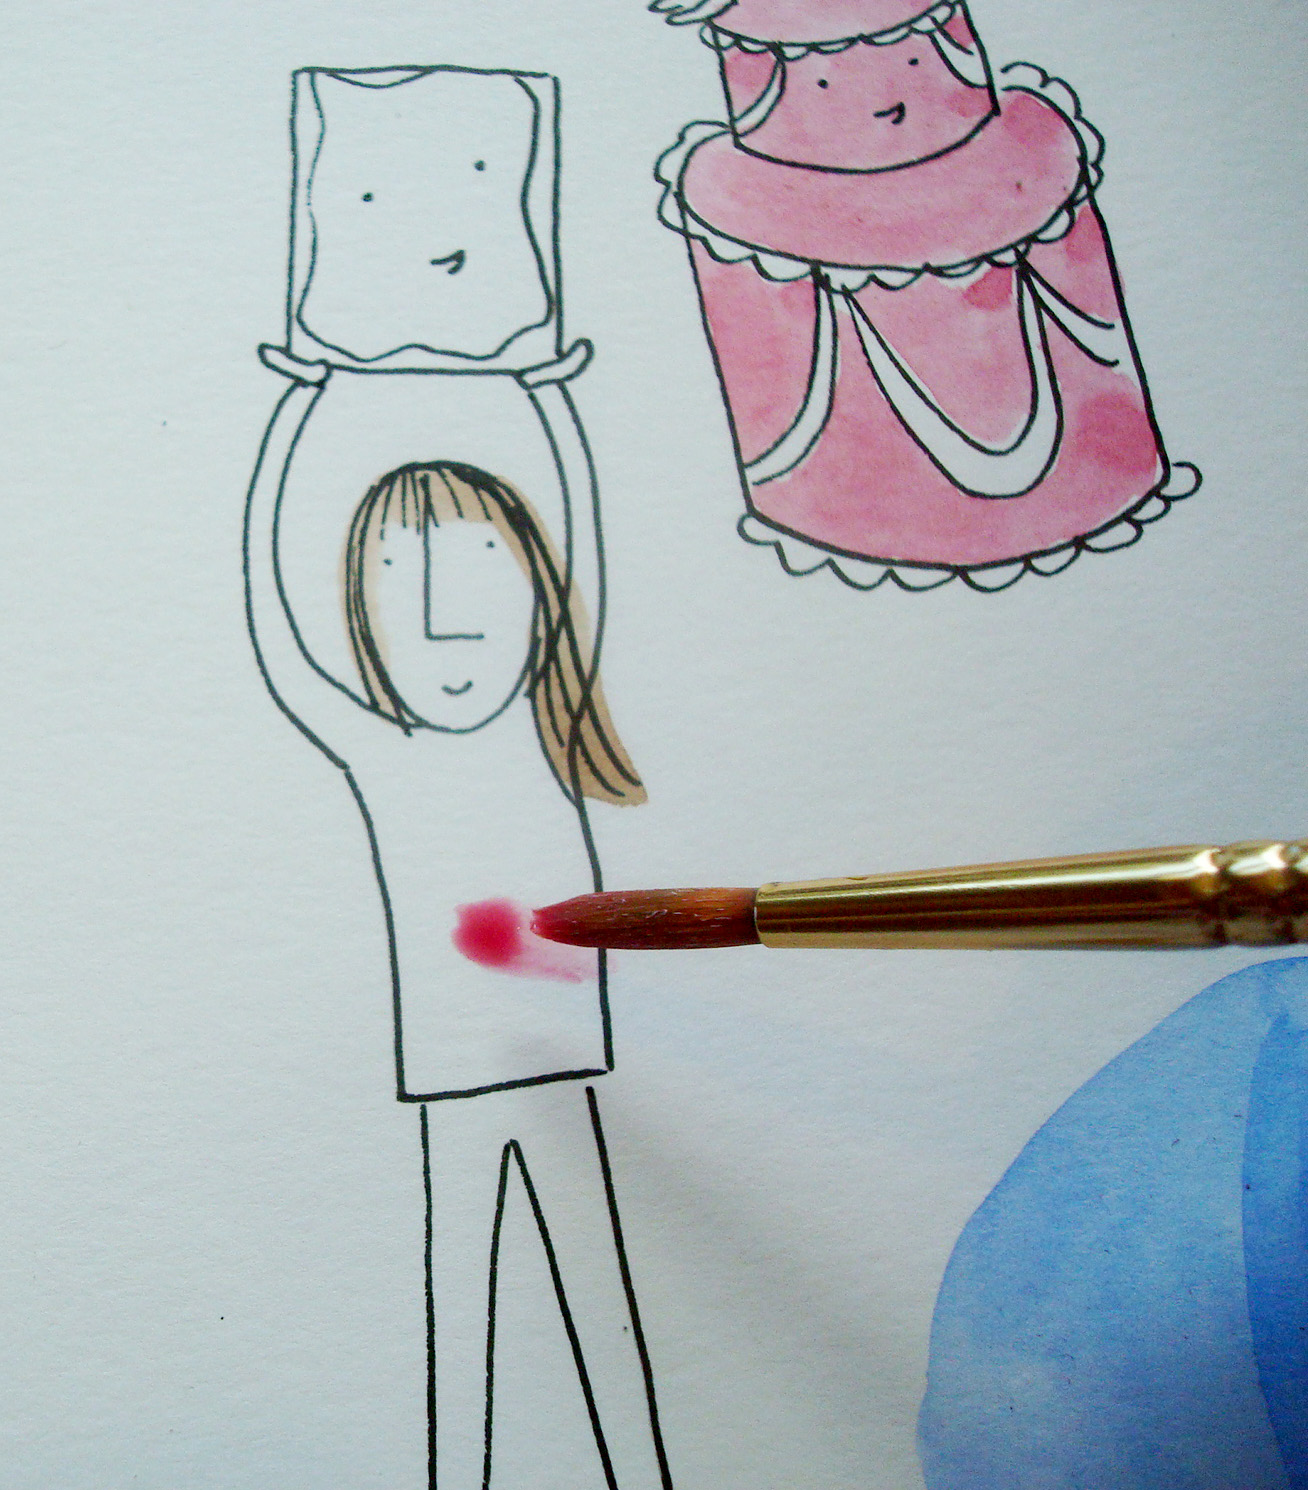
Illustrations and photos via CakeSpy
Cause:
D'oh! The cause of unwanted paint mark on your work surface could range from a brush with too much liquid dropping paint in an errant spot to losing your grip on the brush and accidentally smearing paint in an unwanted area, or any number of inadvertent actions.
Solution:
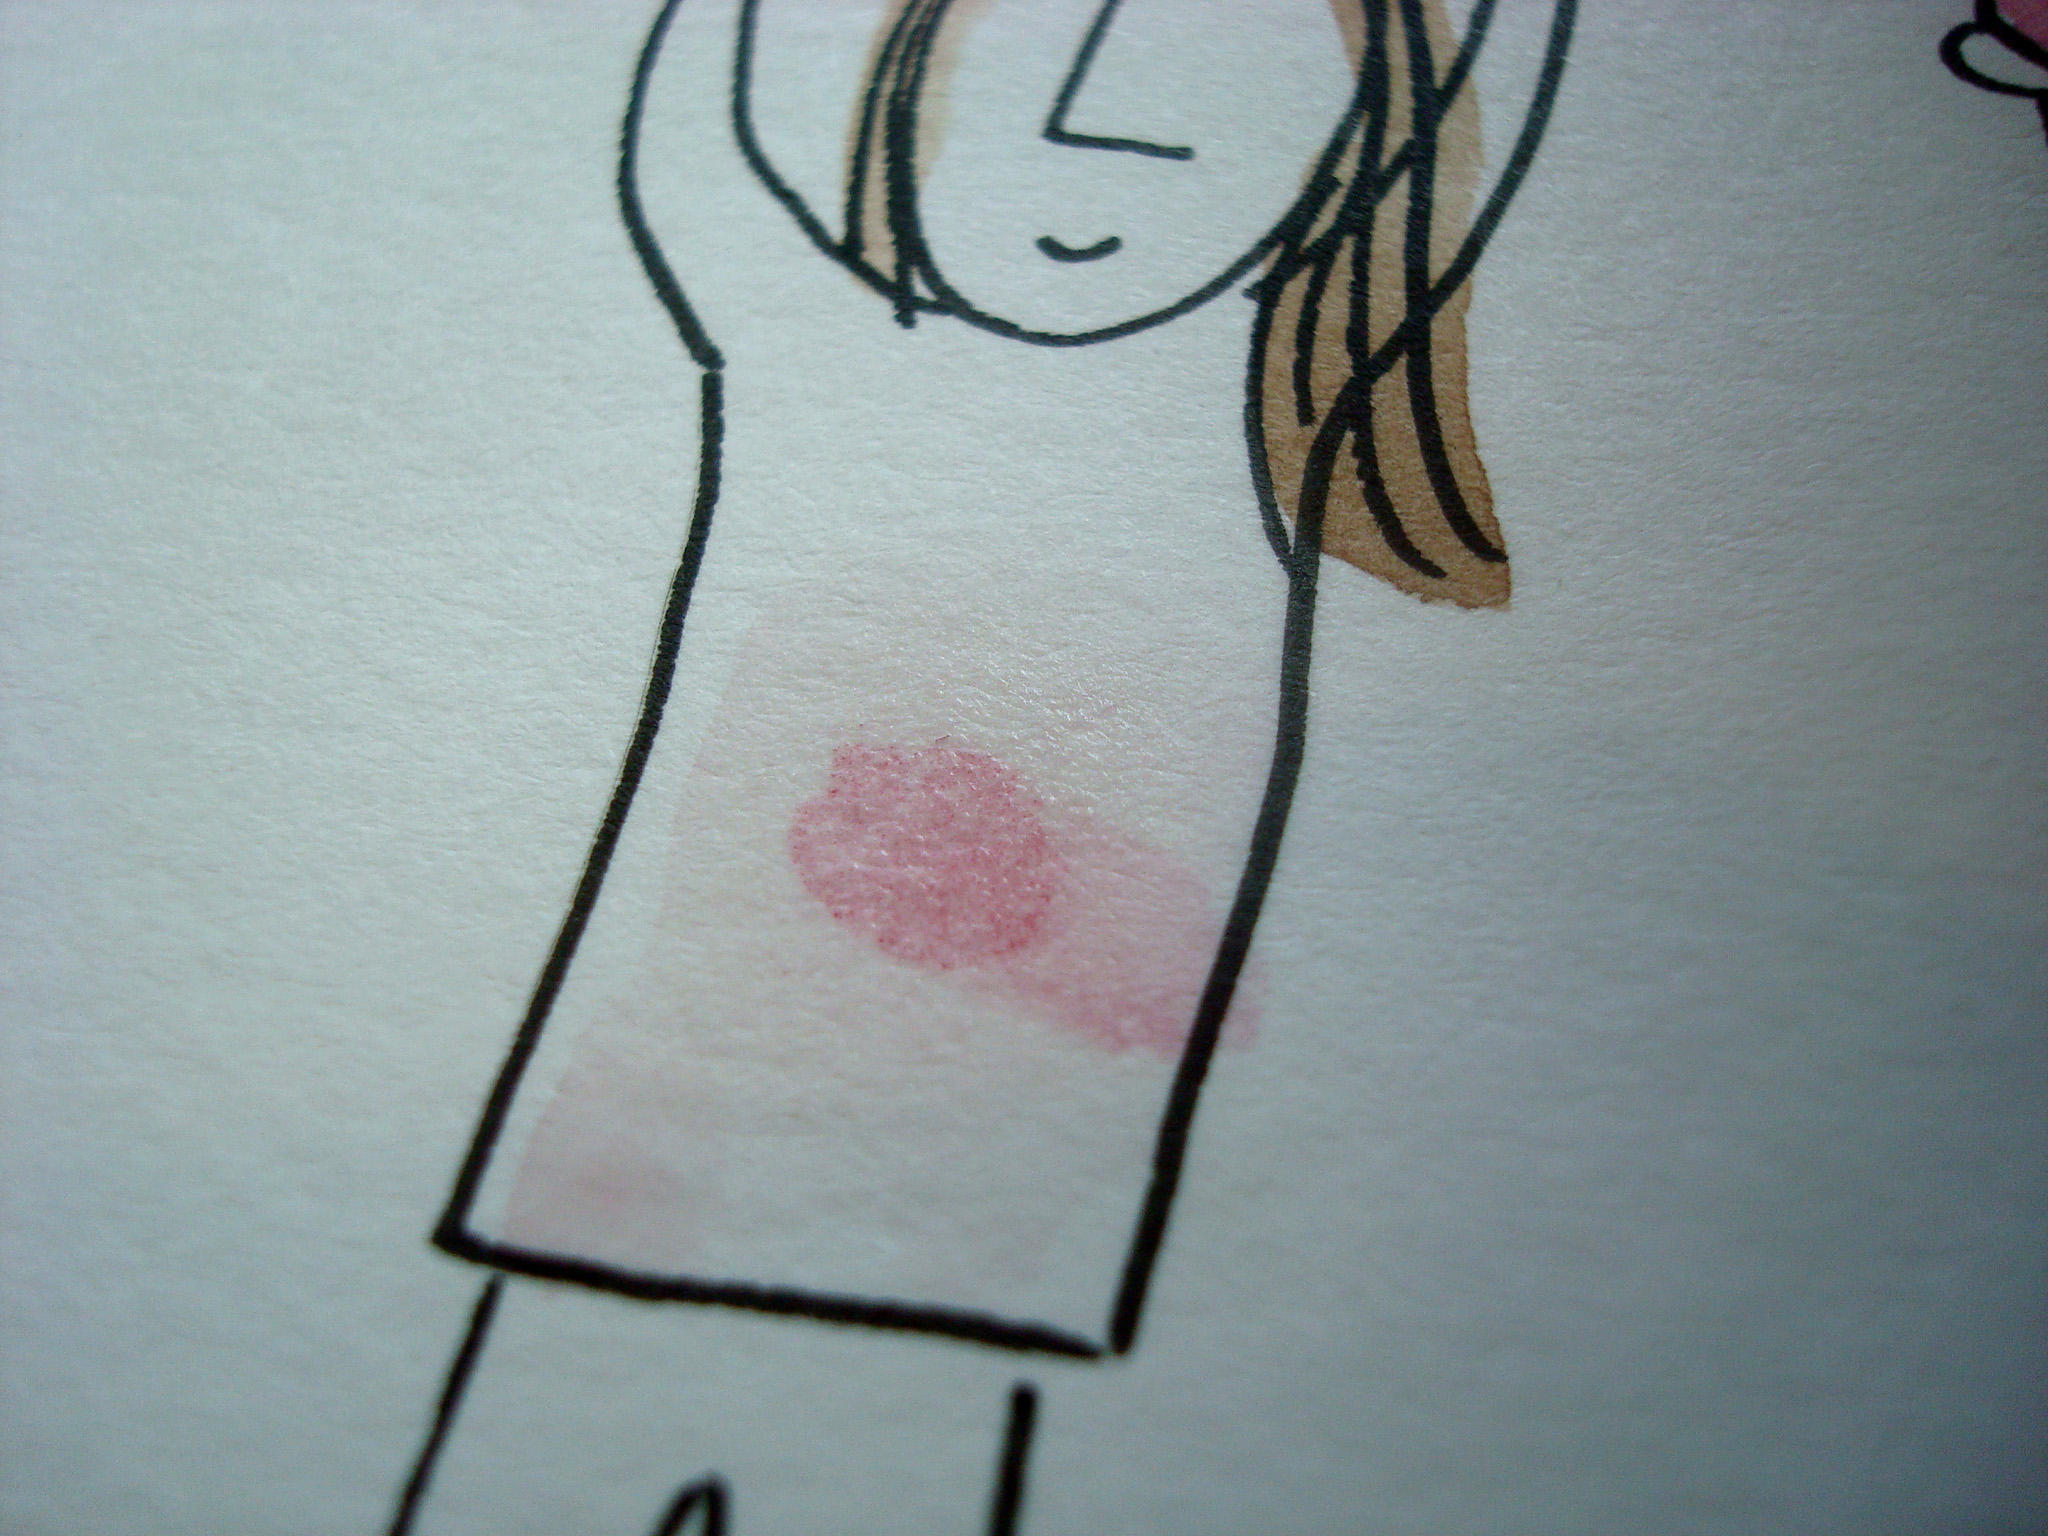
1. First, wet the brush and gently brush over the area to diffuse the spot, softening its edges. Let the area dry before proceeding. If the paint mark is fresh, this might even clean it up enough, so that it is not noticeable once it is painted over.
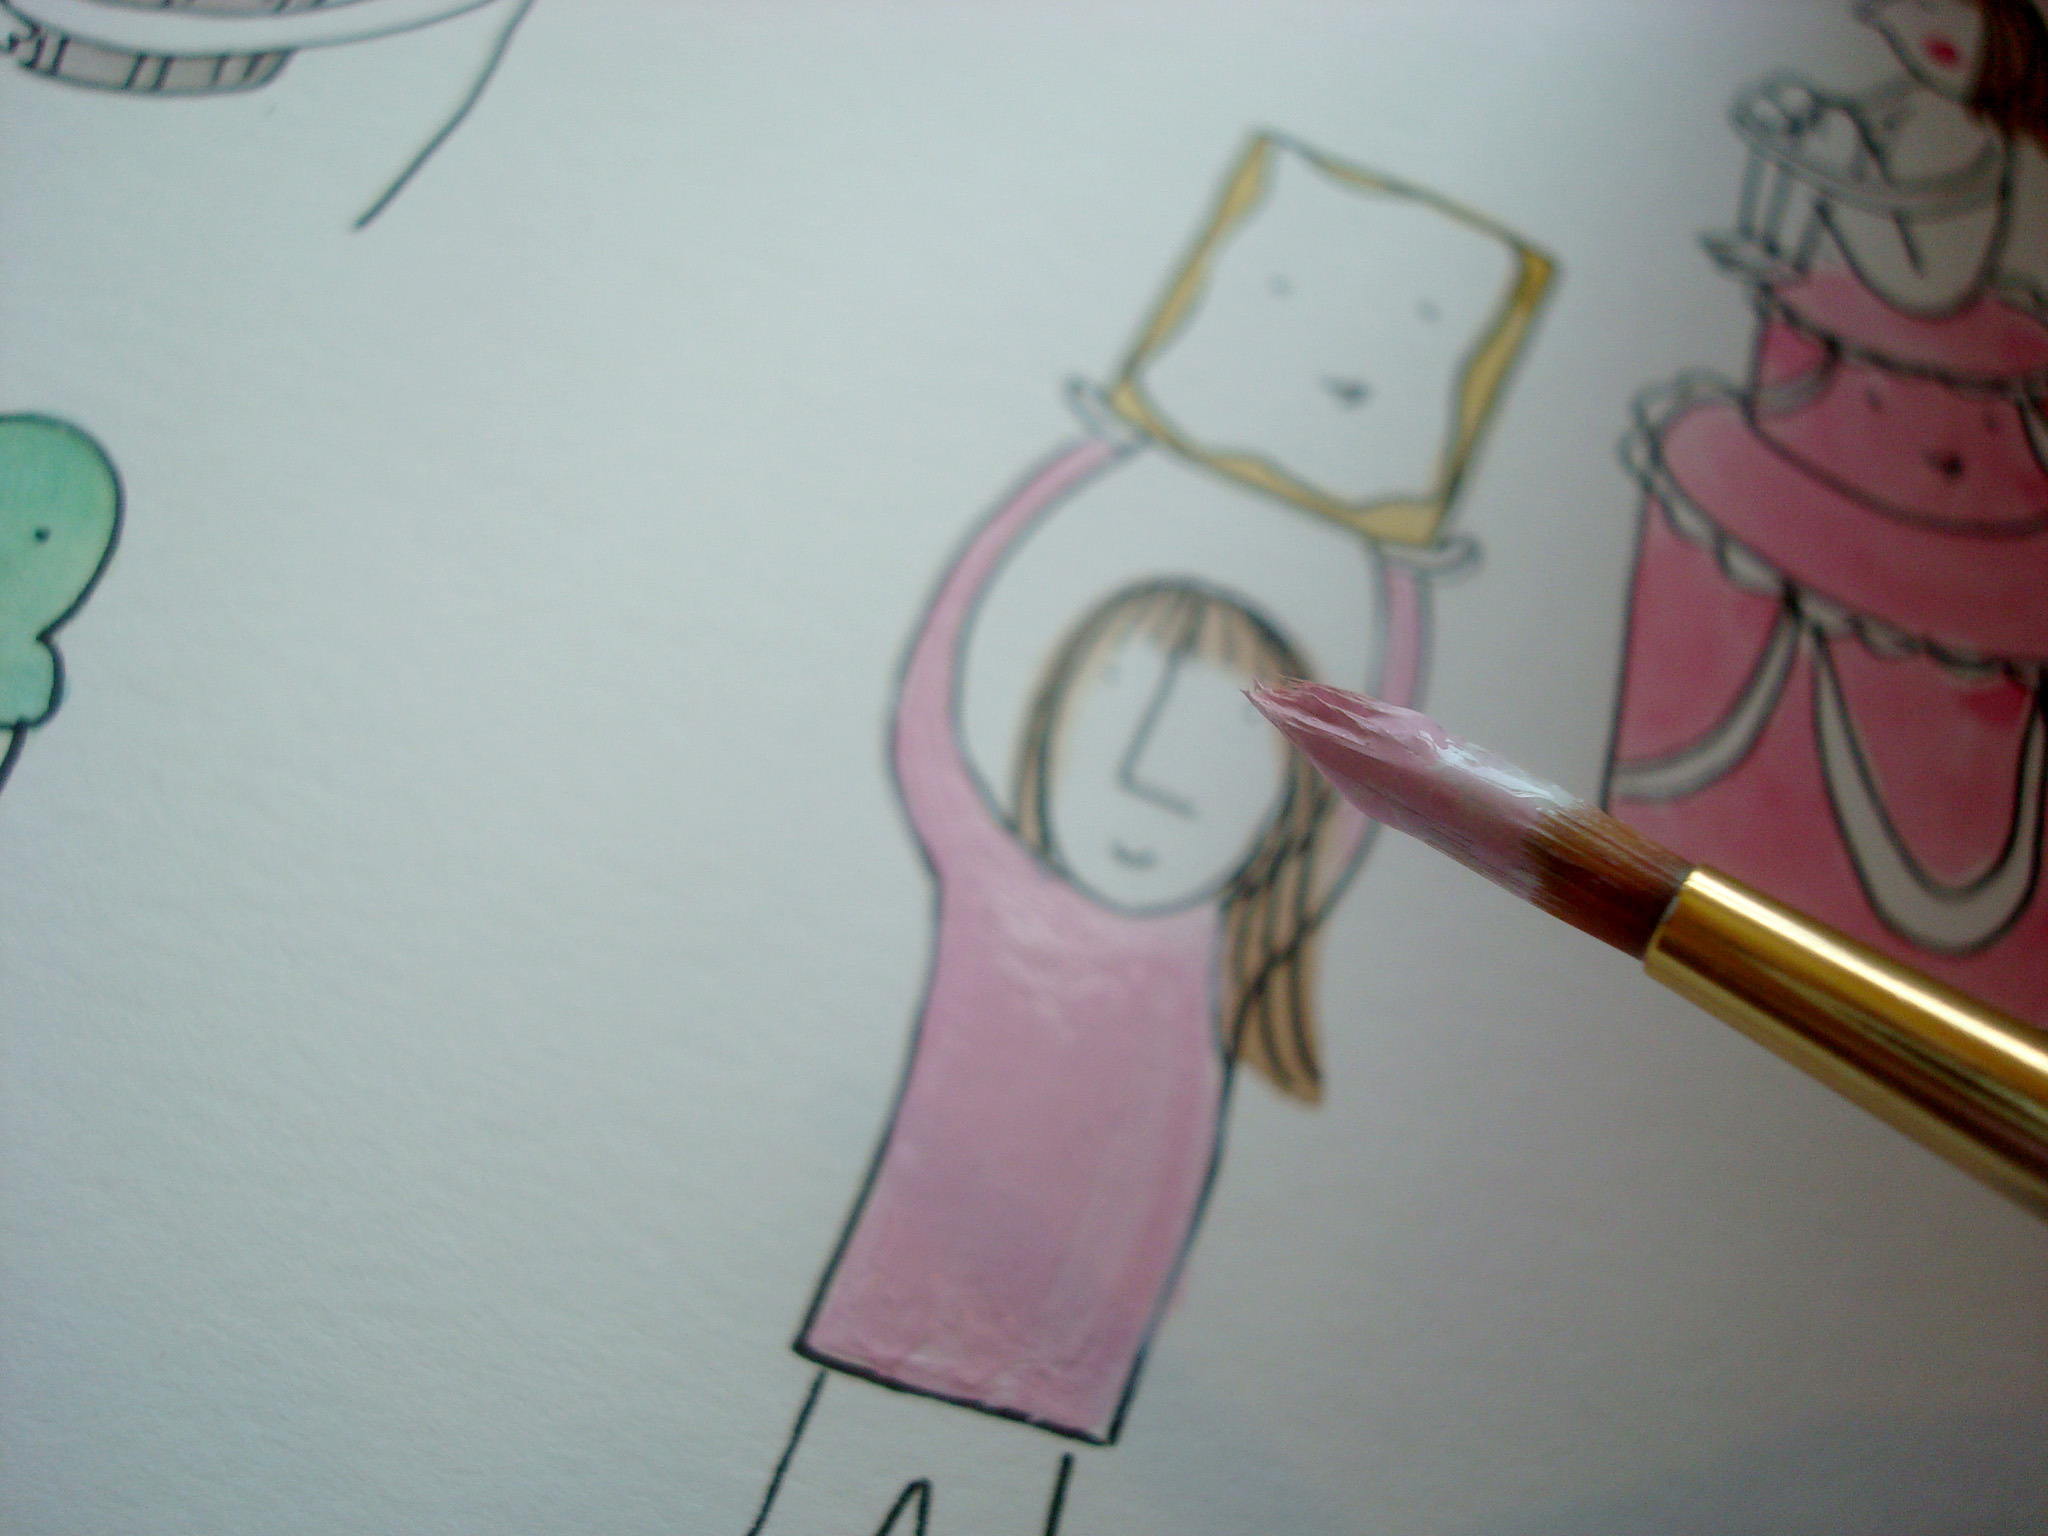
 2. If it is a small area, you can mix the color with which you'd cover up the stain with some opaque white acrylic paint (think of it as "fine art white-out"). Gently paint over the entire area of this color (not just the spot). You may need 2-3 coats to fully cover the spot with no "ghost" image remaining.
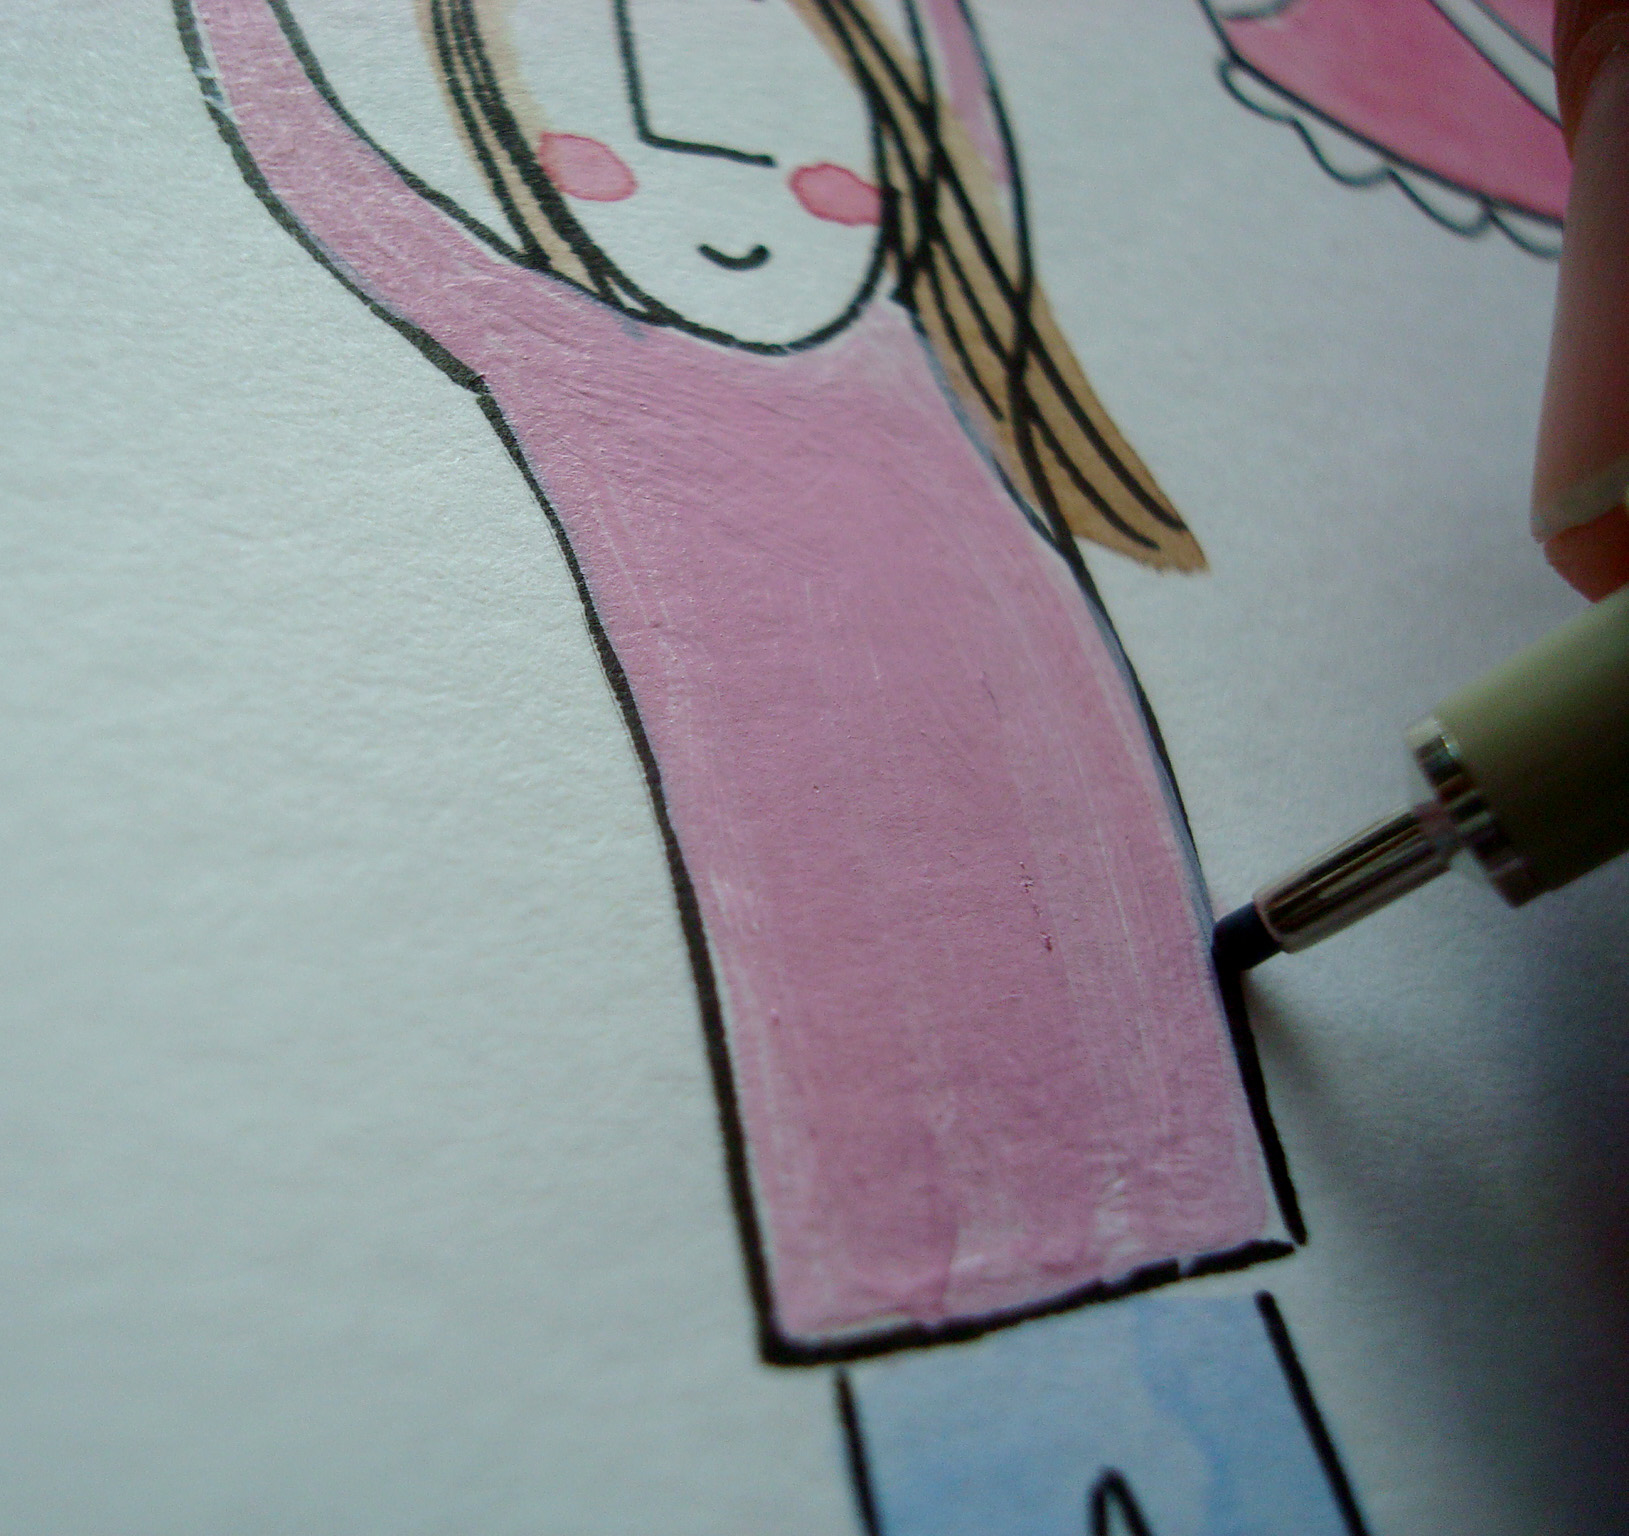
3. If this is a mixed media piece and you have lines that have dulled, draw over them gently with your pen and ink.
 4. If the stain is in a spot such as the middle of a sky or an area that would be harder to touch up, don't bother with the acrylic paint method detailed for smaller spots. After you have diffused the area, cover it with one or two washes of the color you'd like the area to be.
There will still probably be a mark, but it will be far less prominent, and can probably be easily removed digitally. You can also mask it by adding a background element that fits in with your composition.
Mistake #2: The paint bled into another color

Cause:
If two still-wet watercolor colors are too close to one another on paper, there is a strong chance they will intermingle and bleed into one another.
Solution:
First, dip the paintbrush in water and gently paint over the bled area. This can "soften" the bleeding.

Wait for this to dry, and then add another coat or two of the color (s) in question. This will not completely remove the bleeding, but it will make it much less noticeable.

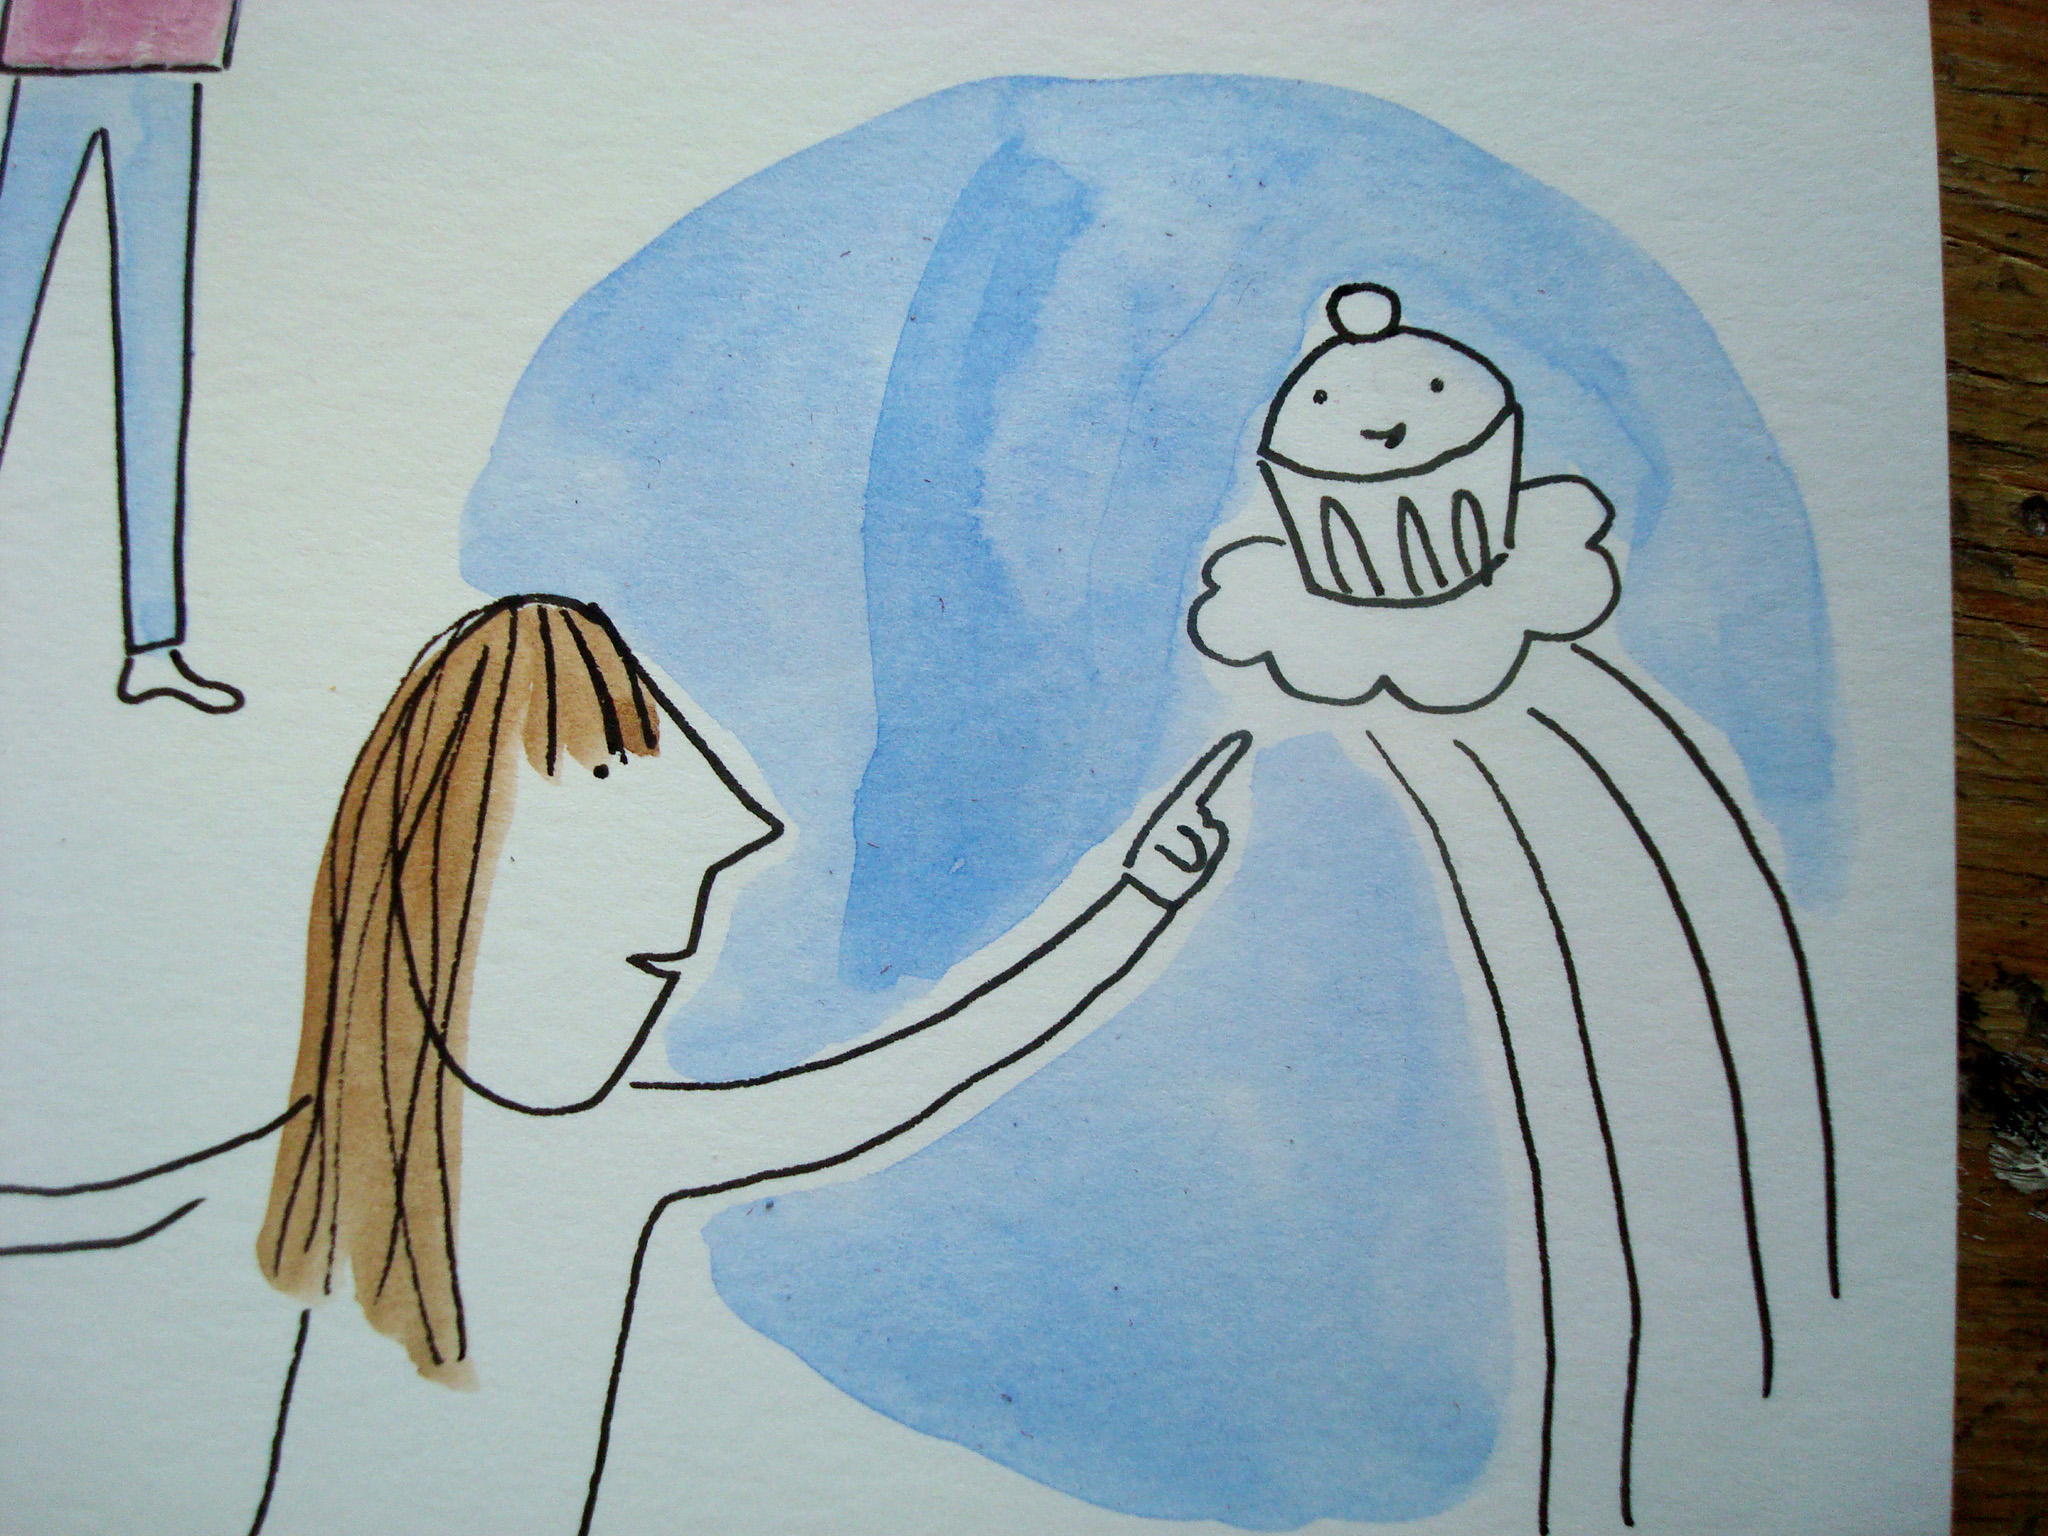
Mistake #3: Splotchy or uneven color
Cause:
Again, a variety of causes can be to blame, including:
- The paint was too wet when applied to the paper
- You stopped in the middle of the wash and re-started, allowing a portion to dry
- The paper warped, causing paint to pool in certain areas and dry irregularly.
- Or perhaps you rested your hand in an area that was still wet, and the side of your hand dragged a bit of color along with it.
No matter what happened, don't panic.
Solution:
1. First, a bit of preventative advice about washes. If you are painting a large area, use a larger brush so that you can make flowing strokes that cover maximum area. If you are worried that in your artistic flouncing, you may paint over a bit in the forefront, cover that area with masking fluid first so that you can watercolor wash with abandon.
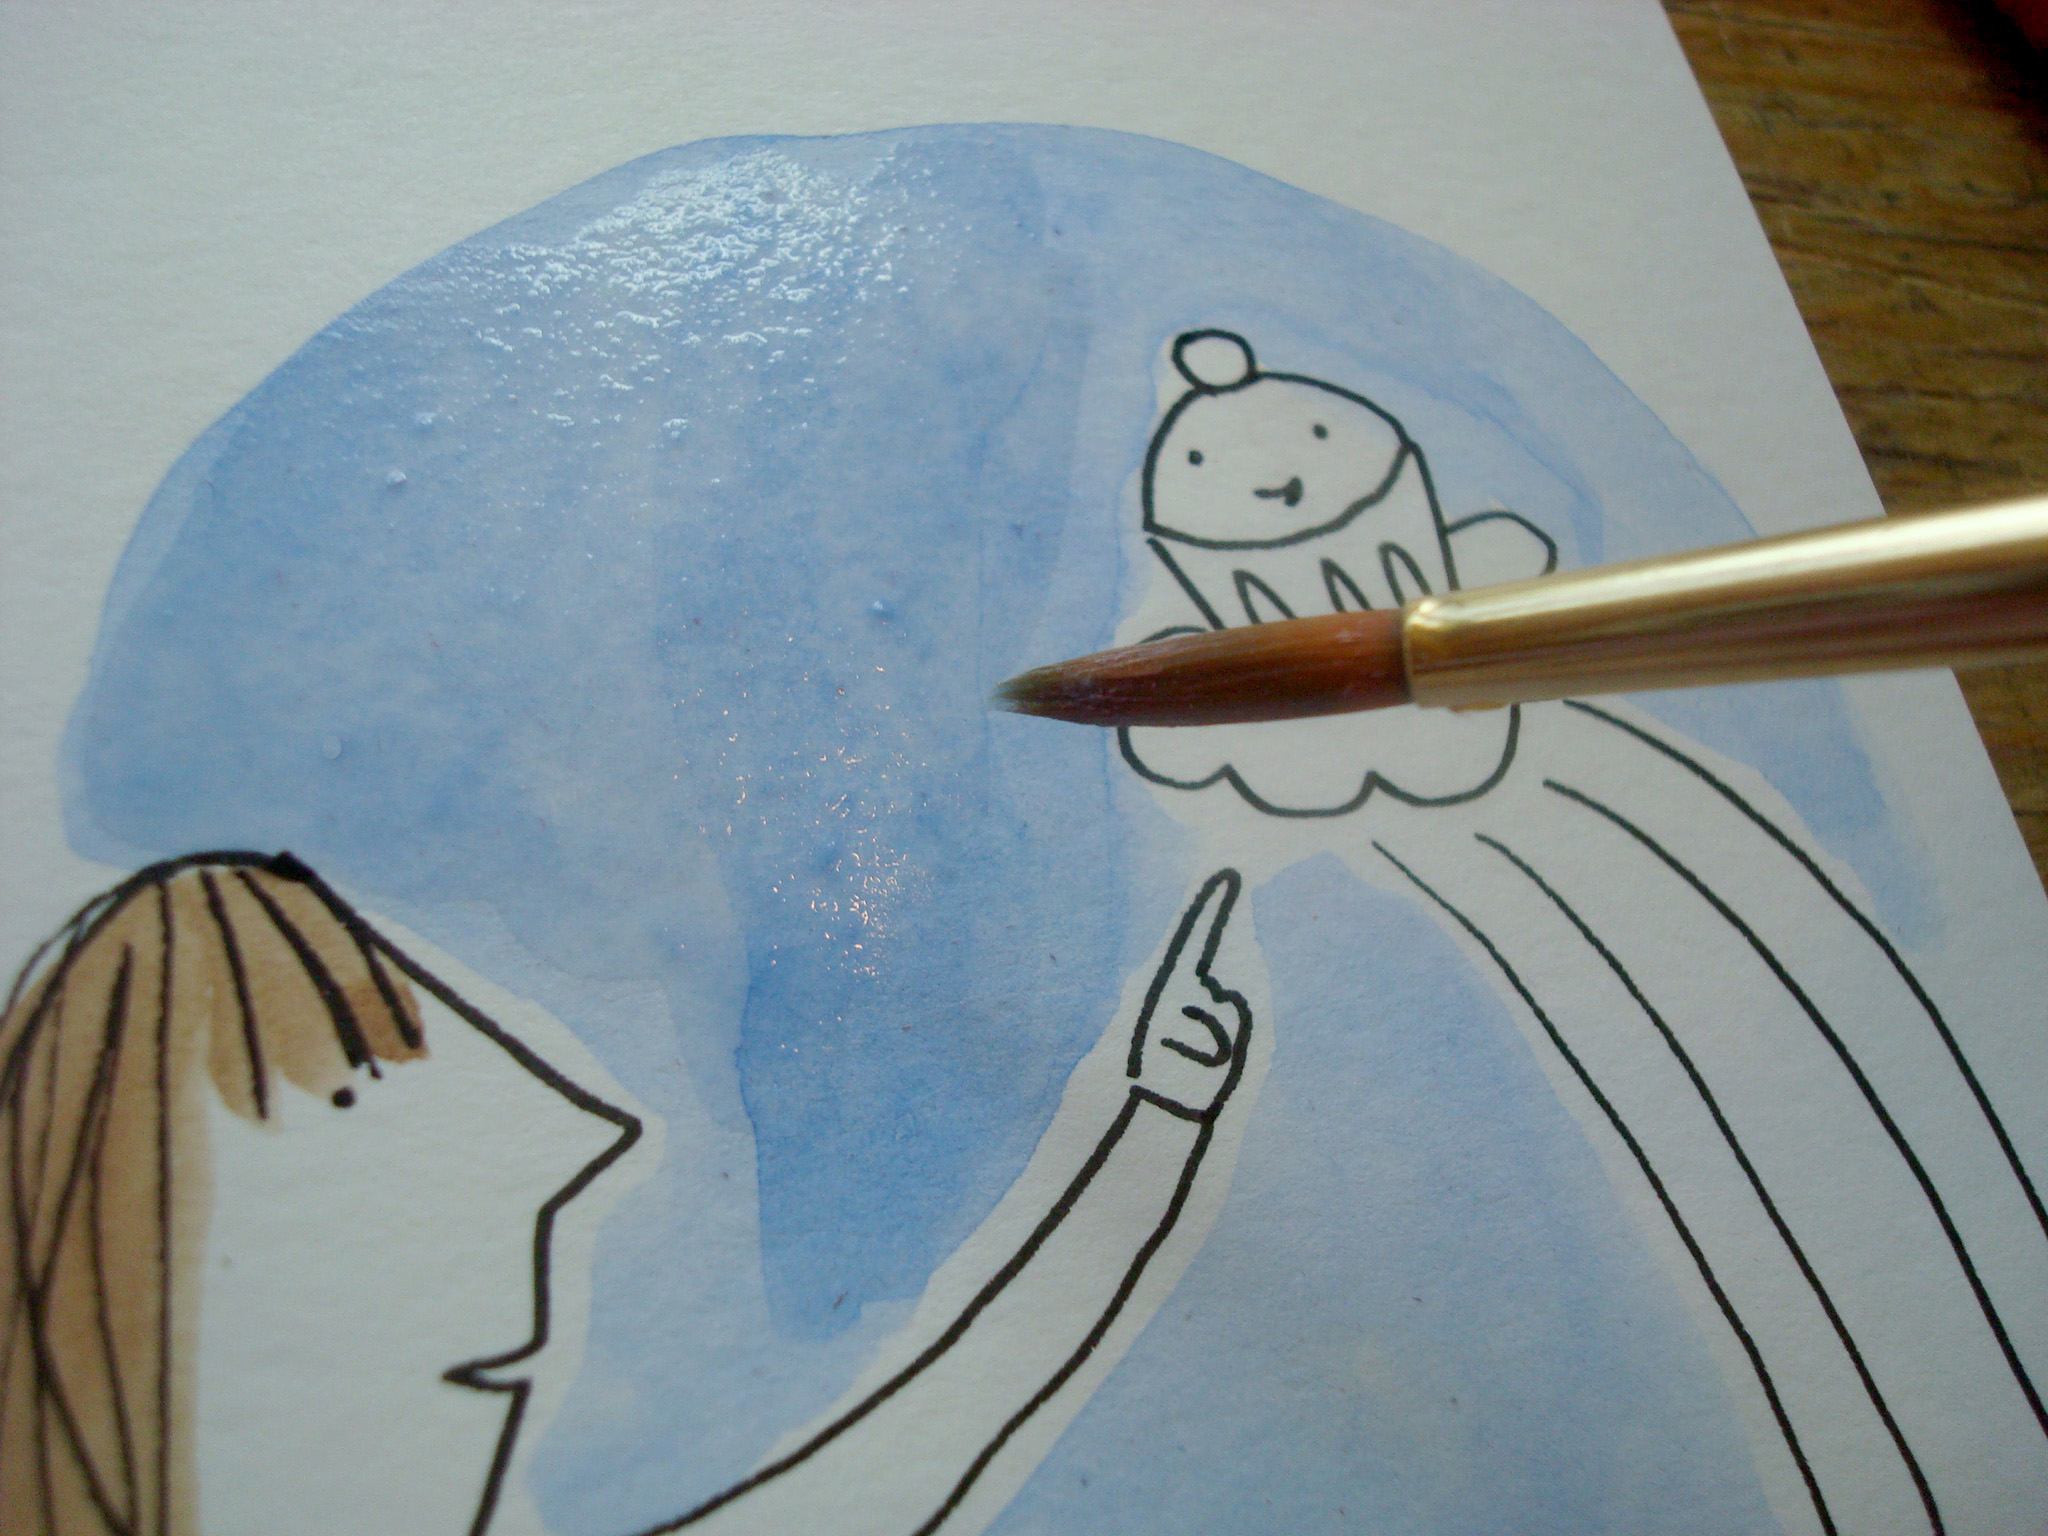 2. If it's a larger area, First, wet your brush and paint water over the area, as you would with the bleeding above, and then follow it up with 1-2 coats of the washed color. This can help soften the splotchiness quite a bit.
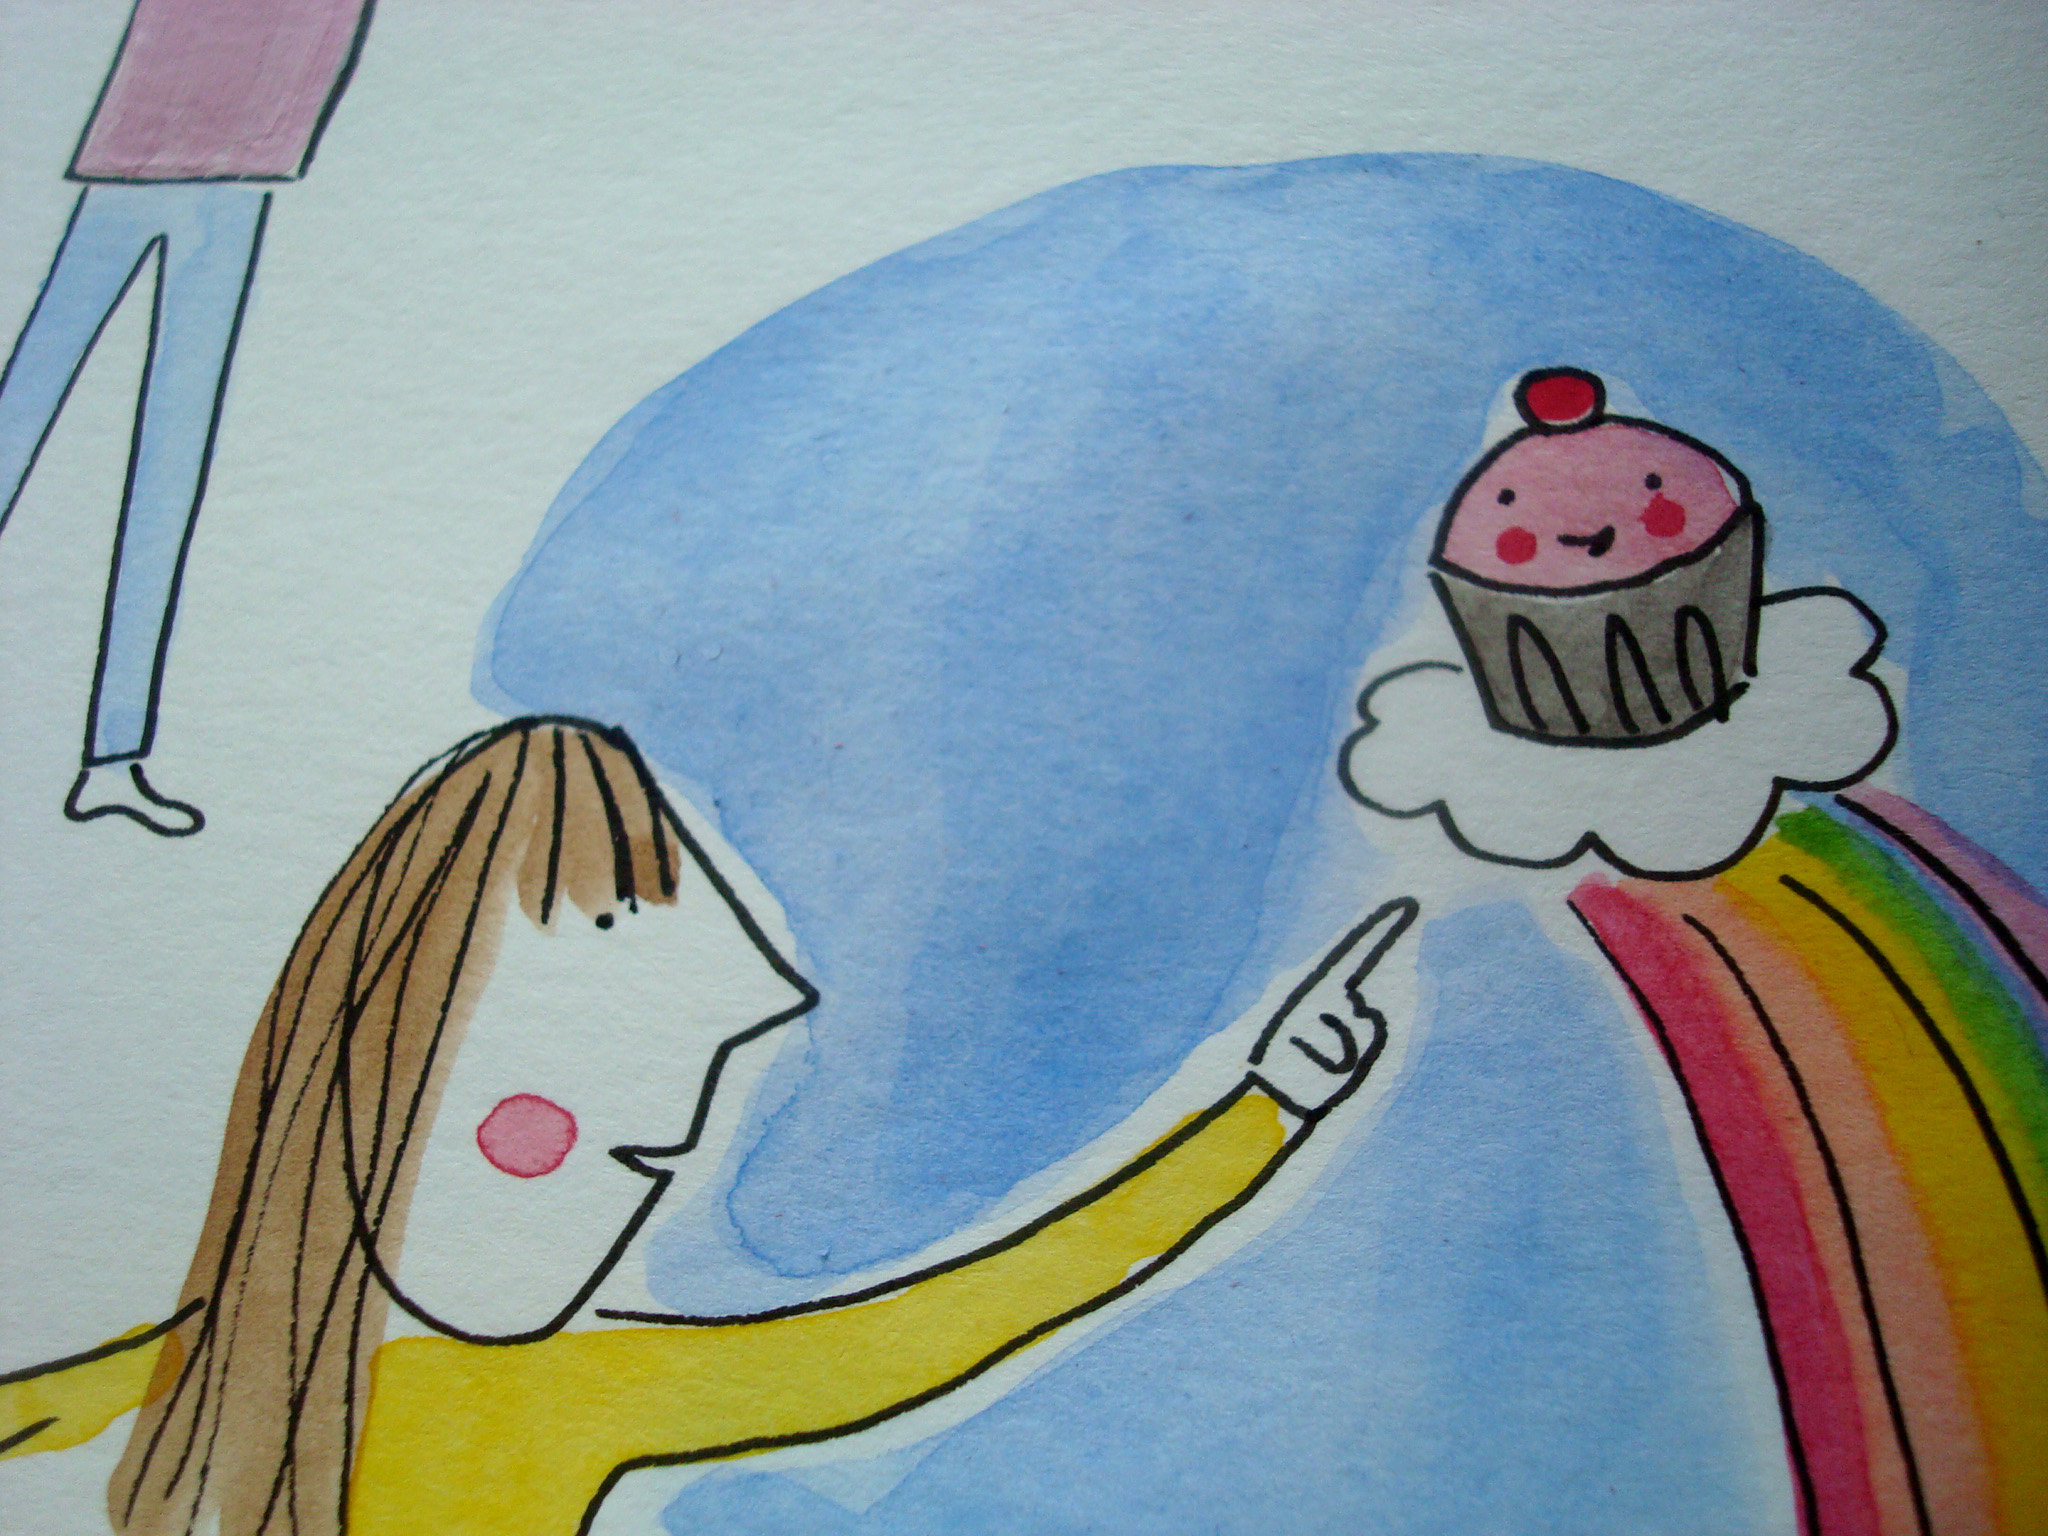 3. If it is a small area, you can also repeat the steps that you did with the instructions for an errant spot.
Mistake #4: You used the wrong color

Cause:
You misjudged how a color would look, or you accidentally dipped your brush in the wrong color before taking paint to paper.
Solution:
1. If the color you'd like the area to be is darker than the "mistake" color, simply paint over it with the desired color, making an effort to follow your brush strokes as exactly as possible to avoid a "ghost" of the previous color on the periphery. You may only need one coat or up to several coats of paint to attain your desired shade; let the paint dry between coats.
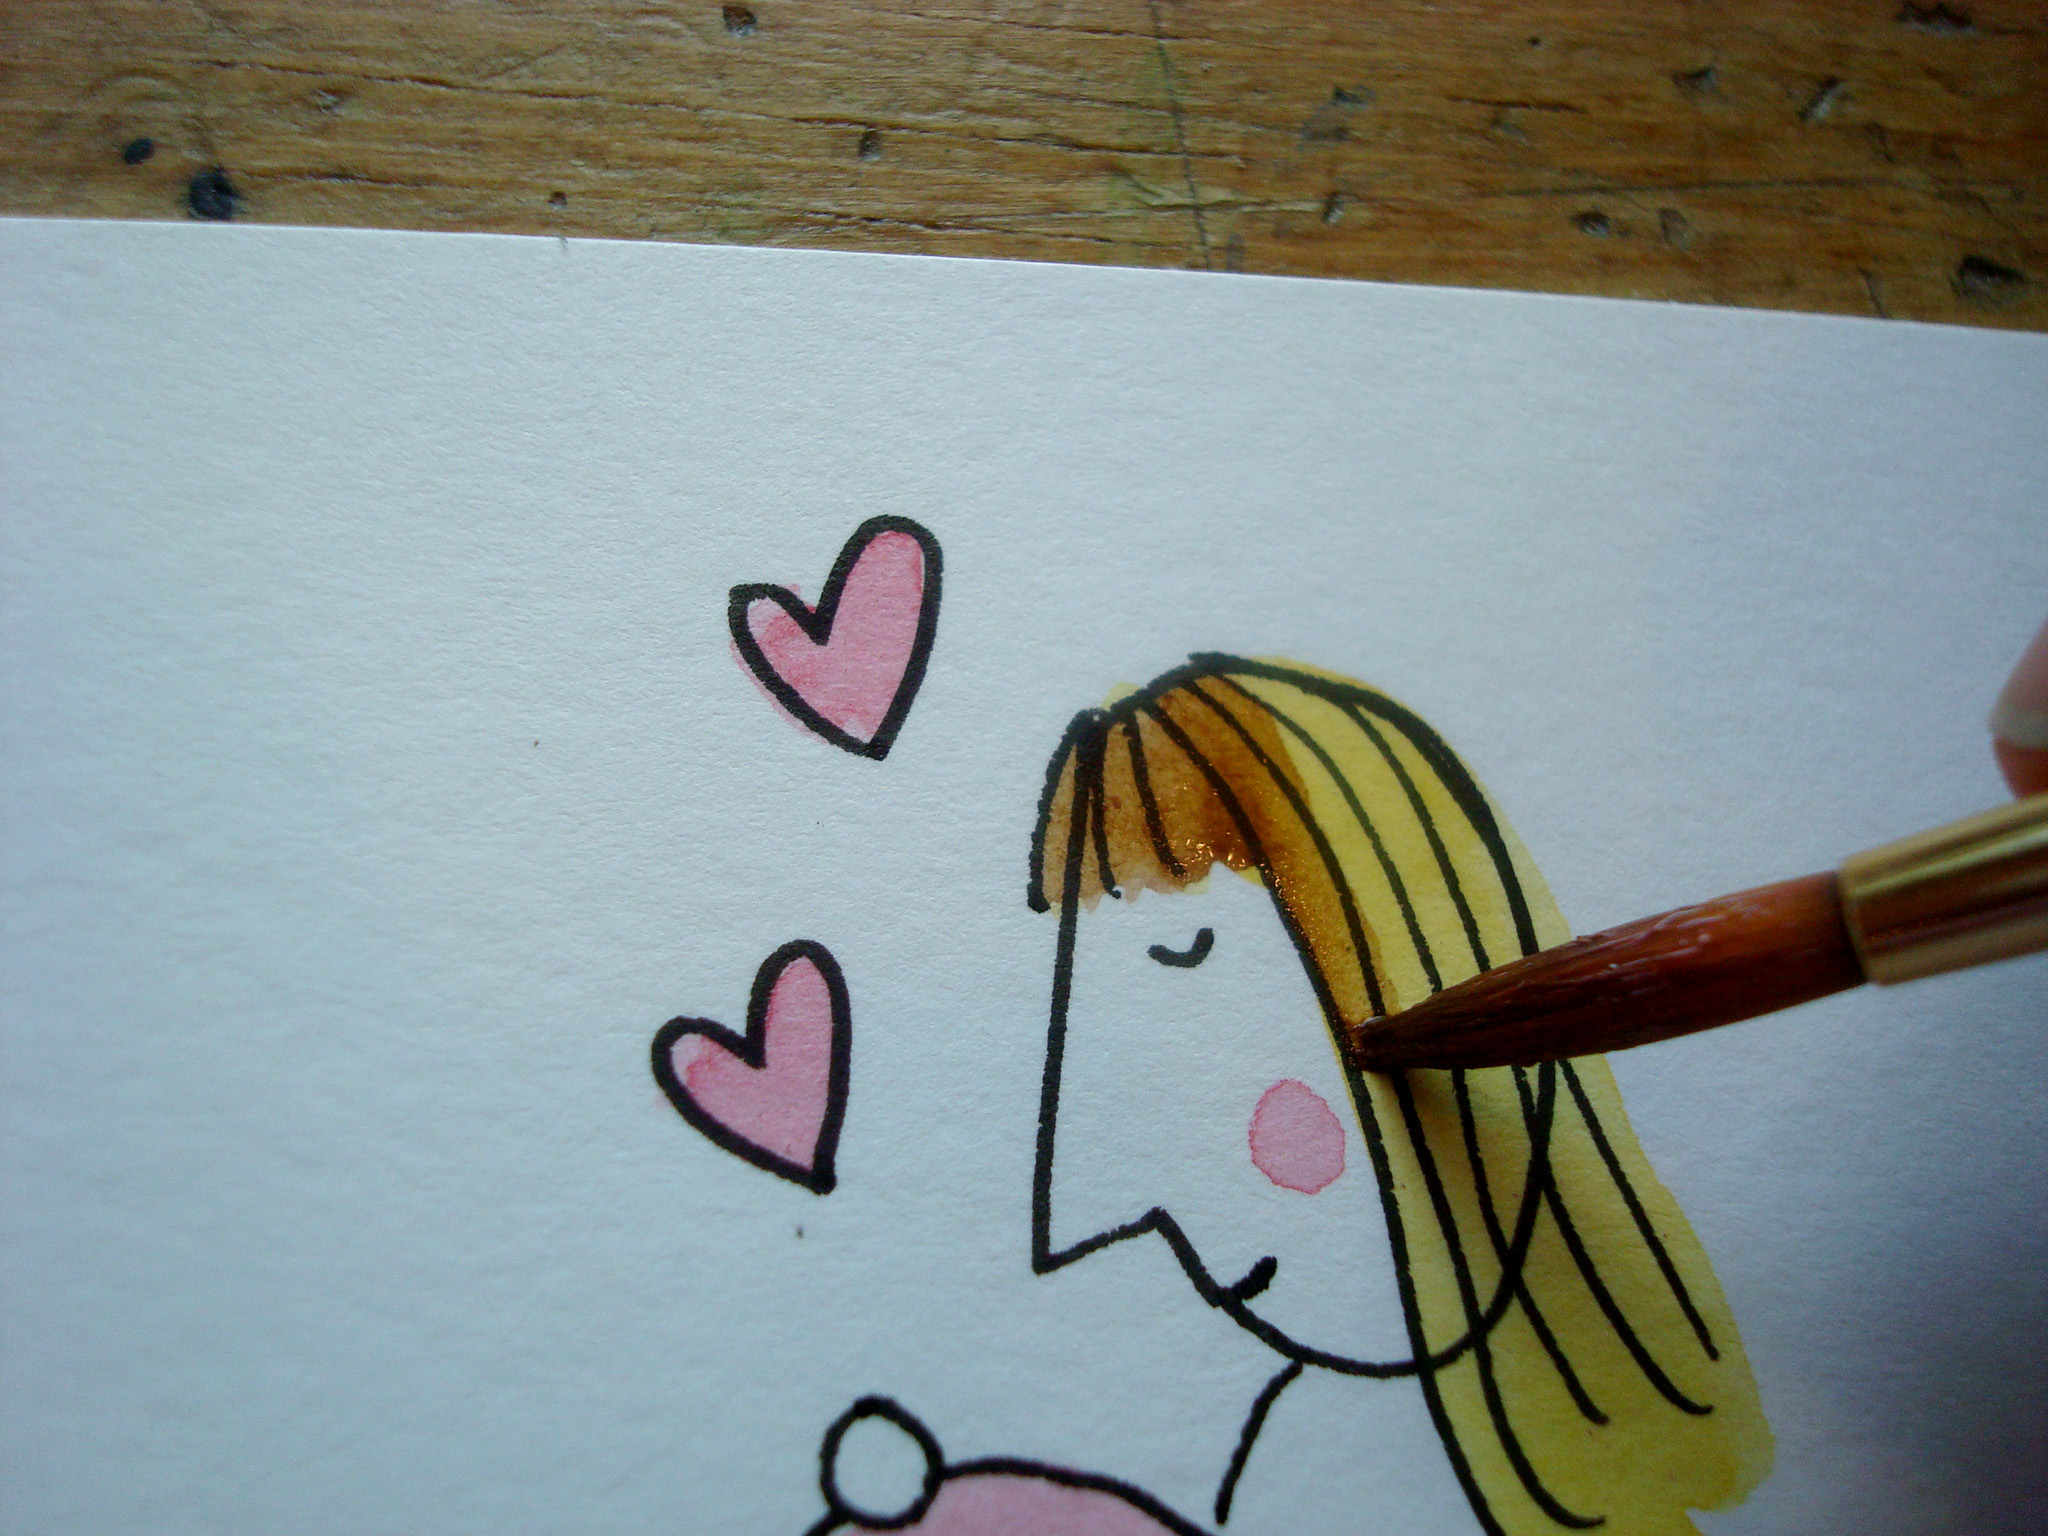 2. If the mistake color is darker than the desired color, start by painting a thin layer of white acrylic over the area in question — you're using the acrylic as a sort of fine art white out. Let it dry. Now, mix the desired color with some white acrylic and paint over the area in question.
Do not paint over a layer of acrylic with pure watercolor, as its translucence will reveal the brush strokes and will dry irregularly on the non-absorbent surface. However, you can mix watercolor with a small amount of acrylic paint to reach a desired color.

Share tips, start a discussion or ask other students a question. If you have a question for an expert, please click here.
Already a member?
No Responses to “4 Common Watercolor Mistakes and How to Fix Them!”