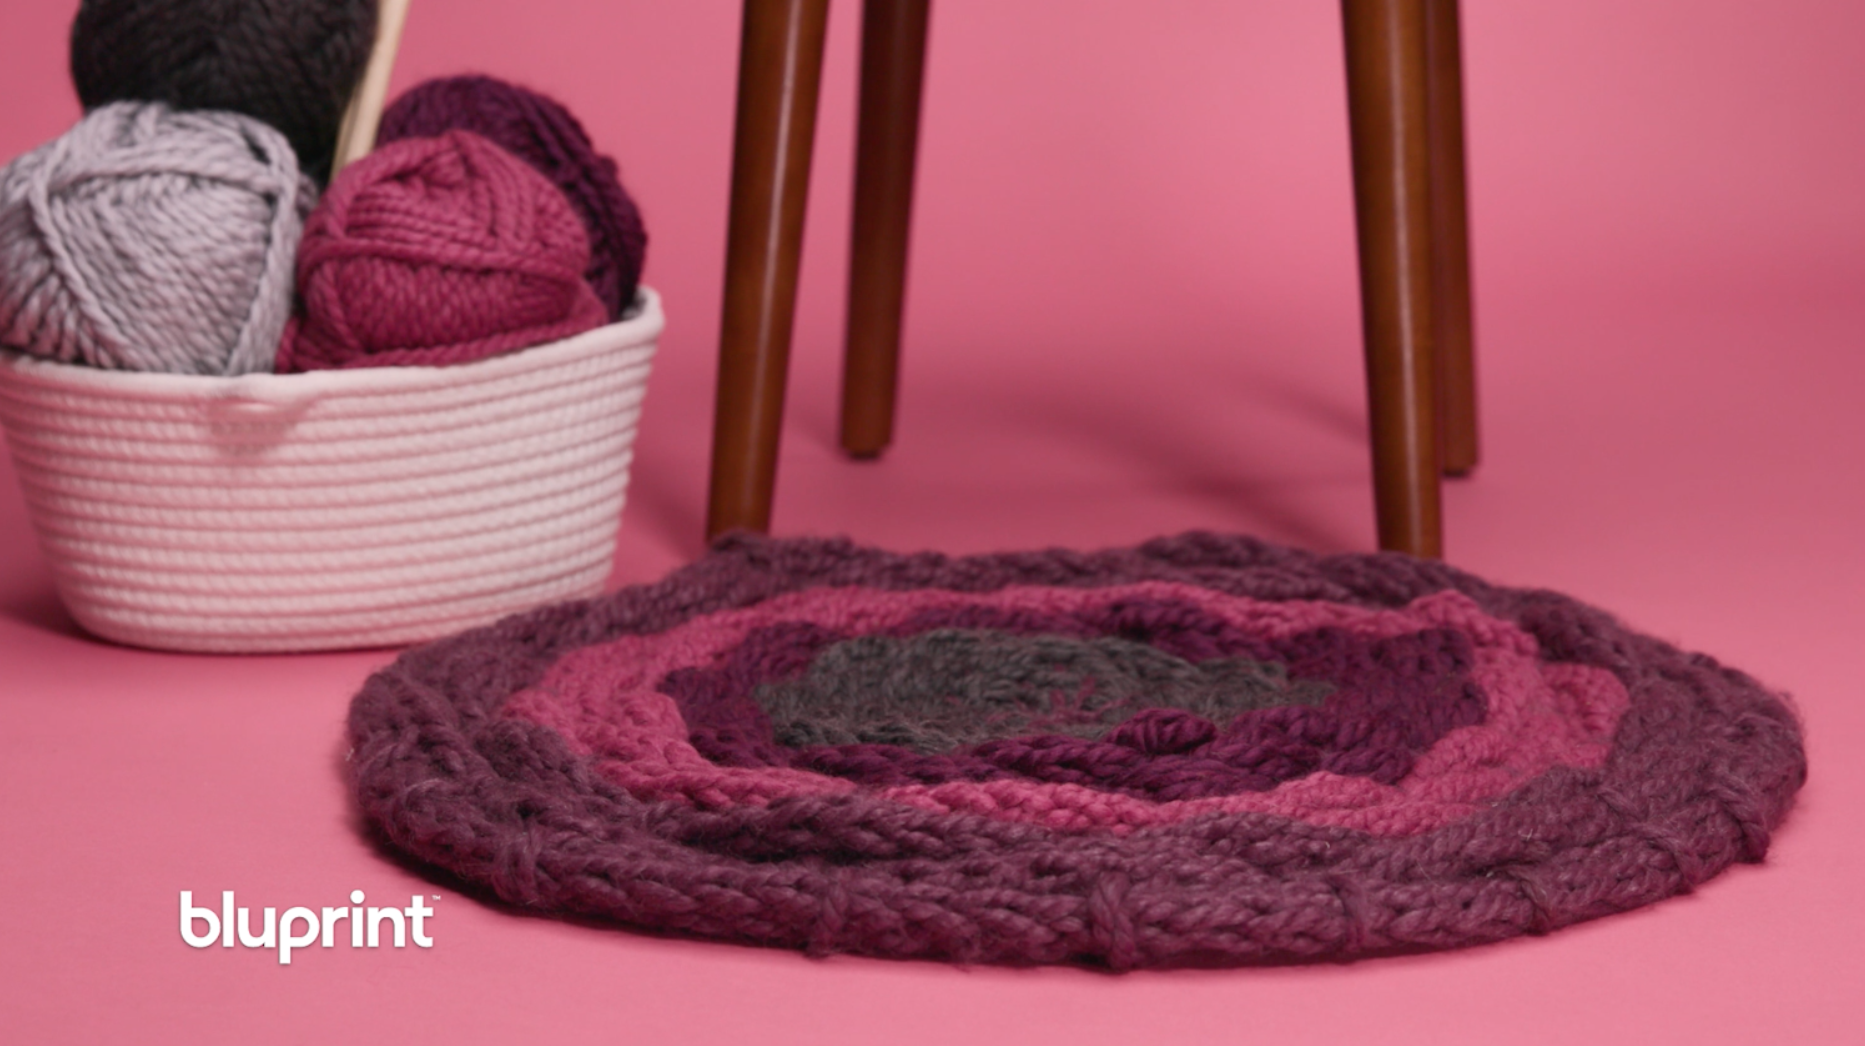
Can’t find a rug that matches your style? Then make one with your own two hands. With this finger knit rug, you don’t need any fancy supplies — just grab some yarn and a hula hoop (we’ll explain in a sec) and go!
Finger Knit Rug
Level: Easy
What You Need
Instructions
1. Finger Knit
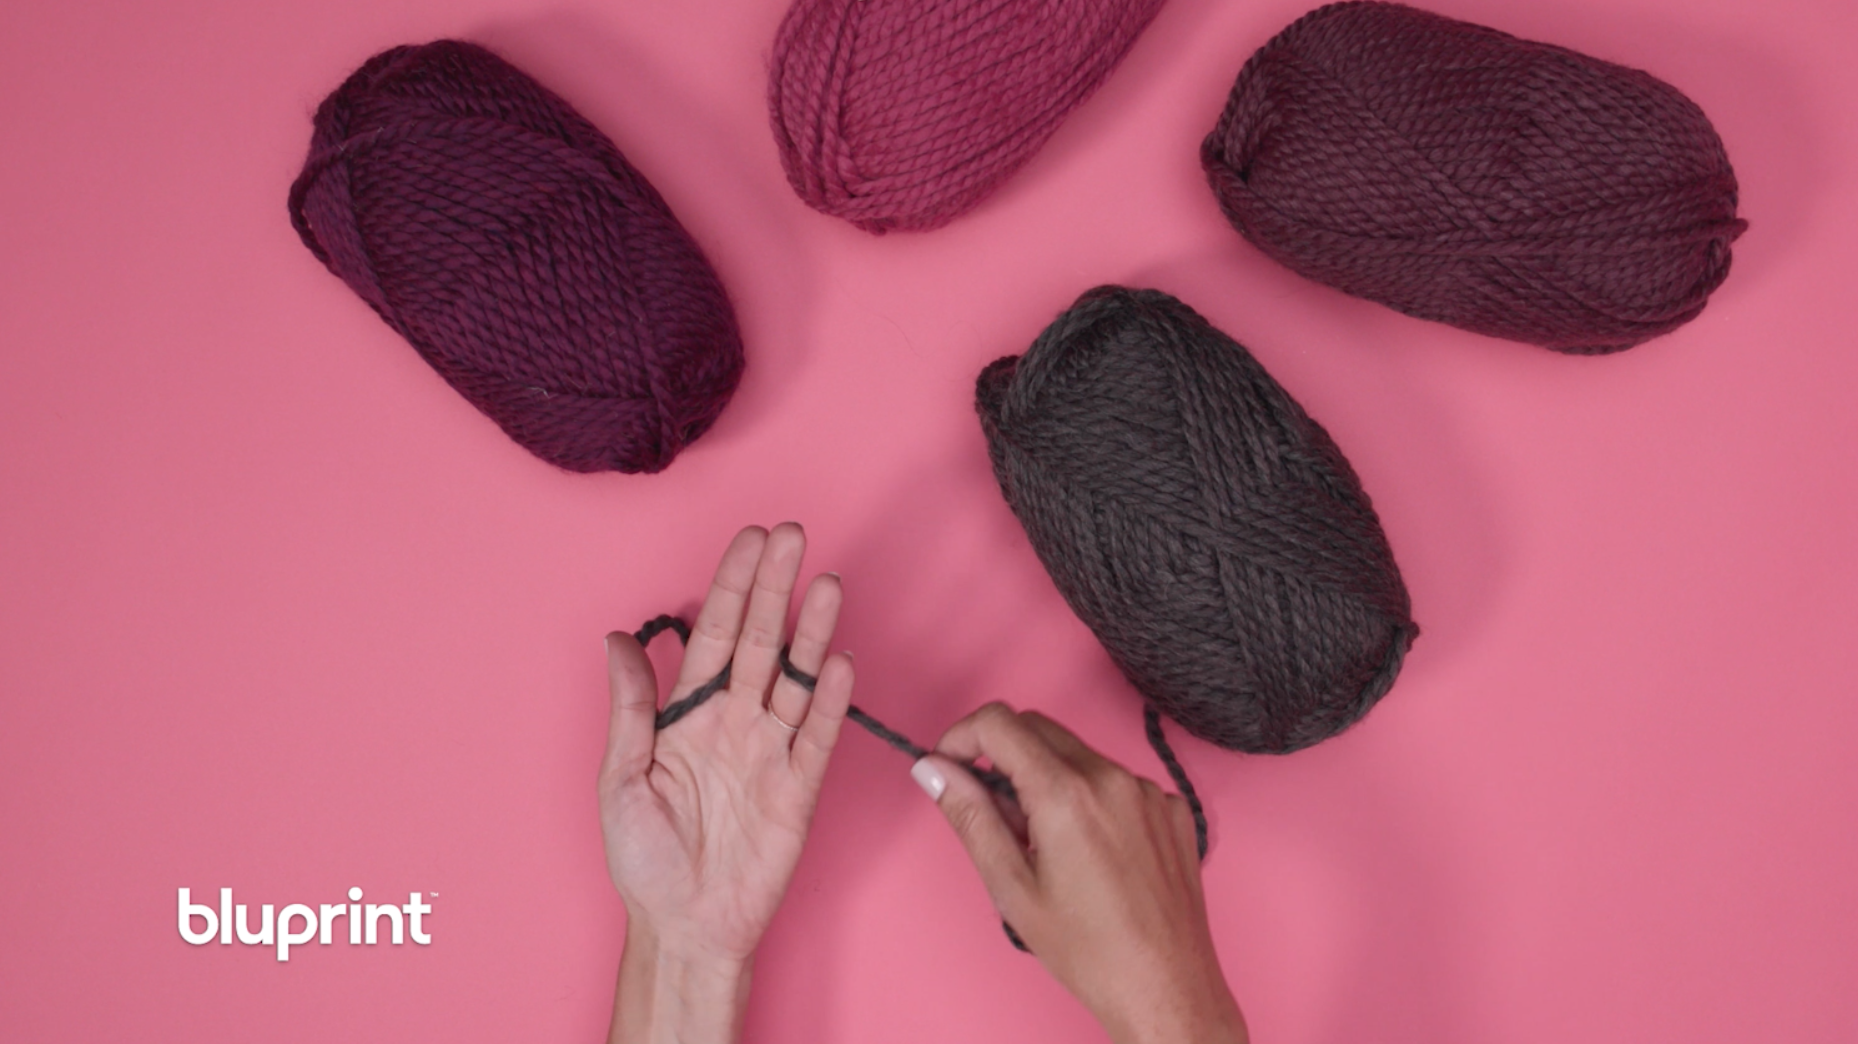
The first step to making your finger knit rug is just that — finger knitting. Take your extra bulky yarn and hold the end with your thumb against your index finger. Wind it through your fingers, from your pinky to your index finger, then loop around and weave back the other direction.
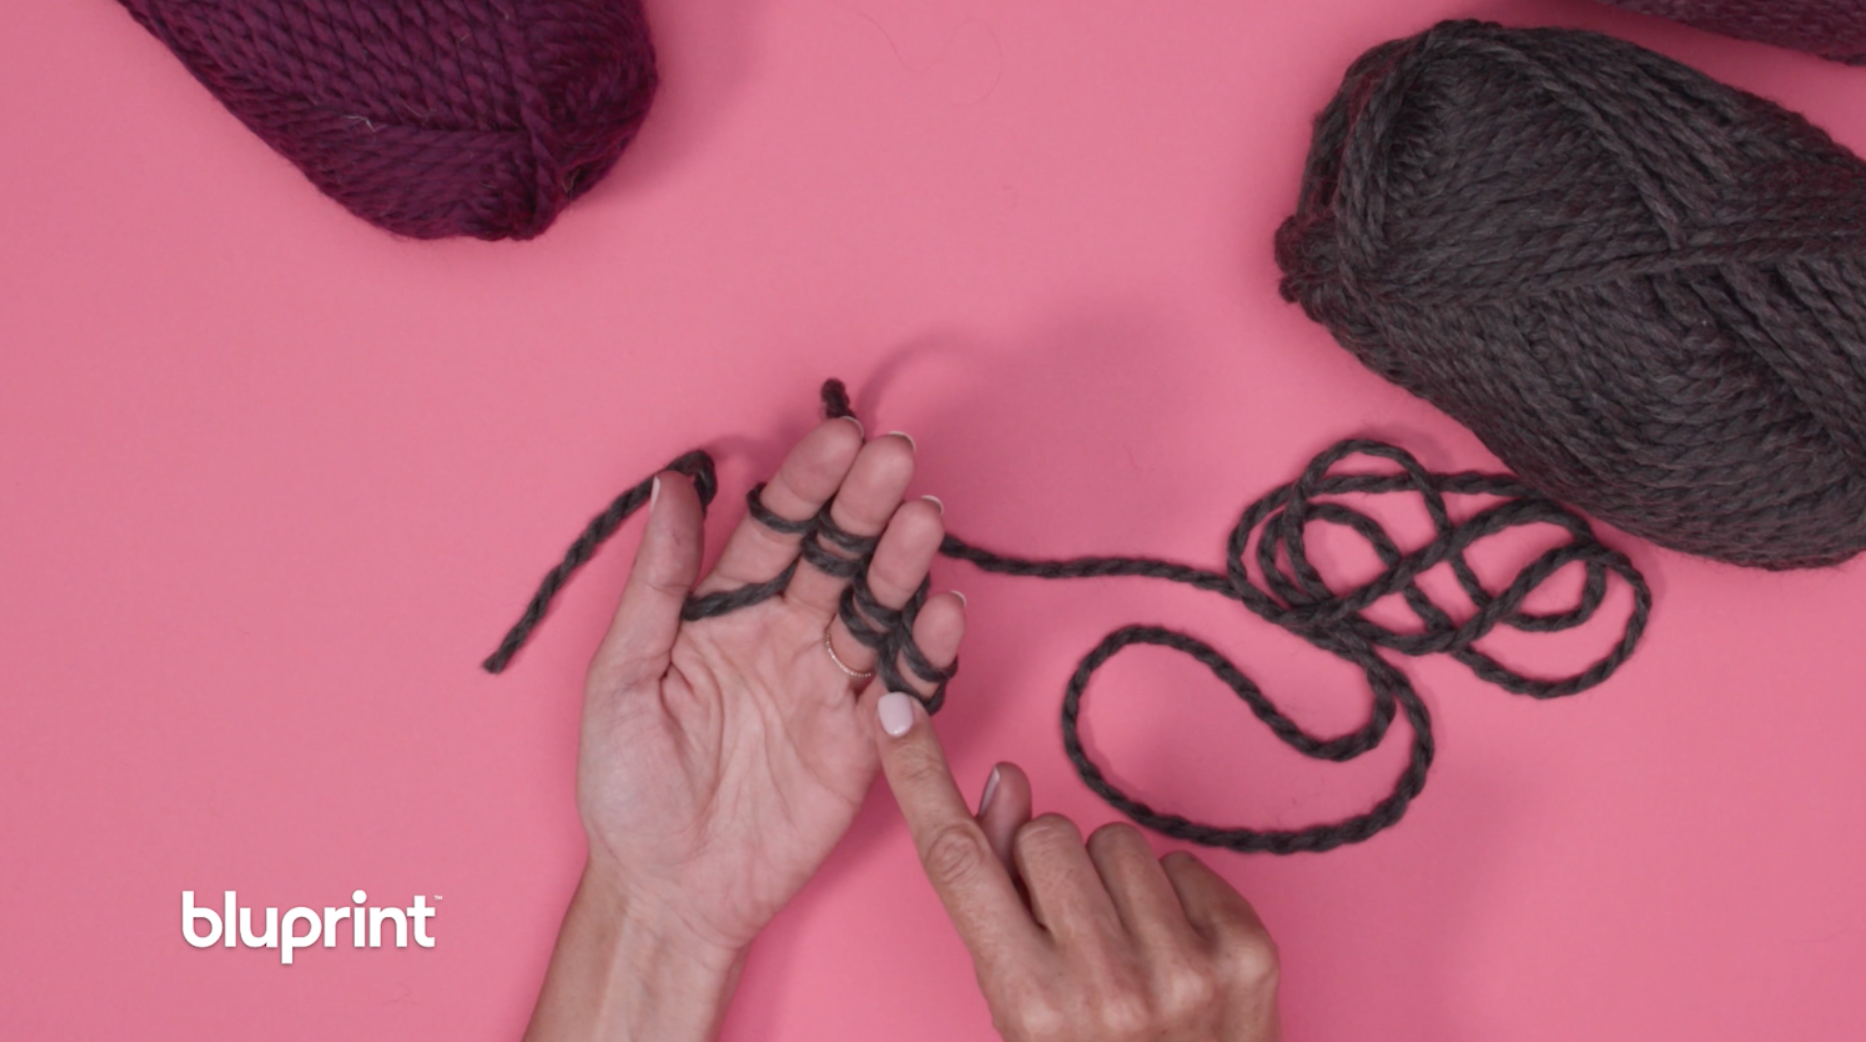
You should now have two loops of yarn around each finger. To finger knit, use your other hand to pull the bottom loops up, over and behind each finger. When you’re finished, you should only have one loop on each finger.
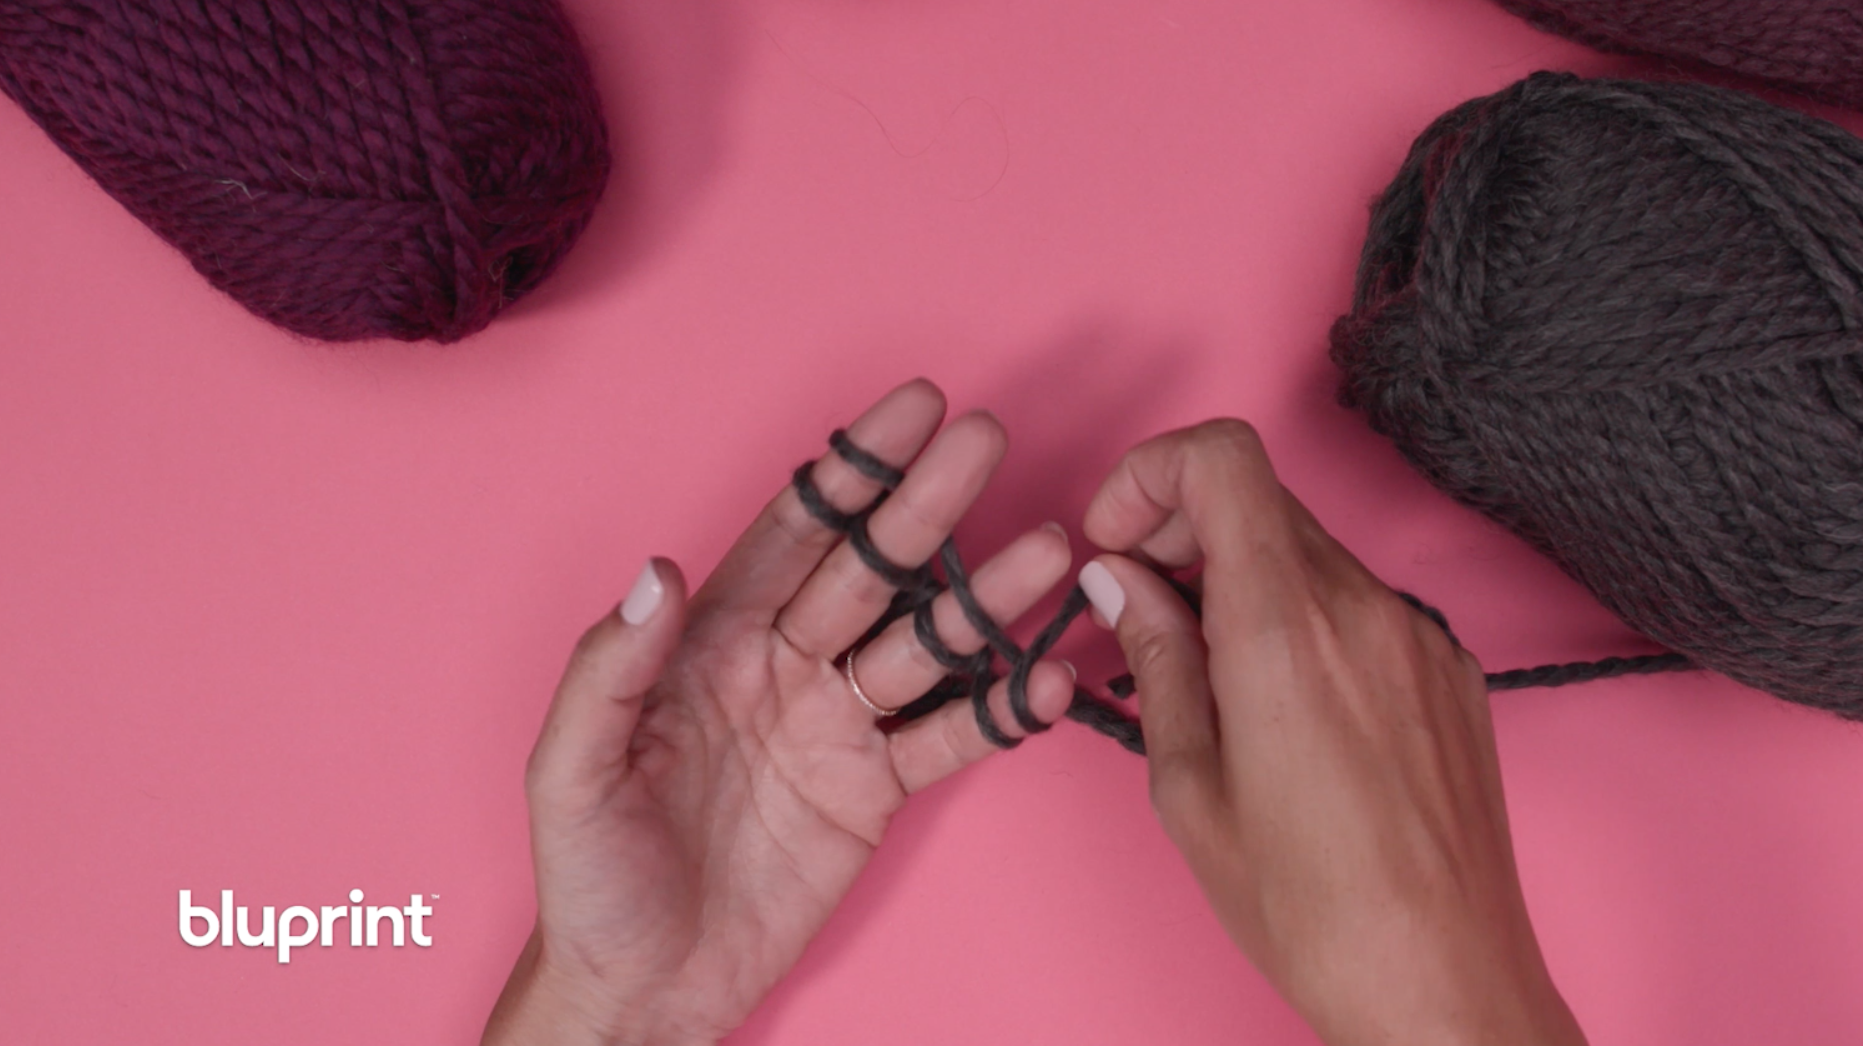
Repeat this process of weaving and looping until you have your desired knitted length of yarn.
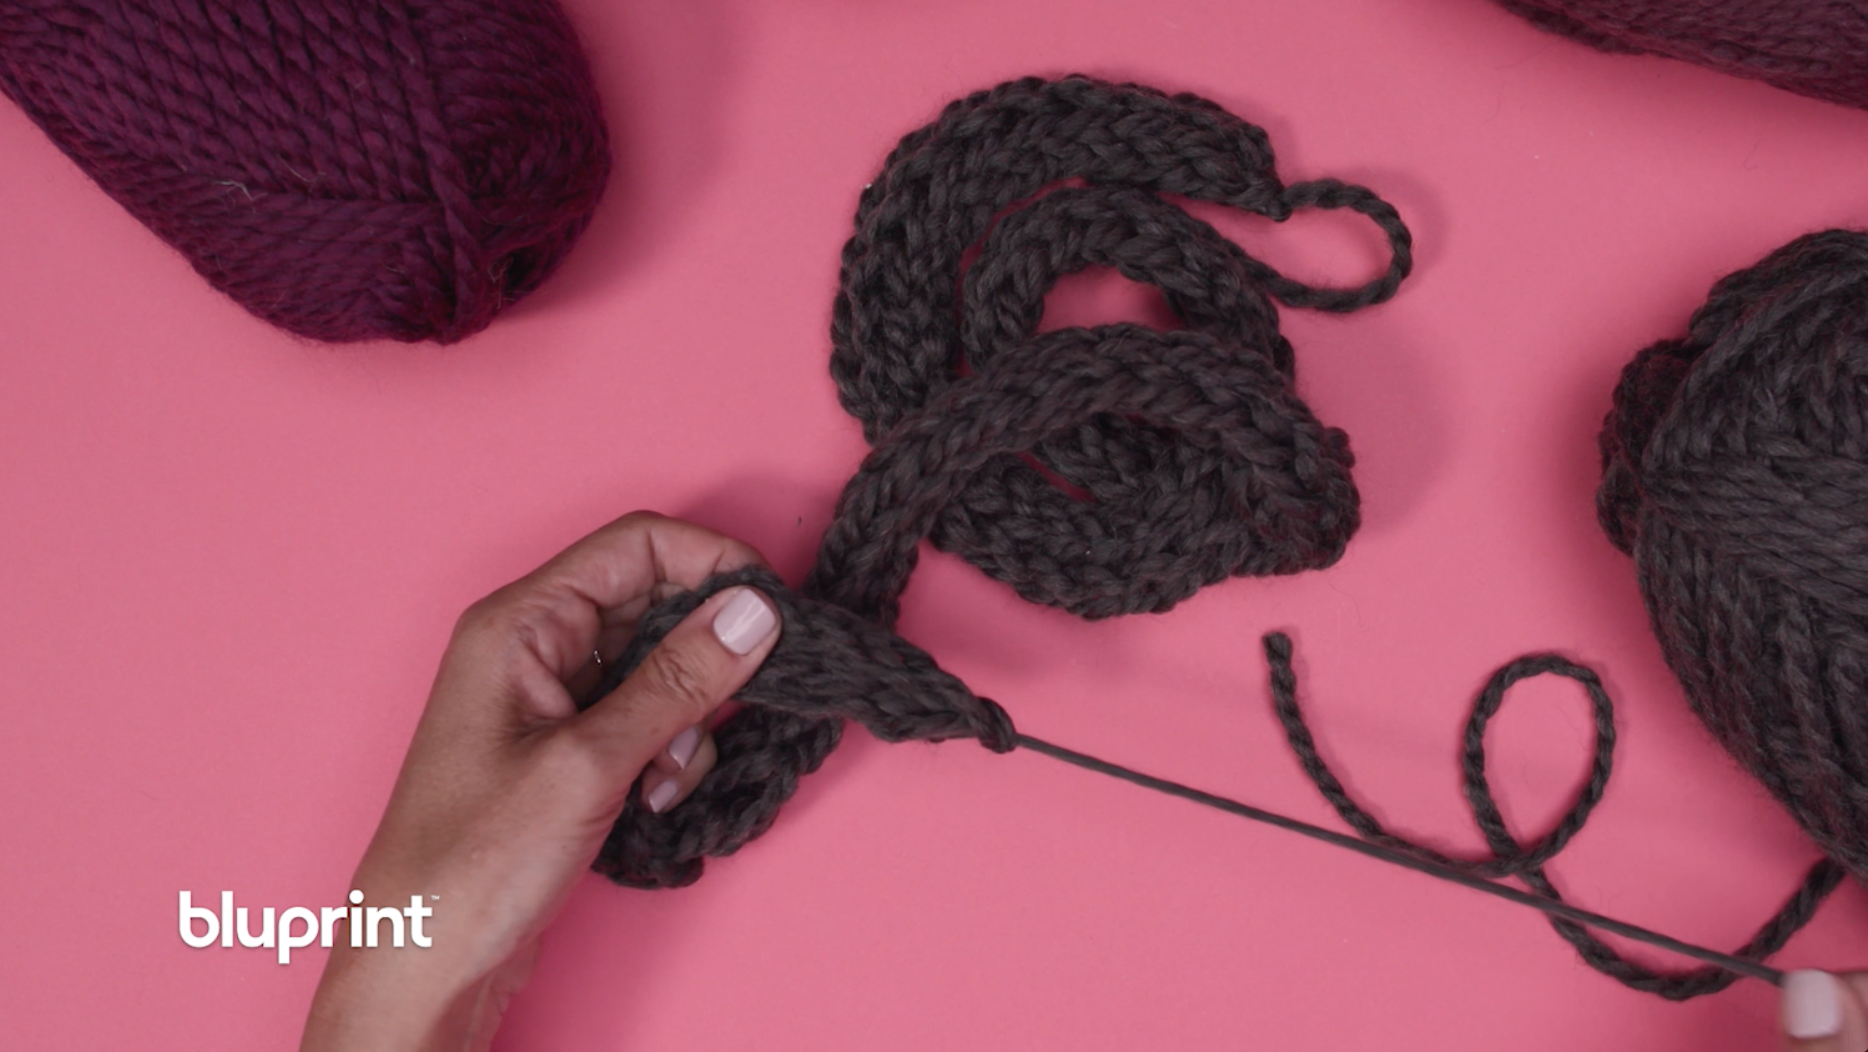
To finish, cut the yarn off the skein, weave the yarn into the final loop on your fingers, slide the yarn off your hand and pull. Do this for each color of yarn.
2. Build Your Loom
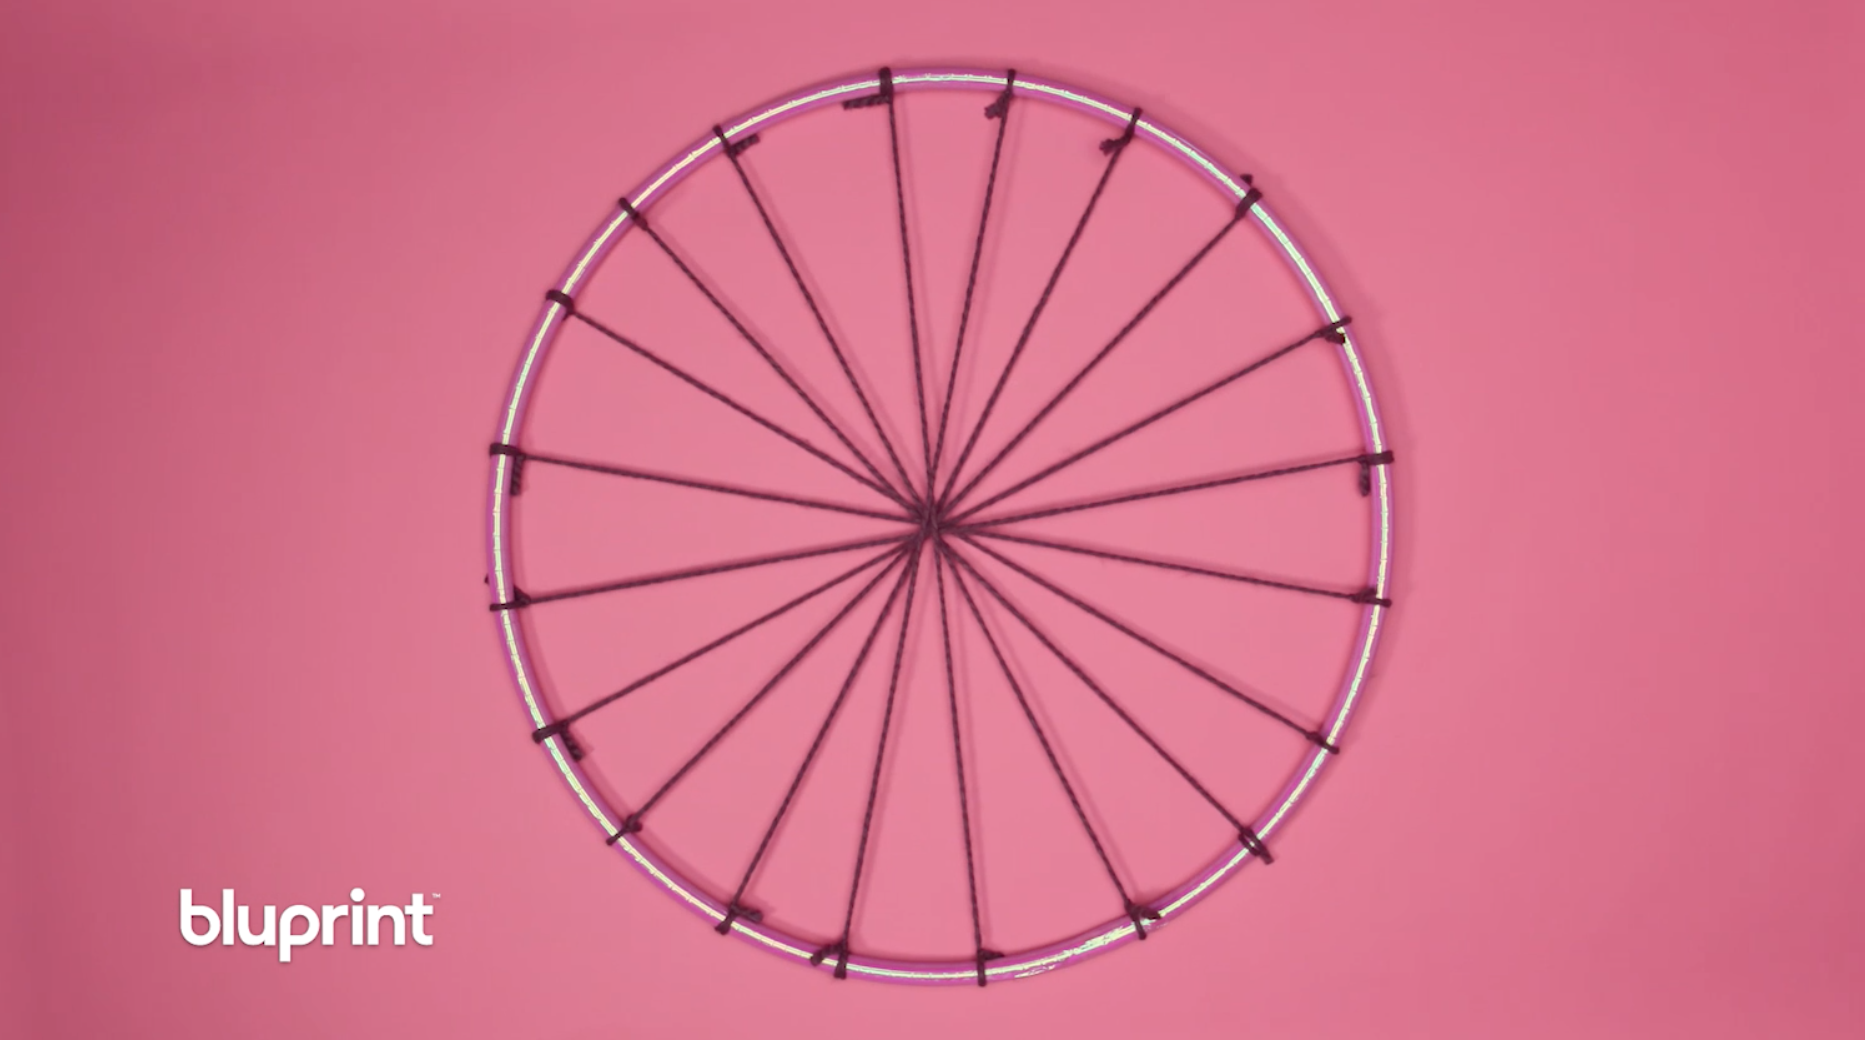
To weave your rug, you must first create your loom. Don’t worry, it’s easier than it sounds. Take a hula hoop and tie your yarn from one end over to the other. You’re going to tie 10 pieces of yarn like this, creating 20 spokes on your DIY loom.
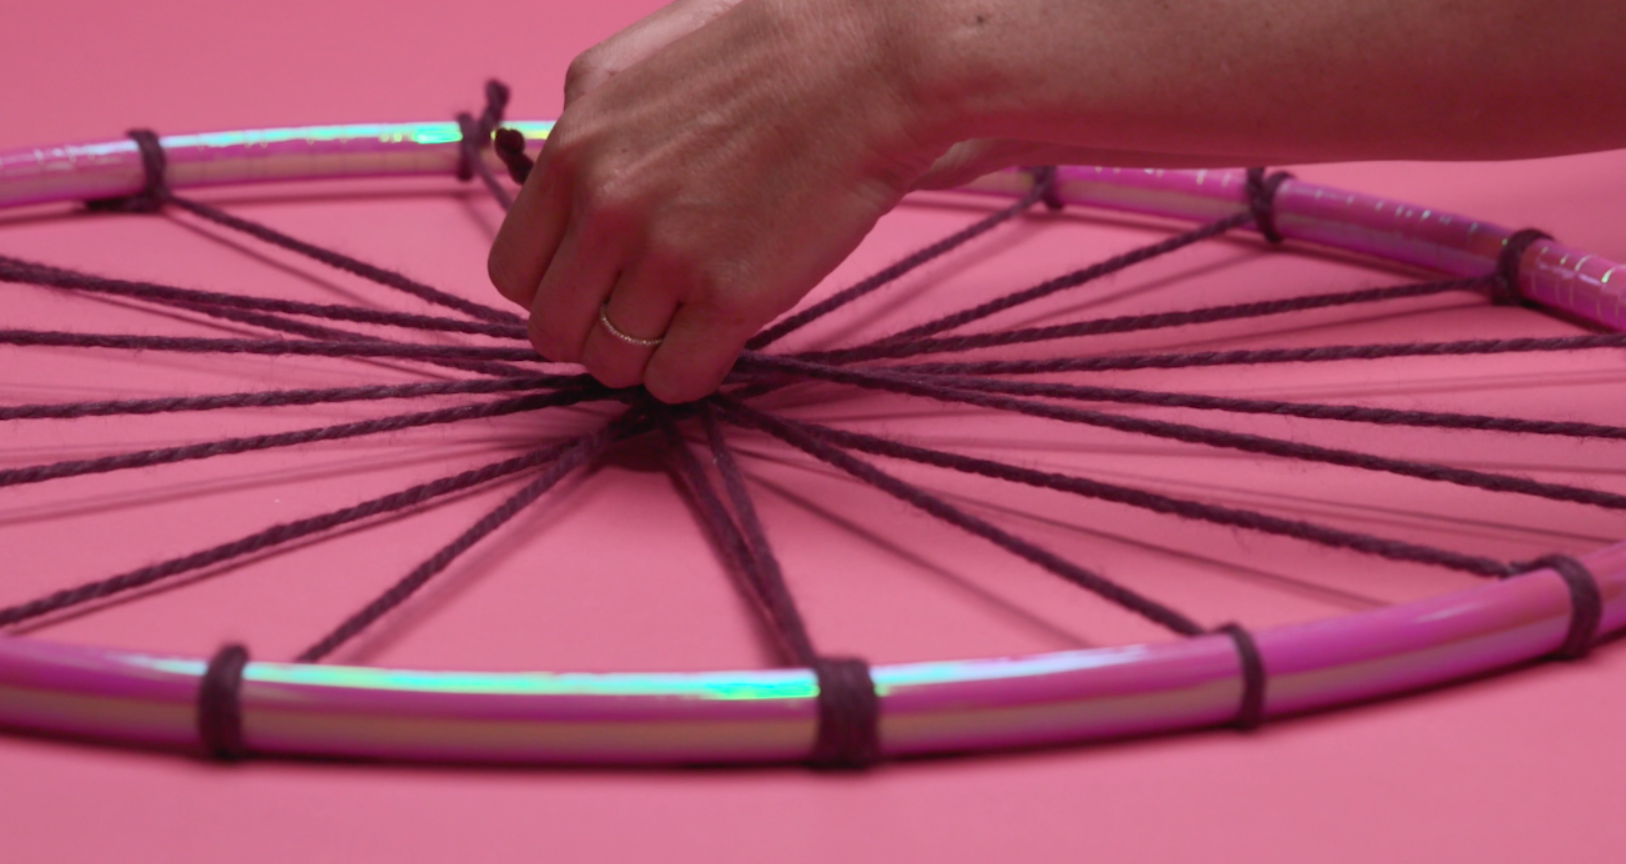
3. Weave
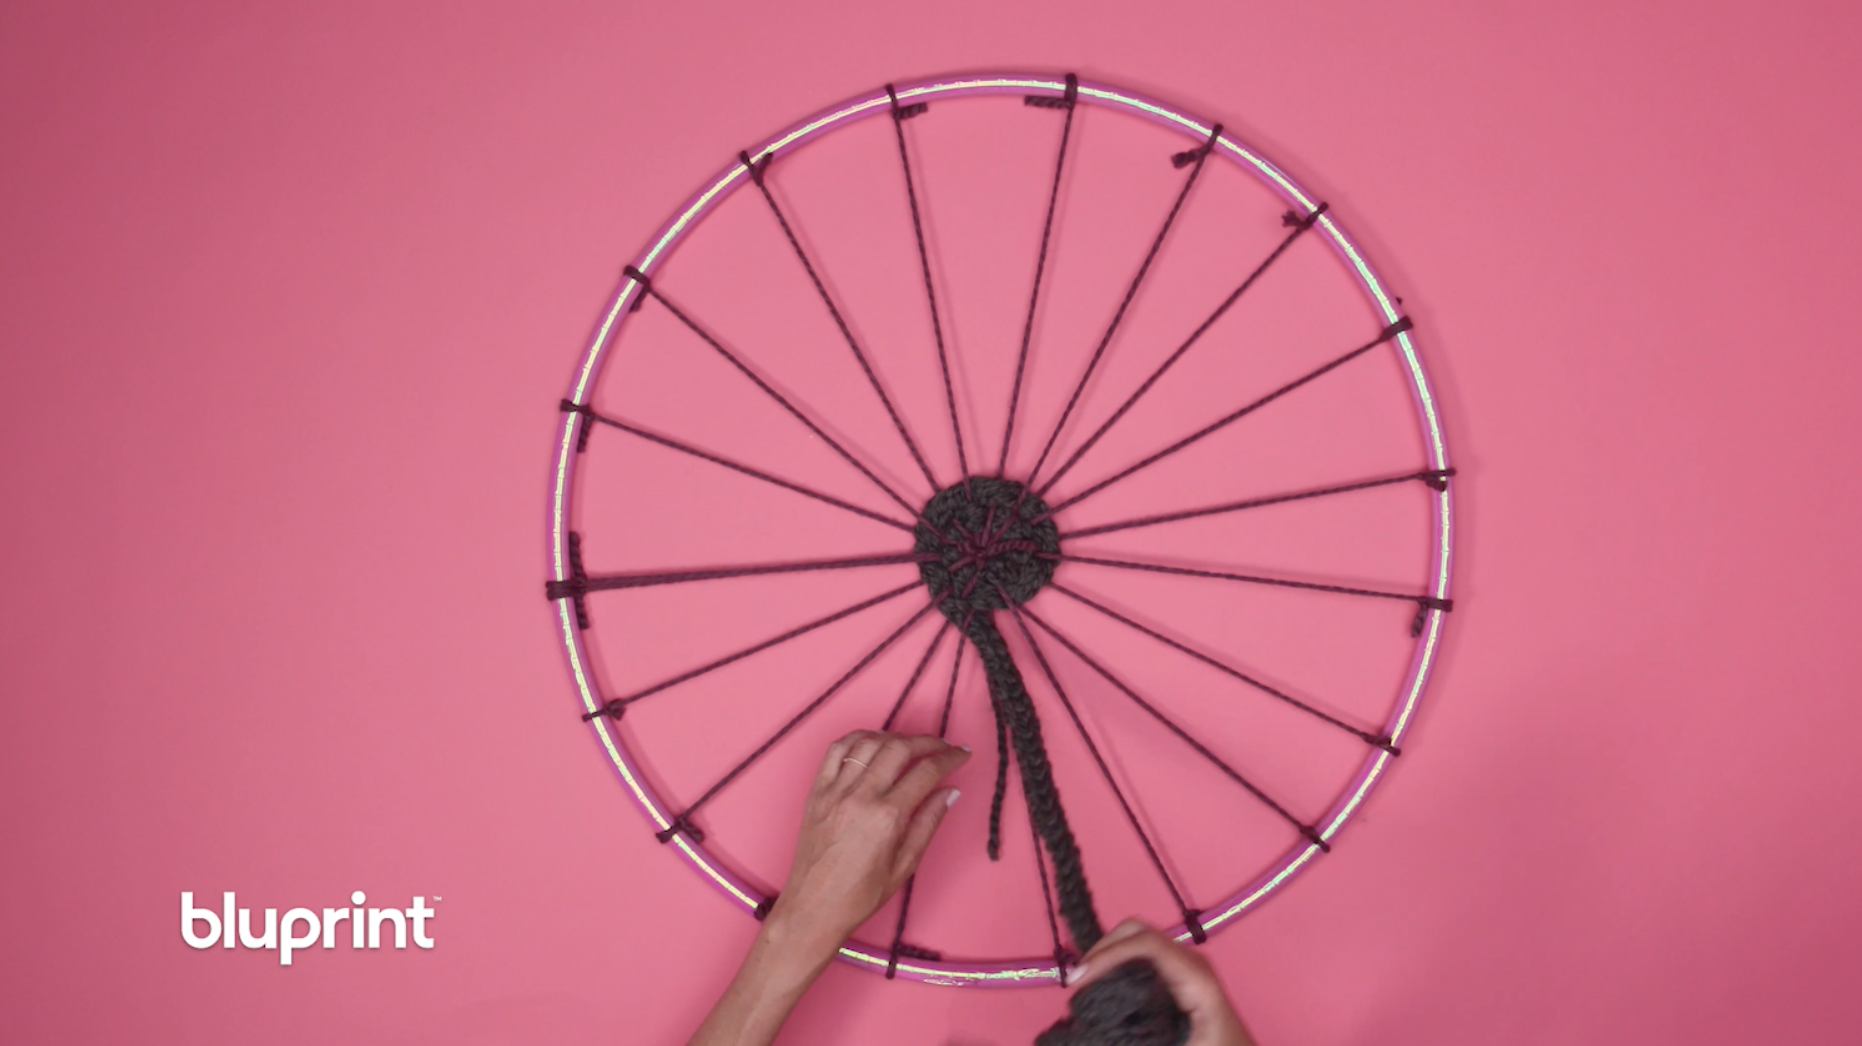
Tie the tail of your first strand of yarn to the center of the loom. From the center, begin weaving your yarn in and out around the spokes. Once you reach the end of your color, tie the end off to a spoke so it’s secure. Begin weaving the second color where your first ended, and repeat until all four colors are weaved.
4. Finish
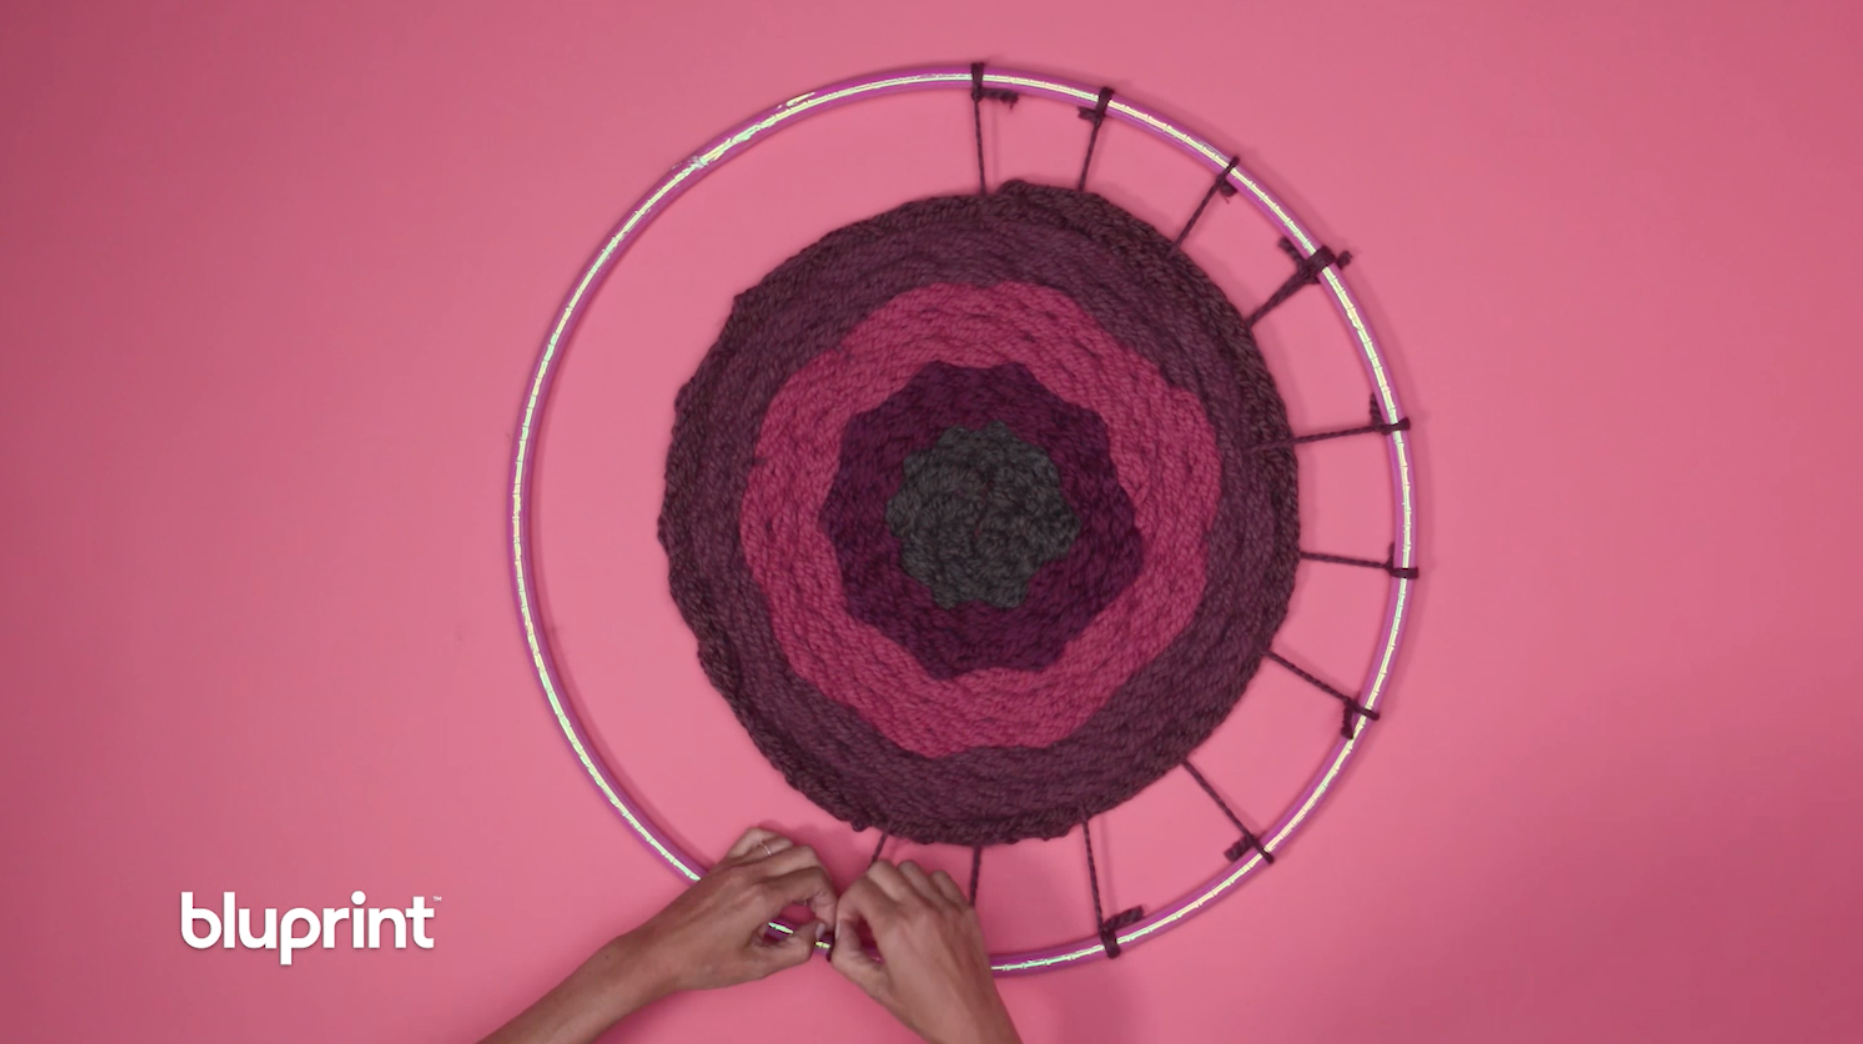
Untie the spokes from your hula hoop one by one and weave the ends into your rug. When you're finished, you'll have a cute rug that's exactly your favorite colors!

How does one judge the lengths needed to fit for each color? Obviously one can’t cut the knit strip if it is too long.