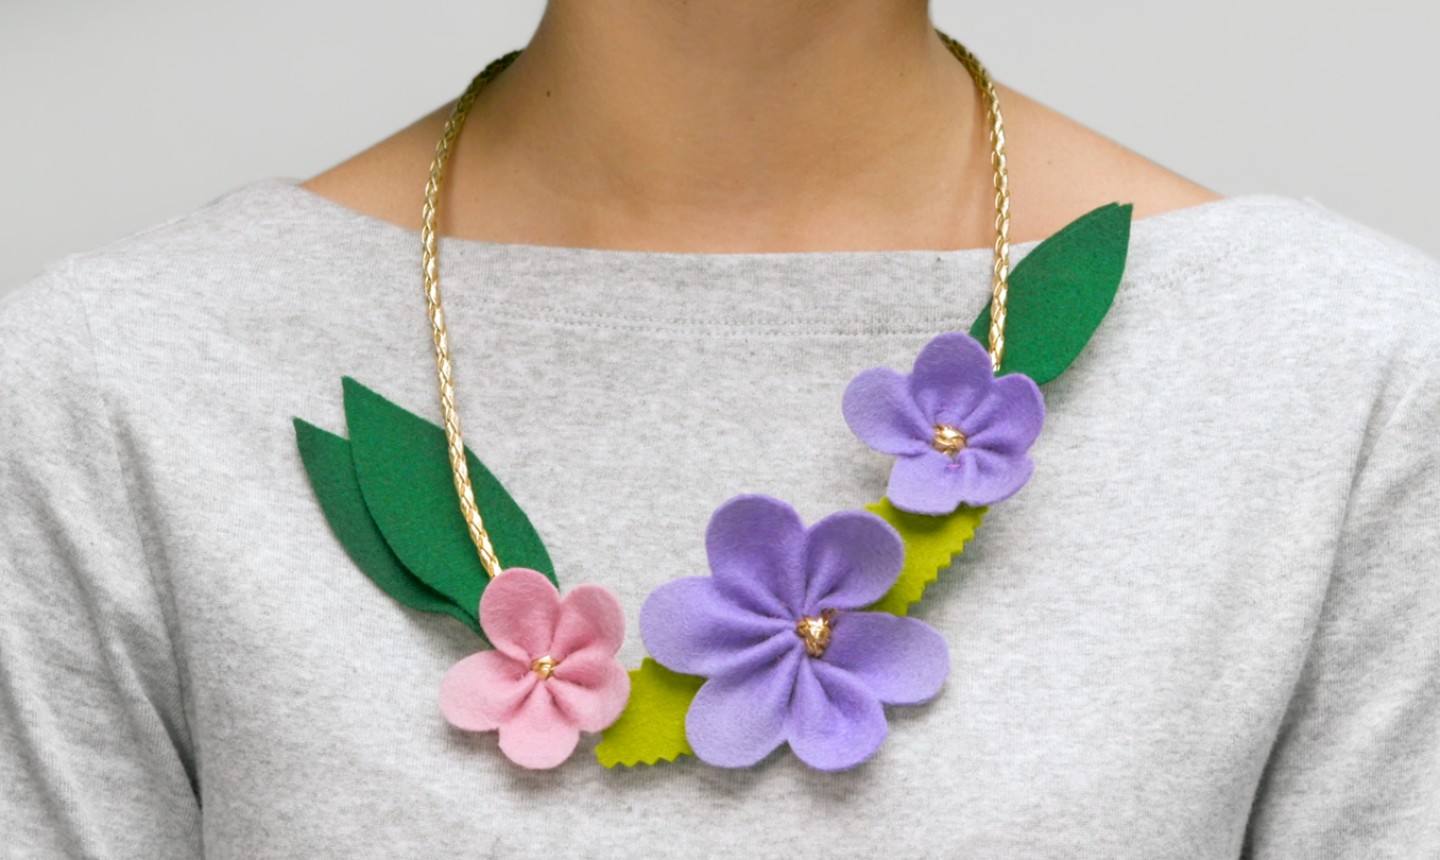
If you’re like us, you hate to throw away scraps from your latest craft. Luckily, we’re always coming up with ideas to use our leftover supplies. This project is a fun way to use up any pieces of felt you have lying around. Go ahead, let your creativity bloom!
Felt Flower Necklace
Level: Easy
What You Need
Instructions
1. Trace and Snip
Using your disappearing ink marker and a quarter, trace a line of half-circles along the length of your felt. These will be your flower petals! Once you have all your petals traced out, carefully cut along the curves with your scissors.
2. Stitch
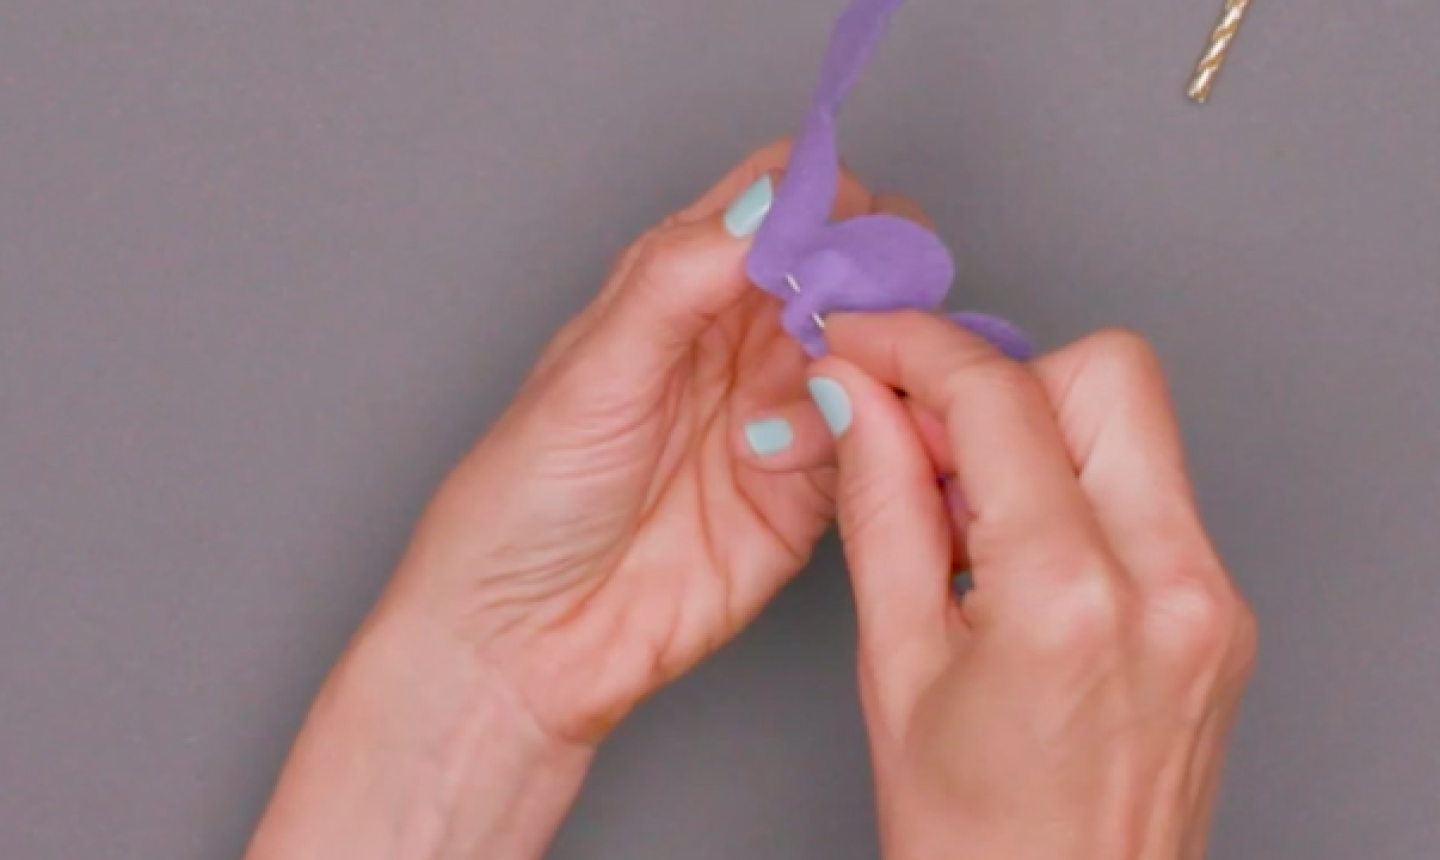
Thread your needle and make a running stitch along the straight edge of your felt.
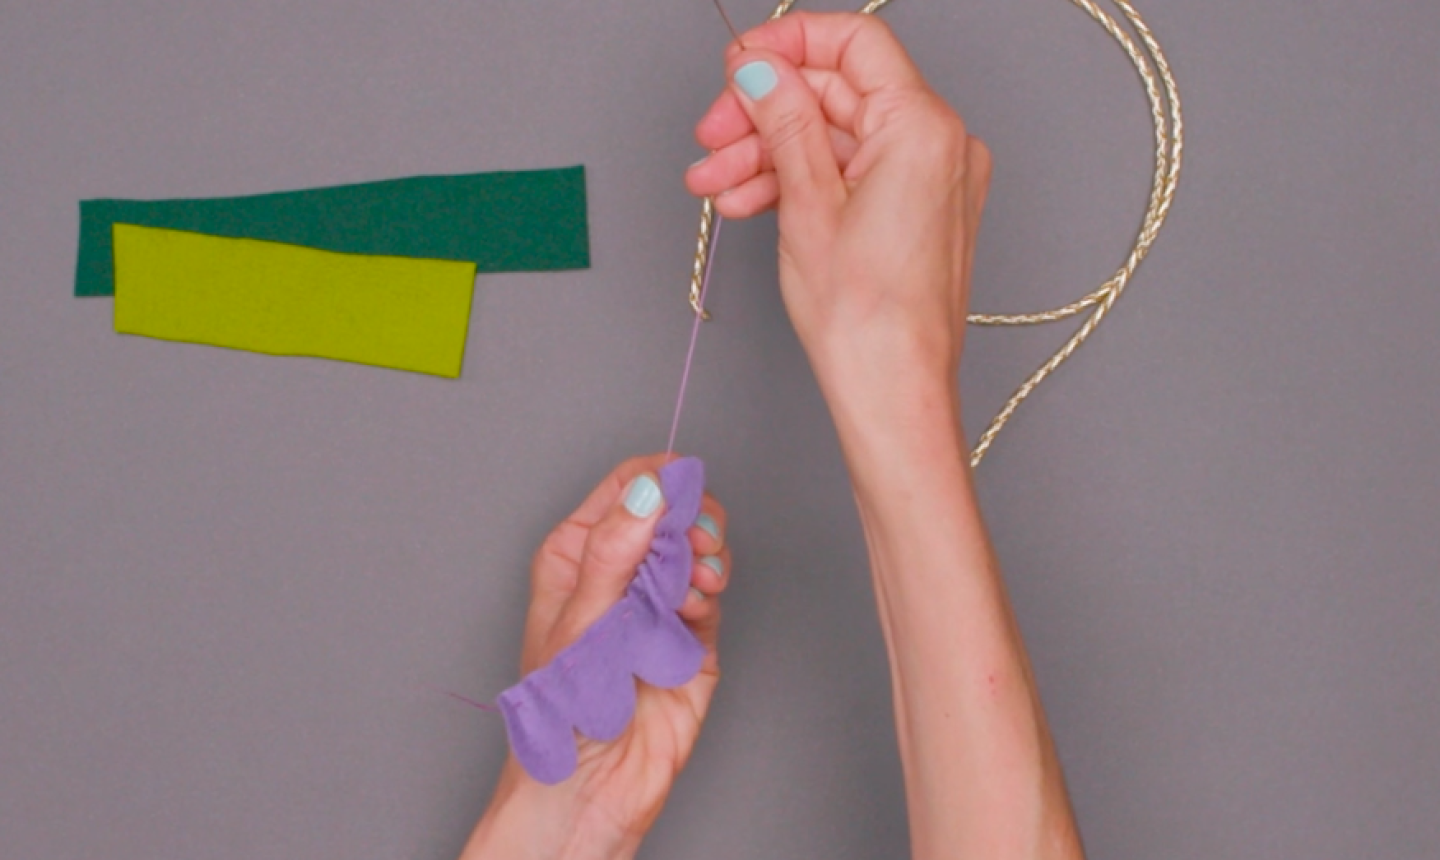
Once you reach the end of your felt, pull the thread so your felt bunches up along the thread. Your flower is beginning to take shape!
3. Form the Flower
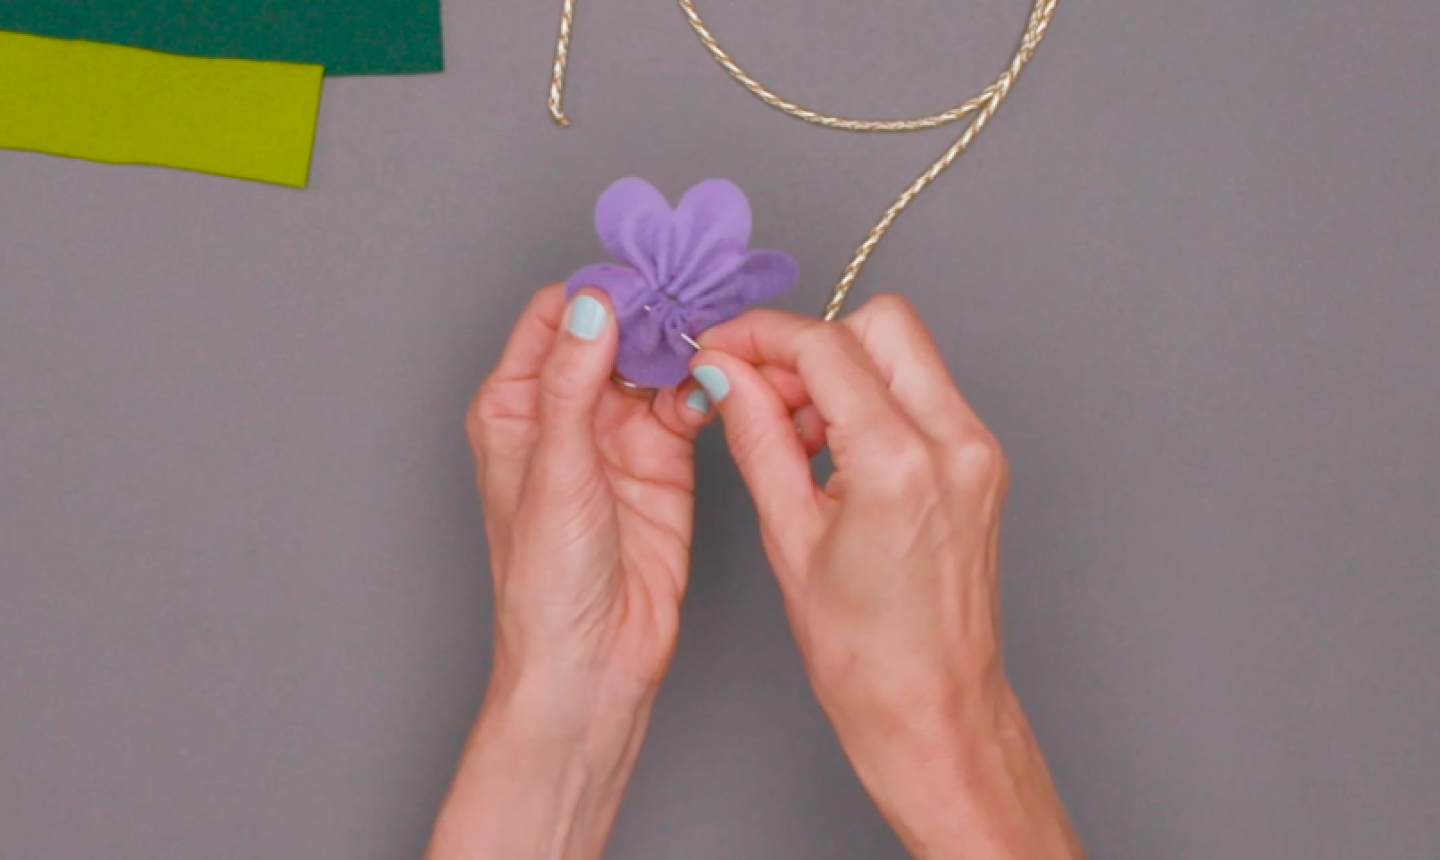
Bring the ends of your felt together so it forms a circle. Sew back through the first two holes of your stitch. This ties your felt together and creates the flower shape. Once you’ve made your flower, tie off your thread and snip off any excess.
4. Add the Foliage
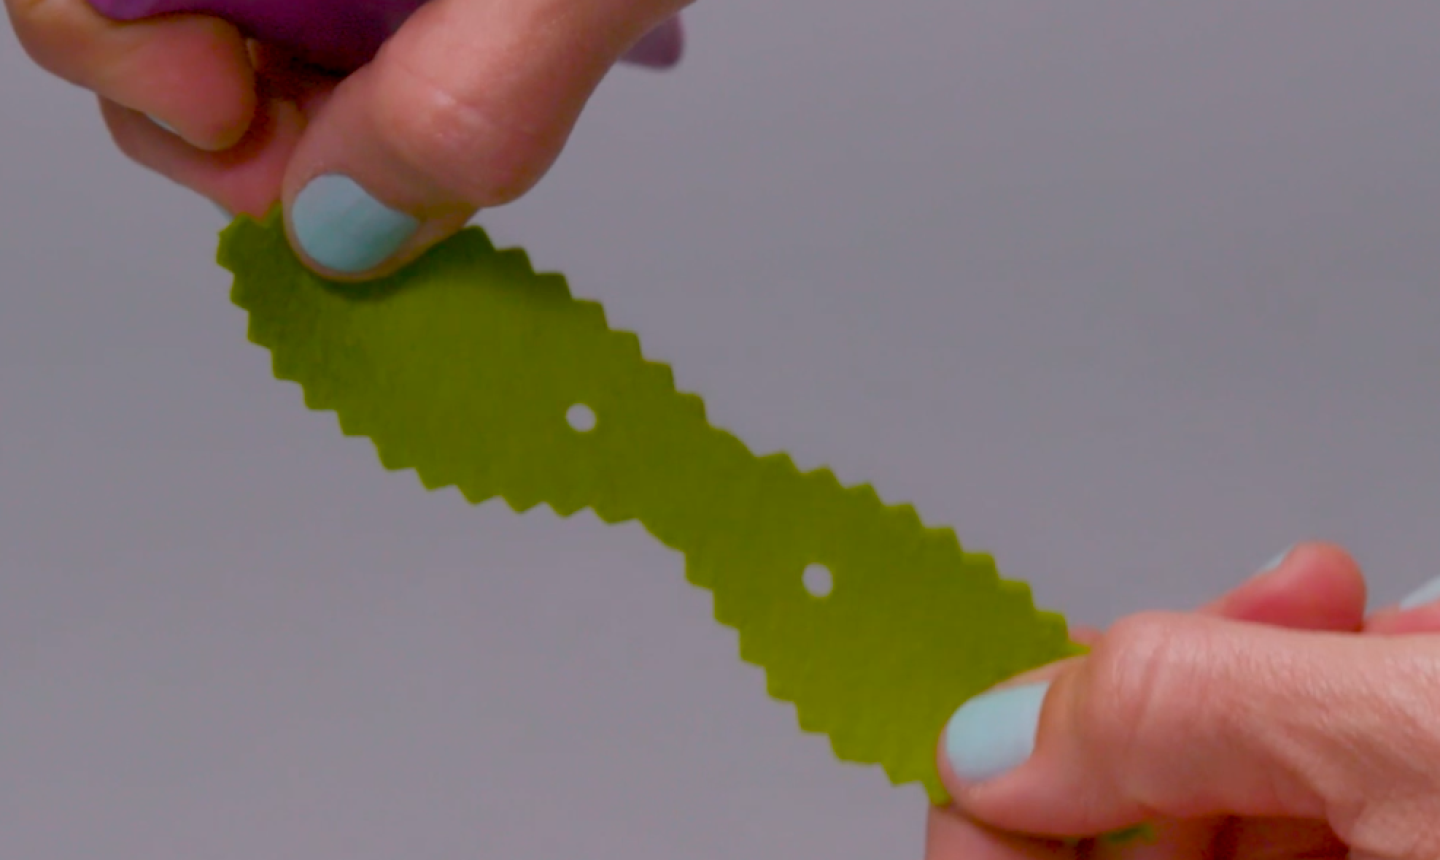
Cut some green felt into one-inch pieces and fold them in half. Using your pinking shears, cut these strips of felt into leaf shapes. While the fabric is still folded, punch a hole into the base of the leaf — this is where the necklace cord will run through.
5. String It
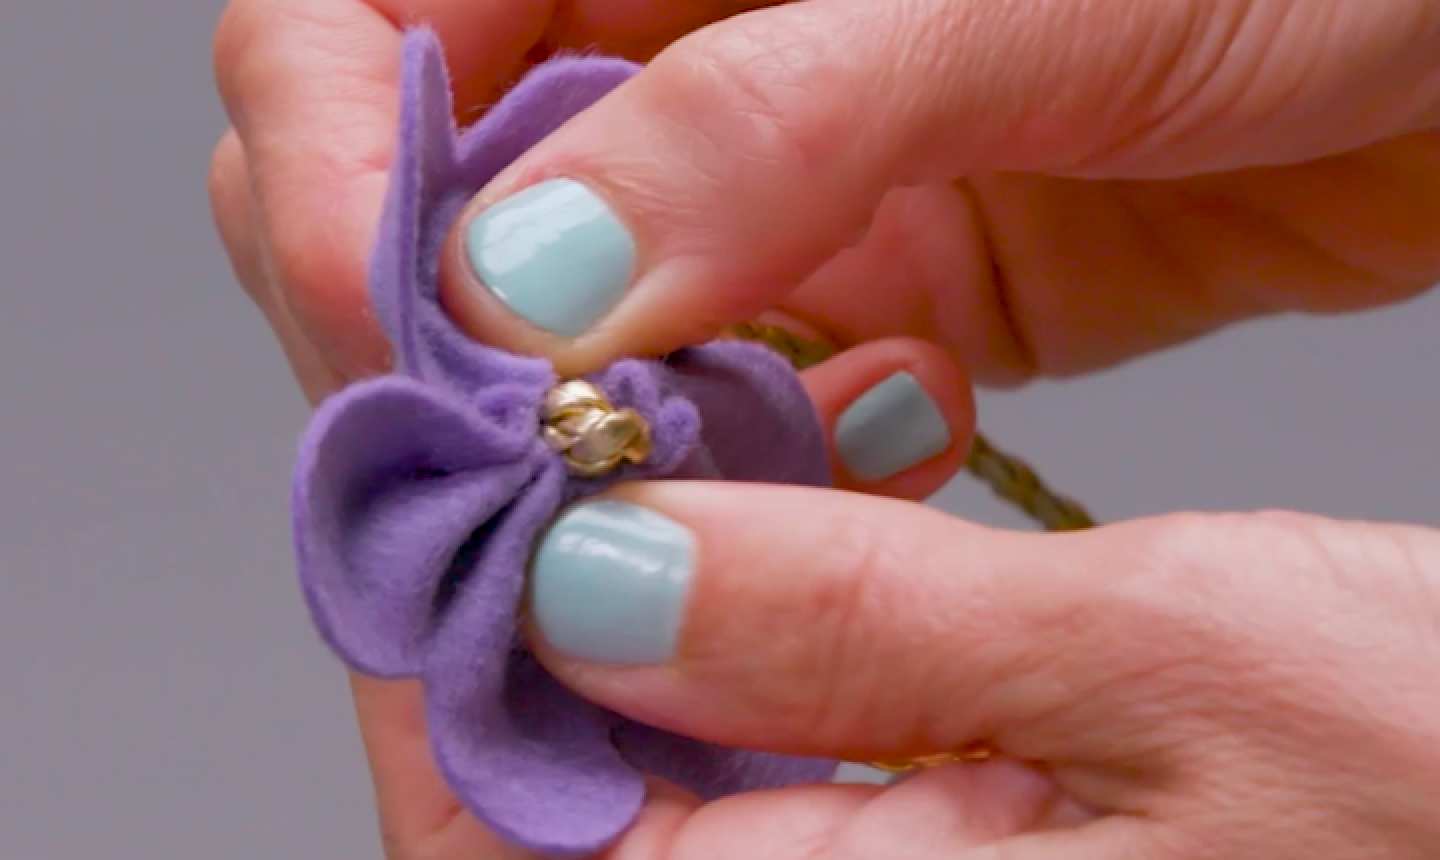
Tie a knot into the center of your cord, and pop the knot through the center of your flower. Then, secure the flower by running the chord through the two holes in your leaf-shaped felt. The leaf should be fastened in place right behind the flower.
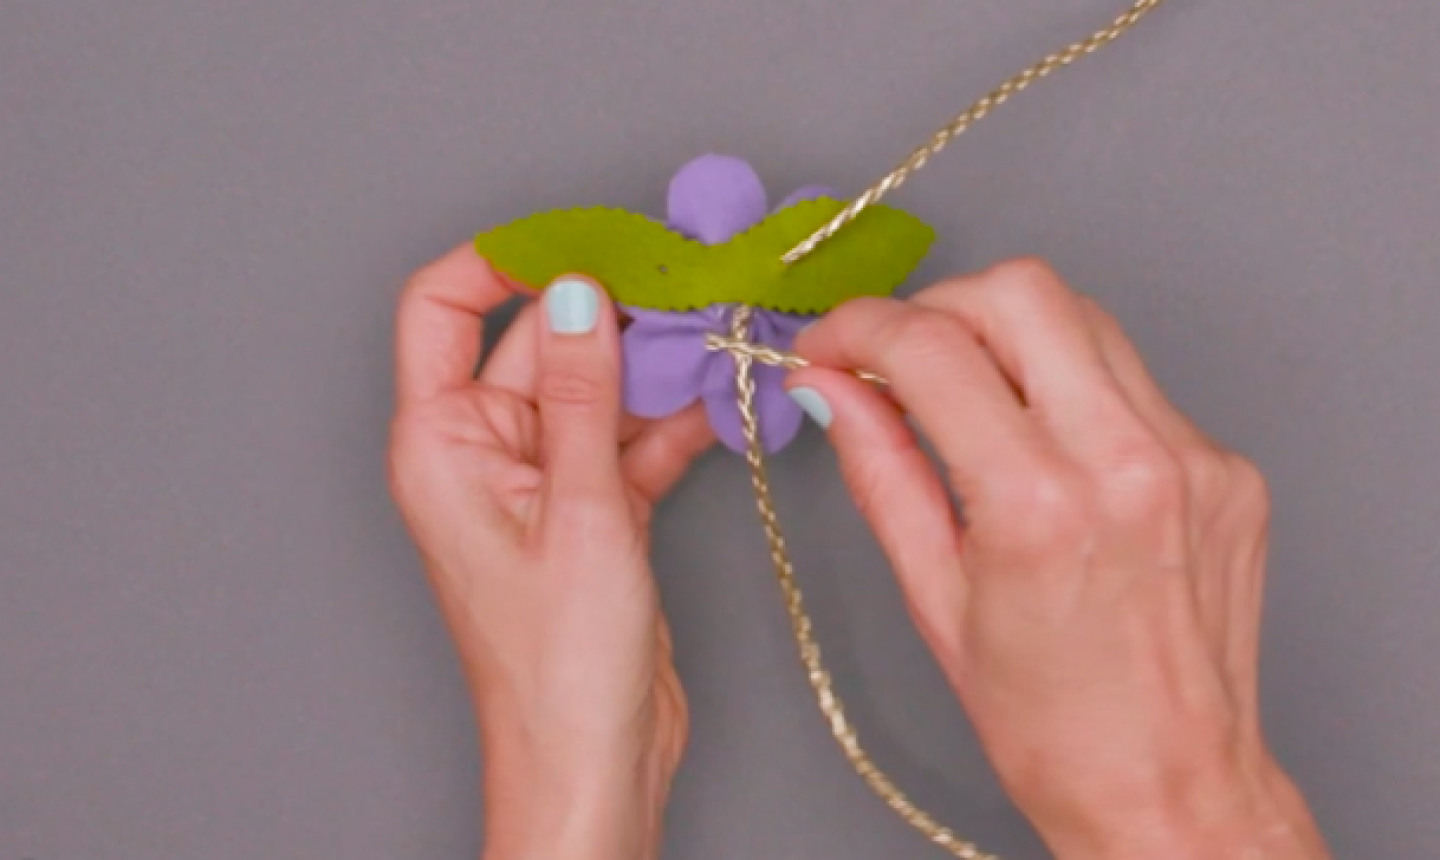
Repeat this process to make as many flowers as you want. You can keep is simple with a single blossom, or create a colorful garden around your neck. Happy crafting!

Share tips, start a discussion or ask other students a question. If you have a question for an expert, please click here.
Already a member?
No Responses to “How to DIY the Sweetest Felt Flower Necklace”