
It can be hard to justify revamping your holiday tree decor when you already have a pretty solid collection of ornaments. But not if you’re using stuff you already have! To make your tree more unique than ever, use our fabric scraps to make this easy braided garland, along with a simple ornament you can pull together using scrap fabrics. Not only is it easy on the wallet, but there’s no doubt it’s 100 percent original.
Braided Fabric Garland
Level: Easy
What You Need
Instructions
1. Fabric Prep
Use scissors or pinking shears to cut your fabric into strips about 1½” wide. It doesn’t matter how long they are at this point.
Pro Tip: For a thicker garland, cut your fabric into wider strips.
2. Join the Strips

Cut a small square of fusible adhesive and sandwich it between the ends of the fabric strips you’re joining. Follow the manufacturer’s instructions to join your strips together. Keep going until you have three strips about 3′ long.
3. Braid, Baby, Braid
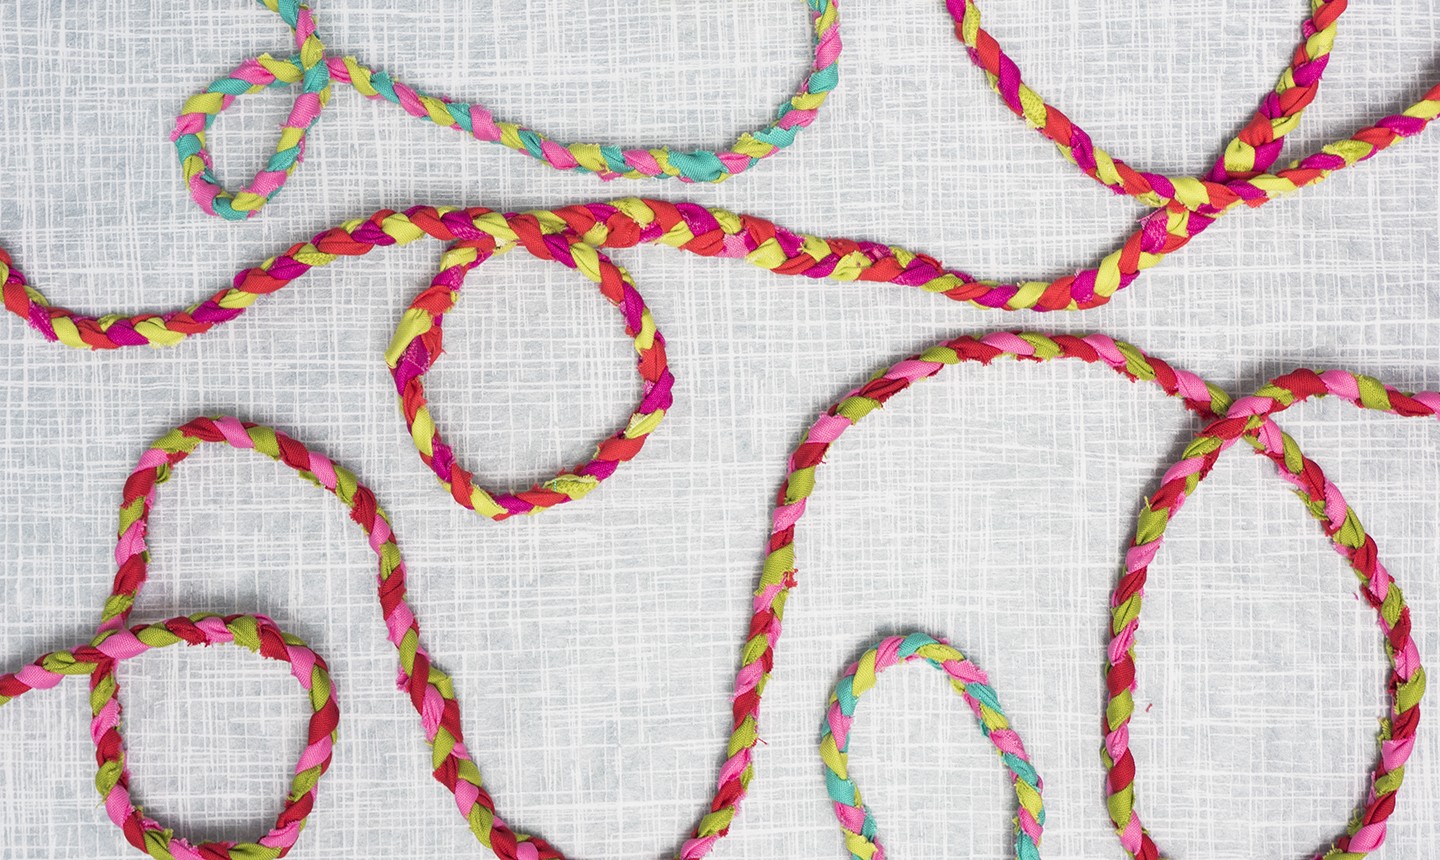
Knot the three strips together and clip them to your board. Fan them out, placing the outer right strip over the middle strip. Then, place the left strip over the middle strip. Keep going, alternating right and left until you’ve braided all the way down the strips. (You may need to move your clip down the braid to keep things taut as you work.)
Pro Tip: If you get done braiding and decide your garland is too short, don’t panic. Just fuse some more fabric onto the ends of your braid and keep going.
Knot the end of the strips and — voilà! — you have a braided garland to wrap around your tree.
Fabric Rings
Level: Easy

What You Need
Instructions
1. Prep Your Rings
Cut your wrapping paper tube into 1″ sections.
2. Cut the Fabric
Use your pinking shears or scissors to cut your fabric strips to size. You want them long enough to wrap around the tube with a bit of overlap, and wide enough to fold inside the tube on the edges.
3. Wrap It Up
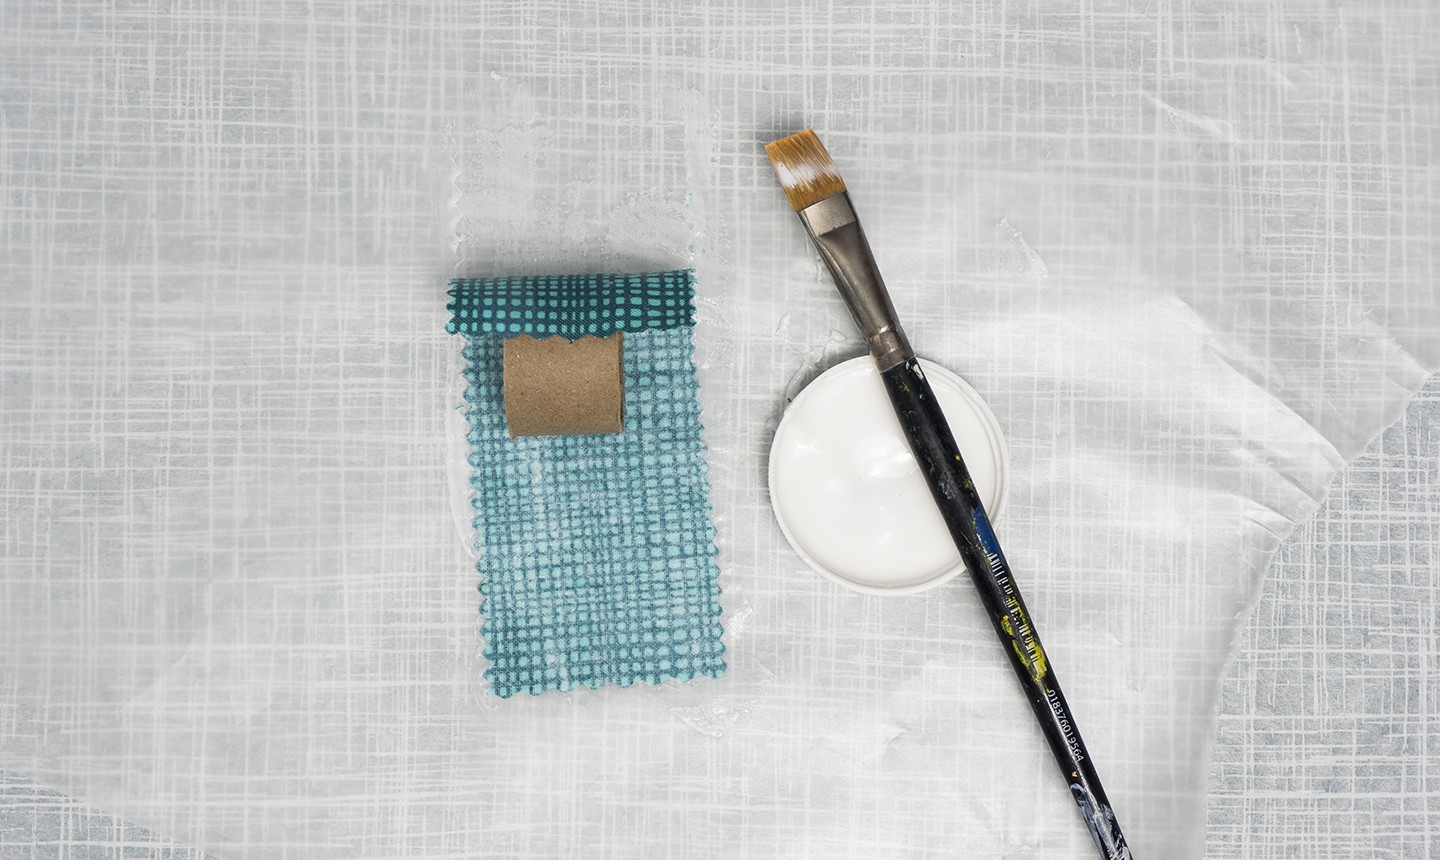
Lay the fabric scrap on the wax paper and brush ModPodge onto the wrong side of the fabric. Wrap the fabric around the tube, glued side down. Cover with more Mod Podge, smoothing out the fabric as you do. Allow the ornaments to dry overnight.
4. Hang Time
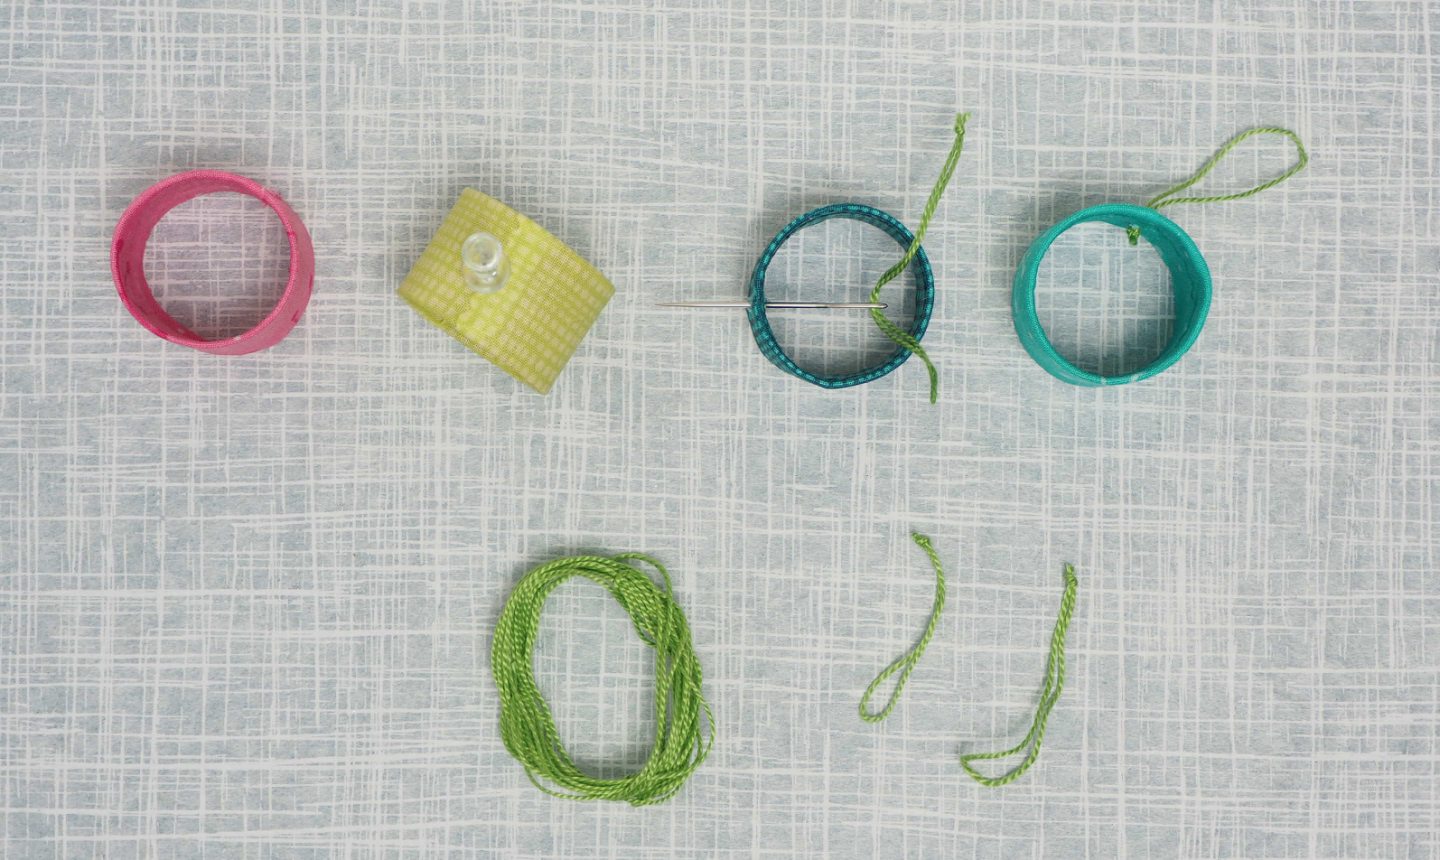
Poke a hole in the top of the dry ornament. (A thumbtack works well for this.) Cut a piece of embroidery thread about 6″ long. Knot the ends together to make a loop. Thread the loop onto your needle and pull it through the hole in your ornament, going from the inside of the tube to the outside.
Ta-da! You’re officially ready to deck the tree.
What a great idea.
I'd love more ideas for using fabric scraps.This looks like a fun family project!
Great ideas!
I noticed in a quilt magazine on making fabric circles & connecting them together & I use it in my archway and soon I will drape/tac it up around my sliding glass door Looks so festive!
I wished you would also share Hanukah ideas.
Now I know what to do with the scraps that I have been saving forever.
Very nice idea ! Thanks for posting
Love the site!
Oops! Last part is glue pick to back of star to 'anchor' to tree.
Great inexpensive ideas.