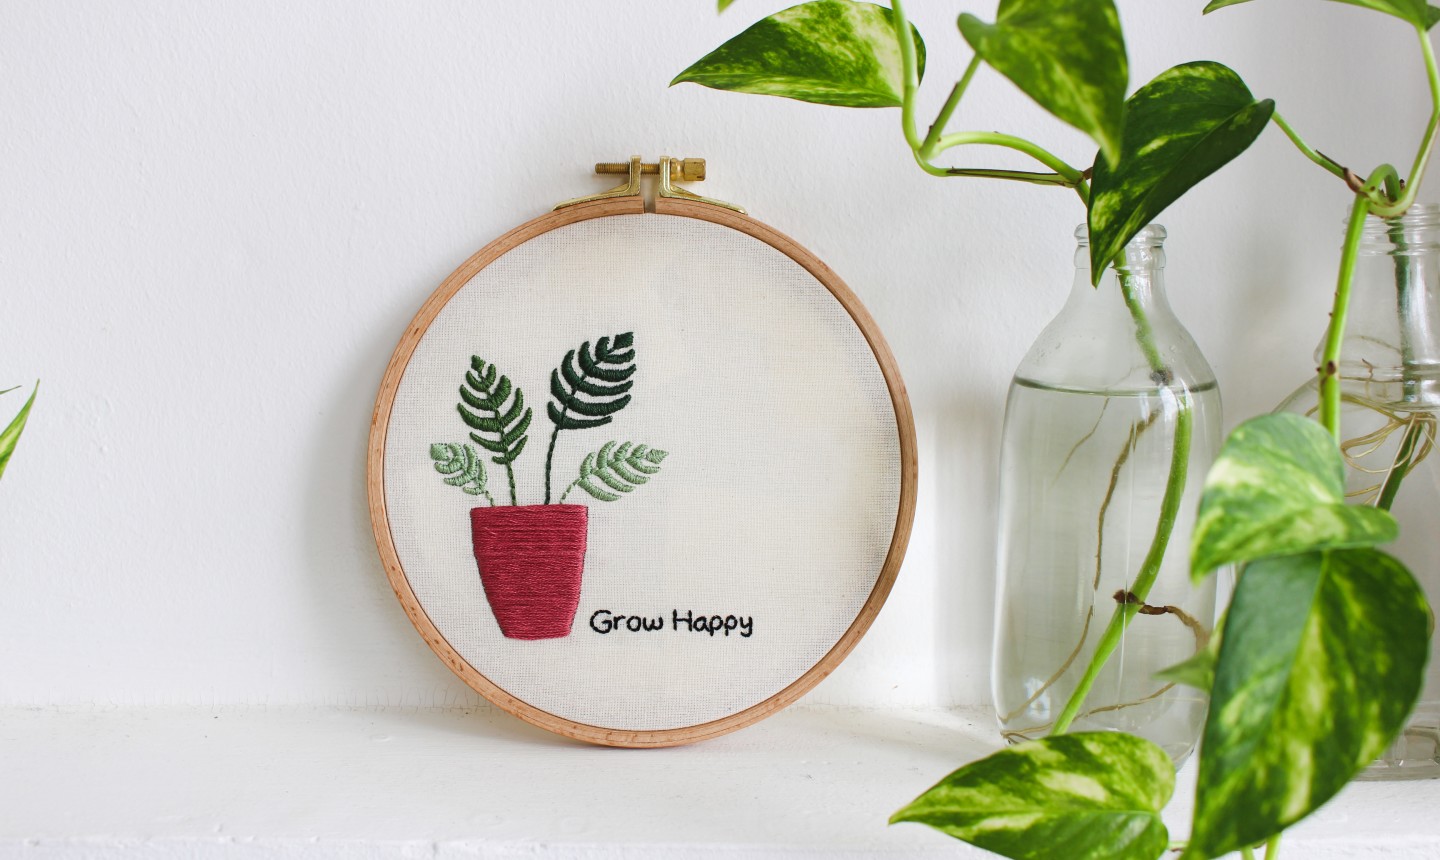
Everywhere we look, hoops are going green — literally! The #PlantLady trend has made it into the embroidery world, and we couldn’t be more excited about it. (Especially those of us who aren’t the best at remembering to water the real deal.)
This project and FREE pattern, from Noa Aga of the blog Tata Sol, brings together pretty foliage with a dose of positivity. We’ll stitch to that!
Embroidered Plant
Level: Easy
What You Need
Instructions
1. Transfer the Pattern
To do this, print out the pattern and then lay your fabric on top of the page. Lightly trace the design onto the fabric with a wash-away fabric marker. (If you’re having trouble seeing through, try taping the paper and fabric up against a sunny window. The design will shine right through.)
2. Set Your Embroidery Hoop
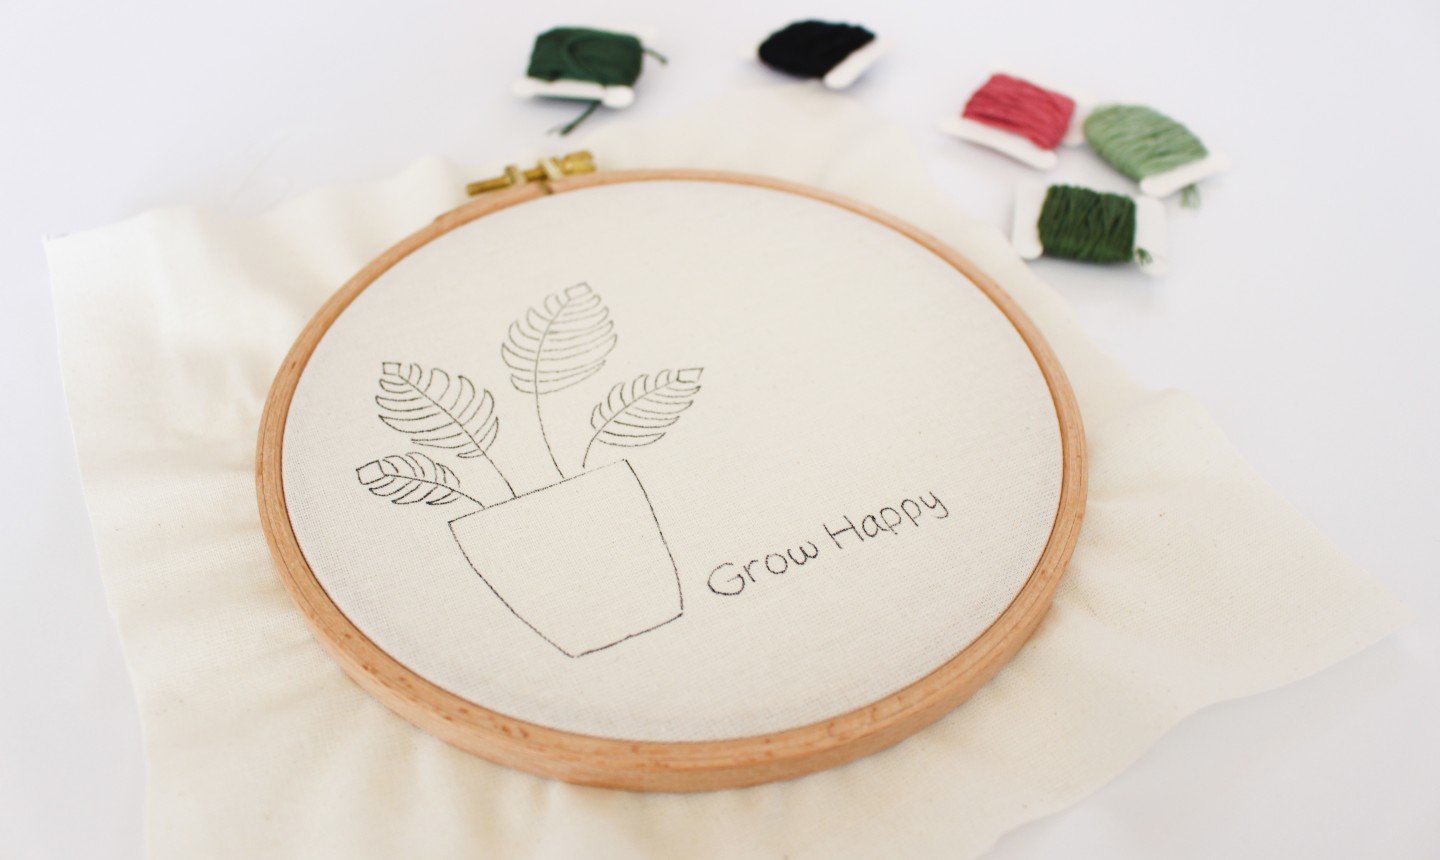
Place the fabric between the embroidery hoops and secure by adjusting the screw. Make sure the fabric is nice and tight — it’ll make your stitching easier!
3. Embroider the Plant Pot
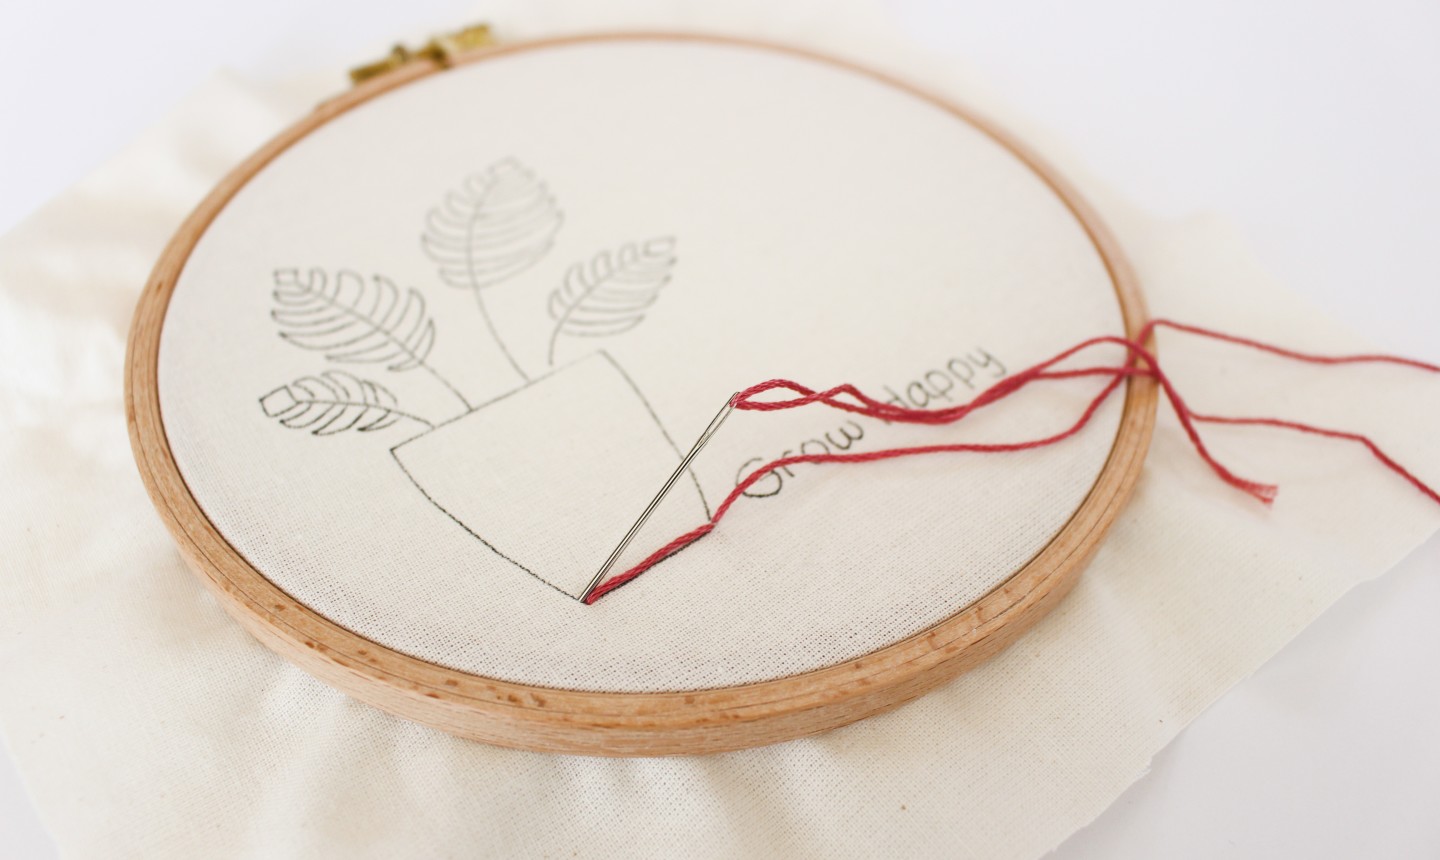
Here you’ll use a satin stitch, with is an easy way to fill out shapes. Start by pulling your needle up from one side of the shape, like the bottom right corner. Then pulling your needle all the way over and down through the bottom left corner of the pot.
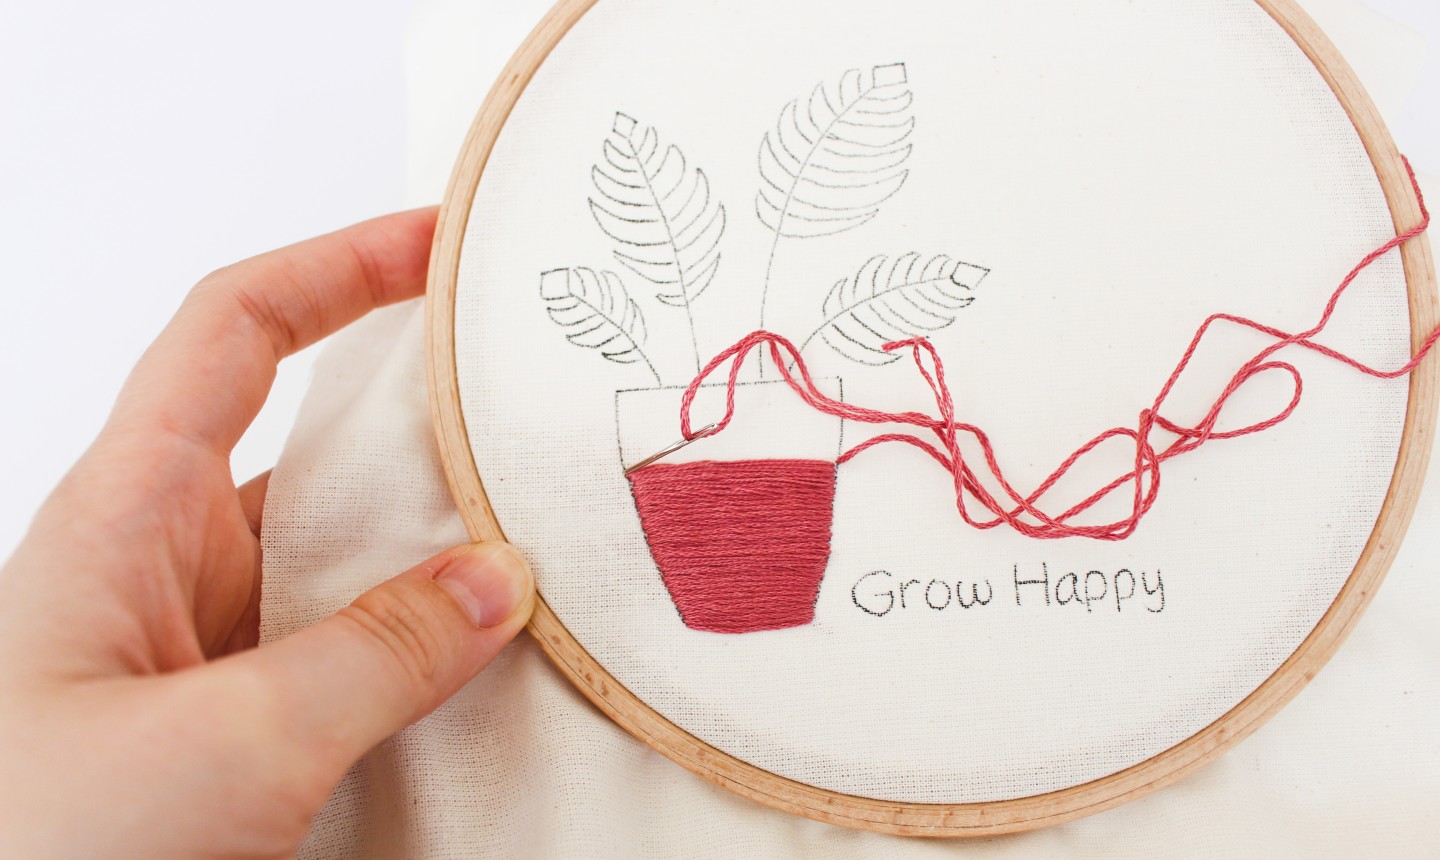
Keep going like that until you fill up the whole shape. (If you run out of thread, don’t worry! Just make one to two knots close to the fabric on the wrong side of your art. Then cut the thread, leaving about ½ inch loose. Keep going where you left off with new thread.)
4. Embroider the Plant
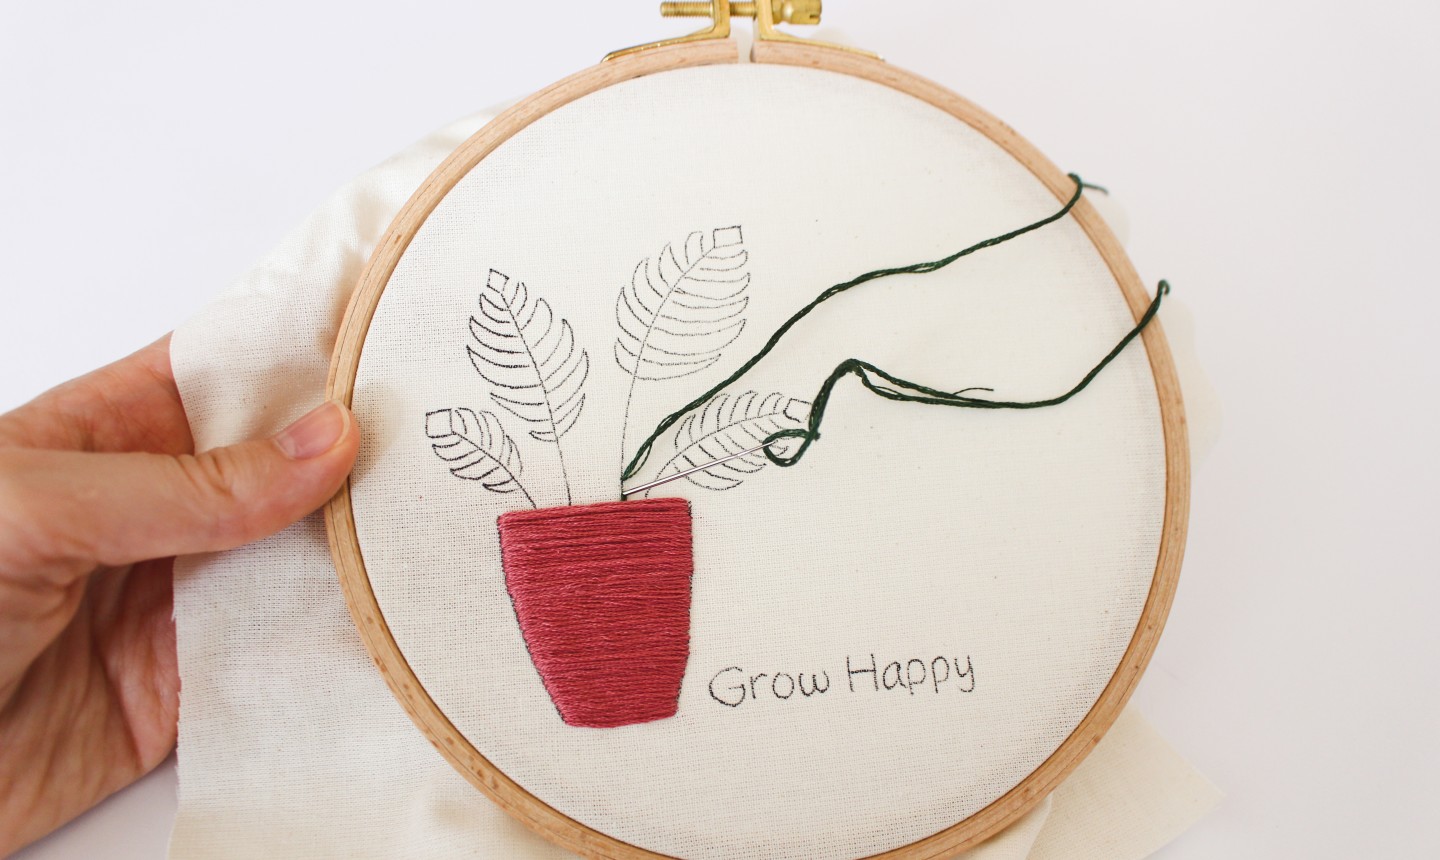
Stitch the stem from bottom to top using the back stitch. Start by making one regular stitch, going up and down with your thread and needle. For your next stitch, you will take a step forward, leaving a space between the stitches, and come up with your needle through the fabric ¼ inch from where the last stitch ended. Then take a step back and go down with your needle right where the last stitch ended.
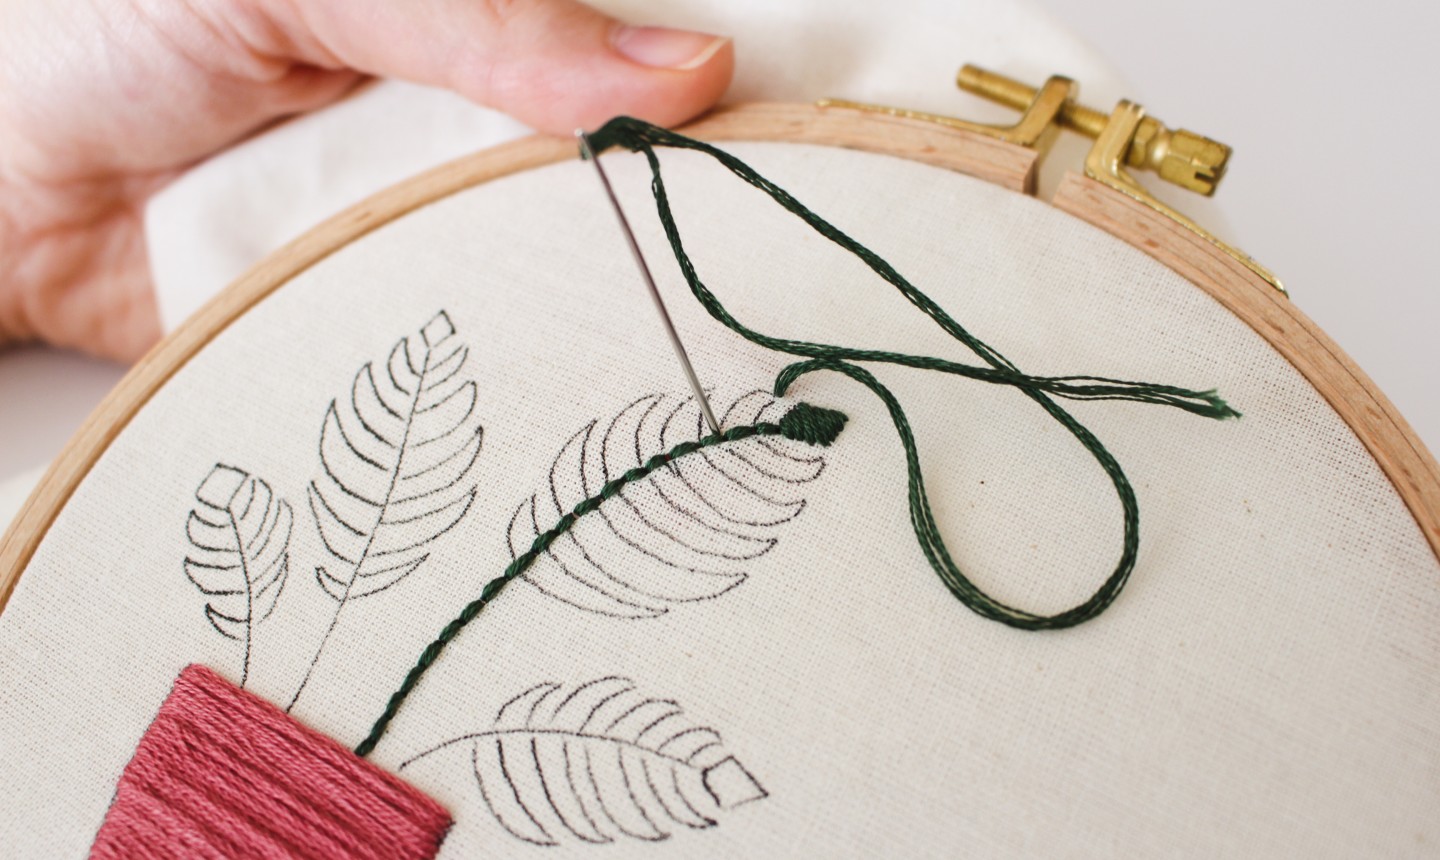
When you get to the top of the branch, make another stitch through the last leaf. Then use satin stitch to fill the leaf in. (The end of your last back stitch will create the point of the leaf.)
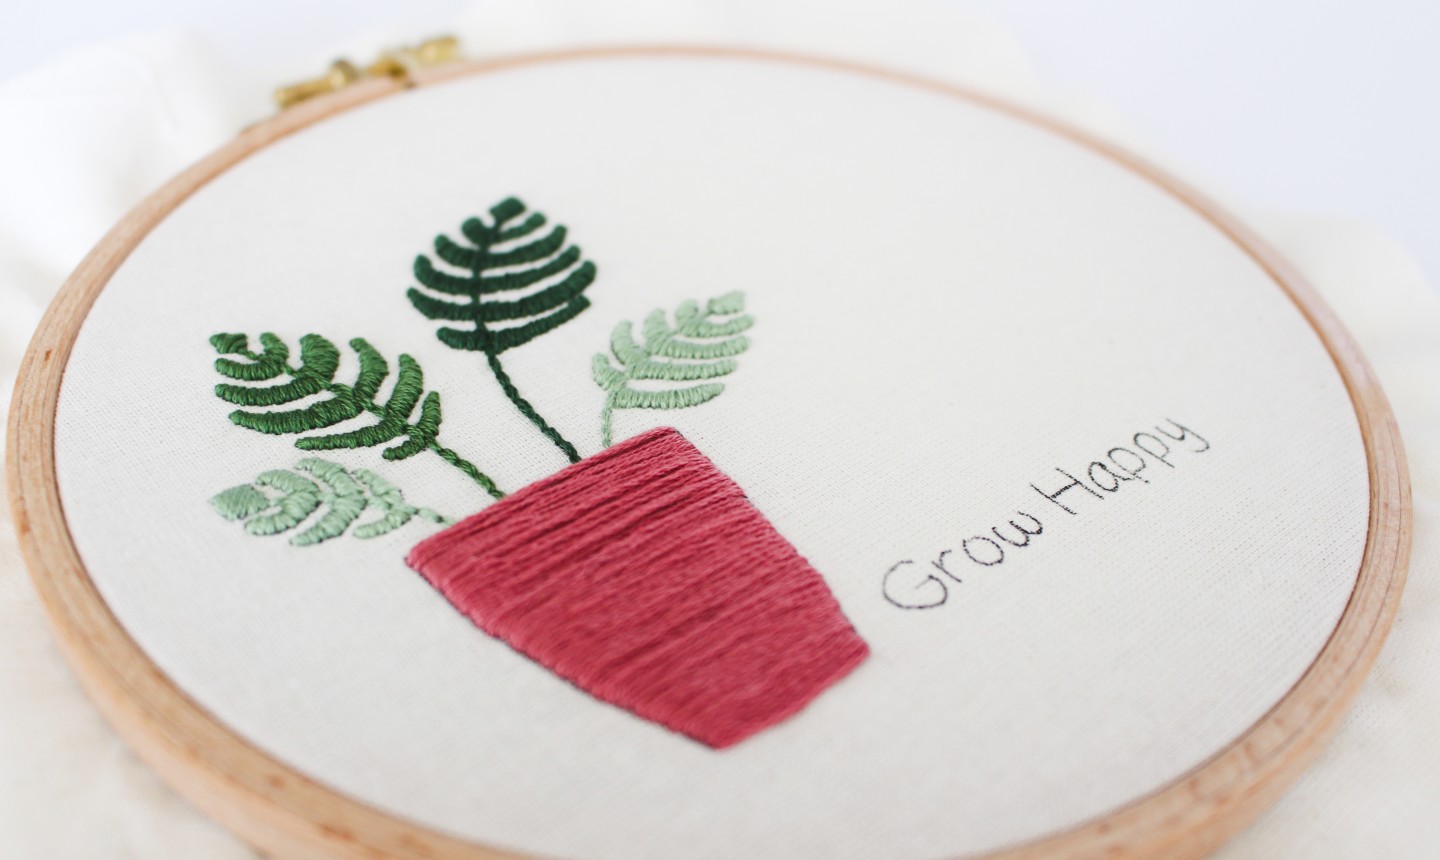
Continue stitching the remaining stems and leaves as you did the first one, varying colors as you like.
5. Embroider the Text
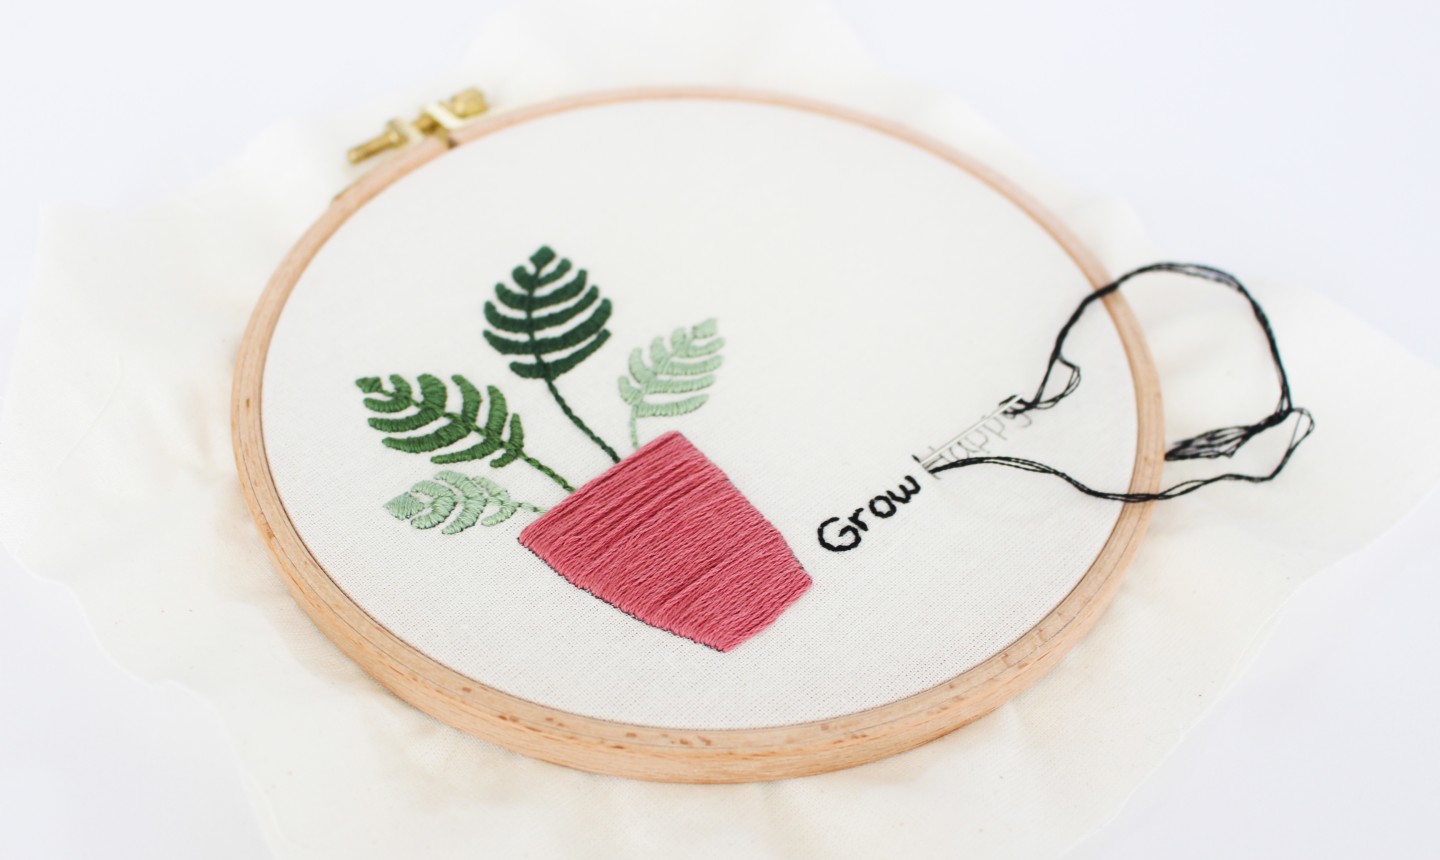
We’ll stitch the letters using back stitch, but because the letters are small, we’ll use a thinner thread.
Usually embroidery threads are made from a 6-strand floss, which is great for filling out shapes like those we did before. For your letters, carefully pull the strands apart to make a 3-strand floss. This thinner thread will make it easier to stitch small letters with curves.
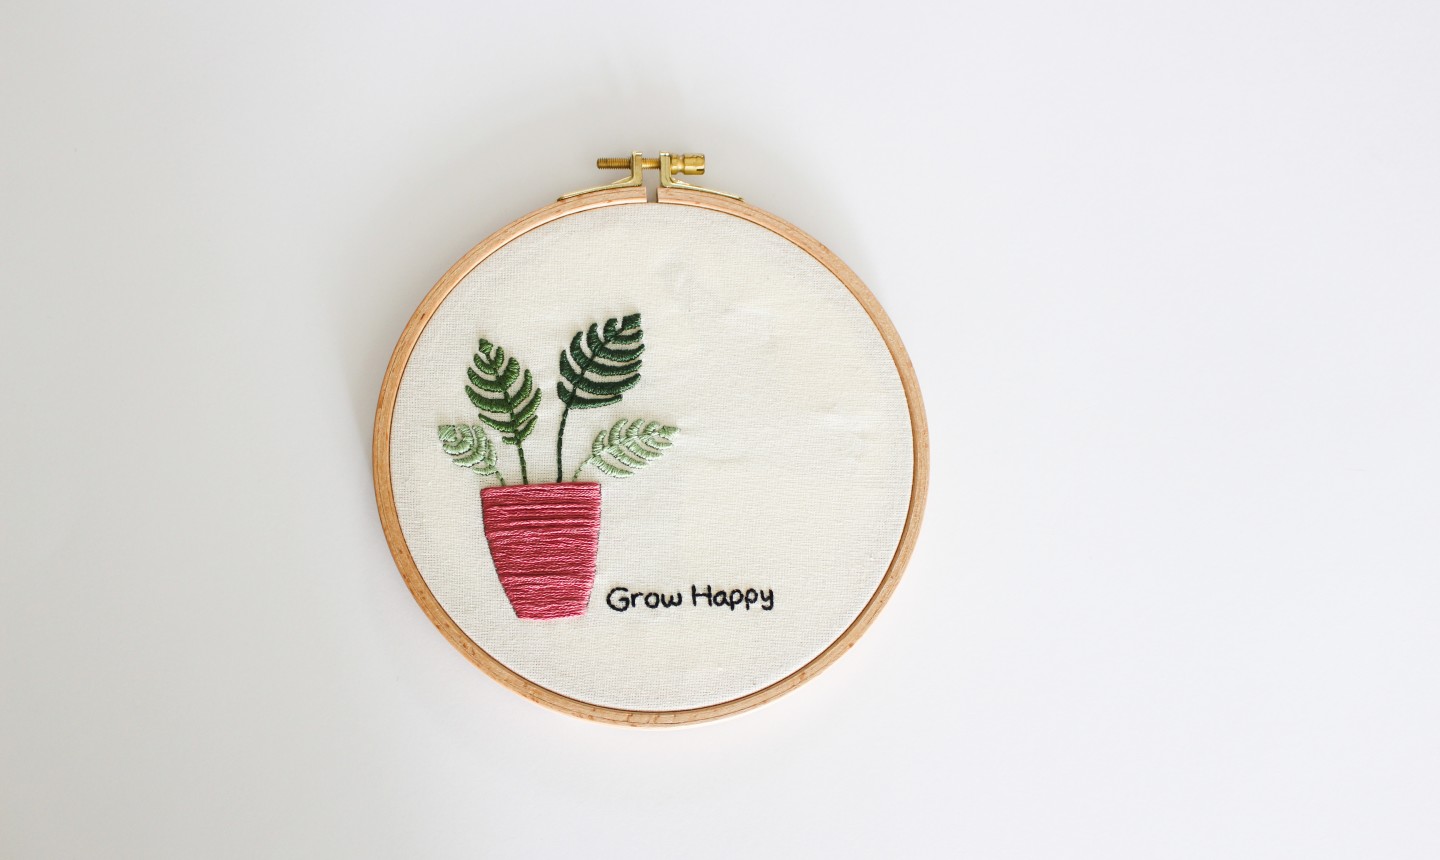
Start with the edge of the letter and remember to make small stitches. You don’t need to switch threads with every letter. Just keep going from one letter to the next until your happy message is complete!

Thank you for sharing this cute pattern!!
This is a refresher of long forgotten stiches. I have embroidered off and on, all of my life. Now at 79 I would like to fill my time exercising my fingers, concentration, and all the things that I think I do not want to forget.